Booster pump turns on but cleaner has no pressure.
- By jhulkow
- Pumps, Filters, and Plumbing
- 9 Replies
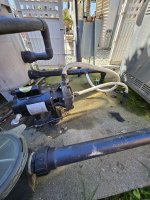
Installed new booster motor and seems I didn't pay attention to my hoses on reassemble. Lol wow

Here is a video I just took and there are no lights on the board when it cycles off.. just the heat light flashing Login to view embedded mediaPentair MasterTemp Heaters - Further Reading
www.troublefreepool.com
The following are the LEDs:
Login to view embedded media
- .....PS (Pressure Switch)
- .....HLS (High Limit Switch)
- .....SFS (Stack Flue Sensor)
- .....AFS (Air Flow Switch)
- .....AGS (Automatic Gas Shutoff).
- .....Service System
- .....Thermistor
- .....Heating
- .....Pool On
- ...Spa On
- ...Service Heater.
You can try the Wet & Forget and see if it helps. No harm in doing that. But I have see this all before and I’d bet a box of donuts that it won’t work.
I really appreciate your help. I just went outside and made a video showing internals and how its cycling. Here is the youtube link Login to view embedded mediaThat deals with flame sensing problems. Read Heater Flame Sensing - Further Reading
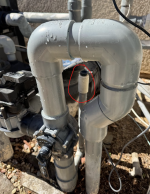
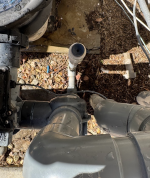
How much corrosion is in the heater?
Show us pictures of the heater internals around the electrical box and igniter.
Maybe we will get the rest of the story.Good catch
Thank you. I did have it sealed right after install of that makes any difference.
Good catchThe booster pump hoses are reversed.


I know this thread is 3 years old, but for those that want to measure the liquid level in the tank with an external sensor to avoid corrosion, Mopeka has bluetooth ultrasonic sensors you just stick to the bottom of the tank. They are made for measuring liquid levels in all types of tanks. Look for the Mopeka Universal Pro for non-steel tanks. It works with an app on your phone and can do alerts.And it turns out the acid vapors were, indeed, fatal to my exposed sensor setup: after only one day inside the tank, every metallic surface including solder joints had a green or gray patina, and the sensor had failed electrically. So I knew I had to have a hermetic enclosure for the sensor, and I needed to find a transparent window material as part of the solution.
So I had another sensor, and my next step was to see if any transparent material I had on hand would allow the sensor to work correctly. Short answer is no. So far I've looked at 3mm acrylic, 3mm glass, 0.4mm plastic of some sort, and Costco shrink wrap. The two thicker materials both failed miserably. The 0.4mm plastic looked a little better, but had severe non-linear behavior under 100mm distance and beyond that distance it did not function. The shrink wrap allowed the sensor to work just fine, but it's hardly durable enough to be used for the purpose. So my conclusion so far is that using the VL53LO optical sensor is simply not going to work.
For completeness, I thought I'd mention a couple of other options that I considered earlier and discarded:
(1) I thought about measuring the weight of the entire tank, acid and all, using a set of load cells and an HX711 electronics chip, commonly used in bathroom scales. I had such a sensor set from a previous hobby project. I discarded this path because my acid tank is bolted to a slab of concrete (this is earthquake country, after all!).
(2) I made an "acid displacement probe" out of an 18" piece of sprinkler pipe, empty and sealed at both ends. I attached a vertical load cell to measure the net of the probe weight and the buoyancy force (equal to the weight of the displaced acid at any given immersion level). This rig worked OK in my pool water, but, again, the load cell is made out of aluminum and its sensing elements are electrical strain gauges, so putting that inside the tank would fail for the same reasons that the VL53LO did.
(3) I thought about putting a magnet on a float, constrained within a sprinkler pipe mounted inside the tank. The magnet's vertical position could be detected by one or more reed switches on the outside of the tank. While I think this could be made to work, it would only provide a coarse resolution of the acid level at best. Perhaps that's good enough to trigger a text message to refill the holding tank.
So I'm up for any other ideas you all might have. I've enjoyed this project along the way, and I really enjoyed the interaction with a knowledgeable group of folks. Thanks for that...Jack
View attachment 629739
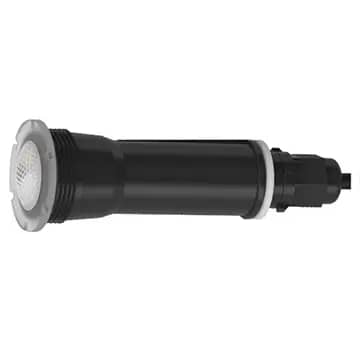
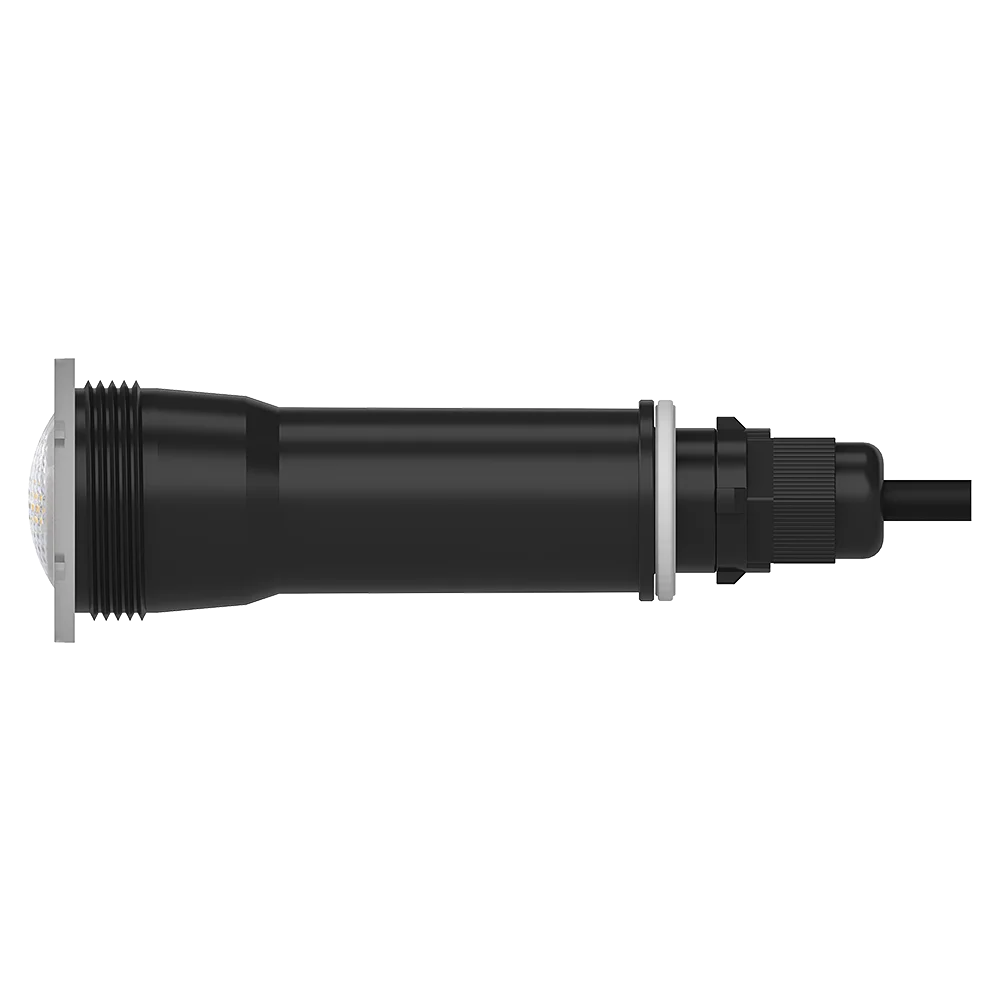
Alternative to Pentair GloBrite 1.5 Inch Nicheless LED Pool Light
1.5 inch nicheless LED underwater pool light replacement for Pentair GloBrite, suitable for concrete,vinyl liner and fiberglass pools.wakinglighting.com
Power Options: 12W/18W
Beam Angle: 120°
Cord Length: 30 ft/50 ft/100 ft/150 ft
Certifications: IP68, CE, ROHS, SGS, ISO
Waterproof Level: IP68
MOQ: 1
Warranty Period: 2 years
Nicheless Globrite Alternative Led Pool Lights Replacement Cool White Color Lights With 8ft/50ft/100ft/150ft Cable - Buy Nicheless Led Lights mini Swimming Led Pool Light globrite Replacement Product on Alibaba.com
Nicheless Globrite Alternative Led Pool Lights Replacement Cool White Color Lights With 8ft/50ft/100ft/150ft Cable - Buy Nicheless Led Lights mini Swimming Led Pool Light globrite Replacement Product on Alibaba.comwww.alibaba.com
View attachment 629740
Login to view embedded media
Login to view embedded media
Login to view embedded media
Login to view embedded media
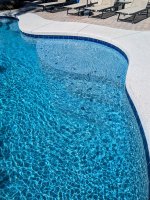
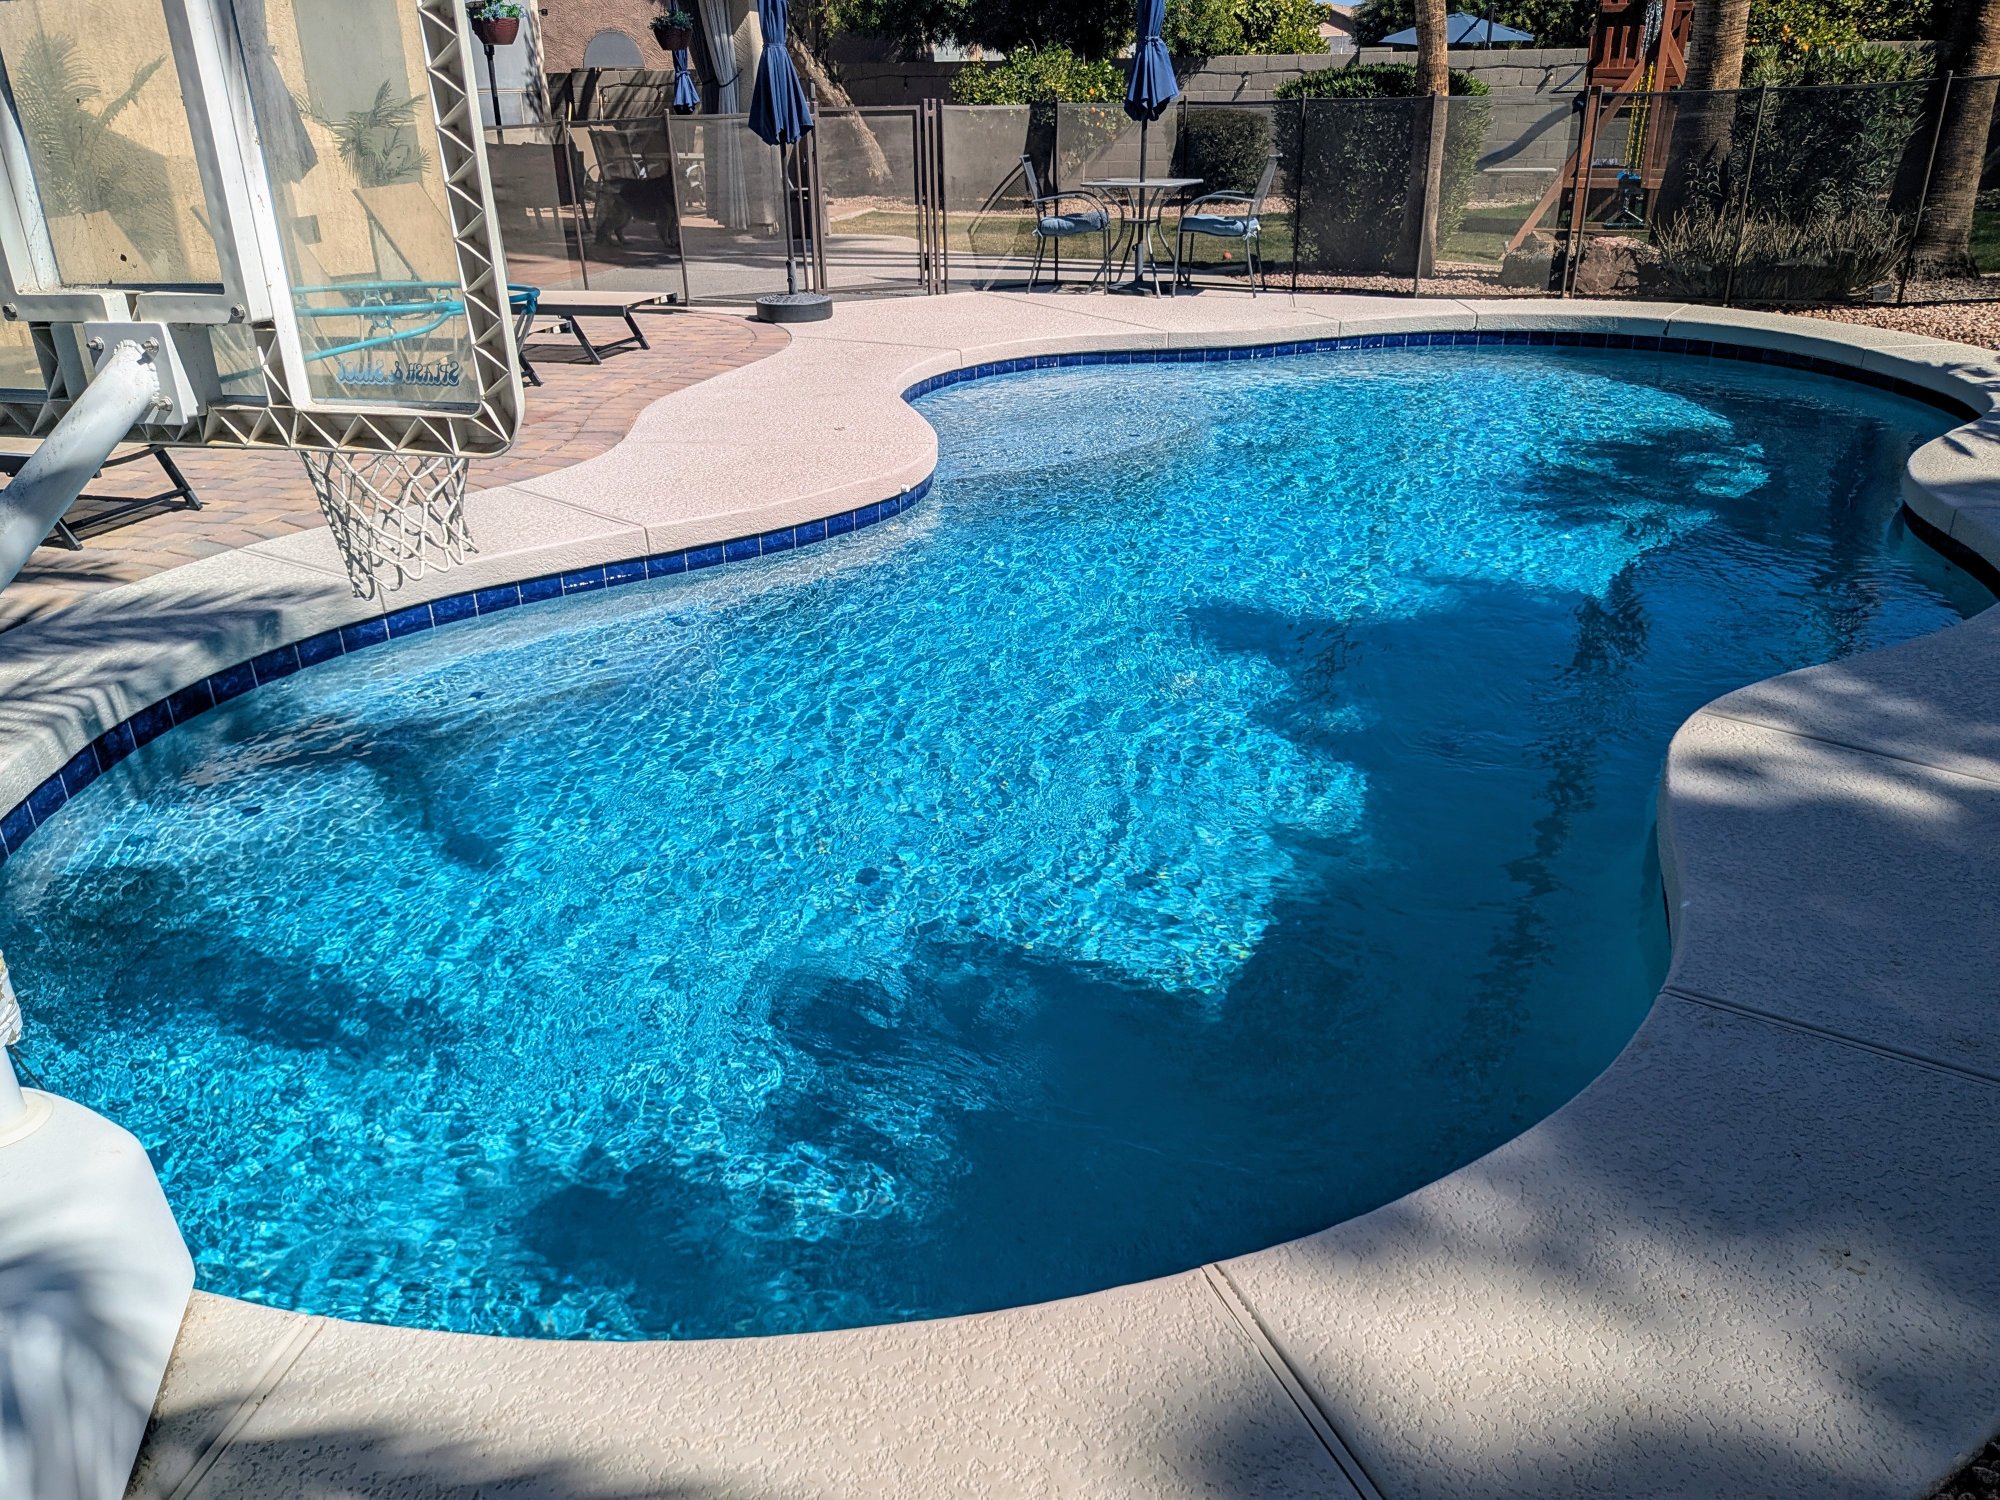
This comment gets it's own response to hammer it home.I added 1 gal of chlorine based on PoolMath calculations and I got FC to 6 ppm, perfectly in the 5-7ppm range recommended for CYA of 40ppm
")
 The 5point whatever Ph only *looked* like 6.8. Each dose got closer to reading on the scale but it took some tries.