Our Gunite Looks Terrible…HELP!

Well … you didn’t get their varsity team doing the shoot, that’s for sure. But otherwise, looks aren’t important for gunite. What’s important is that the rebar and plumbing was properly done and that the cement mix used was correctly spec’d and delivered on time. The plaster crew is going to be the ones that do all the final detail work and the plaster is thick enough to smooth out all that roughness. But, in reality, the rougher surface is actually better for plaster adhesion than a smooth surface. So as long as the plaster crew is competent, your pool should look great when it’s done.
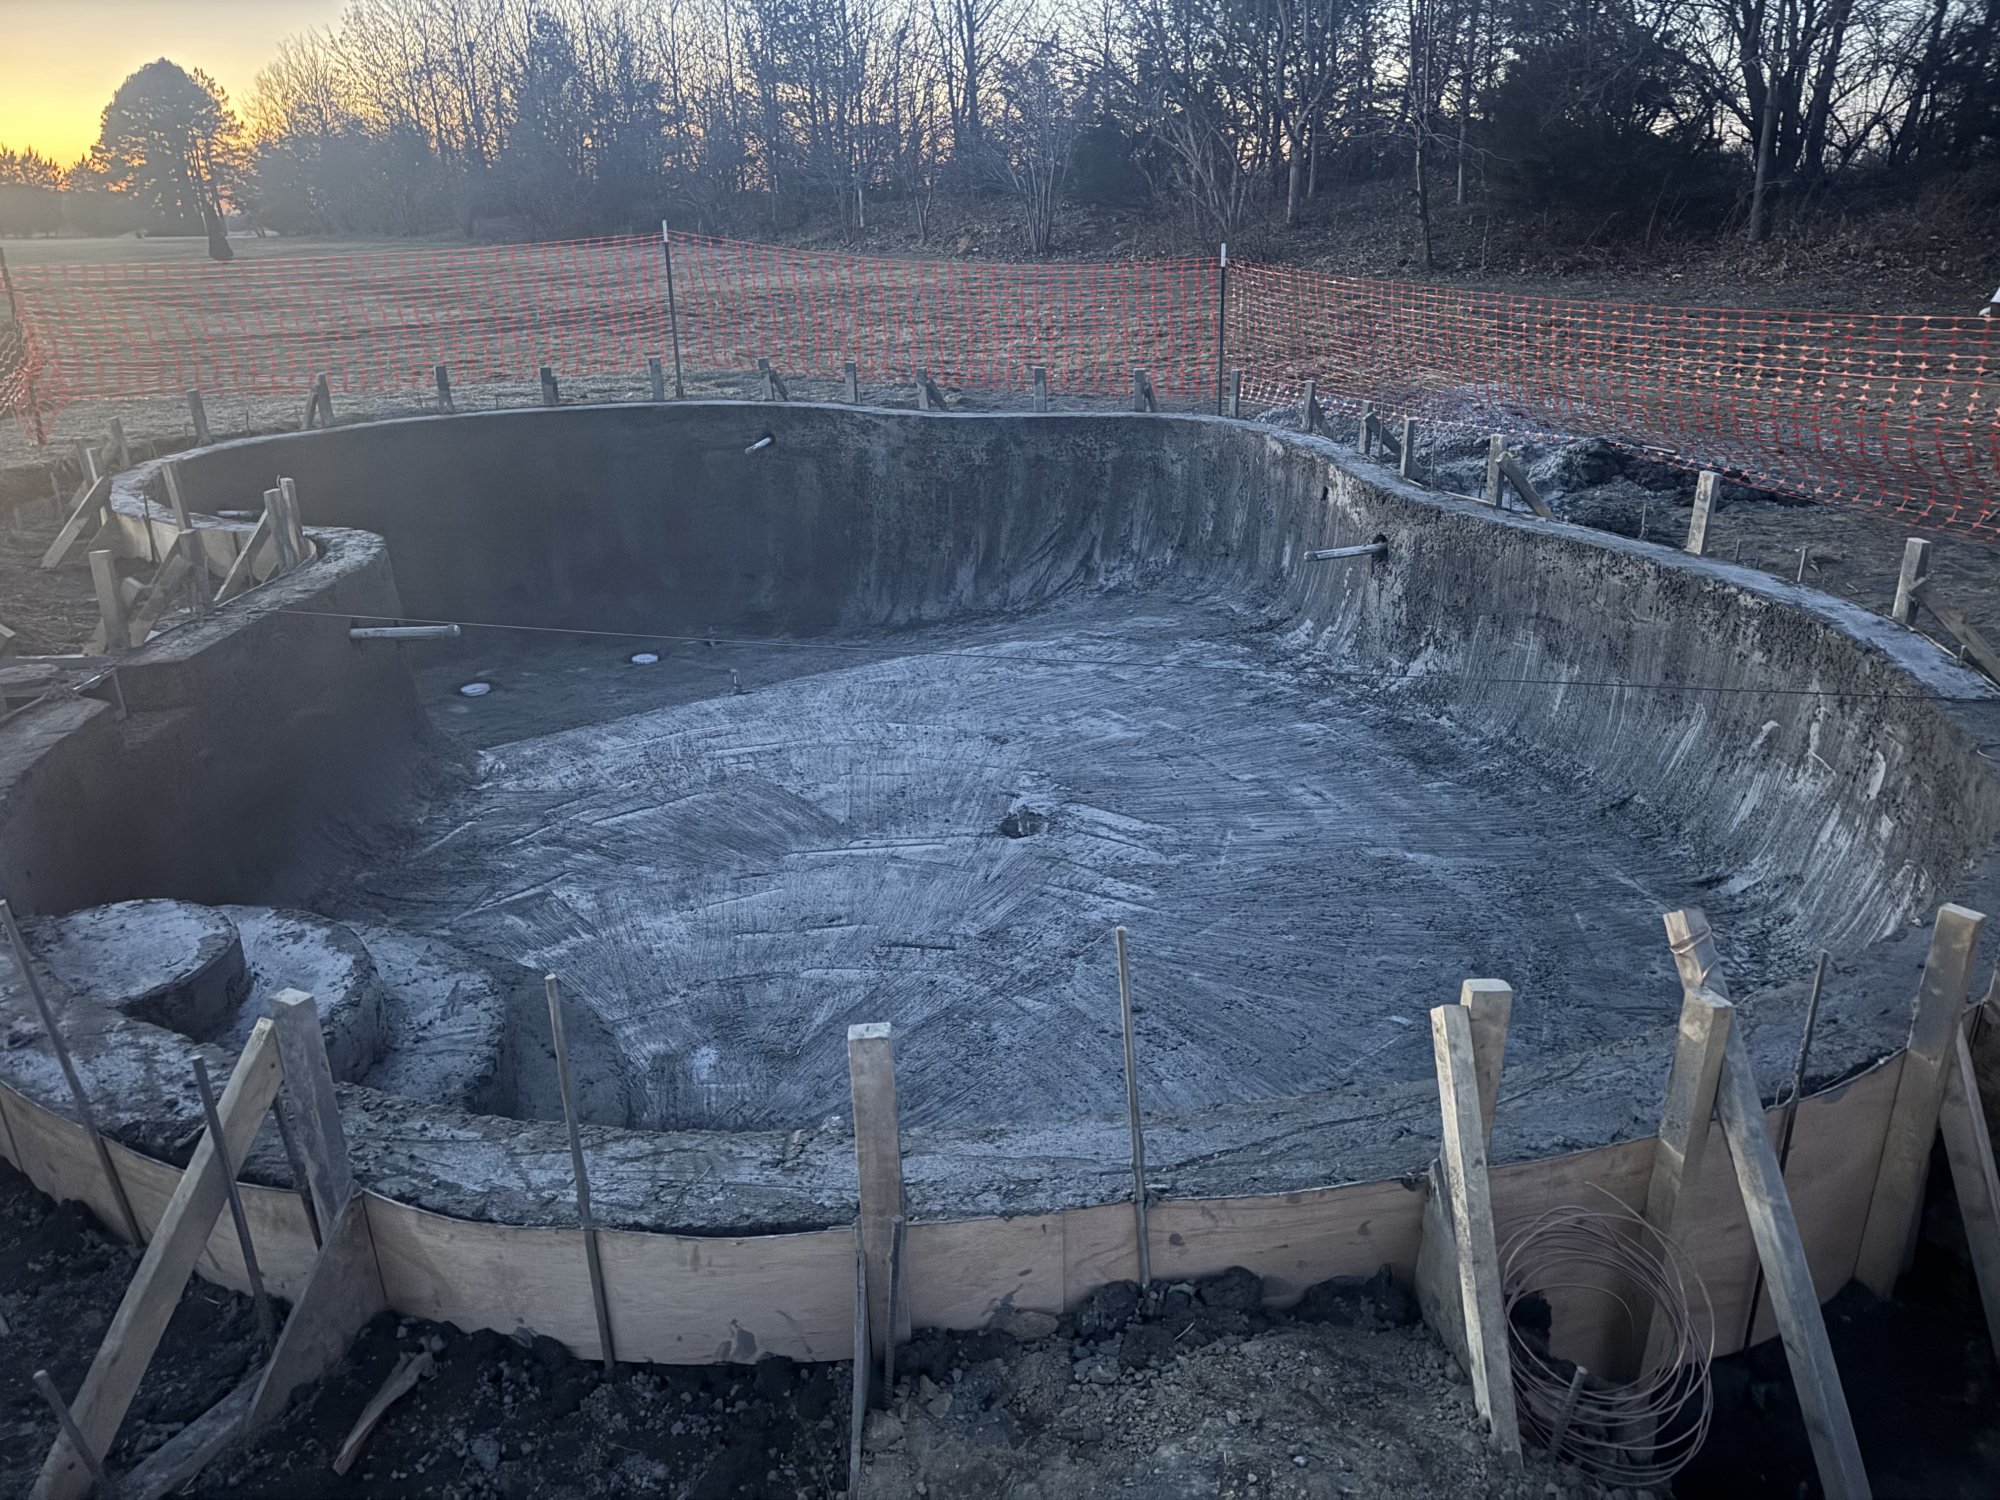
I didn’t know the rougher surface is better for the plaster to adhere, that’s good to know and makes me feel better. Thank you so much for your input, it’s just too easy to freak out during this process.

Our Gunite Looks Terrible…HELP!

Well … you didn’t get their varsity team doing the shoot, that’s for sure. But otherwise, looks aren’t important for gunite. What’s important is that the rebar and plumbing was properly done and that the cement mix used was correctly spec’d and delivered on time. The plaster crew is going to be the ones that do all the final detail work and the plaster is thick enough to smooth out all that roughness. But, in reality, the rougher surface is actually better for plaster adhesion than a smooth surface. So as long as the plaster crew is competent, your pool should look great when it’s done.

1740586498957.png

Light's Chrome Finish Lost

Once the copper has been electroplated onto the stainless steel, it can probably be oxidized by chlorine or oxygen into CuO copper(II) oxide) and Cu2O (copper(I) oxide).

The light is acting like it has either an anode attached or some sort of Impressed Current Cathodic Protection.

This will reduce the oxidation of copper, but it probably won't stop all copper oxidation.

The voltage being impressed onto the light might not be consistent.

The source of voltage might be an anode metal like aluminum, zinc or magnesium or it might be a DC power source.

1740585952465.png

1740586164114.png

Login to view embedded media

1740586164114.png

1740585952465.png

Fiberglass Exposure from a Little Giant APCP-1700 Cover Pump?

Thanks for the info, didn't realize manufacturers published material information! Will have to give them a call to ask when I get the chance.

Here's a video of the fiberglass: Login to view embedded media
It definitely looks embedded in the plastic. It's exposed everywhere the sun has weathered away. Did not find fiberglass anywhere else nearby like the power cord, hose and warning stickers. I'm puzzled.

Our Gunite Looks Terrible…HELP!

Hi all.
We had our Gunite shot yesterday and it looks really rough. I’ve seen other’s pictures at this point of their builds and our pool just looks bad in comparison. My husband spoke to the builder and he agreed it looks rough but that the plaster process should smooth things out. My question is, how worried should I be with it looking like this? Is it as bad as I’m thinking?? Thank you for any advice.

Attachments

  • IMG_7418.jpeg
    IMG_7418.jpeg
    676.1 KB · Views: 156

New equipment plumbing with lots of tight 90 bends?

In my opinion, it is ridiculous that heaters do not come with a real flow switch.


Water testing kit and reagent replacement for the UK market

This is currently your best bet - Amazon.co.uk - it's the "smaller" Taylor kit that's normally recommended around here. You can buy refills for the main tests you'll use up from Amazon.com. It's a slight gamble on what the expiry date is going to be buying these from Amazon but there aren't any other good options.

If you store them in a cool, dark location they can last a couple years. Also depends how long they have been sitting in the Amazon Warehouse.

Here is a summary from a few years ago...


@SteveSwims and @jakeblat are in the UK and may be able to help...

IMG_7418.jpeg

Plan to fix PVC threaded joint leak

  • Use the right tool. A belt wrench is perfect. Use one like this that has gripping tread on the inside of the belt:
A properly fitted union, with a proper, in good condition o-ring should be hand tightened.

If you do use this tool only use the strap wrench for an additional 1/16-turn of the nut.

  • Like
Reactions: setsailsoon

1740580738118.png

Need help on how to use my new spa

Jerry,

Thanks for the pics... Things that I see..

Your 2nd pump is for the spa jets.. It is set up to run on a Feature Circuit called "Jets".. But... there is no corresponding Jets speed assigned to Pump #2.. On pump #2's speed set up page, you need to delete "High Speed" and replace it with the "jets" circuit. Also remove "Jets" from pump #1..

I never recommend running a combination of GPM and RPM.. I like all RPM, but never a mix... On pump #1 change Spa to 3400 or 3450 rpm.

You have a circuit called "Spillway" but it is not set up as the "Spillway mode".. The Spillway mode sets the Intake valve to suck water from the pool and sets the Return valve to send all the water to the spa.. This will cause the spa to spillover into the pool.. You control the amount of water flow by setting the pump speed..

You need to change the Spillway Circuit's "Function" to Spillway.. to set up the Spillway mode.

Then you would schedule the Spillway circuit to turn on for half an hour twice a day. This will keep the water in the spa fresh and chlorinated.

I suspect that 3000 rpm for the spillway mode will be way too fast.. Try it and see.

Fix those things and then we can go from there..

Thanks,

Jim R.

Filter