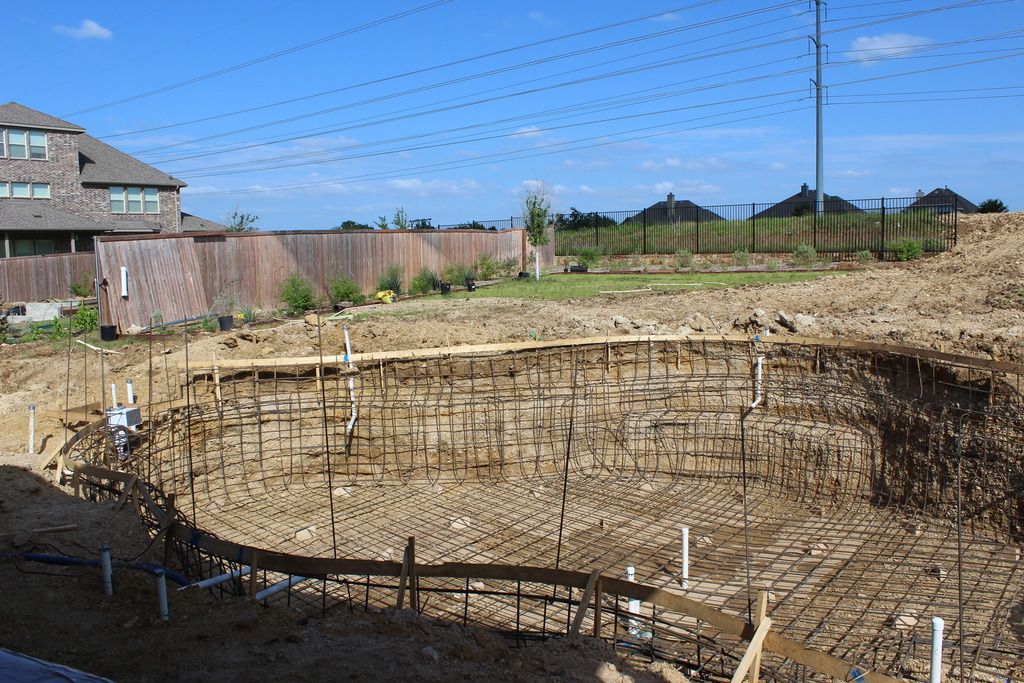
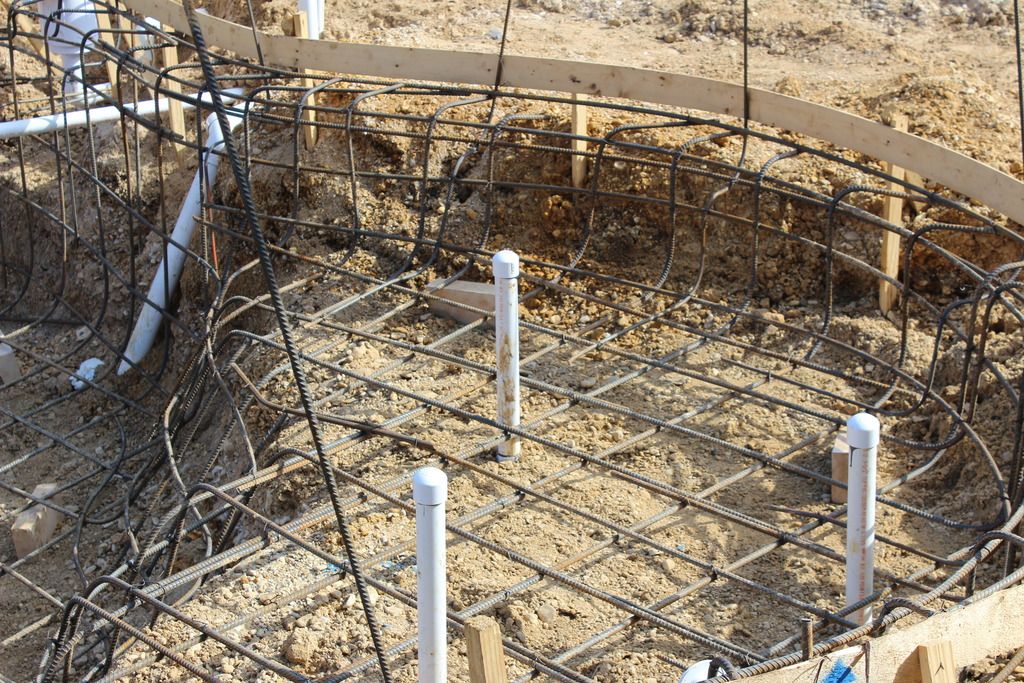
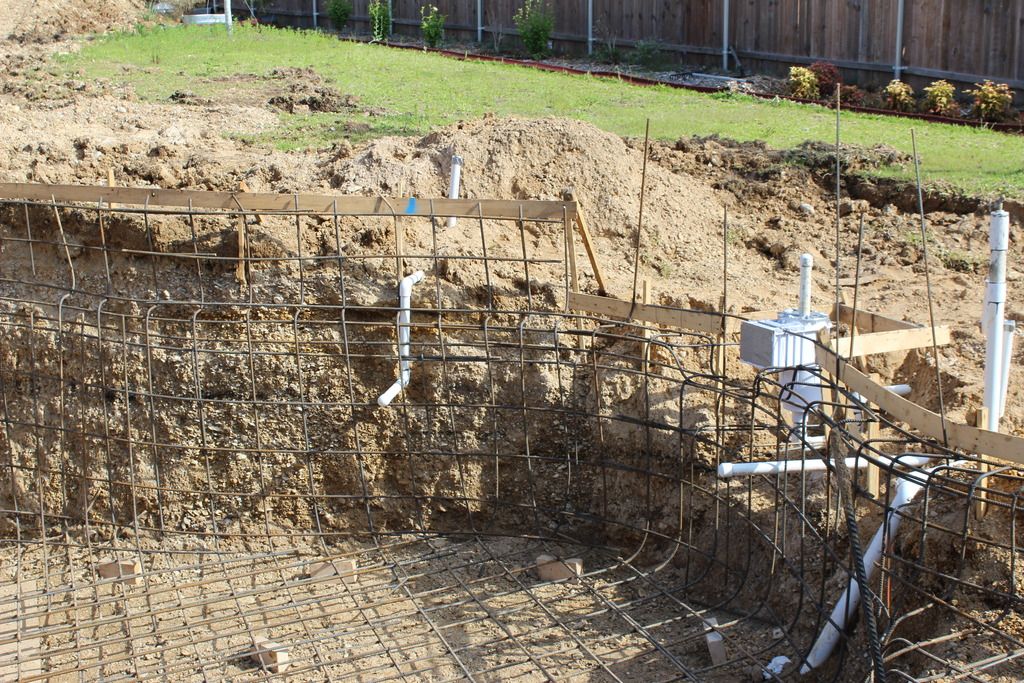
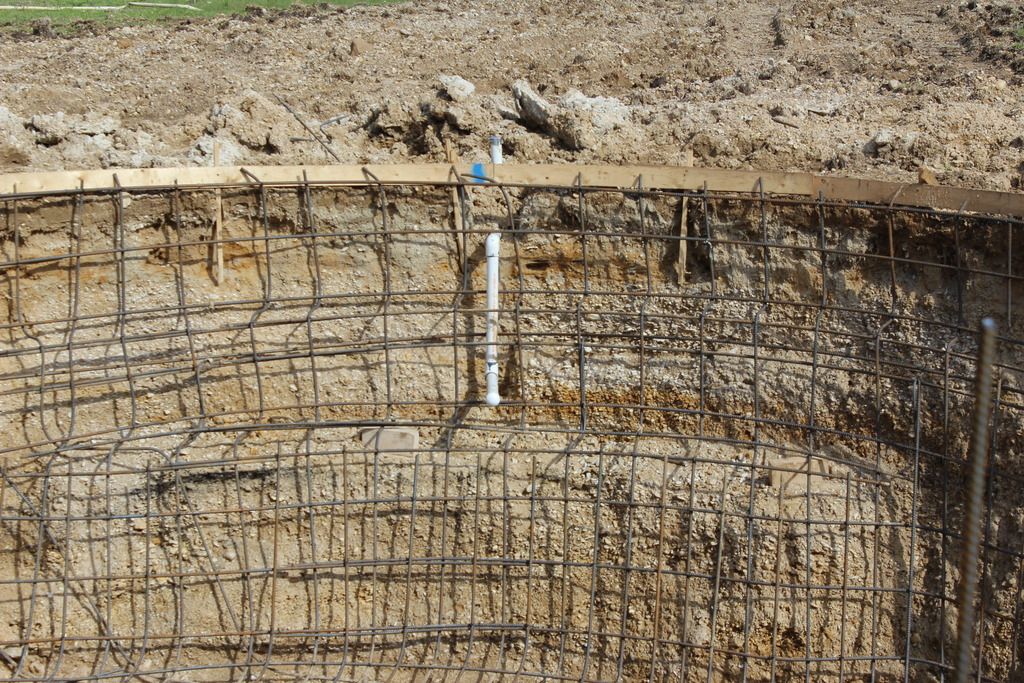
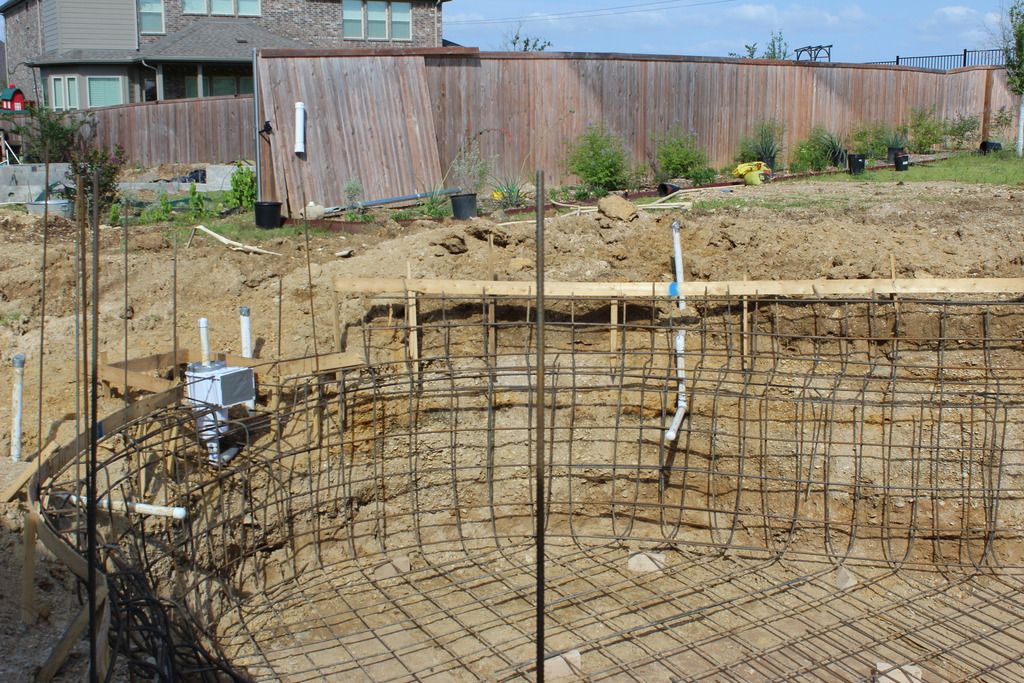
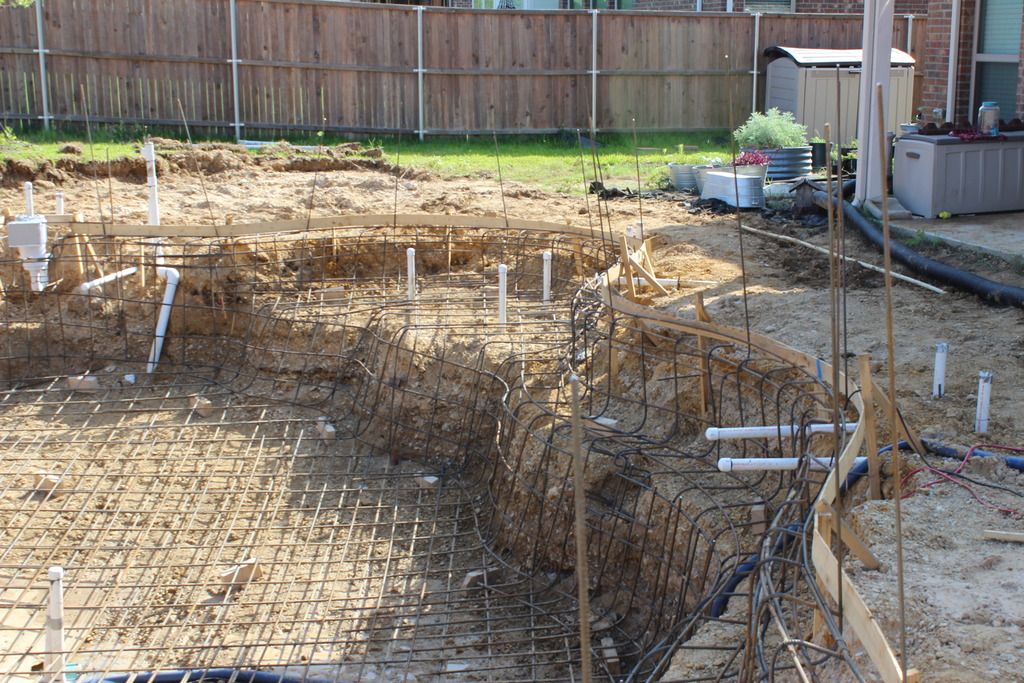
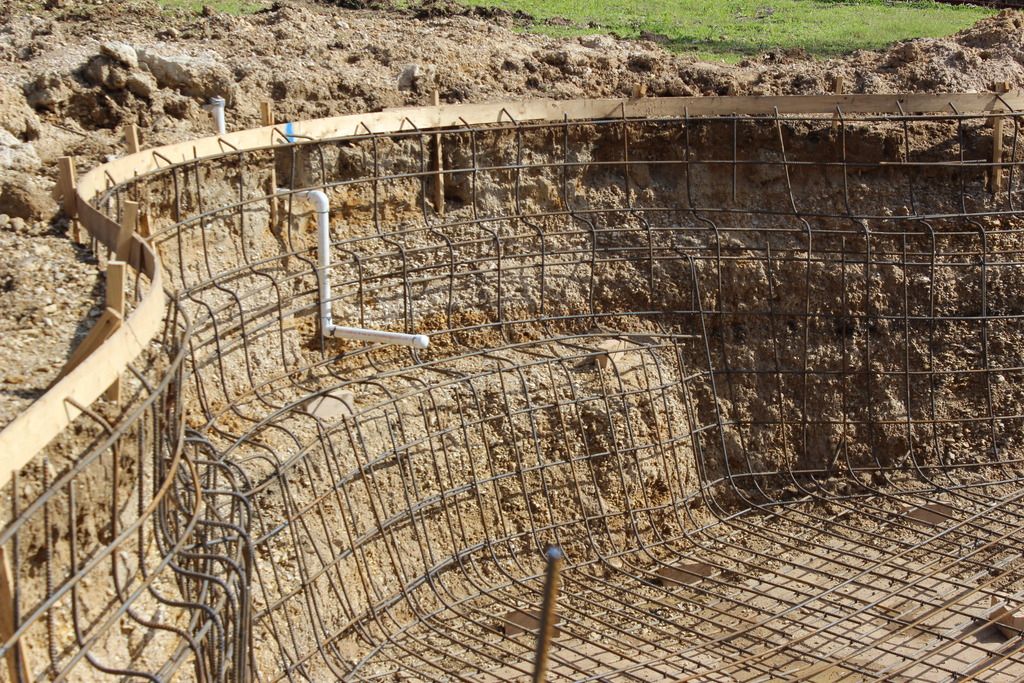
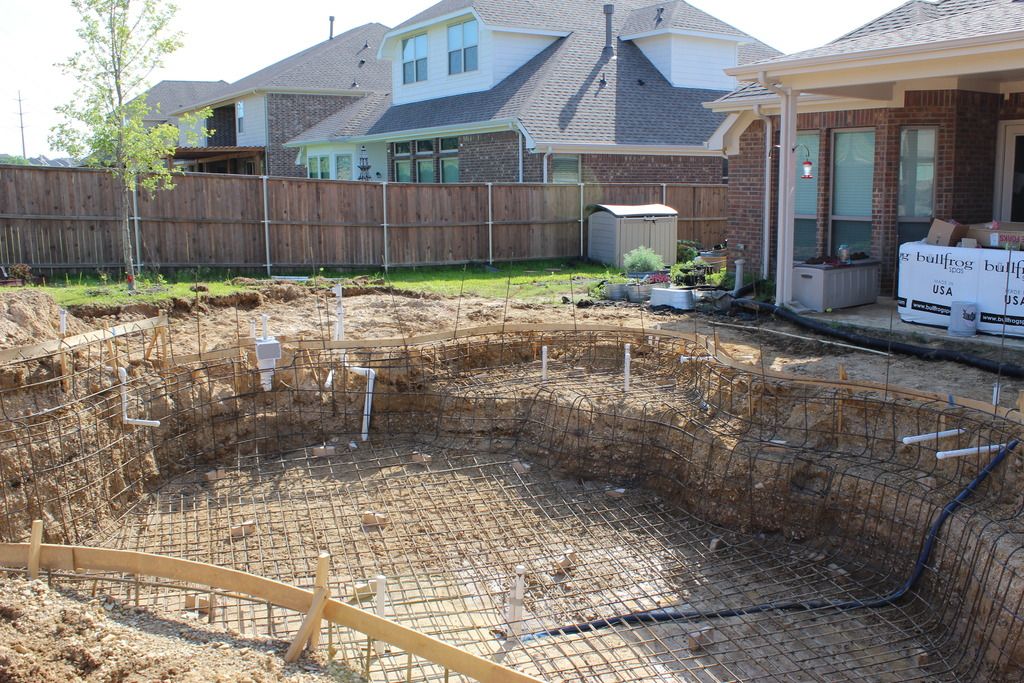
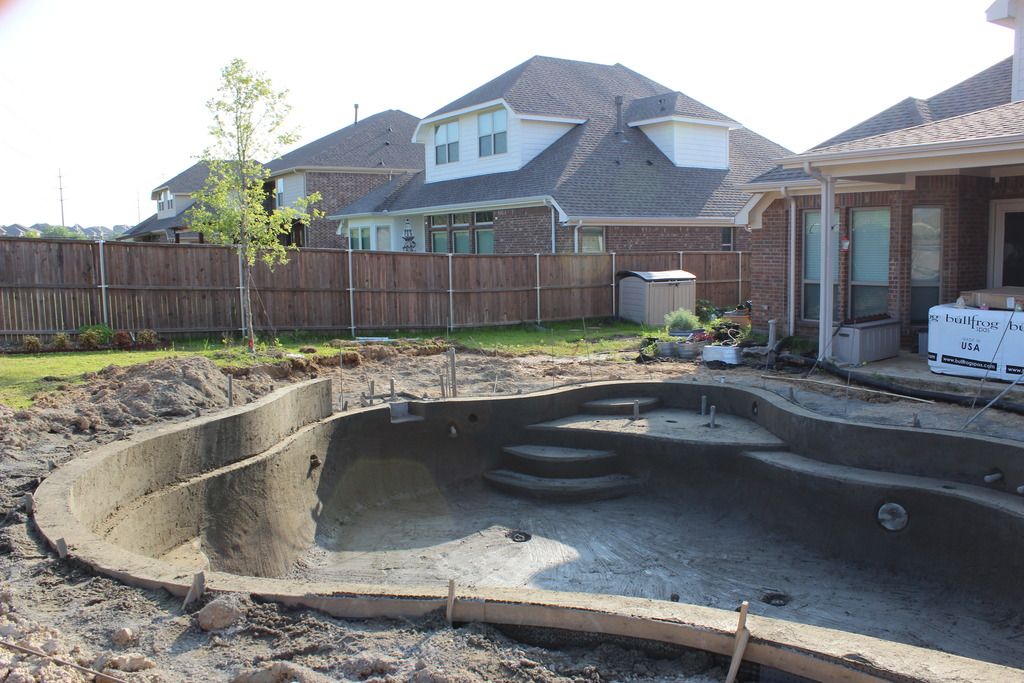
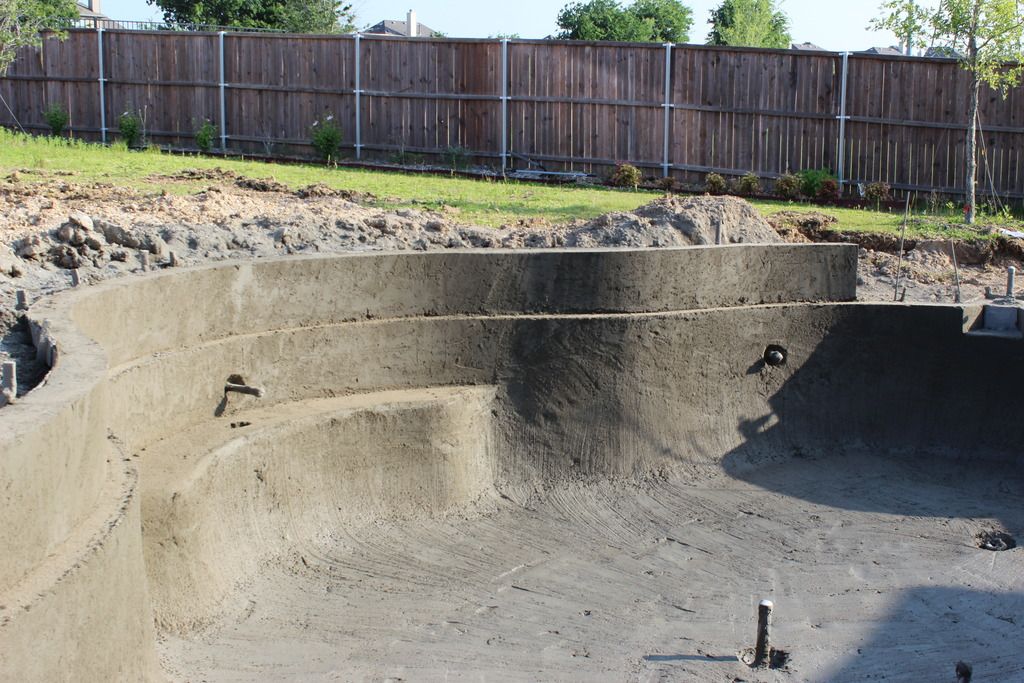
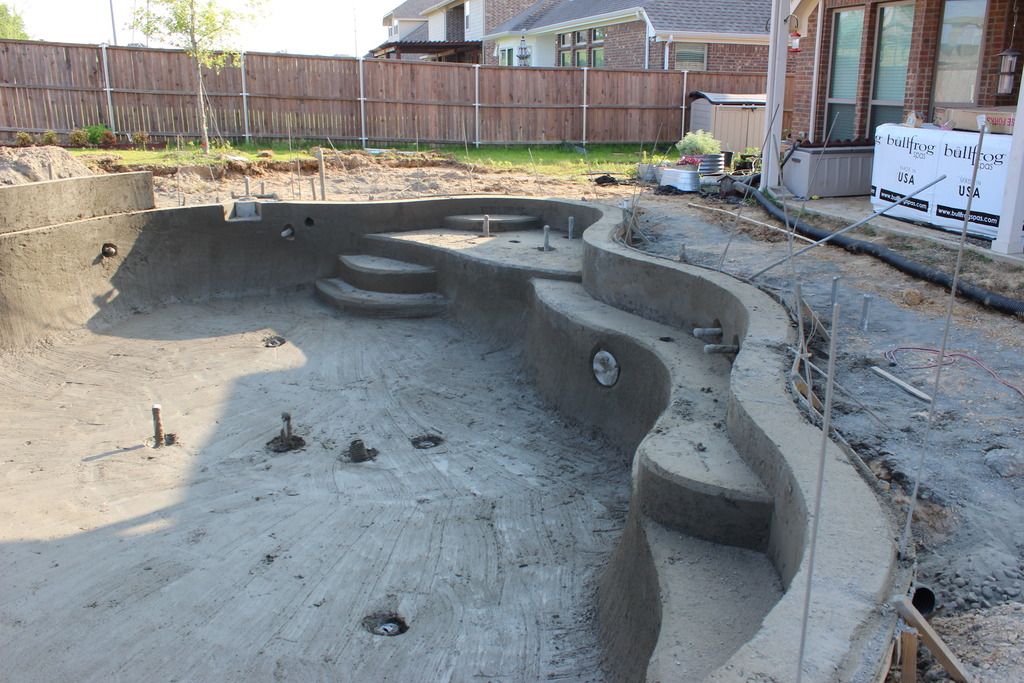
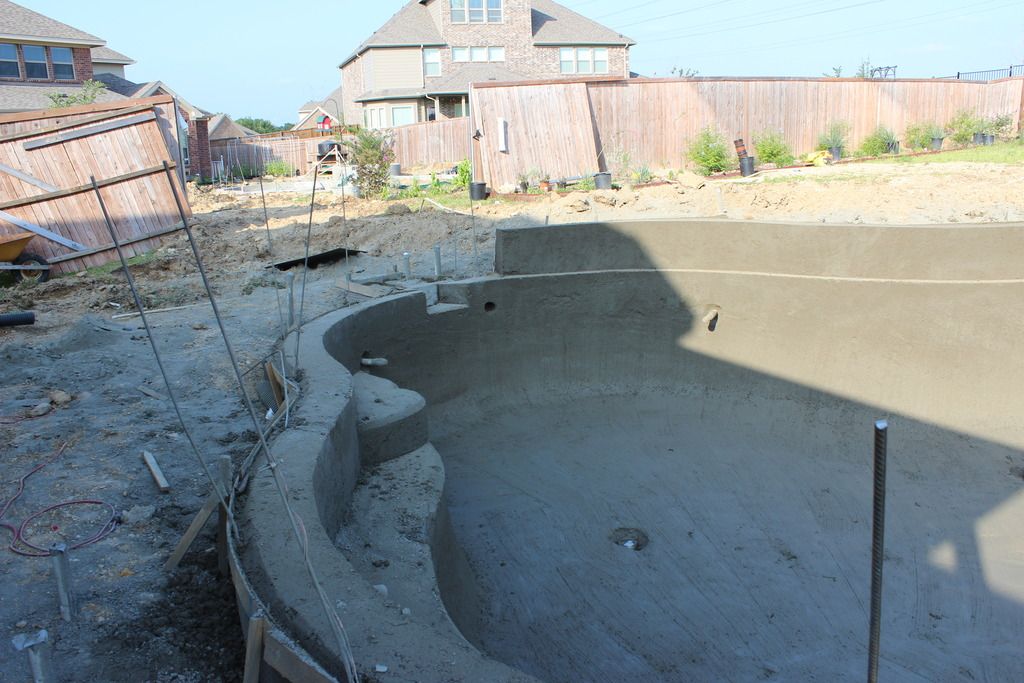
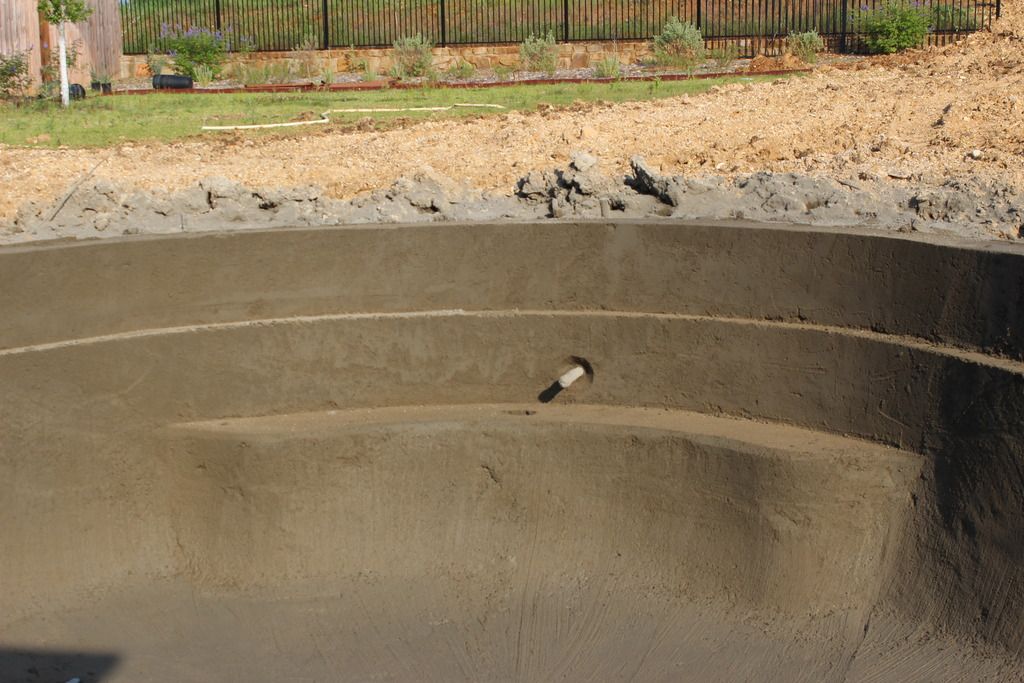
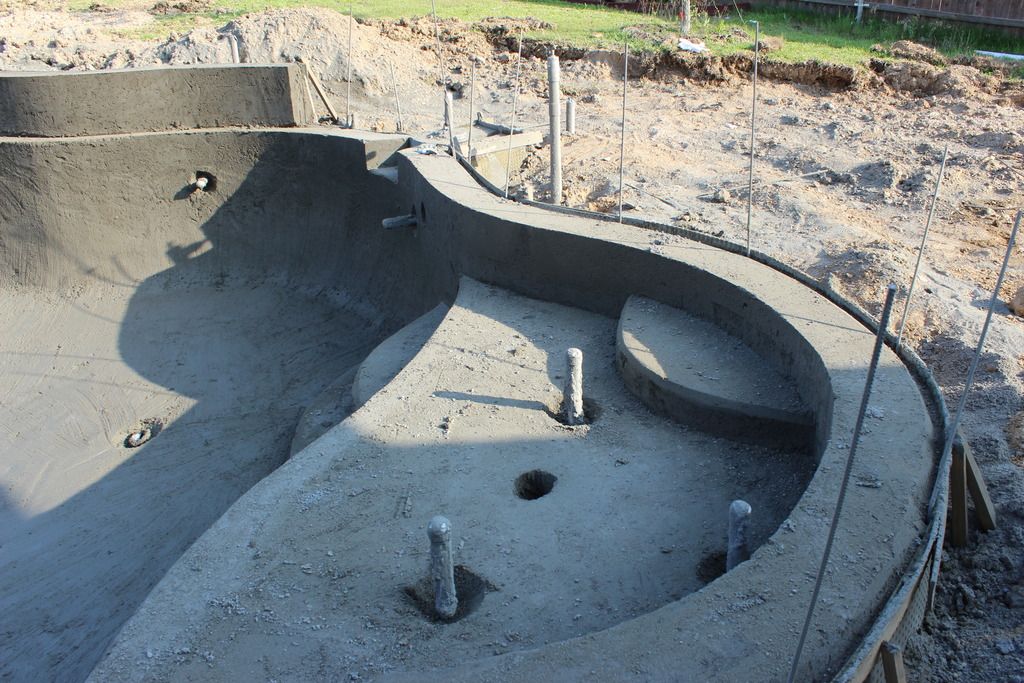
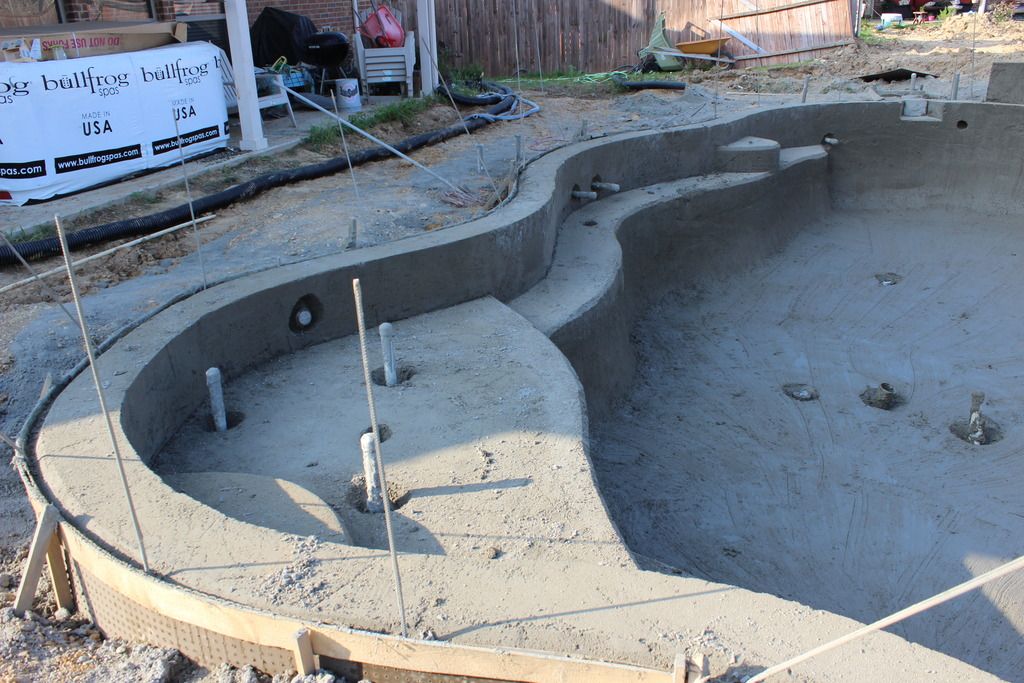
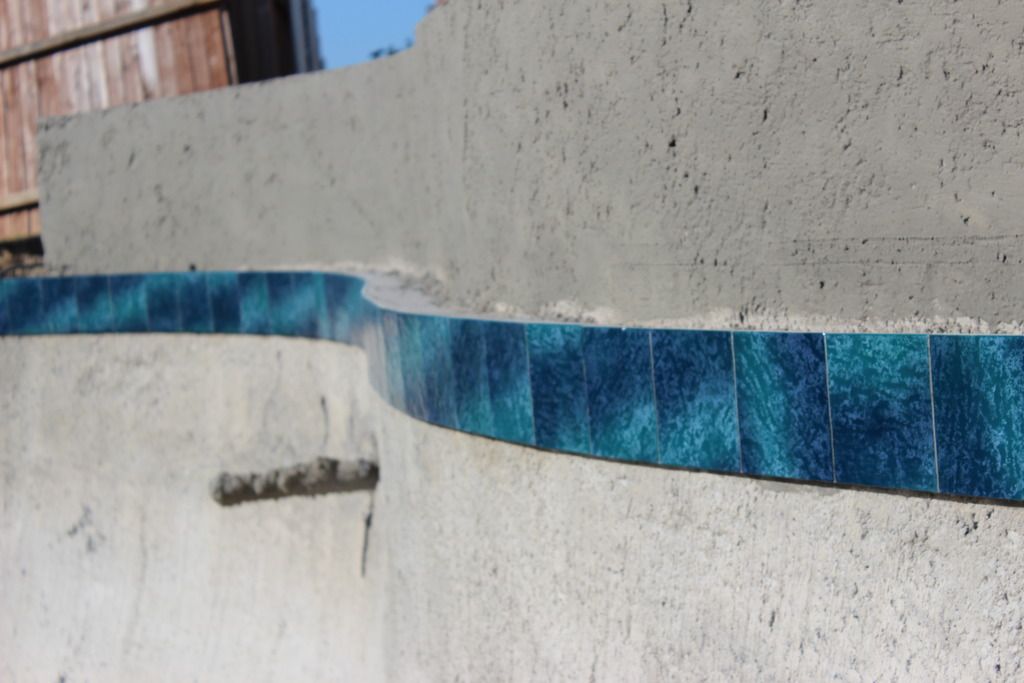
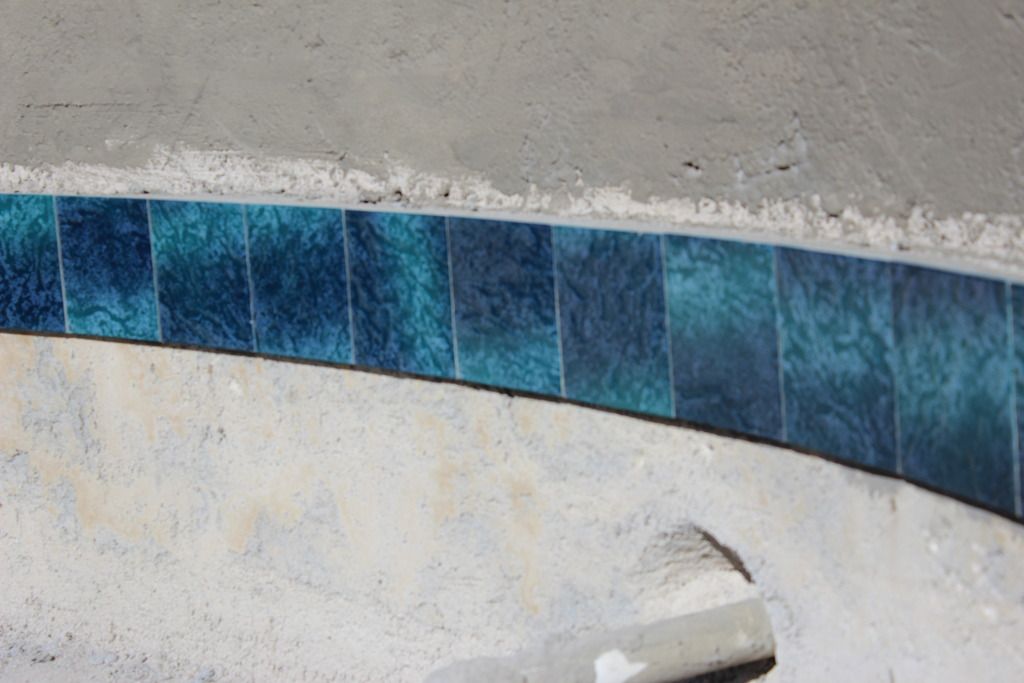
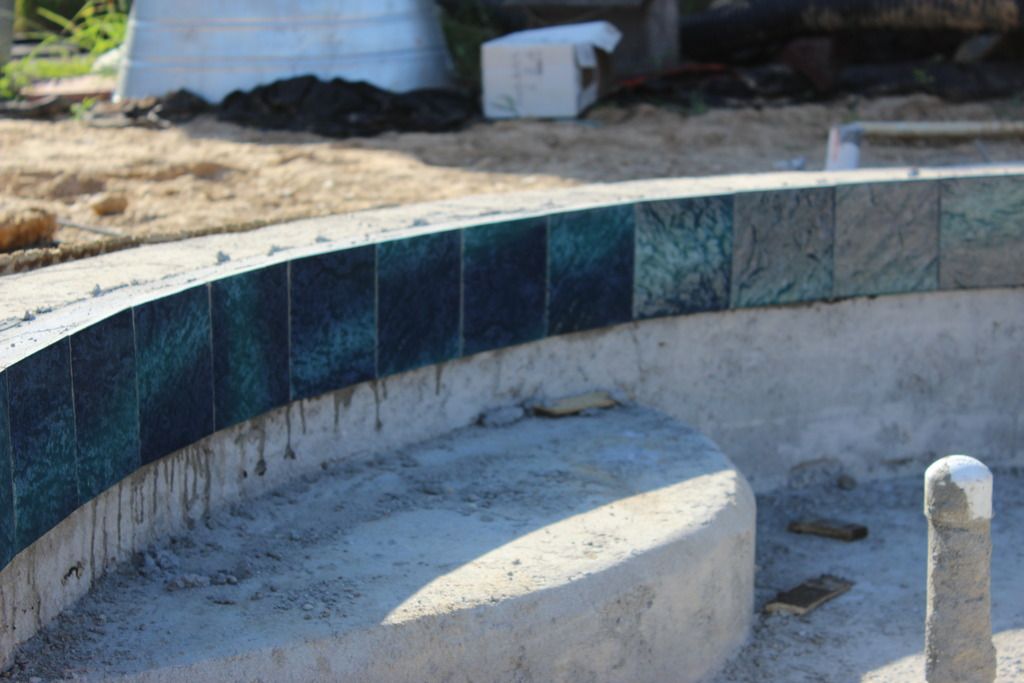
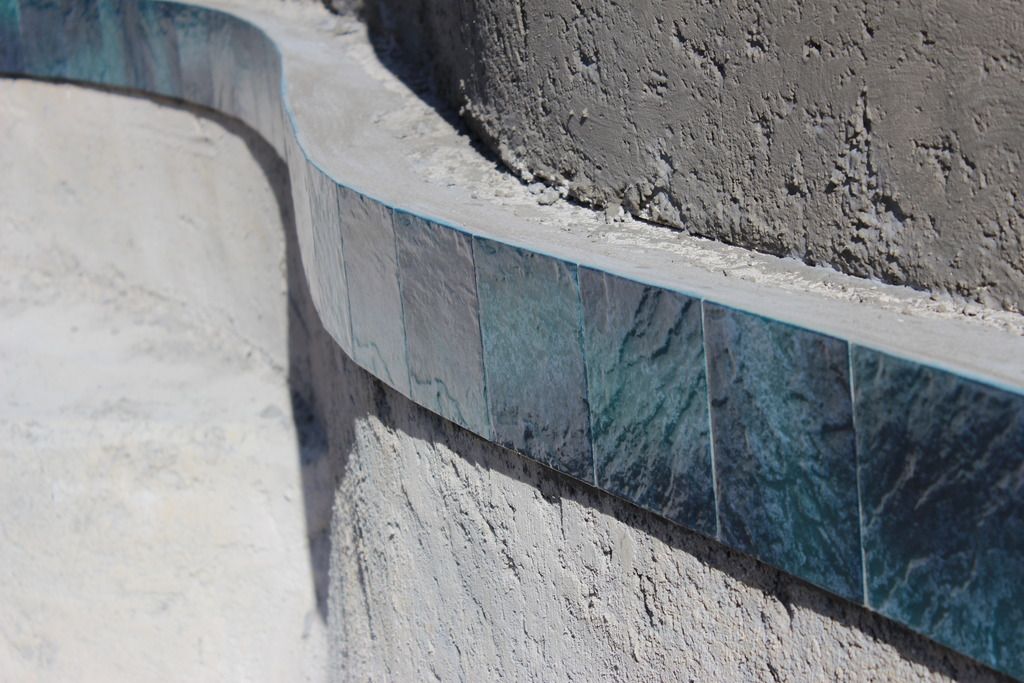
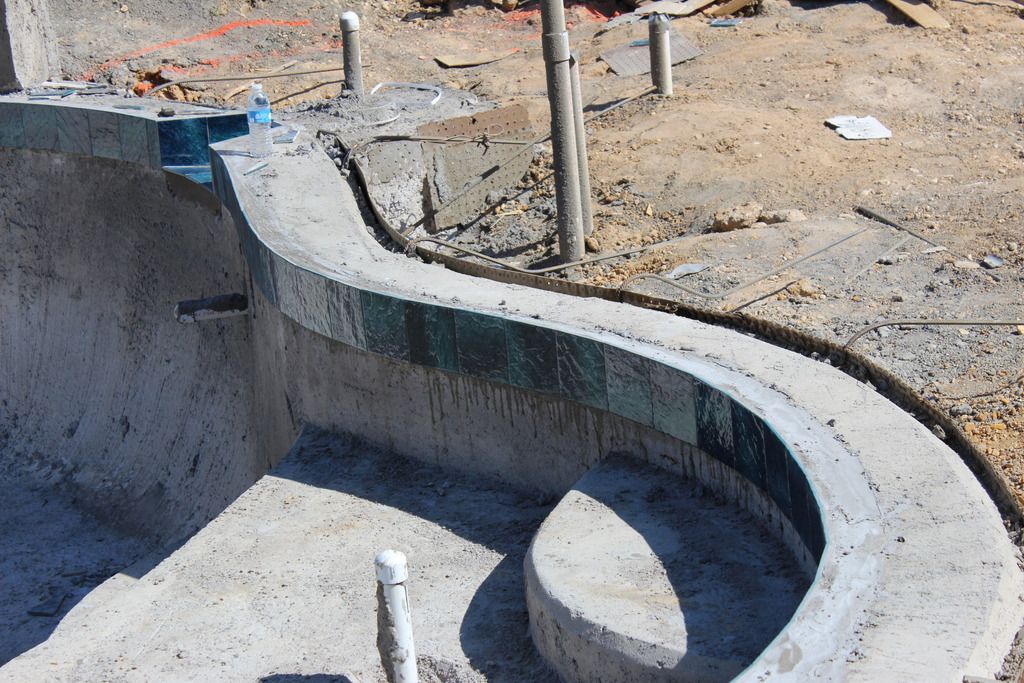
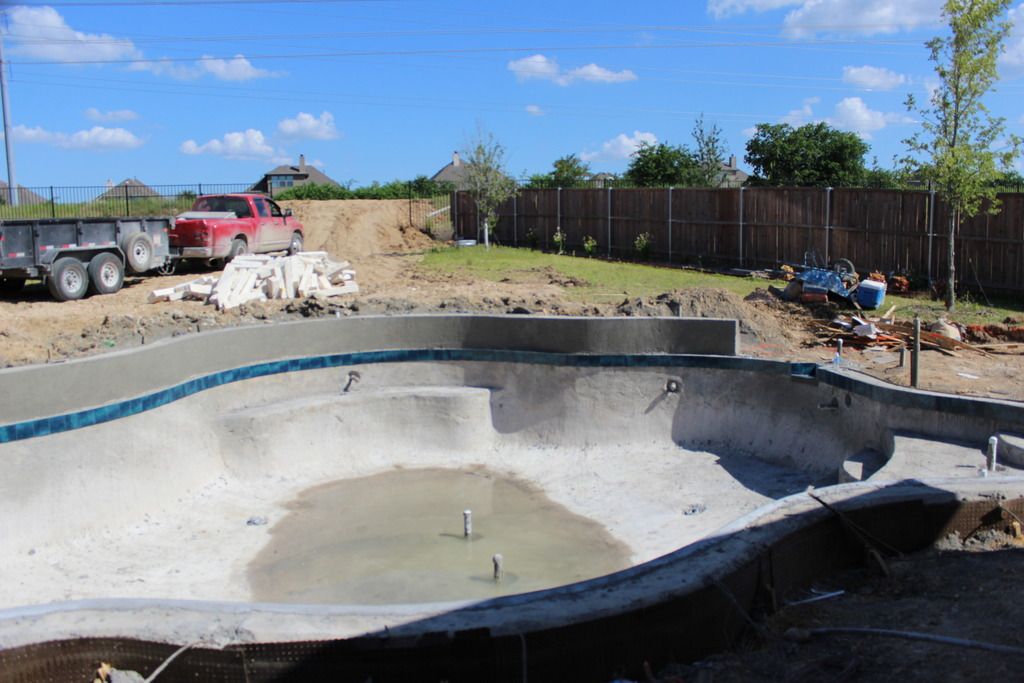
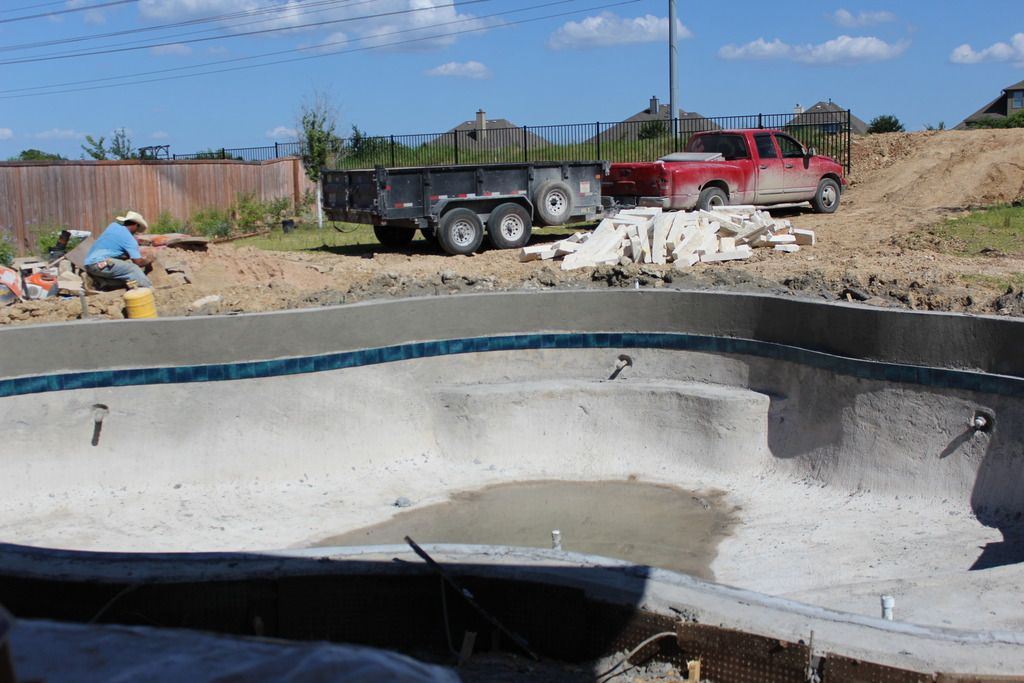
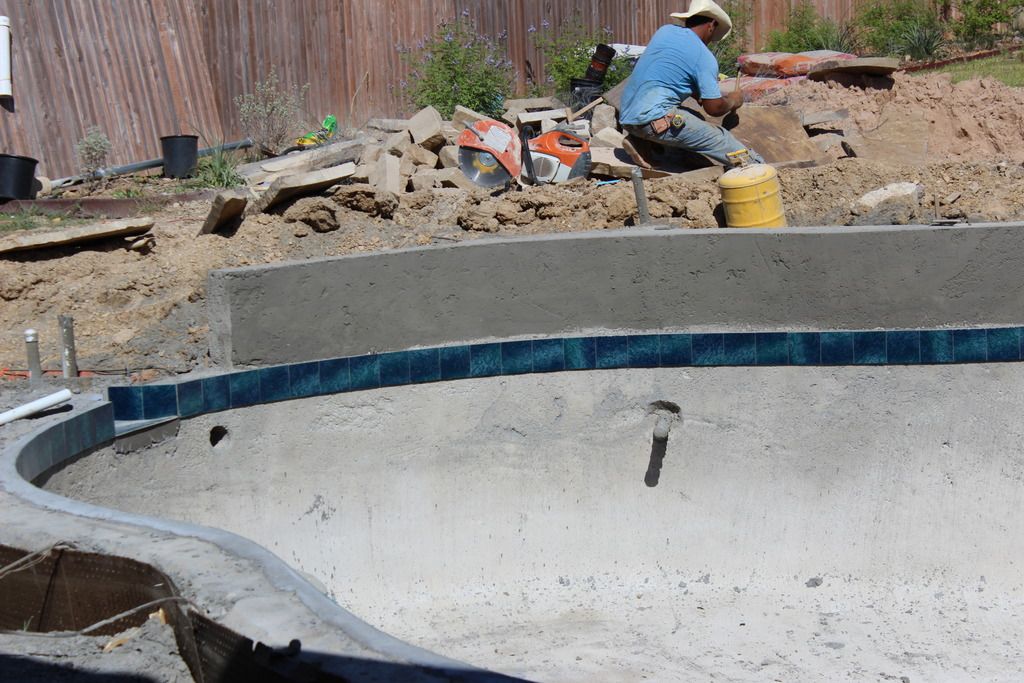
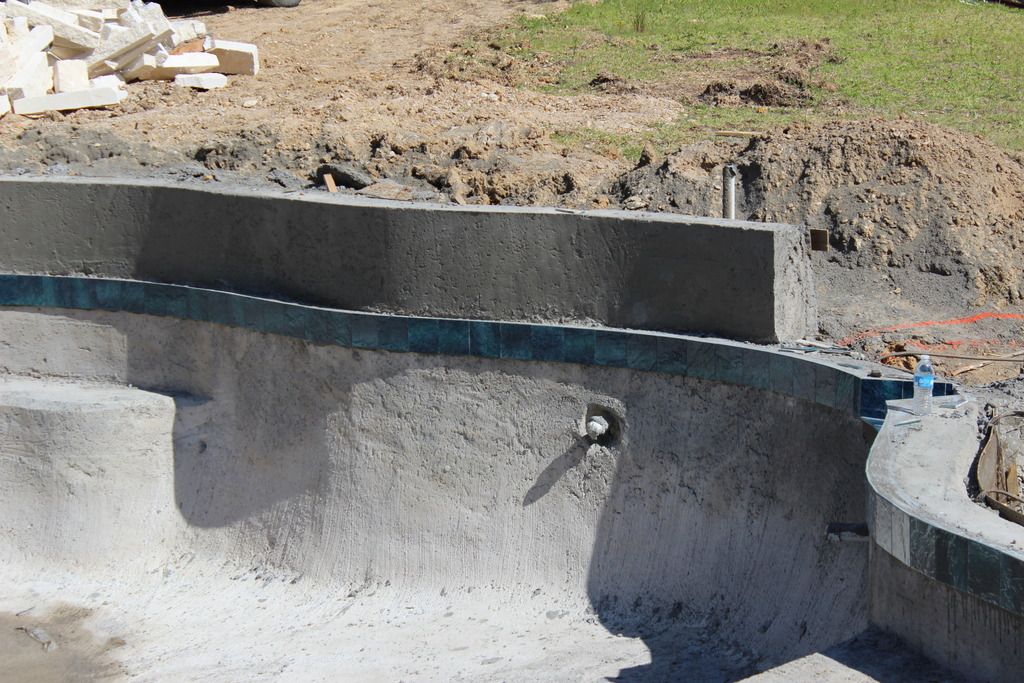
yet another DFW pool build thread

I agree with Kim here.

We have independent valves on the skimmer, the main drains, and two for the three returns. It gives you a lot of play room to increase/decrease suction or flow return to exactly how you want it or need it.

We didn't specify it to our pool builder (we didn't know anything at the time) but time and again when I see or read others set up woes, I am so very thankful that our builder went the extra mile and used unions and individual valves, and made the pipes very neatly spaced and organized.
 
we're getting steel and plumbing done today. hope to have pics later tonight.

Skippy- the desire to have the returns valved separately was due in large part to your DIY fountain/aeration as I wanted to turn 1-2 of the returns into aeration and direct more flow to them if necessary. we'll see what the PB says, though the neighbor pool next door by same PB just had the lines run to near the pad and all connected/pressurized and they'll do the valves, etc.. at a later date apparently.
 
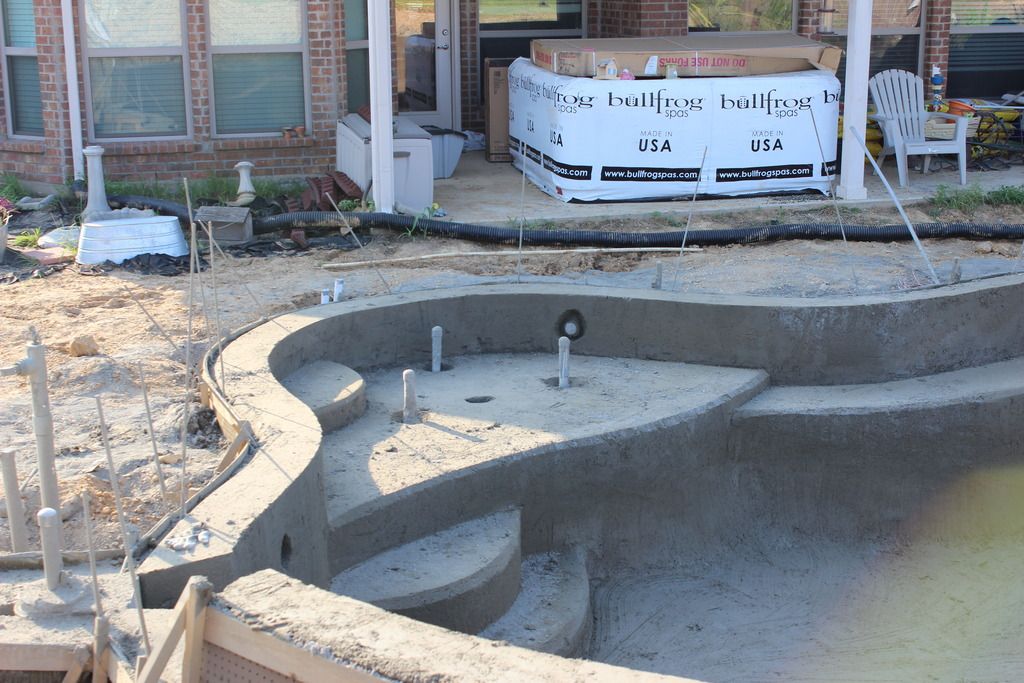
well, the step on the tanning ledge was supposed to be 24" wide and it's every bit of 48".. cuts into the usable space on the ledge more than we would have liked and it was supposed to be closer to the steps down into the pool as well. got home as gunite guys were wrapping up and called the PB but was told it was already too dry to fix it at that point. owner gonna call me in the morning. seems like something that could be chipped out and re-formed since there's no steel under those steps but we'll see it. they've added a lot of small things (will have their rock guys install our hardscape lights at no charge, etc..) so we're ahead in the game in that regard but sad that this got messed up. though I think we got an extra foot or so on the ledge when they poured it initially and we're still able to get an Adirondack chair between the step and the lip of the ledge so we're okay in that regard too.


Nice! Yeah that steps does need to be smaller and moved over some. Push for what you want. Yes it will be a pain but it CAN be done if they want to. Expect them to offer some resistance and maybe some $ to get you to back off.

Kim:cat:
 
I think the step looks good that size. Smaller and it would look out of proportion to the other steps and the size of things in general. Good that you got the extra ledge size to offset. Always good to sleep in things and see how it feels in a day or two.
 

Enjoying this content?

Support TFP with a donation.

Give Support
haven't heard back from the PB this morning re: ledge step mistake but we did play around with various chair configurations last night and it's still very workable if it remains as-is. if we were to push it over, we'd still need about 18" between it and the lip of the edge so you could step on the ledge to get down onto the other steps so we'd be sliding it over about a foot I think.
 
well, the PB will chip out the step and re-form it if needed. doesn't sound like it'll be redone with gunite but said they could block it out and we'd never know the difference once plaster was applied. there's no steel under it now as they just free formed with gunite. was thinking more of a rounded rectangle about 24" from the corner edge of the shelf, about 12-16" tread depth (existing step is 16") and 18-24" long. I wonder if a 12" tread depth might be too narrow for getting in and out of the pool so 16" may be as low as we want to go. moving it closer to the lip would negate us being able to place an adirondack chair between the existing step and lip but I'm not sure how often we'd place one there to begin with since it would essentially block the steps down from the ledge into the pool from being utilized. would appreciate any additional thoughts.
 
I would keep it rounded for sure to match the current steps and ledge. I really do not see you wanting to put a chair in the way of the steps like you said so that should not be a worry.

Play around with the size with wood or books or stepping stool. See which size works best for you.

Kim:cat:
 
sounds like we'll have the same view (i.e. no progress) until early next week. they have to measure (for the curves, etc..) and order for our precast coping but not sure why they aren't doing that now.. the shape ain't gonna change (or better not :)) and then they hope to finish the plumbing by end of next week since we got short-stubbed when they moved up the gunite.. a frustrating wait but it is what it is I suppose..
 
The Noble Siren tile is probably my all-time favorite, it's got color, texture and the allure of a great mythological story. Just don't get lured to your death by their beauty! #shouldhavegonewithsiren
 
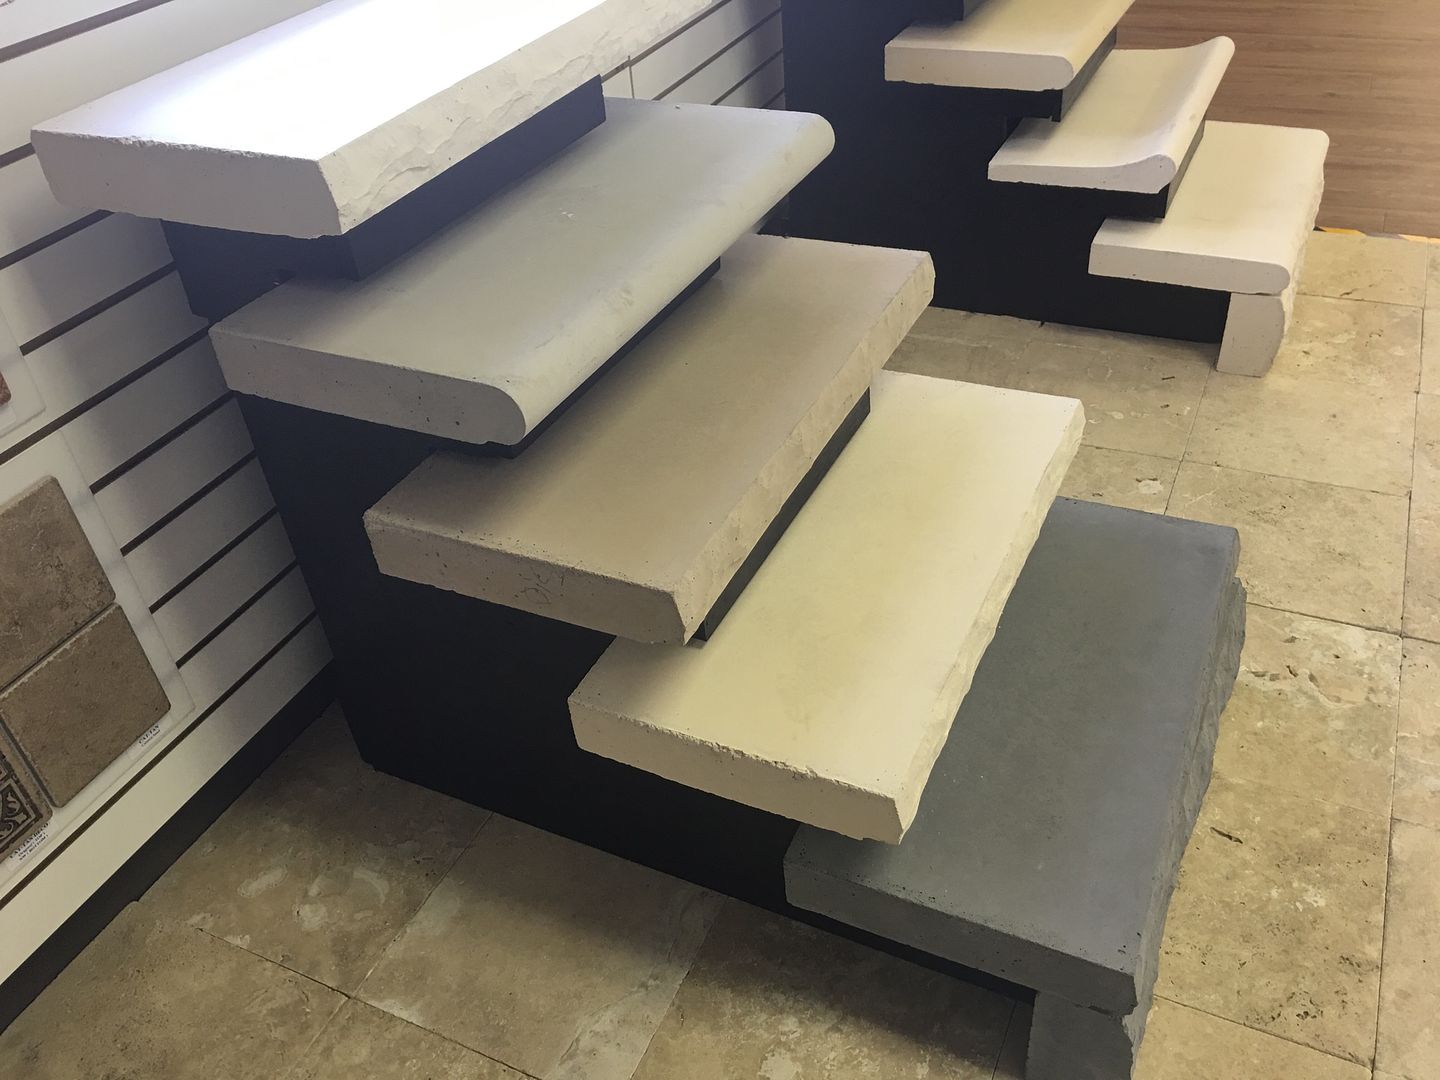
so we were finally able to get some non-catalog pics of our coping choices. top to bottom is what they call white, tan, latte, almond and gray. we're leaning towards the grey coping and a very light tan or off-white as our decking color. Our raised beam, retaining walls and fire pit will be Austin Stone white that you see piled up behind the pool in some of the pics above. The beam, walls and firepit will all be capped with the coping choice. I think it's between #2 (light gray) or #5 (the dark gray) with our primary concern being how hot that dark gray may get here in TX. thoughts?

 
Are those pieces movable? If so take it outside and let it sit in the sun for a little while and then put your bare feet on it BUT it would be better to find someone who has it already installed as it could be quite different feeling when it is a whole area due to radiant heat.

I LOVE the contrast between the light and dark............I KNOW! Bring in a piece of your stone and take pics with it with them! Says the person that does not have to drive there to do it LOL

Kim:cat:
 

Enjoying this content?

Support TFP with a donation.

Give Support
Thread Status
Hello , This thread has been inactive for over 60 days. New postings here are unlikely to be seen or responded to by other members. For better visibility, consider Starting A New Thread.