Spa Repair Thread - Pump bearing, leak, and new cover. With pics!

Put a small space heater or shop light with an old school incandescent bulb in the equipment bay and put the side back on.
I don't have any small space heaters handy, they are in our RV, and I don't have an incandescent work light. But I did manage to find a small desk light and a 60 watt incandescent bulb downstairs and wedged it into the equipment bay.

Water is still warm. Forecasted low is down to 25 now. Pump should arrive Wed, got a shipping notice late this afternoon.
 
Good deal. It's probably slightly more efficient or just from a different manufacturer. That will be fine. With the whole hp/bhp bs it can be confusing, and the wrong choice can cause issues. But amps don't lie, and are a clear indication of the motors true power.
Yeah, any incandescent bulb will do. But a fluorescent or led will not create the heat to keep it from freezing.
 
Yeah that makes total sense. I know a lot of manufacture's lie about HP. Clearly they already did, the pump is a "6 HP" but 13.5 amps at 240 volts is 3240 watts, and at 746 watts per HP a 100% efficient motor could only be 4.3 HP steady state. Motor ratings, at least outside of perhaps big industrial motors, have a lot of shenanigans.
 
Dang it, this is like working on a car. "Oh, it'll be easy" then 1-3 other things come to light while fixing the easy thing...

I figured I'd get the old pump out. No worries, there's gate valves. Shut the valves, remove the pump. Tomorrow it's all ready to go for installing the new pump!

One valve shut easily. The other, the one on the top of the pump, refused to shut fully. So now I need to drain the water to change the pump. I was thinking I may change the water anyway, but I was hoping to get the new pump installed first.
full
 
Motor ratings, at least outside of perhaps big industrial motors, have a lot of shenanigans.
Well, it's a brake hp rating, which is measured under different parameters than a "true" hp. It's a real rating, but it is misleading. When they first started rating them that way I recieved an envelope of 3.5hp stickers with instructions to place them over the 2.0hp stickers on the pumps and motors in stock at the place I worked. Just like that! 2 becomes 3.5. That was over 20 years ago.

now I need to drain the water to change the pump.
And the valve. Might as well get it over with. If you forced it very hard trying to close it you will break the steel shaft off of the gate and end up with a T handle in your hand and a fountain out of your valve.
 
And the valve. Might as well get it over with. If you forced it very hard trying to close it you will break the steel shaft off of the gate and end up with a T handle in your hand and a fountain out of your valve.
Yeah I just didn't order a valve and I'm assuming I can't just replace this with a ball valve from the Home Depot can I? I figure they use a gate valve so the flow isn't restricted, right?

Also the other reason I didn't want to drain was that leak. If I drain before finding it then I'll need to drain again to fix it. Guess I better get to finding it!

On a related note I should mention I did locate another leak in the equipment bay. It's at the T used to join the drain hoses from the both pumps to the main drain. It's at the joint where I replaced one hose section when putting on that new motor drain hose barb earlier this year. Guess I should just replace the entire T and the other hoses too.
 
I would.
And the slice (gate) valve is preferred because the flex hose does not provide enough rigid support to easily use a ball valve without stressing the fittings. You can use a ball valve if you like, but I usually get a bolt-together slice valve so the gate can be replaced without replumbing.
 
Well, been ignoring this as usual. Read something wrong, turns out they don't list the low speed current draw. My current pump is 13.7/2.7, this pump is 12/4.4. Assuming full power draw, that's a jump from 650 watts to 1060 watts, an extra 400 watts, on low power. That seems excessive, all you want for low speed is enough for rated waterflow through the heater.

So for whatever reason on the page I bought the pump on, they refuse to tell you want pump it actually is, just that it's a drop in replacement. It turns out it's a Waterway 3721621-1W, which they also have a page for. So I'm not sure why they didn't just say it was the waterway on that other page?

Anyway, did a little more searching, and it seems all similar pumps have had a boost in the low speed current for whatever reason. For example, this (discontinued) pump from a different site was a Power Right PRC505, listed as a replacement for the PRC9094X I'm replacing. It was rated 12.0/2.6A. The Aqua-Flo replacement that site suggests for that pump is 12.0/3.9A.

So is it just that all two speed pumps now have higher current draws on low?
 
I hadn't really noticed. I am only concerned about low speed amps in a low amp breaker situation. And different motors are different. No pump manufacturer makes motors, they buy them and put on a wet end and attach a cord (which they also did not make) and call it a Waterway, Aquaflo, etc... They don't really make much of anything. So this years WW pump may have a different brand of motor than last years did, and so on. And if you find one old enough a new impeller won't fit the pump face, and a new face won't fit on the housing.
 
Update: I finally got around to starting the pump swap tonight.

WARNING: The following starts outlining a motor swap, including minor wiring. Electricity is dangerous, do not attempt if you do not understand electrical safety and how to properly wire things. It's much better to pay an electrician if you don't know what you're doing than get hurt or killed.

So, guess it's been leaking for a long time in here. The mineral buildup on the bottom of the heater housing was not there this spring. I'm starting to wonder if my leak was in the equipment cabinet the whole time....
full


I mentioned I had found a leak, the drain hose coming off the above pump is only about 8" long and ends at a tee. When I replaced the broken and leaky drain hose barb this spring, I changed the hose as well. It did NOT leak at the motor, but instead it leaked at the tee. Judging from the marks on the hose, it appears the hose clamp did not apply enough pressure on one side, allowing it to leak. So I fixed one leak and created another, which has been leaking probably since about when I first fixed the last one. I wonder if it took a few days/weeks to show up, you'd think I'd have seen it...
full


Anyway, the pump removal was pretty easy. First things first, I was opening the control panel cover. After turning off the disconnect and opening the cover, before I touched anything I did a hot/cold/hot test. This is standard electrical safety procedure. You check your meter functions properly using a wall outlet or similar voltage source, then measure the device, in this case the spa. I measured from ground to both hot wires and neutral. After you check the device is dead you then immediately re-check the meter with a wall outlet again. This may seem excessive, but the purpose is to verify the meter works before checking to see if something is dead, cause if the meter doesn't work then obviously you get a false reading. Then you check the device in question. After this you immediately check the meter again, to verify that the meter still works. It may be that the meter failed, there's a flaky connection, it switched modes, or something else, so this second live check is another check of the meter functionality.
full


In any case we're now looking at the panel. I checked it over quickly, everything was clean and I didn't see any signs of overheating or similar. I unplugged the pump connector.
full


Then I removed the water fittings, equipotential bonding wire, and drain line and pulled the pump and compared it to the new pump.
full


The motor labels were different, so I took a picture of the wire connections before removing them.
full


The old motor label wiring diagram.
full


The old cord connected to the new pump, where they conveniently stamped C/H/L on the terminal block.
full


I then put the wiring cover on the motor and that was that. Out of time tonight, I need a new section of hose and some better clamps from Home Depot tomorrow for the drain lines.
 

Enjoying this content?

Support TFP with a donation.

Give Support
I hope it's not too late to see this video!
Well the shaft seal isn't leaking, and I got a whole new pump and motor assembly to replace the current pump. But I was thinking I'd open up the old pump and rebuild it with new bearings and seals if that was possible, to have as a spare in case the other pump dies in the future, so I'll check out that video. Probably has some useful info.
 
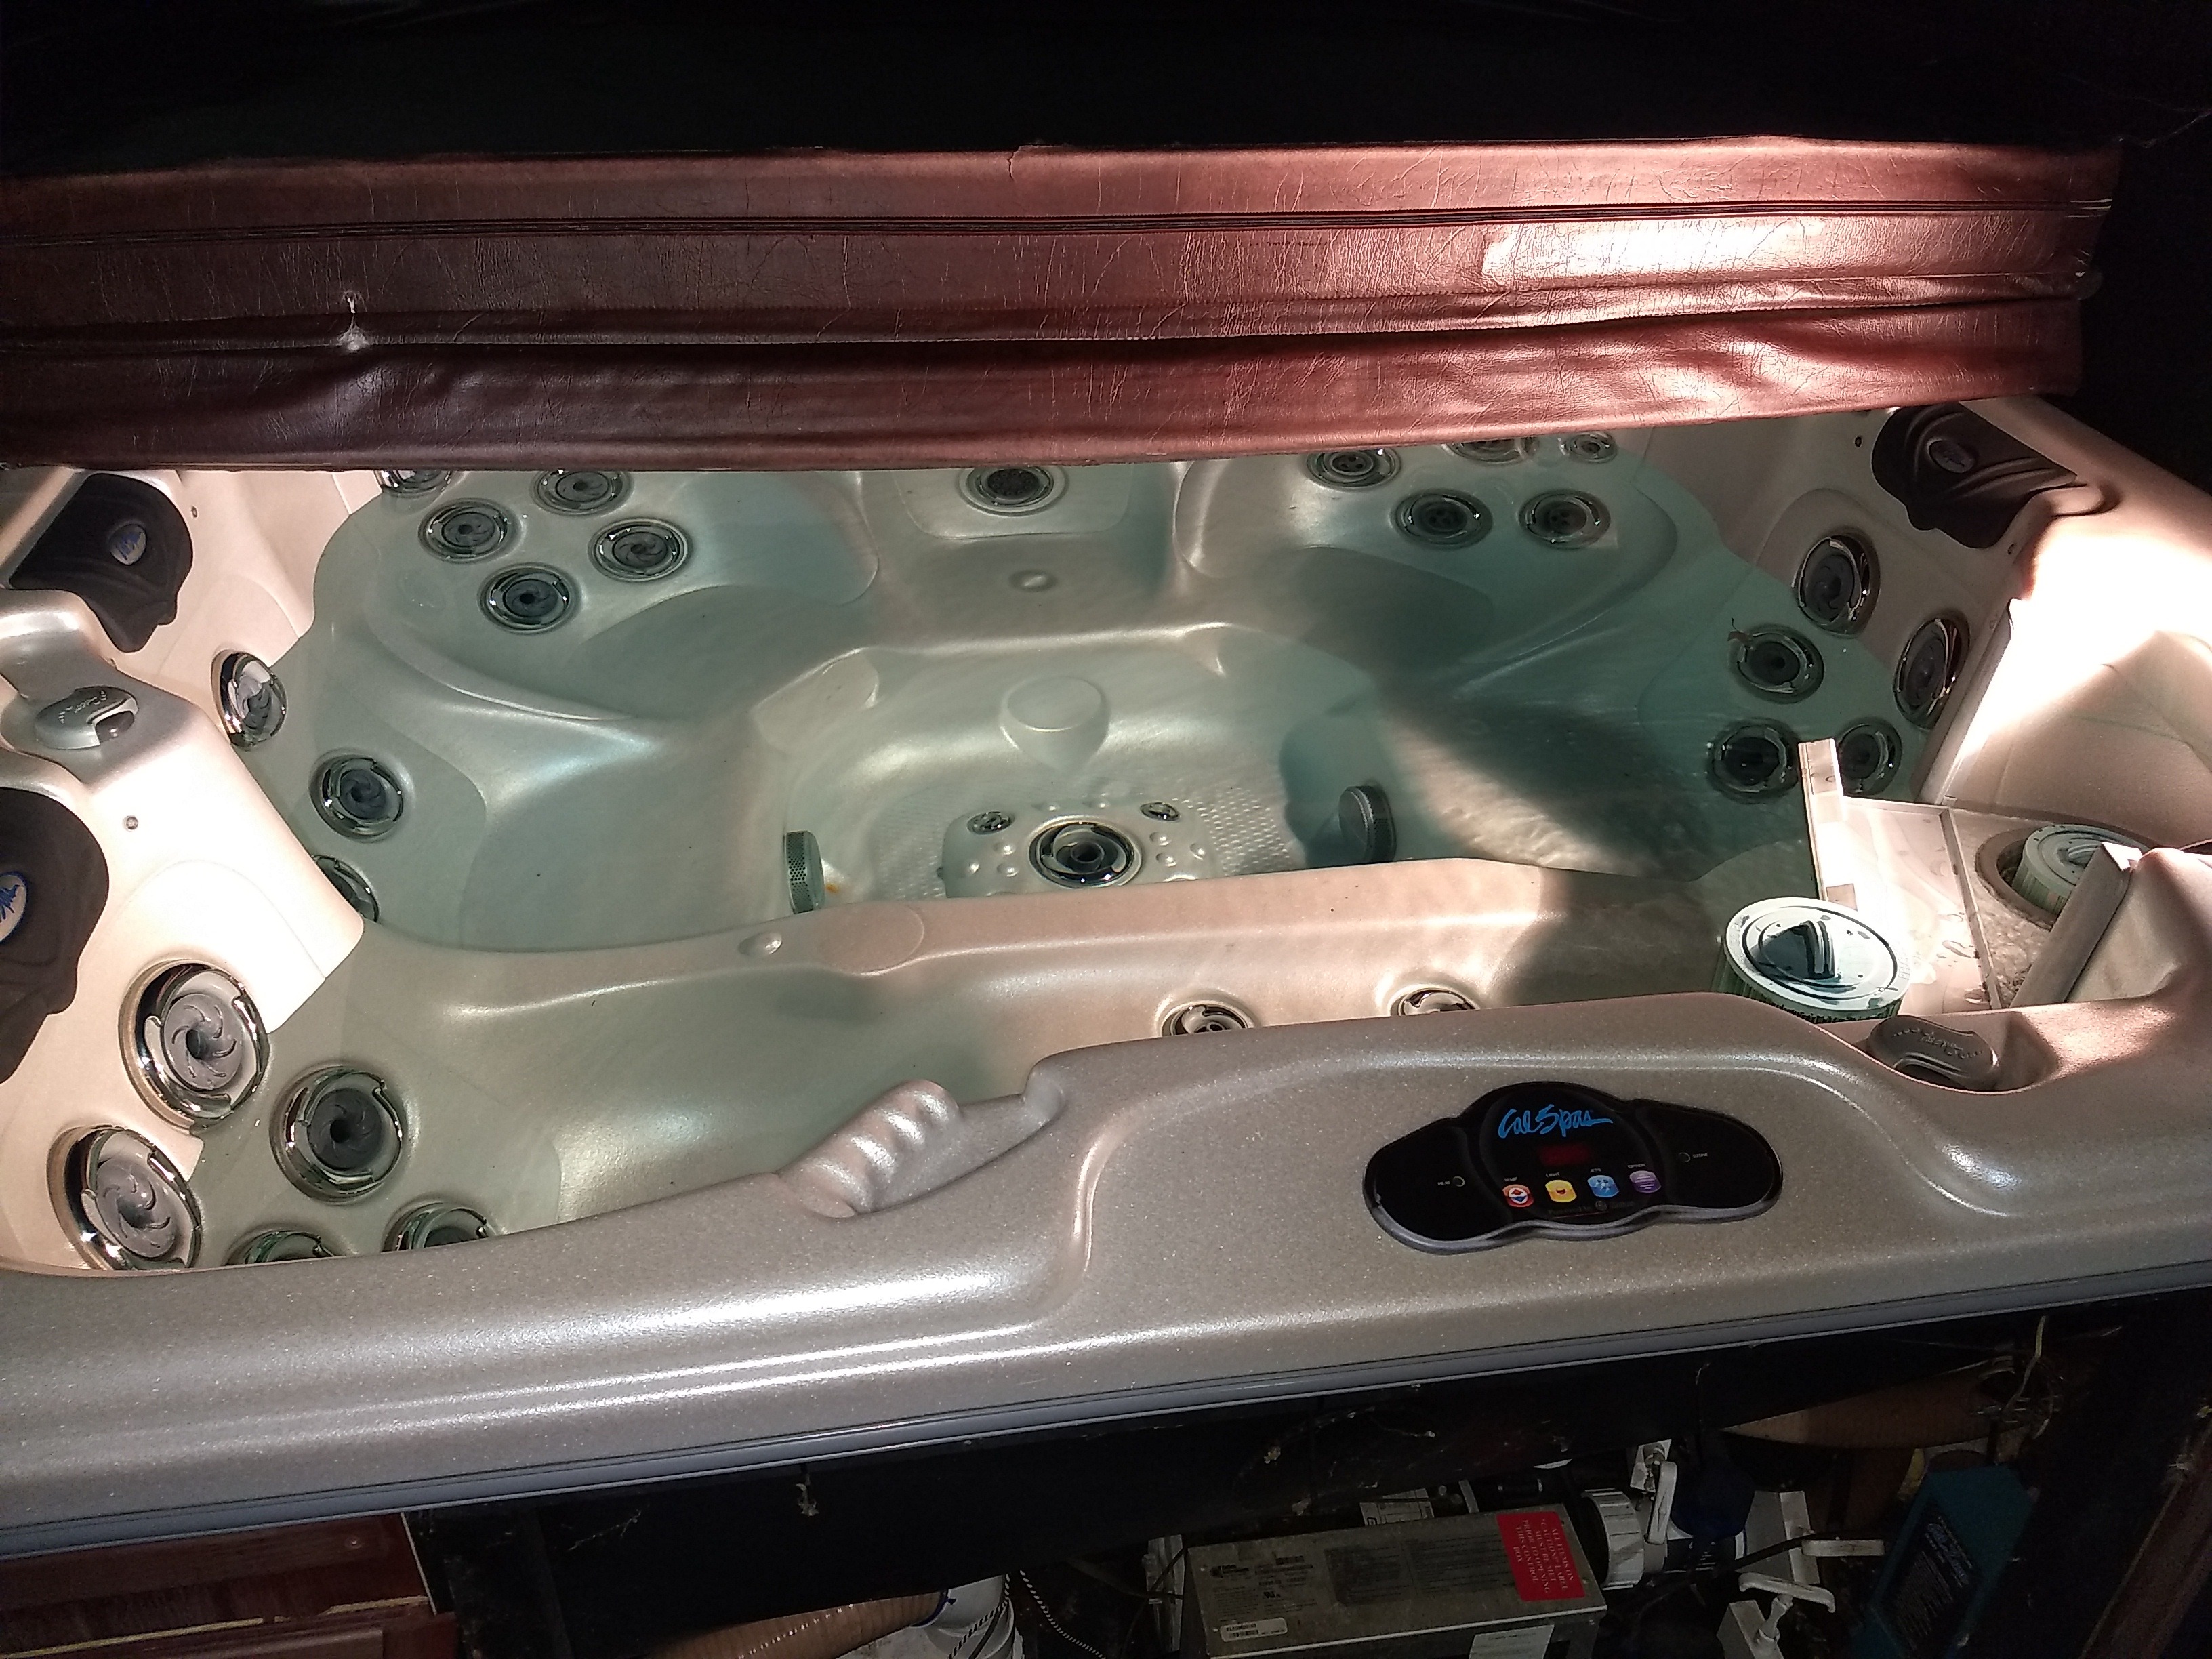
Update: As I write this, the spa is filling!

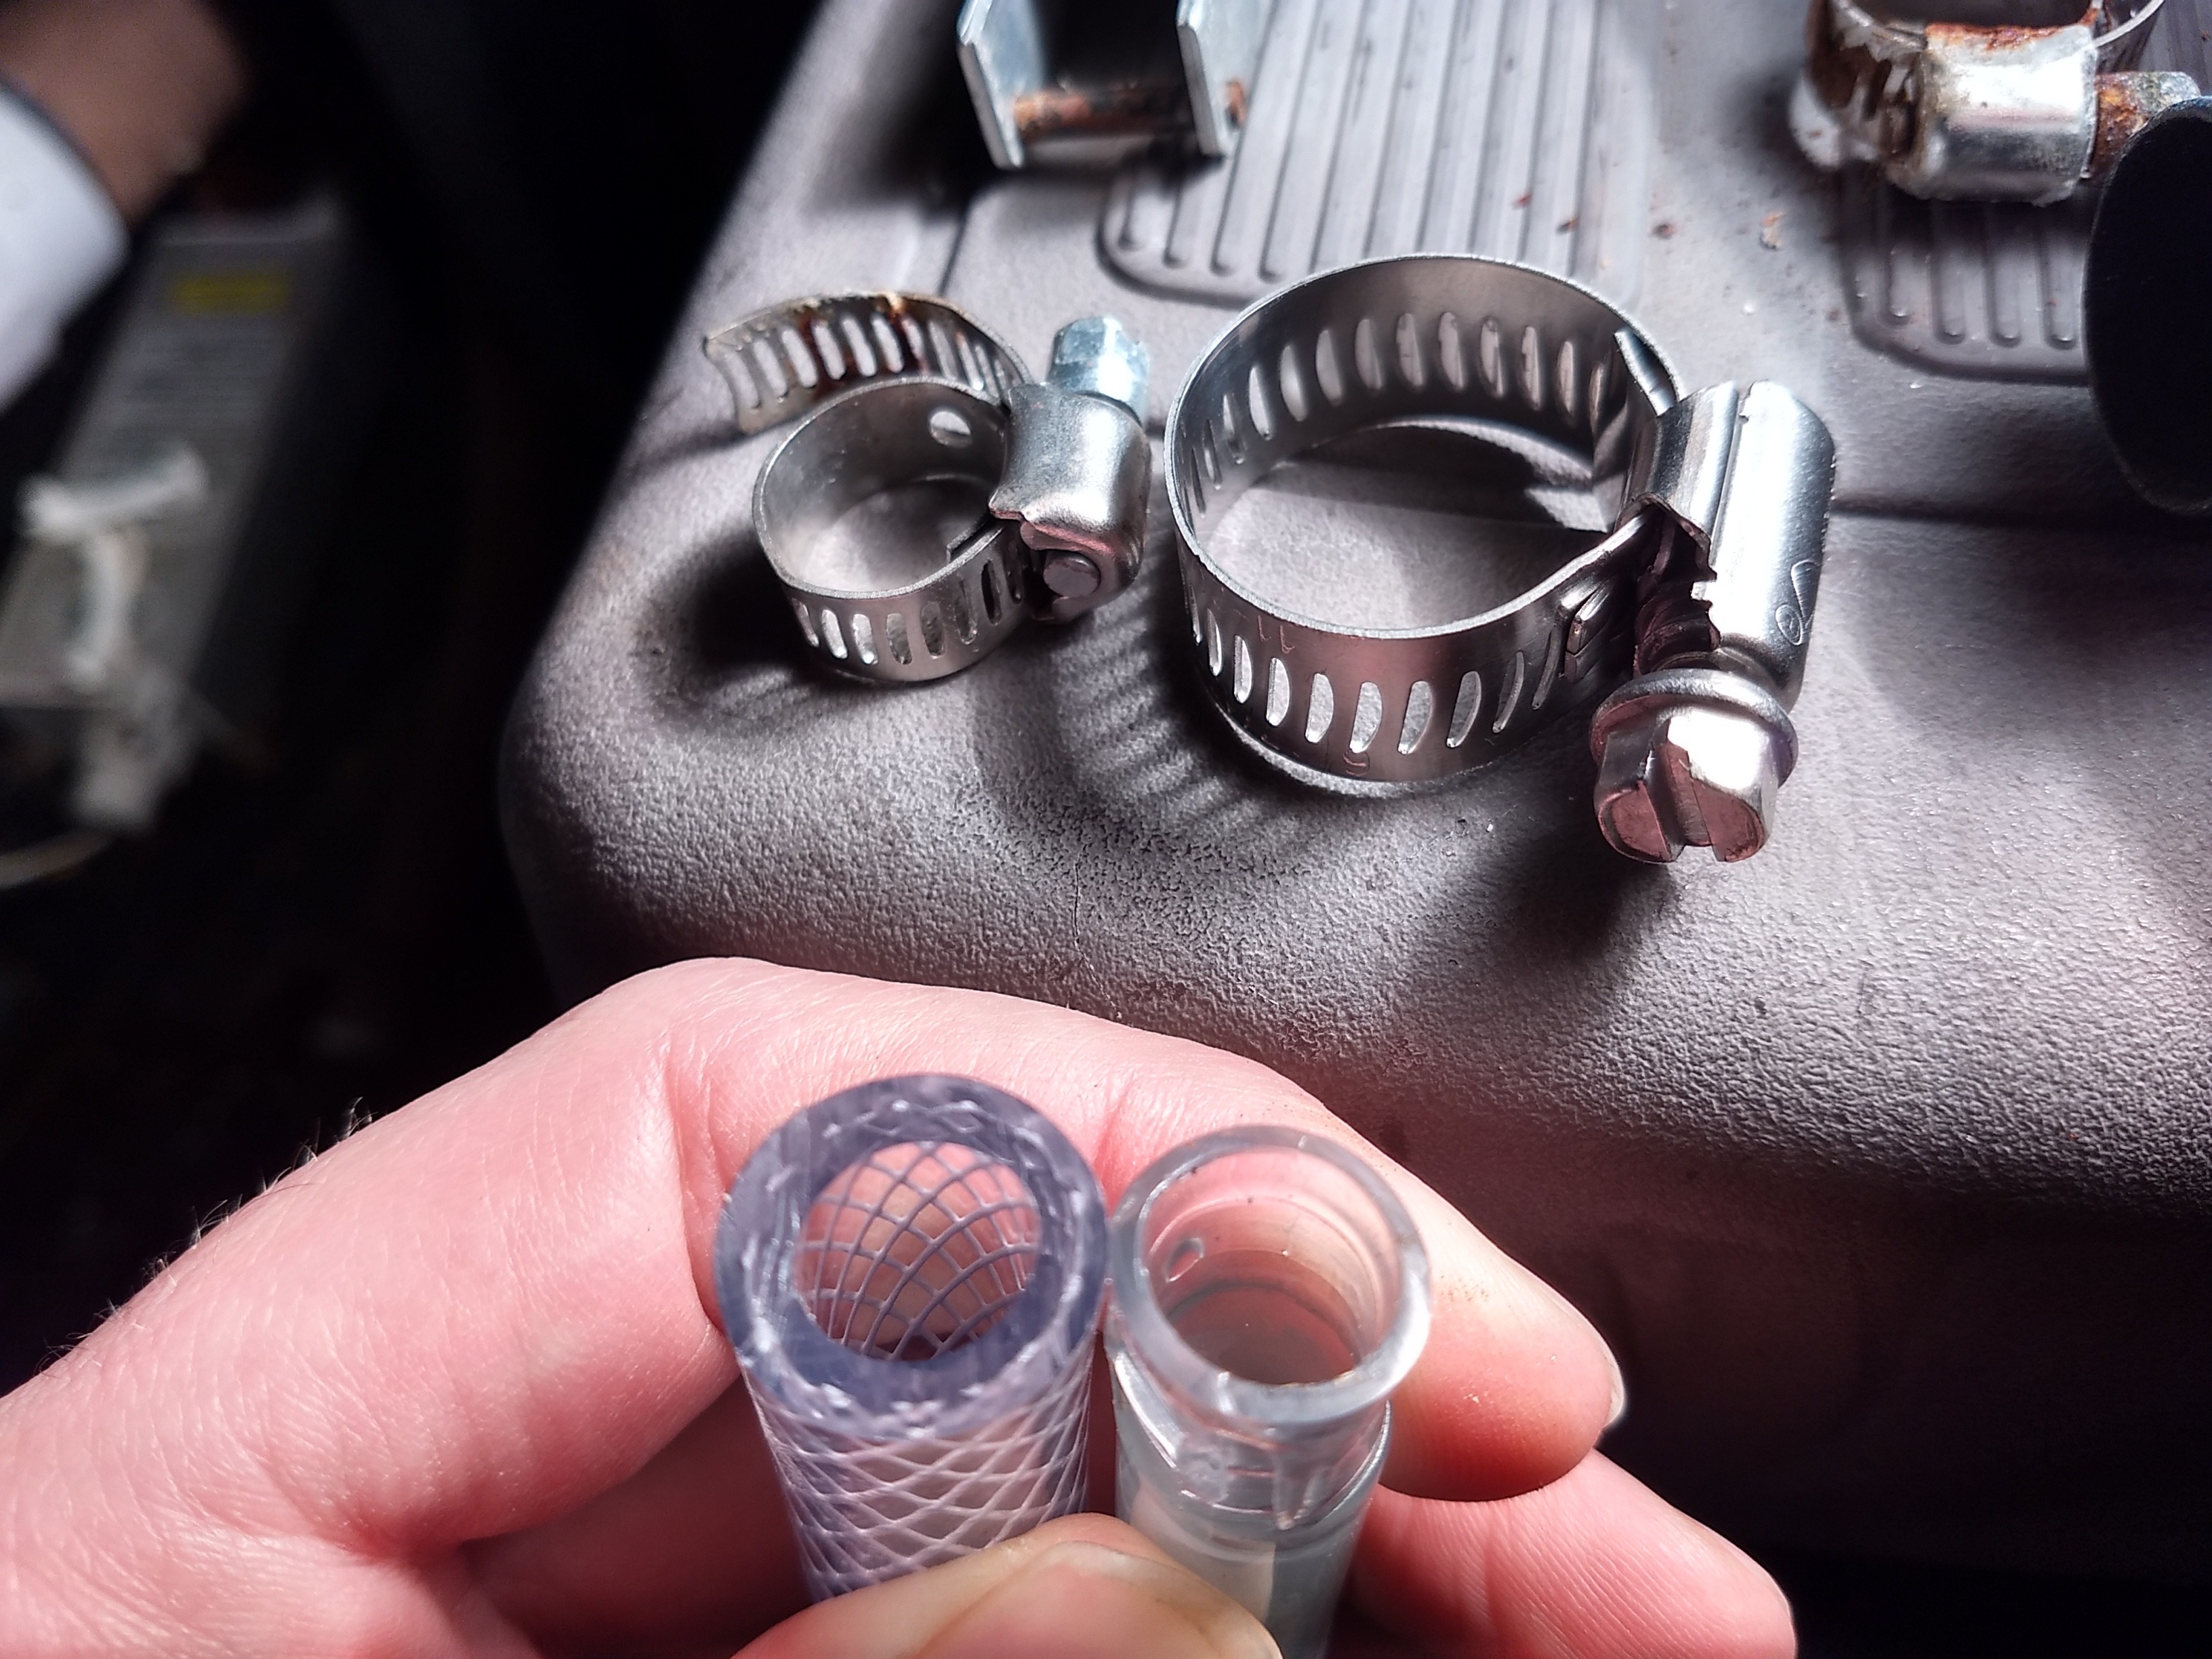
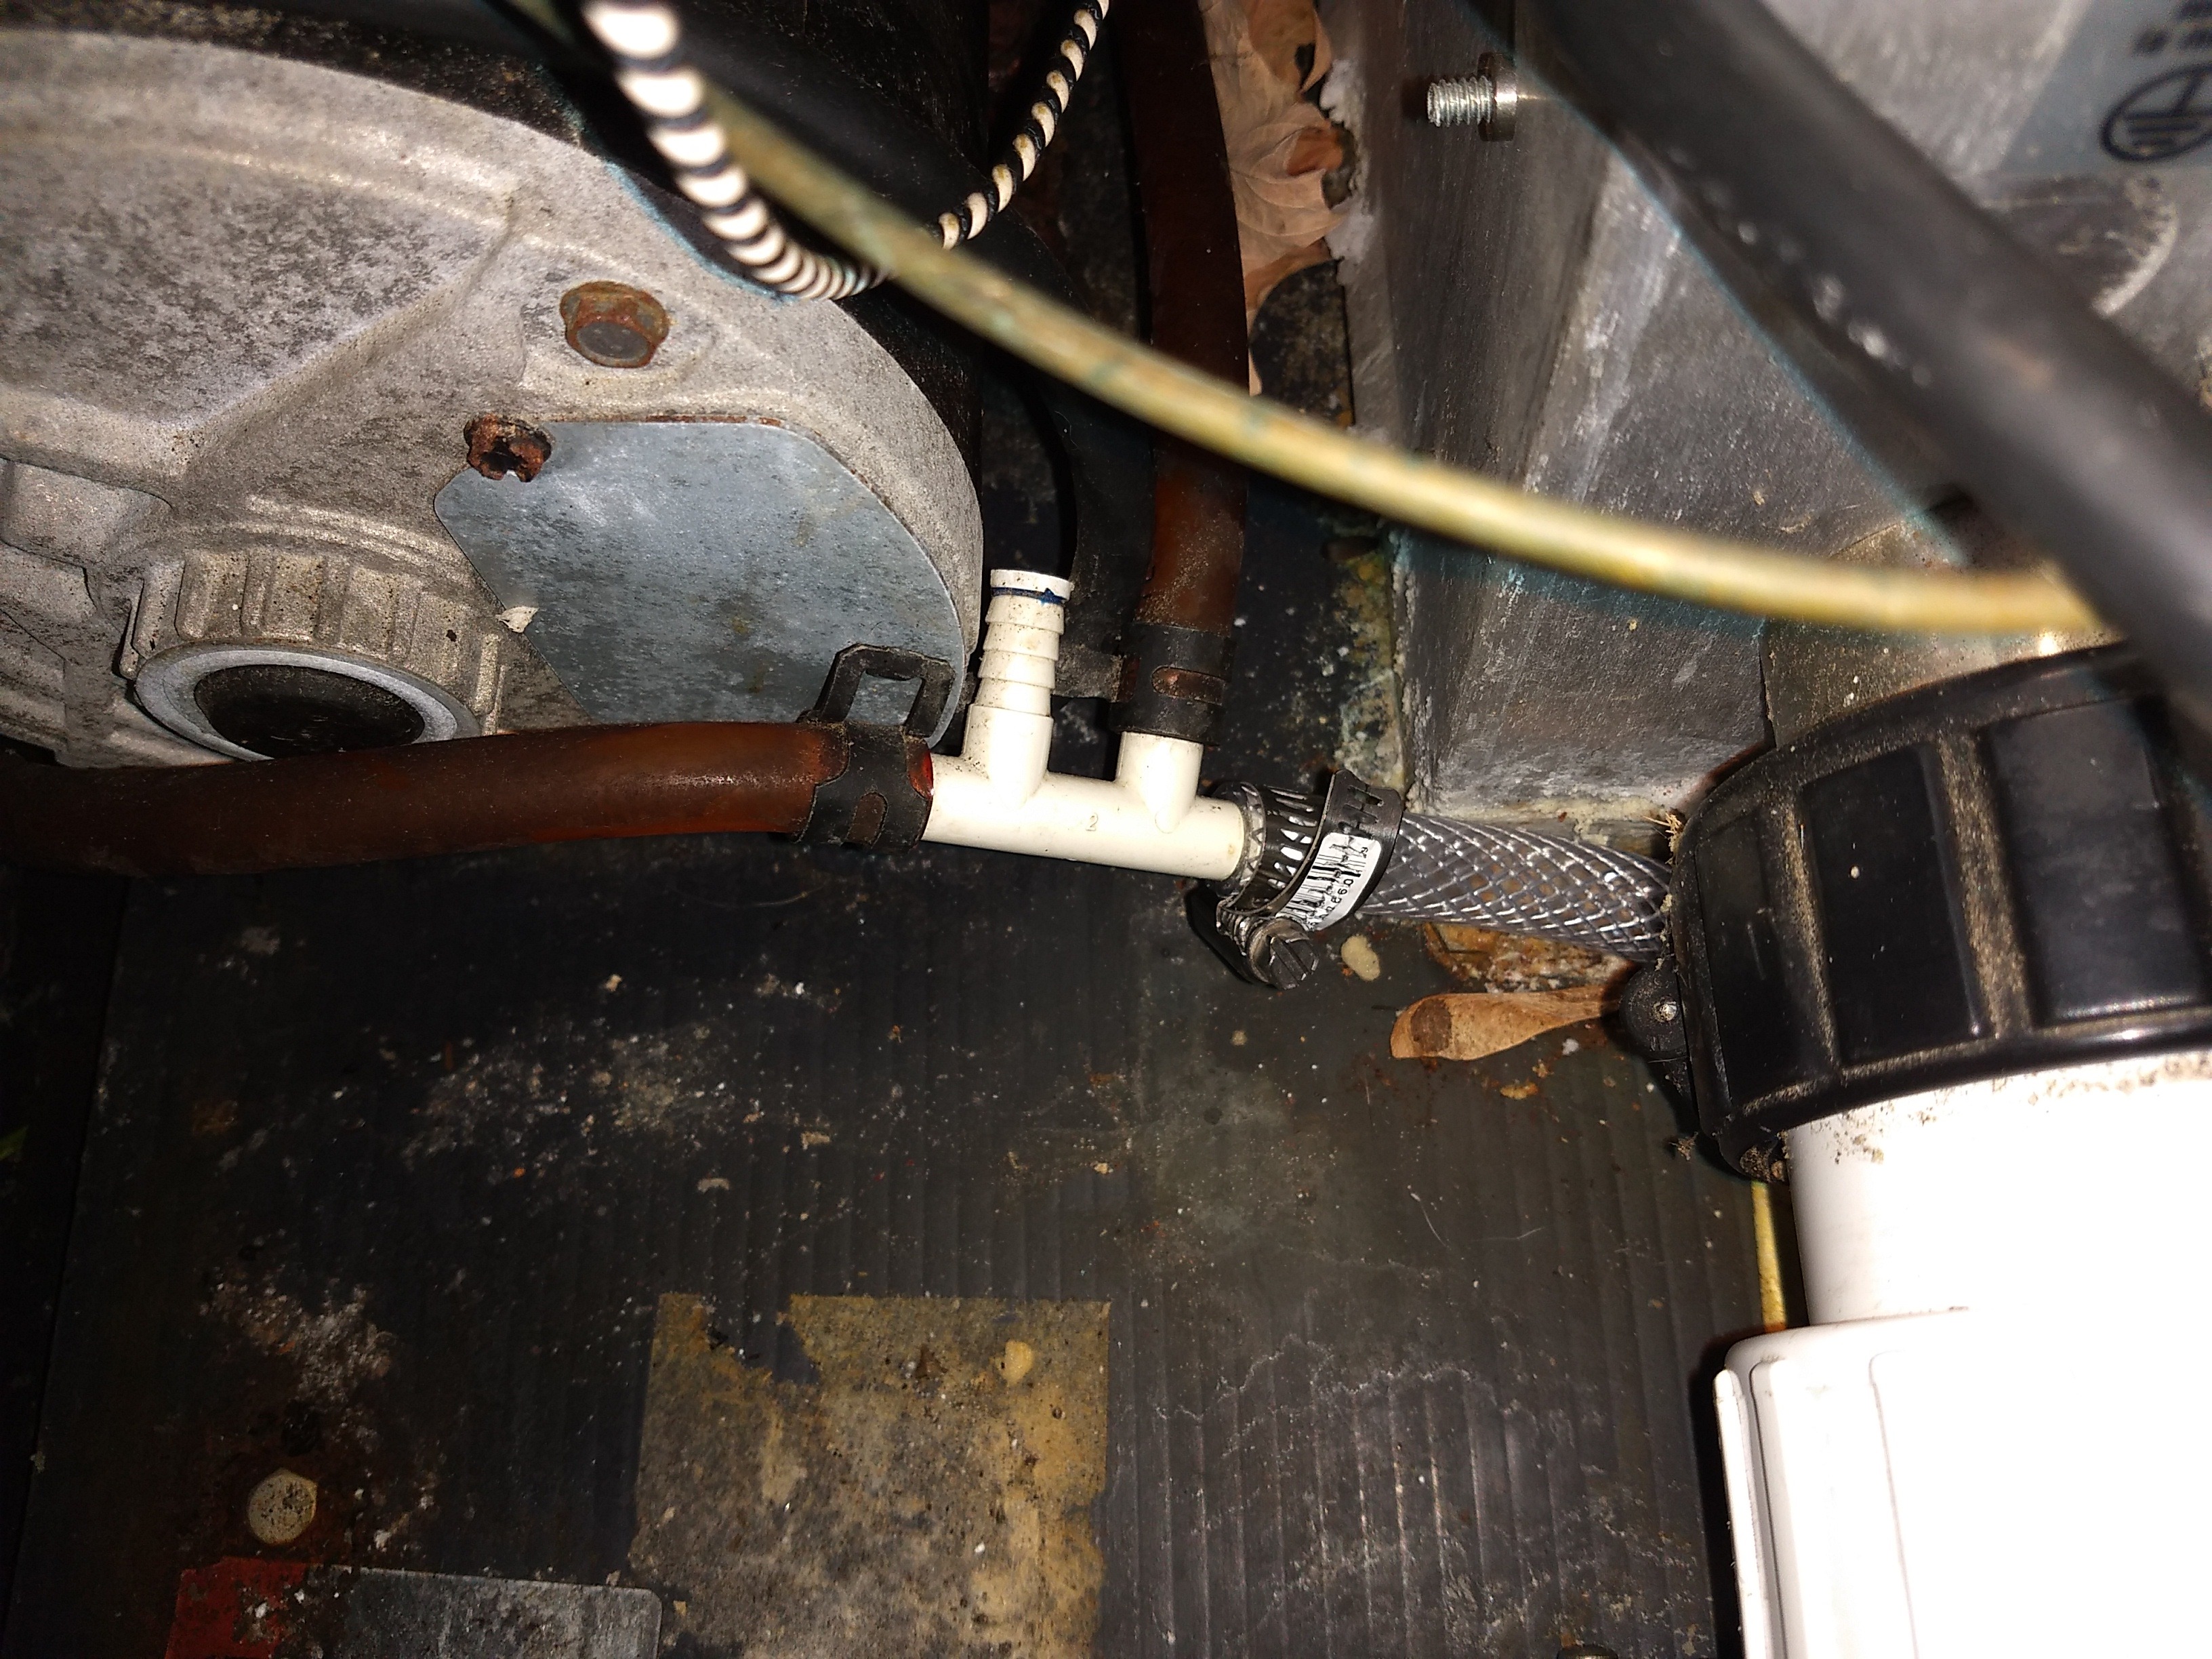
So, the previous lead seemed to be a combination of a thin walled tube and the uneven pressure of a hose clamp. As I didn't have spring clamps handy, I did the next best thing, got hose that was twice as thick as the previously used hose. The idea is the thicker walls allow the uneven hose clamp pressure to spread out and obtain a good seal. Also the new clamps from Home Depot are a lot wider than the dinky ones that came from Spa Depot, hopefully that helps a little as well.
full


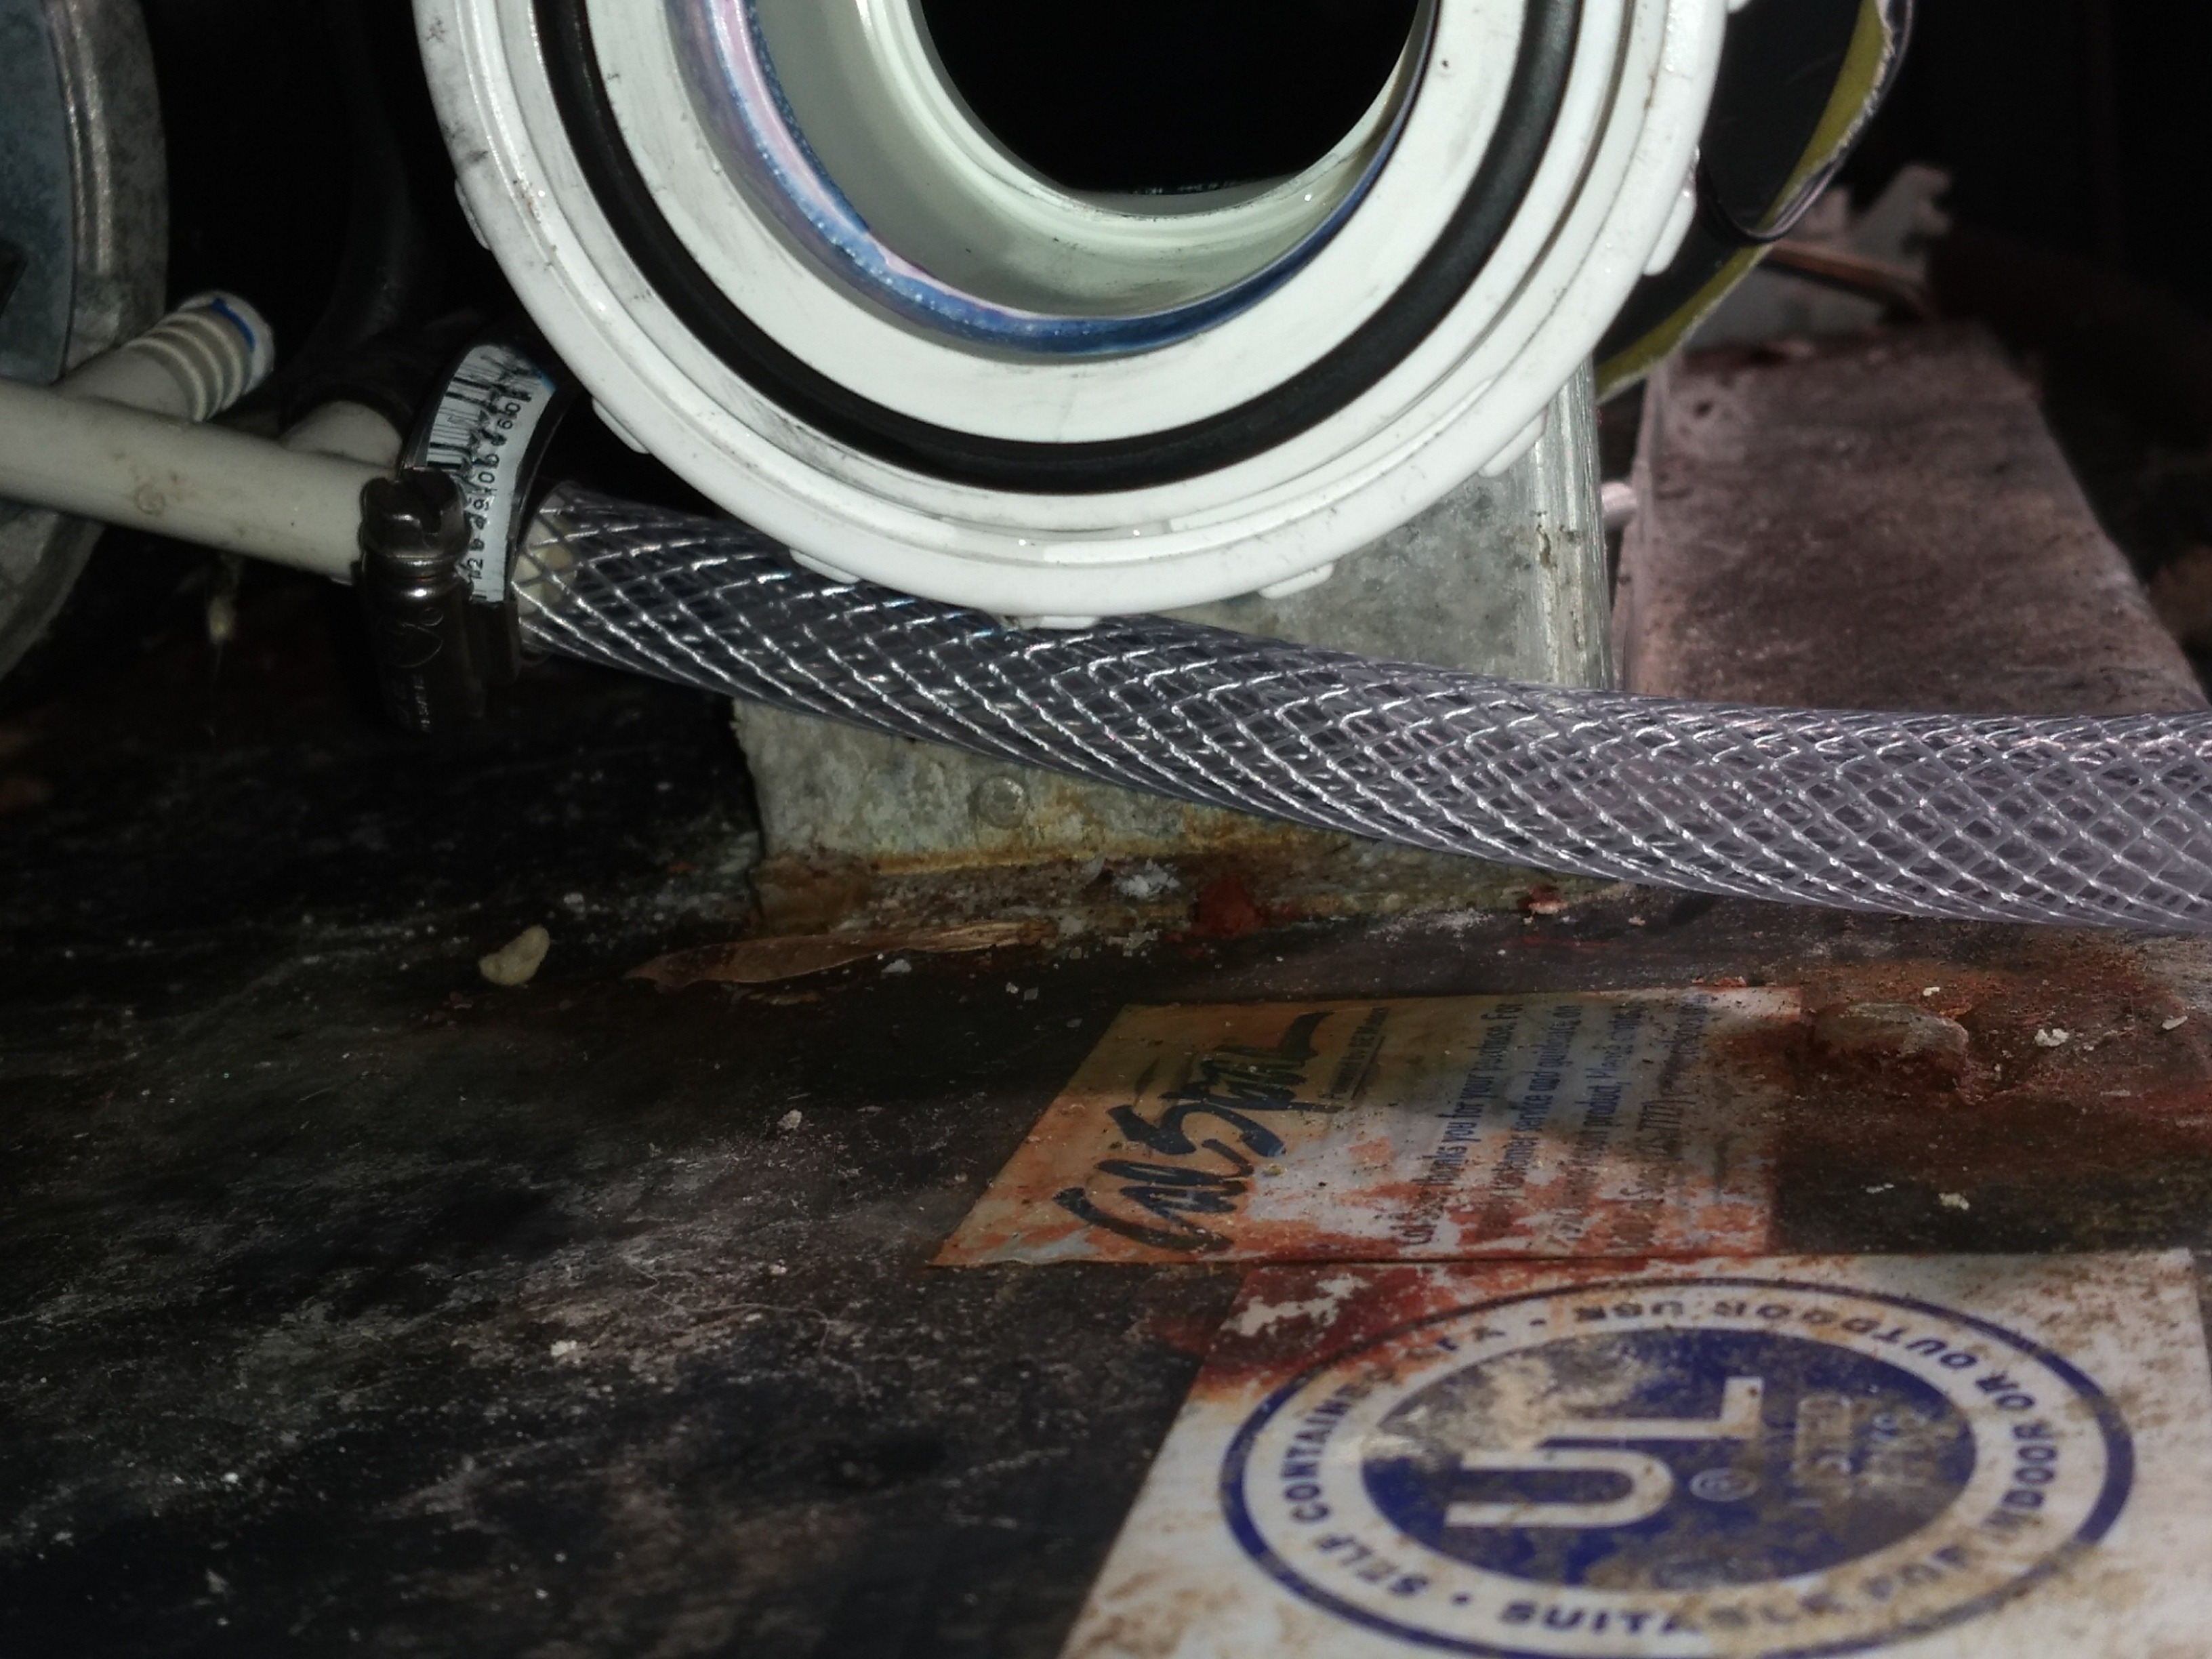
I attached this hose to the tee first, before the pump got in the way.
full


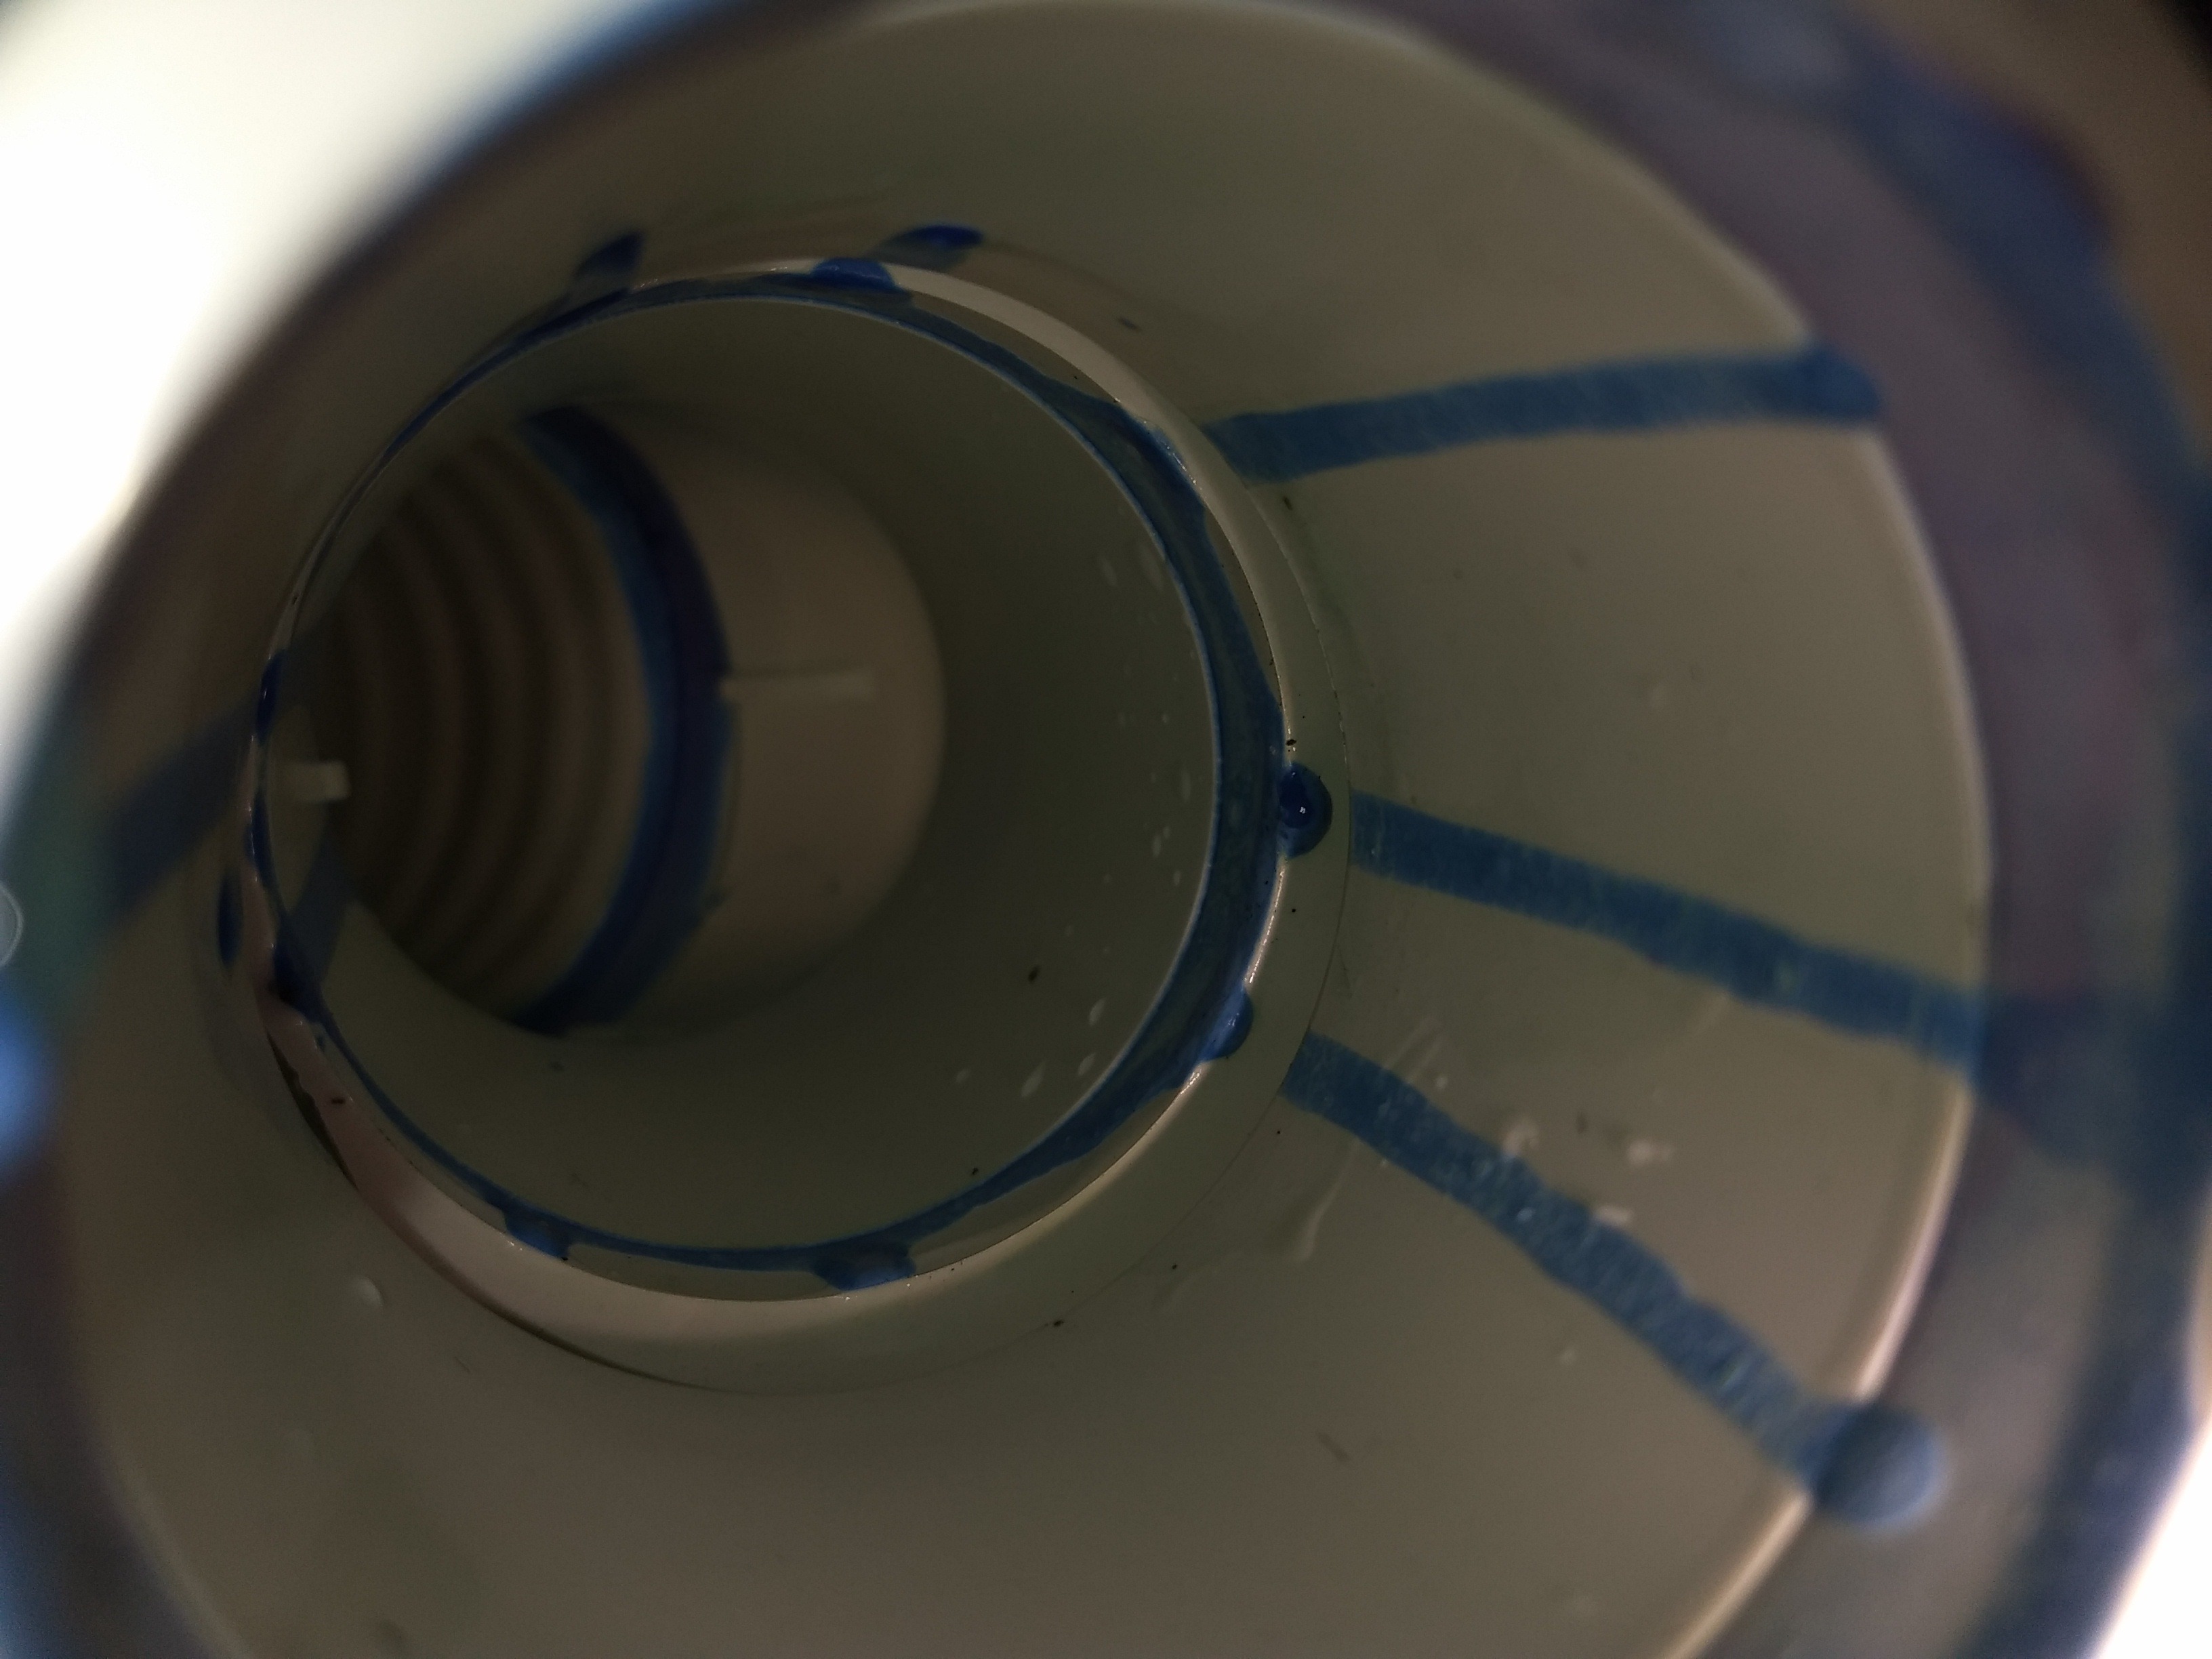
I also took a look at the gate valve, figured out (I think) why the it wouldn't close. There's a hardened drop of glue on one side where the slide needs to go to seal.
full


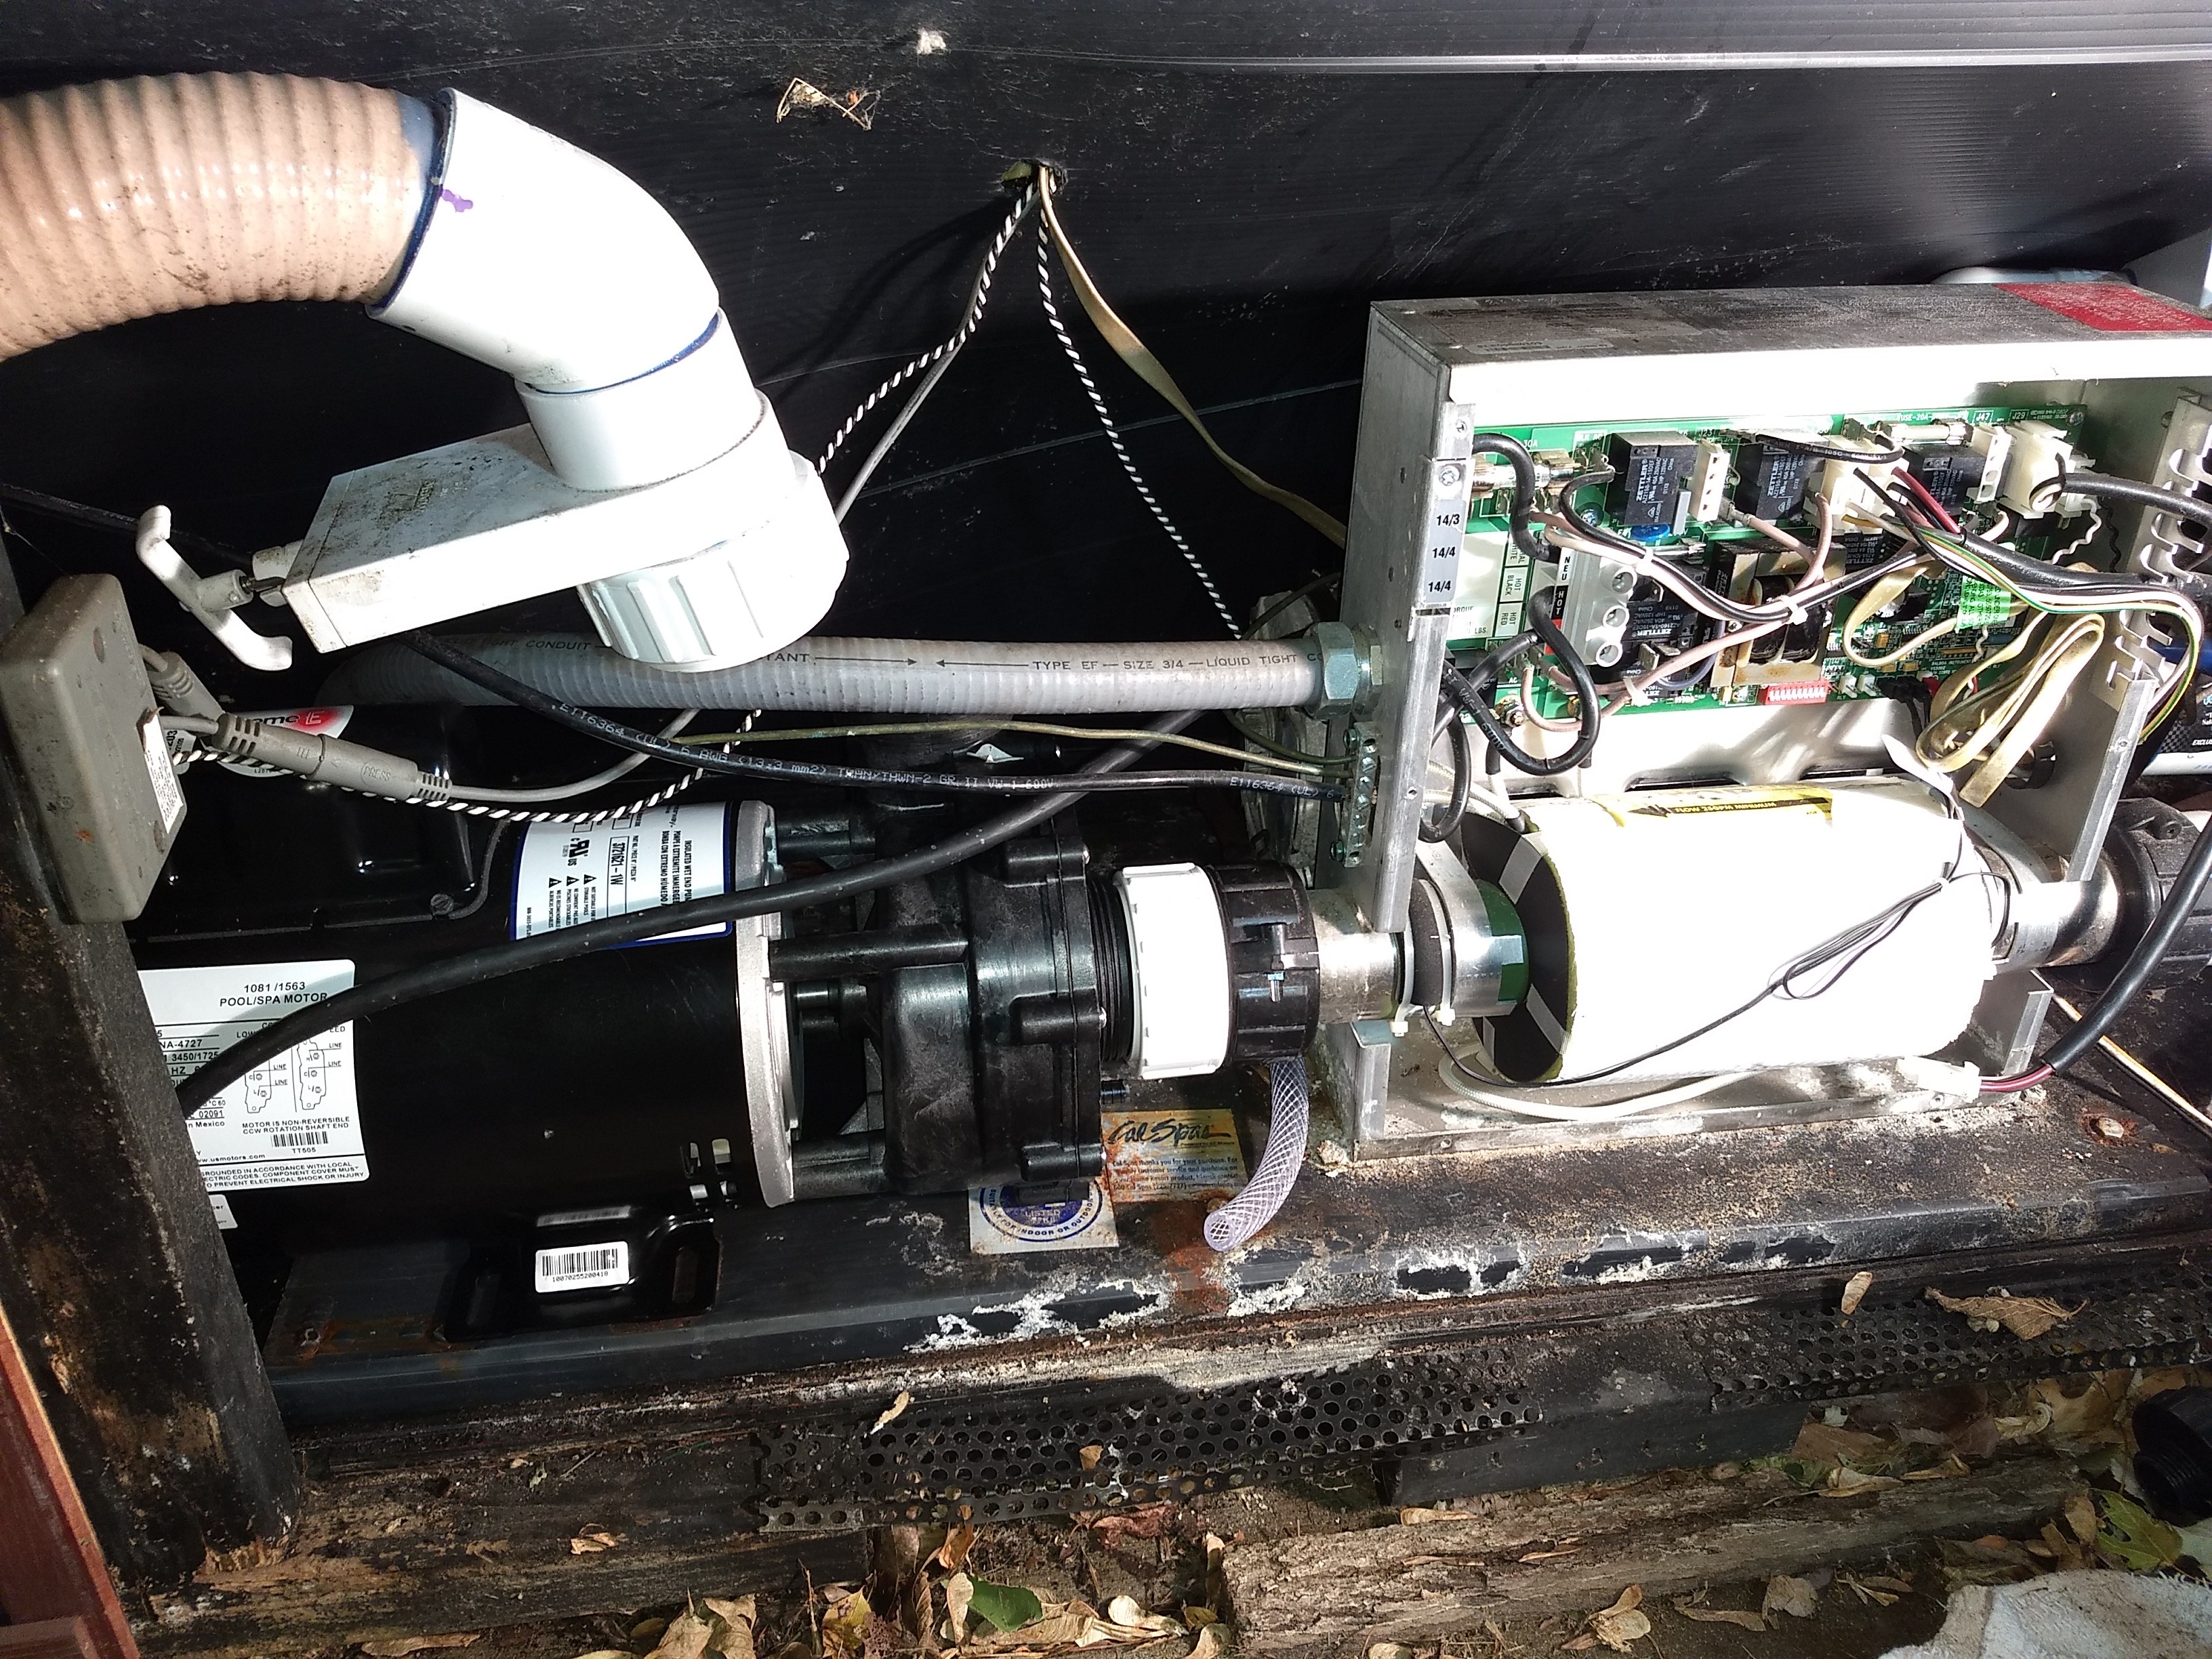
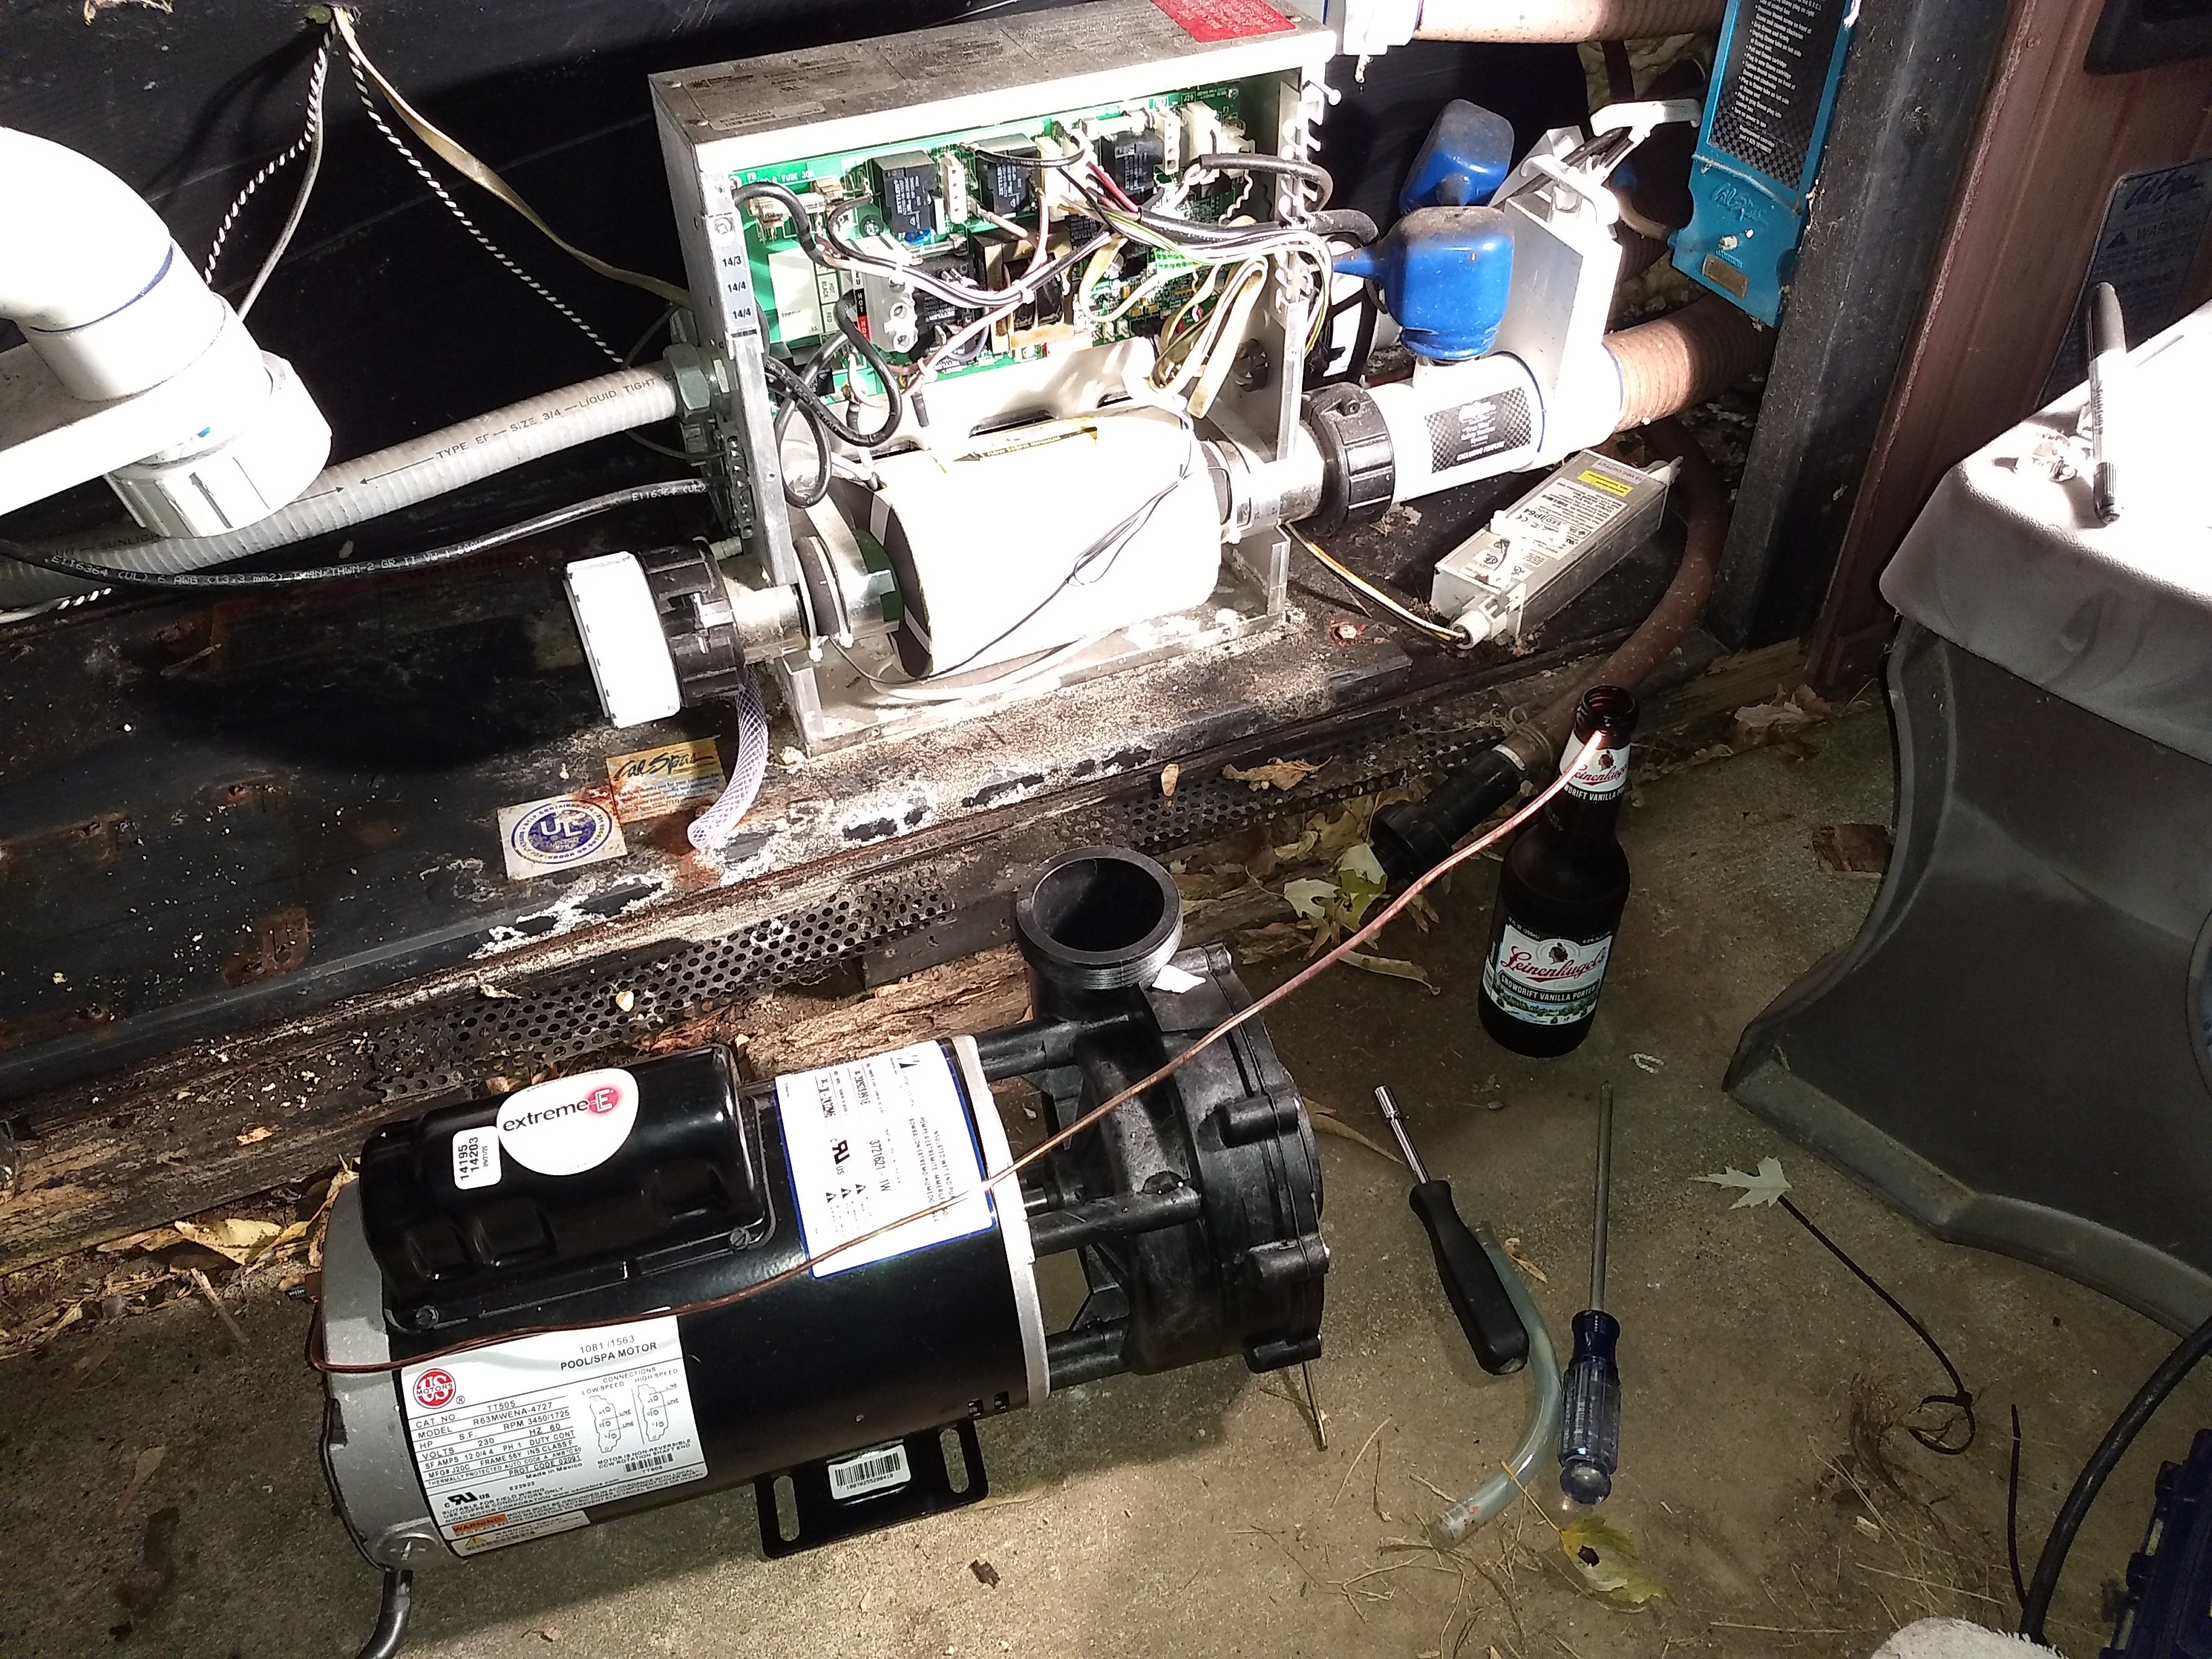
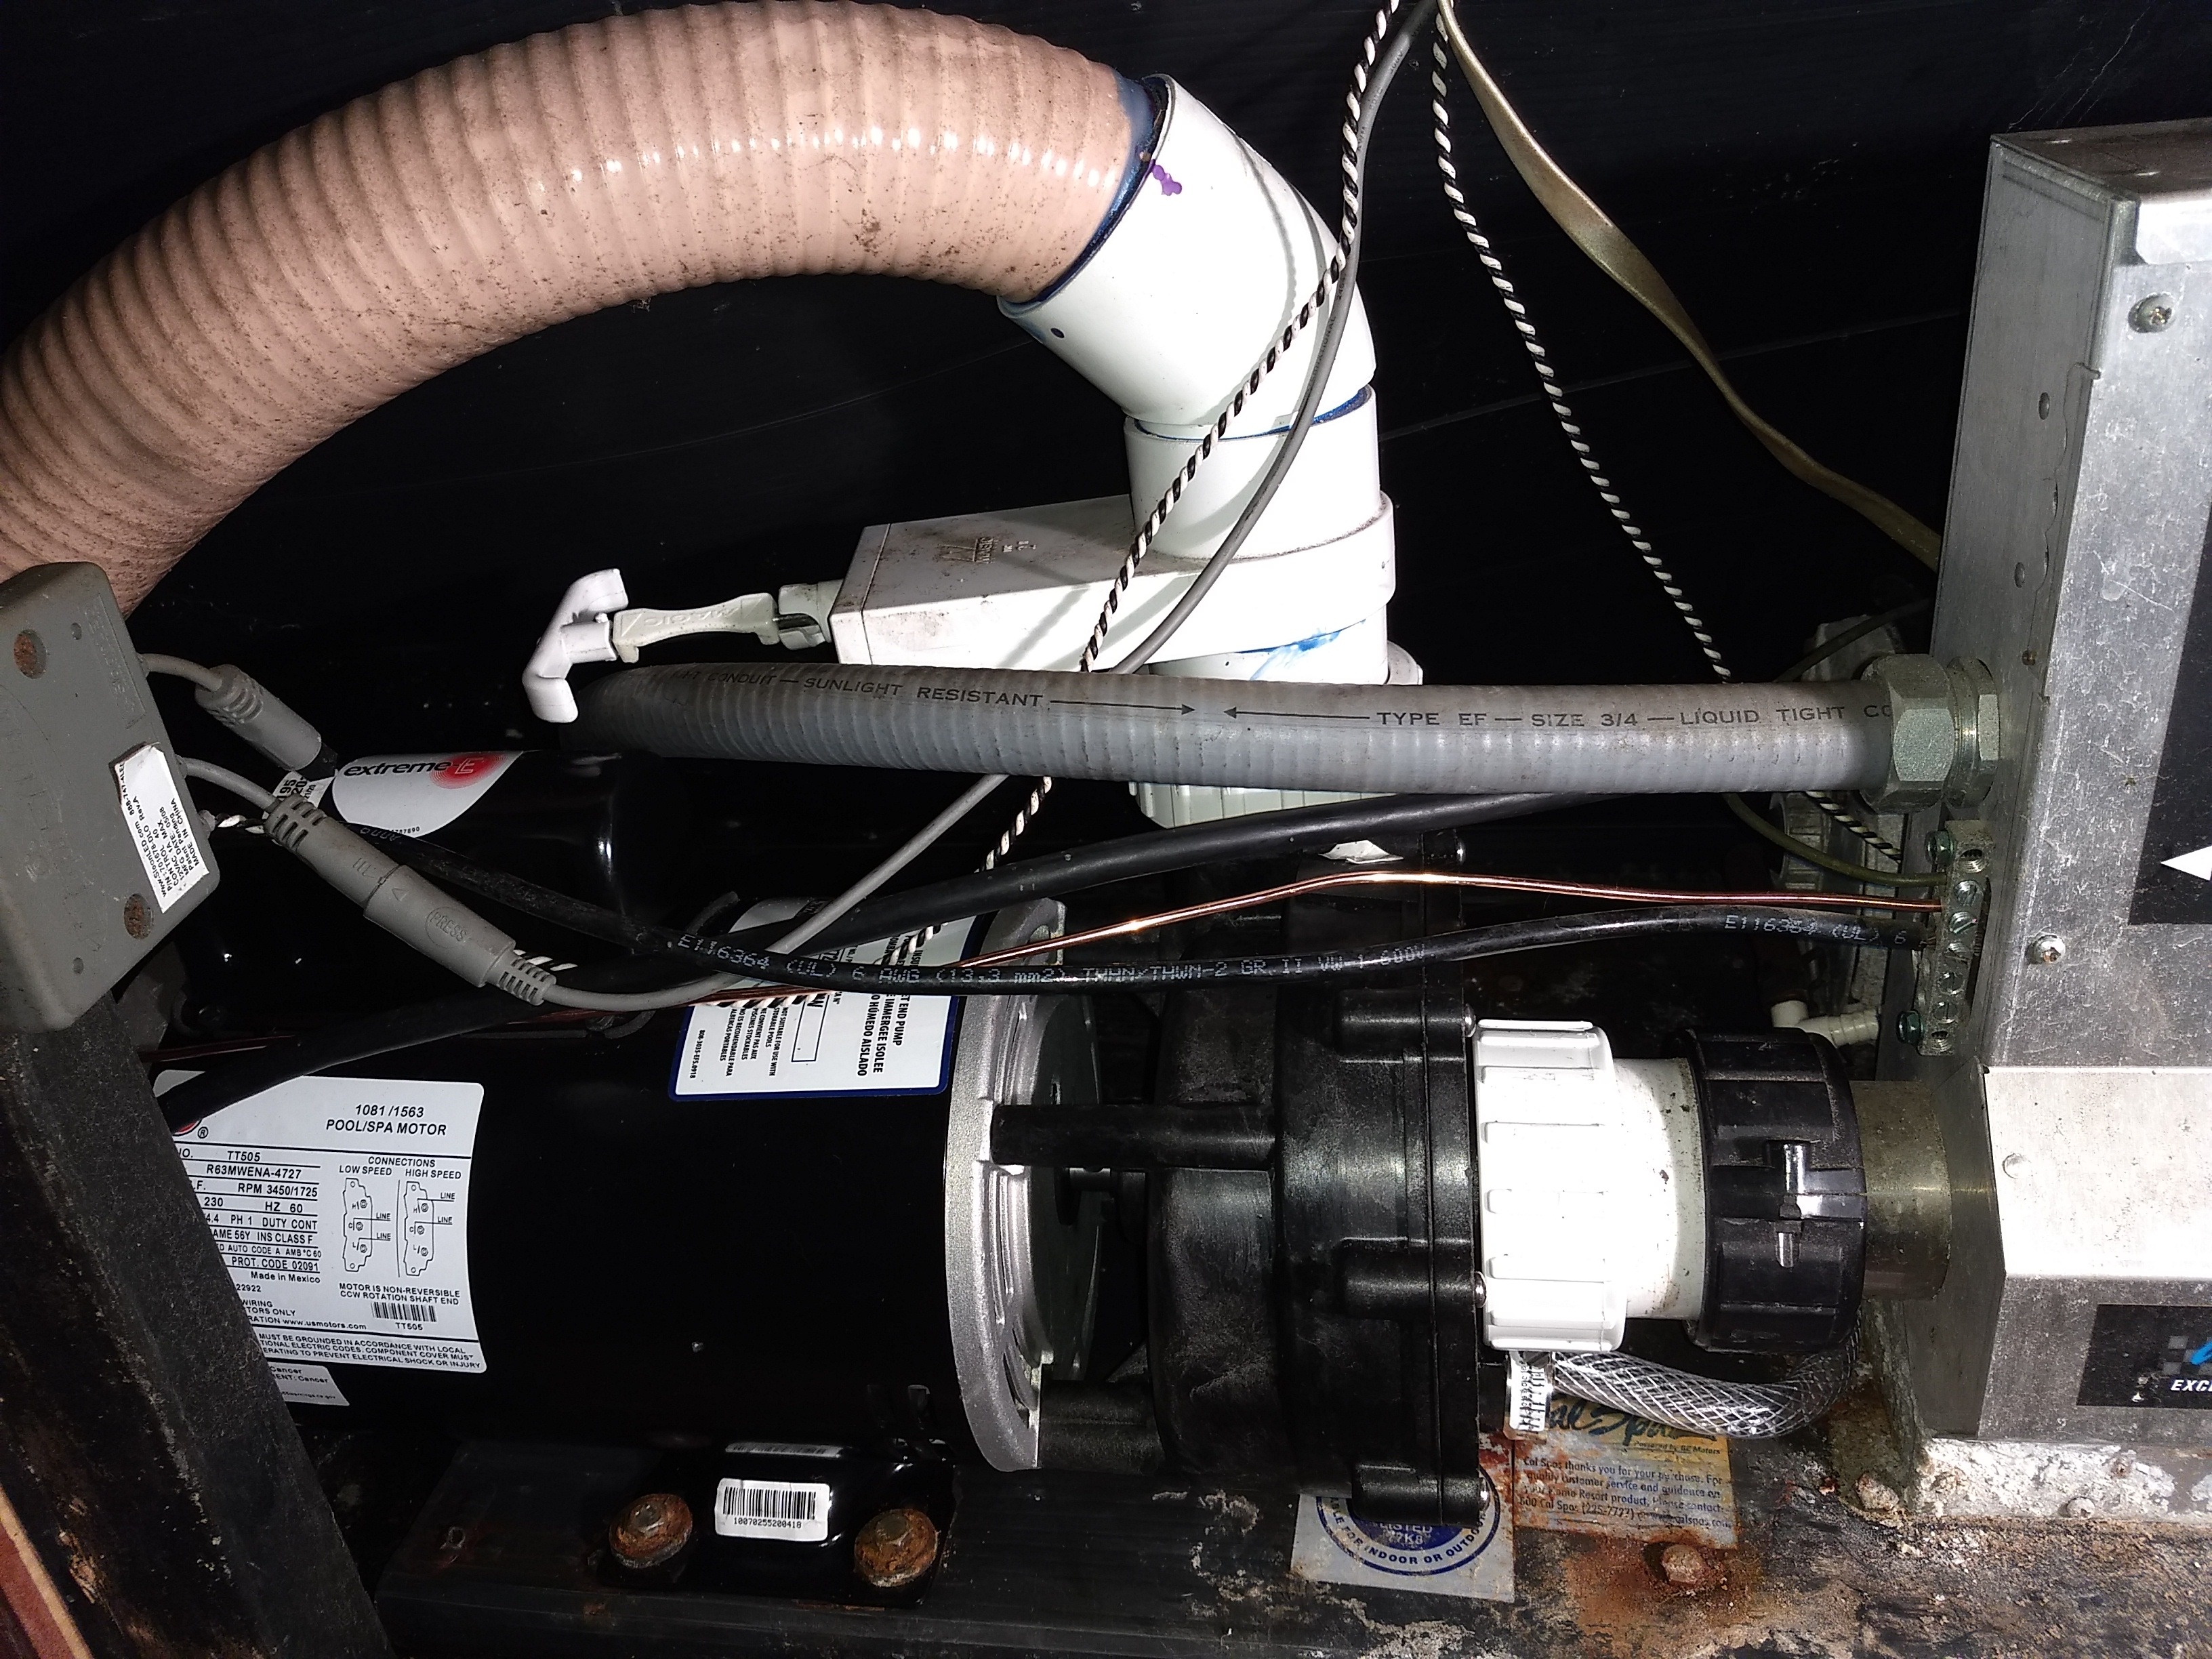
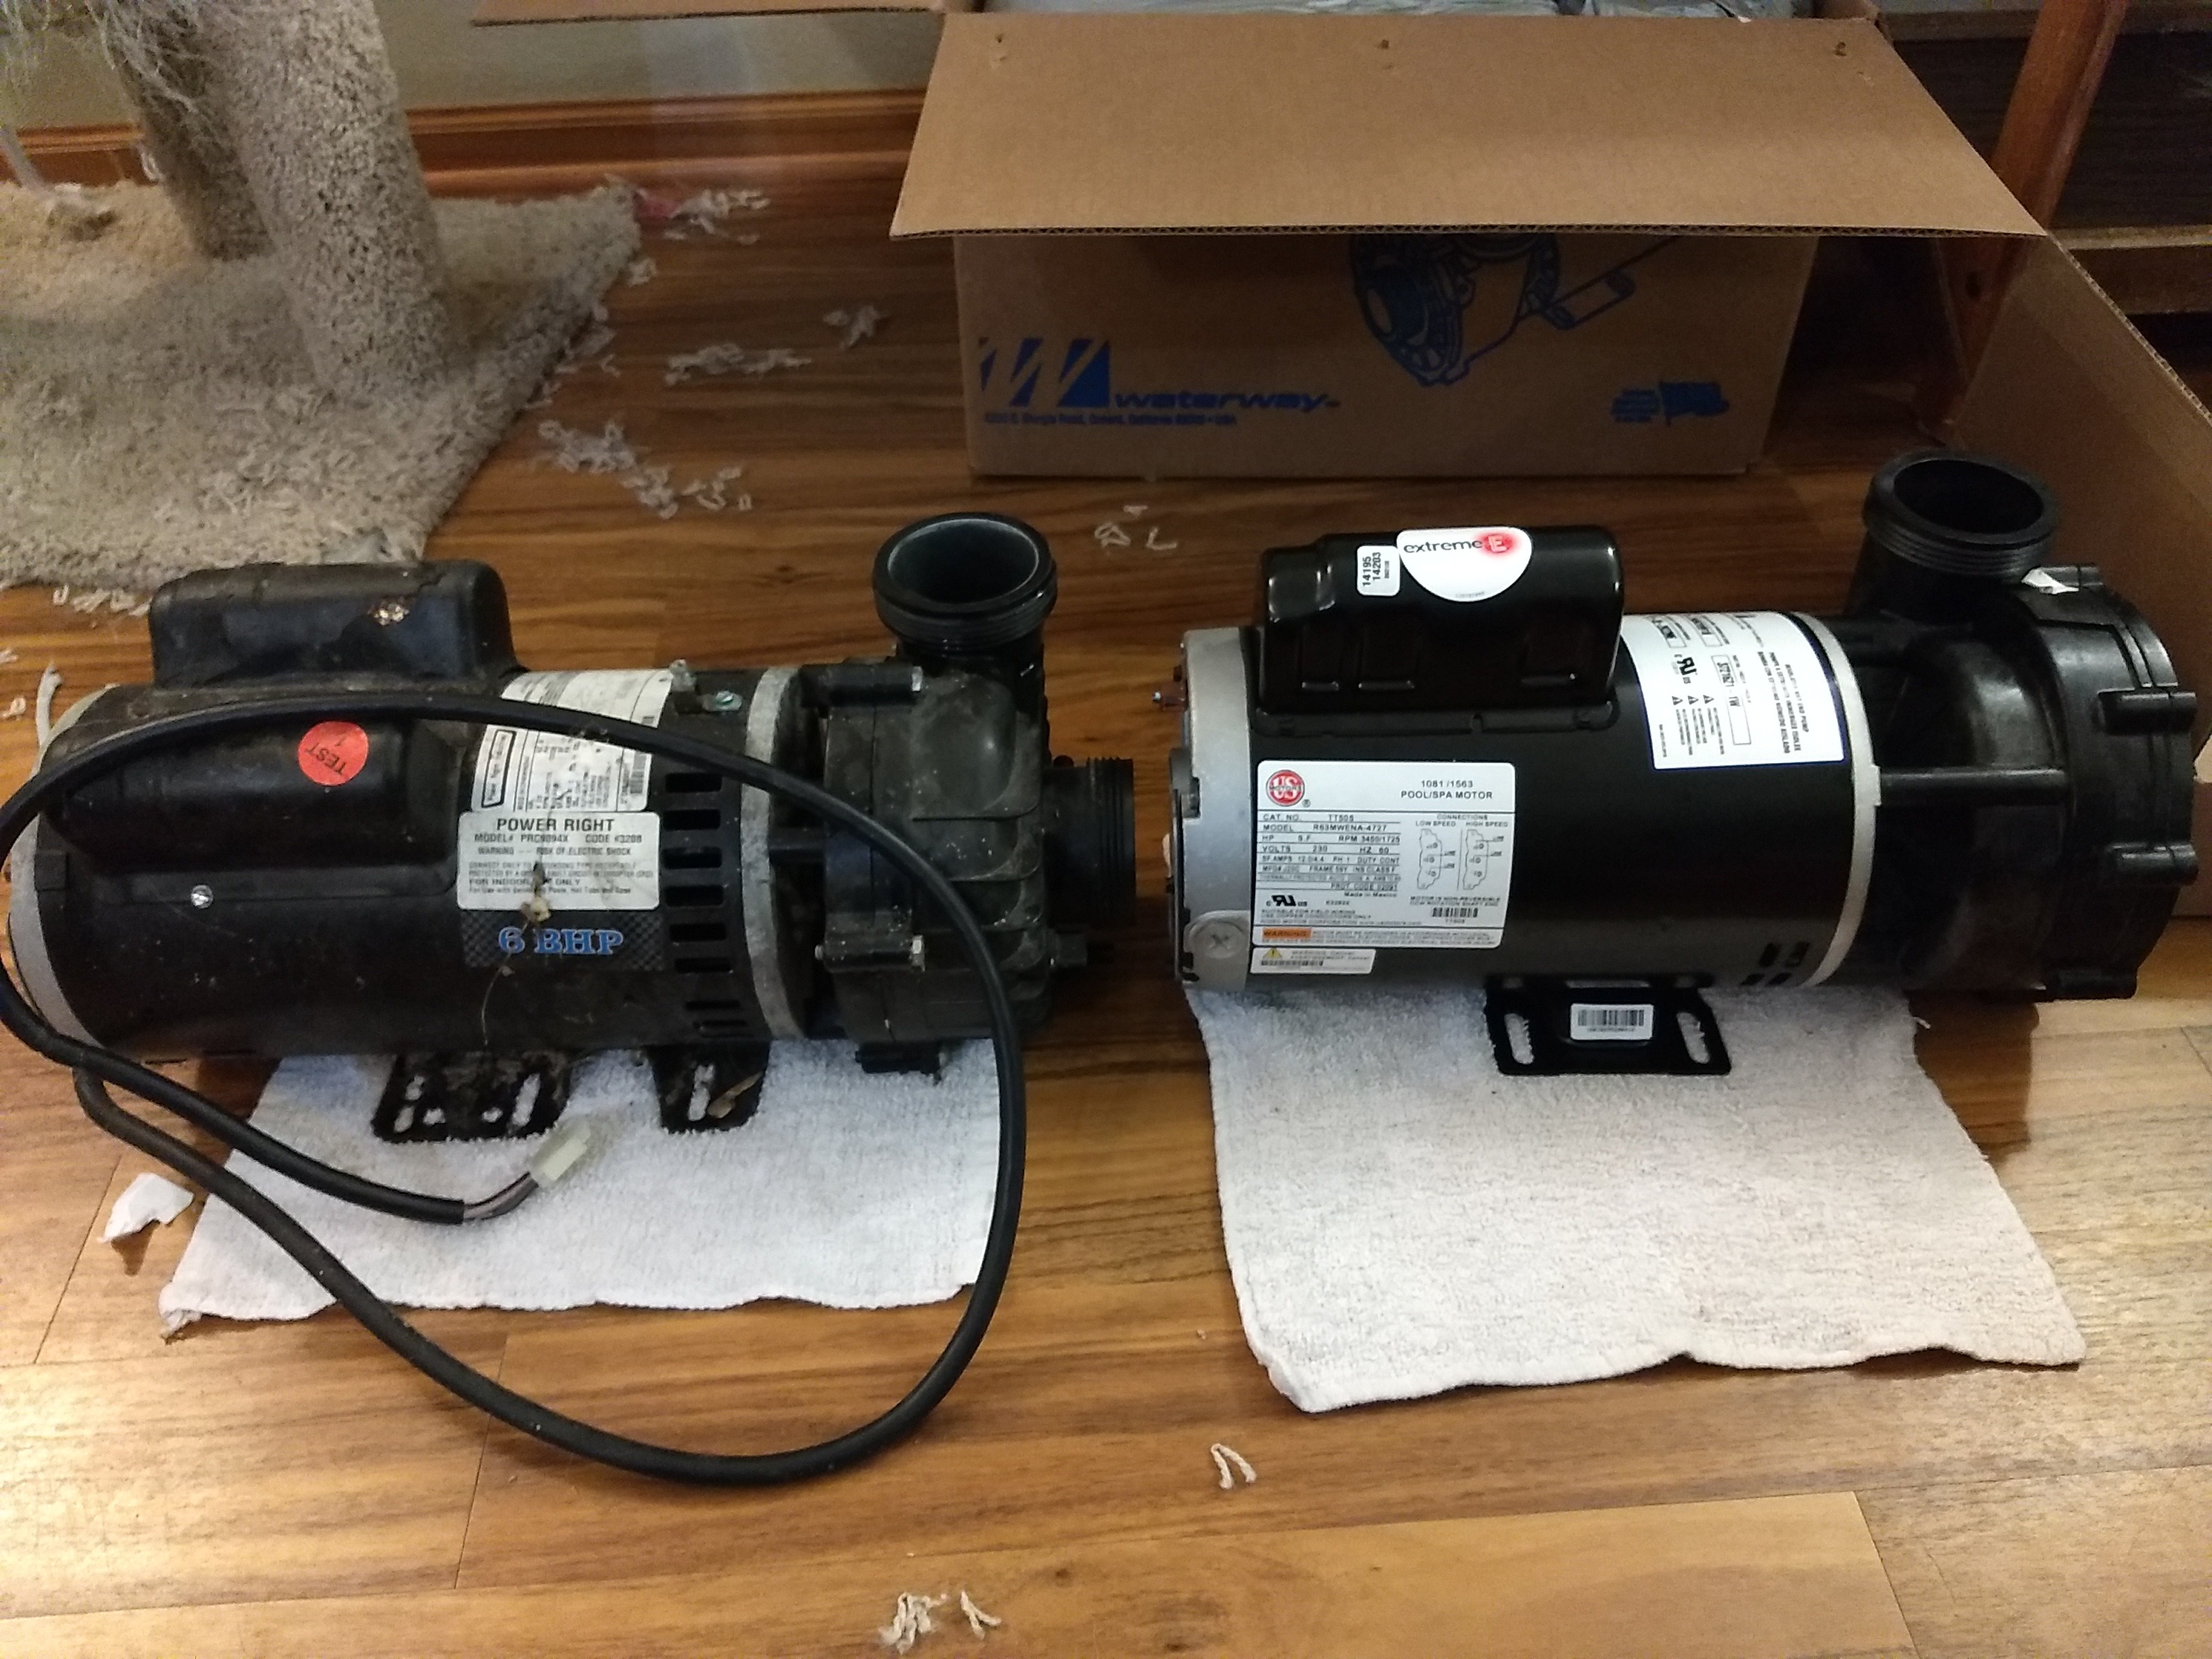
I test fit the pump, all looked good.
full


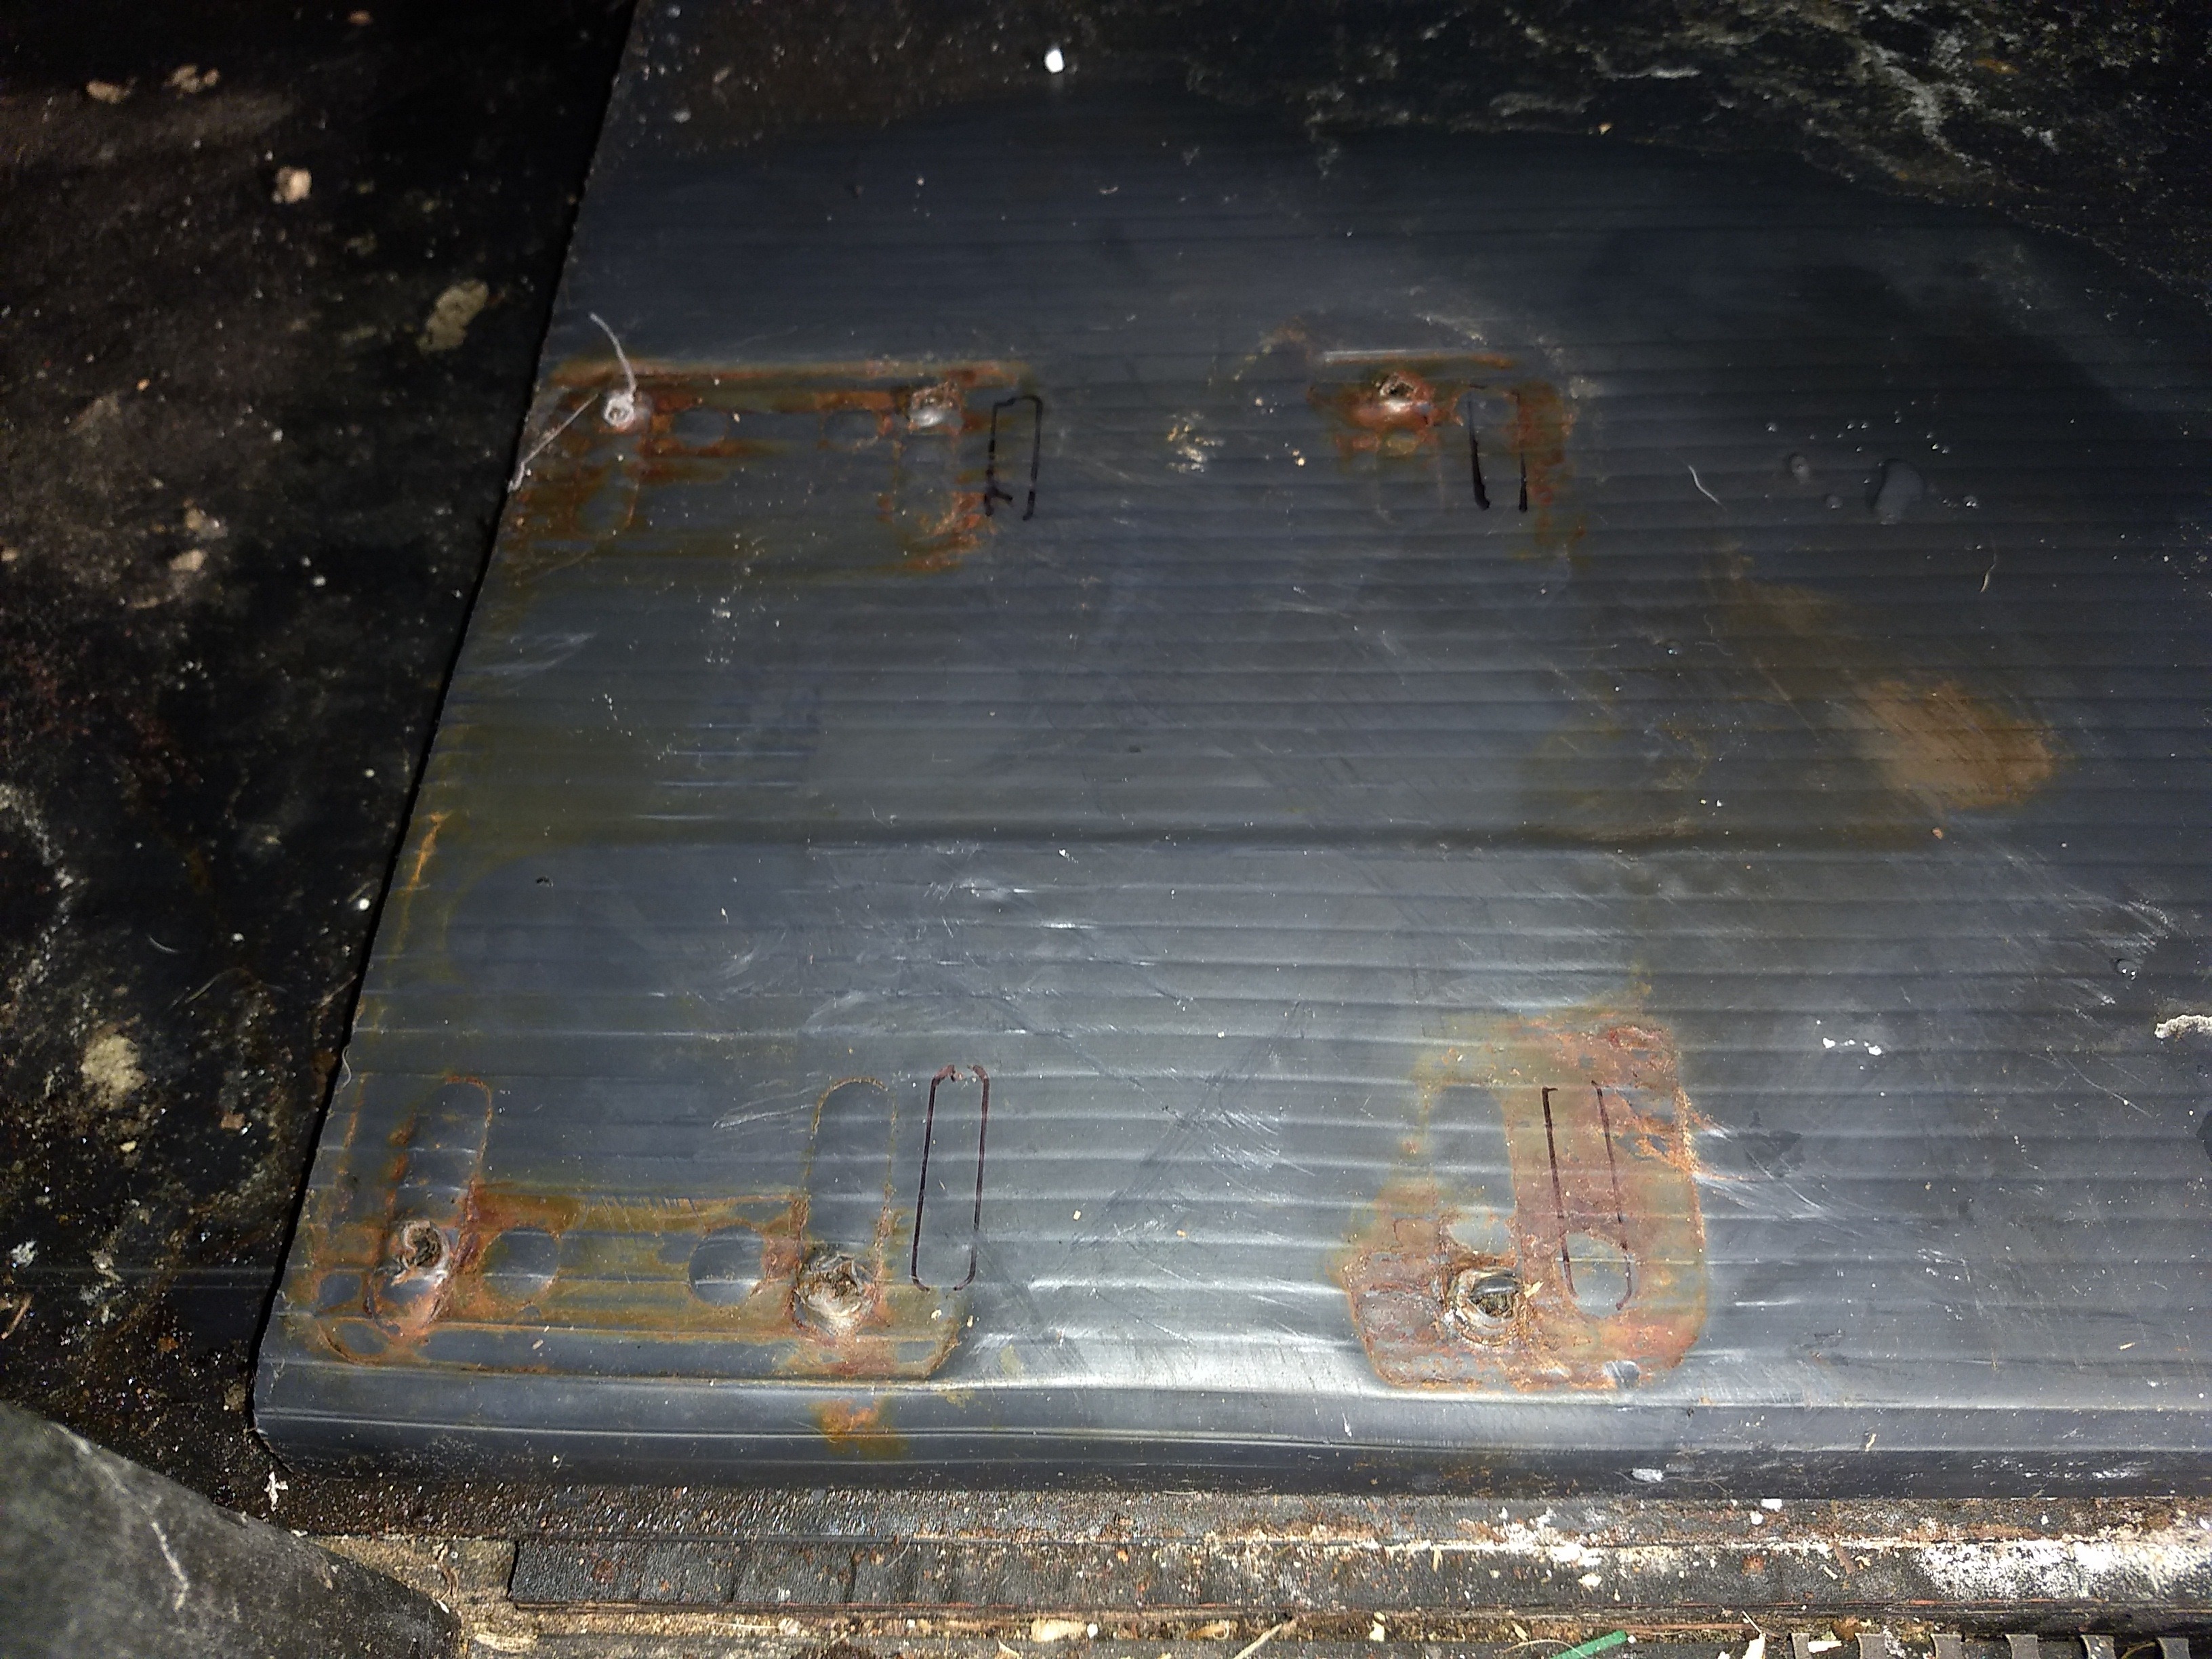
While the pump was in place for test fitting, I used a sharpie to outline the new mounting hole locations. After I took this picture I drilled pilot holes for the for mounting bolts.
full


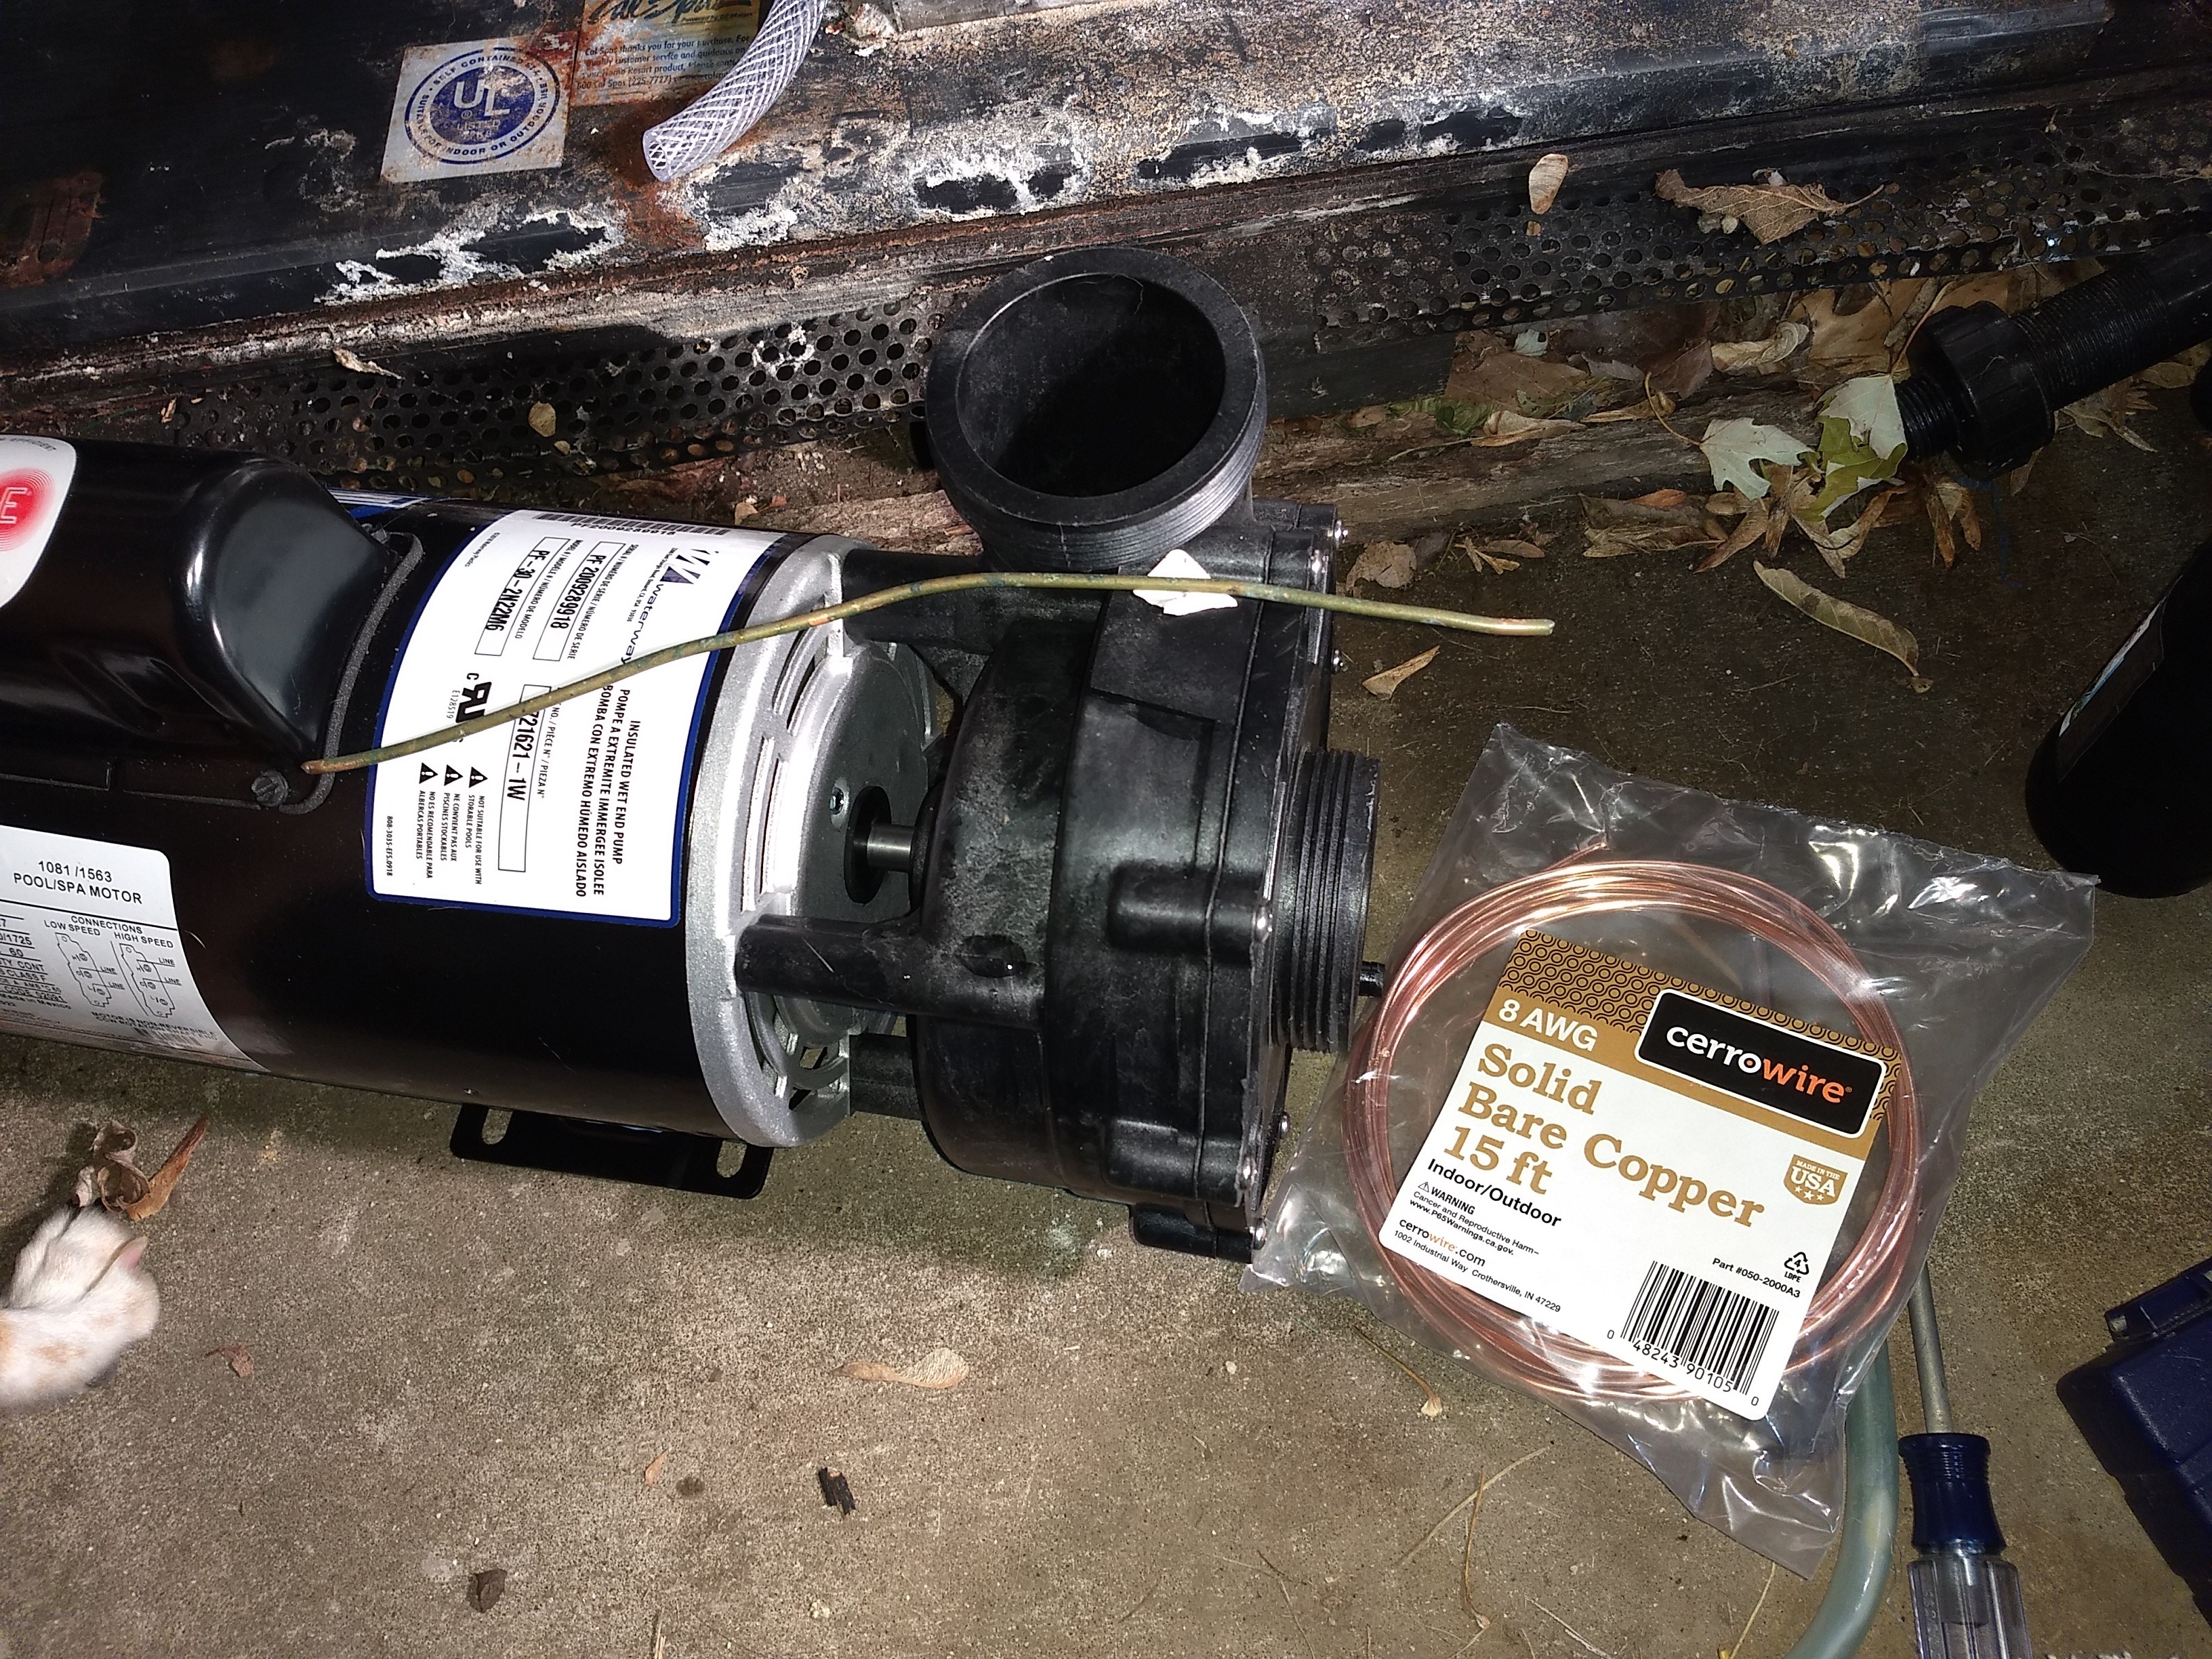
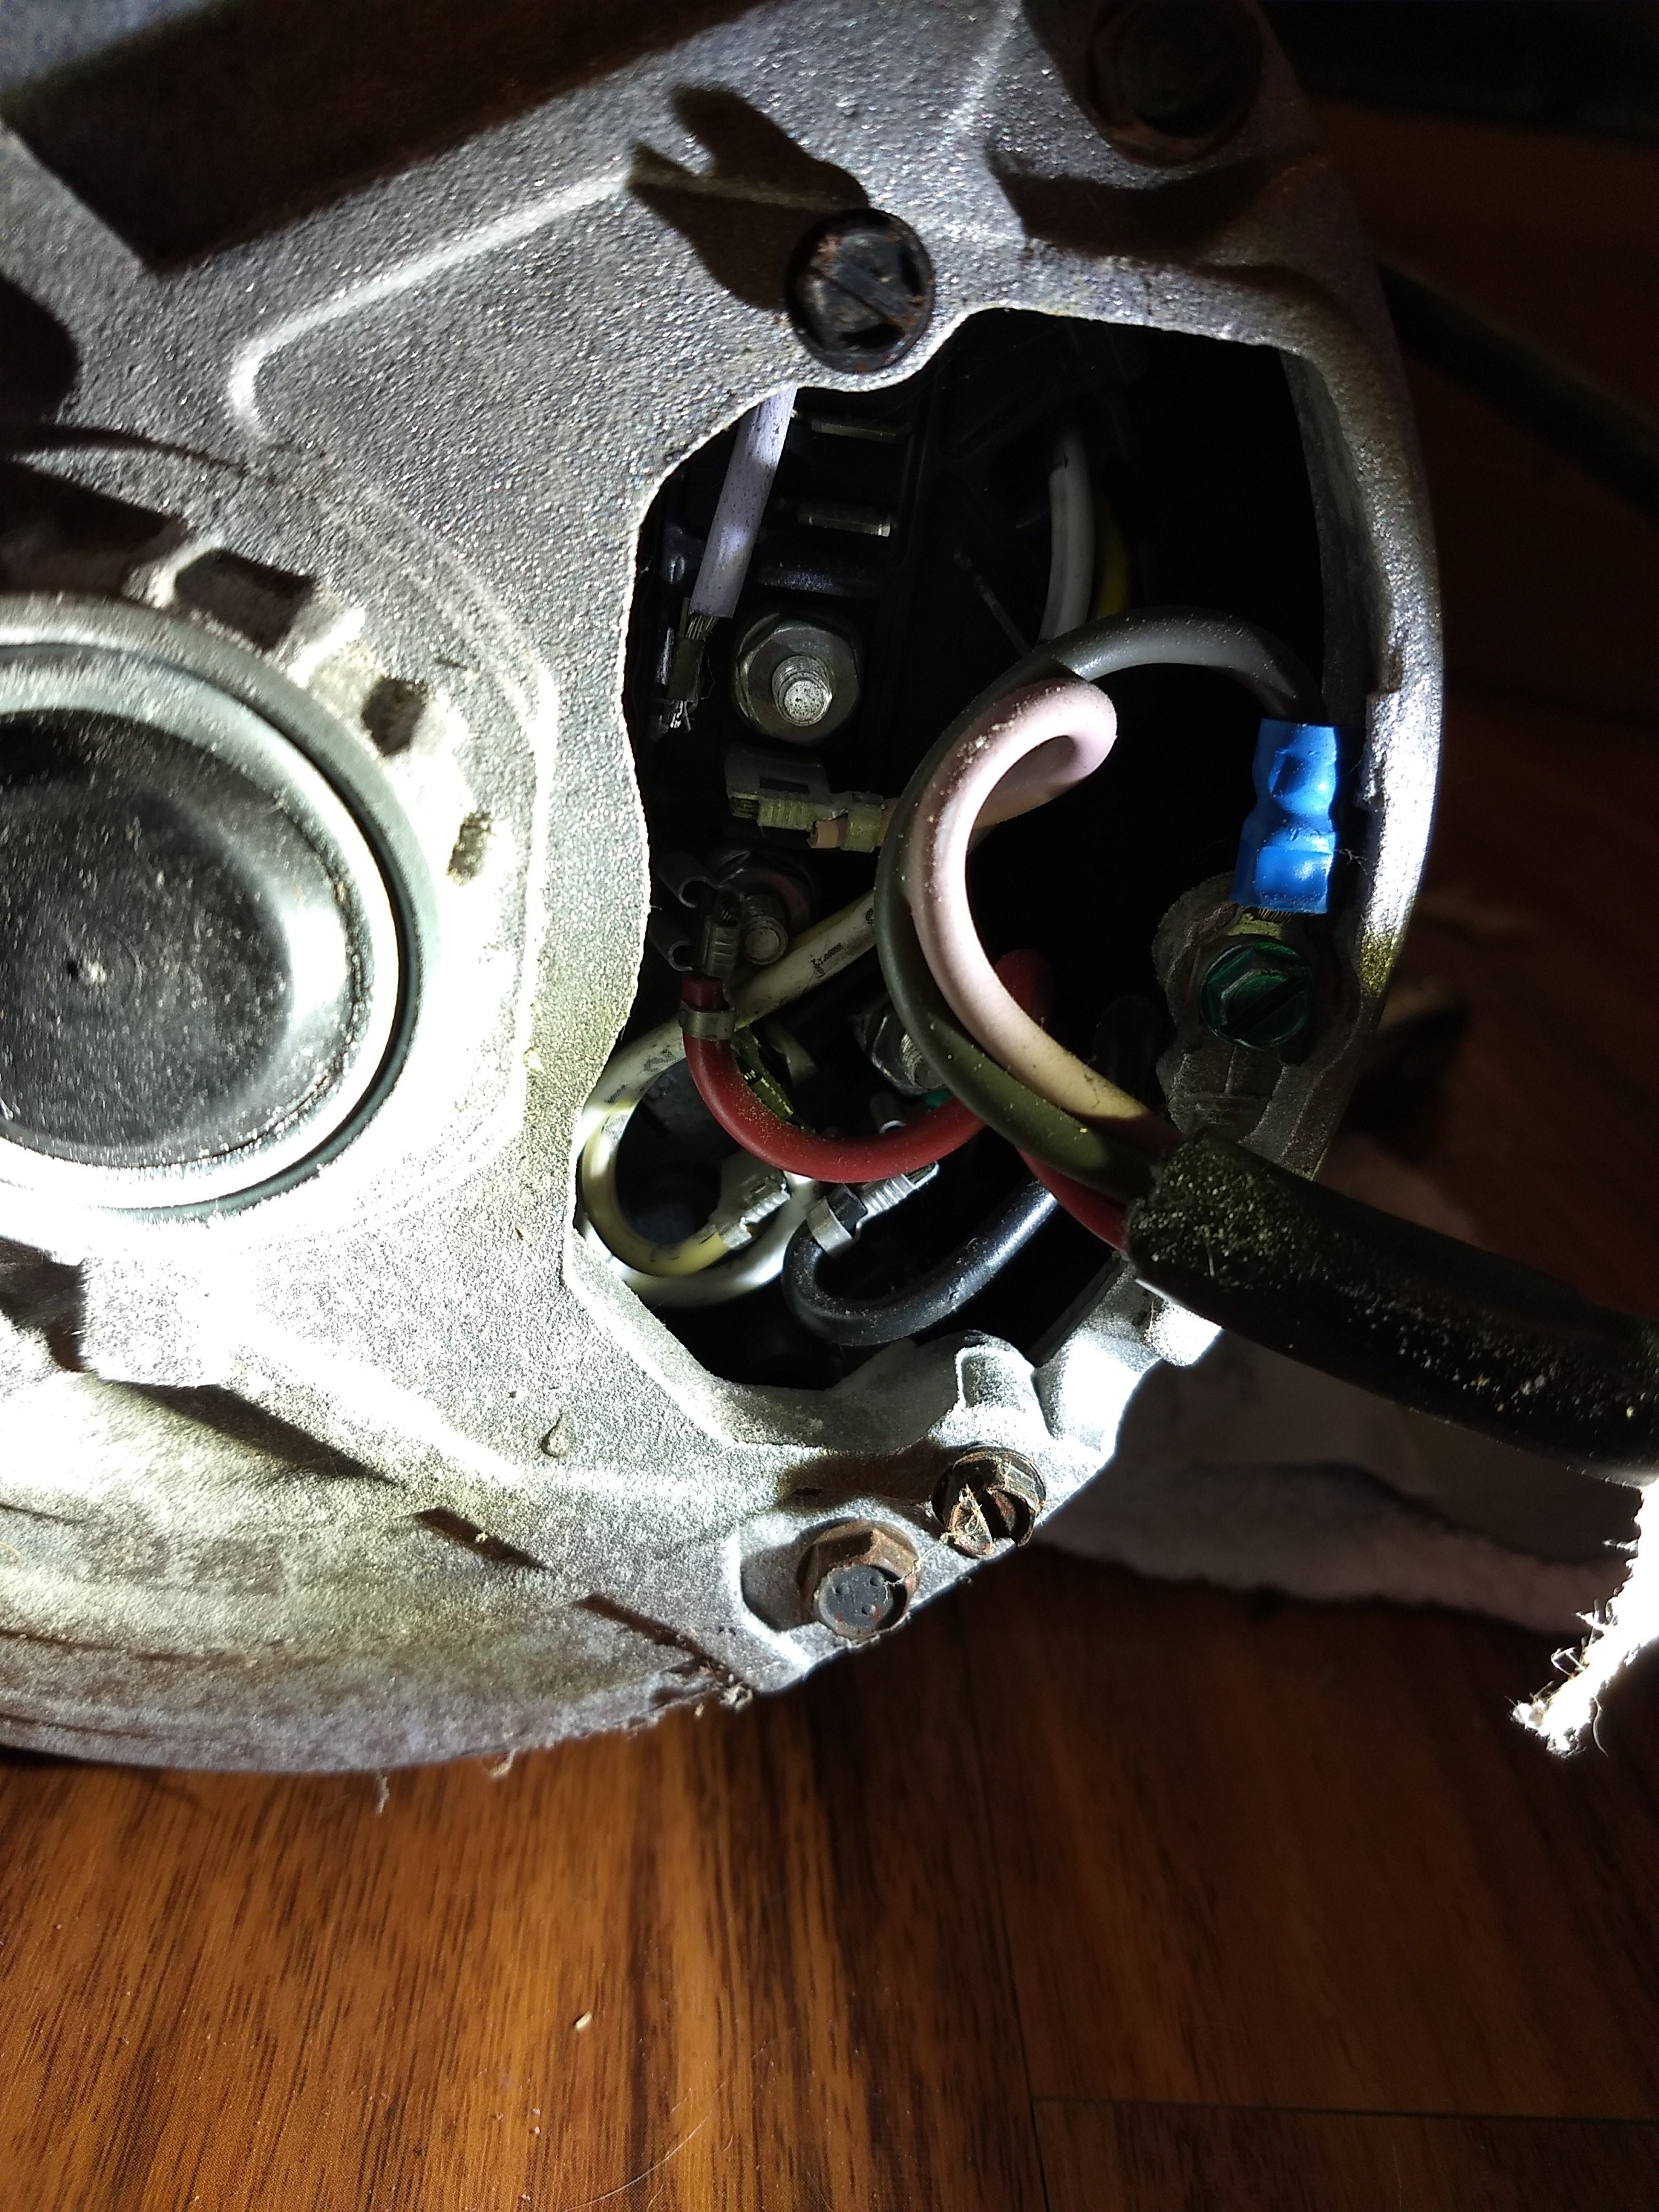
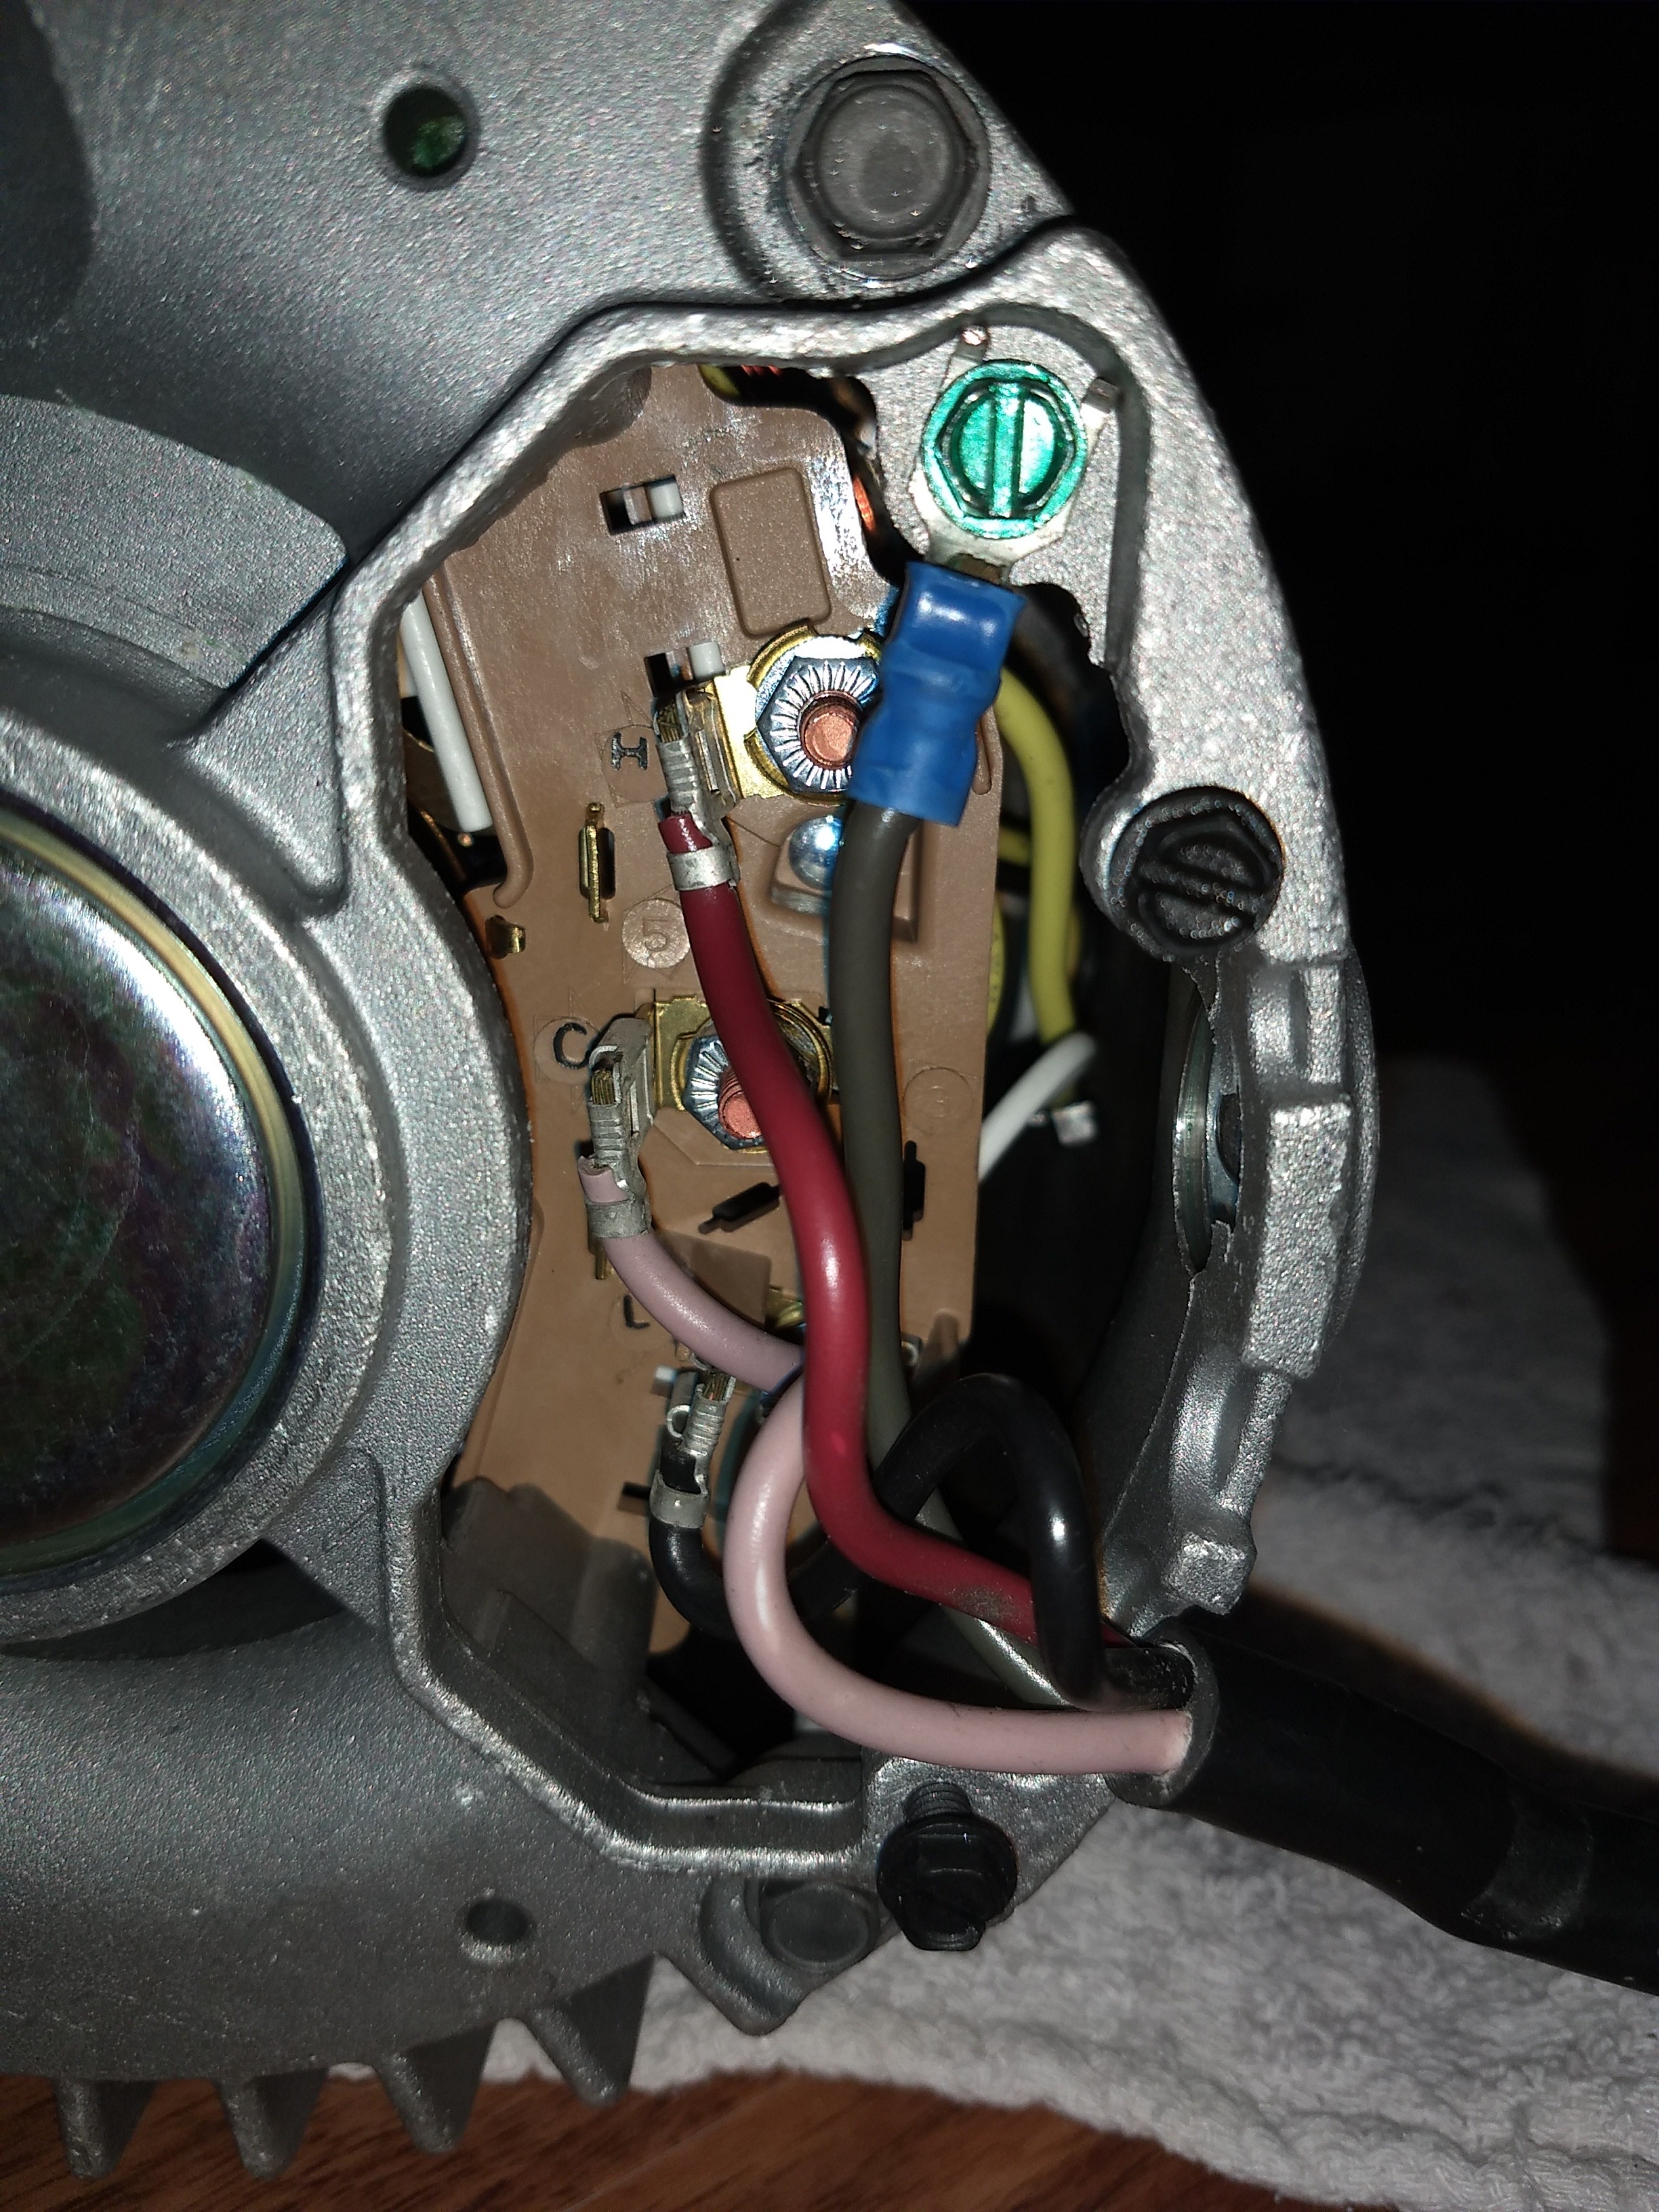
I then had to run to Home Depot as the old equipotential bonding wire was cut for a top mounted terminal on the old motor, and the new motor has the terminal on the back of the motor. This needs to be 8 AWG or larger, and the largest scrap I had laying around was 10 AWG.
full


I cut a section a bit long on purpose and attached it to the motor.
full


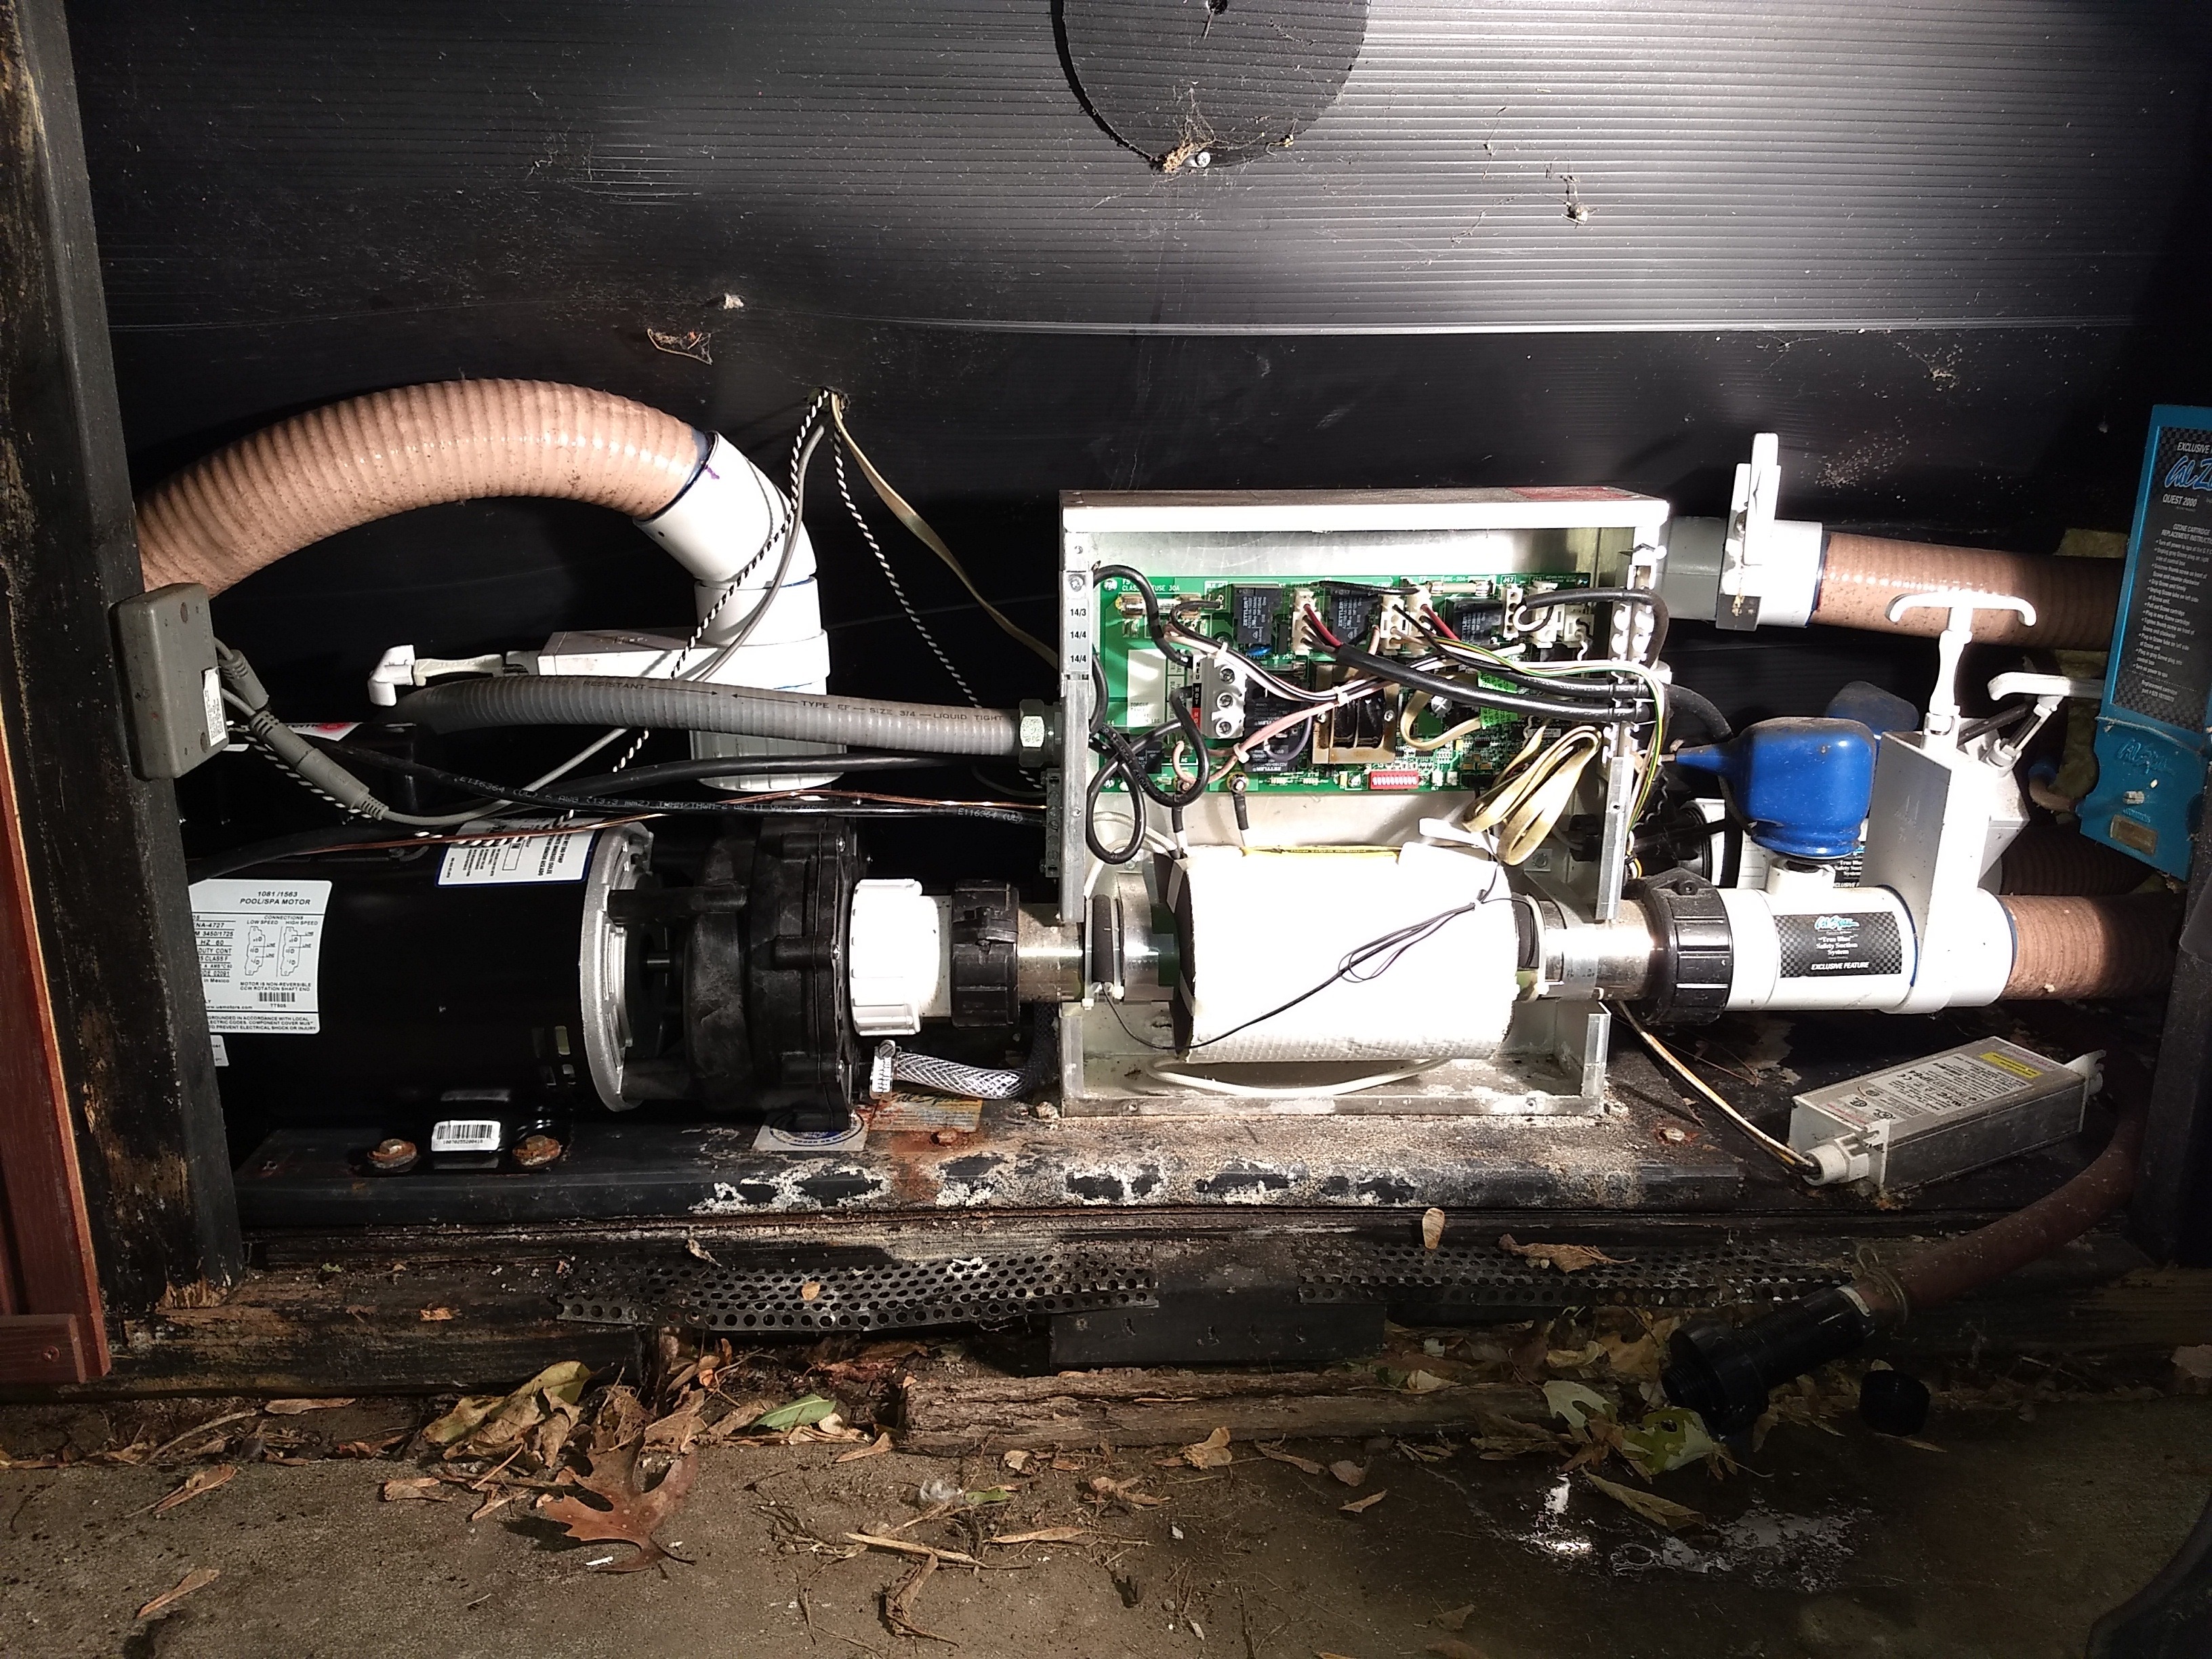
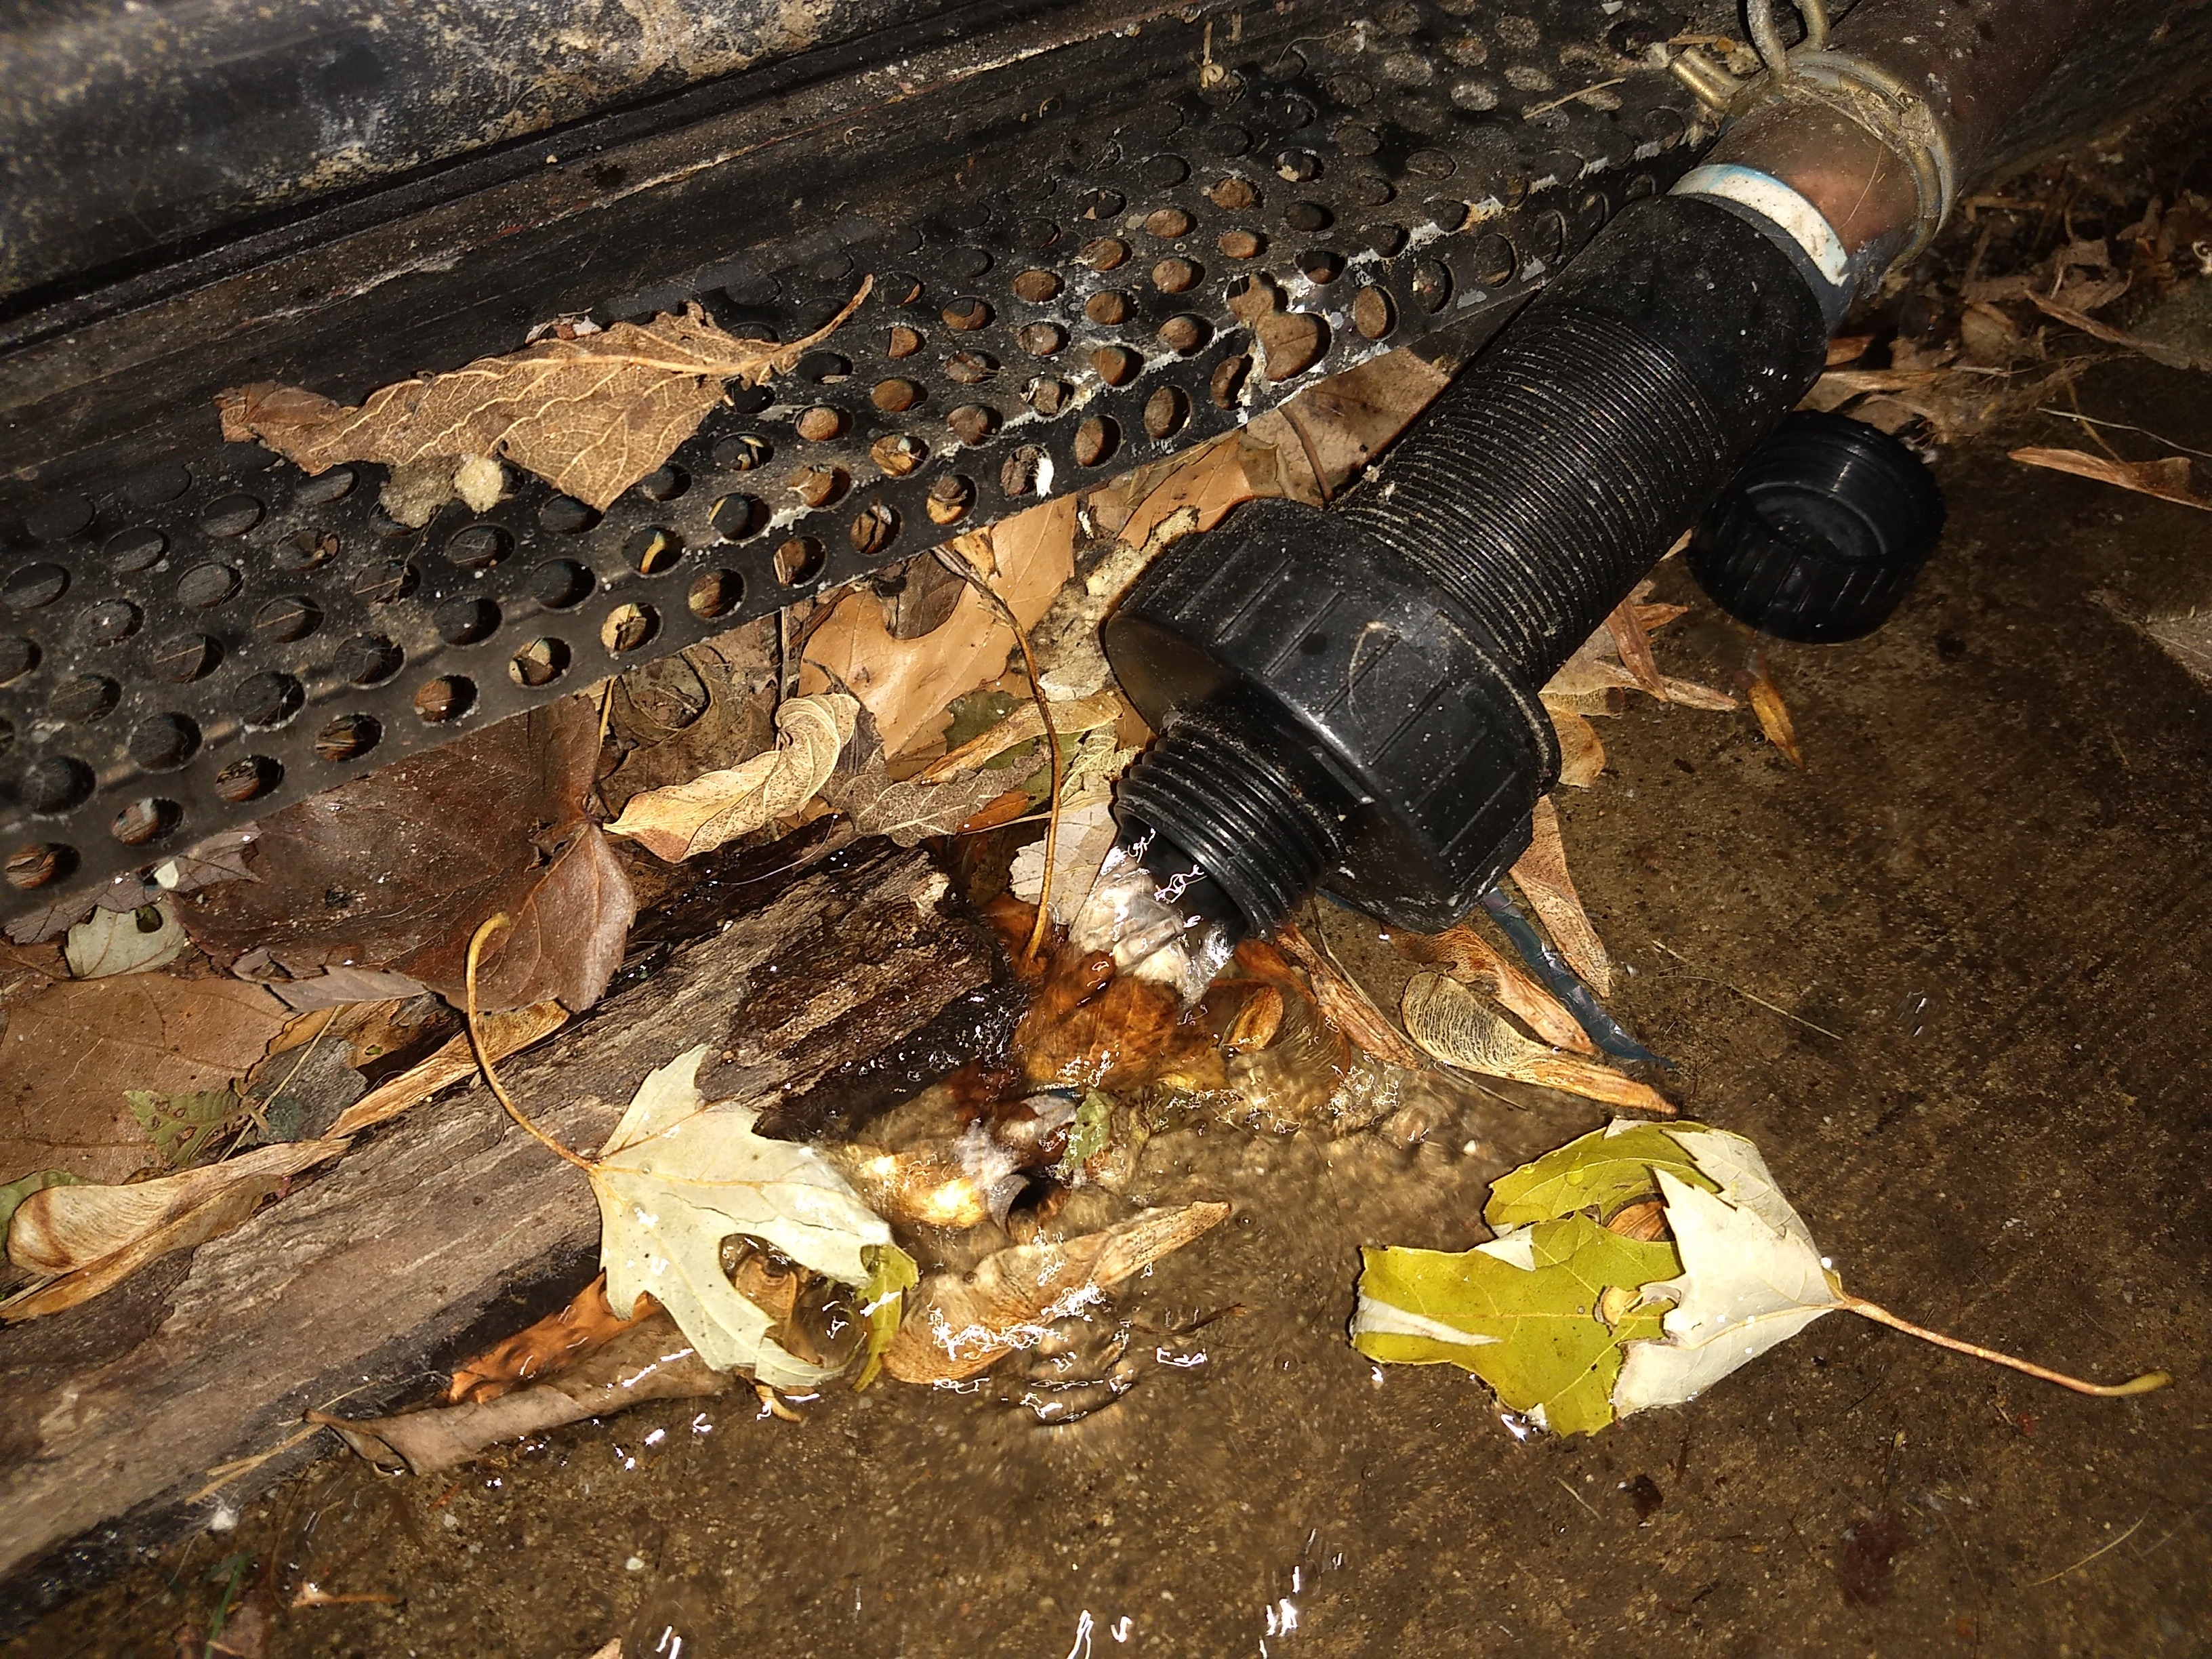
I then put the pump back in, connected the heater water line, screwed it down, connected the other water line, the equipotential bonding wire, pump power wire, and drain hose. All set for water and testing!
full


full


One thing I did note that may be an issue in the future is it seems the glue joint between the hose and elbow is breaking. There's a bit of stress on the hose here, not sure why they didn't do a 90 instead of a 45 here.
full


Don't forget to close your drain valve before filling!
full


Anyway, that's the progress so far. If no leaks during filling, then once the spa is filled it's time to flip the disconnect and see if we have leaks under pressure. Hopefully all is good, if so it's water balance time and we'll be enjoying this tomorrow evening!

Keen readers may note I did NOT change the valve that wouldn't shut, I didn't get a new one ordered. Hopefully everything is wired up right and works! I will order one here shortly, to have on hand, and next time I need to drain and do maintenance I'll put the new valve in.
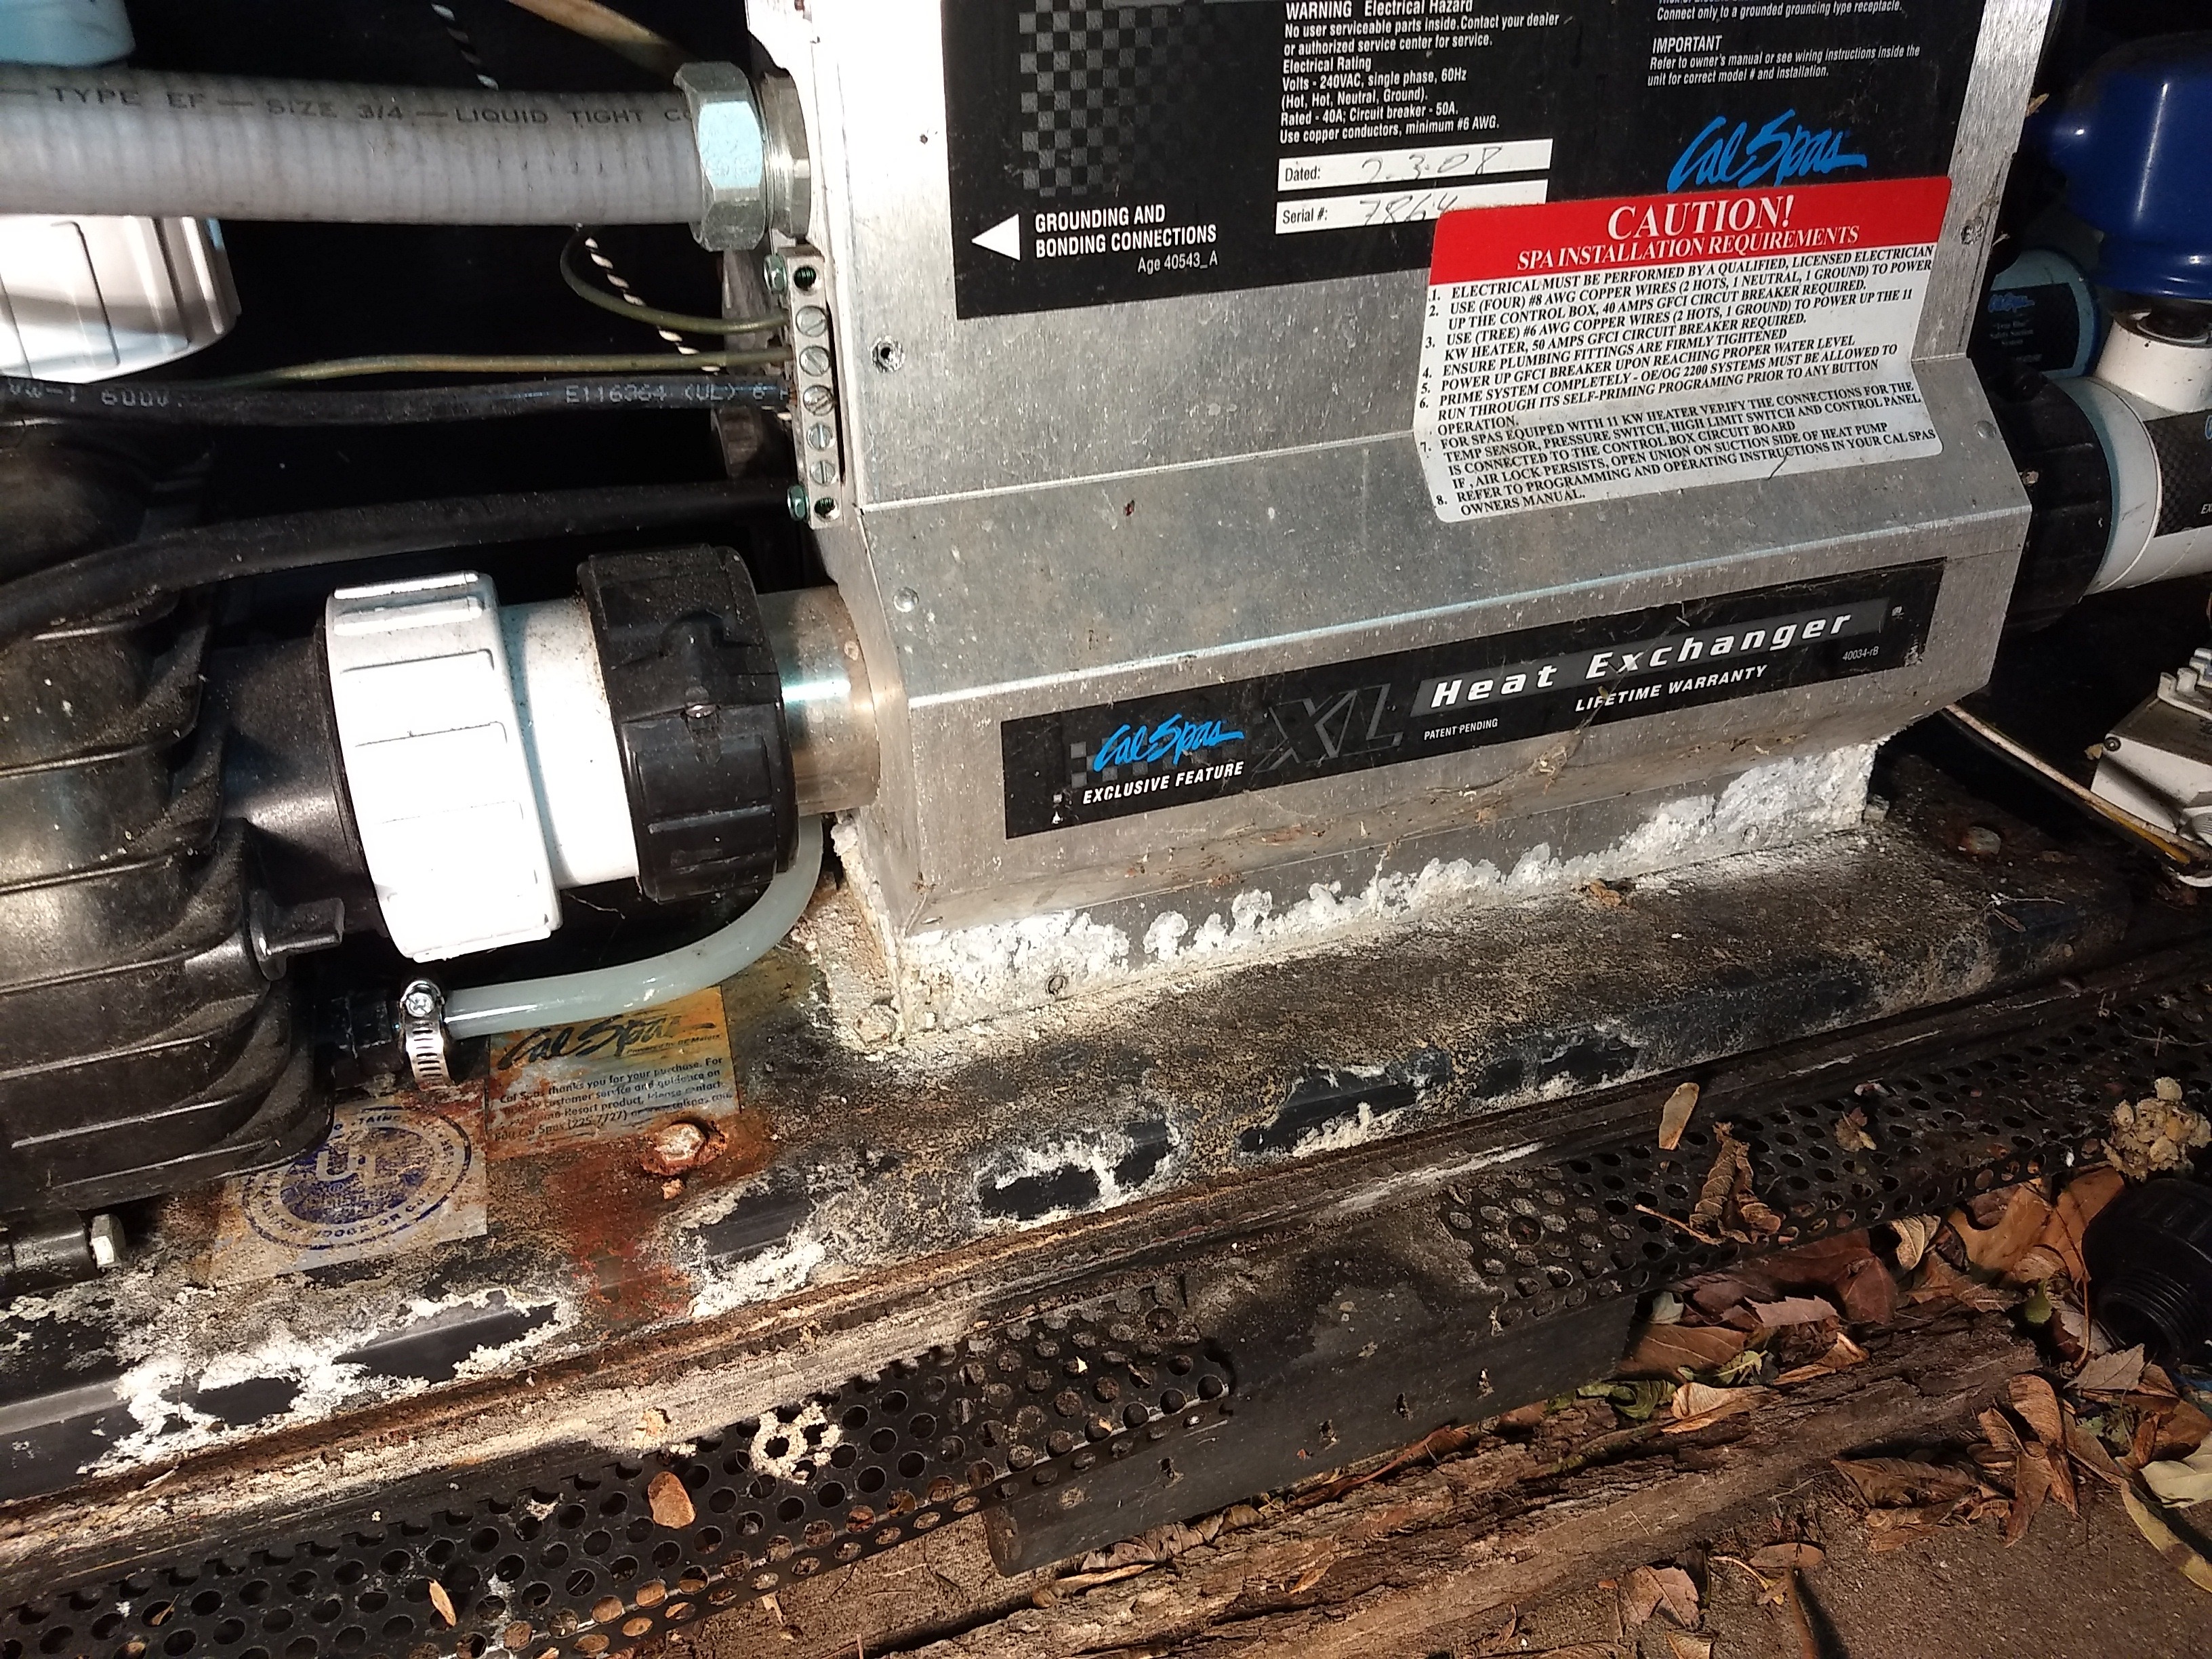
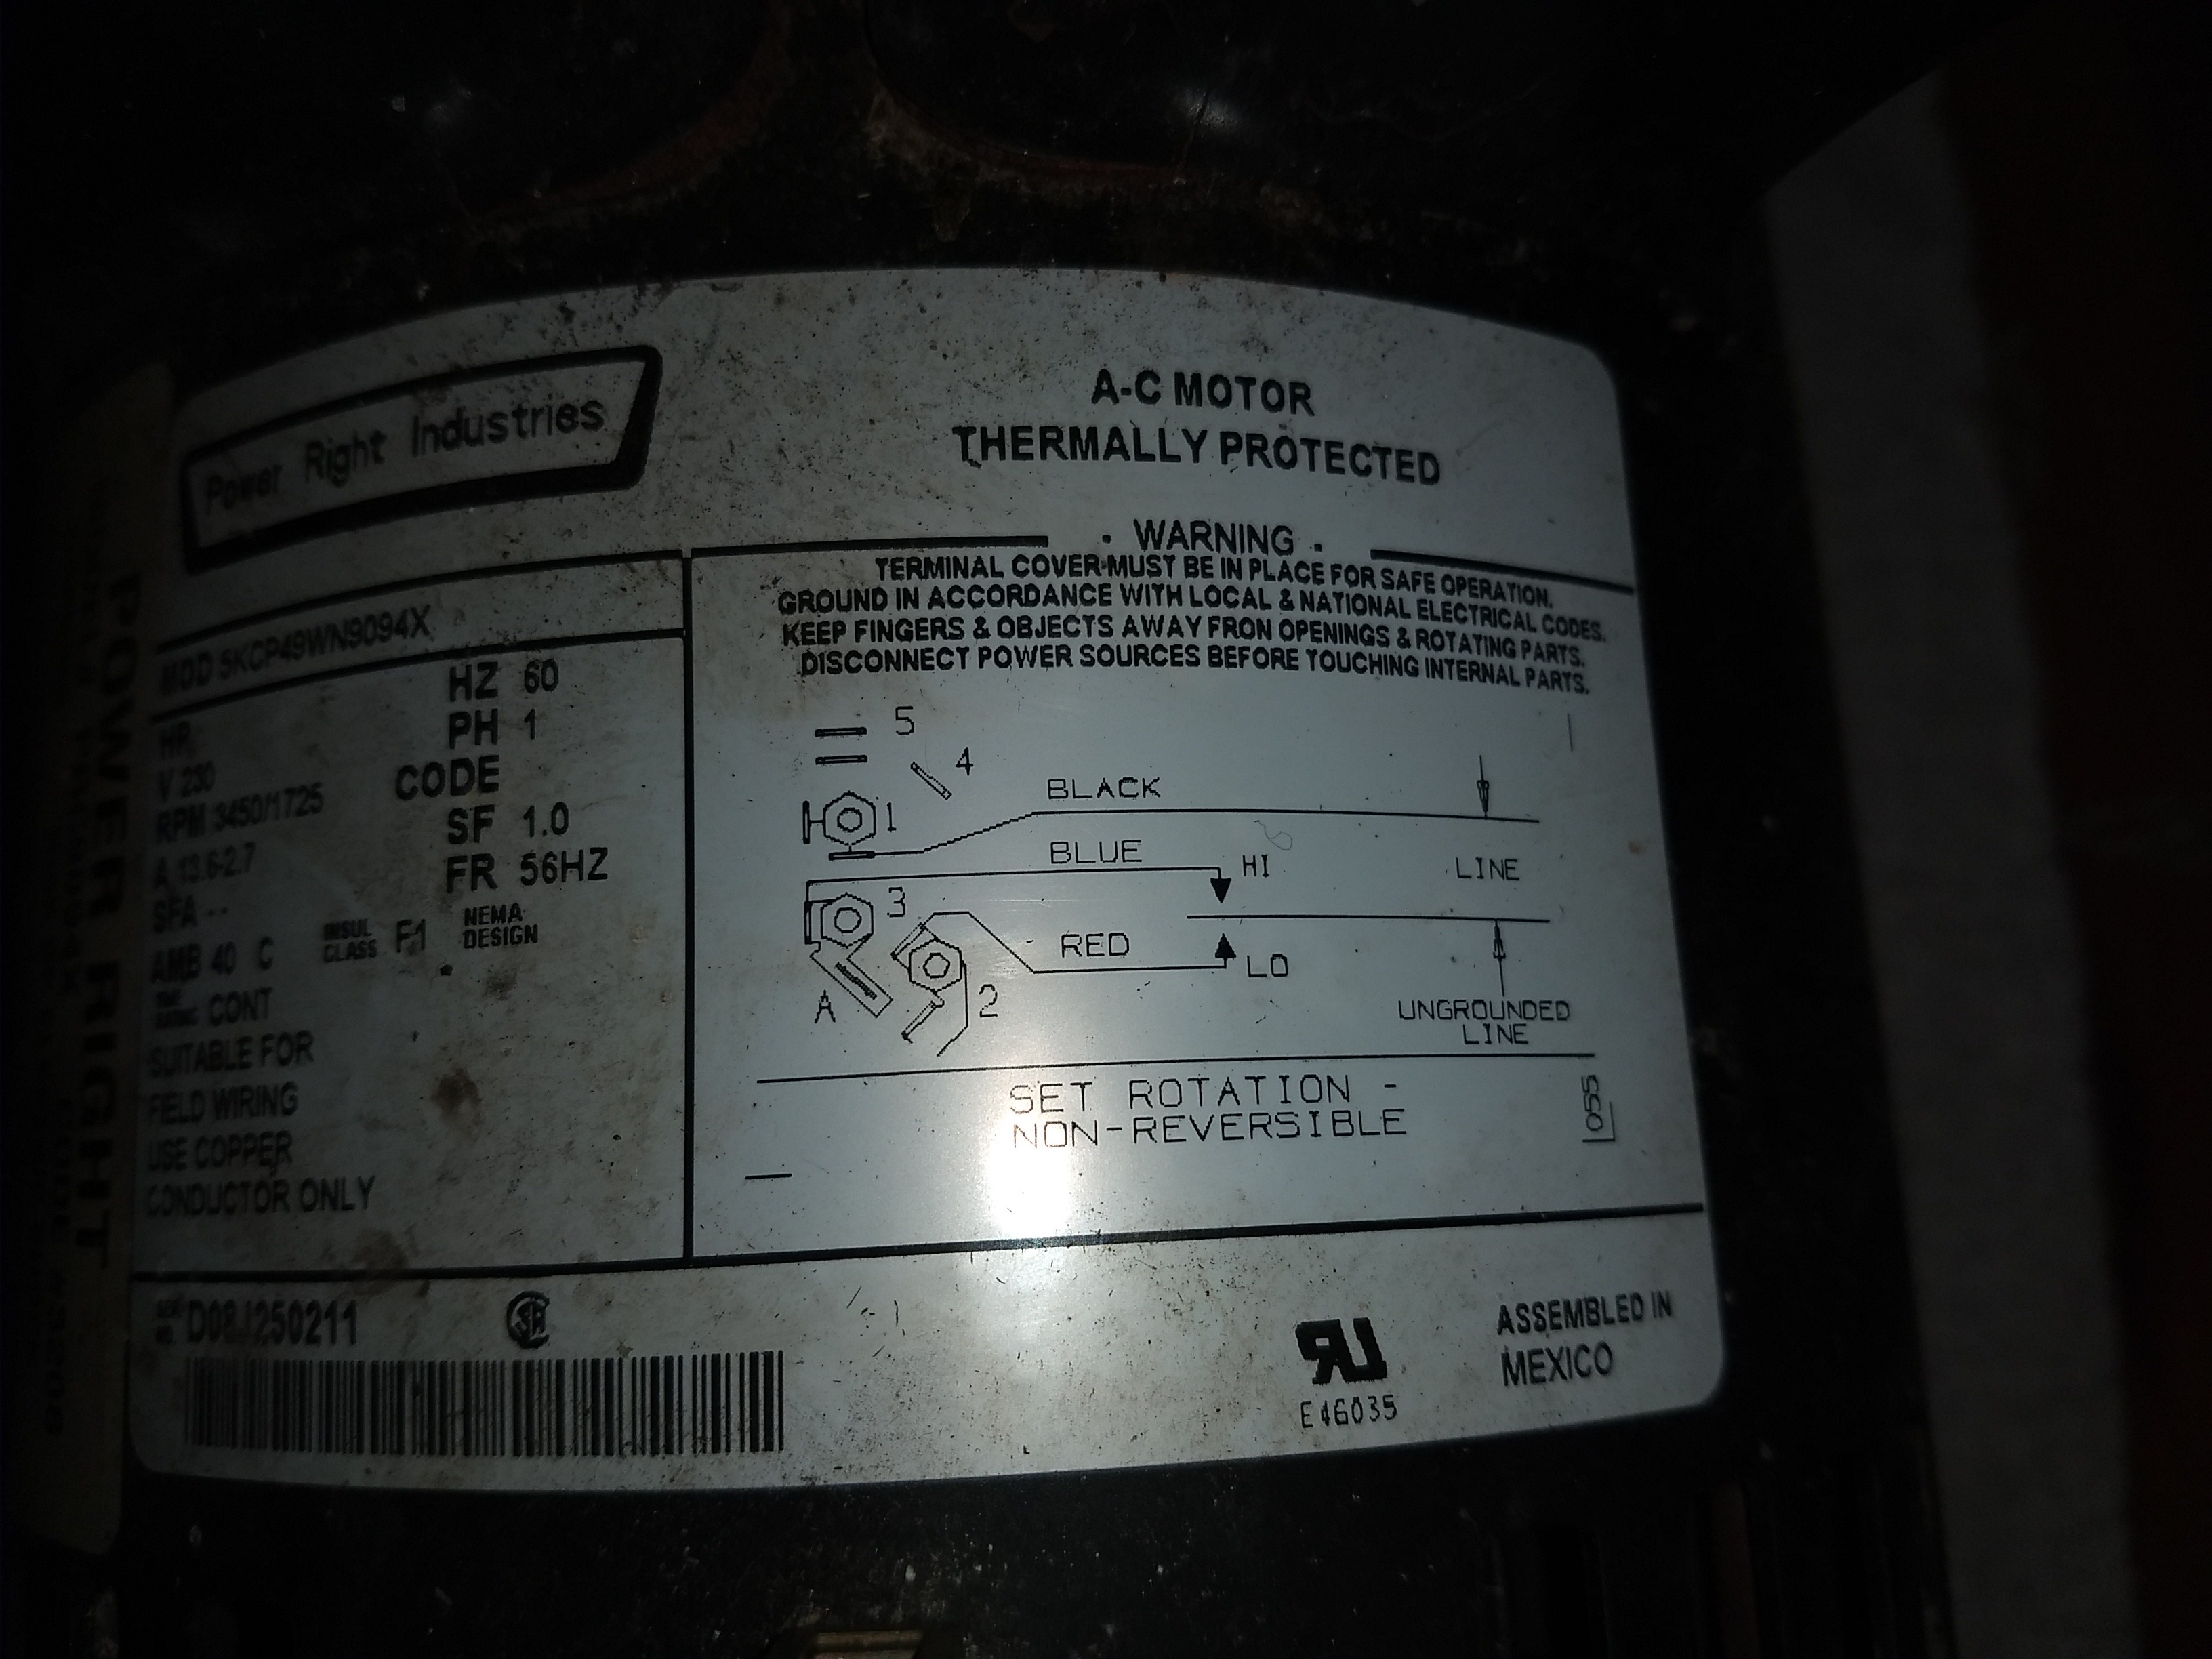
 
Update 2: Wow, my spa fills fast! After I finished writing that it was filled to here.
full


Anyway I do have one leak I can see without pressure. It's at the left side of this tee. You can see the new drain hose on the right. I wonder now if the old drain hose (that I installed in the spring) was leaking, or if it was that other joint all along!
full


Anyway, I only have those dinky hose barbs now, my plan is to carry on for now, see if everything is good and get the spa heating and start getting the water balanced. Tomorrow I will try replacing the spring clamp with a non-dinky hose barb, and if that doesn't work then I'll have to replace that entire hose section. Since the spa is already full that will be fun, but should be doable. I'll just shut the power off first. But I'm hoping perhaps just a hose clamp will fix it.

Good news is I do not see any leaks anywhere else.
 
Okay, so the good news is the pump works. Bad news is it's super weak and super noisy. Sounds perhaps like it's cavitating? Below is a video showing the noisy replacement pump (cycling between low and high) and the second, original pump (cycling on and off). @RDspaguy thoughts?
 
I would replace the barb tee, those often crack, especially when they have been moved around.
My phone speakers aren't the best, is it quiet in low and noisy on high? Are all of your valves open? Remove filter. Check for air lock or suction leaks.
Is it a metallic rattling noise? Heaters mounted on high flow pumps can rattle the element, especially if some debris is stuck to it. Can you narrow down the exact location of the noise?
 
Yes, all the valves are open. I tried removing the filter earlier, didn't seem to change the noise. Yes, it's quiet on low and noisy on high.

I wouldn't say it's metallic. I can try to narrow down the noise tomorrow.
 

Enjoying this content?

Support TFP with a donation.

Give Support
Thread Status
Hello , This thread has been inactive for over 60 days. New postings here are unlikely to be seen or responded to by other members. For better visibility, consider Starting A New Thread.