UPDATE - IT'S ALIVE !!!!!!!
(one of my all time favorite movies)
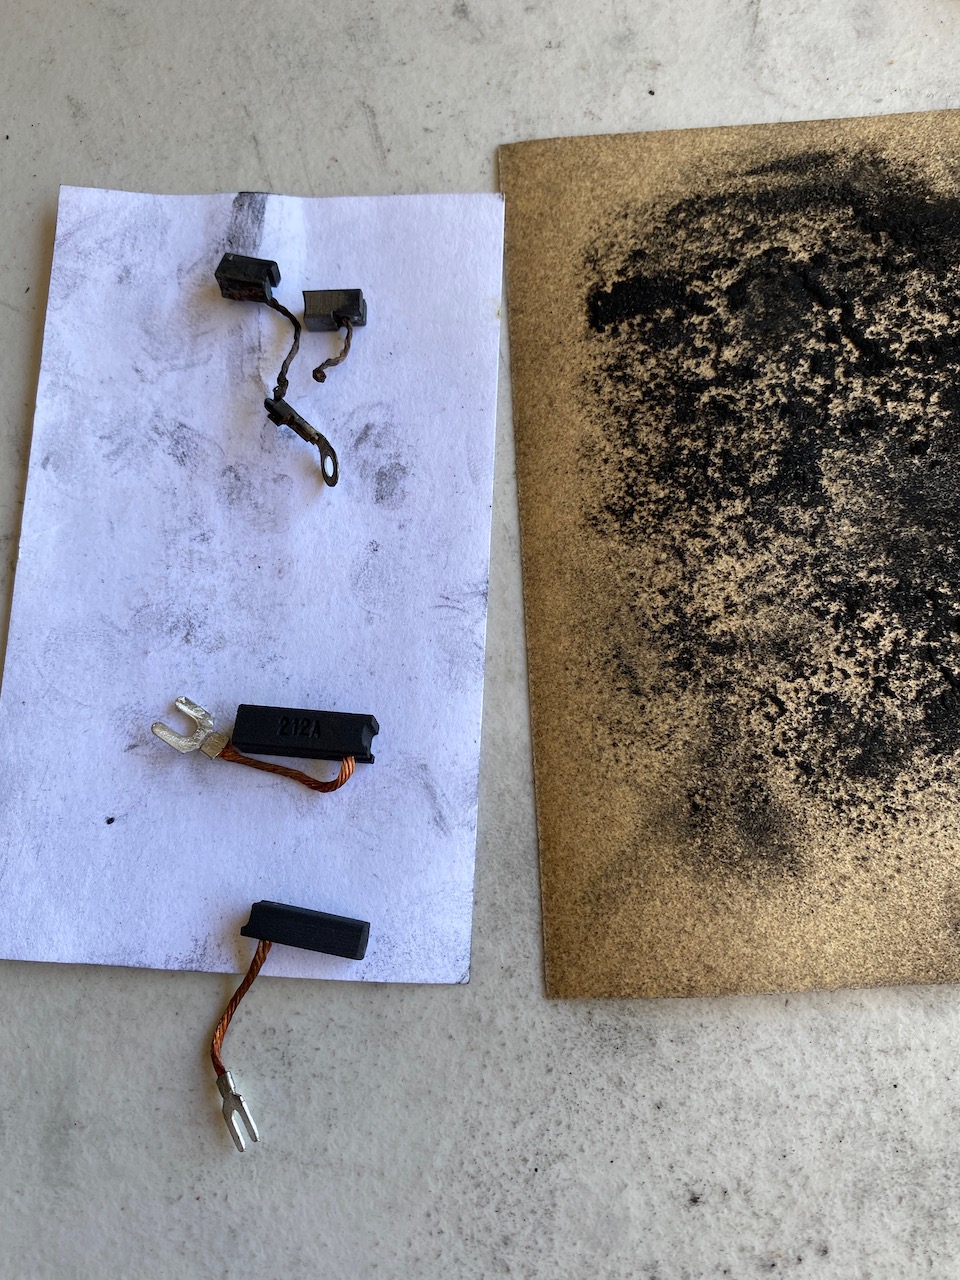
So I finished installing the carbon brushes and then I cleaned off the printed circuit board using IPA (isopropyl alcohol, not india pale ale ... although I do like a nice IPA every now and then ...). Sadly the PCB had some serious hot-spots on it and what looked like a fried tracing. I'm not sure how long it will hold up but it's likely to be the weakest link. After cleaning up all the o-ring seals and lubing everything, here are some pre- and post-assembly pictures -
You can see the old carbon brushes at the top and the new ones that I had to whittle down to get the correct shape and length.
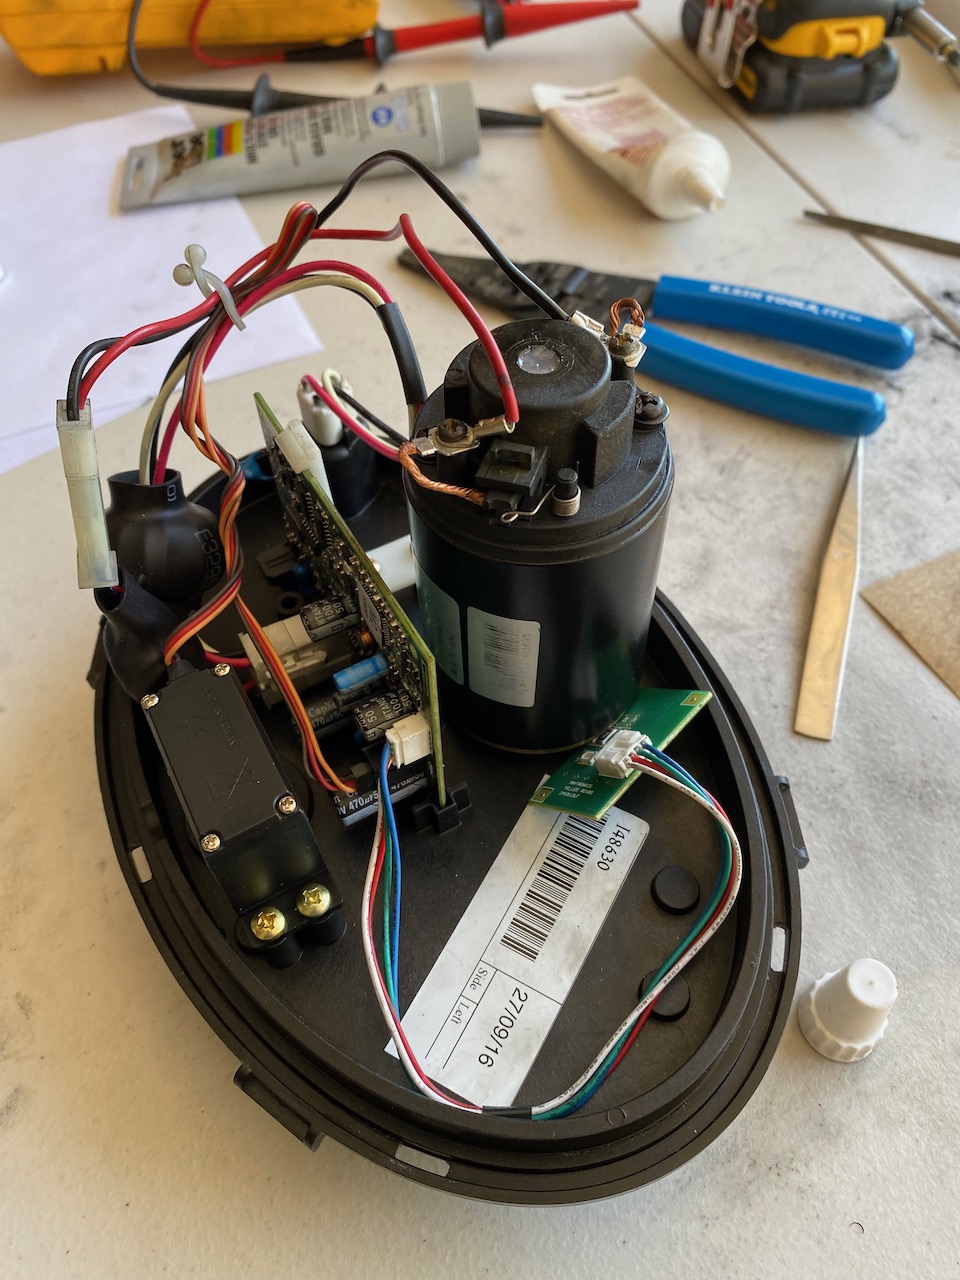
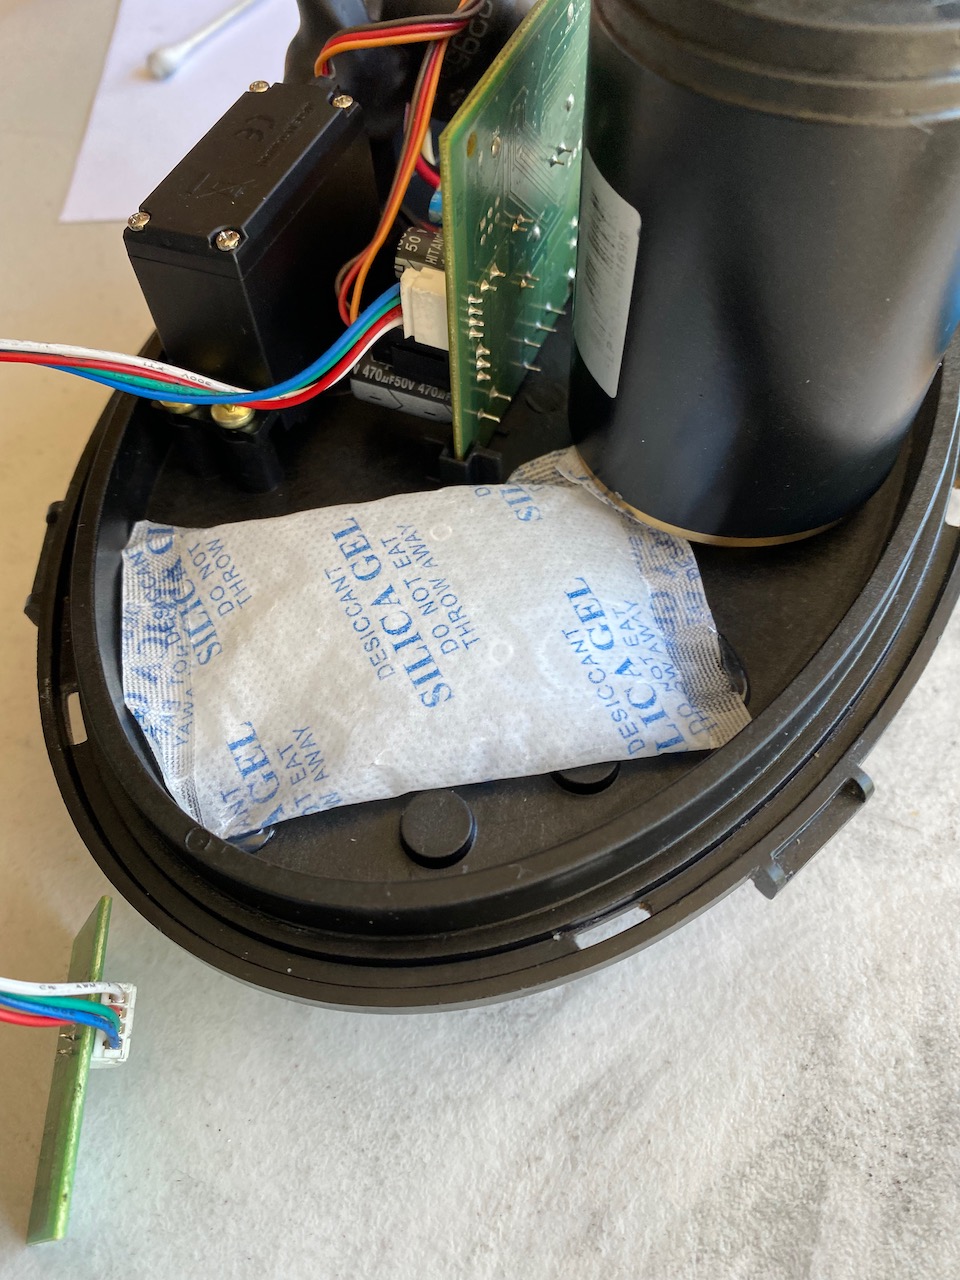
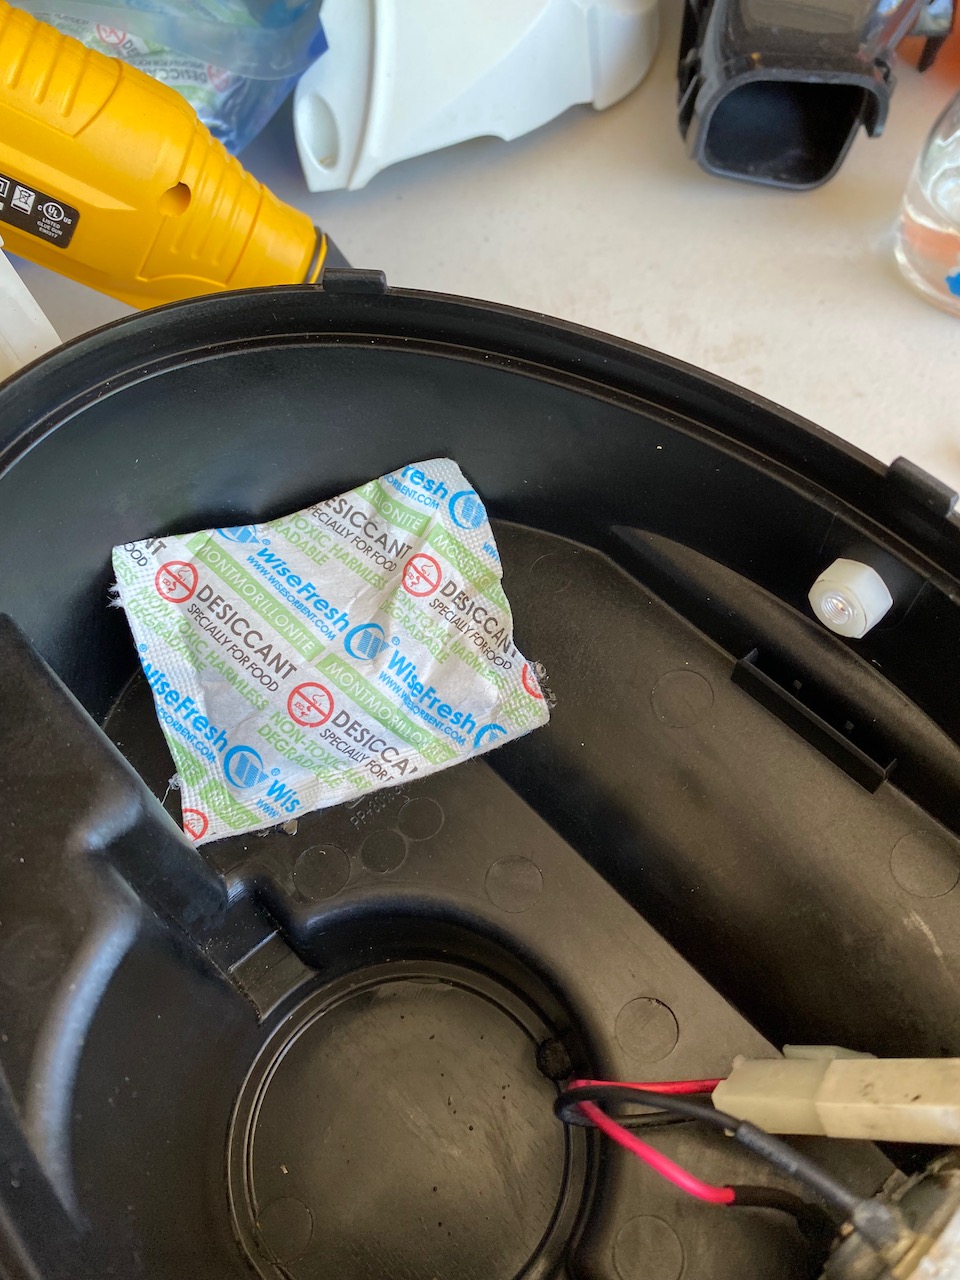
The pump motor assembly was put back into place with the wire harness reattached and I added two desiccant packs (silica gel and clay). I hot glued them down.
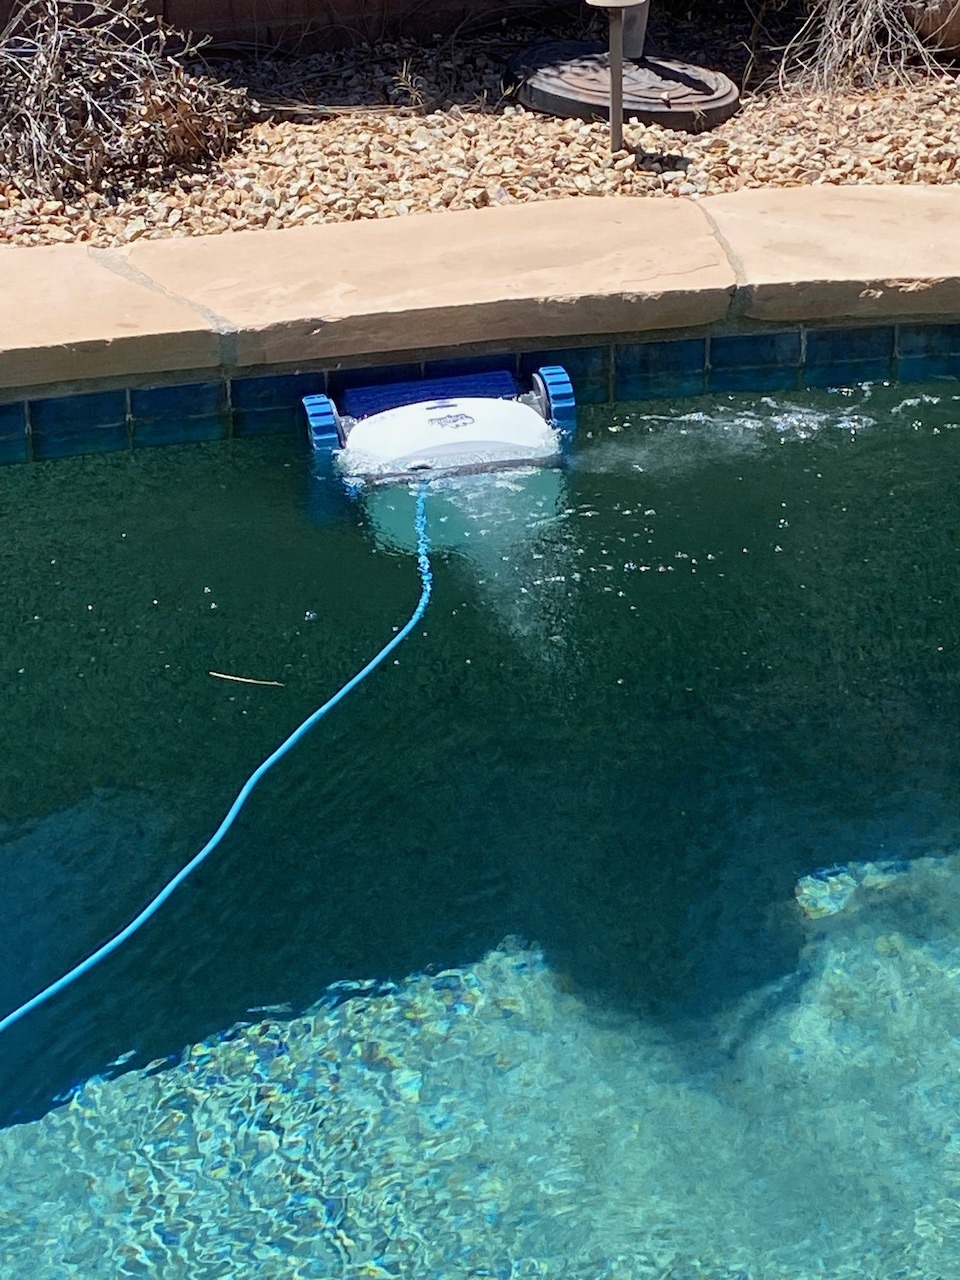
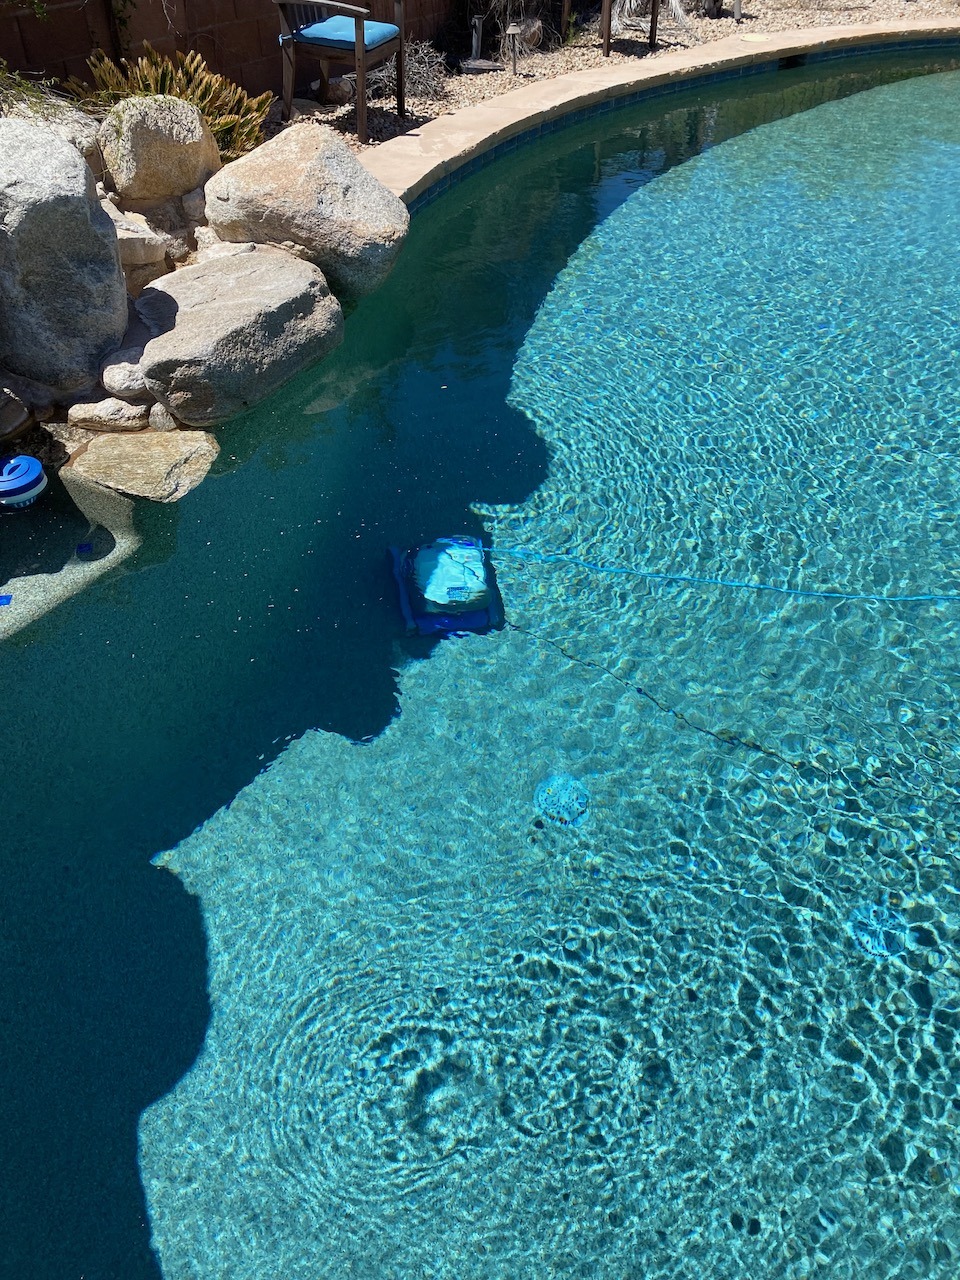
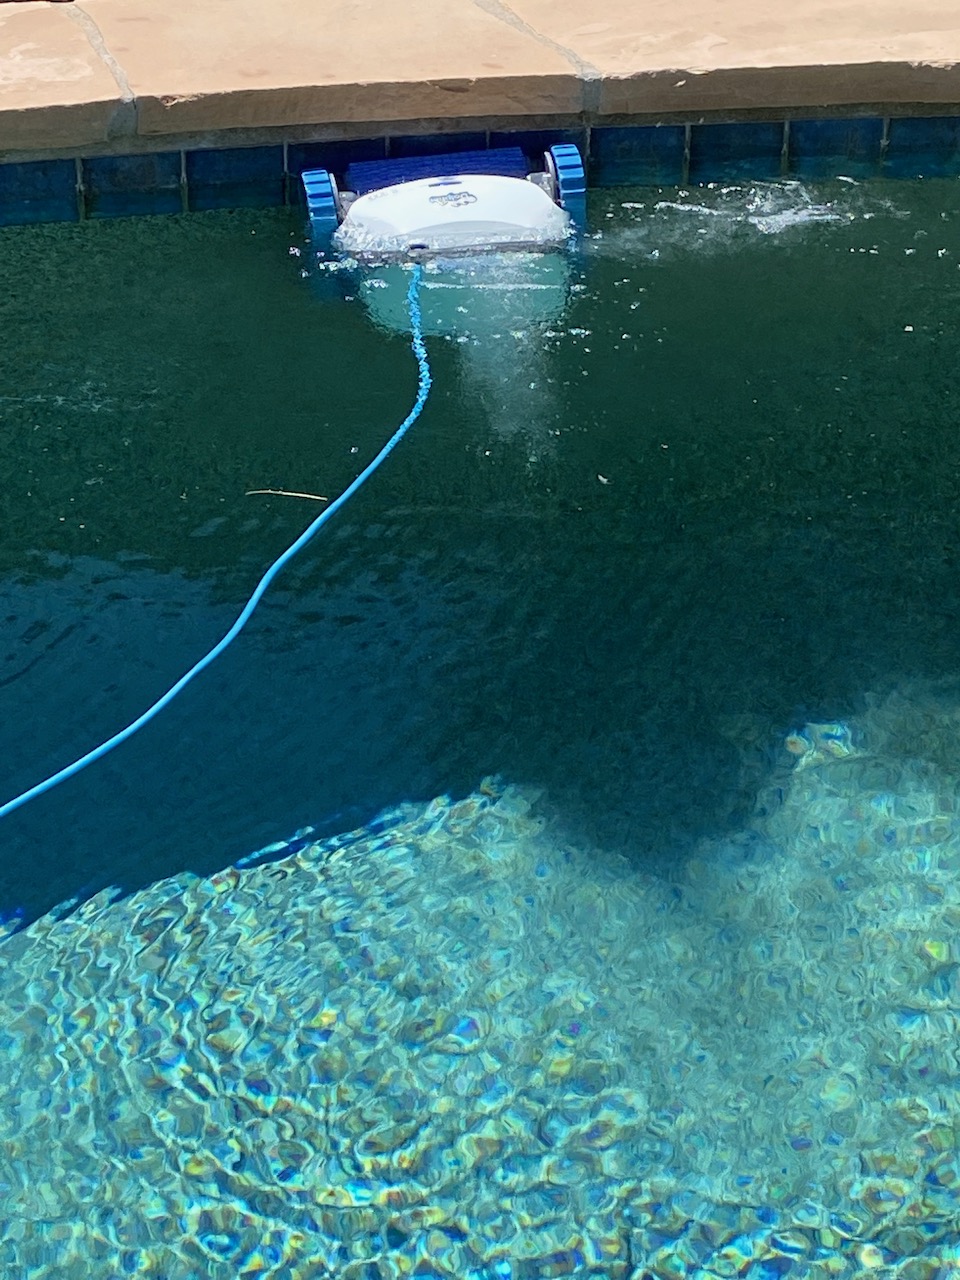
I pulled out my suction cleaner and put the robot in for his first test run ... and off he goes!!
He cleans the tile line too ...
The App and Bluetooth controls still worked (thankfully) so I was able to do a test that I was really interested in - manual control to make the robot do it’s thrust turns. Before the robot died not only was it sluggish to move but when it would turn it could barely turn more than a few degrees. When new, a thrust turn should propel these bots about 90 degrees. So, when it was in the water, I put it in manual control mode and made it turn. Sure enough, BOOM, it reared up on its back brush really high and turned more than 90 degrees!!! Yay. So that tells me that the water pump motor which creates all the thrust in these bot, was severely degraded. It also moves faster in the forward direction which also indicates improved thrust. All in all, the robot is back to normal but definitely will need lots of TLC to keep it running. It completed a full 2 hour clean cycle and I pulled it from the water. The filter screens were full of pollen (it’s been bad here lately) and I hosed everything off. It will now dry off and remain outside the pool until I need it again.
At the end of the day, this is a rebuilt bot on a short lease for life. My plan is to use him here and there but never leave him in the water 24/7. Given the amount of time I dumped into rebuilding him and, not an insignificant amount of money in parts, my wildest dream would be to get another 5 years of service out of him. If I do, then it will still be the costliest cleaning choice I have ever made. All in all, I don't plan on buying another robot after this unless something significantly changes in how these robots are designed and engineered as well as priced and/or warrantied.
Words of Advice -
- DO NOT leave these bots in the pool 24/7. It will kill them. You may be lucky and tempt fate and get away with it but once water makes it past one of the many seals, that PCB is completely exposed. It has no conformal coating on it (parylene) and so it can short out super easy.
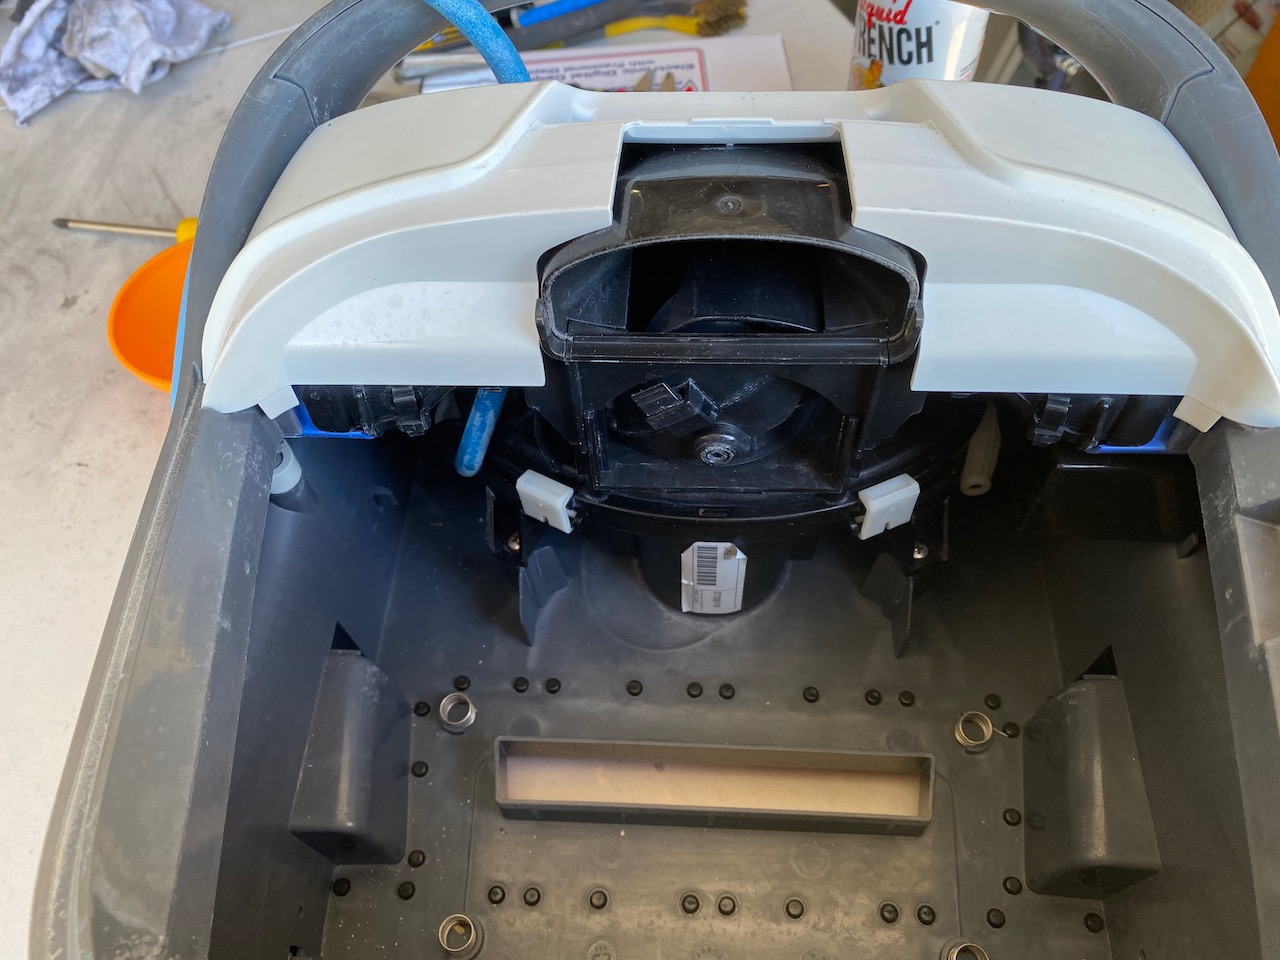
- INSPECT THE MOTOR ASSEMBLY!! Once per year open the motor up and look for water incursion. If you can catch it early you can intervene. If you don’t, you’re looking at a dead motor.


 May the 4th be with you!