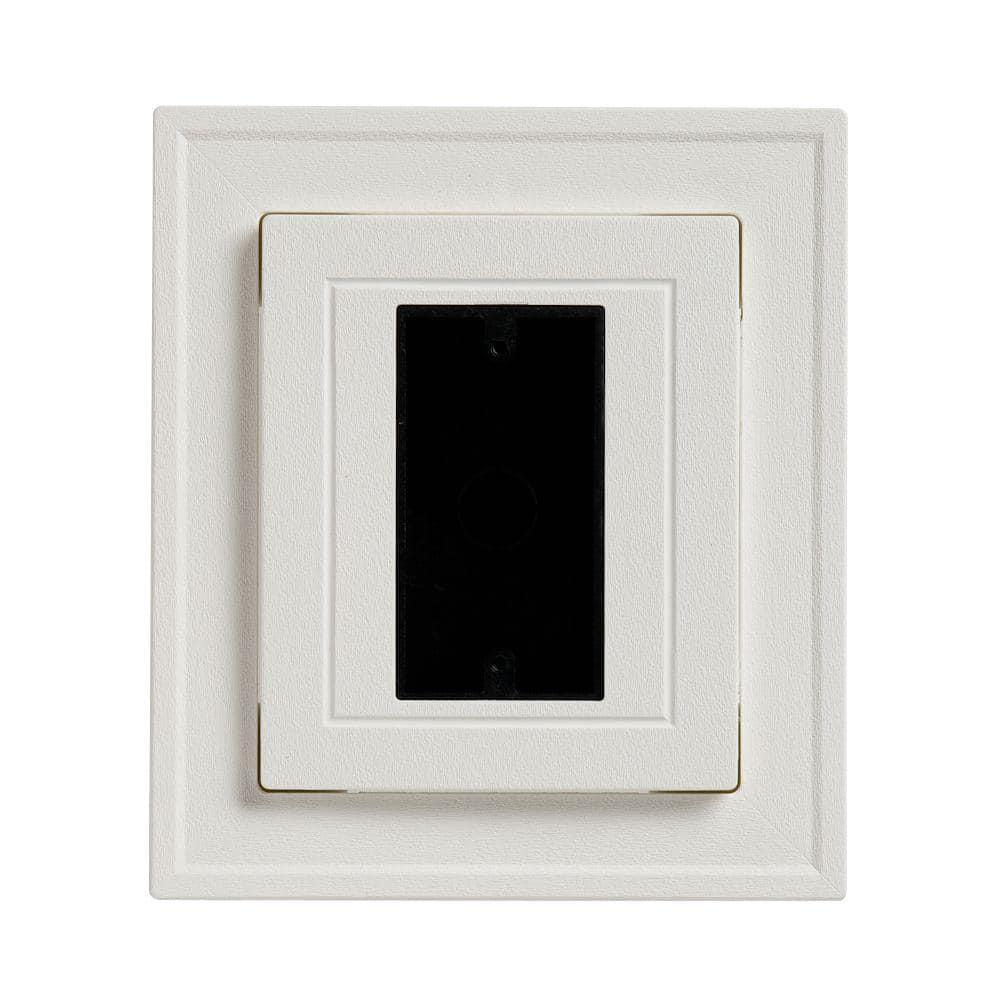
I recently installed this cover over the vinyl siding trim plate box / 2 in 1 thingie. (I'll get/add a pic of it later)Anyone have recommendations on enclosures they like?
I liked it because it was low profile but expanded with the rubber gasket like an accordion when needed.
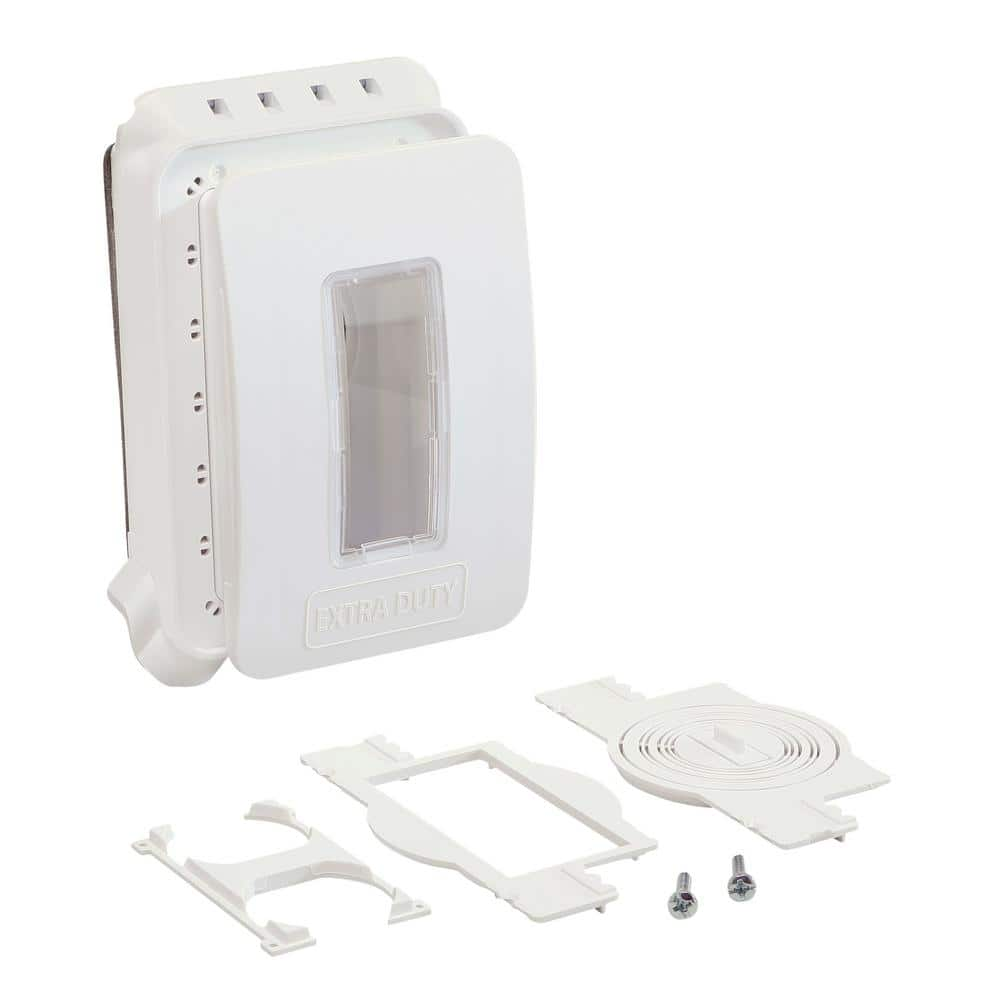
Commercial Electric 1-Gang Expandable Extra Duty Horizontal/Vertical Non-Metallic Weatherproof In-Use Cover (16-in-1 Configurations), White WCWR1PW - The Home Depot
Commercial Electric low profile non-metallic while-in-use device covers provide weatherproof protection when an outlet is in use. While-in-use covers are made from high-impact polycarbonate construction
www.homedepot.com
Chin up about the inspection. While this was a clear fail, so much of it comes down to the interpretation of the inspector, common sense be darned. You could have just as easily failed for several other things if they were in a bad mood.