Hi all,
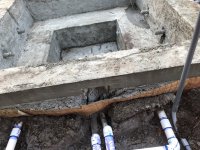
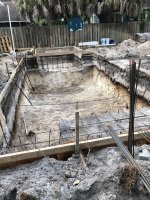
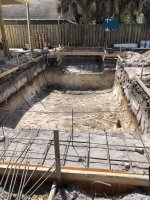
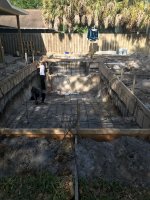
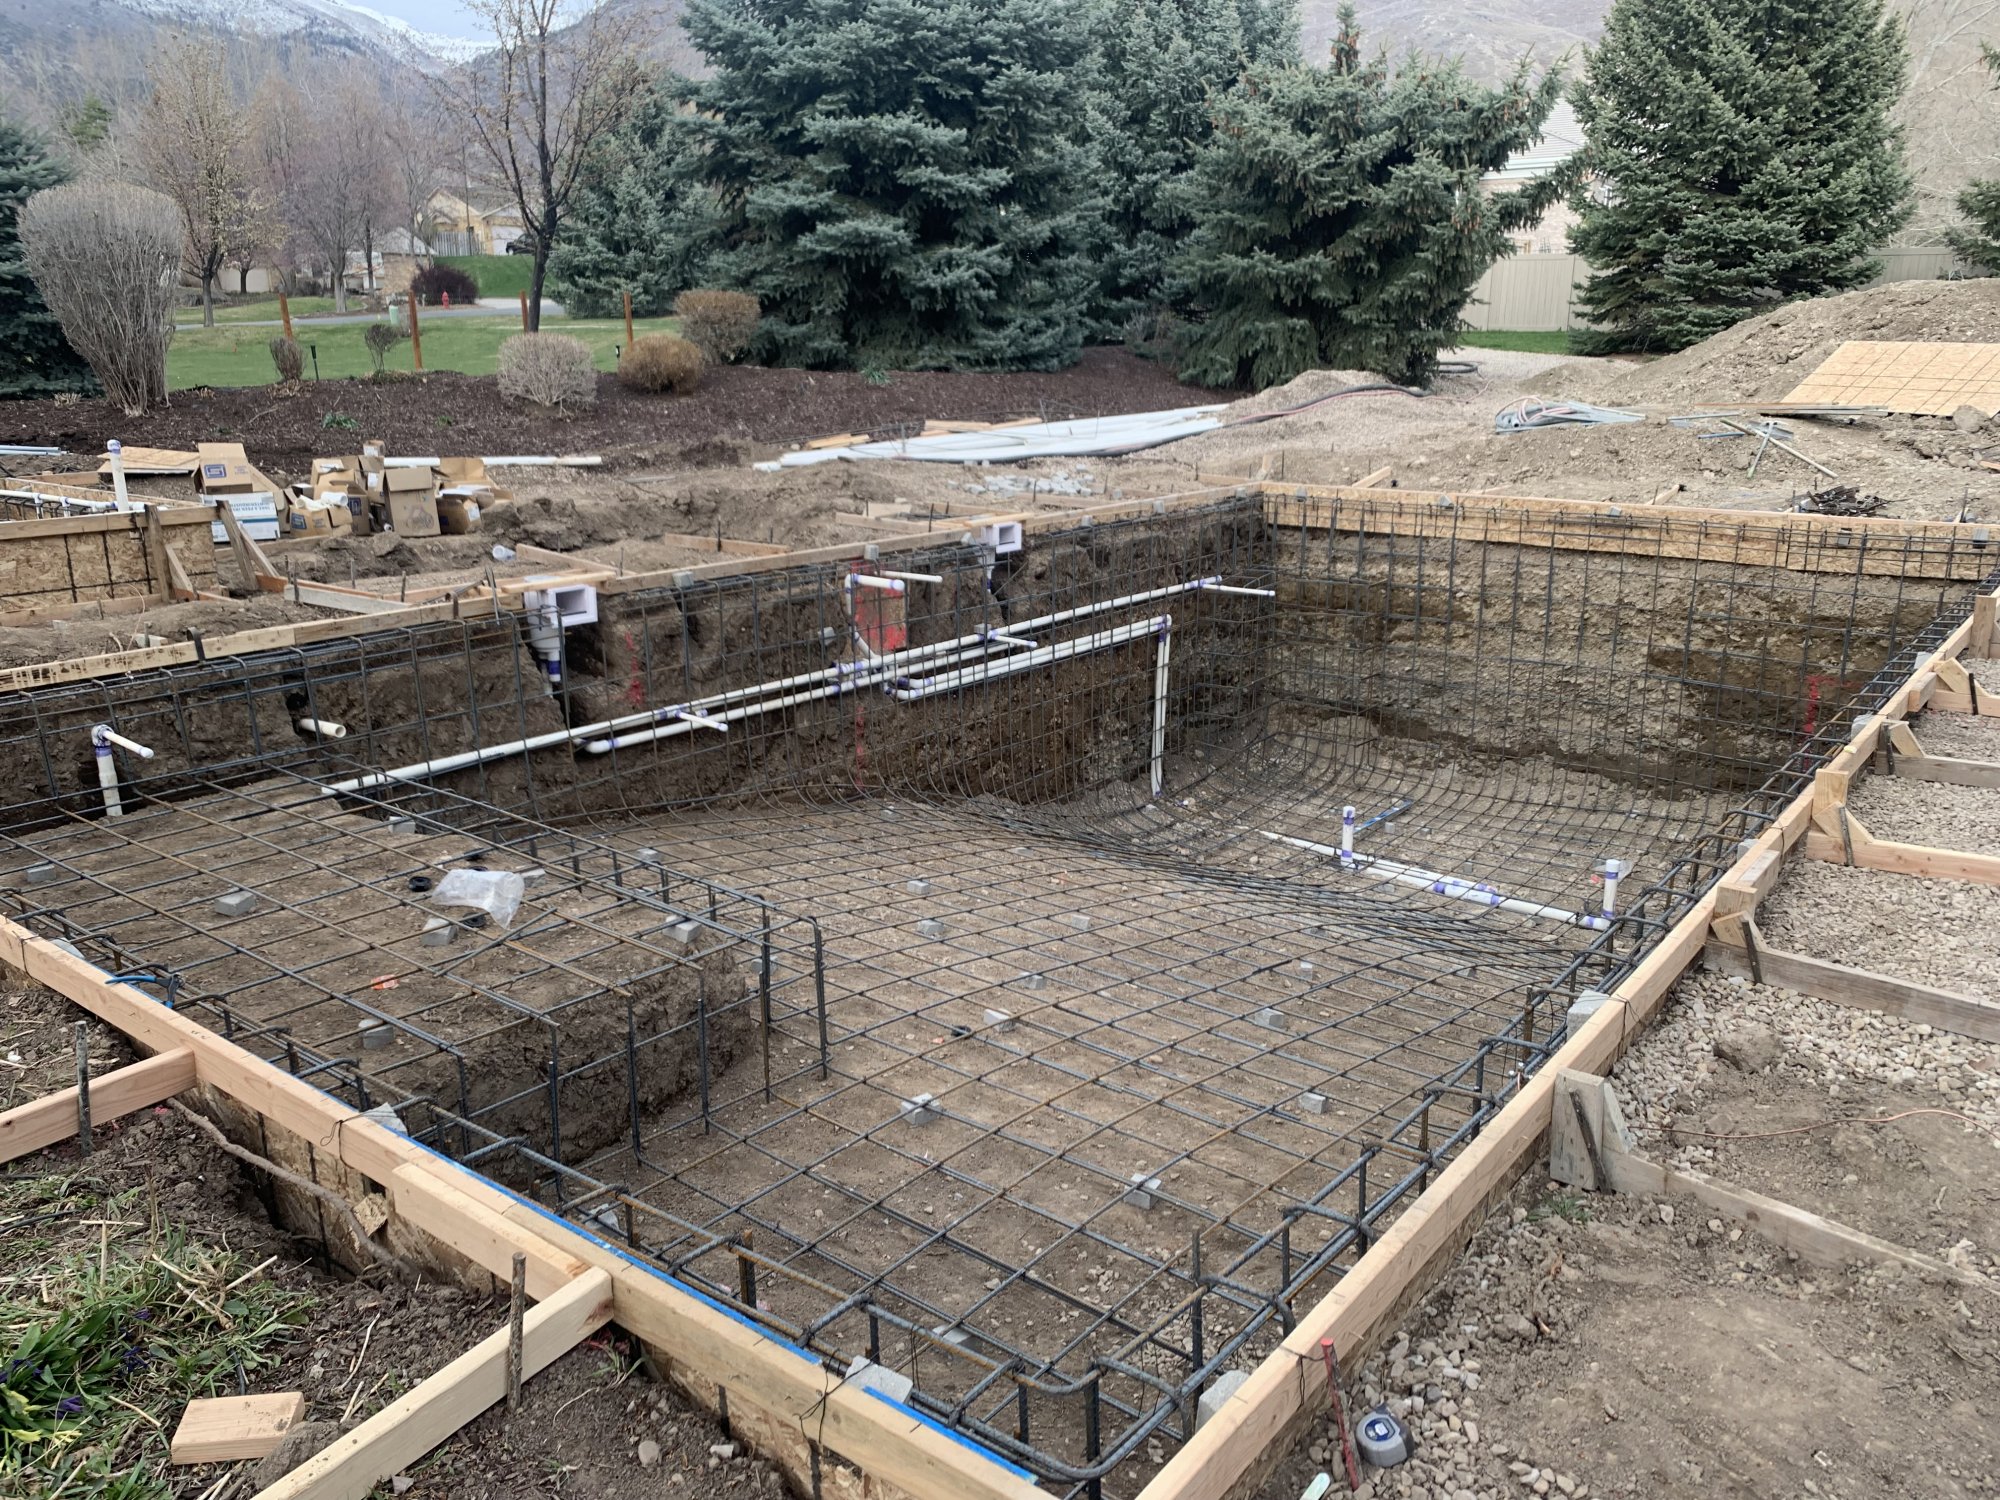
I have absolutely loved reading so many interesting posts in the weeks leading up to our pool start. Thanks to you all, I found great industry guides and was in the pit manually digging a 3" clearance between rebar and our dirt walls and floor the night before Shotcrete was shot! There were areas where rebar was 1" from the dirt, and I'm too shy to ask a subcontractor to change something. Same for lapping bars touching instead of 2" spacing of laps. I also just learned from reading other posts that they shouldn't run piping laterally in a shotcrete surface and I know the sun shelf has two 3-foot pipes that are leading to the fountains and those pvc pipes were sitting right on top of the dirt and holding up the rebar. So I think I have enough support and it's so shallow there that I'm fine with it.
The Shotcrete was applied Wednesday and there are a couple of issues/questions.
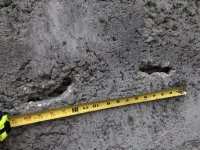
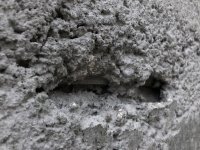
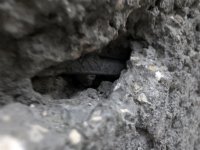
I have a line of three 3-5" holes running across a wall where I see exposed rebar (which I know will be patched later) but my concern is that I can clearly see gaps traveling behind the surface of the concrete if I look to the left and right inside the holes. I removed some of the popcorn pieces covering parts of the holes to have clear access for a fill and to see the issue. To me it looks like they didn't get Shotcrete around that entire piece of rebar, or like it started to fall off and wasn't pushed back in (the concrete near or covering parts of the hole looked like popcorn with gaps all around leading into the holes).
The only thing I know about the Shotcrete is that they used a "higher psi mix" and they definitely used rebound somewhere but I don't know where. Nothing was hauled out, but it's too late to do anything about that so I'm focusing on the obvious issues. It took about 3 hours, truck had to go back for a refill, folks started troweling during the break. No one has watered the concrete but it rained once and, now that I know that matters,I'll be doing it every day.
We are in Florida and we have sandy or sand dirt, if that matters.
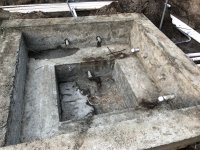
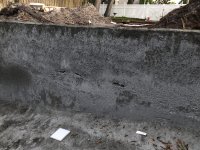
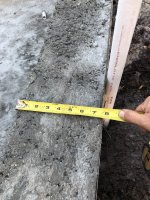
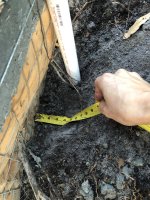
The second issue is that the paper form collapsed in due to some dirt pressure so I have two places where the wall is about 3" thick by my estimates at about 12" water depth. The wall is supposed to be about 7.5" thick at the beam and the paper collapsed in 3" or 4" in these two areas. I don't think they planned on doing anything about it until I brought it up and they said 3" thickness is plenty ("we demo pools from 30 years ago with 1" thick walls") but they could pour some concrete behind it if I want. I don't even know if that's ok to do on top of the "chicken wire paper", or whether we would have to remove the paper and add concrete in which case what is the disadvantage of having removed that continuous paper with the chicken wire mesh in it, etc. I'm not even sure what that paper is for
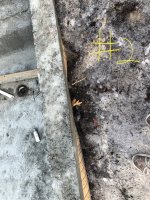
The corner wall is also a bit narrow but almost no water pressure at that height so the narrower corner up high is ok with me. I'm only wondering if our 12x24 coping will be fine at that corner near the spa where the beam is about 5".
I would love to know the proper fix for the holes in light of the continuous gaps I see behind the wall surface, as well as the best way to build up the thin wall areas (if it's even necessary at that depth of water) so I can request the right fix and explain my reasoning. Best-case and OK-case scenarios of what you would want are all appreciated.
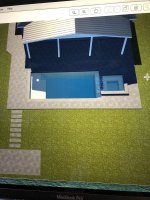
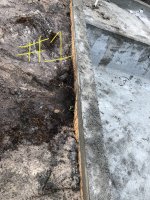
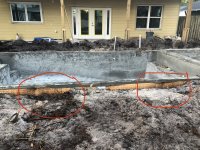
I included pics of the issues (the vertical PVC is just square to show where the beam lip is in comparison to dirt below because it's too hard to capture depth with a camera) and then I'll post some other pics of the project in a reply below in case anyone's curious. I love seeing everybody's project pictures.
Thank you all and Happy Easter!
I have absolutely loved reading so many interesting posts in the weeks leading up to our pool start. Thanks to you all, I found great industry guides and was in the pit manually digging a 3" clearance between rebar and our dirt walls and floor the night before Shotcrete was shot! There were areas where rebar was 1" from the dirt, and I'm too shy to ask a subcontractor to change something. Same for lapping bars touching instead of 2" spacing of laps. I also just learned from reading other posts that they shouldn't run piping laterally in a shotcrete surface and I know the sun shelf has two 3-foot pipes that are leading to the fountains and those pvc pipes were sitting right on top of the dirt and holding up the rebar. So I think I have enough support and it's so shallow there that I'm fine with it.
The Shotcrete was applied Wednesday and there are a couple of issues/questions.
I have a line of three 3-5" holes running across a wall where I see exposed rebar (which I know will be patched later) but my concern is that I can clearly see gaps traveling behind the surface of the concrete if I look to the left and right inside the holes. I removed some of the popcorn pieces covering parts of the holes to have clear access for a fill and to see the issue. To me it looks like they didn't get Shotcrete around that entire piece of rebar, or like it started to fall off and wasn't pushed back in (the concrete near or covering parts of the hole looked like popcorn with gaps all around leading into the holes).
The only thing I know about the Shotcrete is that they used a "higher psi mix" and they definitely used rebound somewhere but I don't know where. Nothing was hauled out, but it's too late to do anything about that so I'm focusing on the obvious issues. It took about 3 hours, truck had to go back for a refill, folks started troweling during the break. No one has watered the concrete but it rained once and, now that I know that matters,I'll be doing it every day.
We are in Florida and we have sandy or sand dirt, if that matters.
The second issue is that the paper form collapsed in due to some dirt pressure so I have two places where the wall is about 3" thick by my estimates at about 12" water depth. The wall is supposed to be about 7.5" thick at the beam and the paper collapsed in 3" or 4" in these two areas. I don't think they planned on doing anything about it until I brought it up and they said 3" thickness is plenty ("we demo pools from 30 years ago with 1" thick walls") but they could pour some concrete behind it if I want. I don't even know if that's ok to do on top of the "chicken wire paper", or whether we would have to remove the paper and add concrete in which case what is the disadvantage of having removed that continuous paper with the chicken wire mesh in it, etc. I'm not even sure what that paper is for
The corner wall is also a bit narrow but almost no water pressure at that height so the narrower corner up high is ok with me. I'm only wondering if our 12x24 coping will be fine at that corner near the spa where the beam is about 5".
I would love to know the proper fix for the holes in light of the continuous gaps I see behind the wall surface, as well as the best way to build up the thin wall areas (if it's even necessary at that depth of water) so I can request the right fix and explain my reasoning. Best-case and OK-case scenarios of what you would want are all appreciated.
I included pics of the issues (the vertical PVC is just square to show where the beam lip is in comparison to dirt below because it's too hard to capture depth with a camera) and then I'll post some other pics of the project in a reply below in case anyone's curious. I love seeing everybody's project pictures.
Thank you all and Happy Easter!
Attachments
-
 1661A332-A1DF-4EEC-9F85-7DE2E1F78D97.jpeg661.7 KB · Views: 151
 -
 2EB9E5DA-6F18-421E-9568-364AD0DE3159.jpeg665.6 KB · Views: 149
 -
 849E5AE4-7DFE-4B03-973A-F76B68E0295E.jpeg850.7 KB · Views: 144
 -
 C8EE32B0-CF11-45CA-8F5E-FC90AC738551.jpeg703.1 KB · Views: 148
 -
 CD3927FA-13A3-4CDC-86B1-5F555175FE45.jpeg669.6 KB · Views: 147
 -
 EF27A39E-0F52-4844-A5B4-BD257B3643CC.jpeg865.8 KB · Views: 149
 -
 B638A00F-81A6-4147-A800-1A025EAEEA9D.jpeg843.1 KB · Views: 150
 -
 BD84A4DD-997C-4BF9-8753-8D62D0D3A9FD.jpeg709.8 KB · Views: 152
 -
 E23D25BD-E5EC-40B4-A78A-AAFA48B81579.jpeg554.9 KB · Views: 142
 -
 459F74B5-2187-44FD-9D69-78FD5F32105F.jpeg423.1 KB · Views: 147
Last edited: