So we are finally underway with our build in NY.
I appreciate all of the advice and feedback I have received on this site.
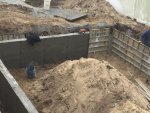
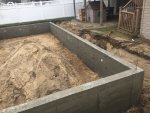
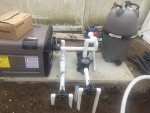
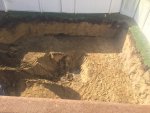
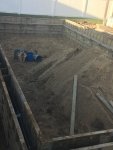
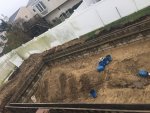
We are building a 16 X 36 concrete walled pool. (rectangular)
Construction started last week.
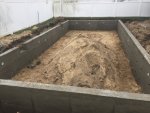
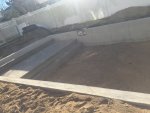
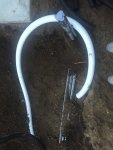
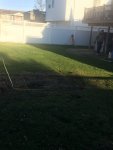
Hole was dug.
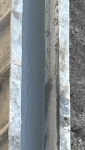
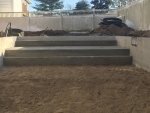
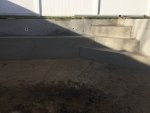
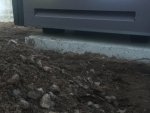
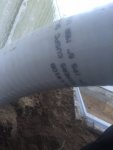
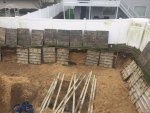
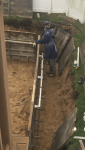
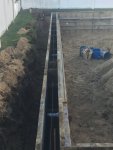
Forms for the concrete were set up.
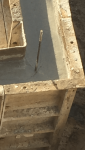
Inspection today.
Now waiting for weather to cooperate so they can pour the concrete for the walls. Possibly tomorrow, but after that weather can be an issue until next week.
Here are some pics of the process and progress so far.
I appreciate all of the advice and feedback I have received on this site.
We are building a 16 X 36 concrete walled pool. (rectangular)
Construction started last week.
Hole was dug.
Forms for the concrete were set up.
Inspection today.
Now waiting for weather to cooperate so they can pour the concrete for the walls. Possibly tomorrow, but after that weather can be an issue until next week.
Here are some pics of the process and progress so far.
Attachments
-
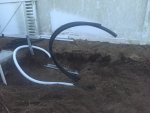
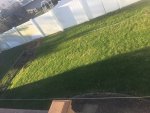 layout on grass.JPG626.6 KB · Views: 119
 -
 layout on grass 2.JPG365.6 KB · Views: 115
 -
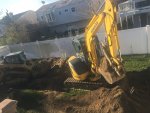 digging.JPG511.9 KB · Views: 110
 -
 digging 2.JPG547.3 KB · Views: 120
 -
 forms.JPG557.3 KB · Views: 122
 -
 forms 2.PNG475.3 KB · Views: 125
 -
 forms 3.JPG397.6 KB · Views: 120
 -
 forms 4.JPG379.3 KB · Views: 122
 -
 forms 5.JPG636.5 KB · Views: 118

 *Enquiring* Minds Want to Know!