Hello,
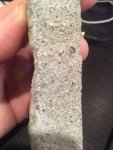
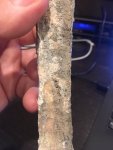
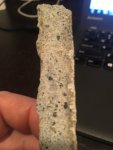
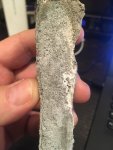
I have removed the first 3.5" under the coping of pebble tec. This was done for several reasons ...delaminated, previous repairs done by "professional" did not match, etc...
I will be replacing with tile.
I am needing to repair the "mud base" / gunite? behind the tile in order to get a smooth surface for the new tile being that a lot to it came out with demolition before I use the mortar to apply the tile.
Trying to get the pool ready for my daughter's high school graduation in 30 days! Some coping work remains, pebble tec repair and tiling
Thank you
")