Half-tiles back to back, couldn't be avoided?

lrk322

Member
Mar 6, 2022
11
Texas
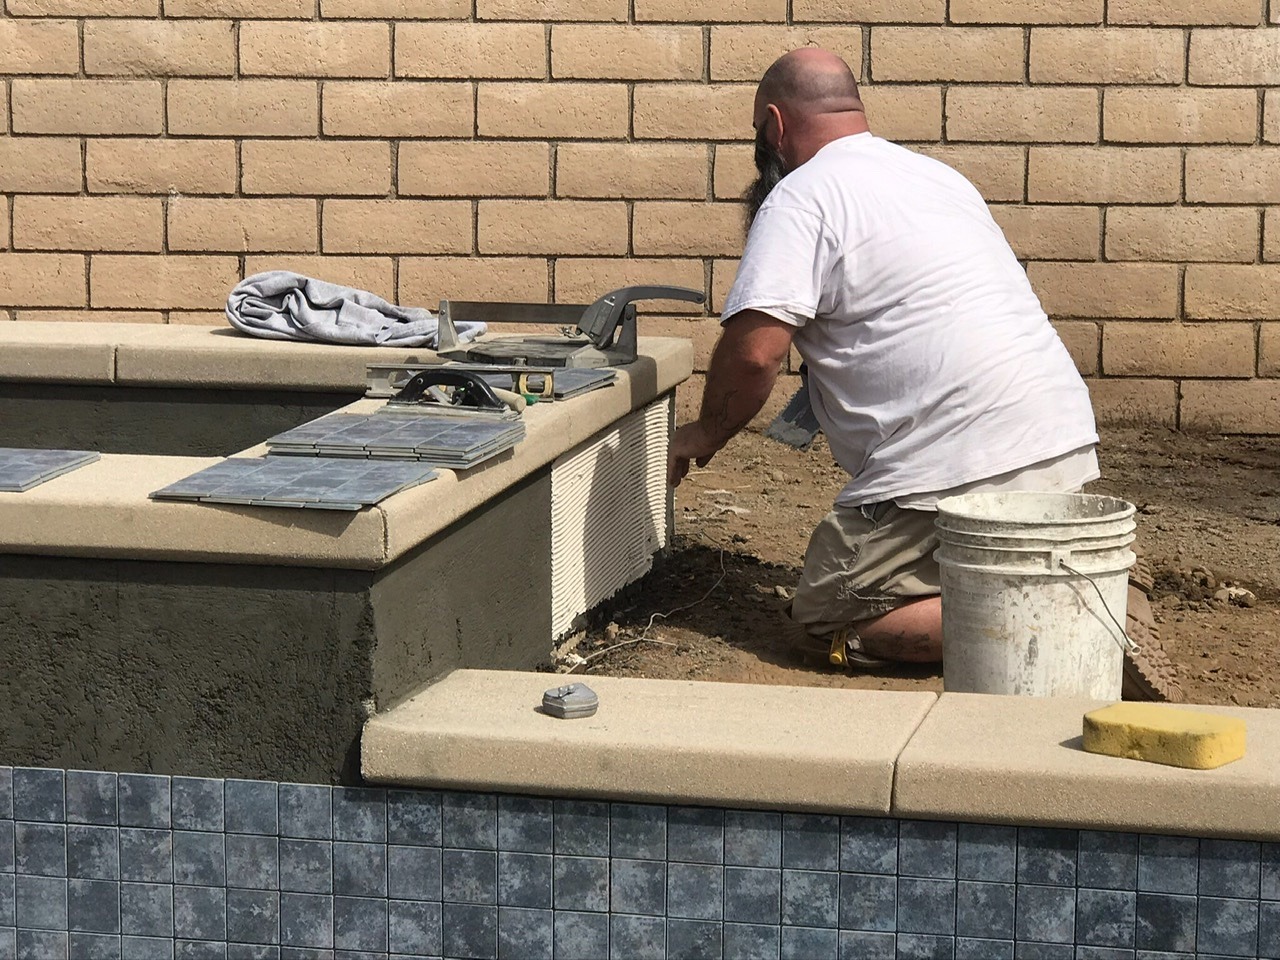
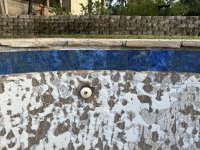
Per tile guy- half tiles couldn't be avoided. We ended up with two half tiles in one spot and in another. Guy said he'd need to measure perfectly to not have this happen, and that it's really difficult due to the curves in the pool. For the small enclave by the seat, I don't know if it could be avoided, he says that he'd have to do large grout lines which wouldn't be ideal and would be more likely to have water intrusion (using spectralock epoxy though).

Any opinions on this?


IMG_0329.jpeg

IMG_0323.jpegIMG_0348.jpeg
 

Attachments

  • IMG_0329.jpeg
    IMG_0329.jpeg
    888.1 KB · Views: 21
It would have been better to save any of the cuts for corners, edges, or around the skimmer. Doing back-to-back cuts on a long run is just sloppy work and poor layout planning.
 
  • Like
Reactions: proavia
Thanks for this input. I was also curious, is the size of the gap normal between the top of the tile and the old coping line? They said they'd fill this in with mortar, but was just concerned with water intrusion splashing up there over time.


IMG_0326.jpegIMG_0328 (1).jpeg

y9vlg1ixvl3c1 copy.jpg
IMG_0333.jpeg
 
Last edited:
@AQUA~HOLICS thanks for this picture and for bringing this up, is that considered a full chip out? This is my first replaster.

My contractor said they will do a bond coat tomorrow and plaster Monday. I see 200 pounds of medium blast sand next to the pool. Is it possible they'll use that to blast the surface to remove more plaster? It seems like they haven't taken much of anything off the bottom.Any input is appreciated!


IMG_0369.jpeg
IMG_0367.jpeg

IMG_0368.jpeg
 
I'd tell them to hold off on the bond coat and plaster until they complete a proper full chip out.
Show them the picture @AQUA~HOLICS posted and tell them that is what a full chip out is supposes to look like.
 

Enjoying this content?

Support TFP with a donation.

Give Support
Are they planning on using the blast sand to make their own bond coat? Don't let them do that.

The floor definitely needs to be chipped out. It is copper stained and probably already soft, if they bond coat over that it will end up coming off prematurely.

Looking at the tile, I don't see any thinset behind the grout joints. Did the set the tile by putting a blob of thinset on the back and pressing it into place?
@MAPR-Austin thanks for this input. They did use blast sand to make their own bondcoat. It is a 25 year old pool and they commented that it was soft. Typically a full chip out is not done in central Texas if that matters.

This is the first replaster this pool has had. Can you elaborate on the copper staining? They haven't plastered it yet. They did put the blob of thinset and press the tiles into place. There is a decent amount of space/gaps between the back of the tile and the wall on maybe 15% of the tile. I was worried that these tiles are too big for the radius as previously we had 1x1 tiles. We did go with spectralock epoxy grout. Any advice is appreciated!
IMG_0402.jpeg

IMG_0401.jpeg
IMG_0400.jpeg


IMG_0398.jpeg
IMG_0399.jpeg
 
Last edited:
They did put the blob of thinset and press the tiles into place. There is a decent amount of space/gaps between the back of the tile and the wall on maybe 15% of the tile. I was worried that these tiles are too big for the radius as previously we had 1x1 tiles.

The proper tiling technique is to apply a layer of thinset to the gunite using a notched trowel.

Then butter the entire back of the tile and push it into the thinset on the wall. This would use the thinset on the gunite to bridge the radius of the curves.

The tile should be fully embedded in thinset with thinset oozing out of the sides.

full
 
This pic of voids behind the edges of tiles shows the applicator was lazy or unskilled.

img_0399-jpeg.543559
 
Will these tiles survive? We got 25 years out of the original installation. They're supposed to plaster tomorrow. Not sure what to do here.

No telling when a tile will pop off from a blob of thinset. Actually it will be the grout that holds the tiles together even if the thinset gets weak.

If you were in a freezing zone I would say no. If you are in an area of TX that gets freezes the problem will be if any water gets behind the tile in a void and freezes it will expand and weaken the thinset joint, loosen the tile, until it cracks or pops off. That may take 10 years or more of freeze thaw cycles. If you are still there when it happens maybe you will remember this discussion.
 
Thanks for this input @ajw22 we do get a decent freeze about once a year. I believe that mortar was pressed into some of the voids at the top. But it does not appear to be uniform. Someone suggested stuffing thinset in from the bottom. I know this is not a perfect solution, but I suppose it will be better than not. I'm wondering if they can press thinset into these gaps in the morning and plaster in the afternoon. I'm not sure if it's a bad idea as the thinset won't have time to dry, although it will only be supplemental.
 
Last edited:
The problem with the voids behind the tile will be water migrating there through the grout, being trapped, then freezing or causing deterioration. Sealing up the tops and bottoms of the tile won't do much. If you don't want to have them tear it off, sealing the top and bottom and really working the grout in well is probably the best you can do.

The homemade bondcoat over soft floor plaster I really don't like. The top layer of the soft plaster is going to release regardless of what you put over it. Not knowing what is in the bondcoat I would just assume the worst.

Prep is probably the biggest key for a good plaster job. They should have chipped out the floor and paid for an actual bondcoat product (or not used one at all).
 
  • Like
Reactions: JoyfulNoise
Someone suggested stuffing thinset in from the bottom. I know this is not a perfect solution, but I suppose it will be better than not. I'm wondering if they can press thinset into these gaps in the morning and plaster in the afternoon. I'm not sure if it's a bad idea as the thinset won't have time to dry, although it will only be supplemental.

I doubt that will help much. But if it makes you feel good you can give it a try.

The way I mix my thinset it is thick and sticky and does not flow. Imagine trying to stuff mashed potatoes into those cracks.
 

Enjoying this content?

Support TFP with a donation.

Give Support
Thread Status
Hello , This thread has been inactive for over 60 days. New postings here are unlikely to be seen or responded to by other members. For better visibility, consider Starting A New Thread.