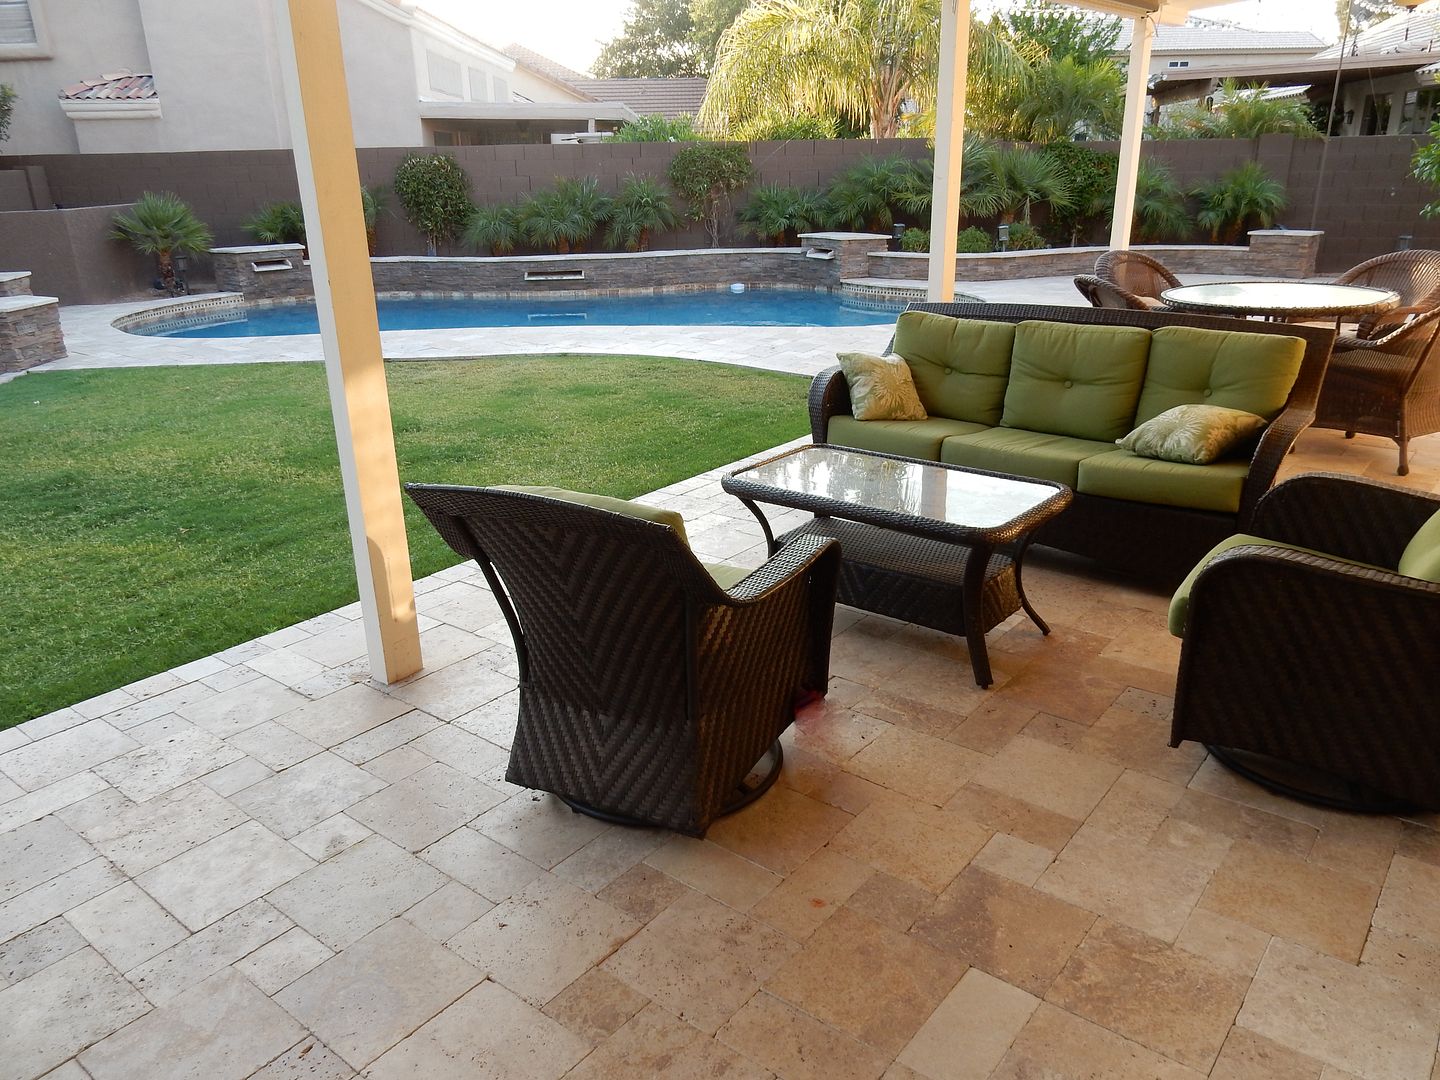
COMPLETED: DIY Travertine Pool / Patio / Waterfall Remodel in AZ

Re: DIY Pool / Patio Remodel in sunny Arizona (lots of photos)

pretty talented design on the wiers! I am familiar with weirs, clarifiers at waste treatment plants used them for even flow around the basin. so I imagined you had to make sure the weir was level so that the flow could go out evenly wide?


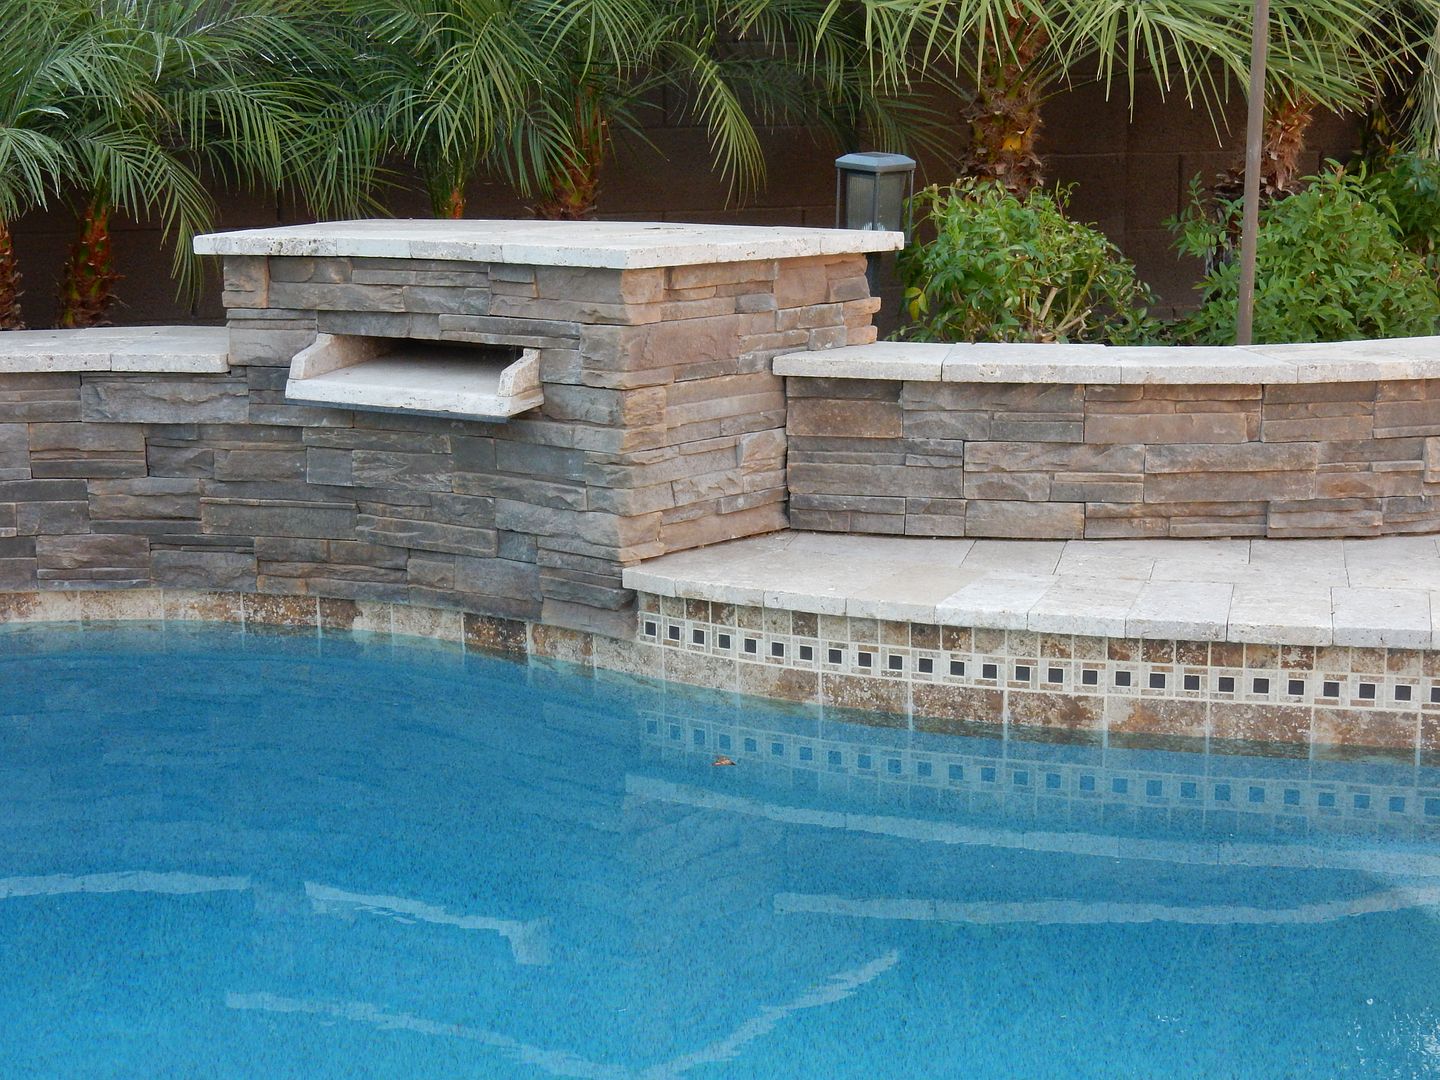
AP, thx again. My brother-in-law’s firm specializes in water treatment plants…weirs must be common in that industy. Yes, the weir needs to be near perfectly level…but before that, installation of the waterfall ledge itself is extremely critical for water to flow off the falls cleanly. This is what I did (for those who might attempt a similar task):

I put four “globs” of mortar under the four corners of the ledge before I set the ledge carefully on top within the waterfall cavity. Obviously the back “globs” were bigger because the ledge needed to tilt downward towards the front so that water flows off of it. Next you lightly tap the ledge above the globs (more at the front rather than the back) until you get the downward angle that you desire. Use a level to make sure the slope is consistent on both sides of the waterfall. In addition, double check the horizontal levelness of the ledge by checking a few locations from side to side (at the back and the front for instance). This makes it easy to make the “weir” level.

If you screw up in the process (as I did a couple times by tamping too much on one corner), lift off the ledge and put down some additional globs and start over. After the mortar globs dried…I sprayed foam spray under each newly installed waterfall ledge to give it additional support and adhesion.


Kim, my next post will have final pictures, but none with the waterfall actually going…I will have to post some later.
 
Re: DIY Pool / Patio Remodel in sunny Arizona (lots of photos)

Sorry, Kim…I lied, forgot about this part:

Pool Surface Refinishing

At this point we were ready for the pool finish. We looked around a LOT at various pools in the area and were leaning very heavily towards a whitish finish like our previous pool. We are both engineers and are admittedly not that artistically creative. We tend to favor evolution over revolution.

We received four different bids (Shasta, Paddock – now bankrupt, Prado & Sons, and one independent). We were pretty set on a stone-pebble type finish and most companies had their own versions and/or an actual Pebble-Tec version. The bids ranged from $4500 - $7200 including tax. We went with Prado & Sons because they were one of the authorized Pebble-Tec installers in the Phoenix area. In fact, the Paddock Pool bid representative told me that if we selected the Pebble Tec version of the plaster, Prado & Sons would probably be their subcontractor.
The bid also happened to be the $4500 one….lucky us!

As the day of the install approached (around June 1, 2014, if I remember correctly), we were very excited…in fact, so excited that we didn’t remember to take any pictures of the install or prep for the install. You’ll have to wait for the final pictures to see it.

The installation was a two day process. They chipped out the old plaster on the first day and poured the Pebble Tec the second. At the end of their first work day, Prado & Suns cleaned up the chipped off mess including use of a power sprayer…the guy actually raved about my epoxy tile grout (no prompting from me). He thought that there was not a chance in heck of it being power washed off.

Being as concerned as I am about all aspects of the job…I dragged my wife out there that first evening and we physically hand-picked off most of the remaining chips that dangled by micro fibers from the pool’s gunite shell. I know, not necessary but I wanted the best possible adhesion. I also fooled around with a big cracked area on one of the steps… and a big fist sized area of material actually came off…OOPS. I discarded it and prayed it wasn’t going to cause a problem for the install on the next day (they didn’t even mention it).

The last thing before the final pictures…we didn’t choose a whitish Pebble Tec finish. We went for a change and at the end of the 2nd day, we wondered what the heck had we done! My wife was a bit taken aback…for me, it was a revolutionary change (after 20 years) and I was groaning that we had ruined all the work we had put into the pool. By the time the water fill was finished, we both decided we liked it ok…and now we absolutely love it…I can’t believe we were that happy with a boring white plastered pool for so long.

Our choice of finish was: Pebble Sheen Aqua Blue.
 
Re: DIY Pool / Patio Remodel in sunny Arizona (lots of photos)

PICTURES

I am not going post pictures of the landscaping effort, which actually required much work as you can tell from the pictures of our barren yard. It is still not finished; we haven’t planted any of the flowering plants in planter areas or any of the low lying plants. We’ve actually taken down upper parts of the wall between my sister’s house next door and my house. That was for our daughter’s wedding and various other weddings’ rehearsal dinner functions…their yard is huge compared to ours with a big grassy area. You might catch a glimpse of that in the final pictures but maybe not.

I still have a master plan for drainage that is only about half implemented. We haven’t changed our rock in the planter areas yet. And...we still haven't even bought new pool-patio furniture yet. Life goes on…

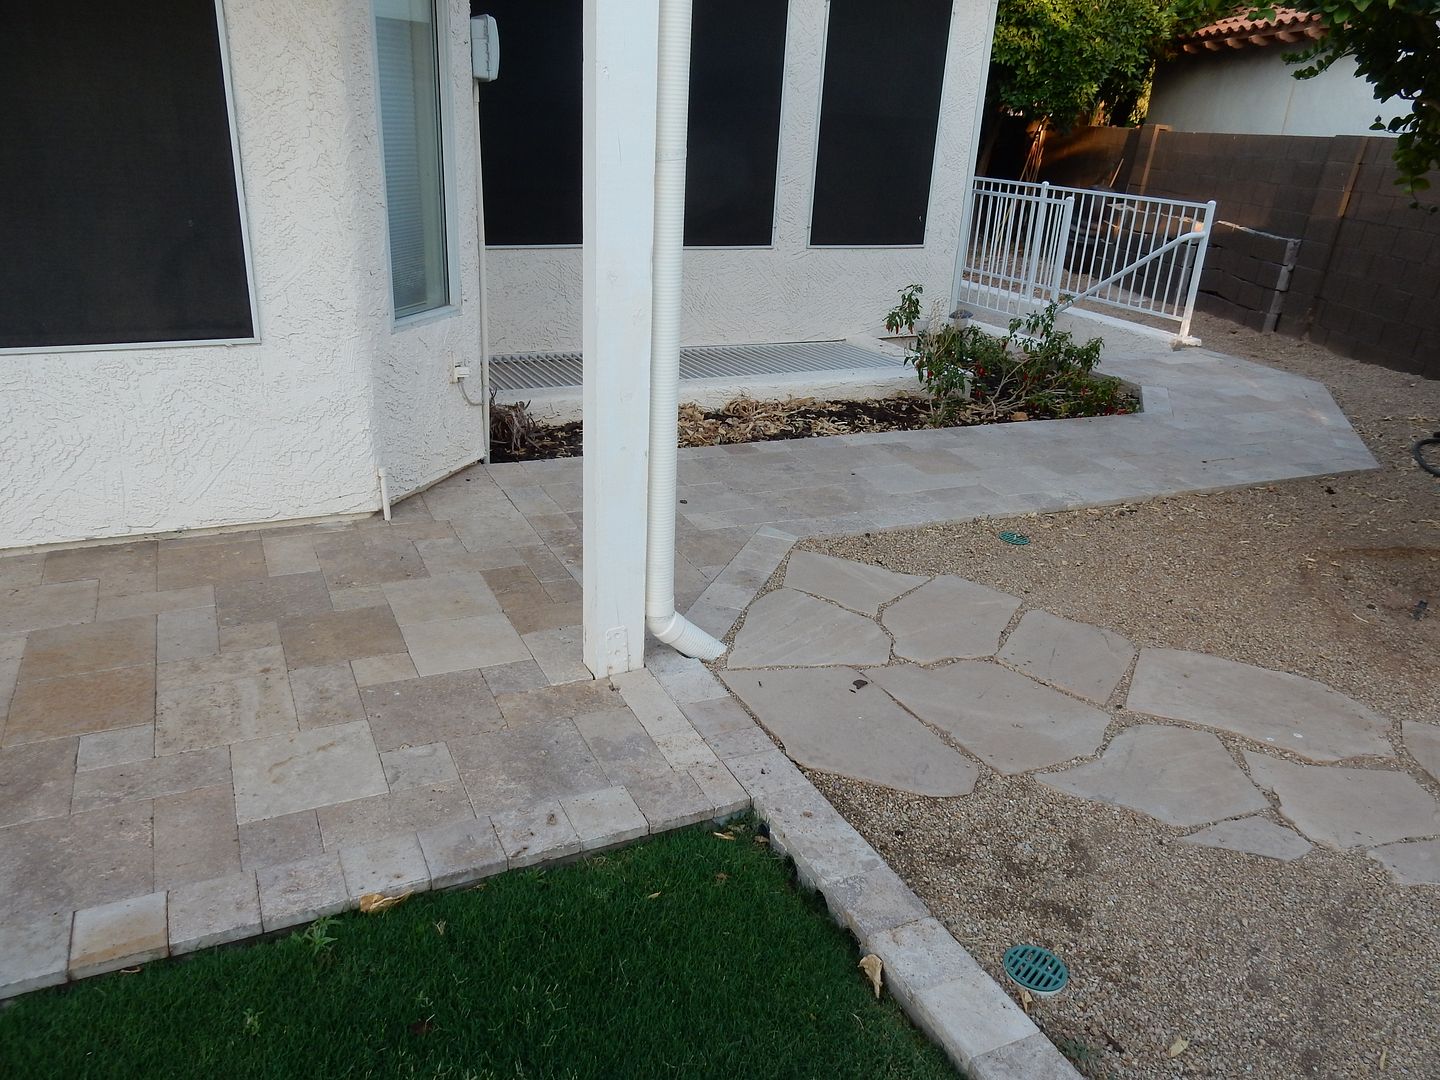
These are recent pictures…two years after we “finished” the project. Here is where it all started at the top of the basement stairwell.


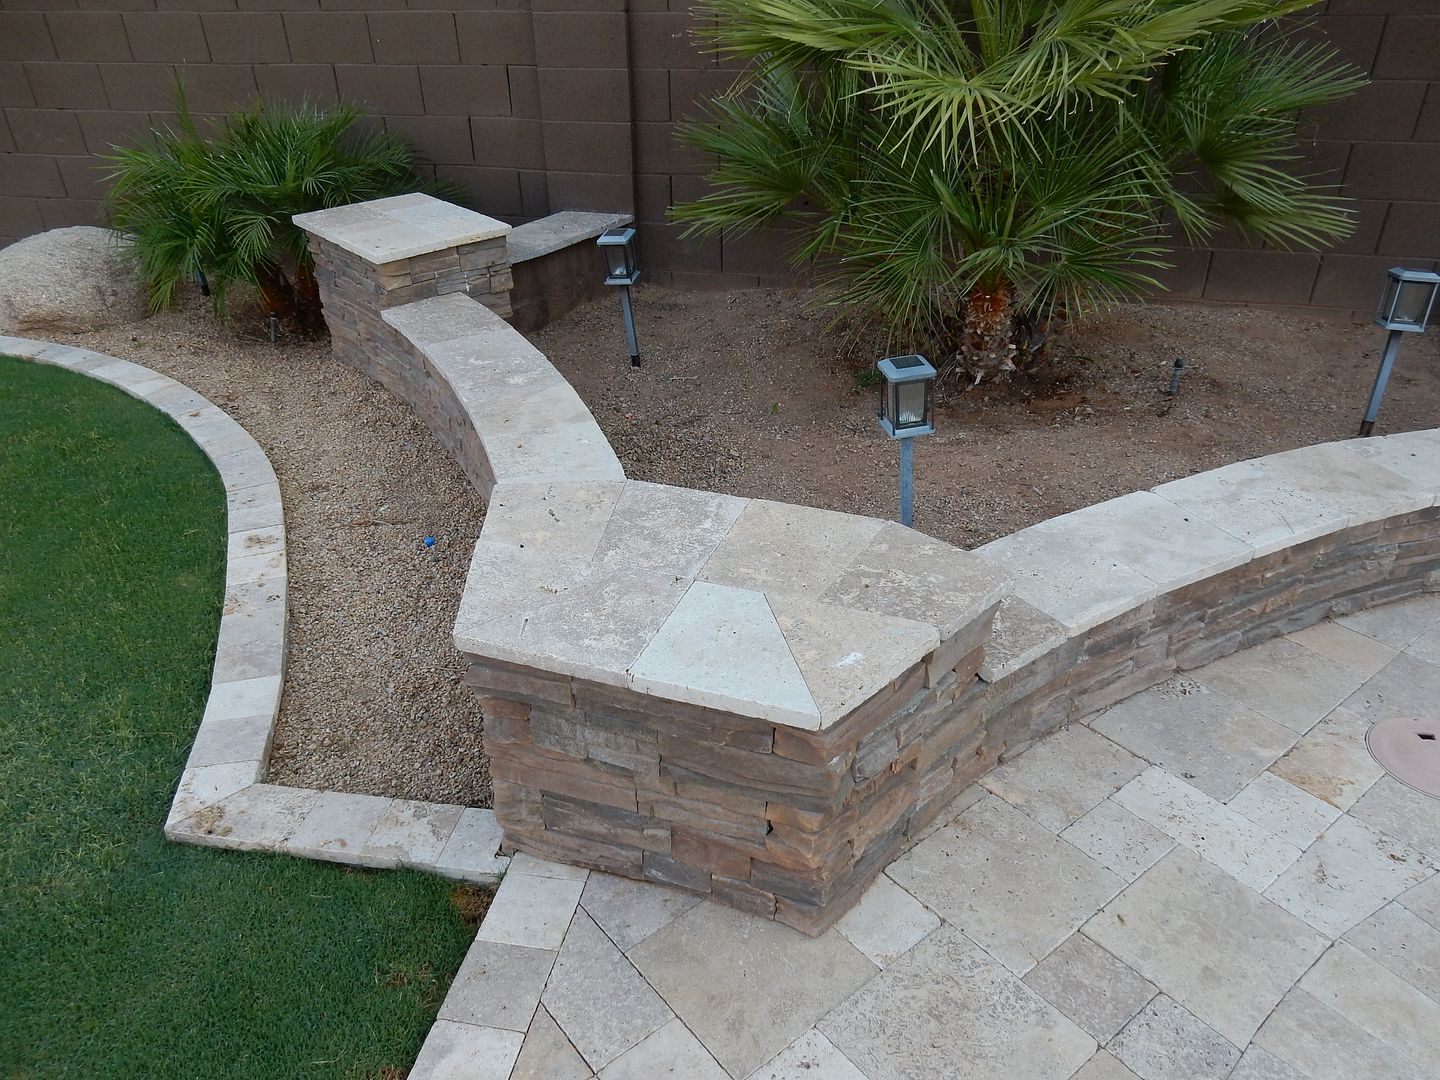
The sidewalk to the stairs, notice the new travertine border on the bottom right side that replaced the previous red brick border between grass and rock area.


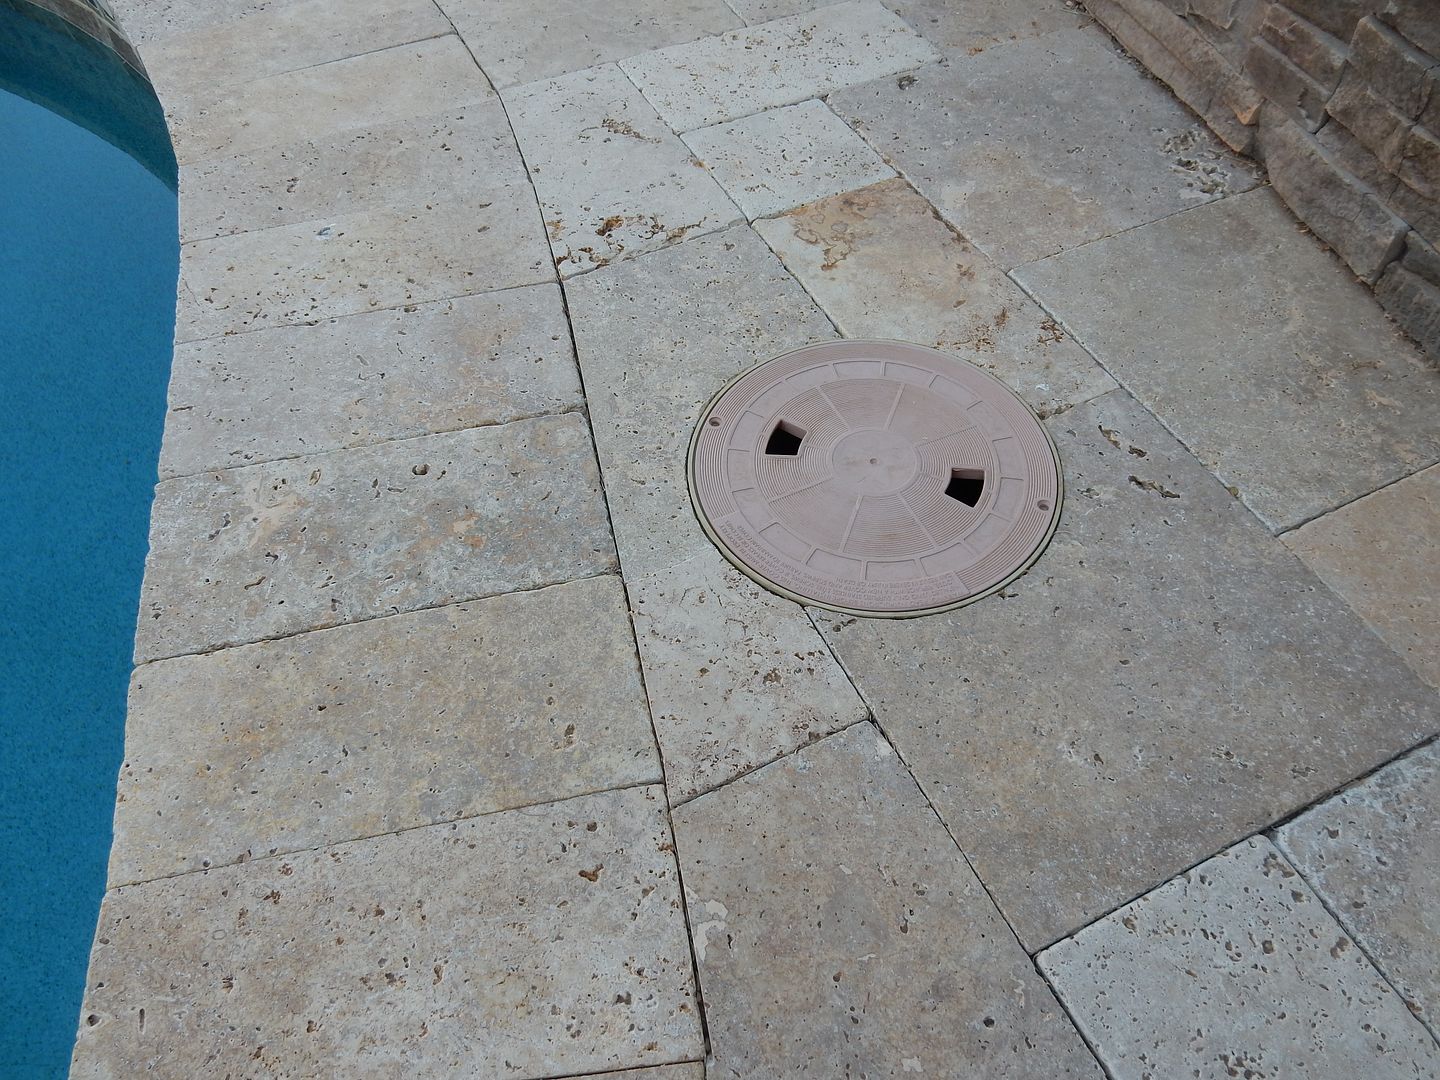
Finally finished the water leveler and the skimmer (about 3/4 day’s worth of careful work for me)


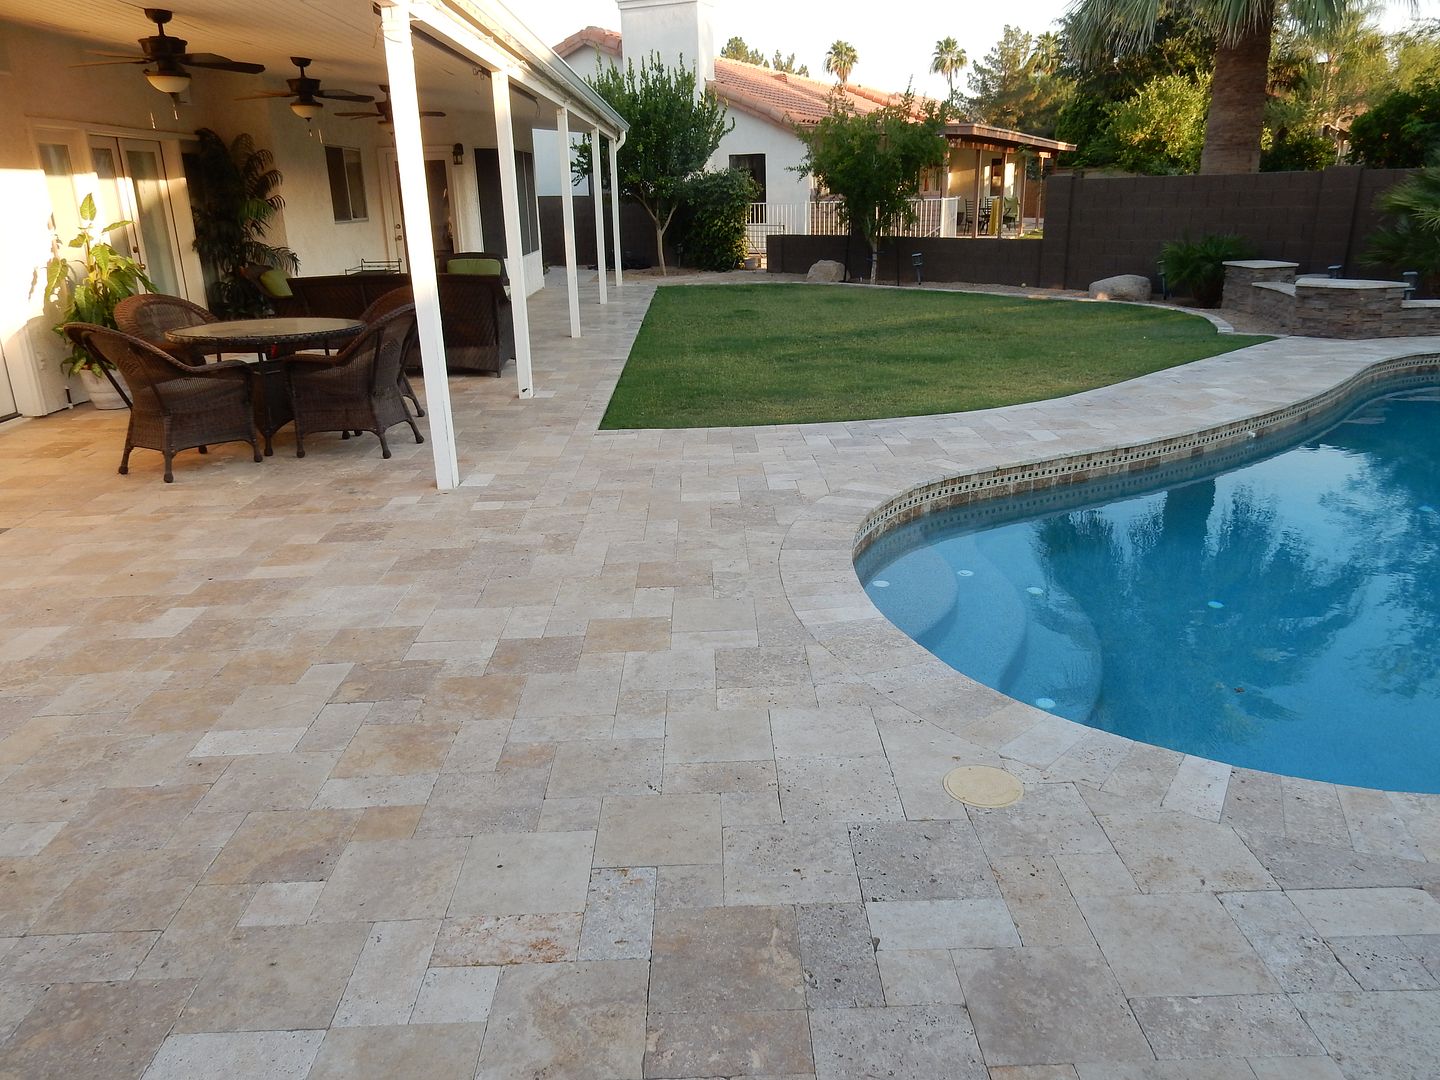
The border between the first phase of the project (patio) and the 2nd phase (pool deck).


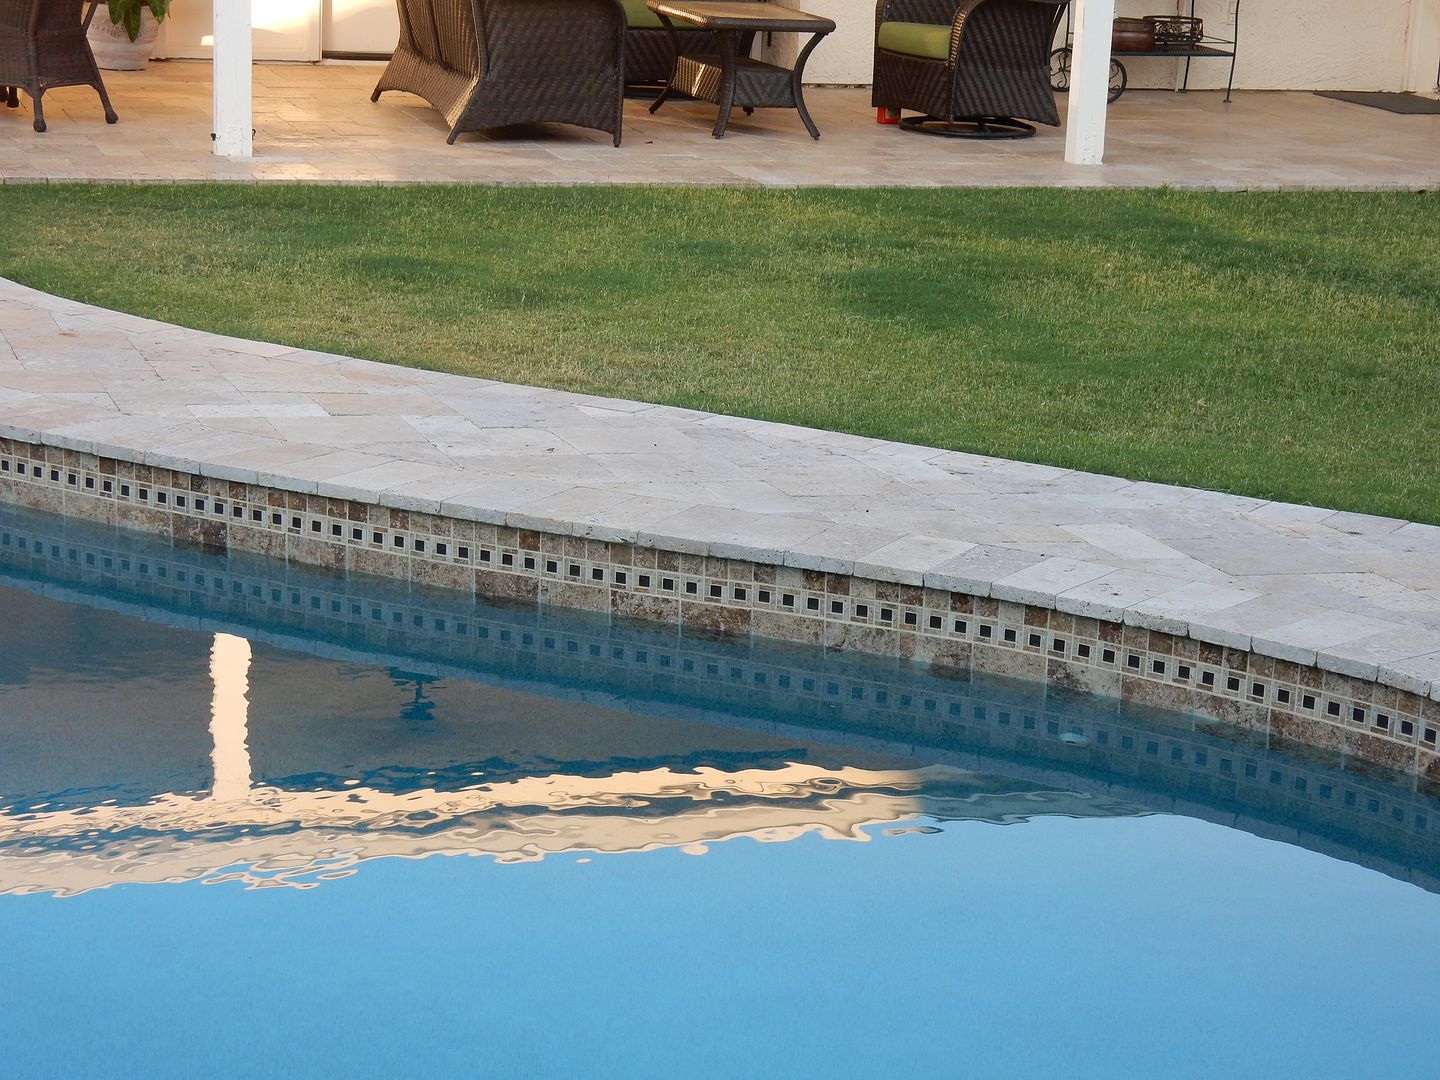
Decorative Tile view


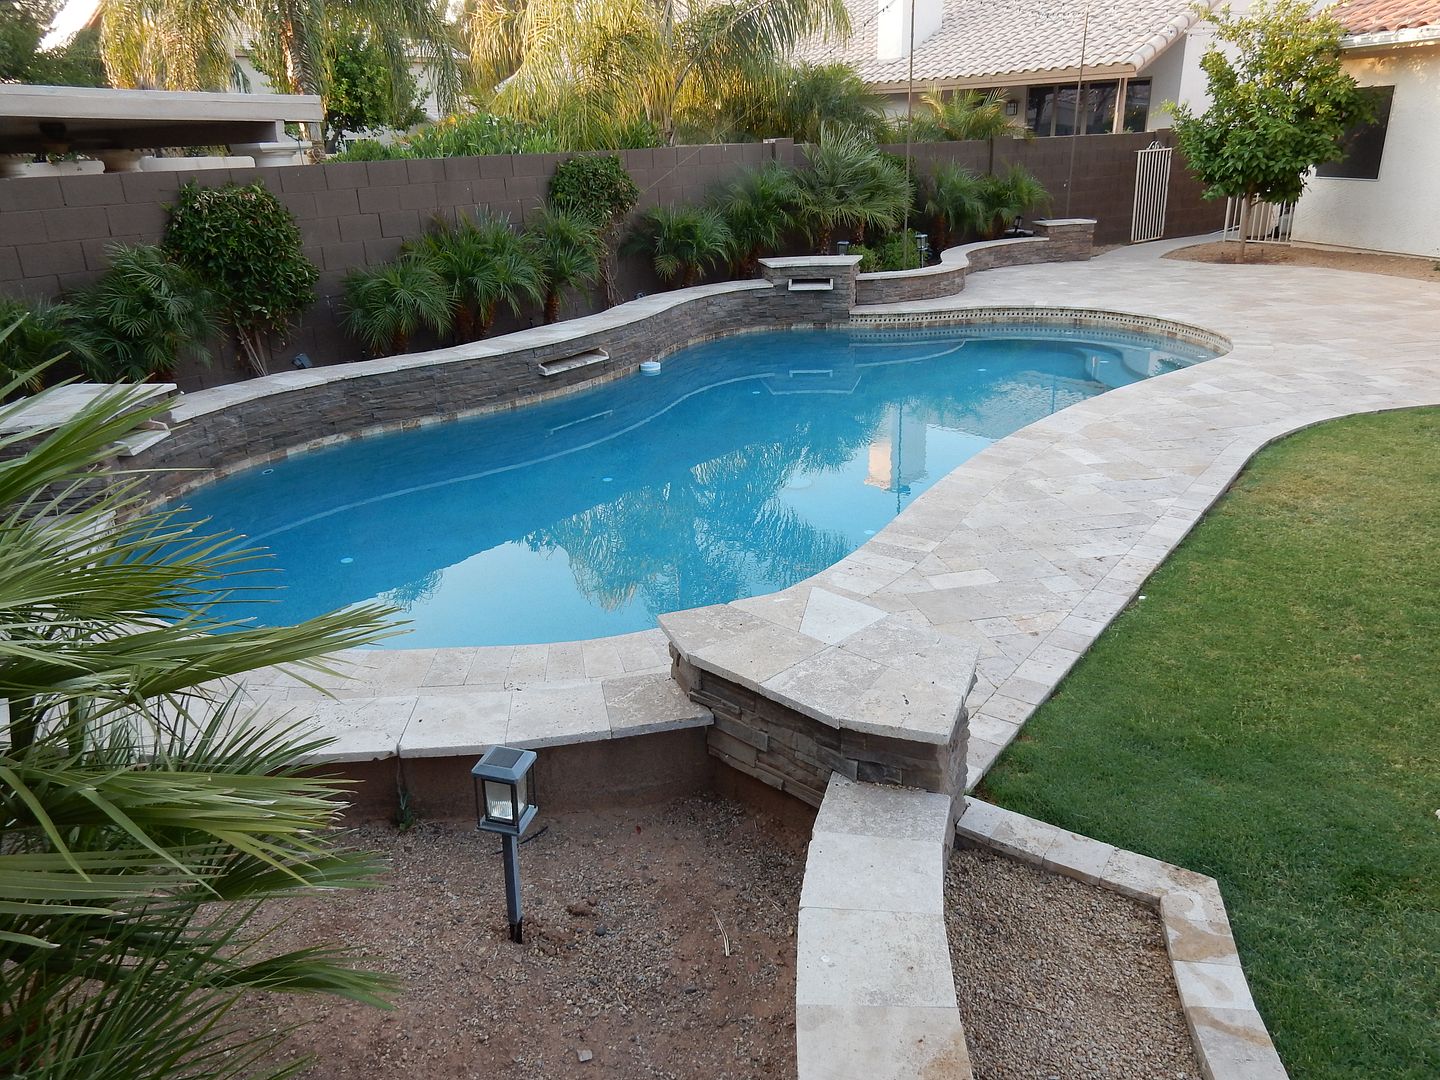
Right side waterfall


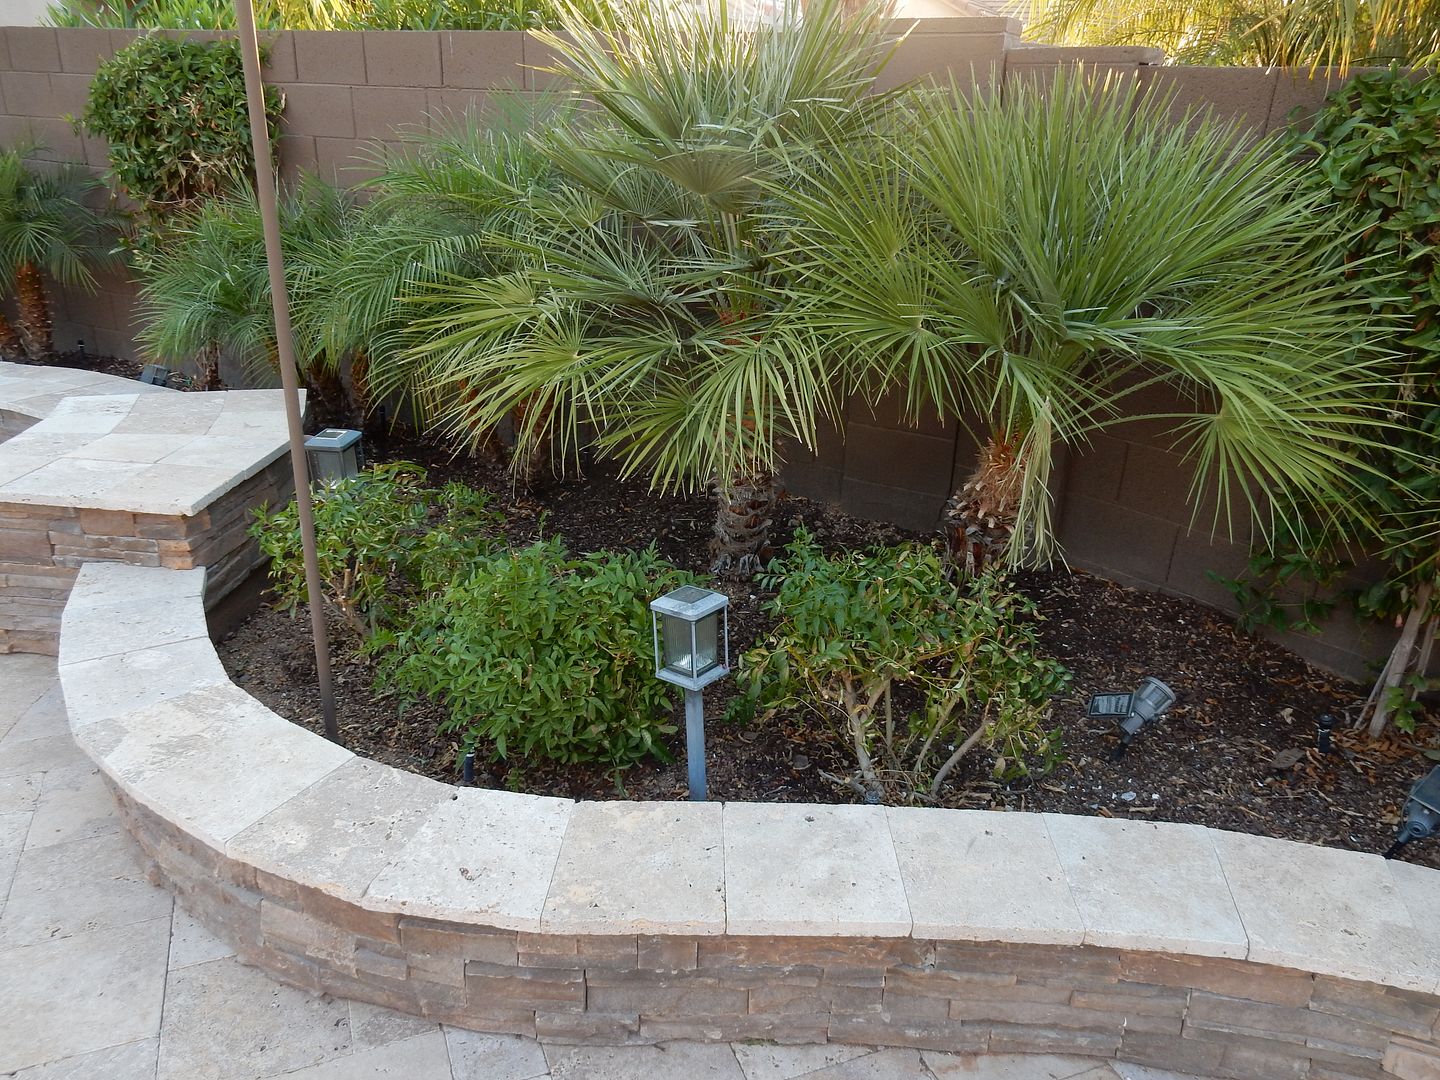
Trapezoidal planter area


Other side, low wall planting area


View towards my sister’s house…back wall partially removed for the wedding.


View from grass toward the other side of our house


View from the back of the pool


Another view from the back of the pool


View from the trapezoidal planter area:


View from the sidewalk, note final transition from sidewalk to travertine pool deck


View from our back door


Thanks for looking everyone! I was planning another post with total estimated costs. I have already posted the labor requirements in a previous post. Hope this thread can help others with their efforts and decisions.
 
Re: DIY Pool / Patio Remodel in sunny Arizona (lots of photos)

Work and Time Estimate

- - - Updated - - -

I don't know Suz...by now you might have figured out that if Kim talked to me into a mural, my wife would definitely be painting it, and I would have bought the cheapest paint they have on clearance at Home Depot. I'm thinking I could get it done for under $30, haha.

You're a lucky guy!!!! Between the two of you, ya'll have just about all bases covered!!!! Now I definitely want to see a mural somewhere in your retreat area!!!! You have no excuses now!!! Lol!!
 
BRAVO!!! You can't see it but I'm giving you a standing ovation right now, lol!! Gorgeous! Gorgeous! Gorgeous work! Congratulations on a job VERY well done!

Maybe you could fix my deck issues...lol!!
 
I just took a sneak peek at your final photos. I've got a lot of catching up to do with your work. You posted faster than I could keep up! First, no doubt all of your work posting will pay off in helping many people! I still don't understand about half what I read, but I can't help myself from reading every word!!! For those who do understand, your information is invaluable! Second, this is pure enjoyment for all! Third, you now have a terrific journal with tons of pictures of the work you and your wife accomplished (just incase you could possibly forget a part of it- I don't think so). I'm sure your family will enjoy have this record!

I'll be back eventually after I've finished the last two pages. Thank you for this gift!!!!
 

Enjoying this content?

Support TFP with a donation.

Give Support
WoW is right. Im also an avid DIYer and if I set my mind to it, I usually think there isn't much I can't do.

I dont think I could do what you did though. In fact I know I couldn't. Man... it's just stunning design and workmanship!
 
Thanks everyone for the compliments! I have a couple more posts coming: costs/last thoughts and a few pictures of the waterfalls running

- - - Updated - - -

Cost Recap and Additional Thoughts (including one REGRET)

Included here is a summary of costs associated with the project. It includes everything except the two bigger tool purchases (Wet Saw and Cement Mixer - $420 total) which I bought, and am of course keeping. Both are tools that neighbors and family have borrowed many times already.

We spent a lot of money, but we accomplished all the “desired” goals of our remodel for less than the cost of the “minimum remodel bid” (first post). Repost of those “desired” goals

1) Expanded patio and pool deck (bigger than the current footprint)
2) New travertine walkway to an outside basement stairwell
3) All patios/walkways/pool deck to be “level”…no steps or ledges at transitions, even to existing sidewalk, patio, basement stairwell
4) Eliminate the dated and boring “ cap tile ” that was a popular Phoenix area Shasta Pools invention built during the 1980s and 1990s
5) Expanded water feature that really makes the pool standout, remote controlled so that it didn’t have to be manually activated and deactivated
6) New Pool equipment
7) A landscaped “look” for the entire backyard that was yet undefined

Was it worth it…absolutely. We ended up extremely happy with the result. But go back to the recap of work required to see the toll. It took a lot of time…those that have time might attempt this (my wife and I are both retired). This is probably a year and a half of work if it had just been done on weekends.

A key for us (to do it ourselves) is that we really did not know exactly what we wanted until we started and then physically moved and placed concrete blocks around the pool to get an idea of what our landscape was going to look like. For us at the time, it would have been near impossible to put this into a plan that could then be bid by a contractor. So we really had little choice.

Did it save money…YEAH, probably a bunch. Based on the estimates we received (which were basic and a fraction of the work done on the yard), I would guess this job might have cost 3+ times what it cost us, which of course is tempered by the effort required.

Costs

Travertine Pavers (1400 sq ft)$5,640
Sand & Crushed Rock$400
Stone Veneer$1,086
Pool Tile$600
Pool Epoxy Grout$200
Misc (online, HD, Lowes, Harbor Freight): Wood for forms, rebar, concrete, thinset, drill bits, blades, PVC piping, copper pipe, wall paint, some tools, etc)$1700
Pool Pump$880
Pool Filter$810
Pool Command Center (EBAY)$405
Other (extra valves, skimmer lids, etc)$230
Pool Pebble TEC Finish$4,500
TOTAL$16,451

Finally, did I have any regrets?

YES, only one that has gnawed at me ever since, haha...I didn’t do the pool equipment until last. When I finally got around to researching it I realized I should have changed an original plumbing design on my pool.

We have a pool pump inlet that comes directly (and only) from the skimmer. At the bottom of the skimmer is a pipe that draws from the bottom drain of the pool. There is a small plastic diversion flap between the skimmer and that pipe outlet which slides (manually of course) to choose how much of the water is pulled through the skimmer and how much comes from the drain on the bottom of the pool. I now realize this was a cheap and inefficient method.

I should have dug down below the skimmer and separated that drain pipe (which came from the bottom of the pool) into a separate pipe going back to my pump area. This would have allowed me to put in an automatic valve to control this function (draw from drain or skimmer or both). Much more efficient! Don’t know if that could have been possible with the way my skimmer was concreted in, but now I will probably never know. DARNIT!
 
Thanks for sharing the cost summary, thoughts and your one regret. Those are all very helpful to rehabbers. Looking forward to a few last pics!
 

Enjoying this content?

Support TFP with a donation.

Give Support
Thread Status
Hello , This thread has been inactive for over 60 days. New postings here are unlikely to be seen or responded to by other members. For better visibility, consider Starting A New Thread.