Re: DIY Pool / Patio Remodel in sunny Arizona (lots of photos)
Completing the Cap and Border Tiles / Cutting Tiles for a Curved Border
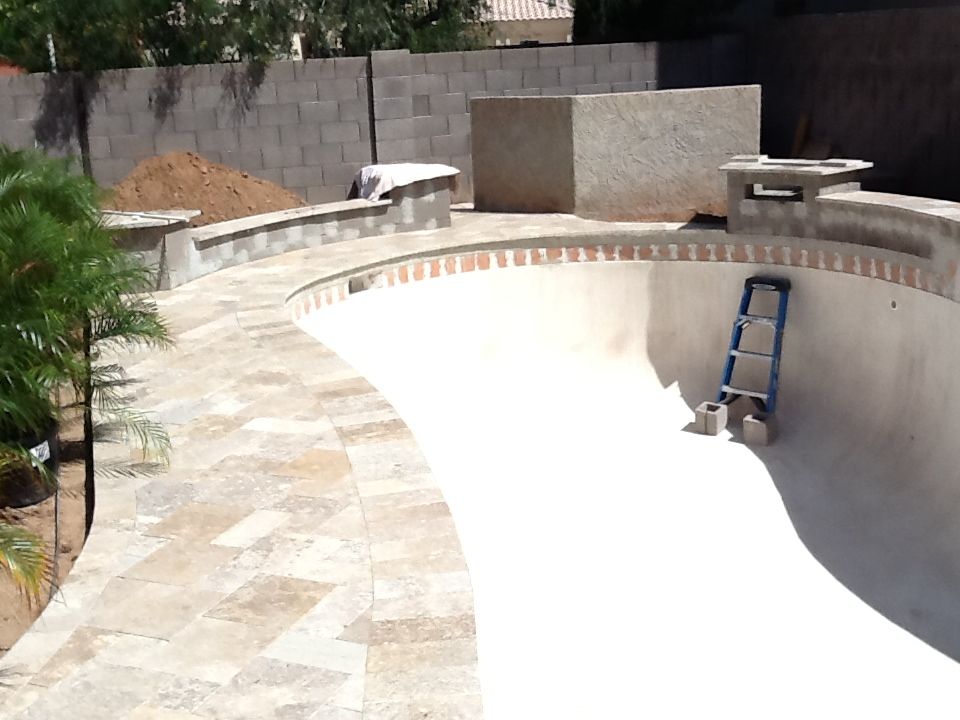
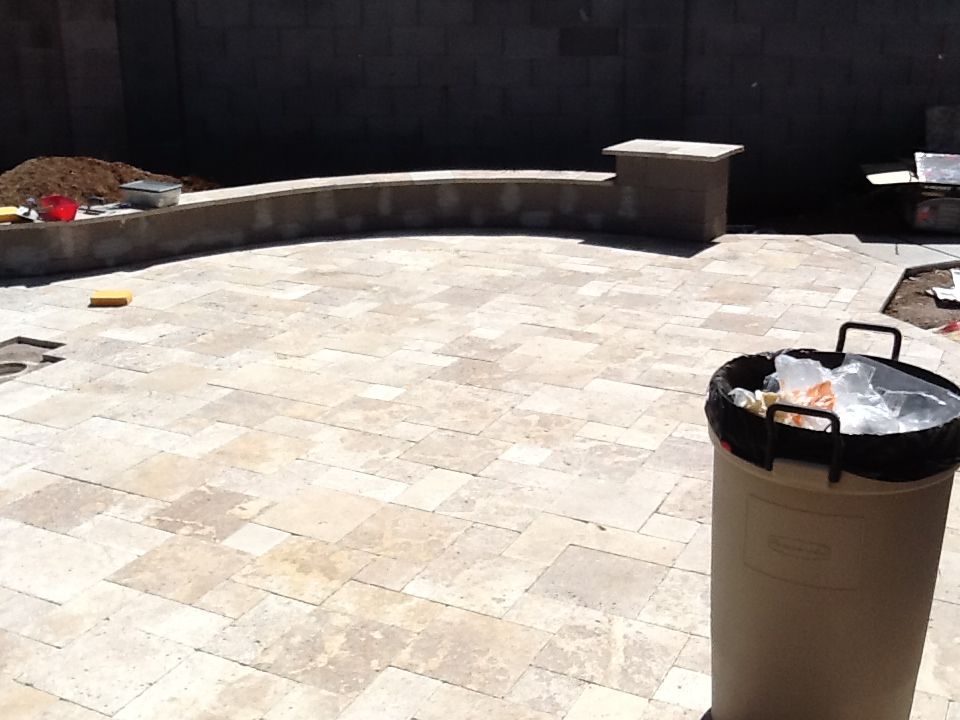
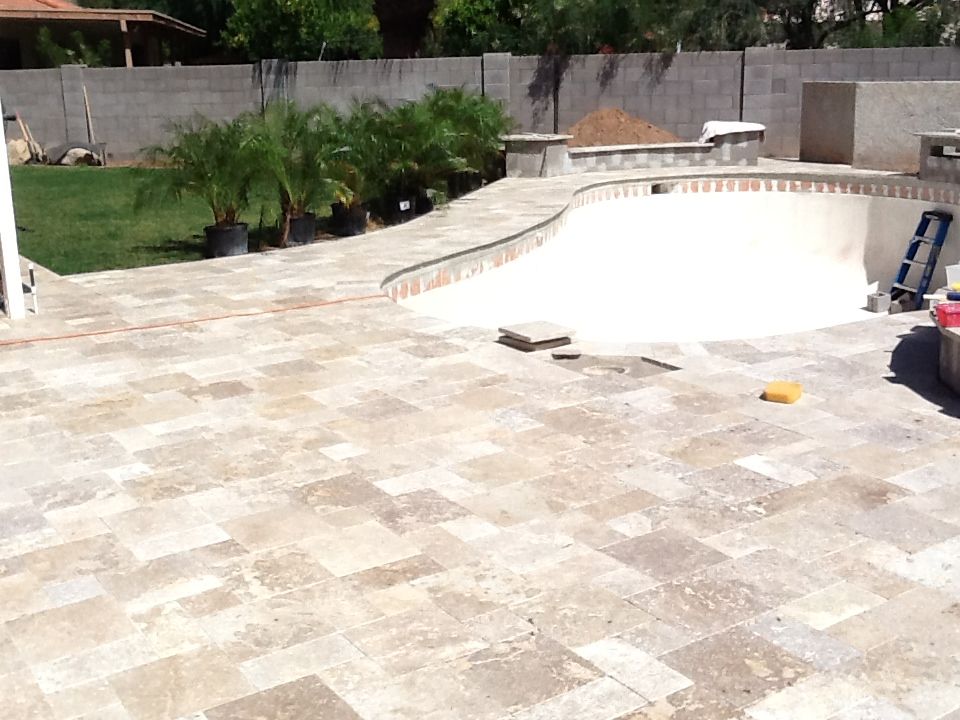
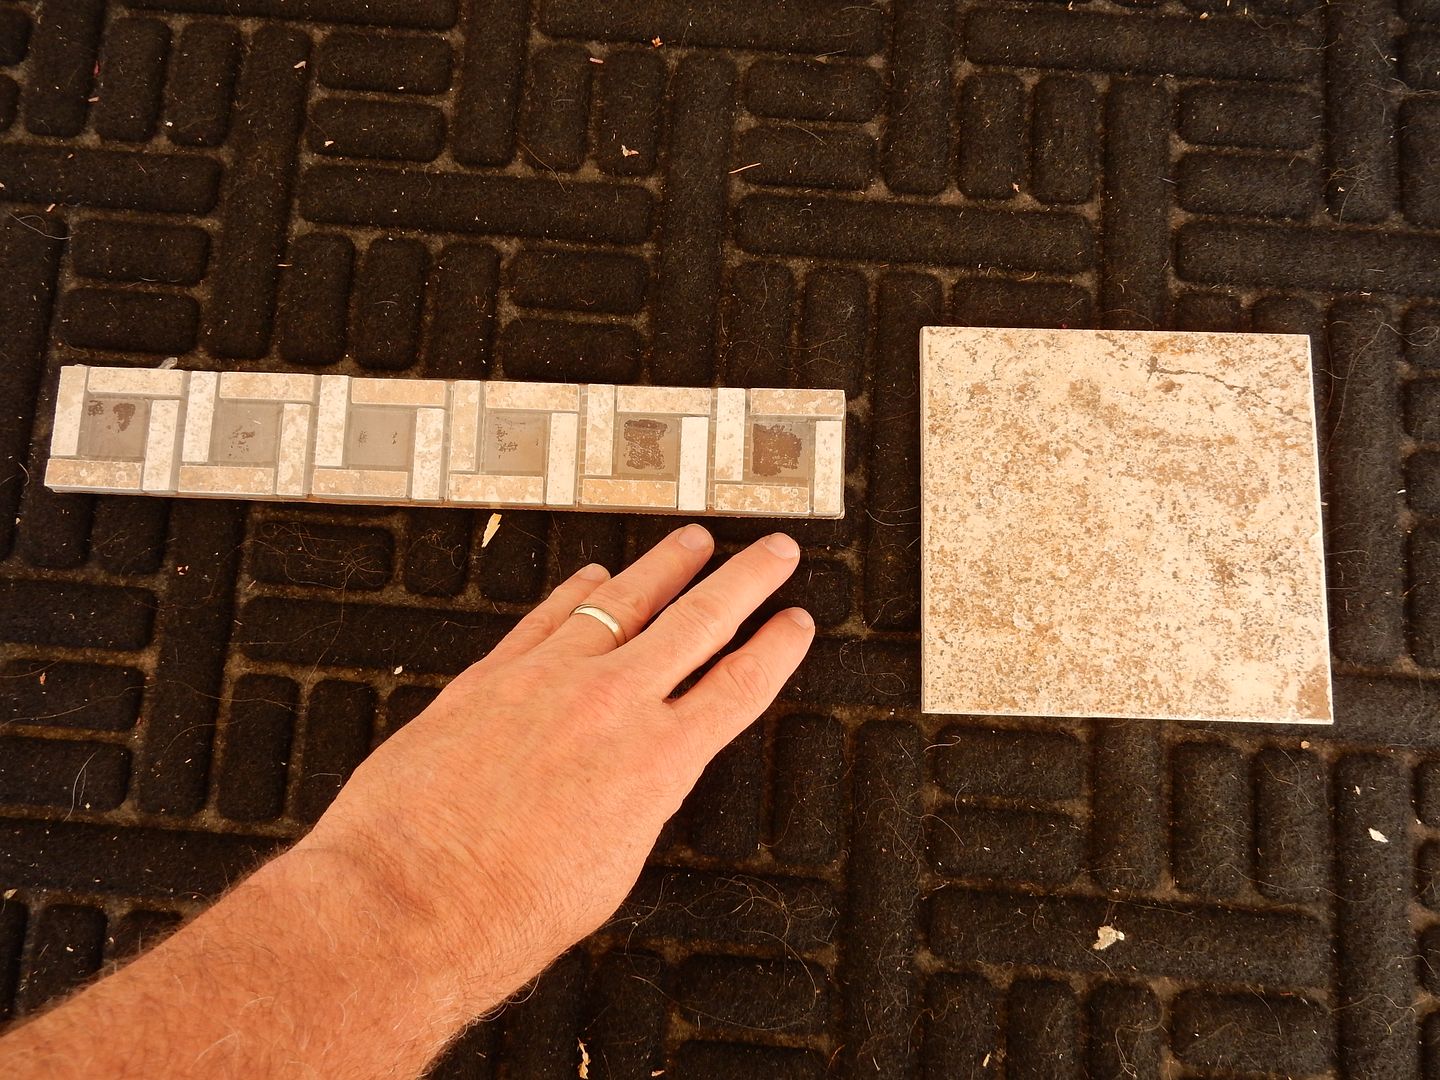
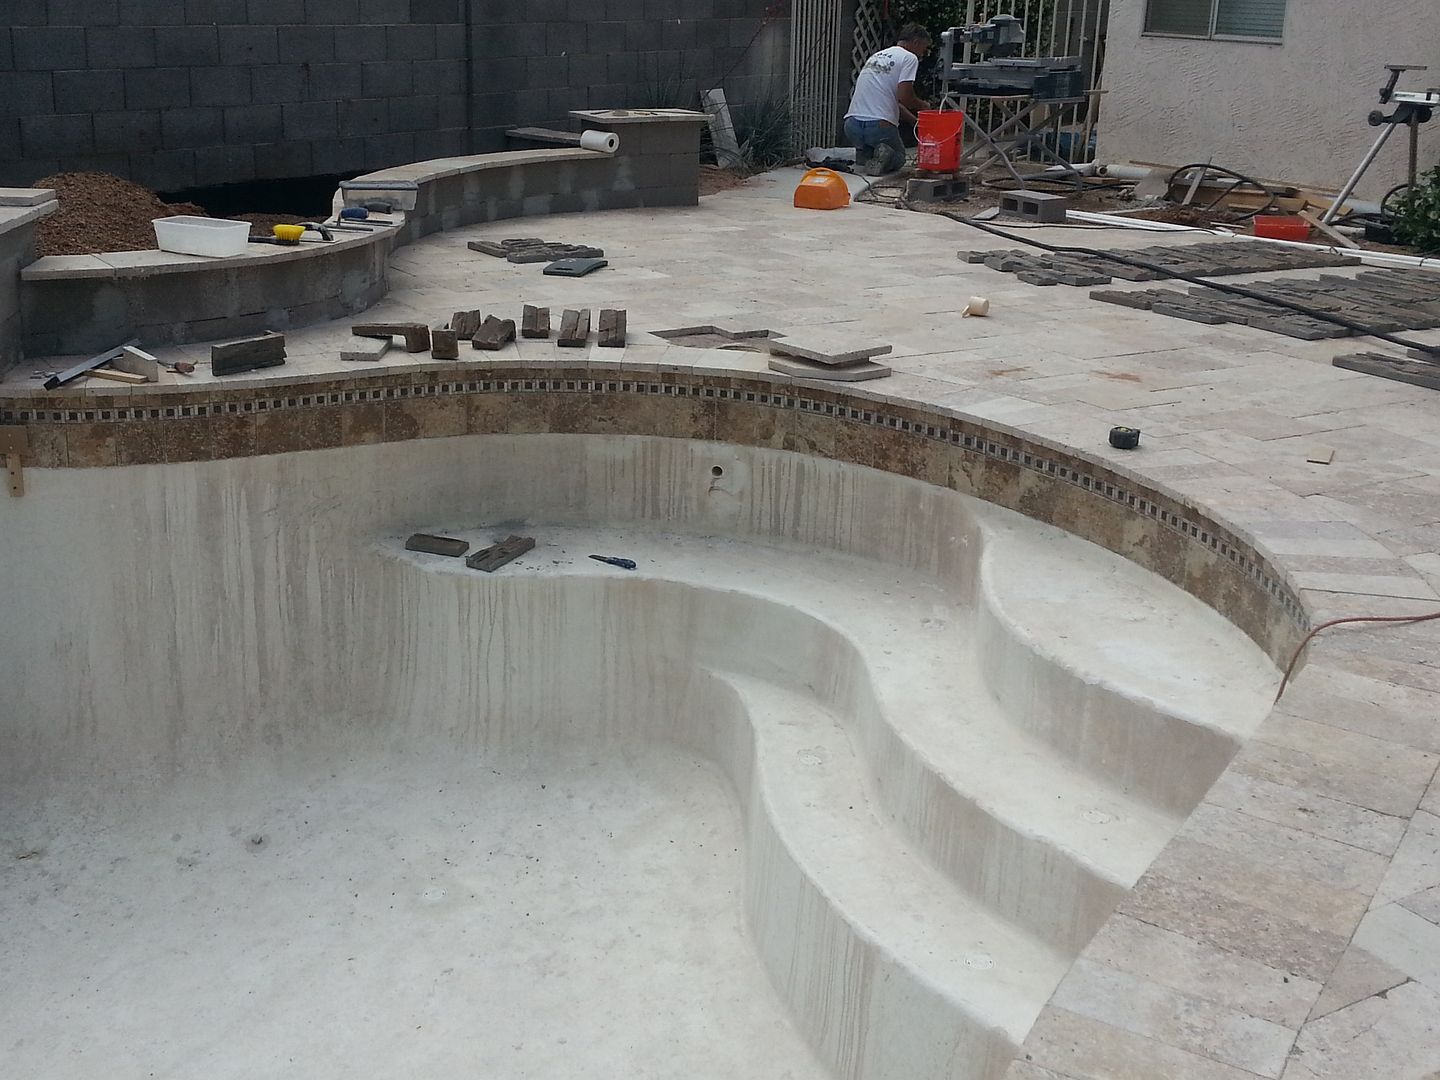
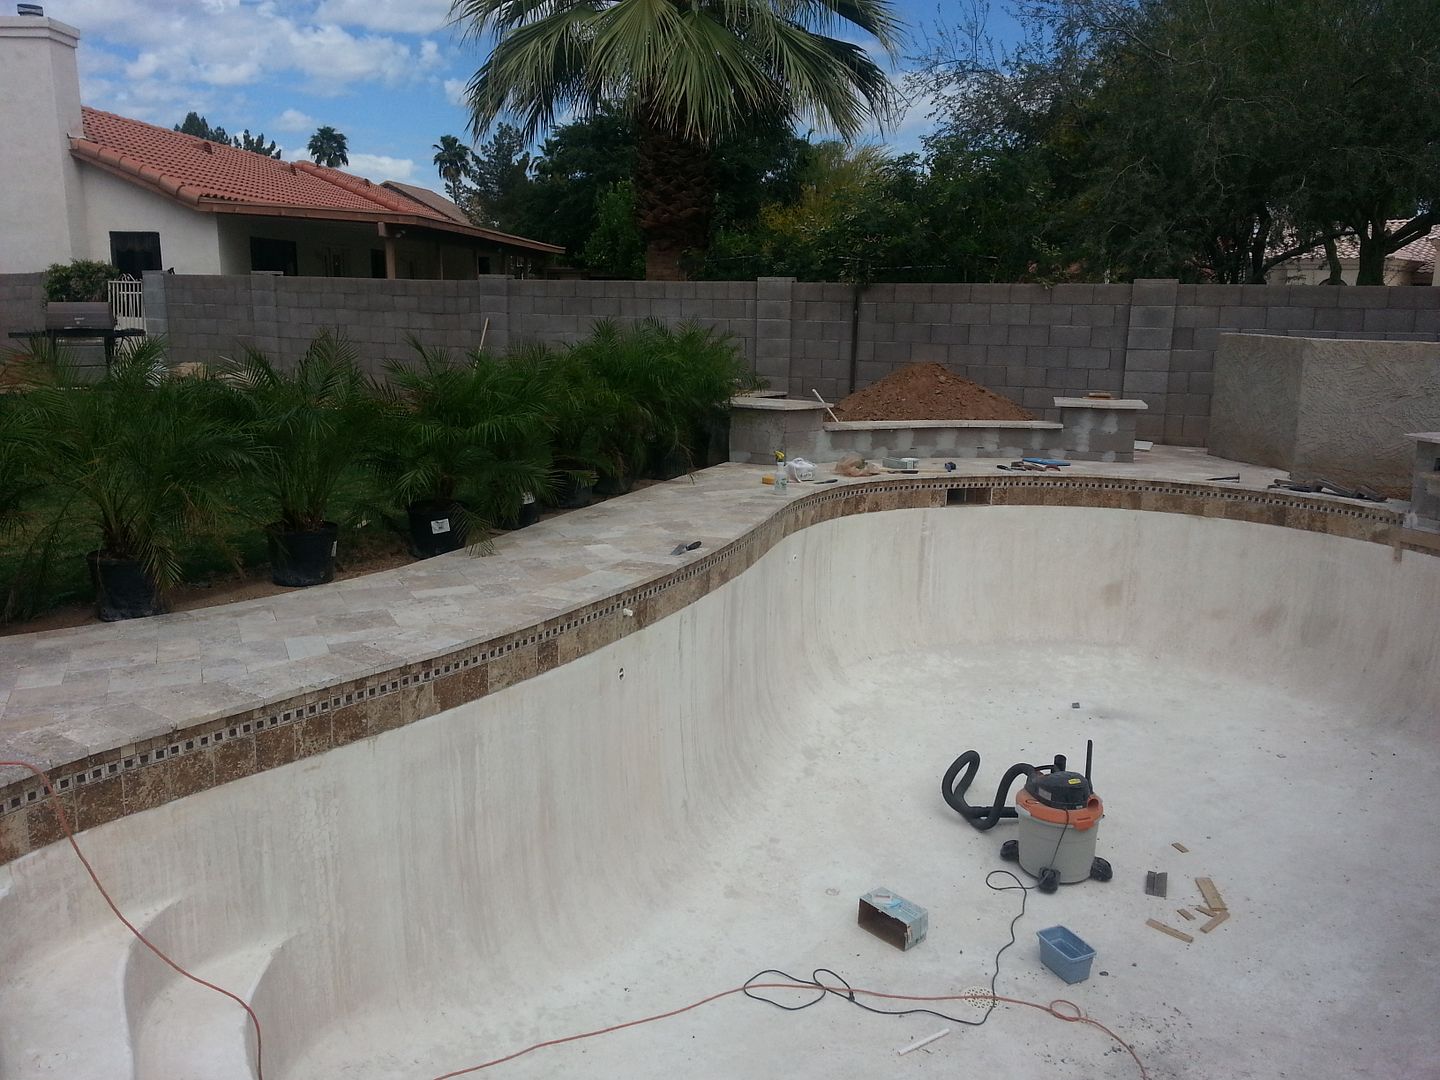
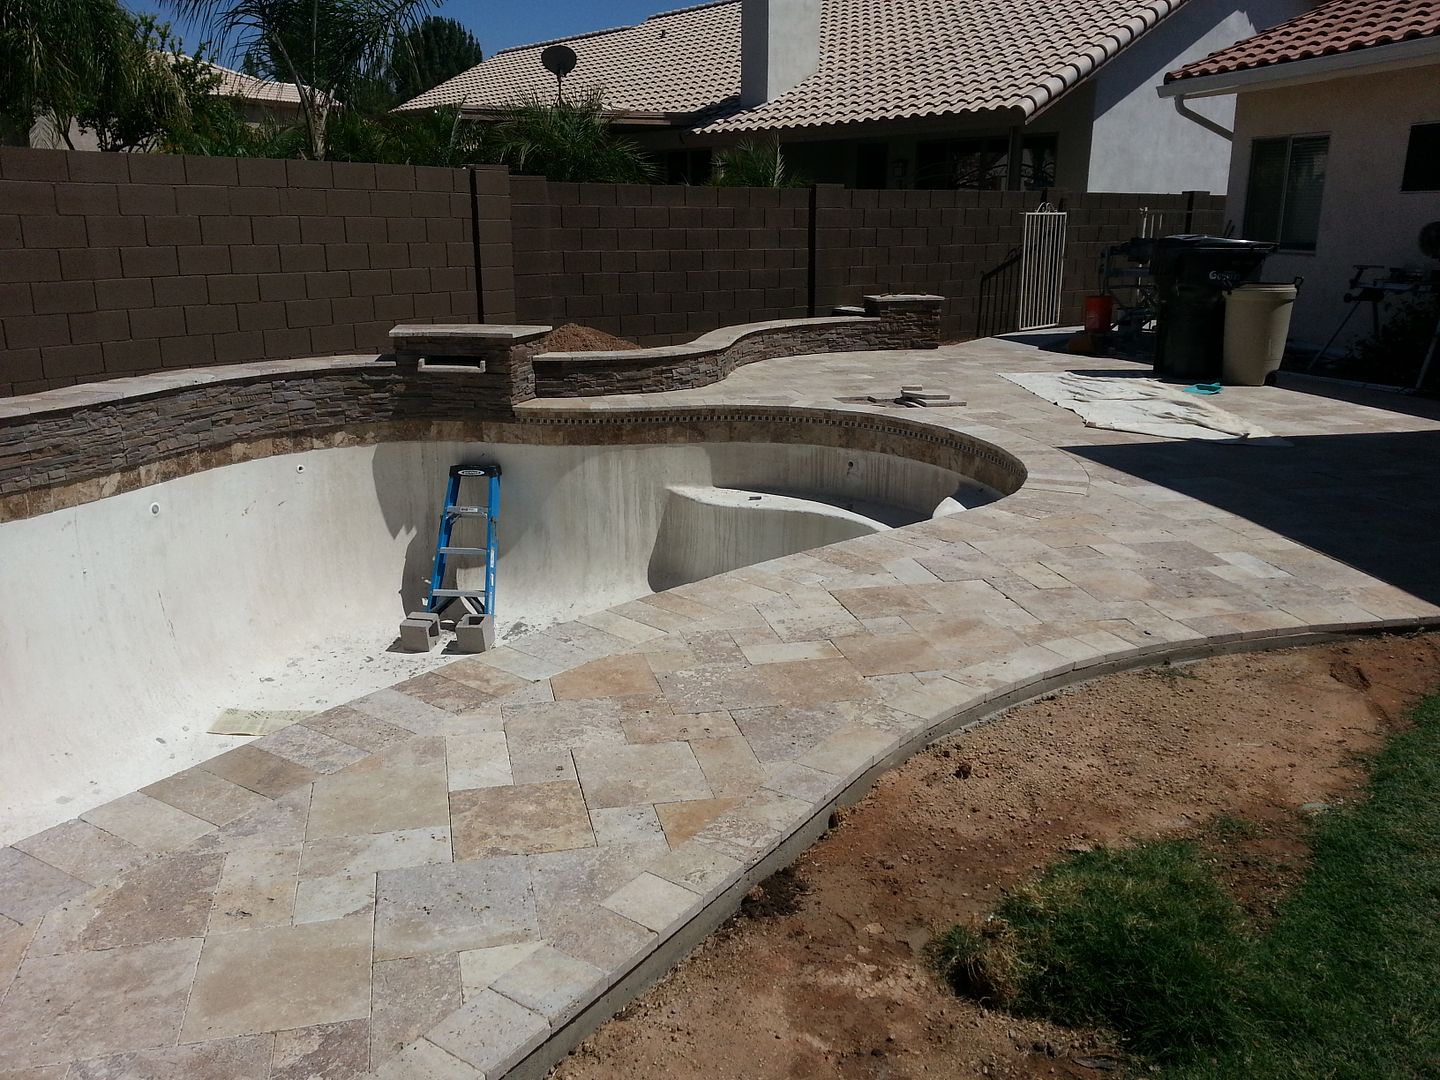
At this point we had completed installation of 95% of the travertine Cap Tiles on the walls and the 6”x6” travertine tiles on the pool deck border. We wanted to get experience cutting the tiles to fit on the curved borders before tackling the pool coping…and as you will see, we got a LOT of experience. My wife marked all the tiles and I cut them. All the footings had already been poured with a few little exceptions.
Cutting travertine tiles (or any tiles for that matter) to fit on a curved border was a total mystery to me for months. I had absolutely no clue how to do it, and unfortunately I didn’t know anyone who did. Searching the web occasionally yielded absolutely nothing for months (during the fall and winter previous to this 2nd phase of the project). Finally, I found a diagram on the internet that solved it for me. I don’t know where that diagram is anymore except here is a similar one:
https://torontolandscaping.wordpress.com/2011/03/18/cutting-pavers-for-a-curved-soldier-course/
Looking at the above diagram, the correct term I needed to search for all those months was apparently: Taper Joint. There might be more info and/or videos on that term, don’t know cause I don’t need it anymore and I know how to do it. But , DON’T attempt to measure anything (that’s a recipe for disaster) as the above link suggests. The key is to create and use multiple varied-width “rulers” to draw both parallel lines on the two side-by-side pavers. You simply place the ruler that is as wide (or wider, but that wastes material) as Measurement A in the diagram and center it on the gap before drawing your two cut lines. And you can only work and place ONE paver joint (two pavers) at a time…it’s completely wasted work to place future uncut pavers in place.
I am not going to go into further details at this point…but it is EXTREMELY EASY once the process is understood and if you can make straight cuts with a paver saw. Also, once the process is understood, you will realize that there is a big advantage to starting in the middle and working both ways rather than just working it from one side. Possibly a future thread if there is any interest.
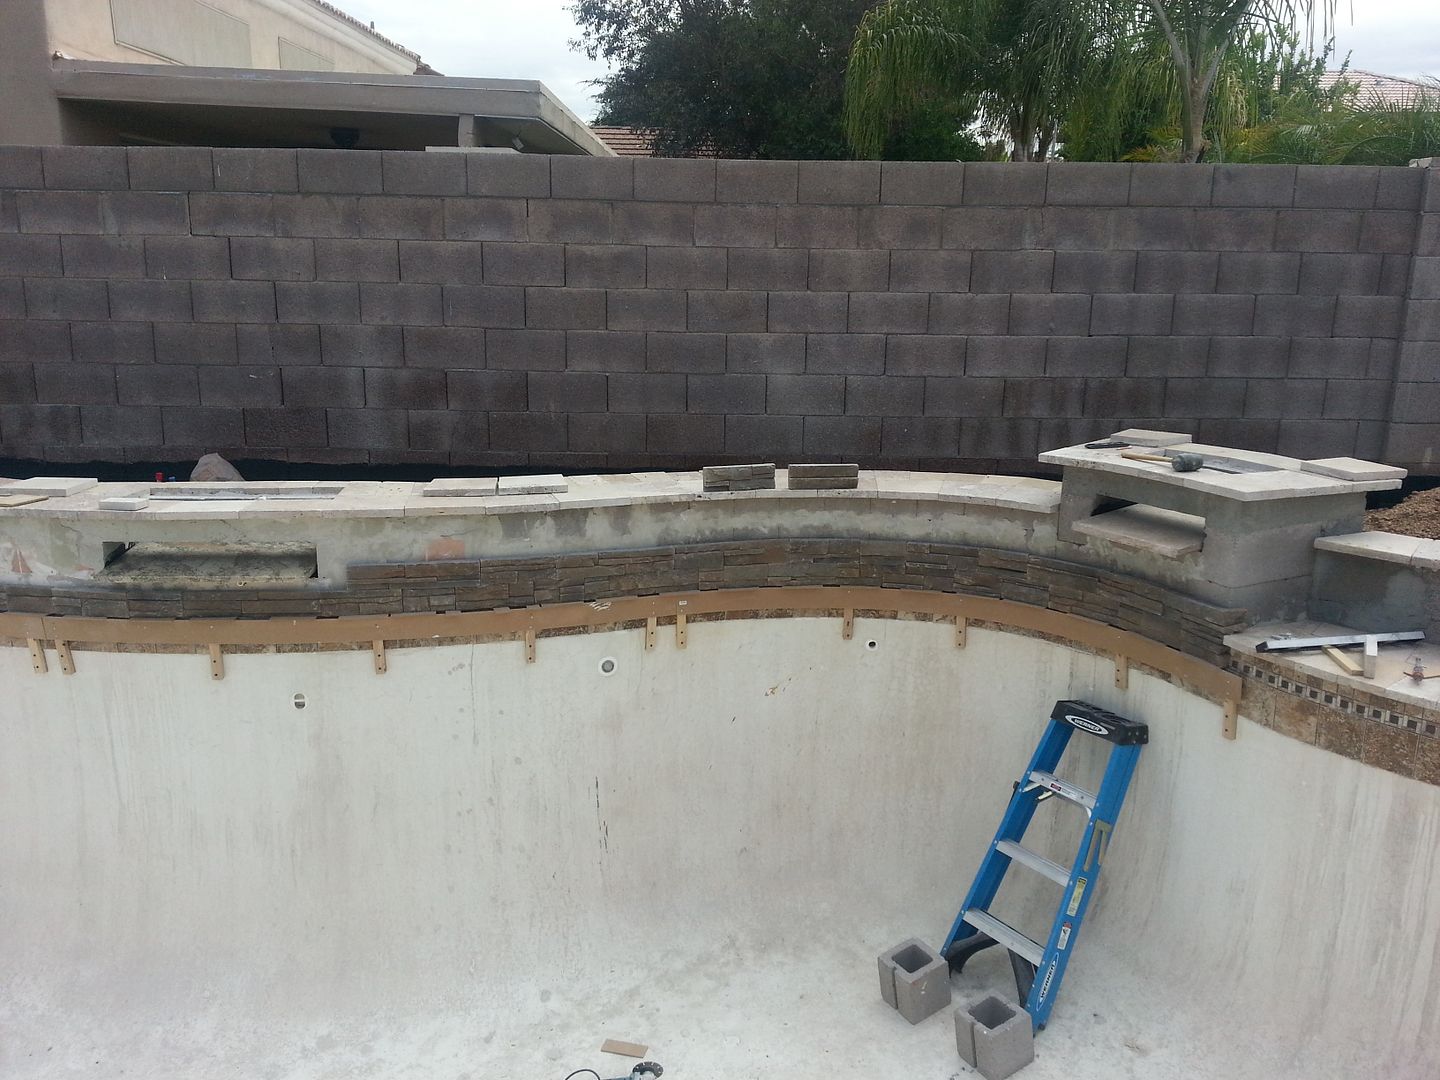
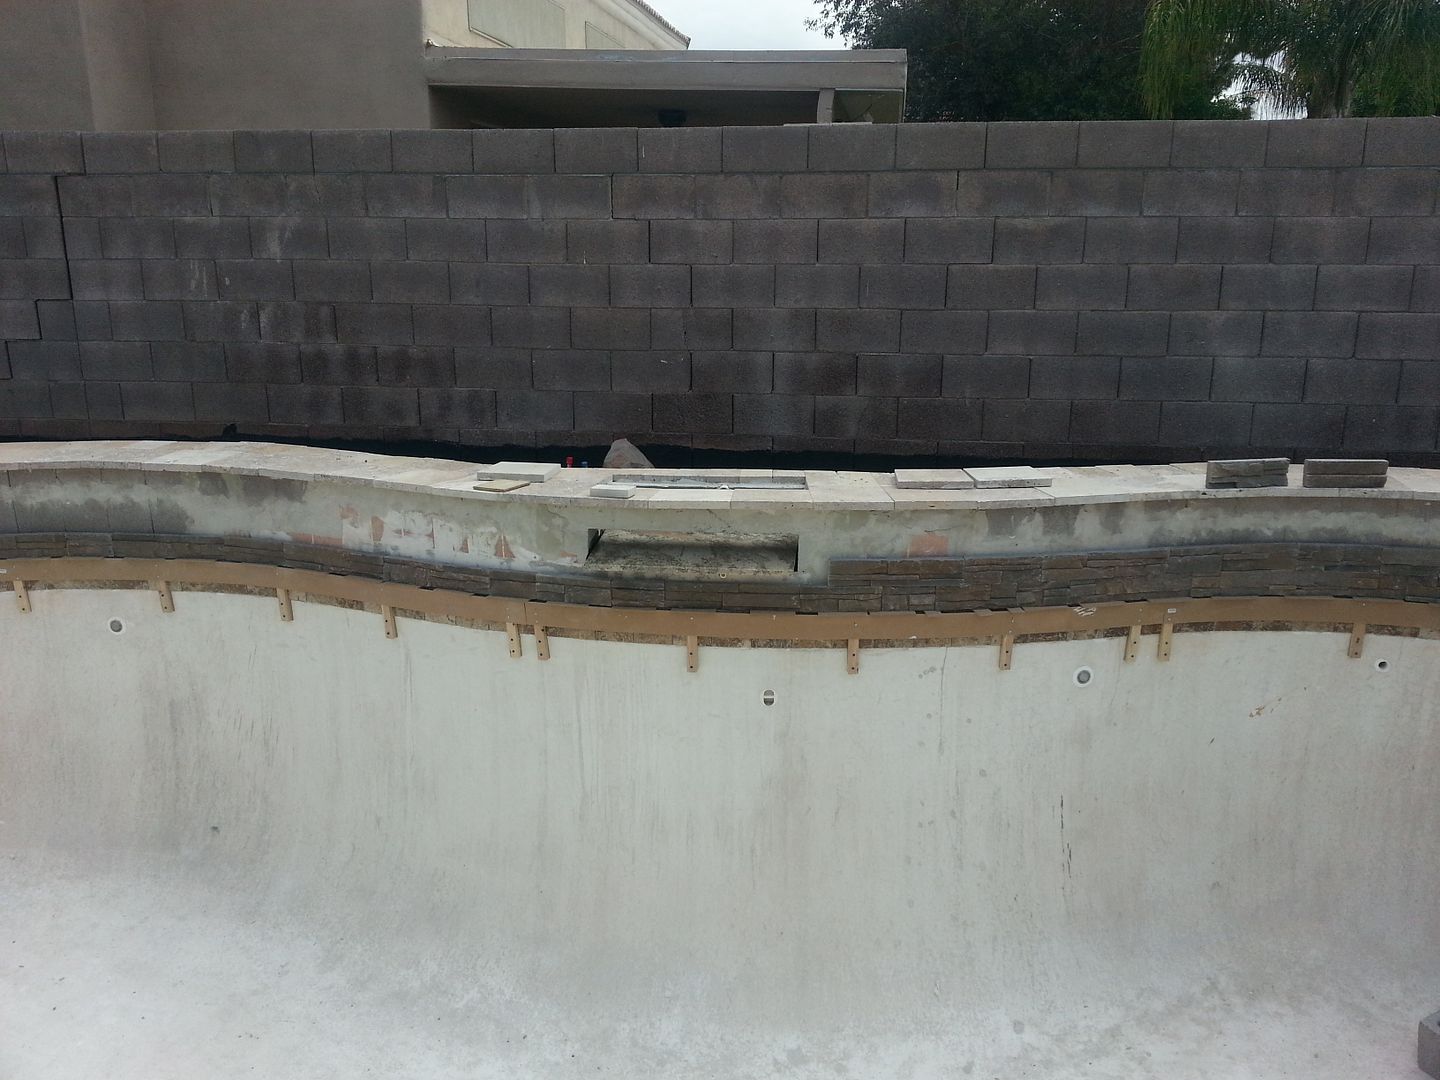
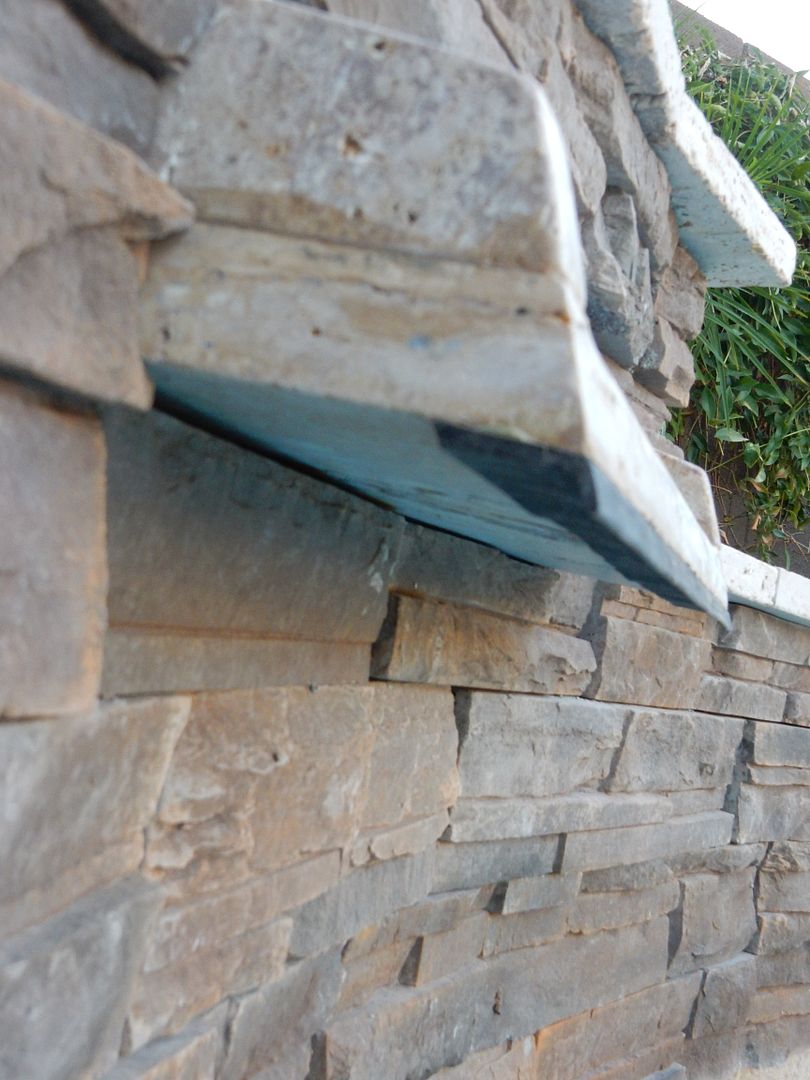
Another key, especially for the wall Cap Tiles, is that there is sufficient overhang to account for any stone veneer that you are planning to add to the wall. In our case, the veneer we had chosen varied in thickness from ½” - 1 ½”. Also, the thickness of the mortar to mount the veneer must be taken into account (1/2” – “1 ??)
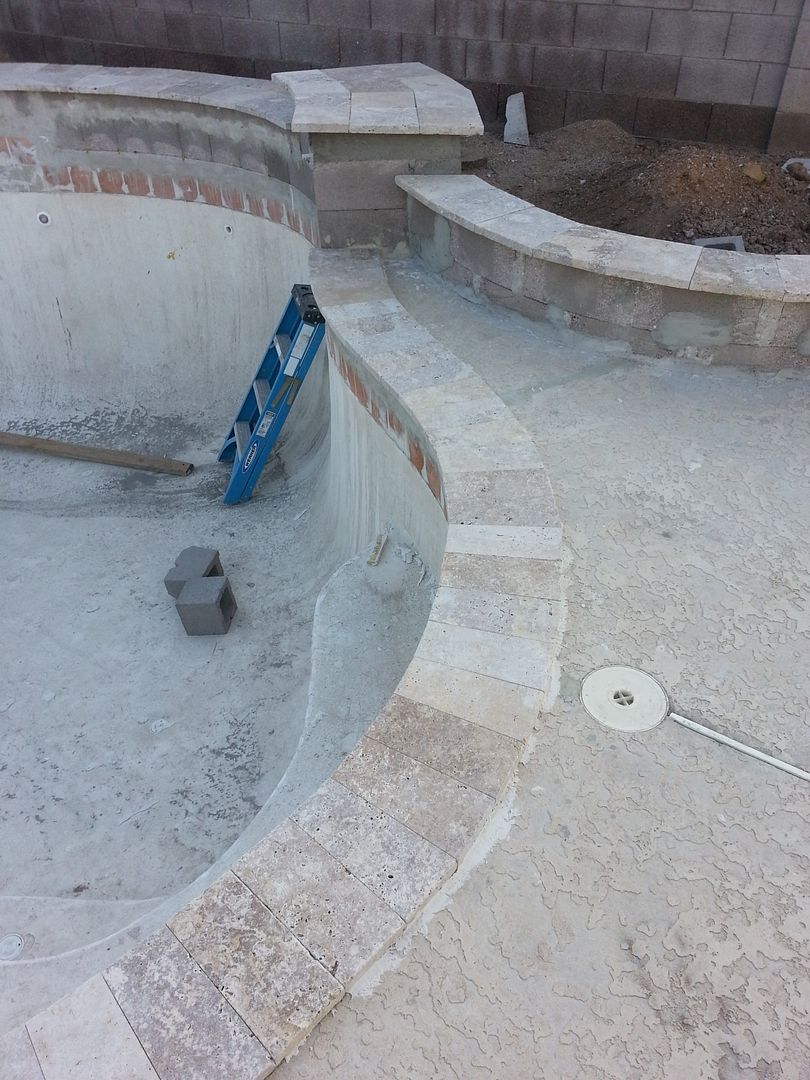
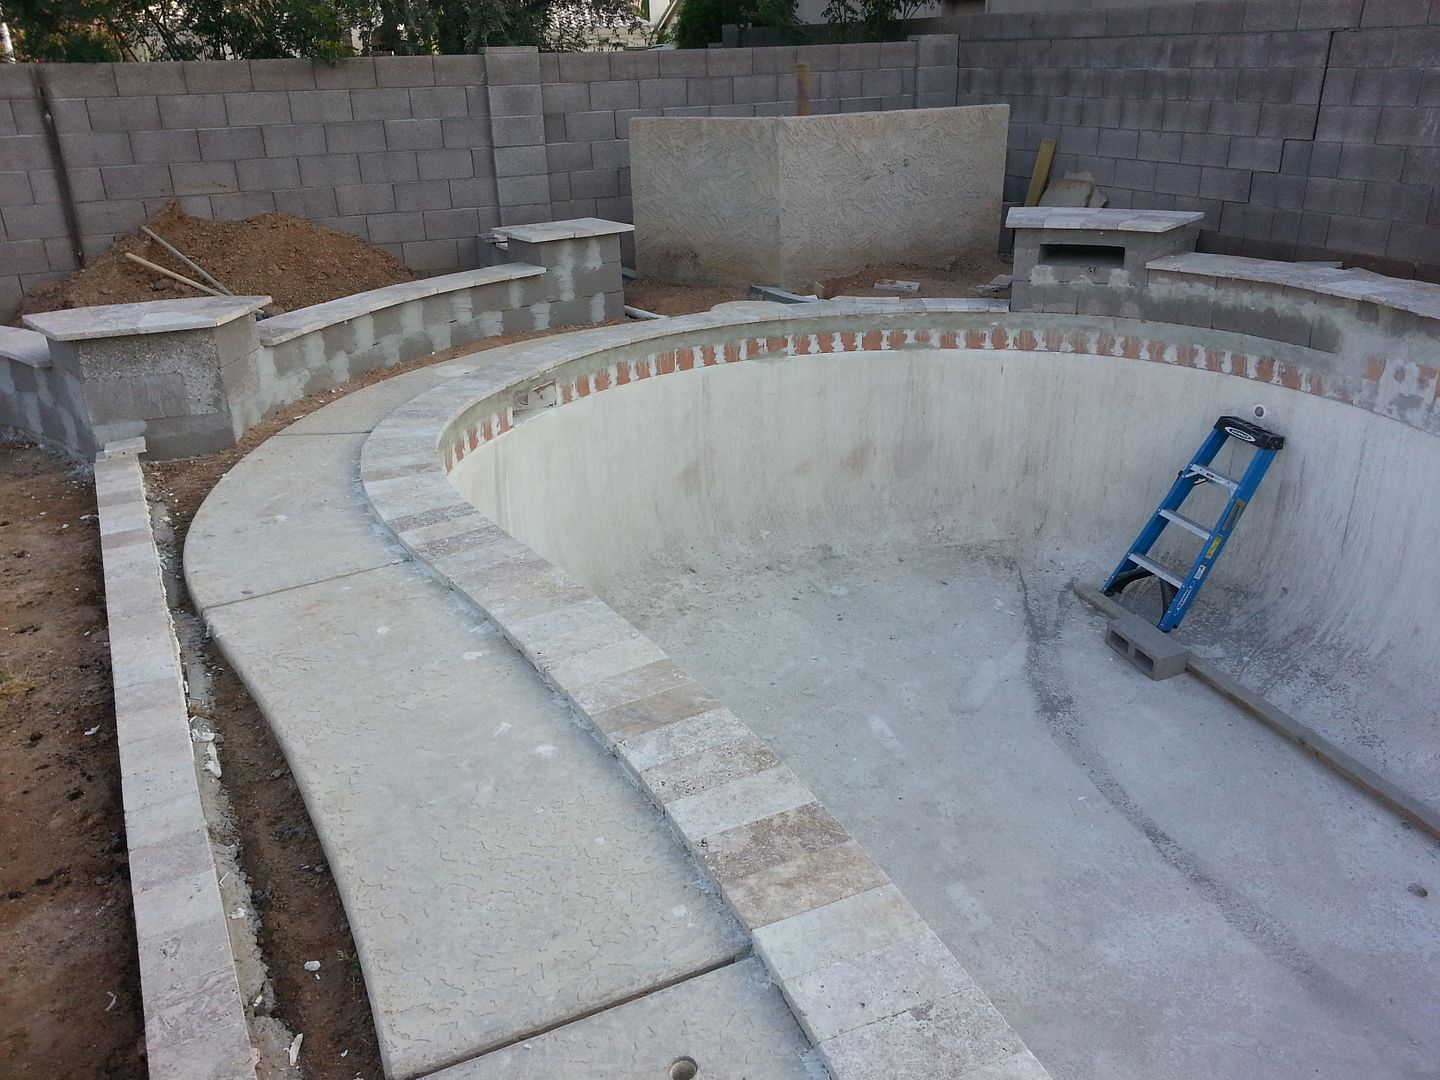
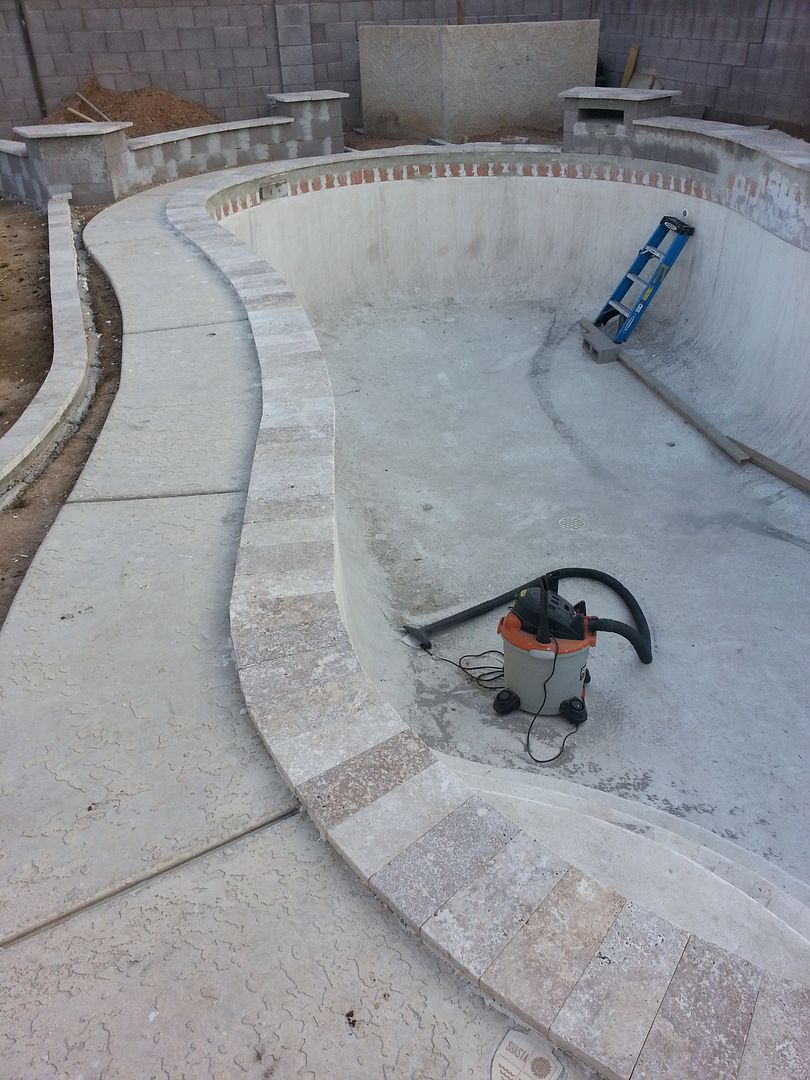
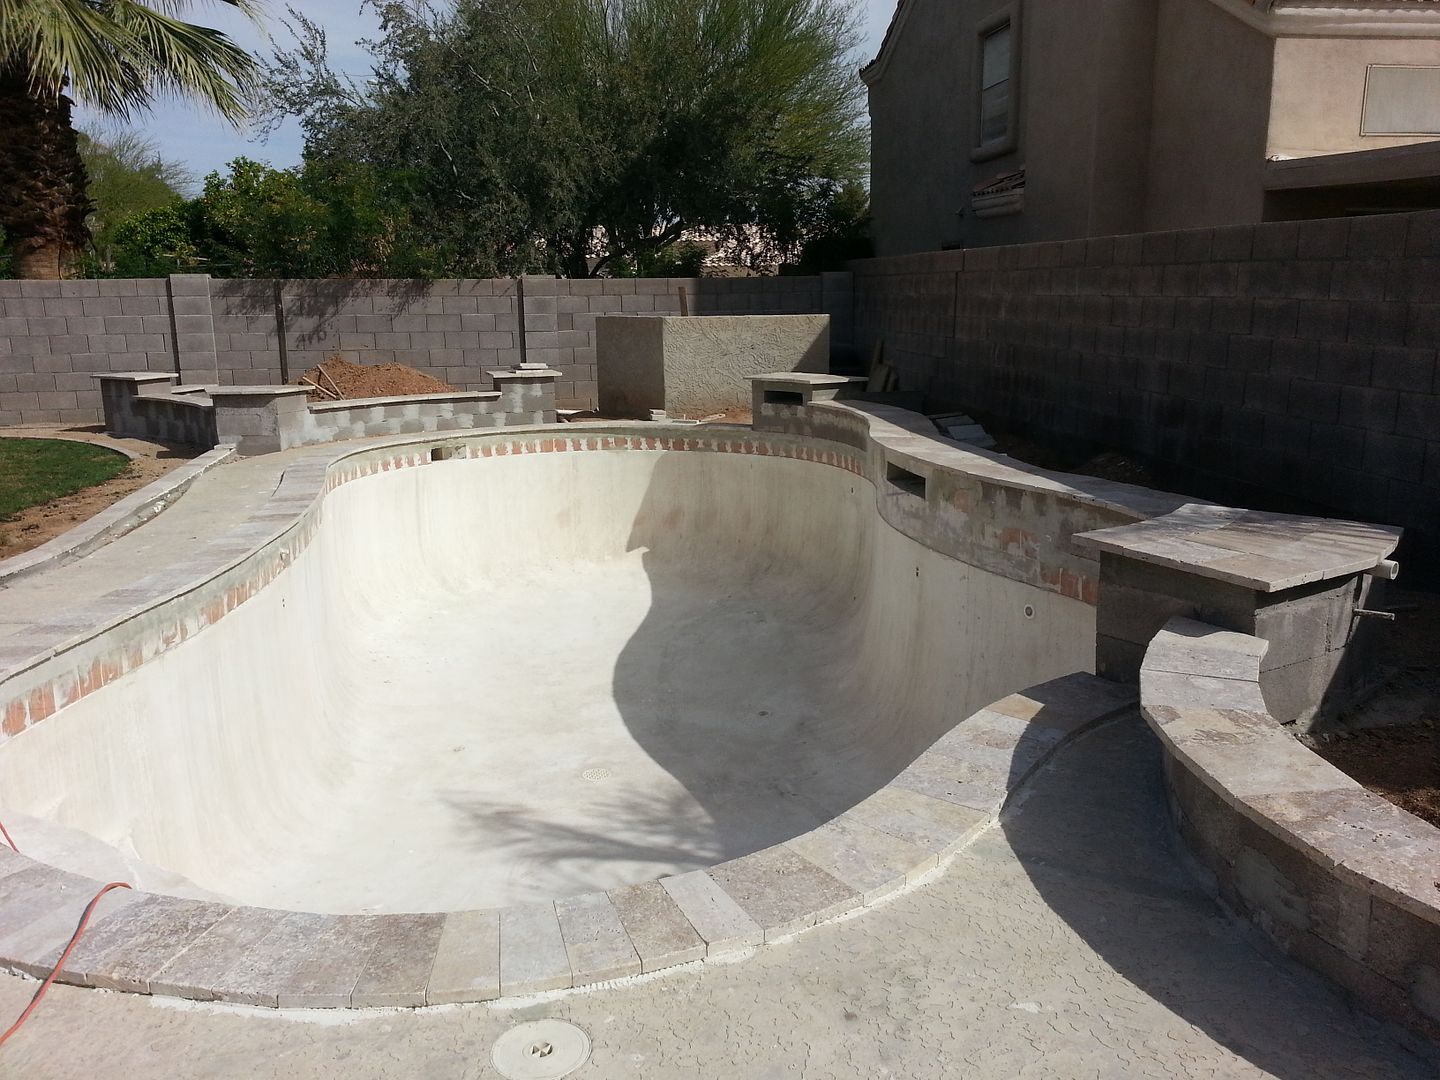
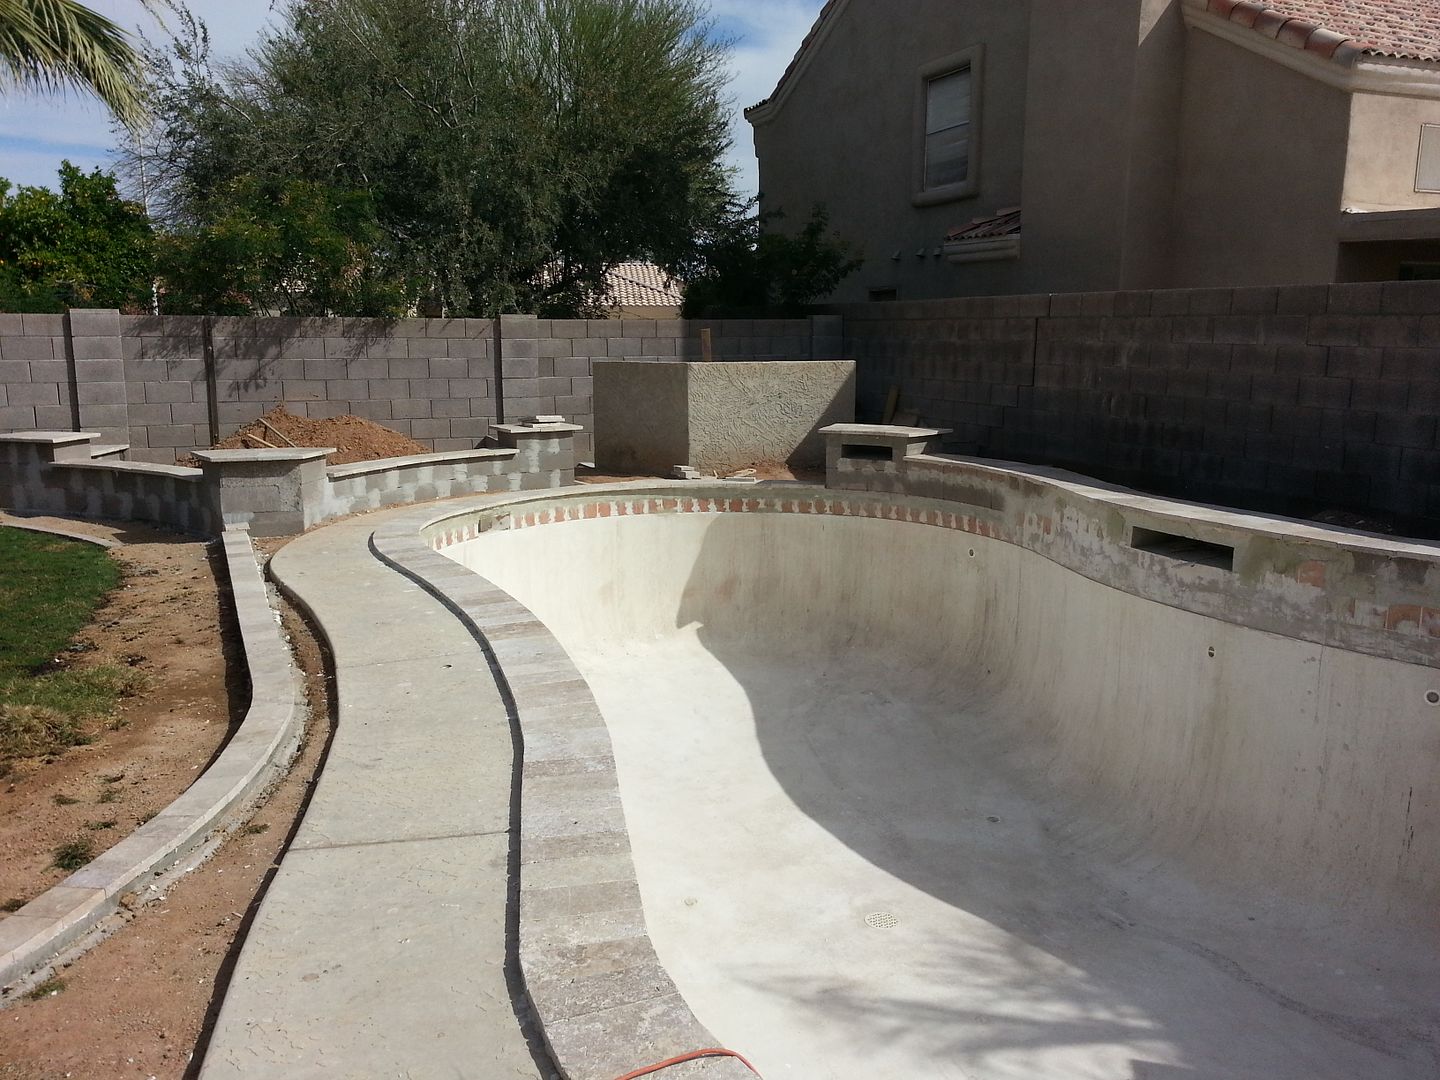
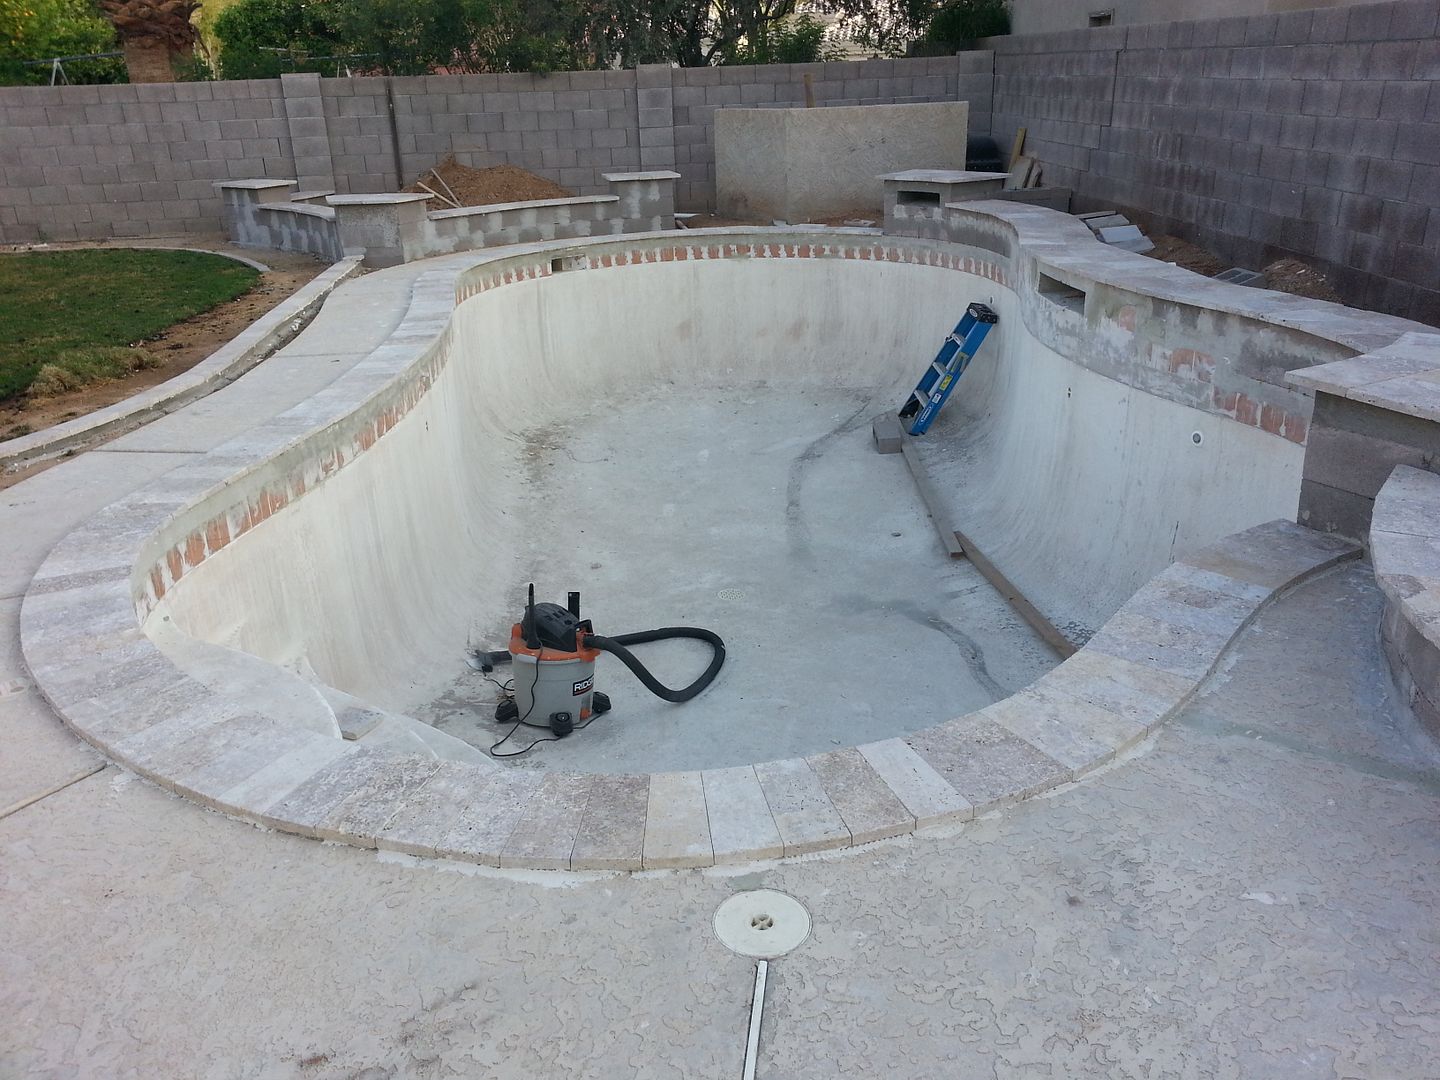
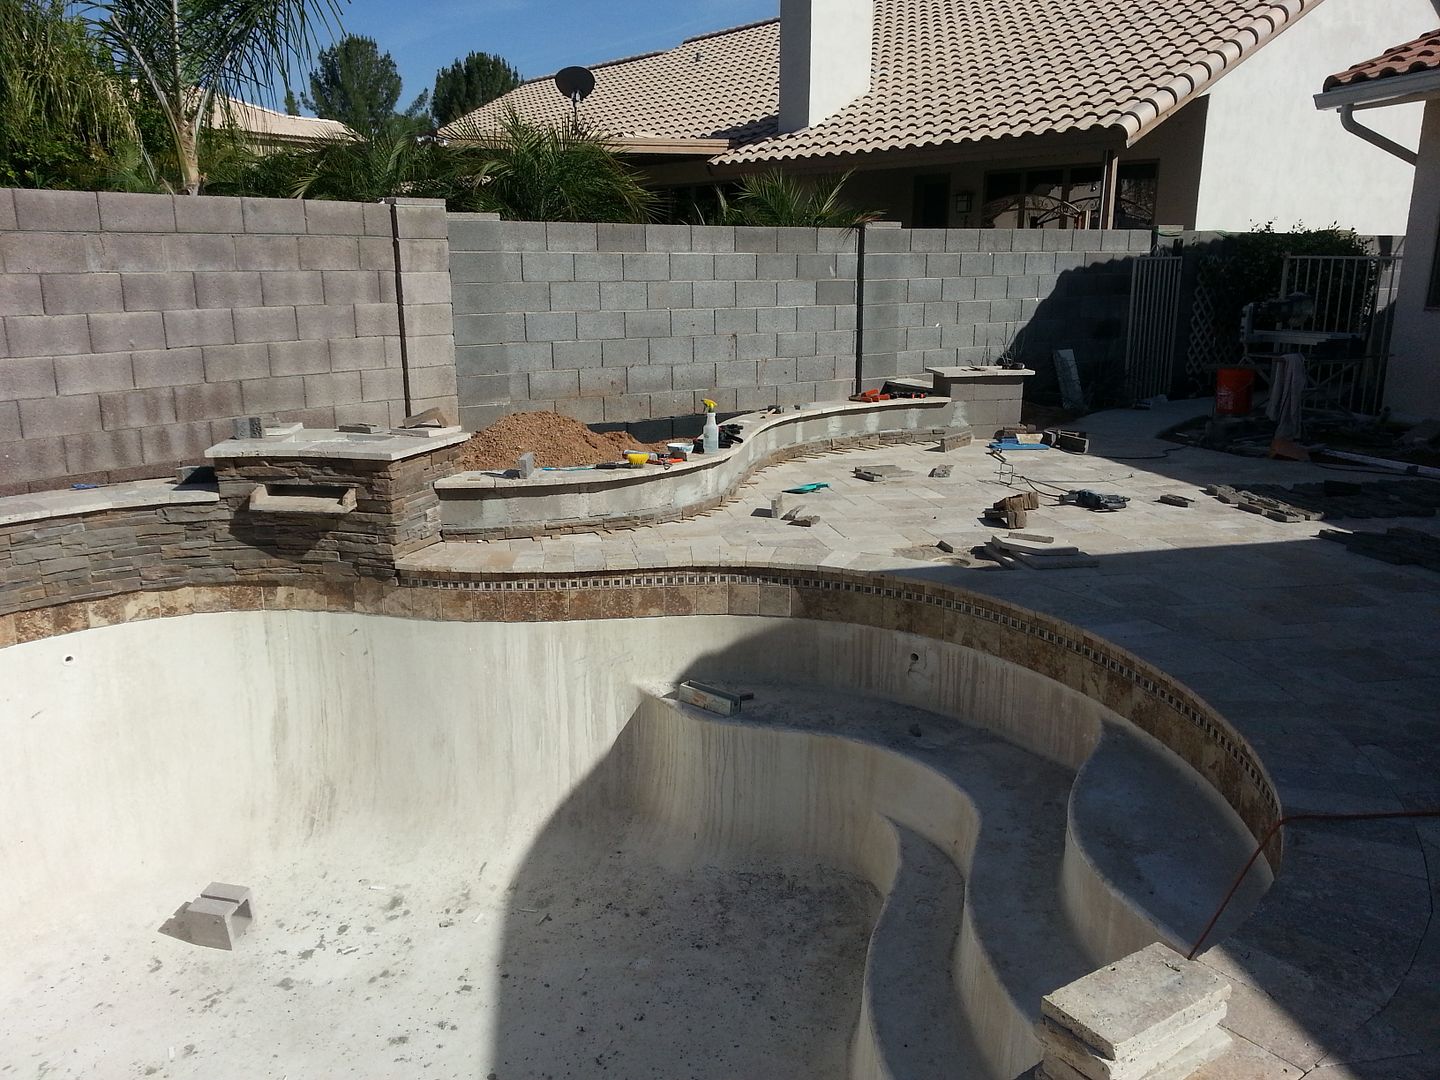
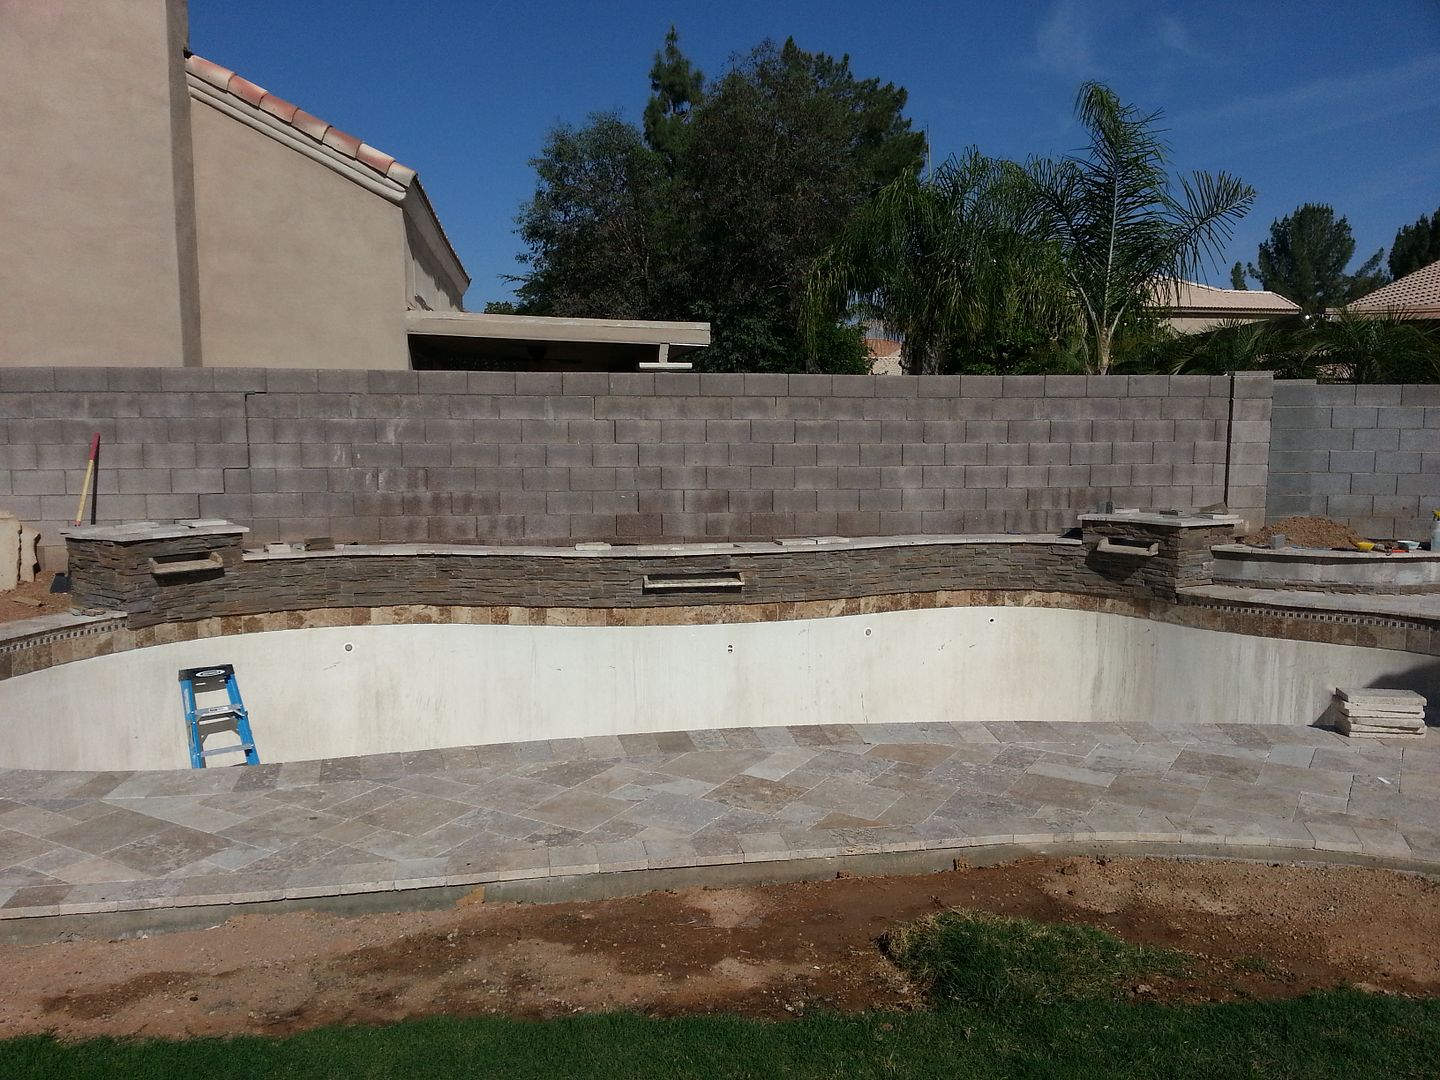
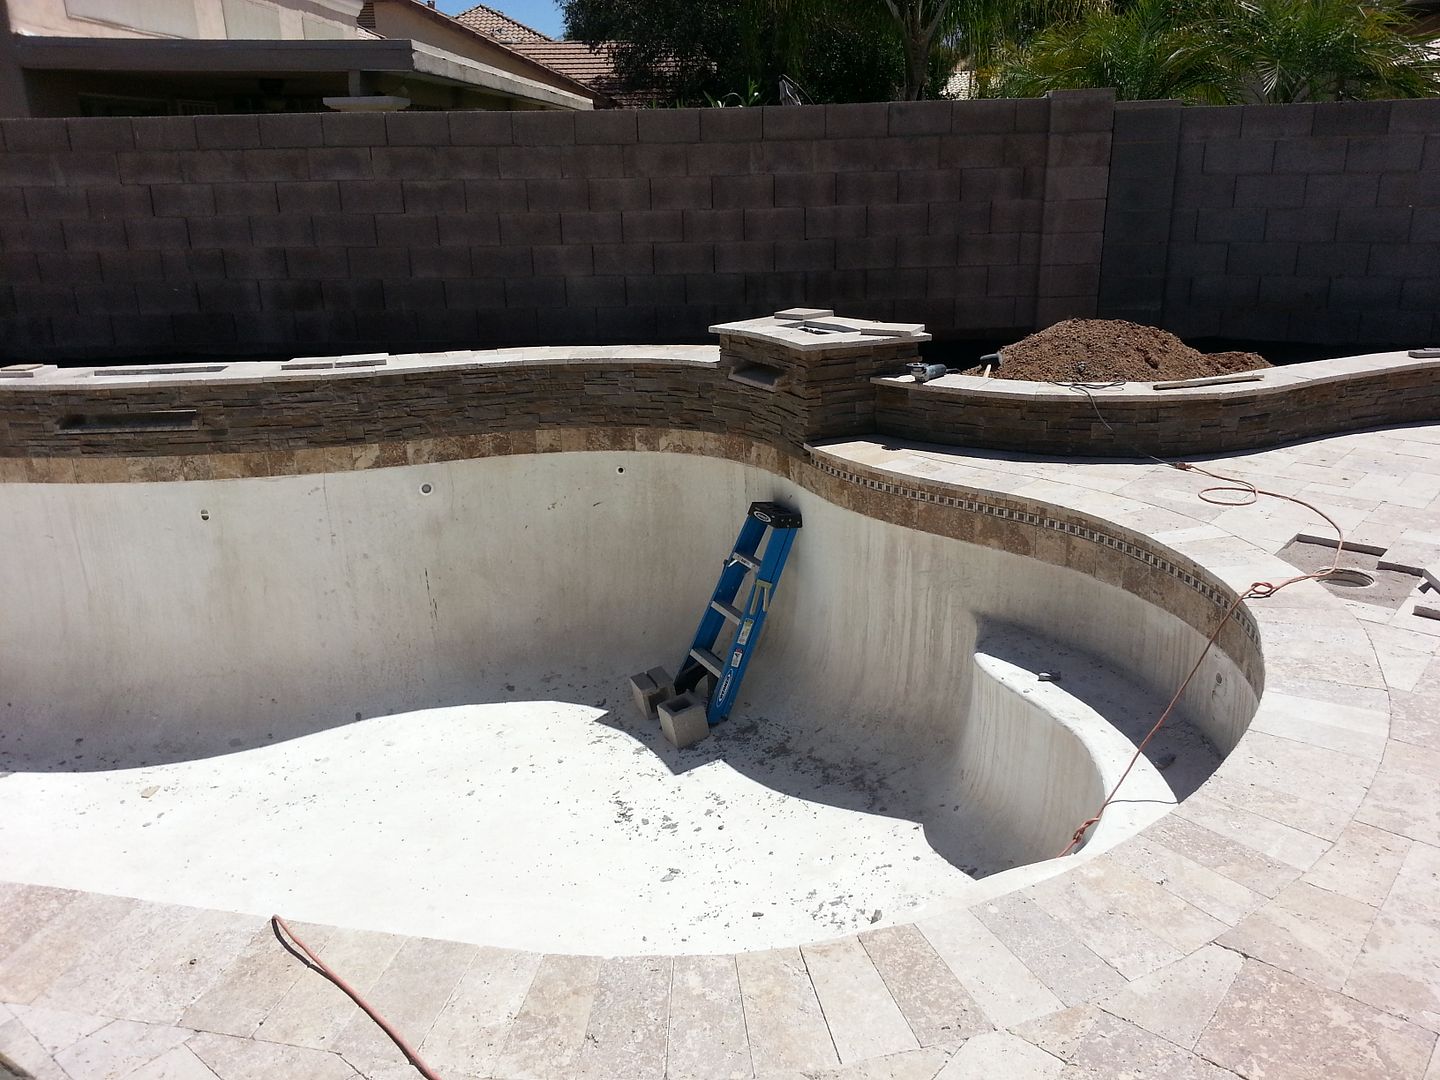
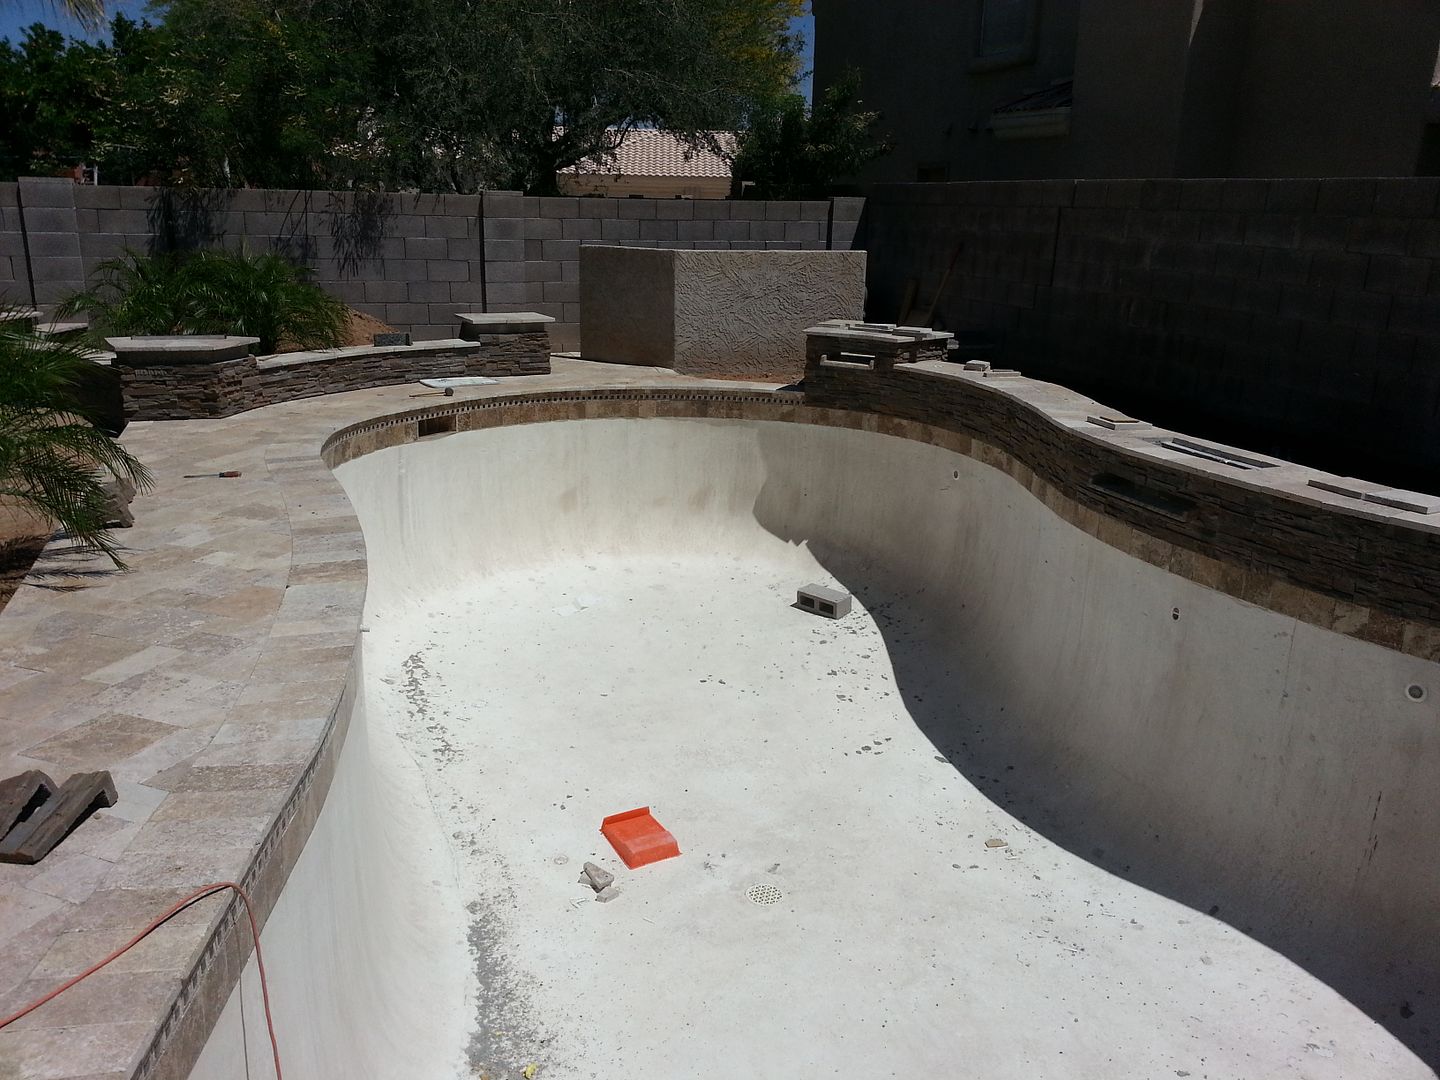
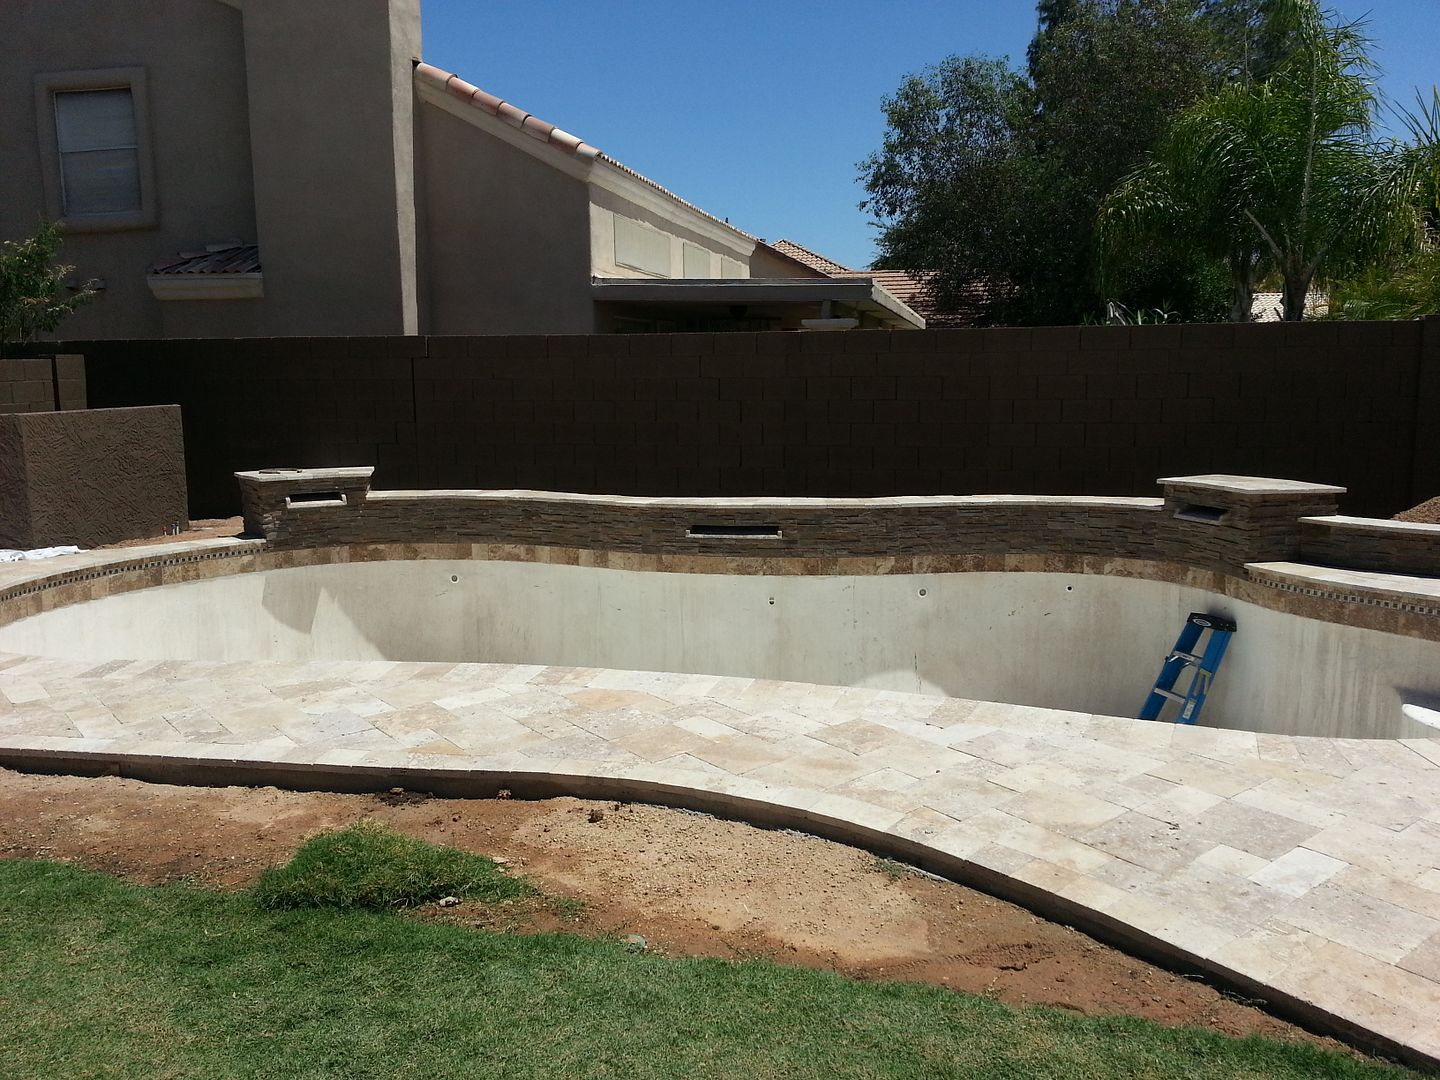
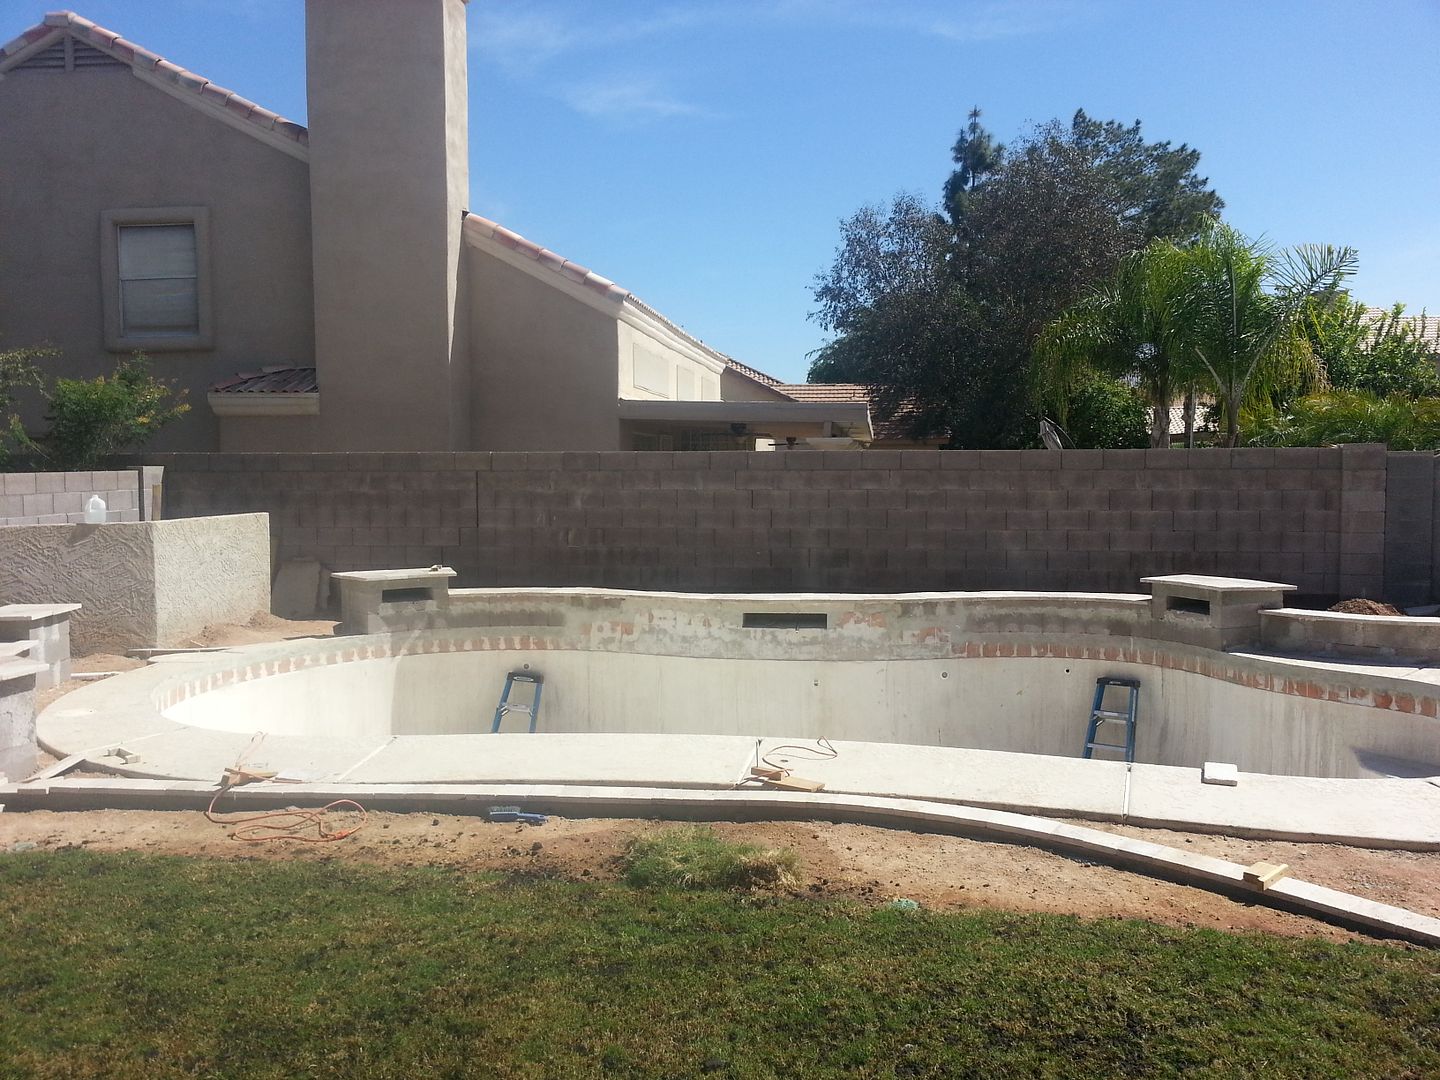
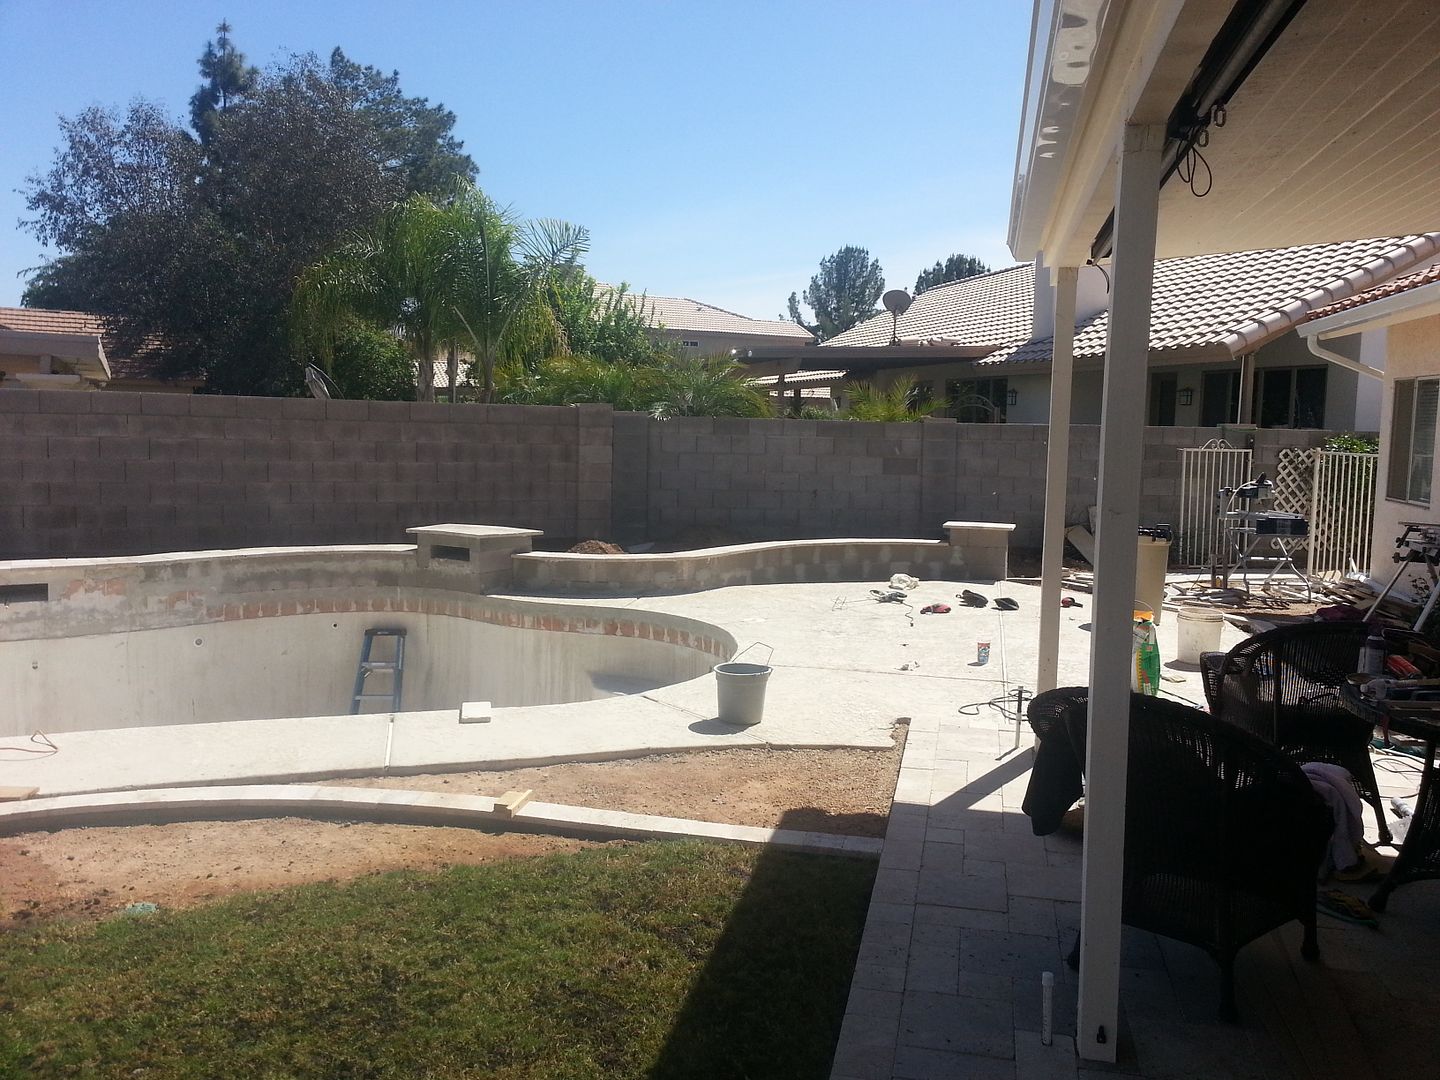
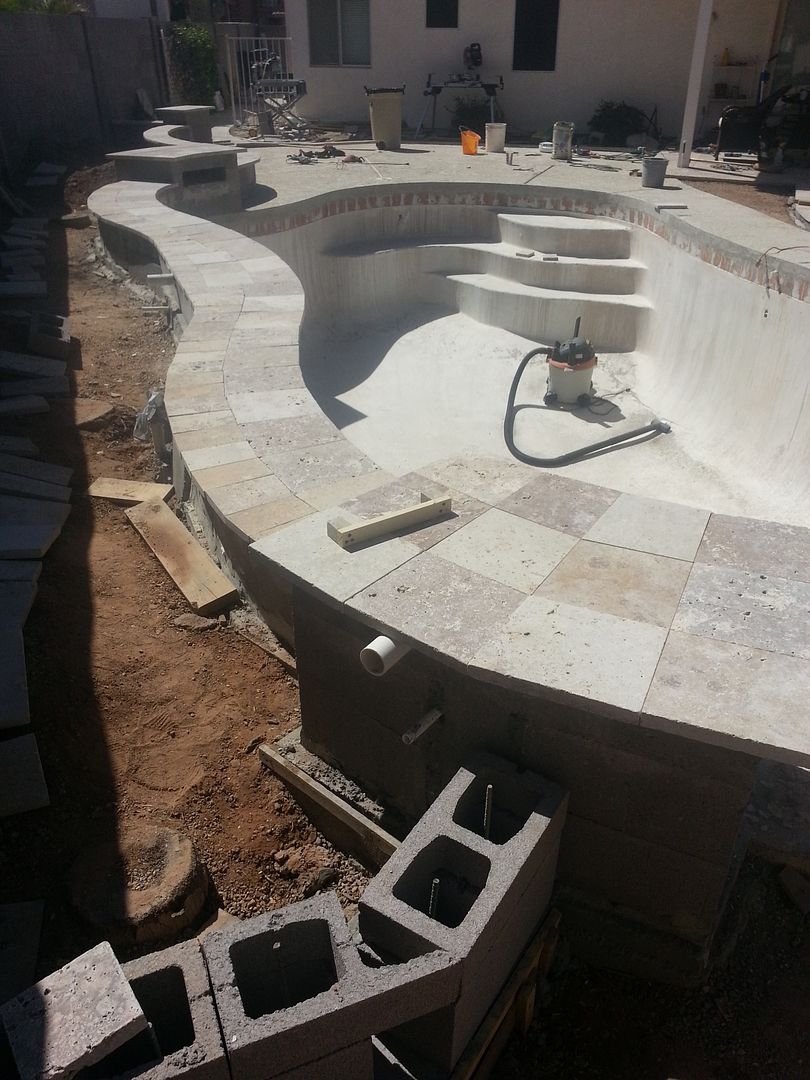
Here are three views of the pool area with the Cap and border tiles mostly in place.
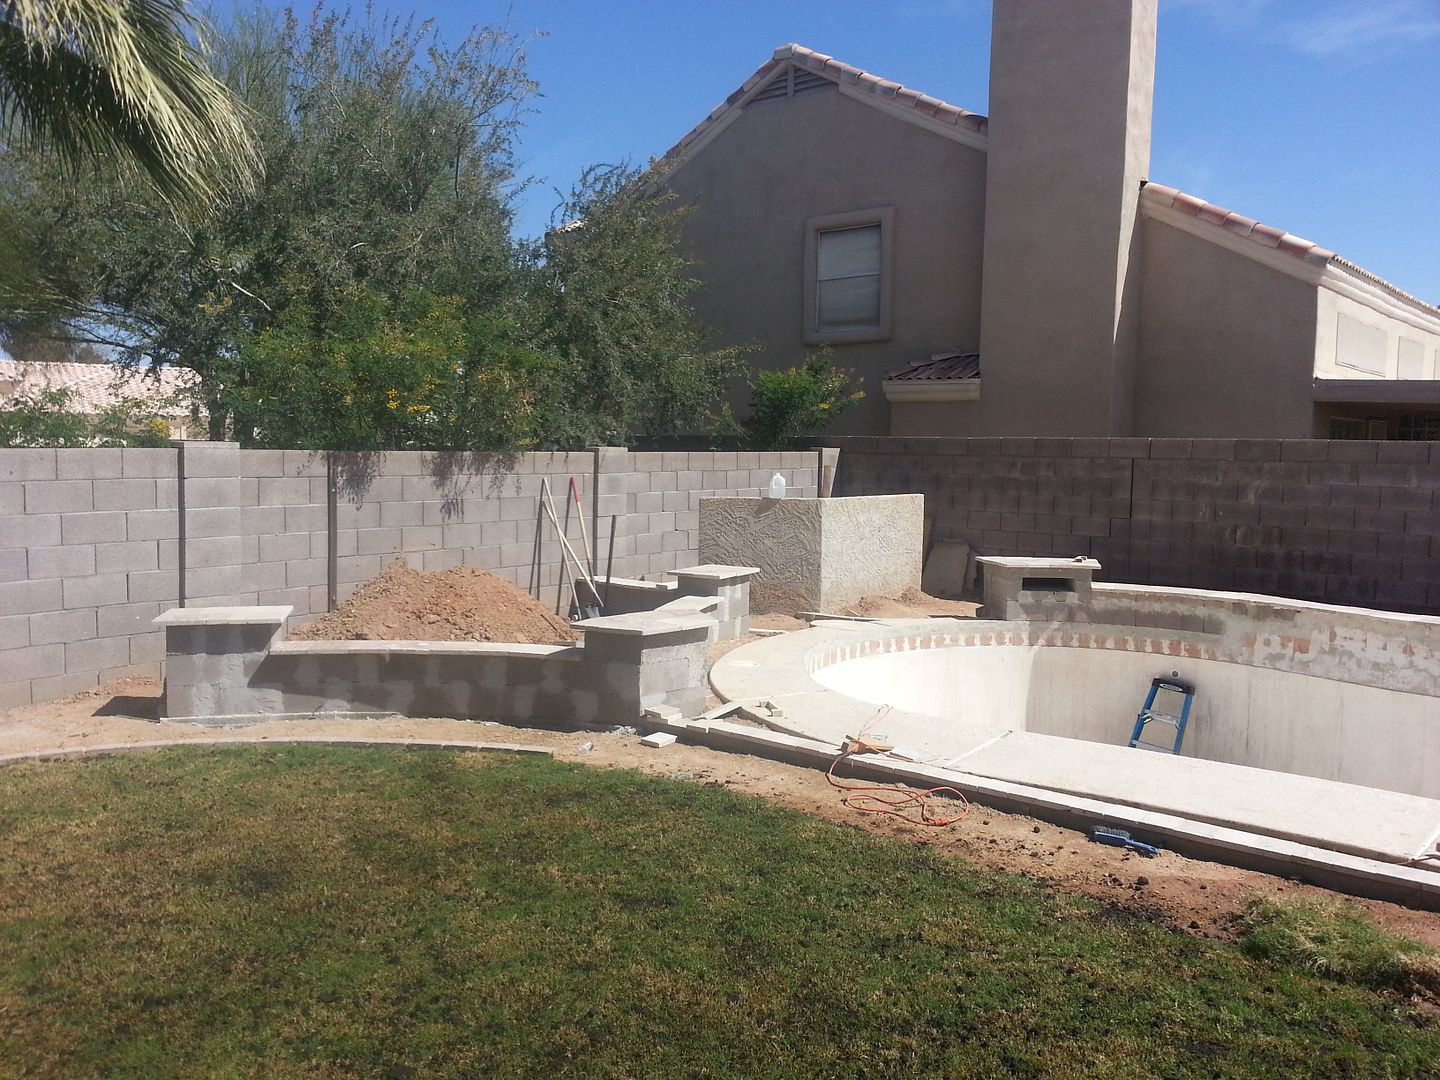
A view that shows the Pool Decking border abutting against the sidewalk, not quite finished as you can see.
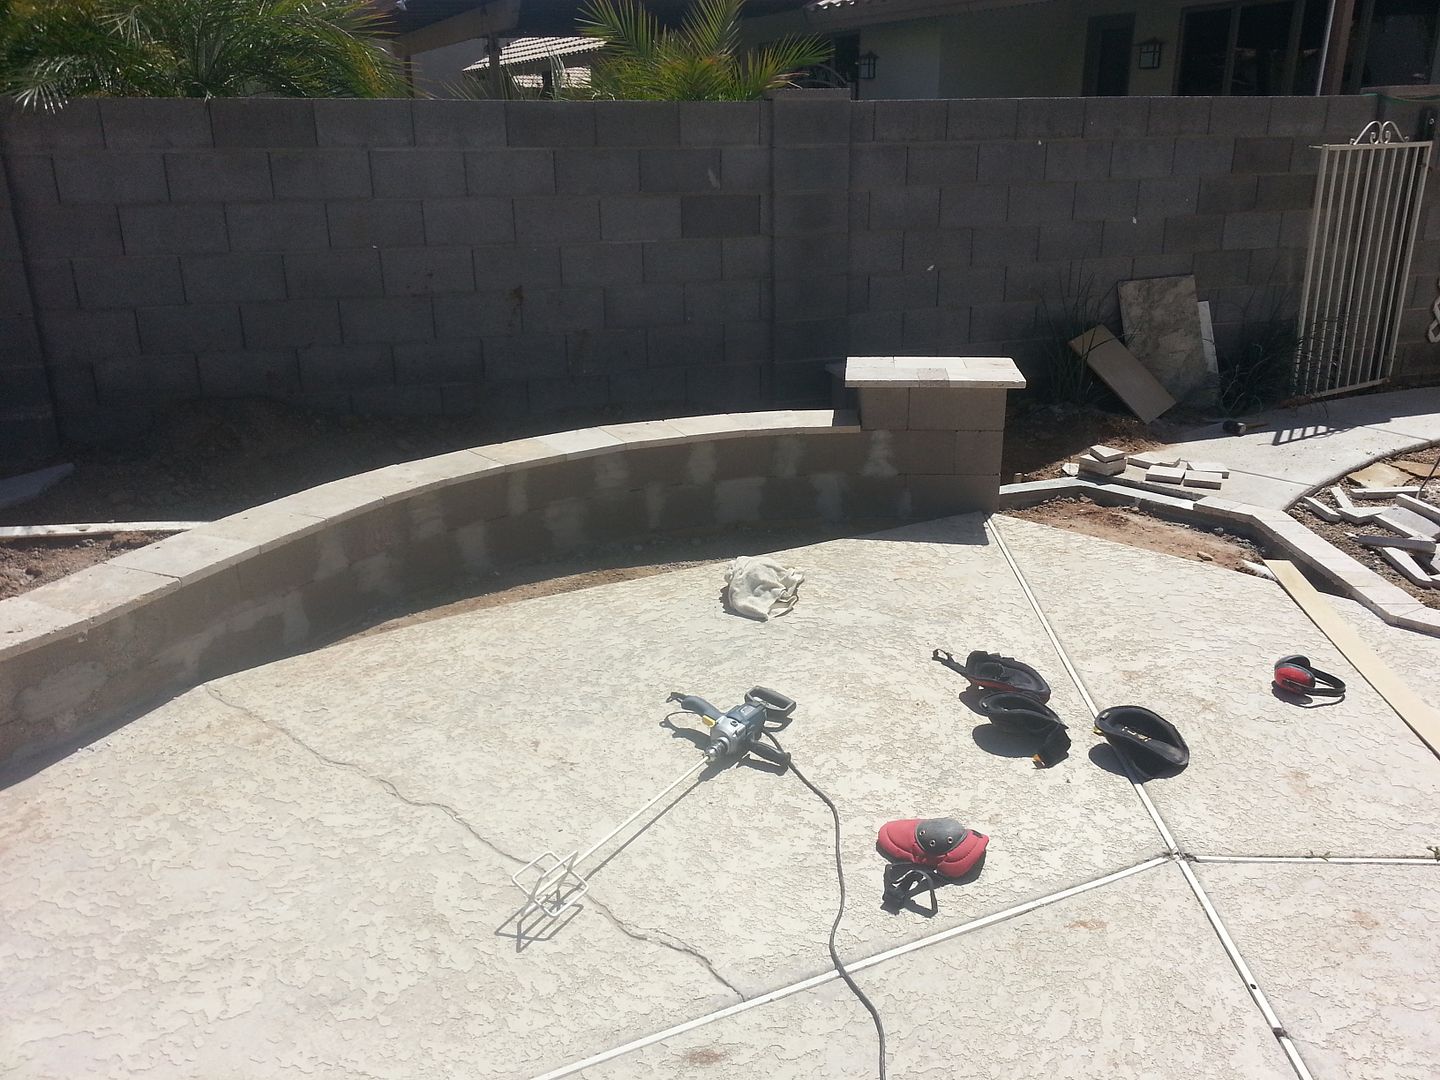
Along the length of our back wall
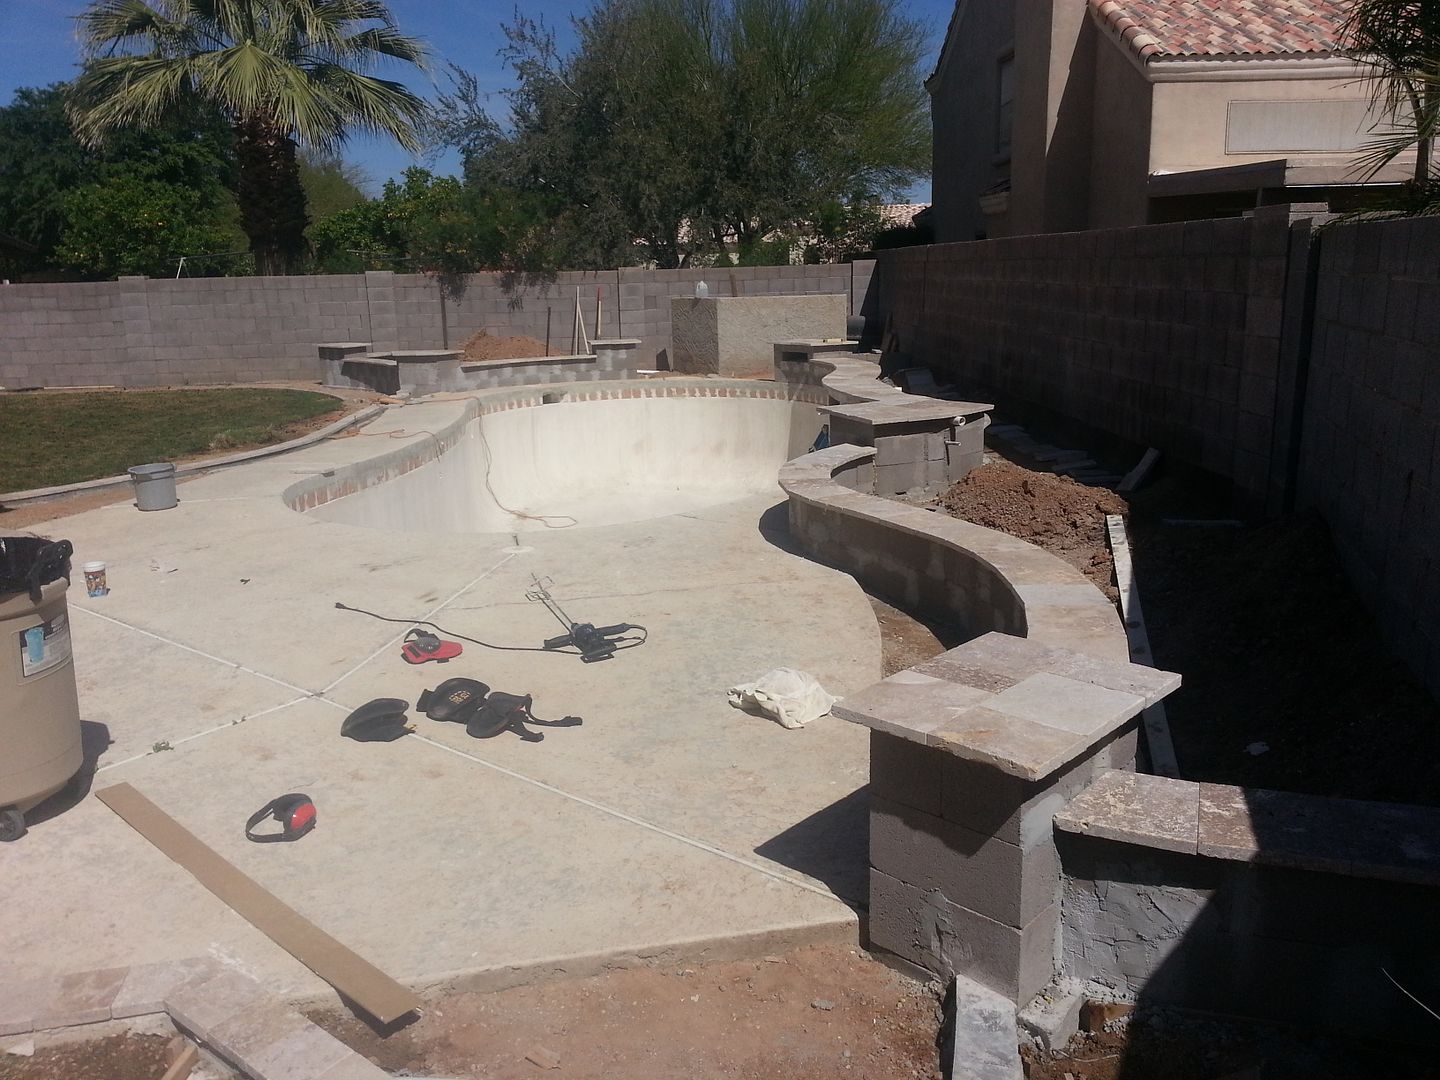
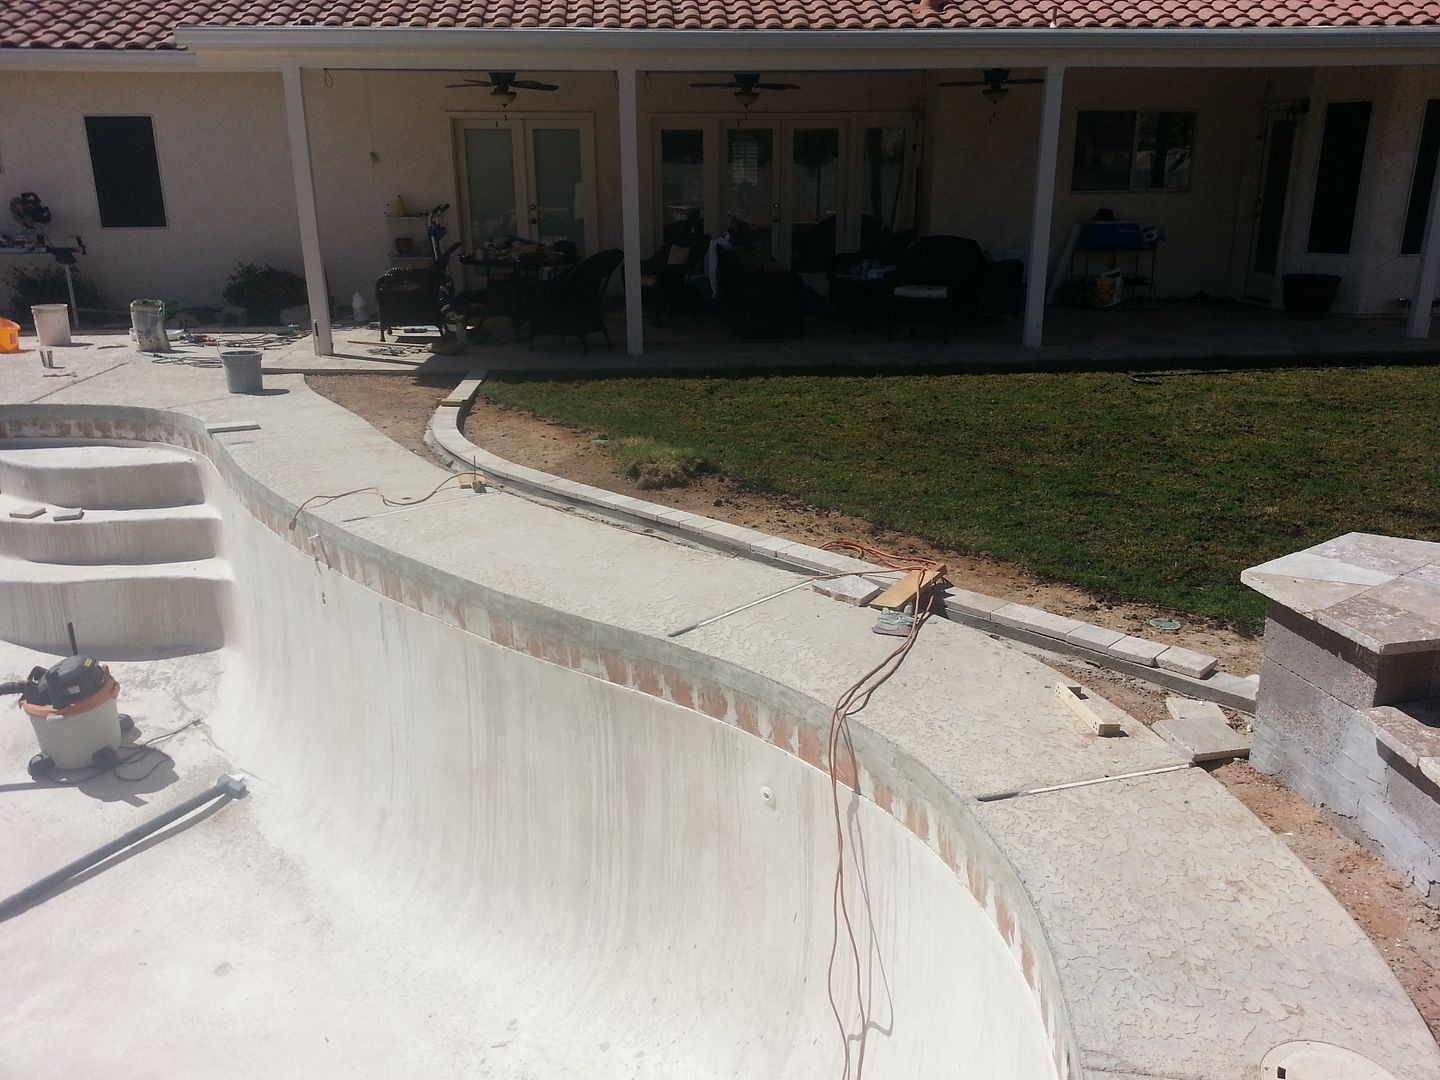
Towards the patio and showing the “drainage areas” for water that gets under the travertine patio deck.
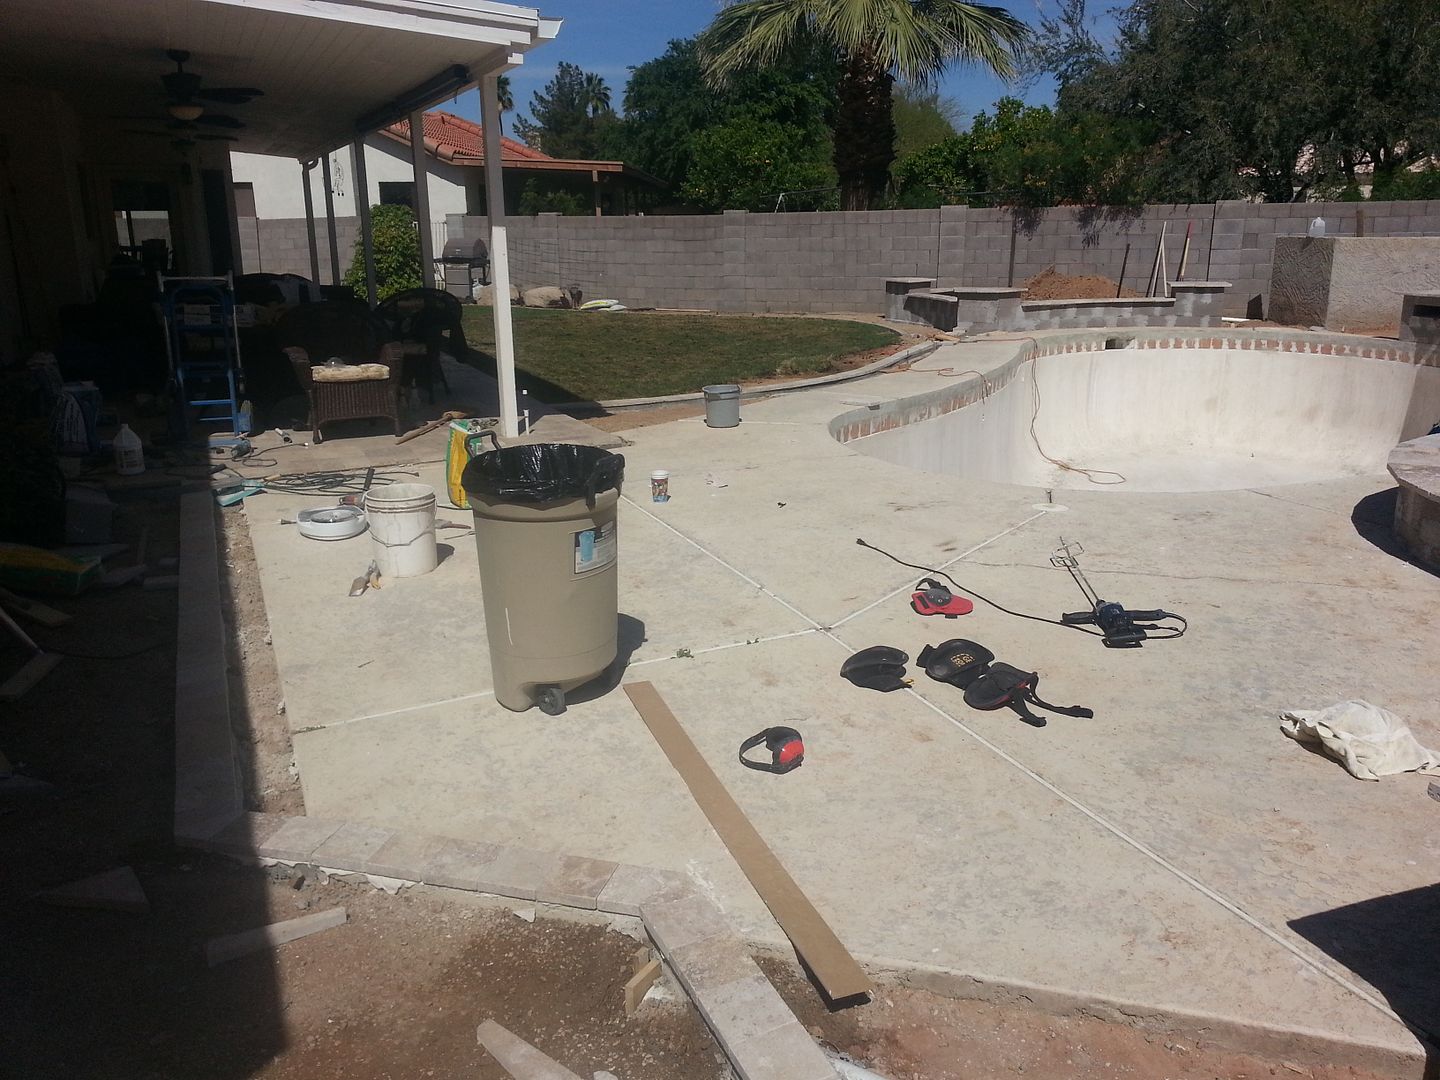
The trapezoidal planter area…drainage areas everywhere I felt I needed them.
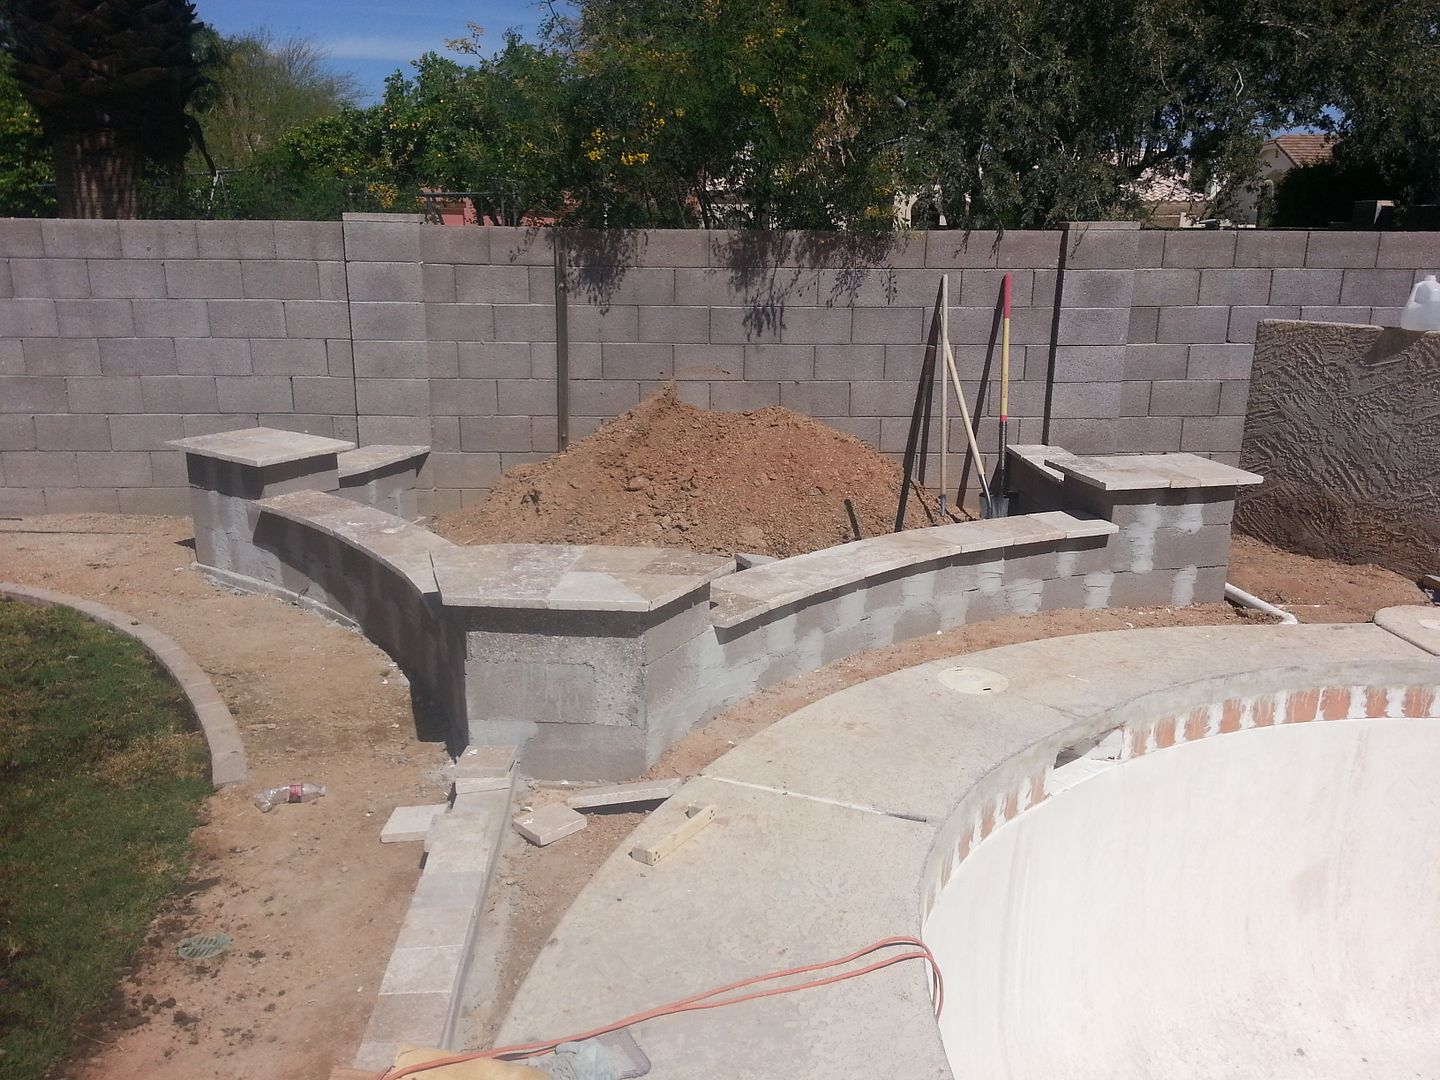
The grass border area, still in progress
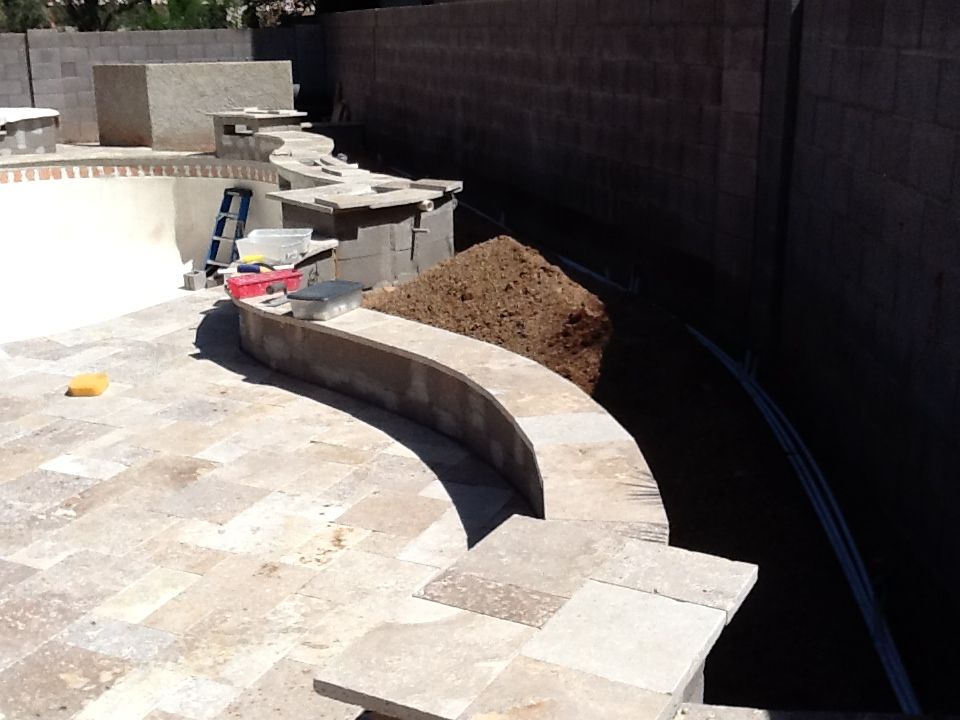
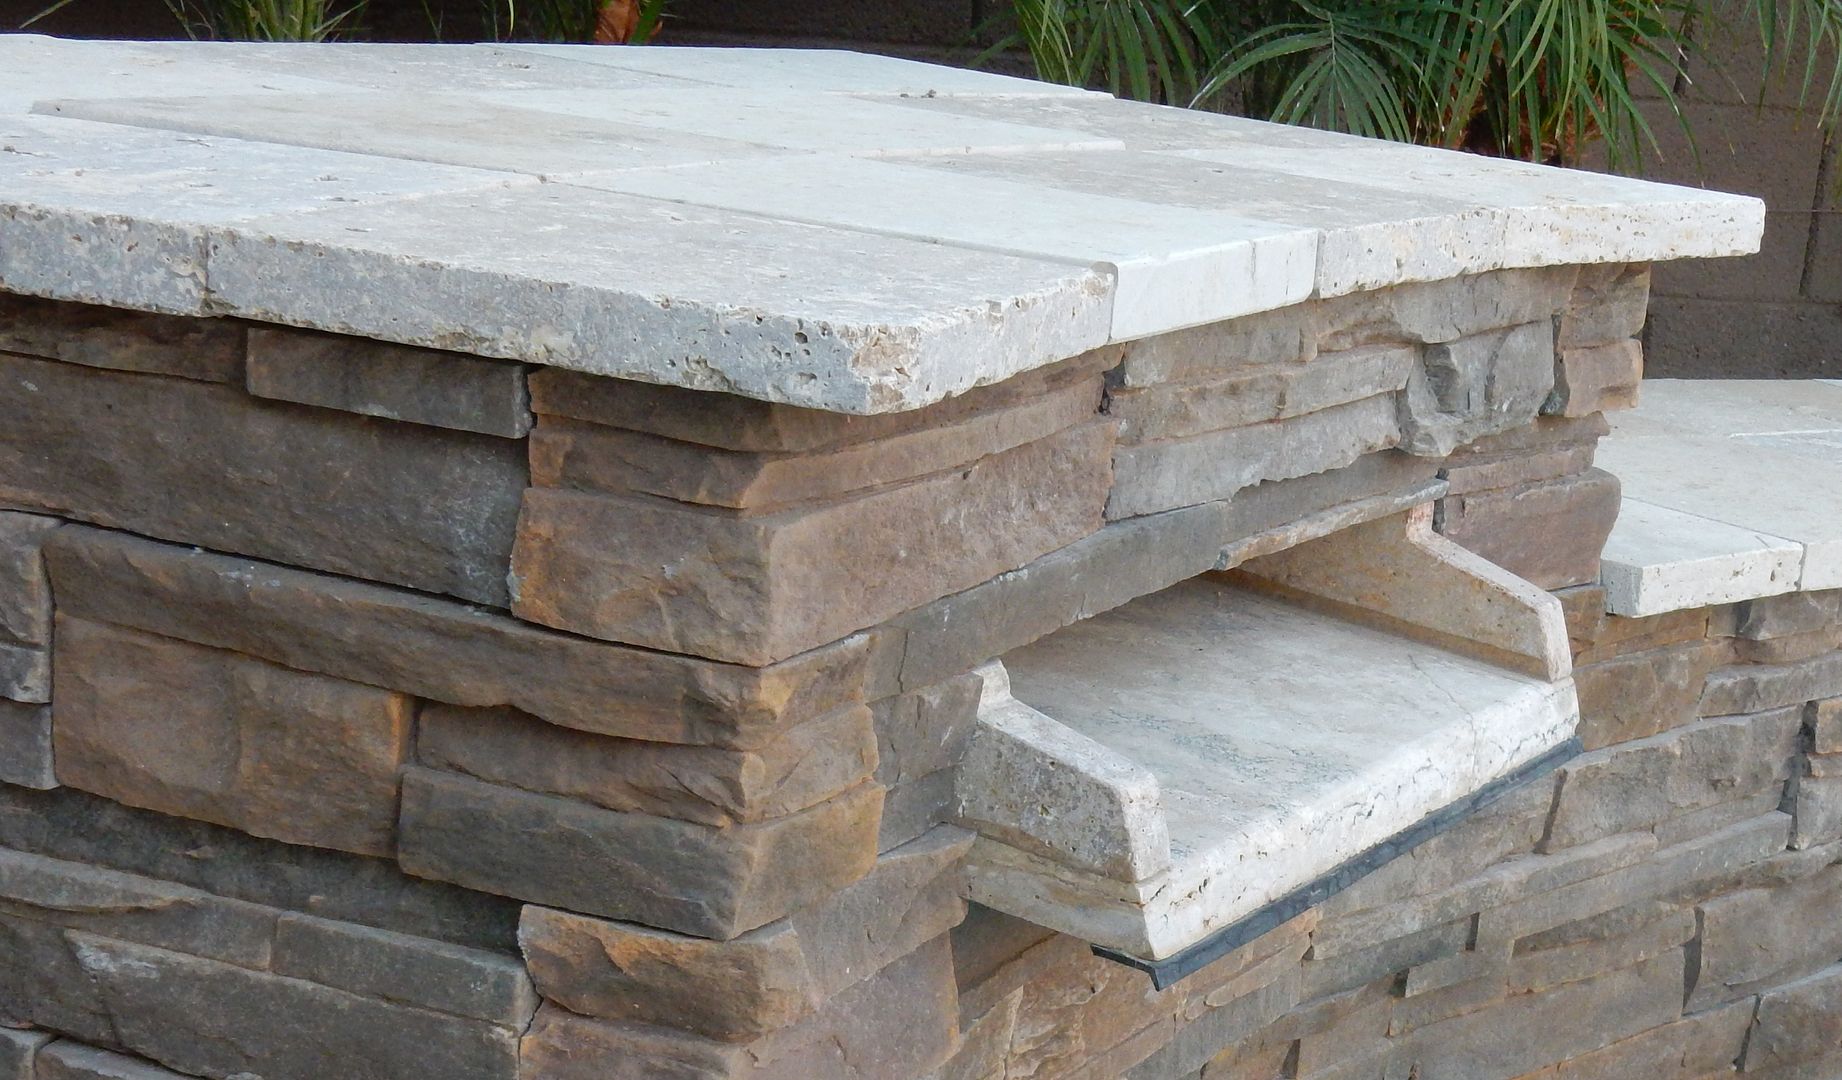
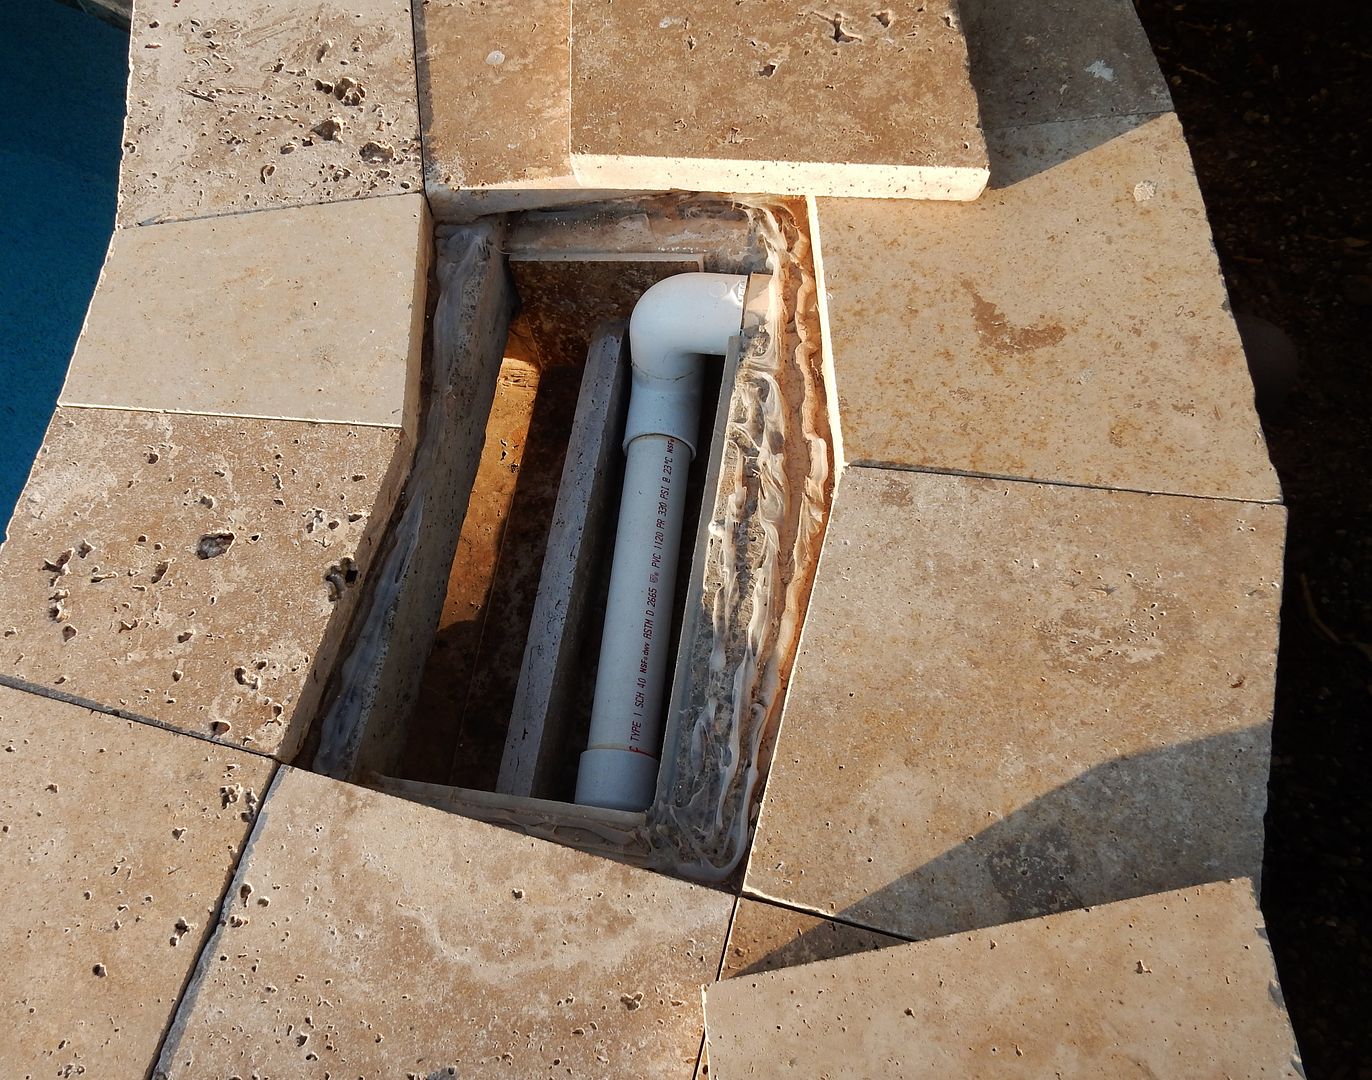
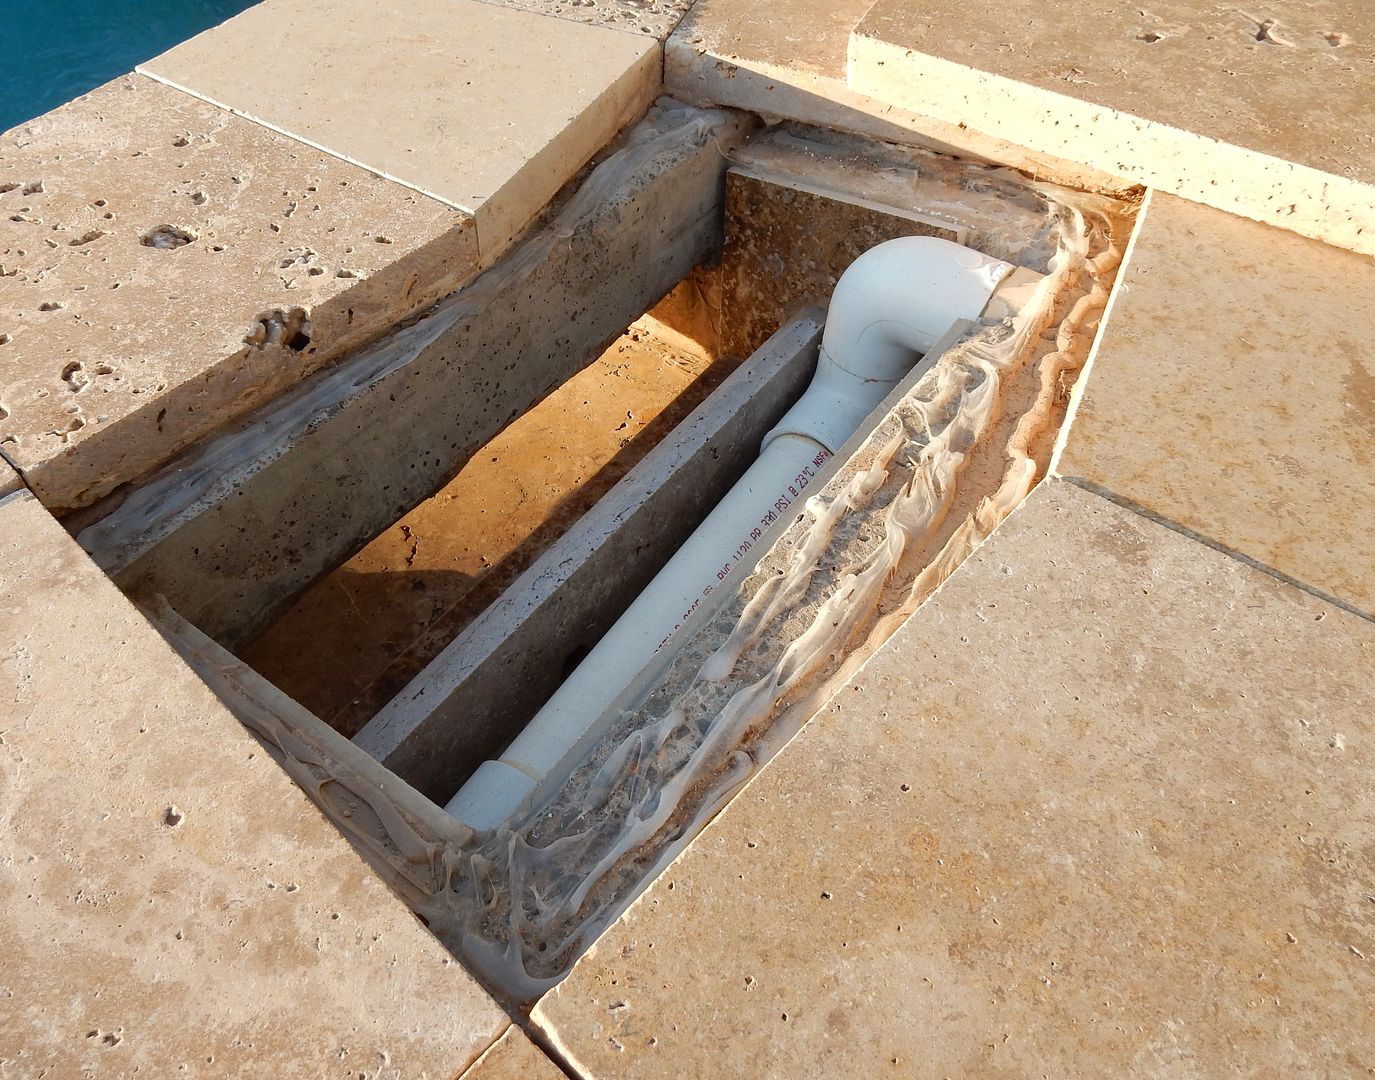
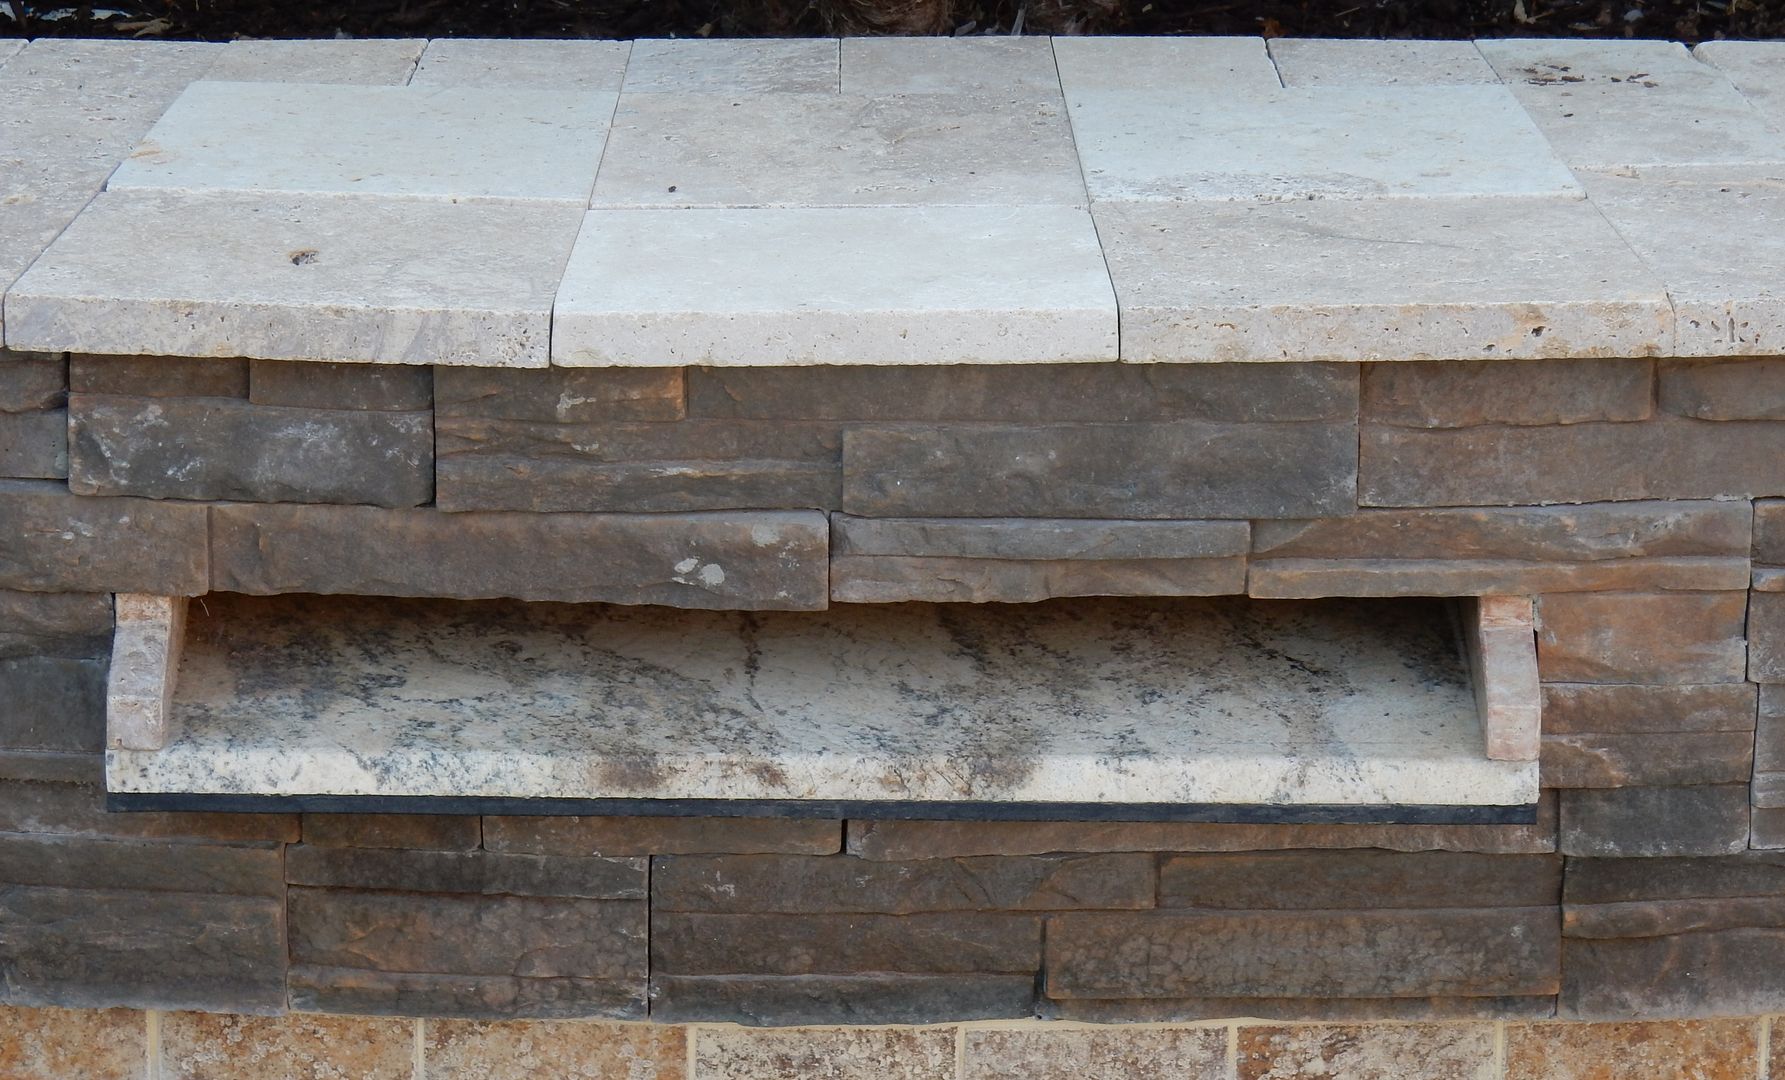
A view from behind the wall. The top of the nearest waterfall shows the tile pattern necessary so that I could still open the top…all outside tiles are thinset into place…the middle two can be removed to access the waterfall inner chamber. At the bottom, a new wall we decided to put it (the story of this remodel, constantly adding in additional work items).
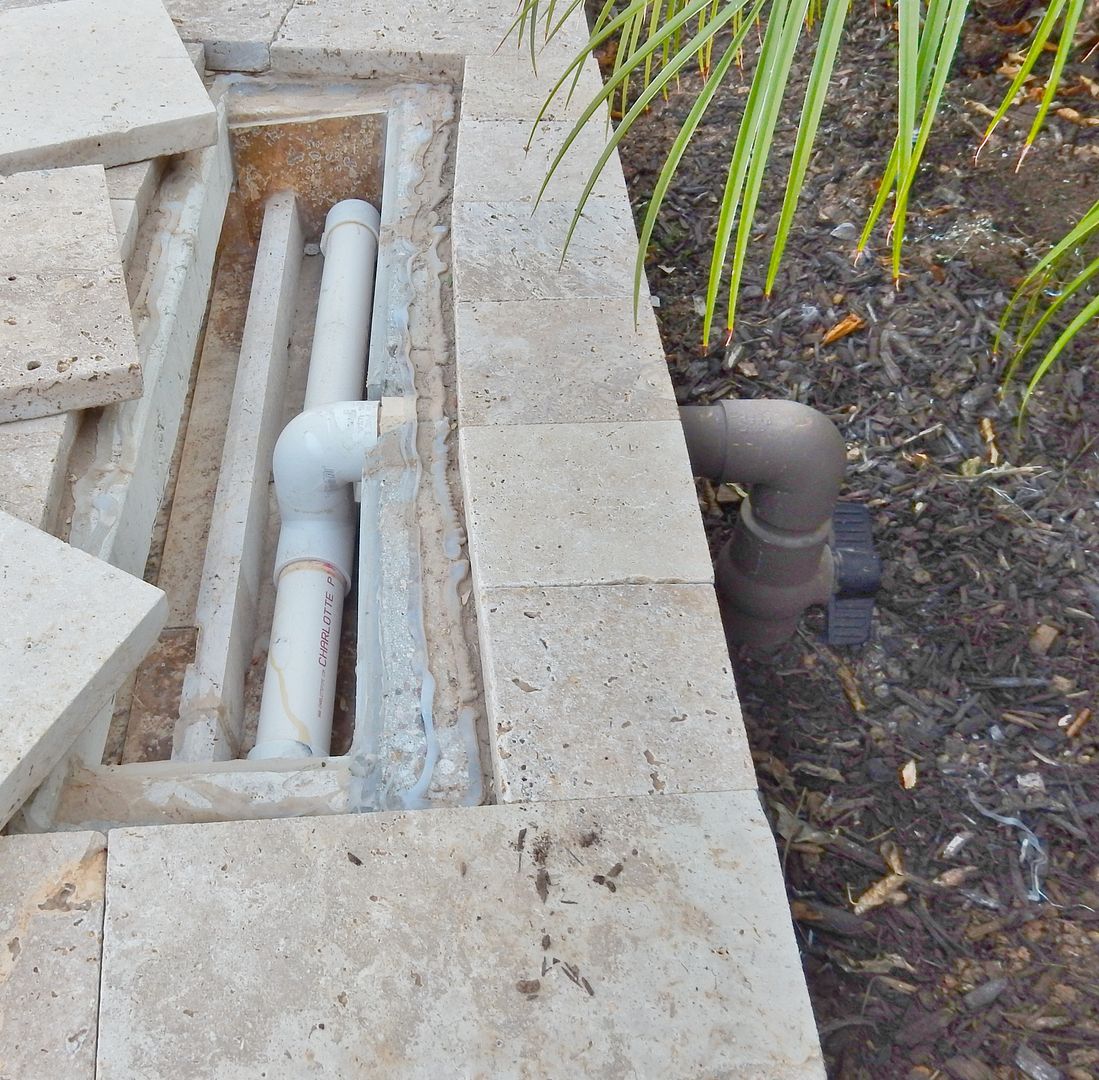
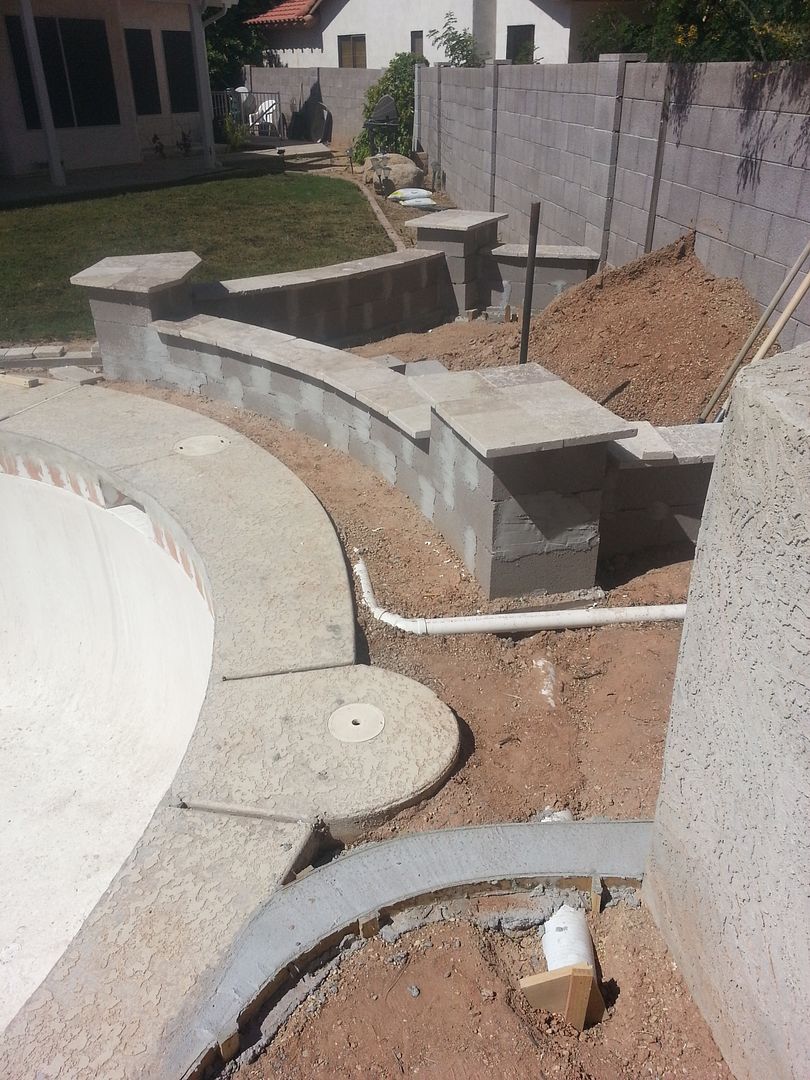
One more view of the trapezoidal planter area, the backwash pipe going to the lawn, and yet another new unfinished border to totally enclose the pool deck. We jettisoned the hole for the basketball hoop…we hadn’t used it in the 20 years so far so we figured we never would. It will be tiled over.
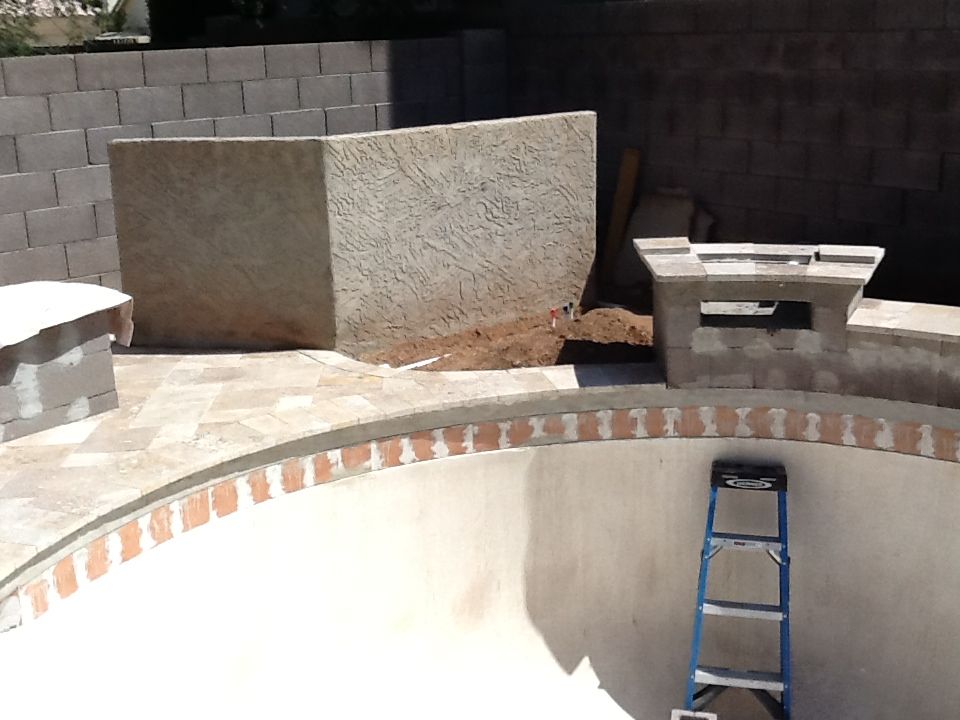
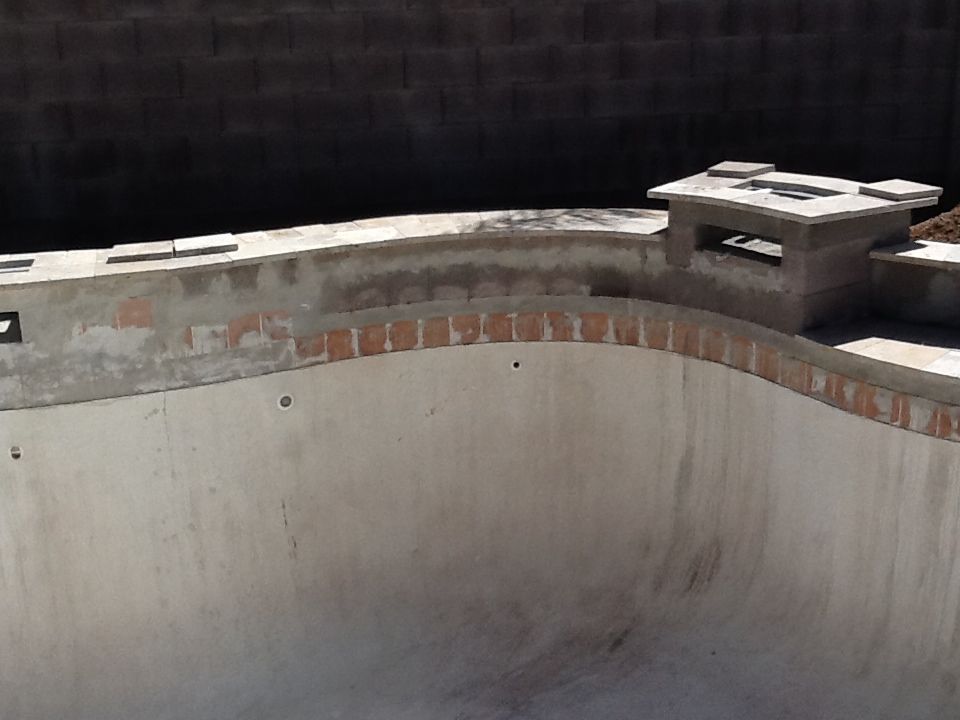
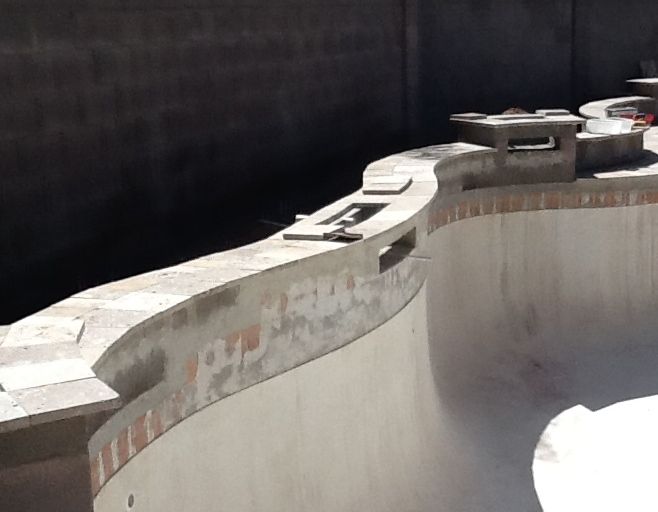
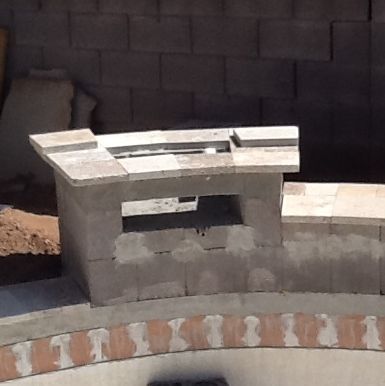
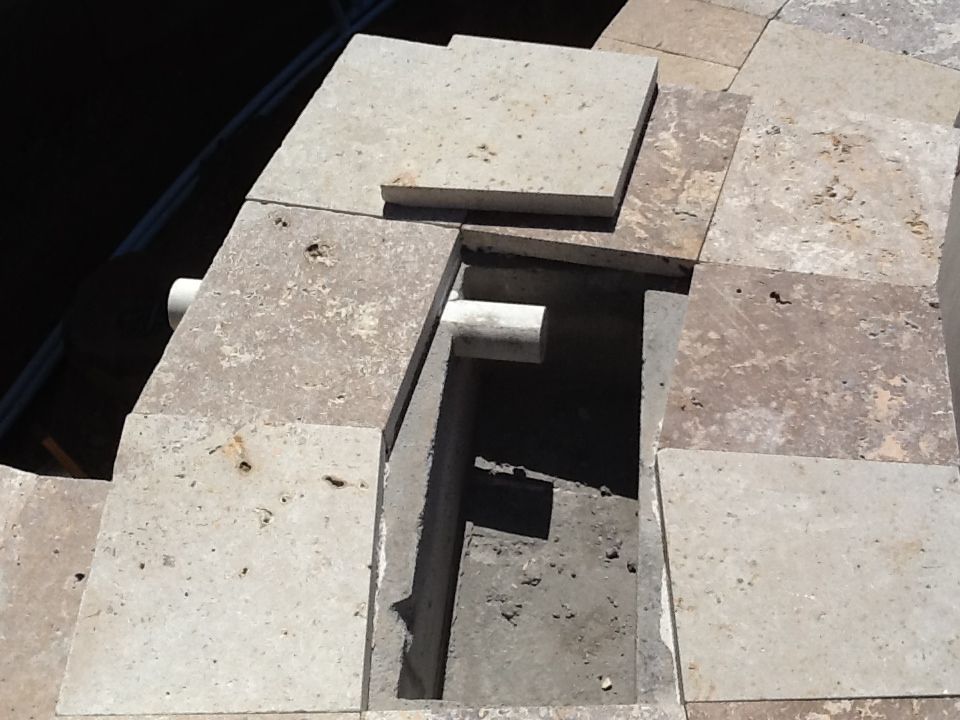
Some views of how the waterfall chambers will be accessed to put in the actual plumbing for the waterfalls. I mostly implemented it this way to push the decisions and plumbing work to a later point in time. I don’t know if this is how this is normally done. Once again, we had hard time finding information on the web that looked like it applied to our situation. Searches on the web for " building a pool waterfall " yielded little of value at the time...which was 2+ years ago.
Completing the Cap and Border Tiles / Cutting Tiles for a Curved Border
At this point we had completed installation of 95% of the travertine Cap Tiles on the walls and the 6”x6” travertine tiles on the pool deck border. We wanted to get experience cutting the tiles to fit on the curved borders before tackling the pool coping…and as you will see, we got a LOT of experience. My wife marked all the tiles and I cut them. All the footings had already been poured with a few little exceptions.
Cutting travertine tiles (or any tiles for that matter) to fit on a curved border was a total mystery to me for months. I had absolutely no clue how to do it, and unfortunately I didn’t know anyone who did. Searching the web occasionally yielded absolutely nothing for months (during the fall and winter previous to this 2nd phase of the project). Finally, I found a diagram on the internet that solved it for me. I don’t know where that diagram is anymore except here is a similar one:
https://torontolandscaping.wordpress.com/2011/03/18/cutting-pavers-for-a-curved-soldier-course/
Looking at the above diagram, the correct term I needed to search for all those months was apparently: Taper Joint. There might be more info and/or videos on that term, don’t know cause I don’t need it anymore and I know how to do it. But , DON’T attempt to measure anything (that’s a recipe for disaster) as the above link suggests. The key is to create and use multiple varied-width “rulers” to draw both parallel lines on the two side-by-side pavers. You simply place the ruler that is as wide (or wider, but that wastes material) as Measurement A in the diagram and center it on the gap before drawing your two cut lines. And you can only work and place ONE paver joint (two pavers) at a time…it’s completely wasted work to place future uncut pavers in place.
I am not going to go into further details at this point…but it is EXTREMELY EASY once the process is understood and if you can make straight cuts with a paver saw. Also, once the process is understood, you will realize that there is a big advantage to starting in the middle and working both ways rather than just working it from one side. Possibly a future thread if there is any interest.
Another key, especially for the wall Cap Tiles, is that there is sufficient overhang to account for any stone veneer that you are planning to add to the wall. In our case, the veneer we had chosen varied in thickness from ½” - 1 ½”. Also, the thickness of the mortar to mount the veneer must be taken into account (1/2” – “1 ??)
Here are three views of the pool area with the Cap and border tiles mostly in place.


A view that shows the Pool Decking border abutting against the sidewalk, not quite finished as you can see.

Along the length of our back wall

Towards the patio and showing the “drainage areas” for water that gets under the travertine patio deck.

The trapezoidal planter area…drainage areas everywhere I felt I needed them.

The grass border area, still in progress

A view from behind the wall. The top of the nearest waterfall shows the tile pattern necessary so that I could still open the top…all outside tiles are thinset into place…the middle two can be removed to access the waterfall inner chamber. At the bottom, a new wall we decided to put it (the story of this remodel, constantly adding in additional work items).

One more view of the trapezoidal planter area, the backwash pipe going to the lawn, and yet another new unfinished border to totally enclose the pool deck. We jettisoned the hole for the basketball hoop…we hadn’t used it in the 20 years so far so we figured we never would. It will be tiled over.

Some views of how the waterfall chambers will be accessed to put in the actual plumbing for the waterfalls. I mostly implemented it this way to push the decisions and plumbing work to a later point in time. I don’t know if this is how this is normally done. Once again, we had hard time finding information on the web that looked like it applied to our situation. Searches on the web for " building a pool waterfall " yielded little of value at the time...which was 2+ years ago.


