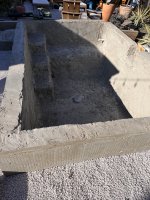
The shotcrete company should have 1-2 weep holes at the bottom of the pool that allow groundwater to enter into the shell and keep the pressure from popping it out of the ground before the hydrostatic valves are installed.
Make sure you have a good plan to water the gunite, especially for the first week.
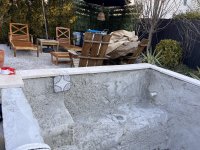
Your timeline sounds like a standard gunite build timeline. You are about to enter what can be a frustrating period of waiting and downtime after a flurry of activity with the dig/rebar/gunite.
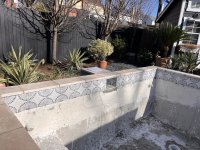
After a few weeks of curing, they will likely start on the coping/tile, equipment, finishing the plumbing, decking, etc. and your flurry of activity should pick back up.
Also take a look at Pool Shool and some of the good articles for construction, including this one for you:

www.troublefreepool.com