It is actually white peppered with black.....
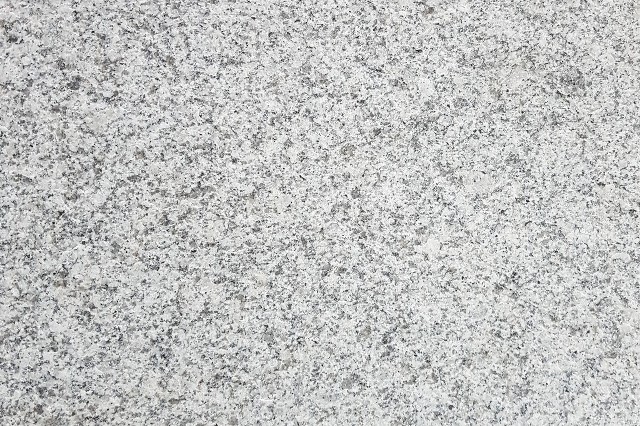
Oh that’s beautiful! I love it! Well worth waiting for. Will look perfect around your pool.

It is actually white peppered with black.....
Oh that’s beautiful! I love it! Well worth waiting for. Will look perfect around your pool.
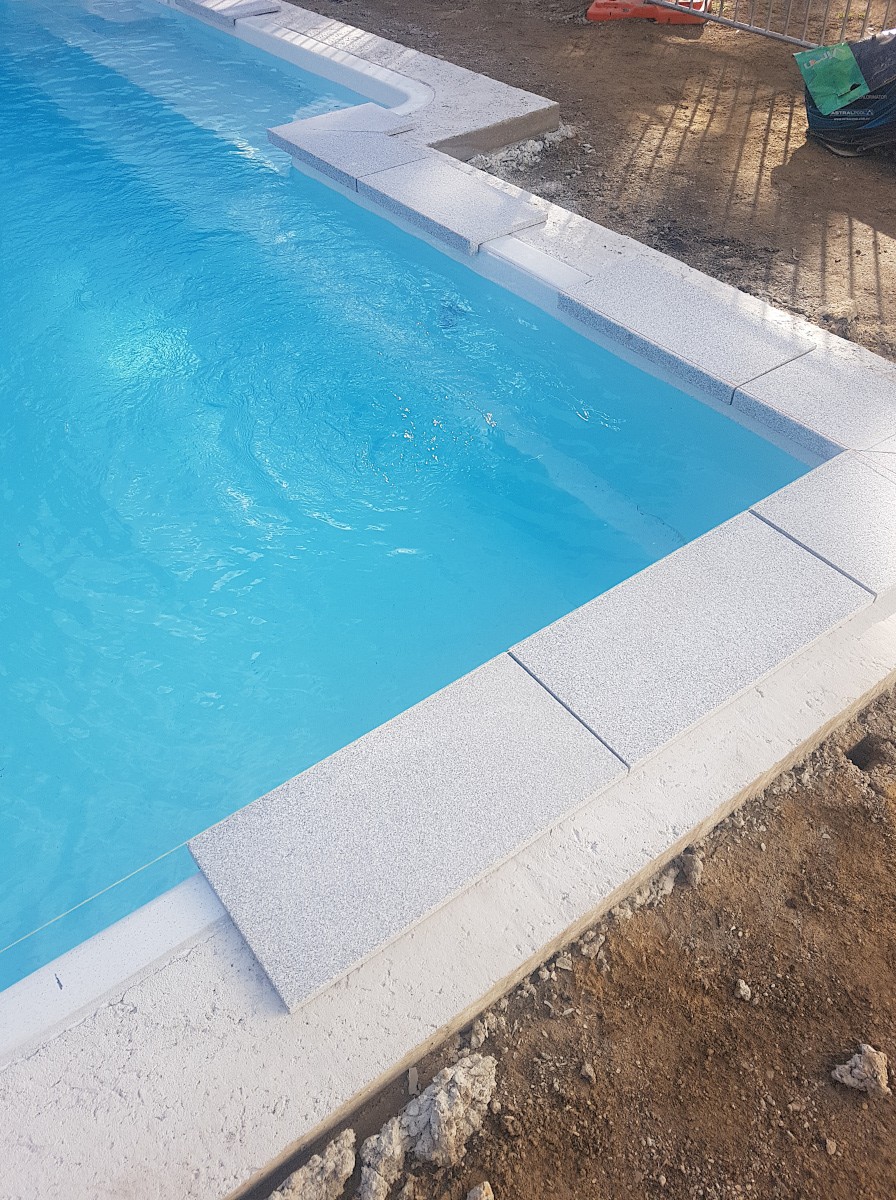
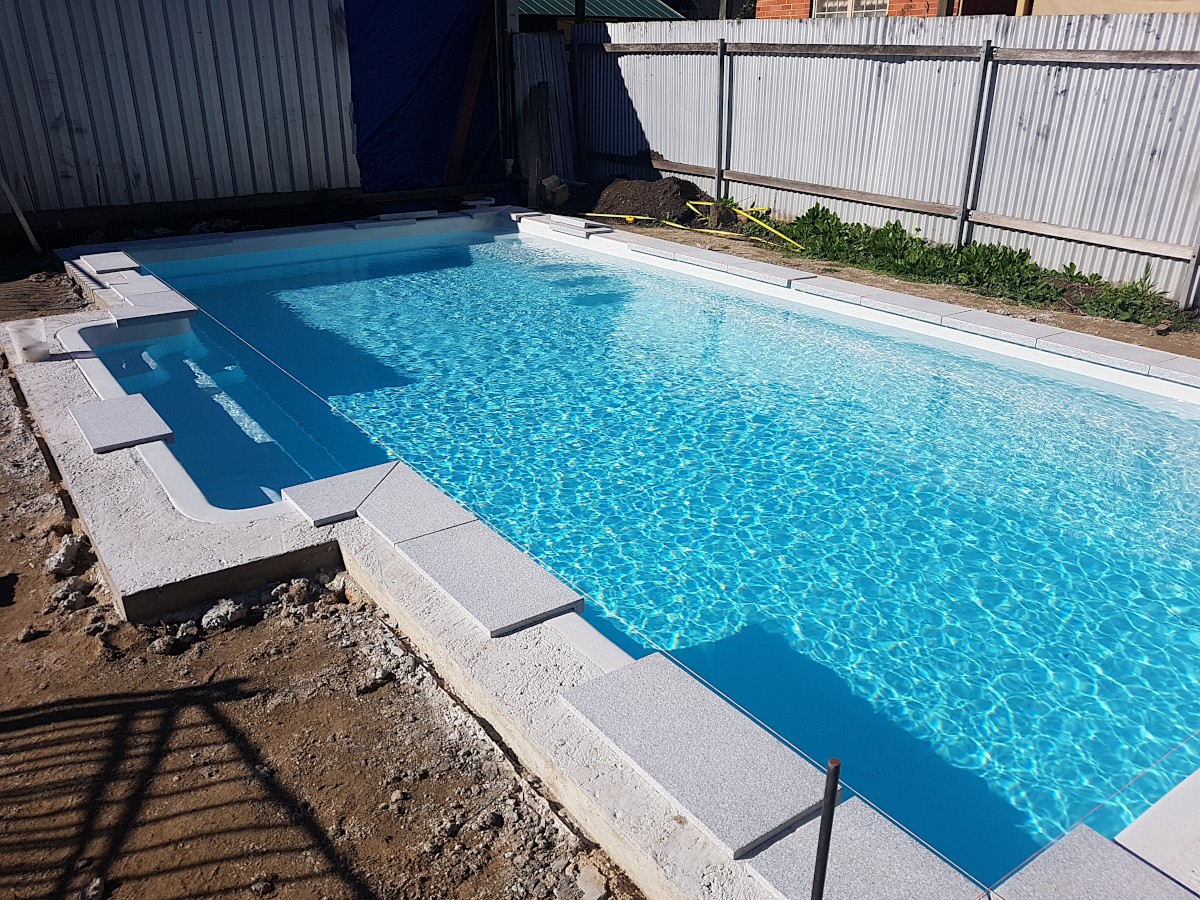
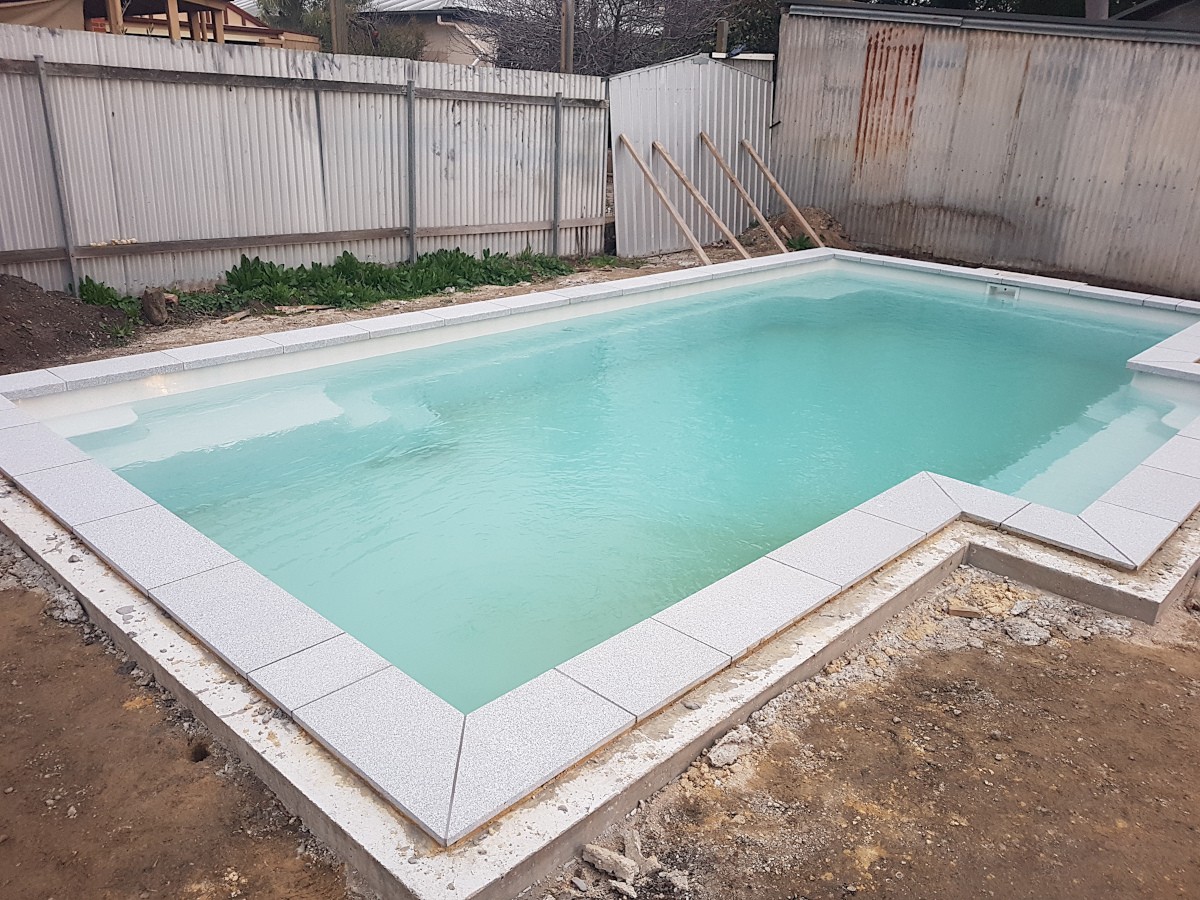
Originally we were going to have contrasting grey/charcoal coping with the above granite as paving for the remaining area surrounding the pool.
However after striking supply problems etc and after looking at a few examples we decided to opt for the coping to be the same colour as the main paving.
")
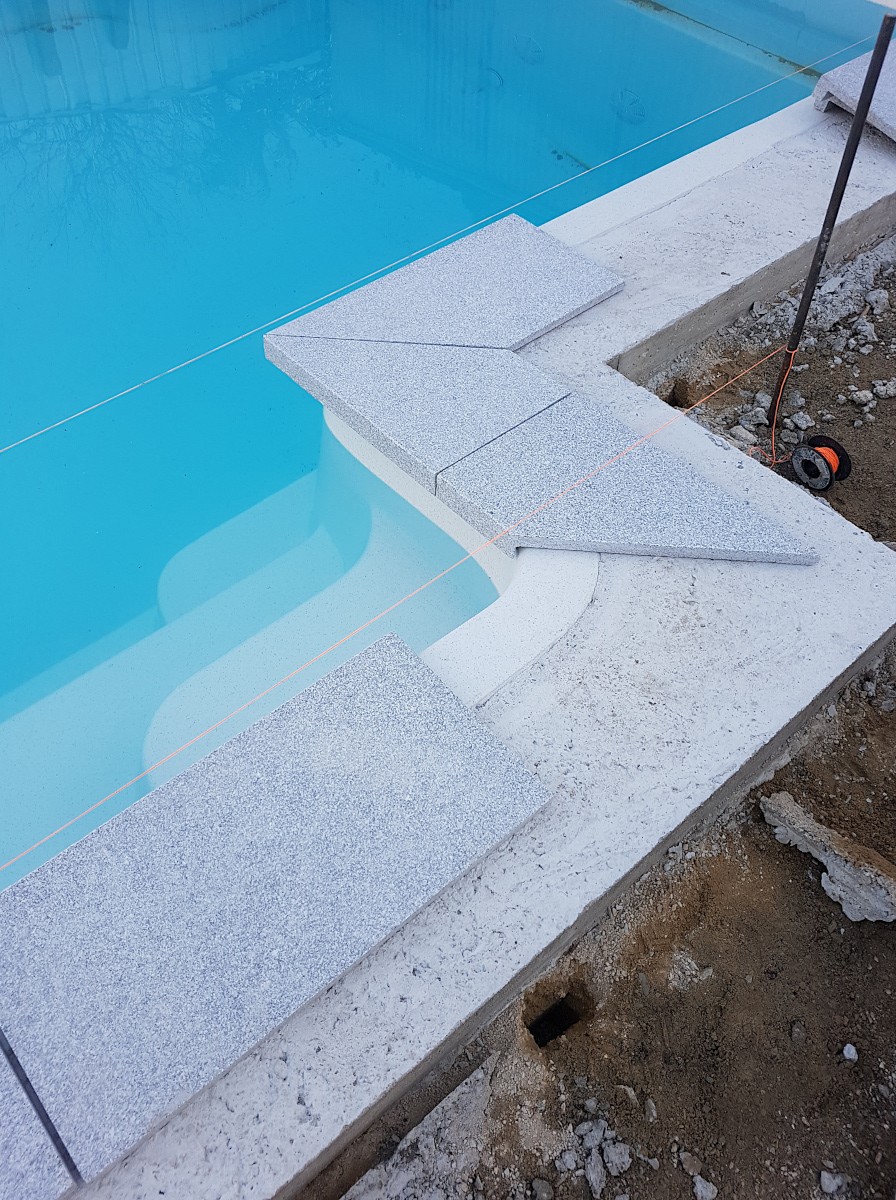

Looks like your paver guy is doing a very thorough job.
He has been the best contractor so far.
He will be cutting in a granite lid for my skimmer lid - The brown plastic circular lid supplied as standard just doesn't quite cut it!
He will also be installing my underground pool cover housing - sometime in the near future...!

That is all SO pretty!

I wanna know, why are you almost swimming in it? lol. get in there!
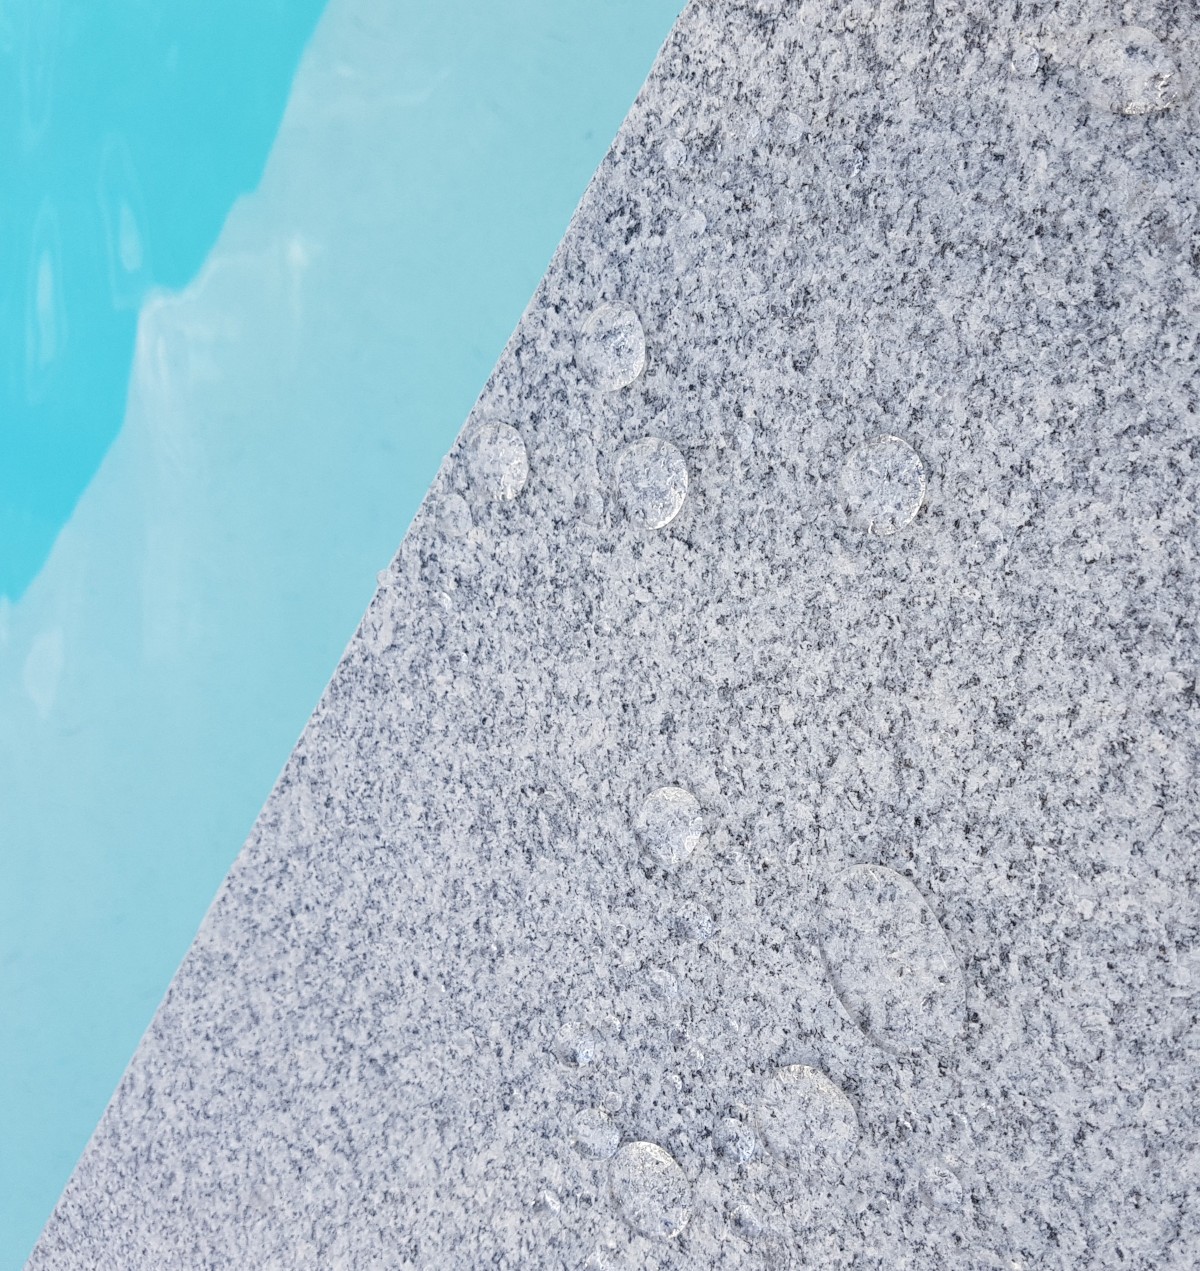
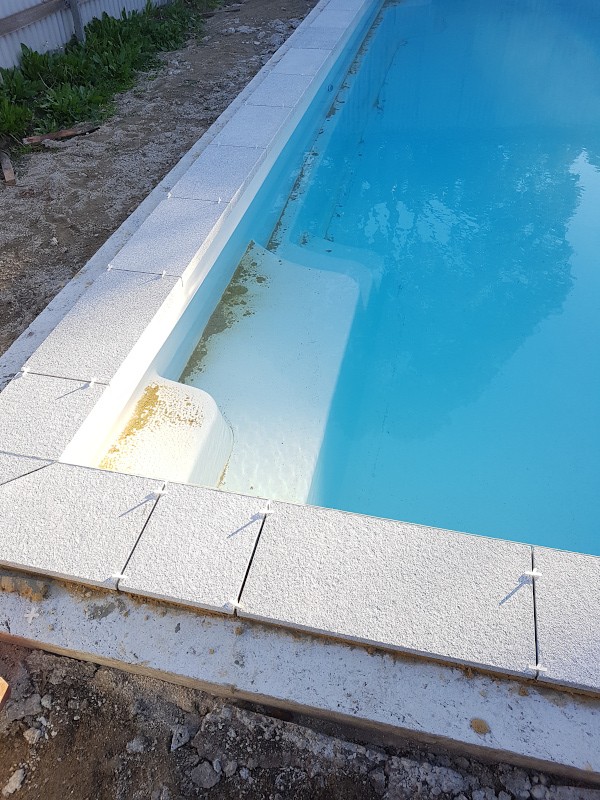
love how it has a "flange" on the inside edge.
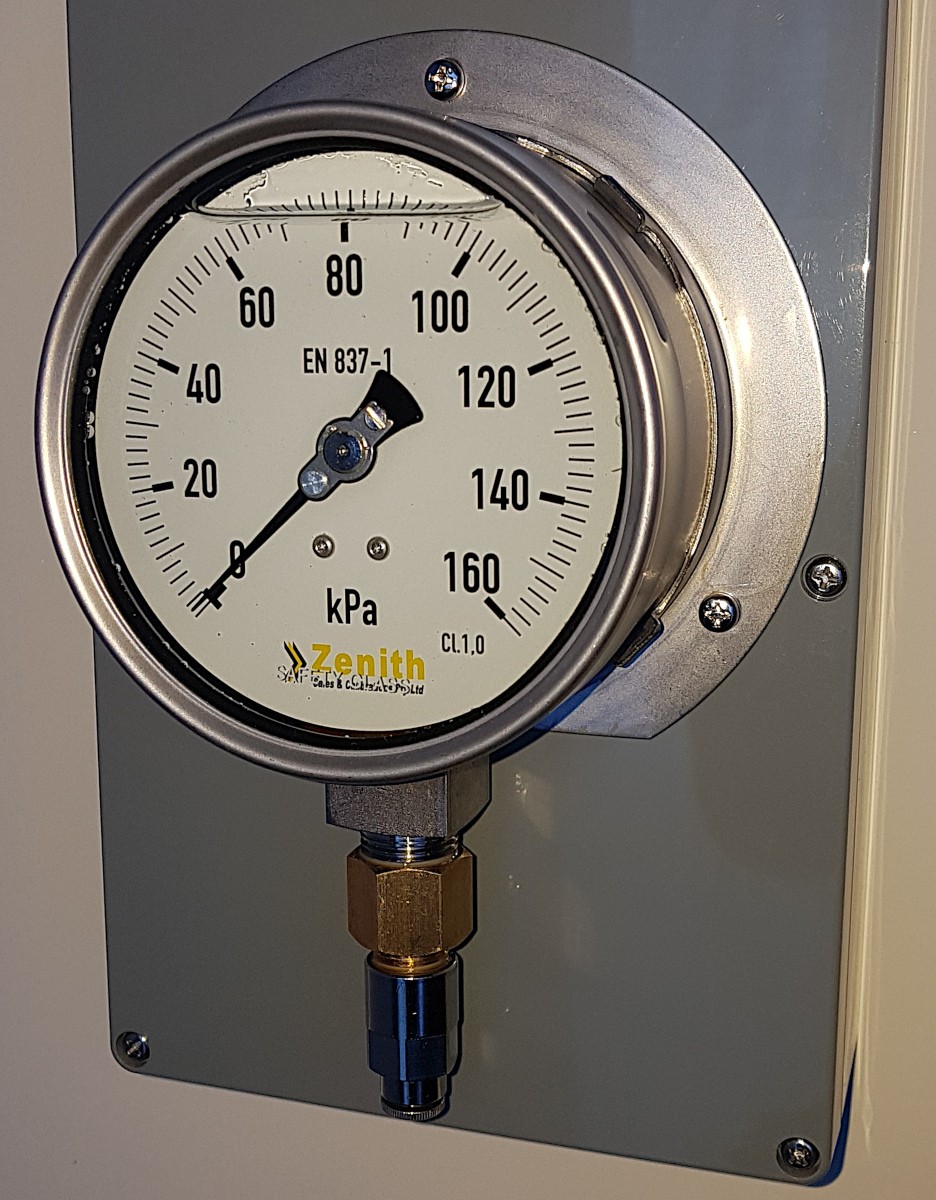
A small side project for the equipment room - A remotely mounted pressure gauge.
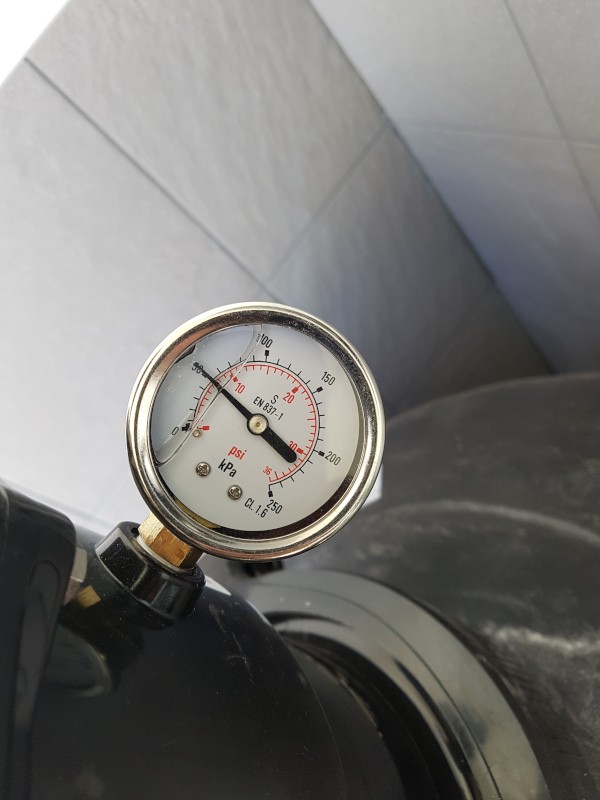
My current pressure gauge is mounted around the rear of the filter which makes it a tad awkward to read.
A more convenient position would be somewhere on the front but due to the plumbing layout this was not possible.
Current setup:
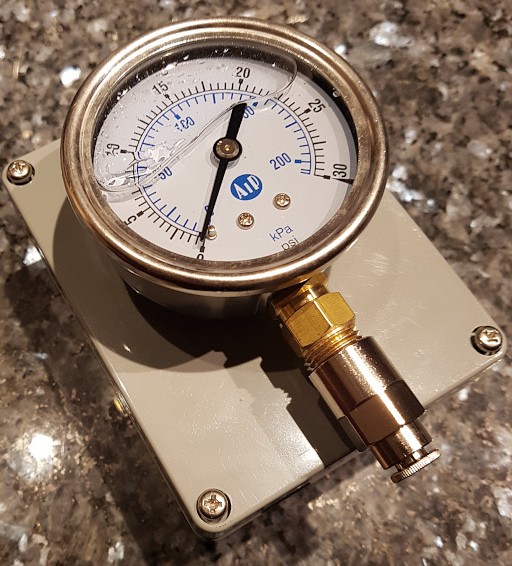
So I thought about remotely mounting a larger gauge on the wall of my equipment room.
Had to come up with some neat way of mounting the gauge and a quick trip to my local pneumatic shop to pick up some brass fittings (1/4" NPT<> BSP), some 6mm nylon pressure line, and some 6mm 'push' fittings and I should be set...!
I also purchased a larger pressure gauge (2-1/2") which is easier on eyes without glasses as compared to the stock one...!
- - - Updated - - -
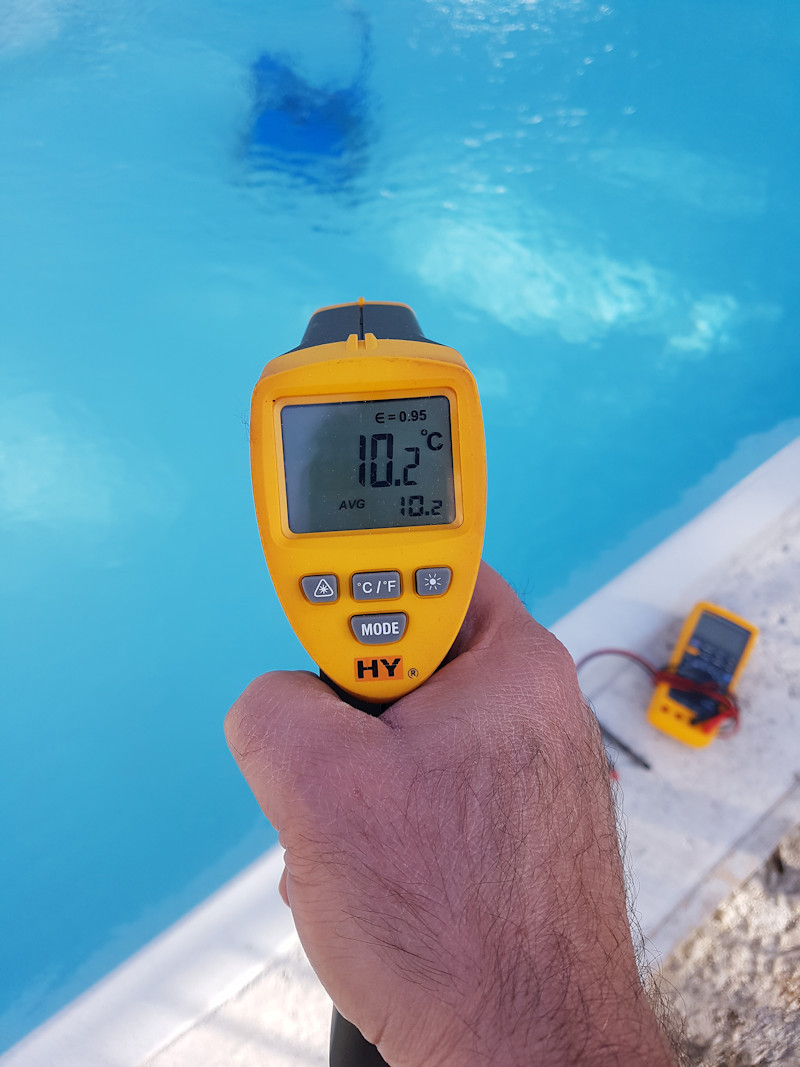
Here is why... LOL
- - - Updated - - -
.
Well done on the pressure gauge. Mine is in a similar location and pain to read.