Another one in Las Vegas-Finaled, but not finished

Re: Another underway in Las Vegas

Busy couple of days. When I get a chance later on today, I'll post up a couple pictures of the patio build. I finally had some time to play with my "chemistry set"...lol. And here's what I came up with from the tap that'll be used to fill the pool:

Cl= 0.5 ppm
pH= 7.8

Both from the basic test kit.

FC=0.5 ppm
CC=0.5 ppm
TC=1.0 ppm
CH=650
TA=200

I expected there to be plenty of calcium and alkalinity in the water.

OUCH on the CH but it is what it is. The work around is to find ways to add rain water when possible and be VERY careful to not add any CH through products. Some tablets add it. Unfortunately your CH may rise due to the new plaster.

Is there any way to truck in water and not break the bank? You can mange your water with this CH but it will be even easier if it were lower.

The TA is easy to "fix" so no worries. We will work on that when it comes time to add water to the pool.

Kim:kim:
 
Re: Another underway in Las Vegas

OUCH on the CH but it is what it is. The work around is to find ways to add rain water when possible and be VERY careful to not add any CH through products. Some tablets add it. Unfortunately your CH may rise due to the new plaster.

Is there any way to truck in water and not break the bank? You can mange your water with this CH but it will be even easier if it were lower.

The TA is easy to "fix" so no worries. We will work on that when it comes time to add water to the pool.

Kim:kim:

Kim,

A couple days ago, we drove down the major street that's been under construction for a while, and I realized they are putting in new water lines, and have been pumping us temporary water. It looks like it should be just a few more days until the line is complete. So, it's possible that things can change. Based on how things have gone, I think I've got a couple more weeks until the magic "water" day, so as it get's closer, I'll redo, and keep my fingers crossed that it gets better...:)
 
Re: Another underway in Las Vegas

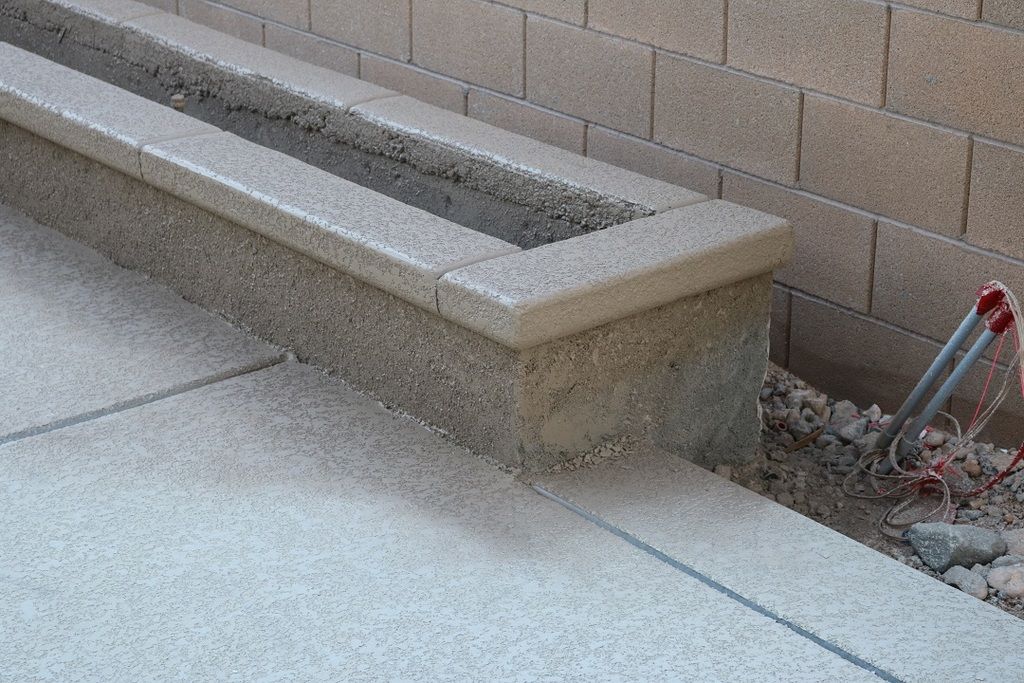
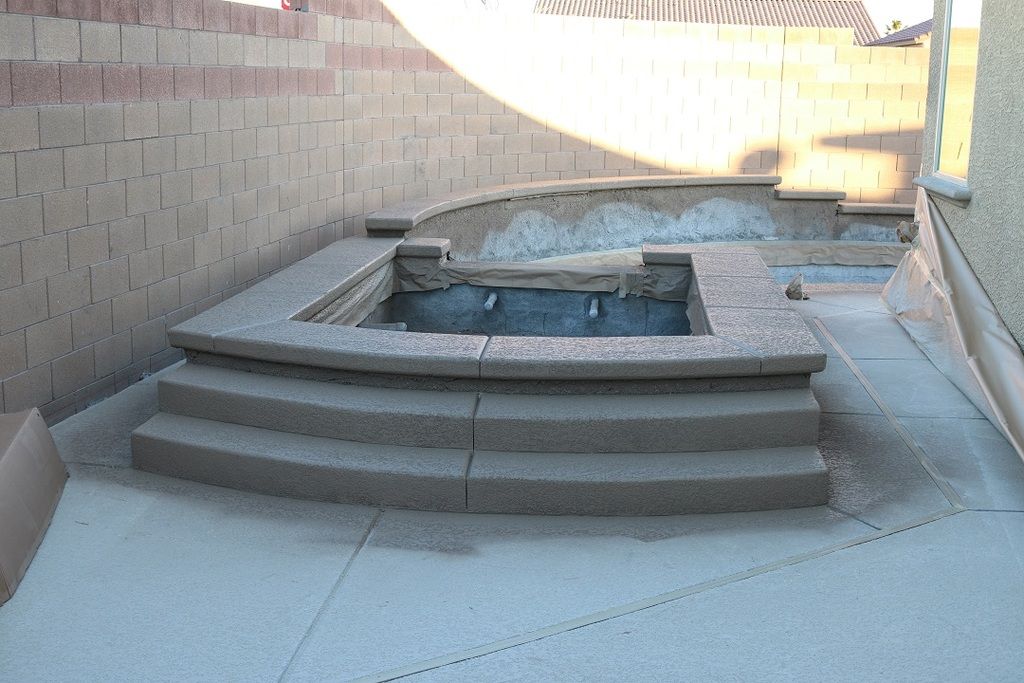
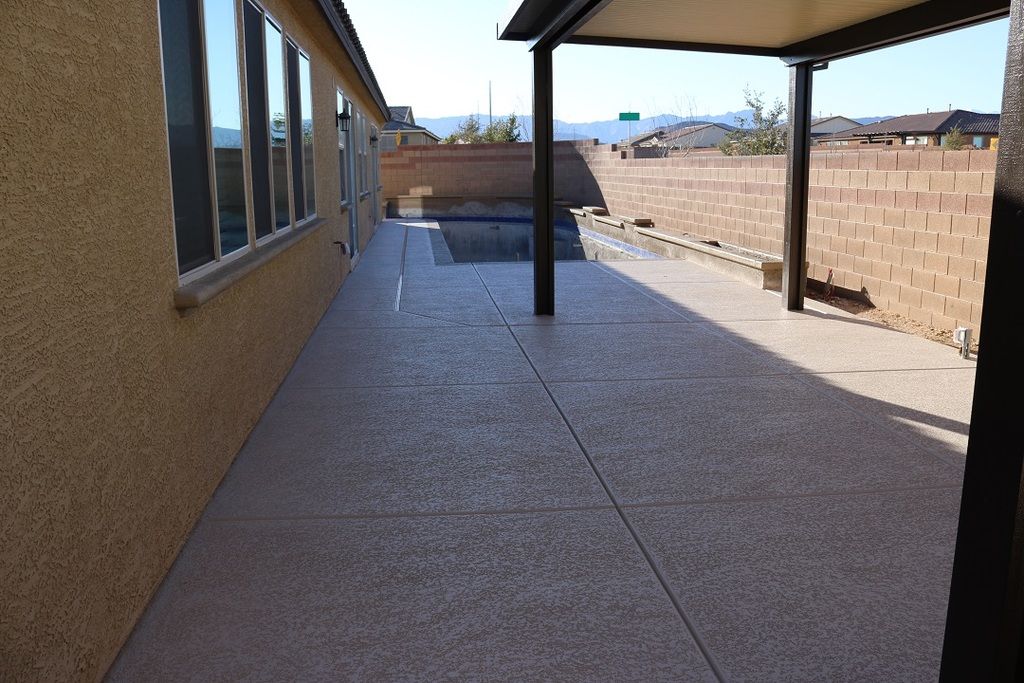
I'm sure most everyone has heard the old "cheapest upgrade is a can of paint" from a real estate agent somewhere along the line. Well, it wasn't "cheap" by any means, but wow, what a difference a few buckets of spray deck can do to a big ol' piece of gray concrete! While both the wife and I love the look of the stone decks many people use, part of our design priority was to minimize maintenance (to maximize fun time!). Due to the shape of our yard, it meant a lot of deck. So, in order to maintain some sort of "budget" (can we just make that a 4-letter word? LOL), we decided to go with the spray coated concrete. For those interested in the process, here's how ours was installed over the past couple days.

This is a two part process. First, an undercoat is laid down, flat troweled for texture, and then the color/sealer is sprayed over it. Any good paint job requires most of the work in the preparation. This one is no different.

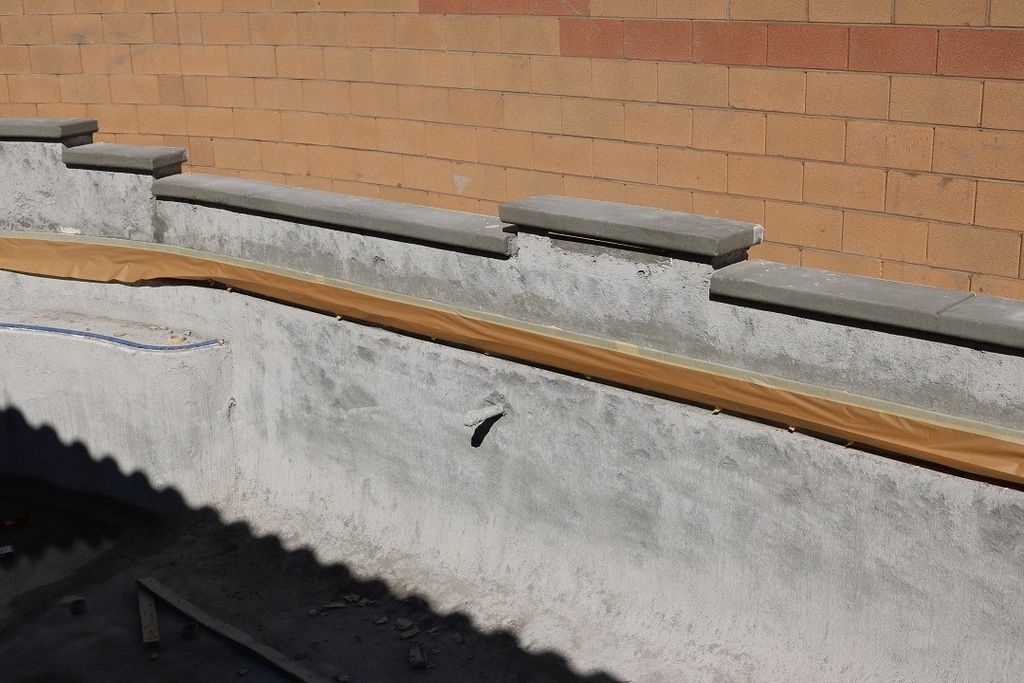
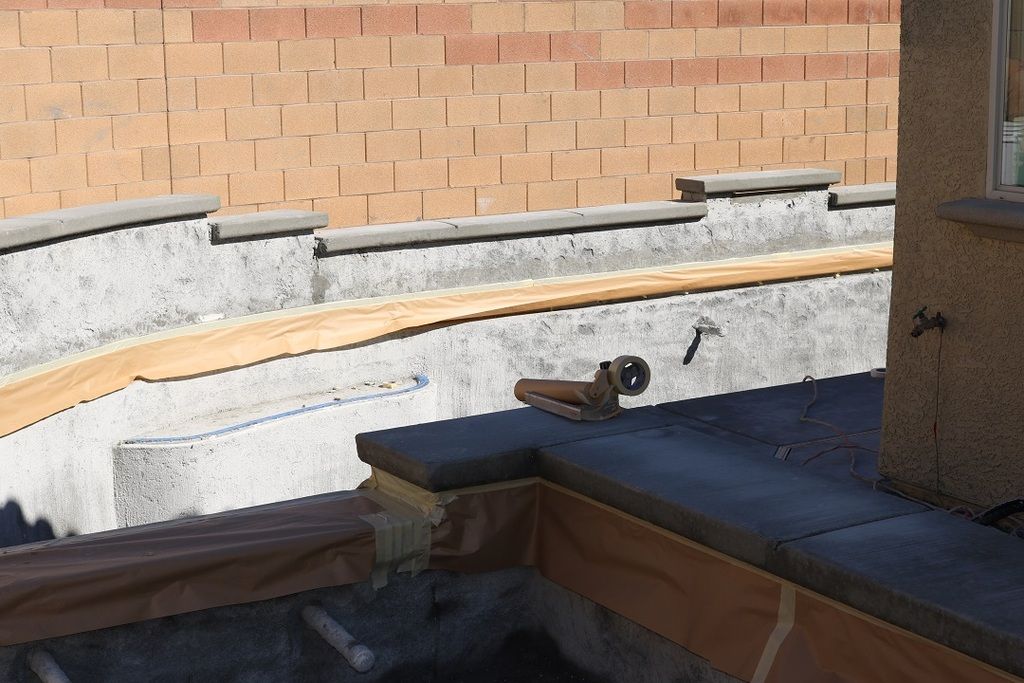
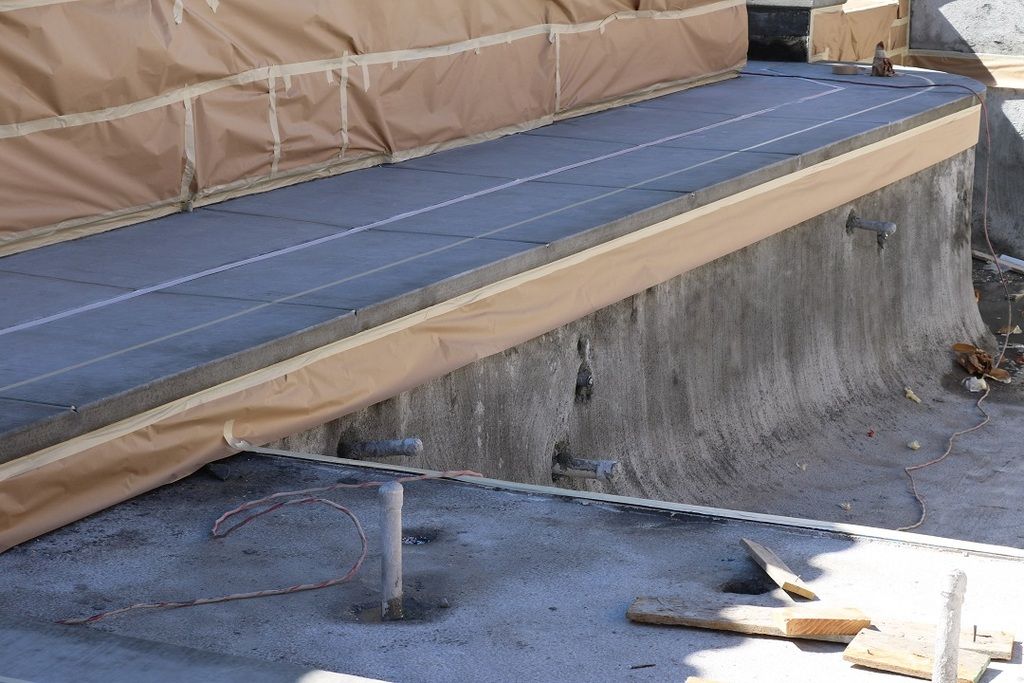
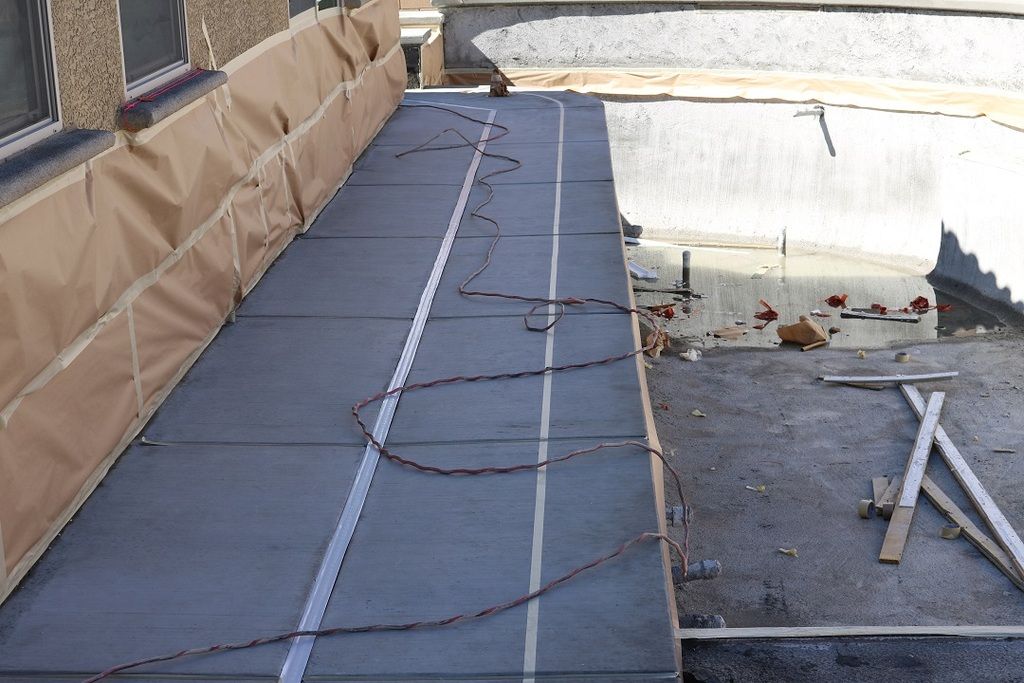
Lots of masking to protect surrounding surfaces:


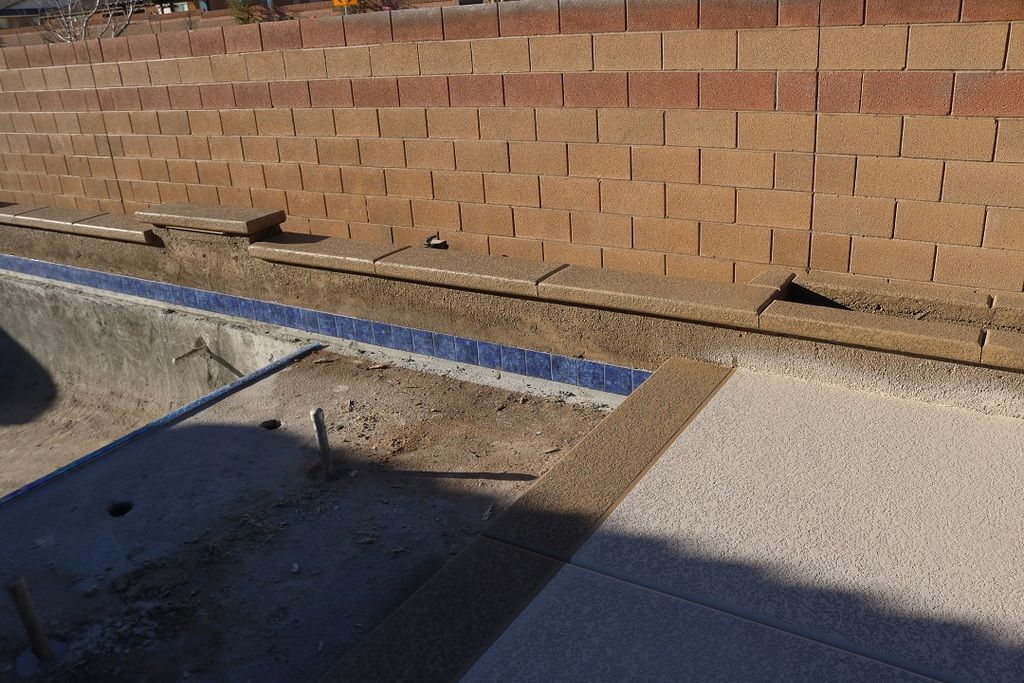
Here you can see the masking tape for the pool "outline" that we had put in to help match the cap on the wall, and provide a visual reminder you're getting close to the water line:


The back of the raised beam was also given a skim coat to smooth it down, as this was also coated:


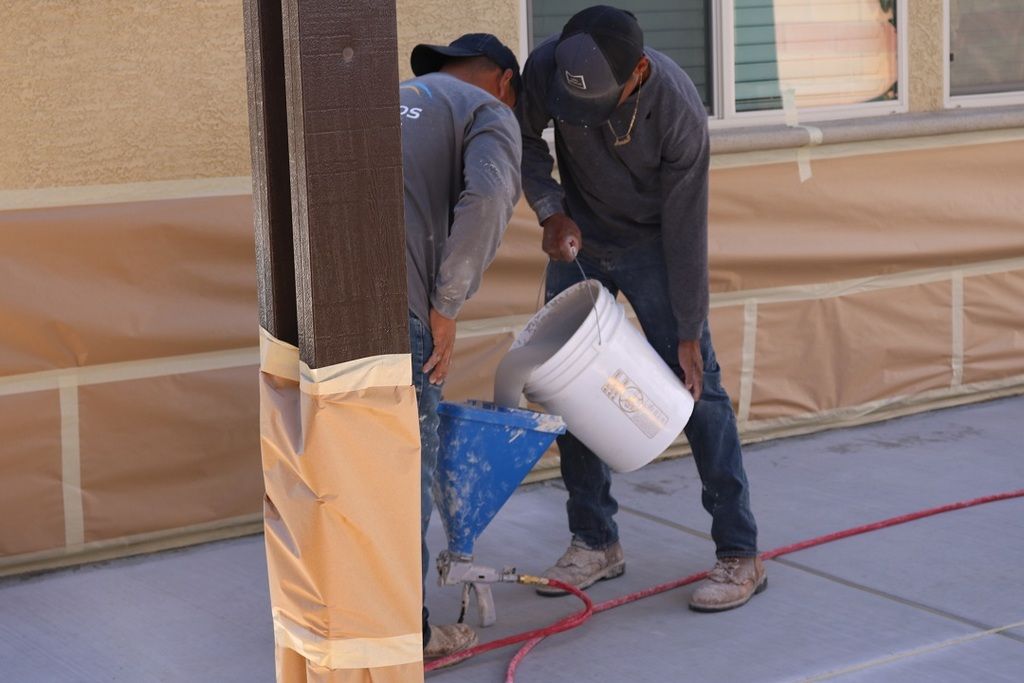
The process begins! First the undercoat is added to the sprayer. Nothing fancy, this is the same tool that's used to spray wall texture over drywall:


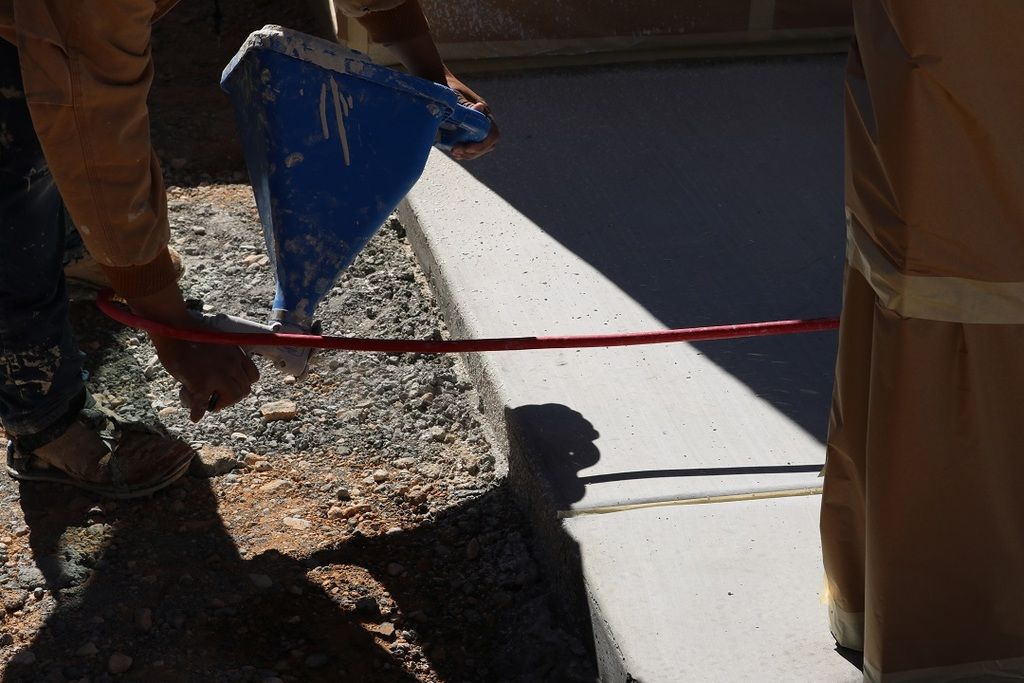
First globs being sprayed on:


the globs given a few minutes to set up:


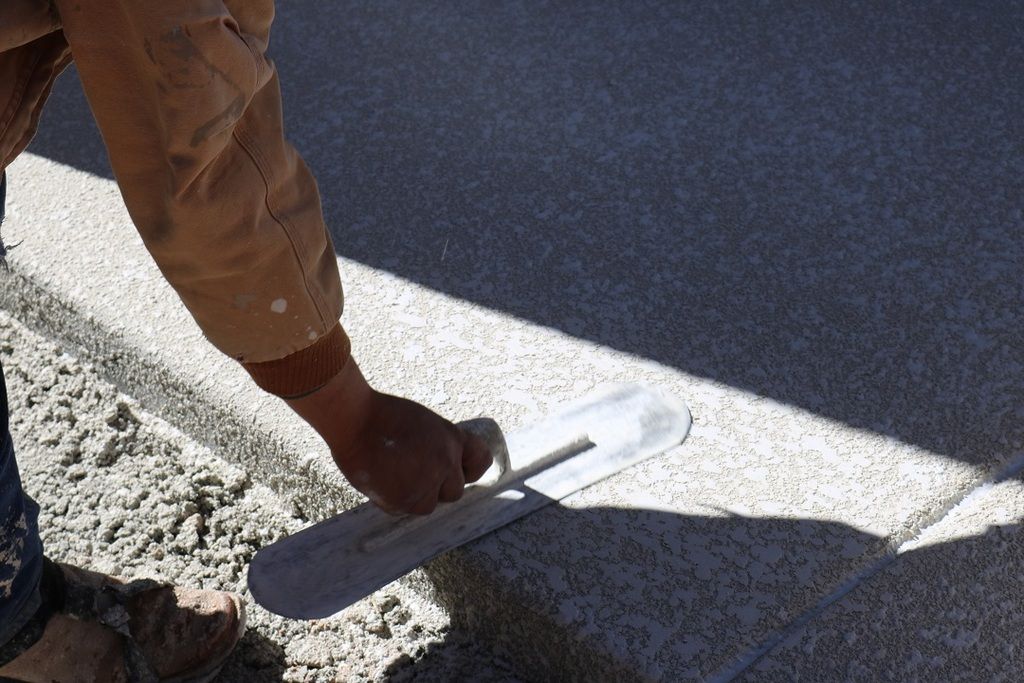
"flattened" to create the texture:


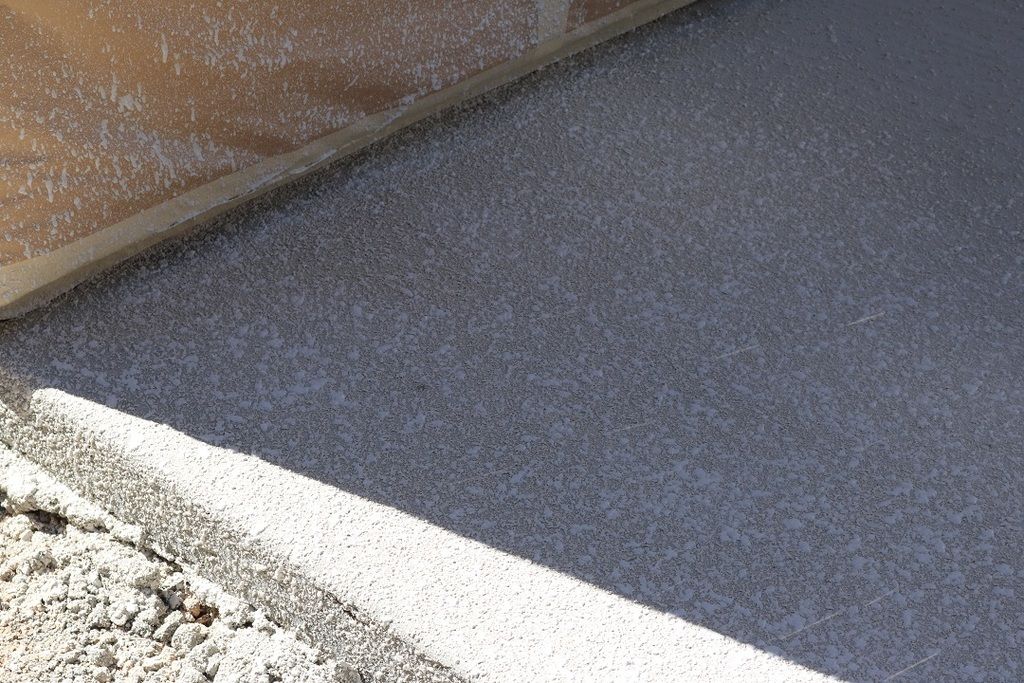
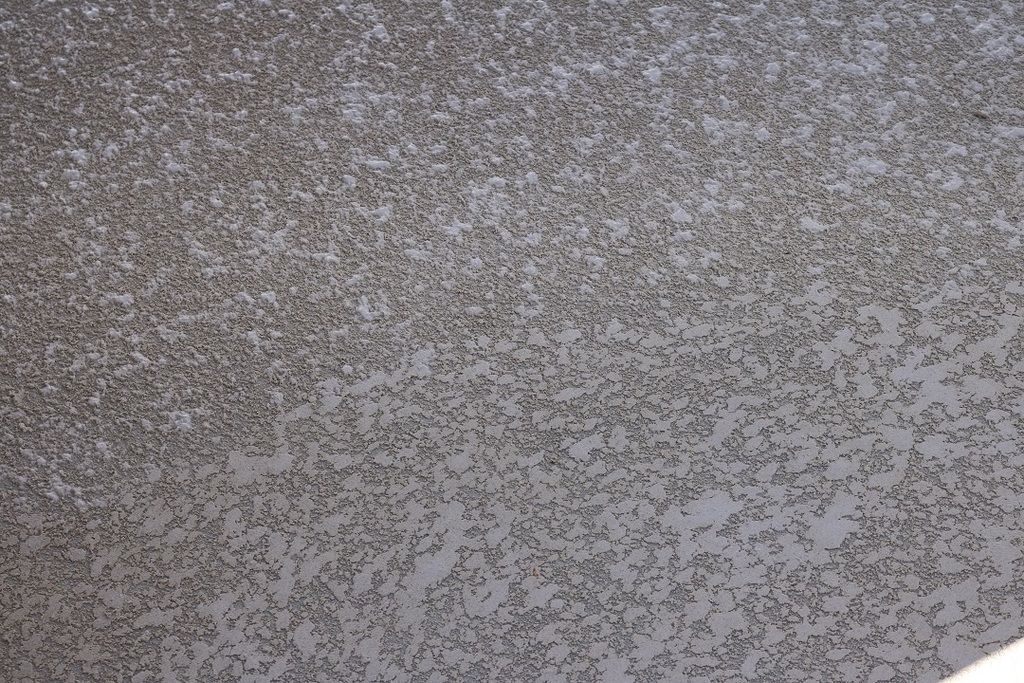
Top of the picture is "before", bottom after the troweling is done:


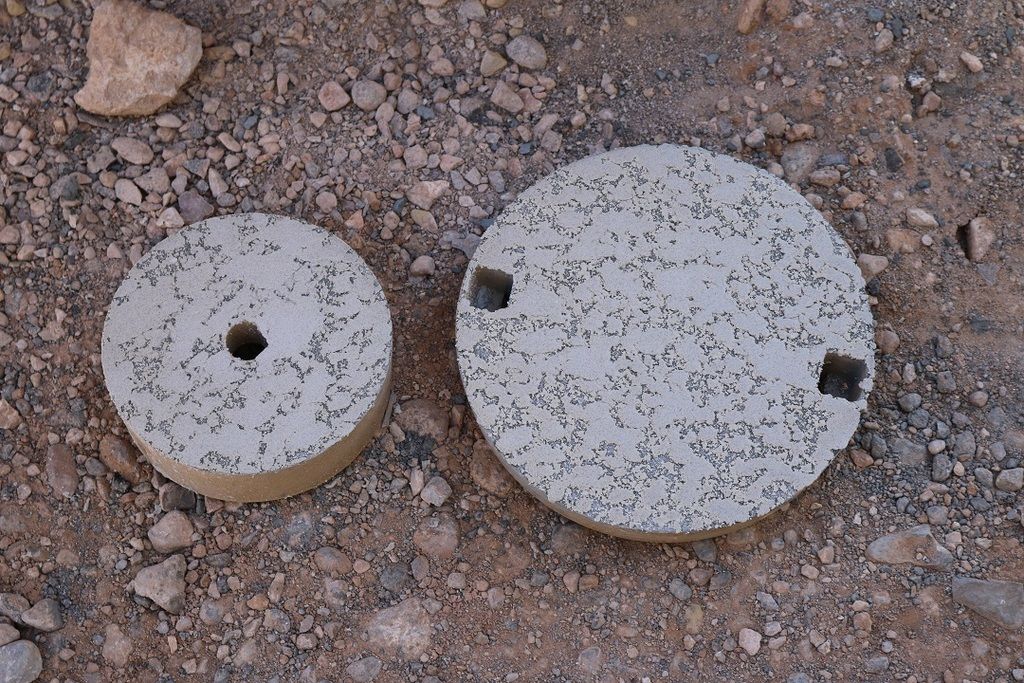
Even the pour-a-lids get this:


And, the whole deck is done. They'd actually put the darker accent/outline color on as well, Then cleaned up for the day:


This is where it gets tough! The colors are very hard to capture correctly with photos. Also, the final color for the "field" is almost the exact color of the undercoat, so some of the pictures aren't as dramatic as it is in person. Here is the accent color:


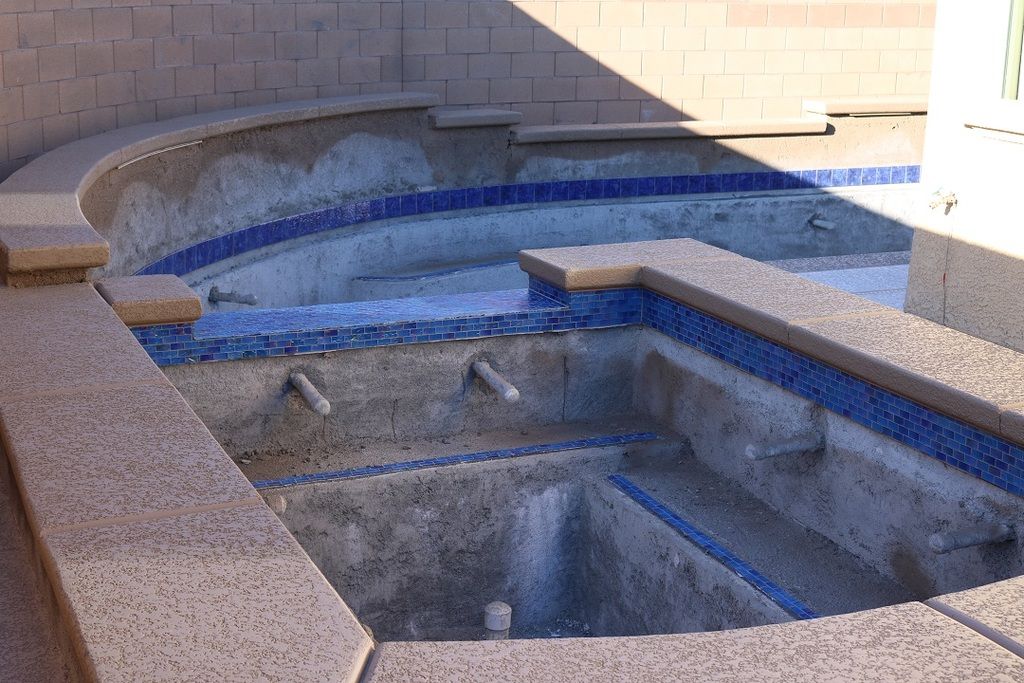
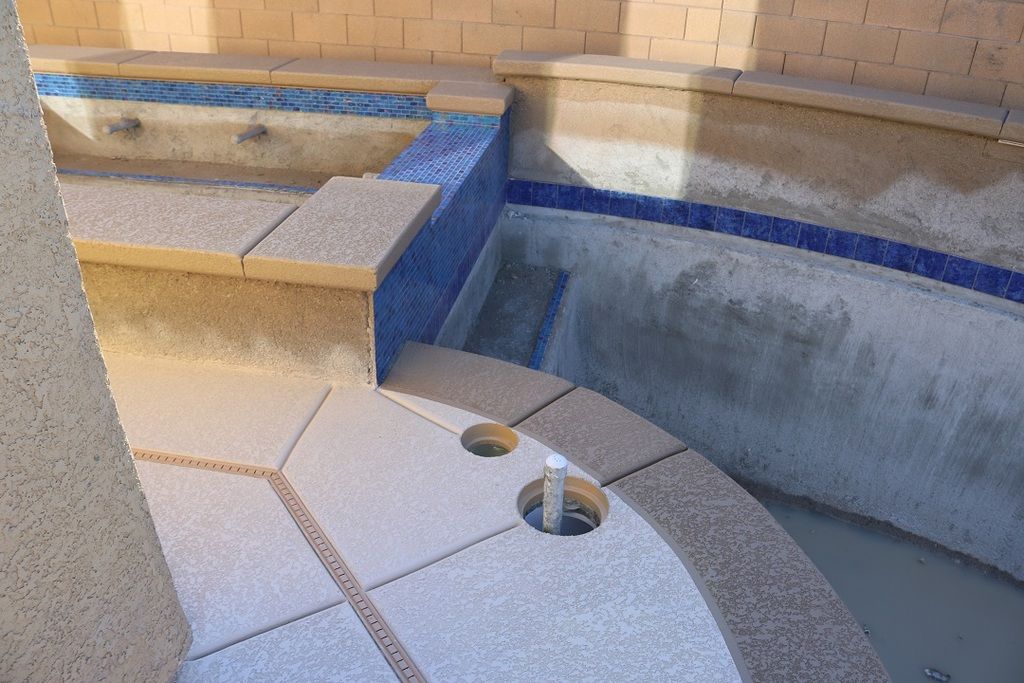
More accent color on the spa steps. Basically, anything not "ground level", we had done in a darker color:


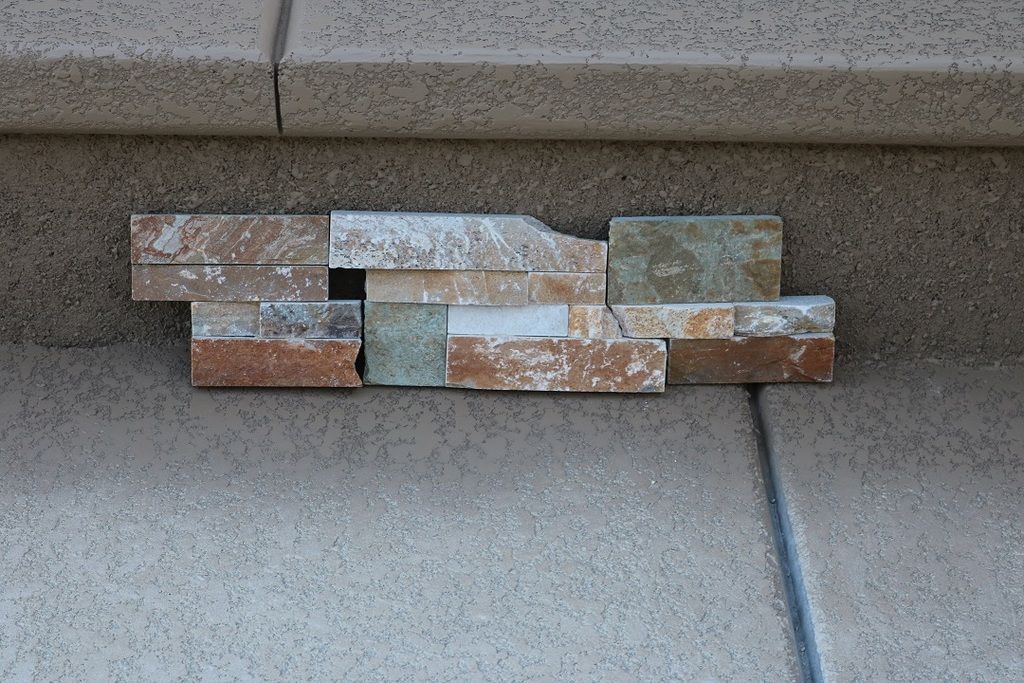
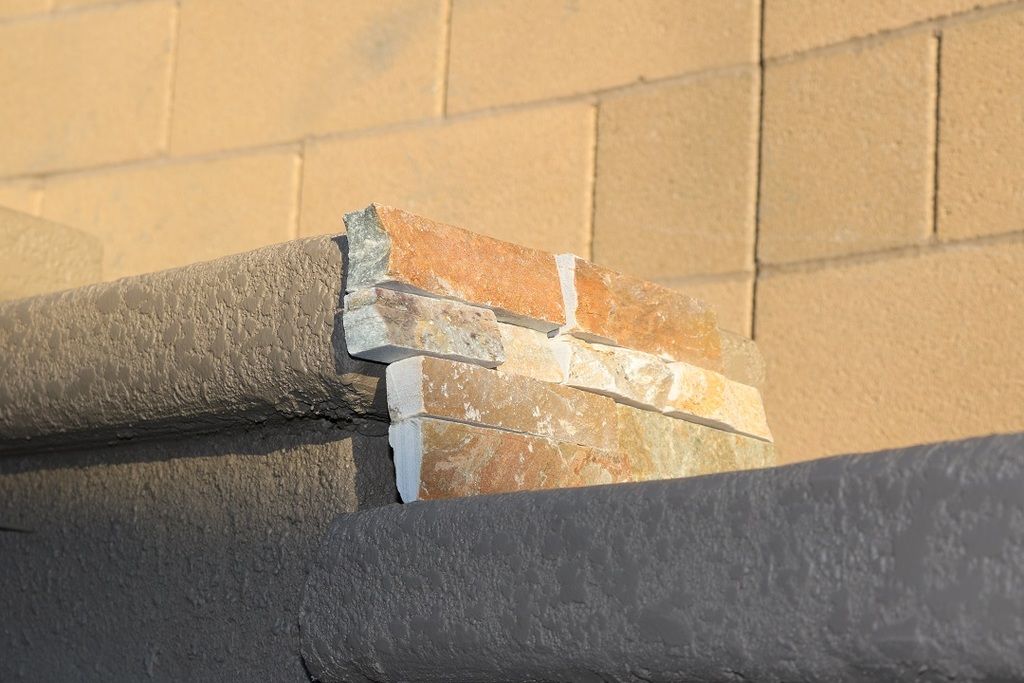
A little preview using our stone samples. This is the final accent color, with the stone, then the undercoat color. First in the morning shade:


Then in the morning sun:


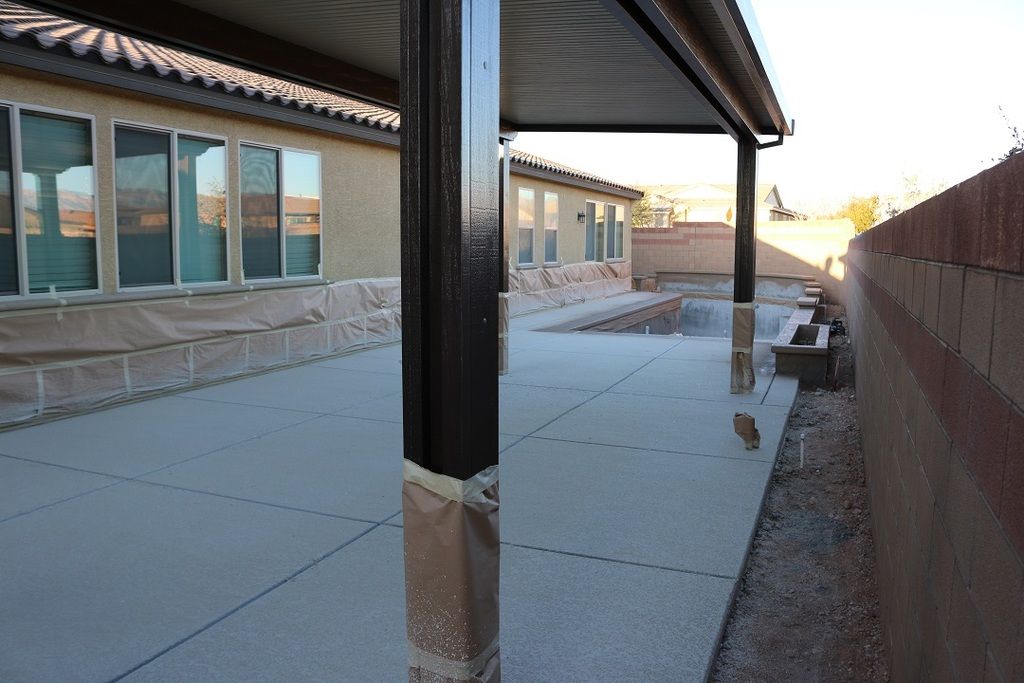
Let's fast-forward to the end of the next day. It was impossible to show any difference in the painting process due to the colors. It was sprayed on with a typical paint sprayer. but here it is in it's finished glory:


In the afternoon sun, showing accent and beam:


I think the tiles really "pop" here:


This is about the best picture I can find showing the colors/contrast:


We wanted as light of a color for the field as we could get (to make it "cooler" in the summer..yeah right!) but not get too dirty. This is an almost perfect match for some stucco accent colors on the house, so we think it goes well overall. Now, we can't wait for the stone to be applied, so we can see if our color choices worked together or not...Maybe this week, as the stone was received, we'll see!

So, what do you all think? Still on the right path?
 
Re: Another underway in Las Vegas

Great post! Beautiful. The workmanship looks very good and I like the colors. Spray deck isn't my first choice (and I understand there was that nagging "B" word at issue here), but I think with the design details you've chosen, it looks really good!
 
Re: Another underway in Las Vegas

You NAILED it! I LOVE the different colors! That adds a extra element to it to make the whole thing stand out and look like art.

SO neat to see how they do it. The knocked down glops look neat. Such artwork to get it done like that. Mad skills for sure!

Kim:kim:
 
Re: Another underway in Las Vegas

Great post! Beautiful. The workmanship looks very good and I like the colors. Spray deck isn't my first choice (and I understand there was that nagging "B" word at issue here), but I think with the design details you've chosen, it looks really good!

You NAILED it! I LOVE the different colors! That adds a extra element to it to make the whole thing stand out and look like art.

SO neat to see how they do it. The knocked down glops look neat. Such artwork to get it done like that. Mad skills for sure!

Kim:kim:


Thank you both for your kind comments. We really wanted shell-stone for it's heat absorbing qualities, as well as the light color. But, it was more than we wanted to spend. So, we hope to try and "hide" it a little bit by using bright colors, out door rugs under dining table, etc. That's what the real designers seem to do on those TV shows...trick the eye to look away from the thing you don't want to be seen. Plus, I think the expanse of it will get broken up when the kitchen bar goes between the two cover support poles. And, if I can keep my water as beautiful as the rest of those TFP pool owners do...no one is gonna look at the deck anyway...LOL!

This site has been such a big help for us. I've spent many, many hours reading other peoples projects, and looking at their pictures, stealing "ideas", and just plain old "drooling"! I hope our little project helps someone else, or just provides an interesting look at what goes into building a pool. There is just so much work that is not apparent by looking at the finished product that it's no wonder they are so expensive. I was talking with the PB about just the forms for the cantilever edge, and he said his cost is nearly $5/linear foot, and with all my double edge and what not, there's almost 200'. That's $1,000 for forms that are a one time use item!
 
Re: Another underway in Las Vegas

OUCH! He will not be able to reuse any of it? I guess it would be much easier to not even try.

I hear you on reading all of the threads. It is SO much fun and you can learn so much!

Your water WILL look as good as any pool on here AND you will never be "pool $tored".

I see lights being wrapped around the legs of the cover and outlining the frame of it for some extra bling at night.

Kim:kim:

yeah, the forms come apart in pieces...lots of little pieces. I'm still picking up little bits of Styrofoam.

I just hope my water will be as beautiful as others I've seen here. But I do have a great coach..right...LOL..:)

You are definitely reading my mind about the patio too...lighting is hopefully going to play an important role in keeping our guests looking in interesting places...;) We've already got some of those stranded, hanging led lights to go around the outer perimeter of the cover. We also are planning on a couple ceiling fans with some lighting fixtures, as well as some other accent lighting built into the kitchen. Then sprinkle in the landscape and pool lighting, coupled with it being dark out, and presto, those flaws will just disappear...LOL.
 
Re: Another underway in Las Vegas

That spray-deck looks AMAZING. That's going to be a great pool/spa when it's all done!

thank you very much! The design is a little different, but so far most of the comments here, and from all of the different trades working on the pool have been positive. It's kind of out of our comfort zone to go down the "unusual" road with something so large, and not easily reversible.
 

Enjoying this content?

Support TFP with a donation.

Give Support
Re: Another underway in Las Vegas

They did a great job on the deck. What is going below the caps on the wall where there is over spray? Stone?

Thank you..:) Yes, The entire raised beam wall will have stone between the water line tiles and the bottom of the caps. The 3 exposed vertical sides of the spa will get the same treatment. Seeing all of the overspray, I understand why the spray deck had to go on before the stone, as I've seen many other pool projects on this site, and the stone usually seems to go on right after the waterline tile.

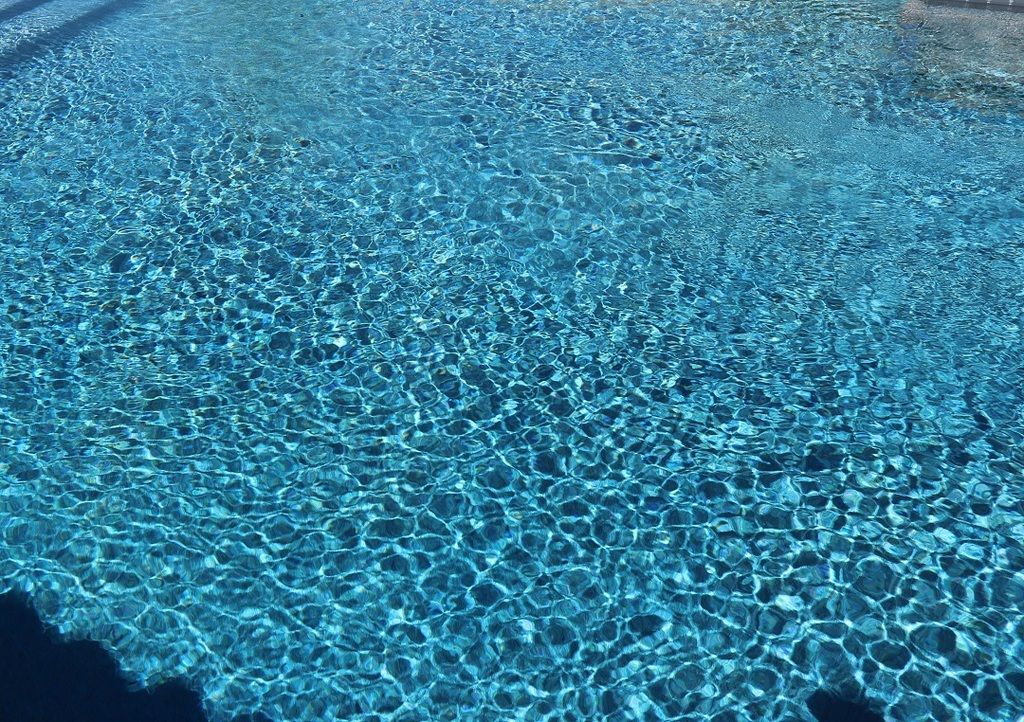
Then we hope to end up with this color water:


- - - Updated - - -

On the ceiling fan light make sure to get dimmers. Saw one build with them and they look so good with a nice soft light. More of a glow than stark light.

Kim:kim:

Great idea...will most certainly do this...:)
 
Re: Another underway in Las Vegas

I love the expected water color.l! What brand/color?

Thank you. That' pebble tec's pebble sheen, in blue surf smurf. This is from a nearby pool, just before noon, on a cloudless day earlier this week, that the owner was kind enough to let us look at to see the color in person. We liked the color from the pictures we'd seen but seeing it in person was definitely a deal clincher for both the wife and I.
 
Last edited by a moderator:
Re: Another underway in Las Vegas

Very nice. That's the one thing we couldn't afford in the budget. Our PB wanted $7k more to upgrade from Quartz based to pebble sheen. I LOVE blue surf tho. There are a couple of TX builds here that have it that I am in love with.


Sent from my iPhone using Tapatalk
 
Re: Another underway in Las Vegas

Enjoy the color! One of my favs.
1600962-smurfs_movie.jpg
 
Re: Another underway in Las Vegas

We just found out it's gonna be exciting for the next few days...we're getting "stoned" right now, inspection planned for Monday, and maybe, just maybe.."plastered" on Tuesday or Wednesday! I hope I can stand all the "partying" that's gonna be happening!
 

Enjoying this content?

Support TFP with a donation.

Give Support
Thread Status
Hello , This thread has been inactive for over 60 days. New postings here are unlikely to be seen or responded to by other members. For better visibility, consider Starting A New Thread.