plumbing roughed in, Thoughts ? Finished !!

blazer58

Silver Supporter
May 29, 2018
409
Chicago, IL
Pool Size
35000
Surface
Plaster
Chlorine
Salt Water Generator
SWG Type
Pureline Crystal Pure 60,000
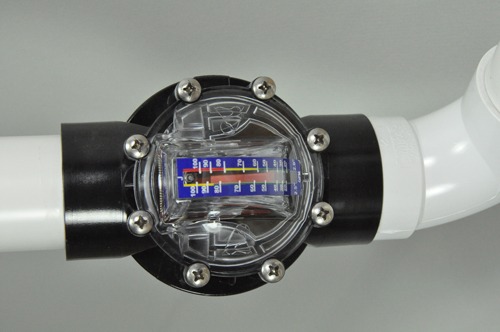
Weather was good today, so started redoing my pad. New pump, and heater, nothing glued in yet, look ok ?
I am reusing my filter.
Last pic is how it was done before.
(Ignore the ele. I ripped out everything I did last year, and have to redo all of it)
965639656496565
 
And you had such nice straight runs in and out of the heater that you now need to criss cross.

No SWG?

Why do you have a 3 way Jandy valve with an open port between the pump and the filter?

You really don't need 2 Jandy valves for your heater bypass. You can do it with one Jandy valve and a check valve on the heater out line.

You have an open stub on the left side of your suction facing the stucco wall?
 
Last edited:
And you had such nice straight runs in and out of the heater that you now need to criss cross. LOL I thought it was going to easy

No SWG? I left room to add one at a later date, and a check valve. The added cost for the duct work for the heater took away my swg for now

Why do you have a 3 way Jandy valve with an open port between the pump and the filter? Going to add piping out wall and use if I ever have to drain a few inches out of the pool. My filter is setup the same way so I can drain the water out for winterizing

You really don't need 2 Jandy valves for your heater bypass. You can do it with one Jandy valve and a check valve on the heater out line. Thought about that, but was leery of the check valve malfunctioning

You have an open stub on the left side of your suction facing the stucco wall? That will tie into the skimmer(s) line
 
Most people wouldn’t have noticed if you didn’t say anything. Lol.

Looks awesome. You have a VS pump but no flowvis. That would be a handy addition.

Love the old school copper in the original setup.
no flowis ?? Am I missing something or is that in reference to me doing my heater backwards.
My old buster line was also copper
 

Enjoying this content?

Support TFP with a donation.

Give Support
Blazer,

Looking at the 90 degree fittings it appears they may be DWV instead of pressure fittings. DWV stands for "drains, waste, and vent". You can get DWV and pressure fittings in Sch 40 but the pressure ratings are not the same. They are almost identical to pressure fittings in terms of fit but should never be used for liquids under pressure. For some reason they are on the same aisle at HD which makes it easy to confuse them. The way to check is the DWV have an enlarged part on each end to slip over the pipe. Since the enlarged end (also called the hub) is for lower pressure fittings they do not overlap as much which also generates a weaker joint. Pressure fittings are the same diameter over the entire piece.

I hope this helps.

Chris
 
Last edited:
Blazer,

Looking at the 90 degree fittings it appears they may be DWV instead of pressure fittings. You can get DWV and pressure fittings in Sch 40 but the pressure ratings are not the same. They are almost identical to pressure fittings in terms of fit but should never be used for liquids under pressure. For some reason they are on the same aisle at HD which makes it easy to confuse them. The way to check is the DWV have an enlarged part on each end to slip over the pipe. Pressure fittings are the same diameter over the entire piece.

I hope this helps.

Chris
It's only 7am here, will check in a while, Thanks
 
Blazer,

It's an easy mistake to make and at least you haven't glued them in so you should be able to exchange them. The pressure fittings are more expensive. When you make your final assembly you will find some of the pipe piece dimensions will change due to the deeper penetrations of the fittings. I use soapy water to do the test fit and then check with a level for horizontal/vertical pieces. If you don't get full penetration with the test-fit you will find they go all the way in with glue and this can cause alignment problems. Even with soapy water it's a little difficult and a struggle to get them apart but it's well worth the effort to get good alignment that is much more vibration resistant. Once everything is perfect mark each fitting overlap with a pencil and a perpendicular hash mark. When you're final assembling with glue it make things much easier to finish looking like the test fit-up.

I hope this helps.

Chris

PS for the alignment marks use a pencil not a magic marker since the primer and glue will remove the magic marker
 

Enjoying this content?

Support TFP with a donation.

Give Support
Thread Status
Hello , This thread has been inactive for over 60 days. New postings here are unlikely to be seen or responded to by other members. For better visibility, consider Starting A New Thread.