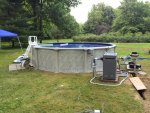
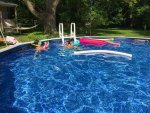
Northeast Ohio AG Pool Install/Build

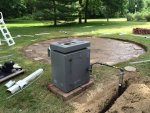
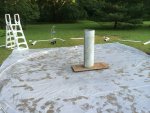
PPrince, just looking at your latest pics, I just wanted to point out the pipe on top of your heater is a "draft hood" not a "vent cap"... My point being is that it is not weatherized and you may want to get a hold of the proper vent cap for outdoor use. I am sure a proper "cap" can be engineered to convert the draft hood you have, just that using it the way it is will cause excess moisture to get to the heat exchanger and burners, reducing the life of both.

Good choice on the Brundy bonding plate... I went with the same setup.

Let me know if the skimmer you got fits well... After reading the reviews of that model having fit/finish issues (also, get some new stainless screws since the ones supplied with it are supposed to be low-quality stainless and they rust), I ended up going with a Hayward SP1091WM setup.

Thanks Dennis. I purchased the heater used and that's the way it came but not the way I'm going to use it. Ordered the proper replacement part.

The skimmer is a Rapid-Flo and seems to be somewhat proprietary with the pool store the pool came from when new. I had to go that route to match the hole openings in the wall that are already there. Is that what you were thinking it was?
 
Progress looks great. I am in no hurry to do any digging again!

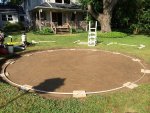
The ground here is pretty good for digging in, but power equipment like the sod cutter helps a lot! Still, I had to shovel it all into the cart one shovel at a time.... (A small front end loader would have been cool!)

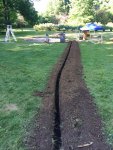
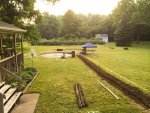
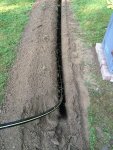
Time to run a gas line to the pool heater.

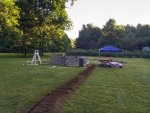
Had to dig by hand next to the house so I could run the line under a concrete walkway, but the rest of the work was done using a trencher.

IMG_6138.jpg

Worked very well. One of the easiest (and a lot of fun) parts of the job so far! (But that thing was a bear trying to get it to turn!)

IMG_6148.jpg

The line has to be 18" down so definitely not interested in digging it by hand!! Lol

IMG_6155.jpg

IMG_6157.jpg

Success!!

IMG_6167.jpg
 
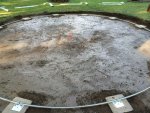
Rain has finally stopped!! :party:

IMG_6158.jpg

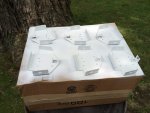
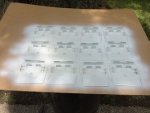
Still a little too muddy to get in there and do much. So what else is there to do? Something that was on my list but I never got to... paint some of the galvanized parts! When I bought the pool and took it down, most of the bottom plates and rails were pretty rusted. I found new replacement parts but always thought I would paint them with Rust-Oleum to delay any future rust. Now I am in a holding pattern so that's what I did. Took up the track and plates, washed the mud and sand off them, dried them and painted them.

IMG_6162.jpg

IMG_6165.jpg

All nice and pretty, albeit you won't get to see them once installed!!

Ready to go, but still a little muddy. :cry:

IMG_6168.jpg
 
Looking good Paul! I'm so glad my trench for electrical was less than 3ft long!
 
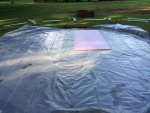
Ground has dried a little, but mud still sticks to the bottom of your shoe and builds up. Don't want to deal with that and want to get going so I laid down 6 mil plastic sheeting. Now you can walk in the pool area and not get all covered with mud! Going to lay out foam boards for rough sizing around the edges.

IMG_6169.jpg

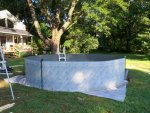
Foam boards have been rough sized and FINALLY starting with the pool wall!! Yeah.

IMG_6172.jpg


Wall starting up. Using metal fence posts and clamps to hold the wall in place as I go. My wife is also helping with this part.

IMG_6173.jpg

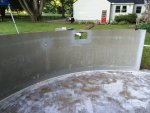
Wall is up and we are putting the bolts in to secure it. Bought all new stainless steel nuts and bolts. Very little adjusting needed to get the holes to line up!

IMG_6174.jpg

She is doing the hard work while I take pictures!! Lol
 

Enjoying this content?

Support TFP with a donation.

Give Support
The trench was a bear to dig because it was clay!

You should be ready for water soon eh?
 
The trench was a bear to dig because it was clay!

You should be ready for water soon eh?

Clay would be a PIA to have to dig in. How far did you have to go down? I'm waiting to run my electrical until everything is in place and I'm happy with the arrangement.


Pool wall cooperating and stayed up all night. Ready to get the insulation board in place and get going!!

IMG_6178.jpg

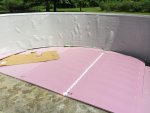
Put up some pool wall foam for a little extra protection then laid down the 1 inch foam panels that were pre-cut and fine tuned where needed.

IMG_6187.jpg

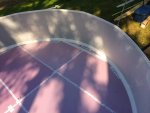
Once all the insulation boards were in place, time to install the cove.

IMG_6189.jpg

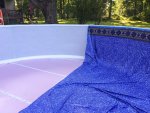
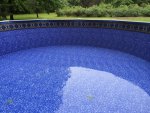
Liner going in and it is finally starting to look like a pool!! Yeah!

IMG_6192.jpg
 
I had to go down 2ft I believe. It was not fun!

If, for some dumb reason your liner has excess, take it off and rehang it at 12, 3,6 and 9o'clock. Then go 1,4,7 and 10 o'clock and it'll work.

- - - Updated - - -

I hope no one saw that last typo! :shock:
 
I had to go down 2ft I believe. It was not fun!

If, for some dumb reason your liner has excess, take it off and rehang it at 12, 3,6 and 9o'clock. Then go 1,4,7 and 10 o'clock and it'll work.

- - - Updated - - -

I hope no one saw that last typo! :shock:

I saw that typo, but won't tell anyone!! ;) Had not heard about installing the liner that way. Might have helped. Installed the liner and attached the outside posts and top rail. Looks more like a pool now!!

IMG_6202.jpg

Adding water!!! :party:

IMG_6204.jpg

Got about an inch of water in and worked on some wrinkles on the bottom. Also couldn't tell if the liner was "shifted" in one direction and was not laying straight down the wall, but may have been pulled away from the wall. Hooked up a shop vac to the return hole but couldn't tell if it was doing anything. Decided to empty the water and adjust the liner so I was sure it was properly in place. Started the hose up again. : )

Filled it most of the night then stopped it about two inched below the skimmer opening.

IMG_6207.jpg

Went to install the skimmer and discovered that the skimmer instructions differ from the pool setup directions!!!!! (Silly me.) Pool instructions say to fill with water to within two inches of skimmer opening and then install skimmer. Skimmer instructions say install skimmer to outside of wall, then add water to within two inches and then install face plate and seal!!!! ****!

IMG_6209.jpg

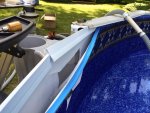
Had to partly disassemble the top rail, bead liner track and pull the pool liner away from the wall to work on the skimmer and get it installed. DEFINITELY NOT the way to do it. Next time I will know better. Lol

That was a real pain in the butt to do, but managed to get it installed and, surprisingly, it did not leak at all!!!
 
Did you see that typo? Lol I was like... omg, really?! Where did that word come from?! Darn phone! :mrgreen:

It looks so nice!
 
Casey! I did not see it and I want to know what you or your phone wrote LOL!!!

Paul? Next time?????? What next time? You will never have to do this again for a VERY long time!

It looks great. When are you adding the fill around the pool?

Kim
 
Did you see that typo? Lol I was like... omg, really?! Where did that word come from?! Darn phone! :mrgreen:

It looks so nice!

Yes I did and it was pretty darn funny!!

Casey! I did not see it and I want to know what you or your phone wrote LOL!!!

Paul? Next time?????? What next time? You will never have to do this again for a VERY long time!

It looks great. When are you adding the fill around the pool?

Kim


Hi Kim. I'm sure Casey will share. : )

Next time??? Yes, I'm sure there will be a "next time". I'm thinking two years and I'm also thinking SOMEBODY ELSE will be doing the install! Lol I did this by myself except for a friend who helped with the gas line and my wife who helped with the pool wall set up. Next time I will sit back and just take pictures!

Still have to do the fill and landscaping around the pool. I've been killer busy and no time to work on it since setting it up. (Except for keeping the water balanced.) I have ideas, just need some time.

- - - Updated - - -

This is awesome! Great documentation and it looks great!

Thanks northrn. I learned a lot here and pics convey some ideas better than words. : )

- - - Updated - - -

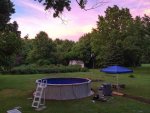
Big smile. :D

IMG_6220.jpg

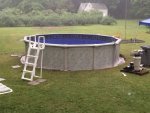
Even BIGGER smile. :):):):swim:

IMG_6353.jpg
 
Casey! I did not see it and I want to know what you or your phone wrote LOL!!!

Kim

God Kim... lol I wrote about him putting the liner on at 12, 3,6,and 9 o'clock and it put pregnant at 12-9 o'clock n I was like NOOOO! You dang phone, I hate you! :shock: :mrgreen:

The pool looks great!
 

Enjoying this content?

Support TFP with a donation.

Give Support
Thread Status
Hello , This thread has been inactive for over 60 days. New postings here are unlikely to be seen or responded to by other members. For better visibility, consider Starting A New Thread.