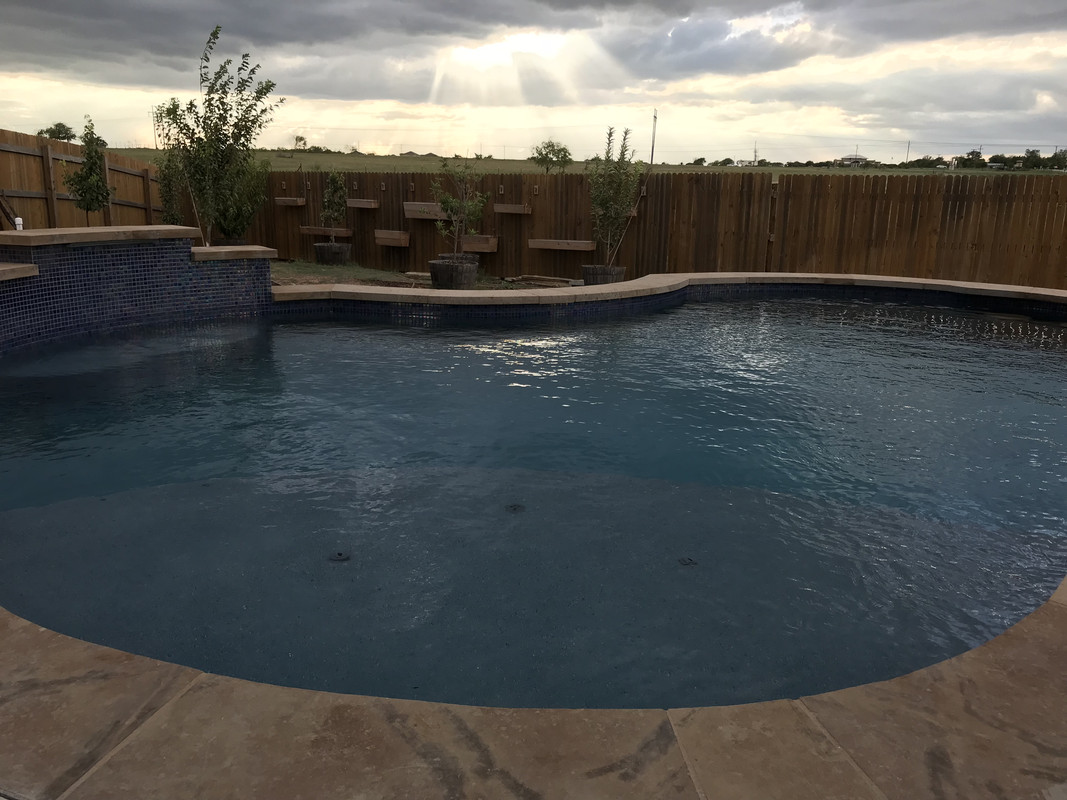
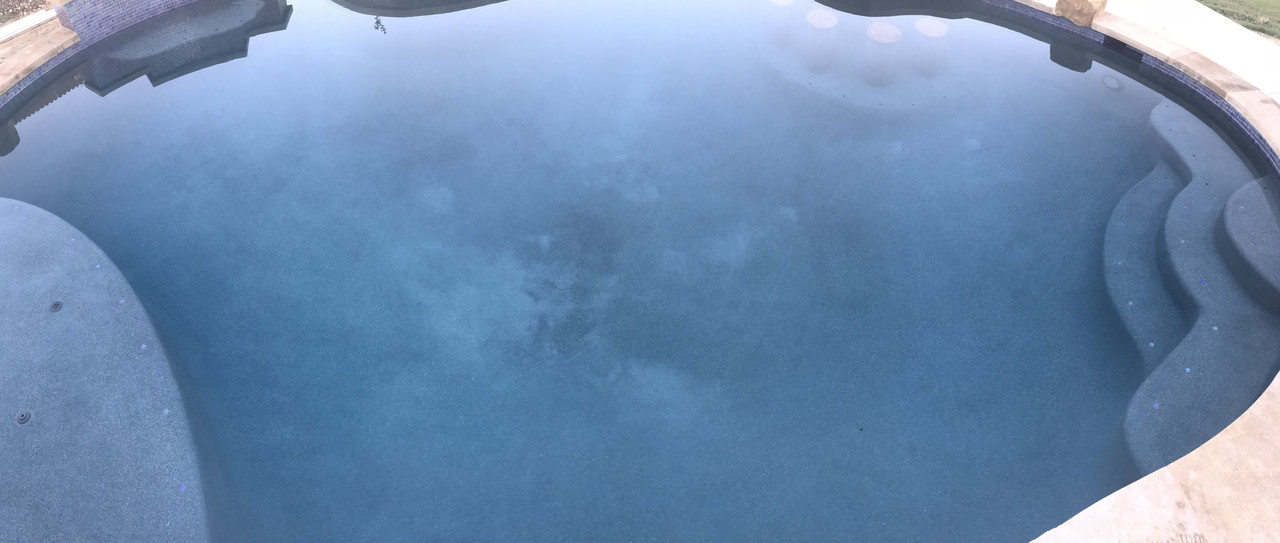
Features on a budget - IG build in Central Texas

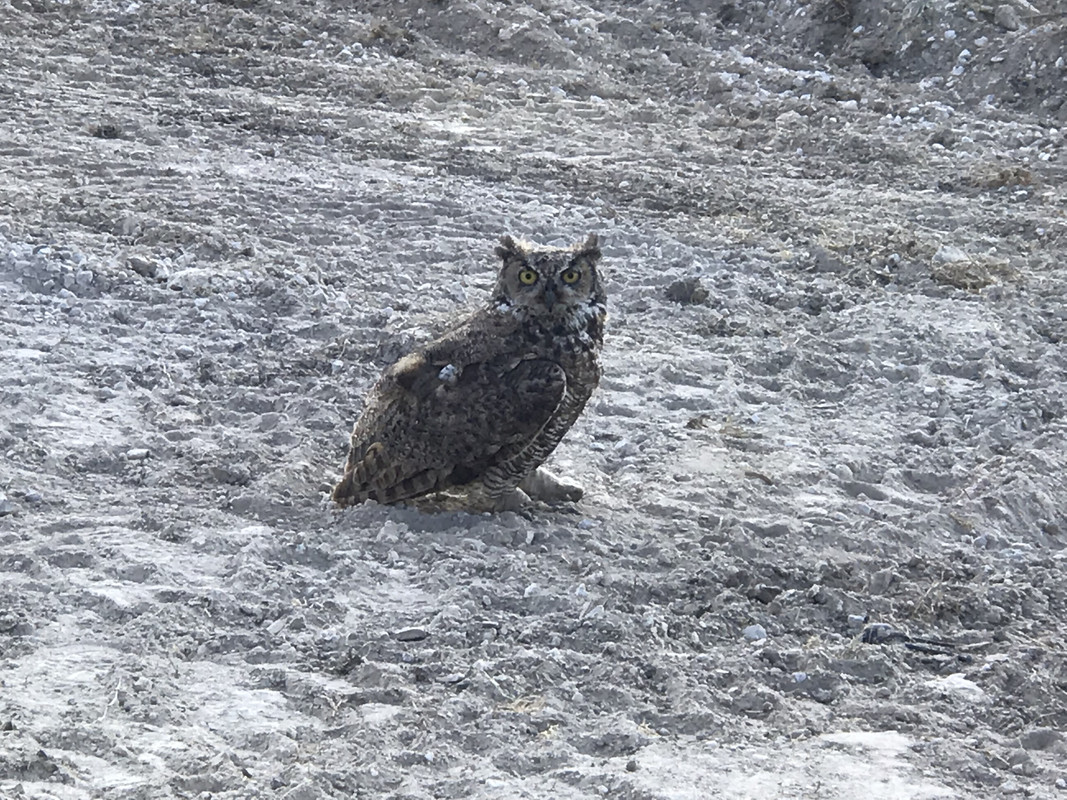
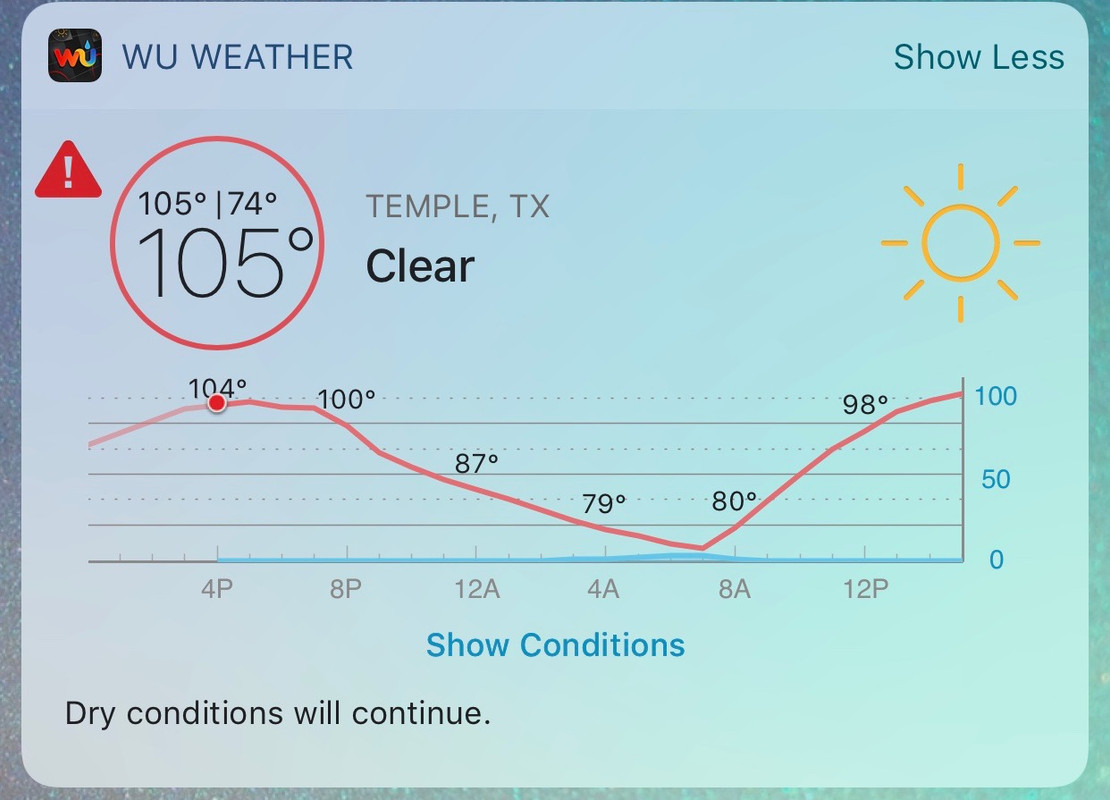
Unrelated pic for yesterday...We are in a heat-wave that is nearing record highs so the chance of grass fires is up and only compounded by the lack of rain we have had the past couple of weeks:


These were taken from my roof shooting across my backyard. Happened right next to a subdivision across the road from mine and they were forced to evacuate:


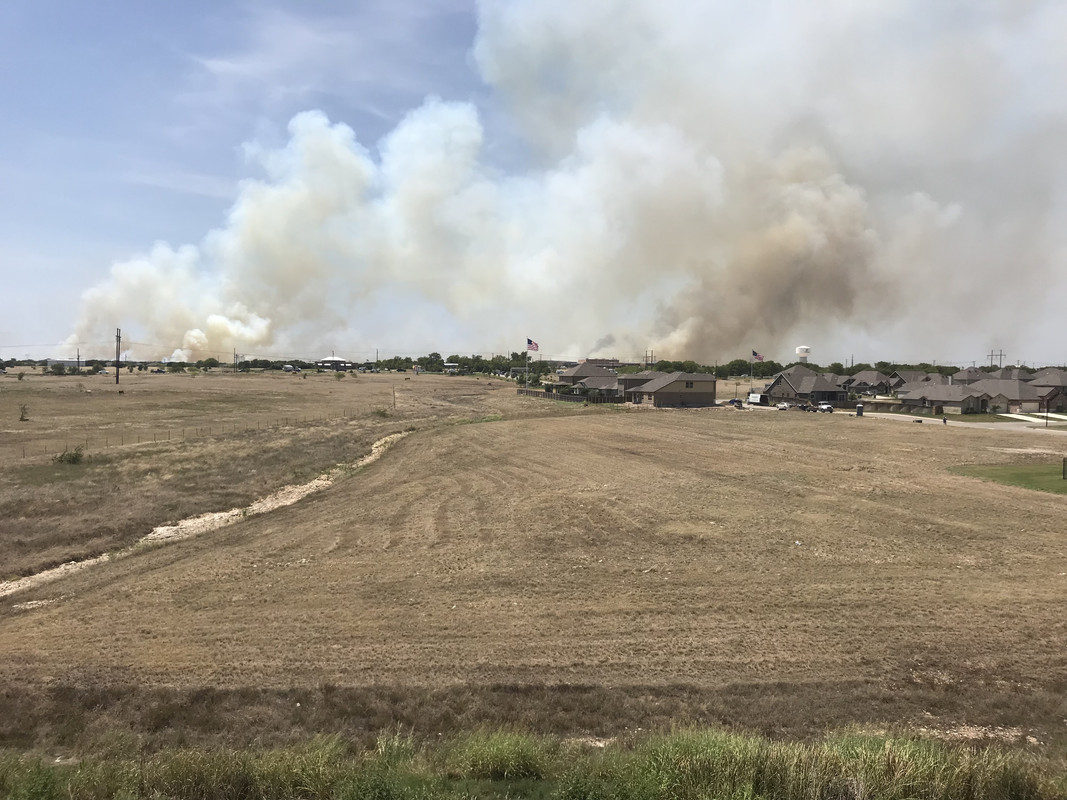
Thankfully the local fire departments worked together to get it contained before it spread too much more, but still eye opening as there is nothing but dry field grass behind me :(
 
How scary! Glad they were able to get it out fast. I would think about going out there and mowing that dry grass way down making sure to have the cut stuff going away from your yard. THEN put in a dirt trench for extra safety.

Your steel is DONE! Good job on checking the size. That is just want I was going to tell you to do-measure and check. NOW is the time to tweak or fix as needed/wanted. Now they may try to tell you the extra size will be added with the gunite. I have seen where them make the whole set of steps with out steel. Me? I like the idea of steel being there but that is just my gut without anything to back it up so...........

Do everything in your power to be there when they shoot the shell so you can keep a close eye on it. Get it like YOU want it. There might be questions, concerns, ideas when they are doing the work. Best YOU are there to make it like YOU want.

Kim:kim:
 
Needless to say it has been an interesting, and at times trying, week and a half since my last update. Good news is, as of this past Monday, we finally have a concrete pool...bad news is there were some professional dealings I would rather not have had to get to this point. Hopefully that has all been worked out though and we will be smooth sailing for these final couple weeks. Here are some pics to get us up to speed:

Prep for shoot, pump truck, and first concrete arrives at 0930


Guys start shooting the shotcrete:


Despite the rebar being off, he did an awesome job on the cake steps with benches!


Working on the raised beam for the 2' sheer and bench underneath:


Prepping and shooting the bar stools:


Shot of the almost finished shoot...ran out before they finished the ledge so had to call in one more truck real quick:


Builder put a soaker hose around the perimeter to keep it wet during the 5-7 day cure period...works surprisingly well:
 
How did this turn out? I'm considering the same builder.

Sorry about responding to your question so late. I just happened to pop in as I'm getting ready to update this thread as I try to start phase II. I'm going to assume you already decided on a builder since it has been close to 4 months, but just incase you haven't or others in our area are reading this thread...

At the end of the day, I am fairly happy with the finished product. With that said, would I recommend them? Either I am highly anal/OCD or just not very lucky with contractors, but it seems I have to constantly oversee what is going on in order to get the quality product I expect and paid for. Both of those could be very true, so unless that mirrors your personality traits, or you just aren't that picky, then they may work out for you. I will caveat that by saying, the founder of the company retired as my pool started physical construction. I got to speak with him on a couple of occasions at the design phase along with my design consultant, John Hirrill, and I had good experiences with both of them. The son now runs the show and I didn't feel the same standards were passed down. I was a little more forgiving on certain things, but if you ask my wife then she told me on a couple of occasions to break-ties.

There were only a couple other companies that were on the short list out of the six or so that I reached out to and I chose OQPLA based on Mr. Akins and his reputation in my local pool industry. If you haven't already, reach out to others that have pools installed lately and see if they have the same things to say. I wouldn't trust old reviews as again, the regime has changed. Best of luck though!
 
  • Like
Reactions: foo.c
After letting the concrete set for a couple days, they came back out to apply some concrete sealer to the horizontal surfaces of the pool and the top of the bond beam:


We still had a few more days for the concrete to cure, so in the meantime the electrician and plumber came back out to finish up some last minute items before filling in the trenches:


I also made sure to finish up my 3" drain line that I hooked up to the skimmer overflows and one downspout from my gutter.

Surprisingly, before covering up the trenches and cleaning up, they had the coping crew come out to get started. We originally picked out the Oklahoma stone and requested that they get pieces that didn't have a lot of red tone...well as you can see from the pictures that didn't happen.


Silver lining though, is the mason was on the ball and suggested another stone that he thought would go better with our taste and level of "polish", as he put it. Pictures of that to come...in the meantime another shot of us being blessed by nature in our backyard (almost looks like it's sitting in freshly fallen snow):
 

Enjoying this content?

Support TFP with a donation.

Give Support
We were finally able to take off the soaker hose, they came and pumped out the excess water, and the dirt crew came back out to cover up the trenches and level out the surrounding yard from all of the equipment moving around back there:


The mason now had a clean workspace and the new stone came in so he got back to work. This "Chocolate" Leuder was so easy for him to cut and work with that I don't have very many progress shots, not to mention the stone looks 100x better when it's not covered in dust, so I will post just this one:

You can also see that the tile setter laid the scratch coat for the upcoming waterline tile:

And a nice shot of a scrap piece of tile on top of a clean and wet section of the coping. We love the way the wet look brings out all of the character of the stone. I'll have to find some wet-look sealer to apply:


And almost a month after we broke ground we have finished shots of the coping and tile and ready for plaster!:


I will say after a nice clean edge is in place with the coping, I'm really not impressed with how they left the exposed face of the raised bond beam. You can clearly see the form boards and just how uneven some of the thicknesses got around the backside of the stepped waterfall:

 
While waiting on the plaster date, the decking crew came out to get started laying out the forms:


And a couple days later we had more concrete:


To help give it a more finished look and keep little feet from being scorched on hot concrete, they will come back with a texture and paint that keeps the surface cool.

In the meantime, I had some irrigation lines to lay so I could get the back of my house tied into the front again and my grass watered after my temporary garden hose solution finally "bit the bullet" in the Texas sun:

Fought with this guy for several hours...for scale, the tree behind it is planted in a wine barrel. Luckly, the dirt crew left their Bobcat over the weekend so when they came it get it they were also kind enough to lift this rock and haul it away:
 
Five "agonizing" days later :):


Found this spot creep up while a tiny puddle dried:

Luckily, it came out when they came back to acid rinse and power wash:


With fill-up time right around the corner I decided to test the water that would go into it:

Looks around 2 on the Chlorine and 7.3 on the pH...very surprising as those levels are very swimmable.

Needless to say before they even left a hose was in the pool filling it up! Another trick from them that I hadn't seen or heard of on the forums was slide the hose end through the handle of an old MA container. Worked well to keep the metal off the plaster:


I love the abalone shell they added, it really catches your eye when the sun hits it...should have asked for extra :p


*Side note--this picture also shows where they got a little happy with the power washer and blew out the grout between the tile :cautious:
 
Last edited:
Before the gratuitous shots of the completed pool...the final layer of the decking was finished a couple days later.
Before:

After:


And without further adieu...Almost 5 months after the wife suggested we get a pool:


Night Shots:


Thank you TFP for giving me the methods to get and keep my pool this clear!
 
After a short 2-month swim season this is all the stuff I regularly came across:
Standard Boatmen and Back-swimmers:

Scorpions seem to love the pool as much as we do...found 1-2 every week:

Giant Water Bug (almost 3" long!):


Not sure what these little worm looking things are, but hopefully they aren't indicative of a problem. Find them in clusters on the surface:


I really need to get my robotic vacuum before next swim season. This was at the end of December 2018 - four months of operating and manually vacuuming:

 
OH JEFF!!! That came out SO good! Sounds like it was a hard fight to get what you wanted and how it should be done though. If only people had pride in their jobs :roll: Did they fix the grout before you signed off on the pool?

Okay I have a place you can really show off your pool! We have a thread going to showcase plaster colors. Yours is SO pretty you just have to share it there. Share pics looking down at the steps to show the different depths changes the color and another one looking down at the deep end. Of course make sure to post of my MY BLING tile! LOL Include the make of the plaster with what color it is and any extras you had added.
Pool Finish and Color Viewing Room...TFP Member Sound Off

Kim:kim:
 
Now on to phase II! Bar patio and fire pit patios with TV/Projector screen arbor and circular/cantilevered pergolas


Using these for motivation:
Circular Pergola around fire pit seating:


Arbor/Pergola for Bar patio:


OH JEFF!!! That came out SO good! Sounds like it was a hard fight to get what you wanted and how it should be done though. If only people had pride in their jobs :roll: Did they fix the grout before you signed off on the pool?
Kim:kim:

Thank you Kim! Funny thing about that picture that I took of the tile and missing grout was I lined up the shot to get the best view of the colors from the sun...didn't even realize the missing grout while doing it because I was fixated on the tile o_O. Finally noticed it after the pool was already filled, so they said they would come back out after swim season and the pool level dropped low enough to take care of it. Just this past week was the first time it dropped below the tile line since we filled the pool the very first time! So I have them coming out to take care of that before we start swimming as well as a couple other items. One being some unevenness in the color of the bottom of the pool, probably from one of the steps done after the plaster was applied...am I just being anal again or should this be fixed:

They claim it can be done with spot applying MA, but there is a fairly large portion with both light and dark spots. Wondering if I should just leave it alone instead of risking it coming out worse. You can only see it on overcast or early morning, as once the sun comes over the top of the house it's no longer visible. The wife thinks it kind of makes it look like a shot those space telescopes get of distant galaxies...thats a nice thought if I could get past the blotchiness :laughblue:
 

Enjoying this content?

Support TFP with a donation.

Give Support
Thread Status
Hello , This thread has been inactive for over 60 days. New postings here are unlikely to be seen or responded to by other members. For better visibility, consider Starting A New Thread.