2 years of planning and it’s finally DONE in Tampa!

May 2, 2017
258
Tampa, FL
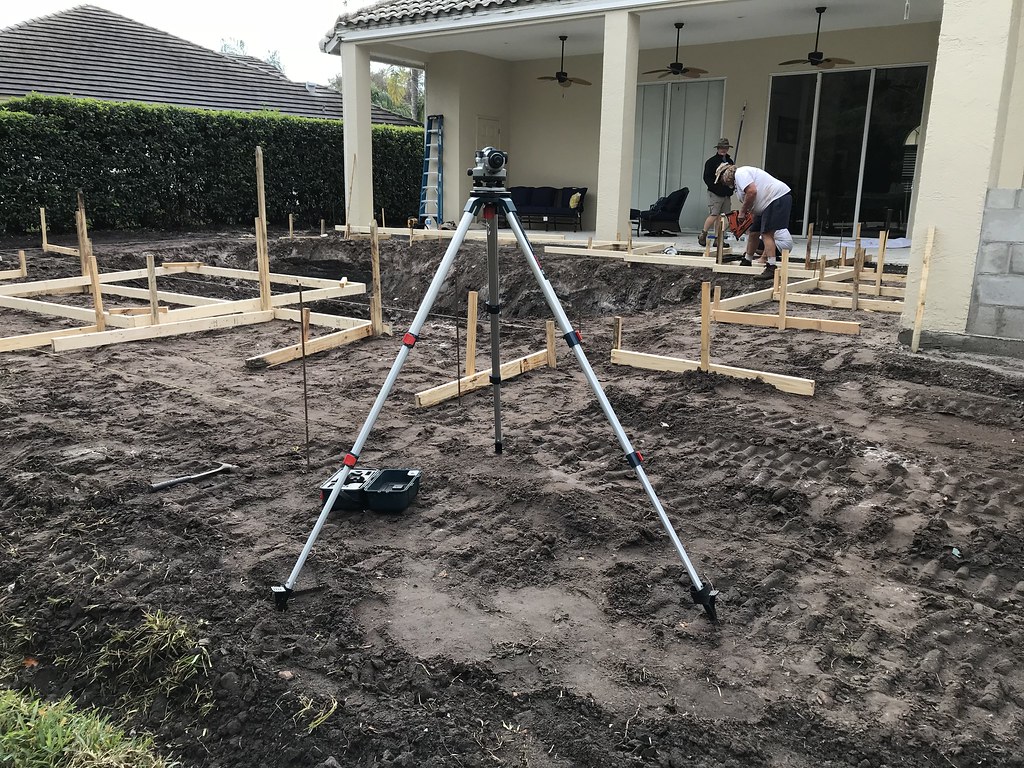
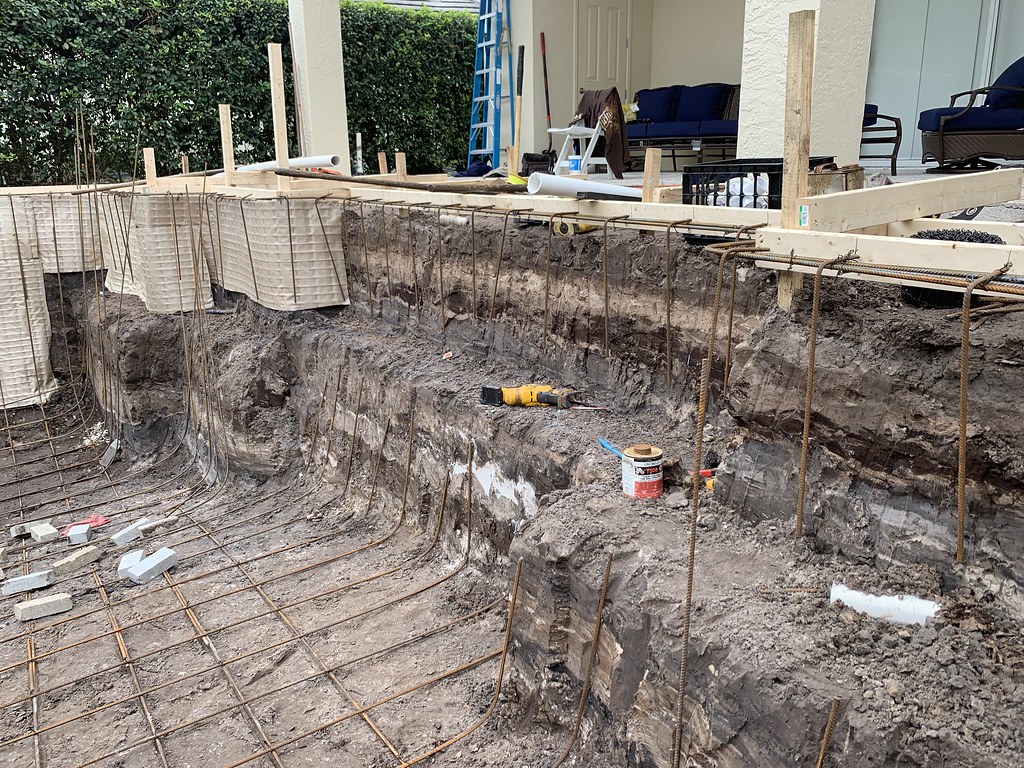
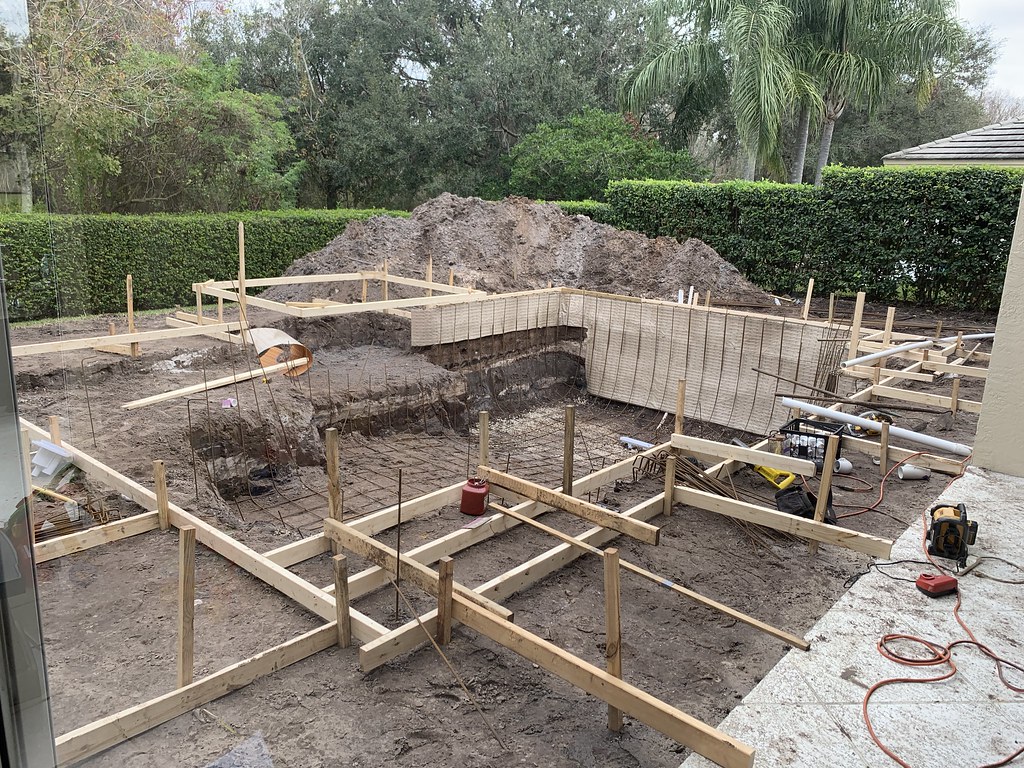
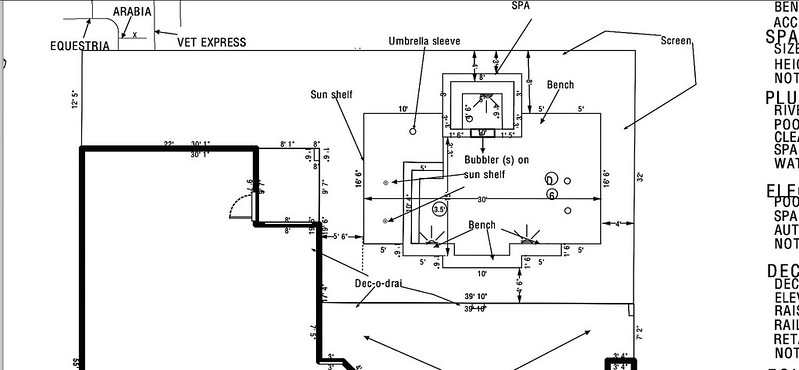
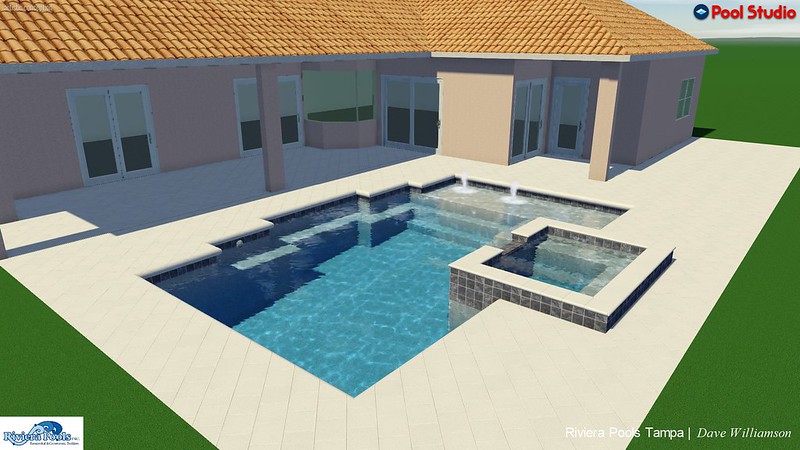
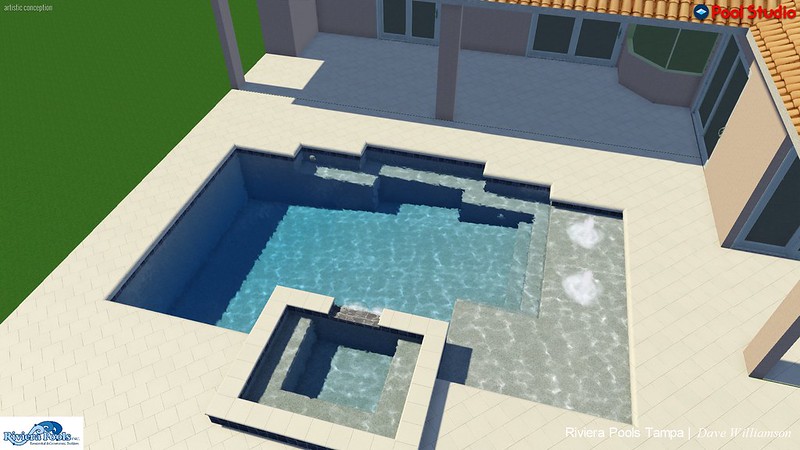
2 years of planning, numerous changes, budgets that seemingly don't exist, and a hard start date of January 2019 have finally come to fruition. We found a pool in a model home a few years ago that we fell in love with. Taking the general pool (seen in the first pic) we made it our own and made it a wee bit bigger. Add in a few features, remove an existing pool, and voila! 30k over budget before we even started! Anyway..... on to the pics.

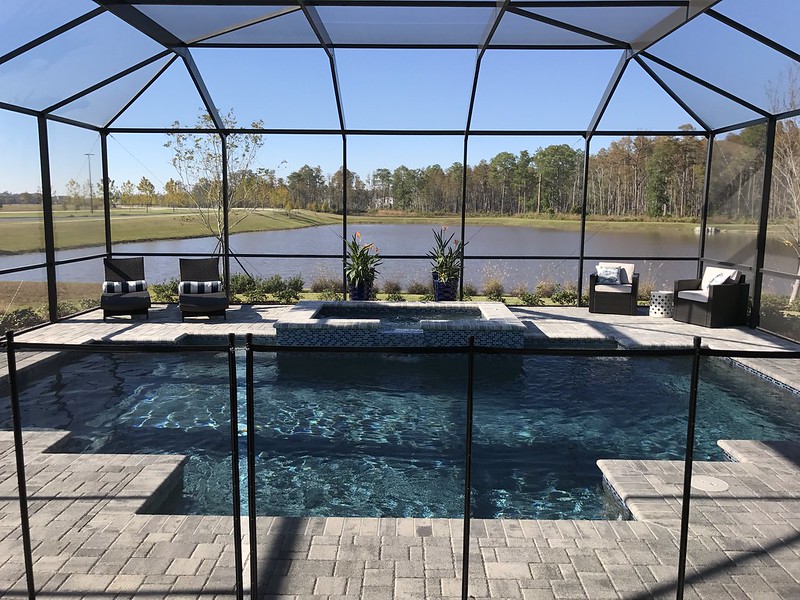
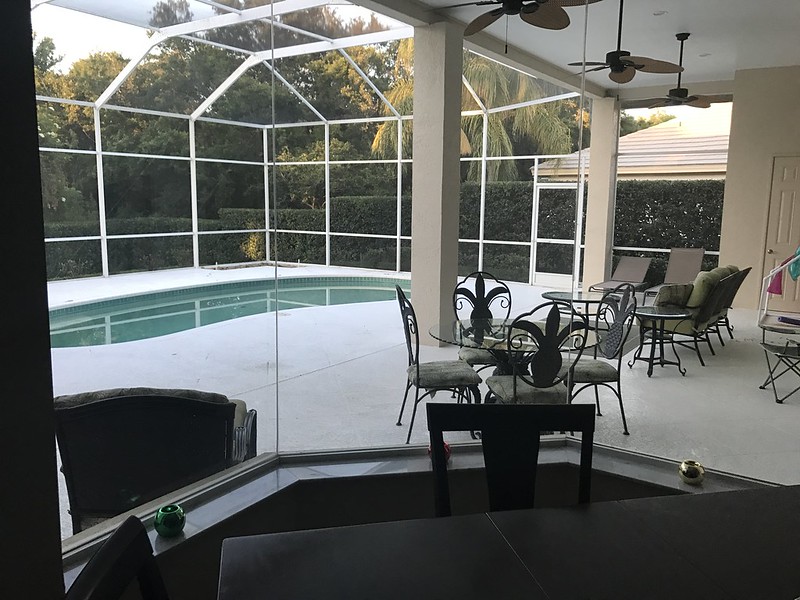
We have an existing kidney shaped pool that was installed by the home builder in 1996. Needless to say, it was bare bones. Initially, we were going to just add a sun-shelf to the existing pool and change the tile and re-finish it, but after talking to two pool builders, both said that the issues we would encounter likely would make it not very cost effective for just adding a sunshelf. The pool was supposed to be a 5 year project but after having a baby who LOVES the water, we decided to fast forward the project. Working extra to put away money and spending years on this forum being a lurker has put us in a position to make it happen. It also helps having your father working as the subcontractor. All of our subs are lined up and ready to go.

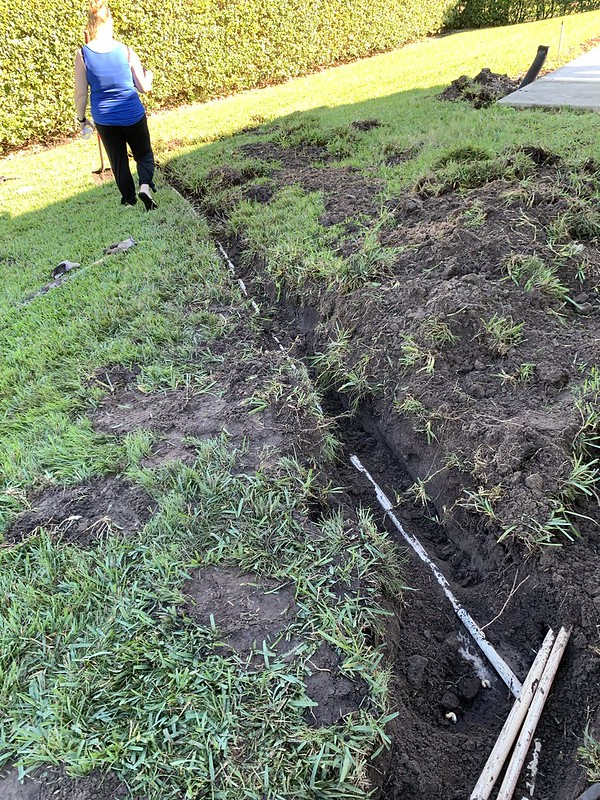
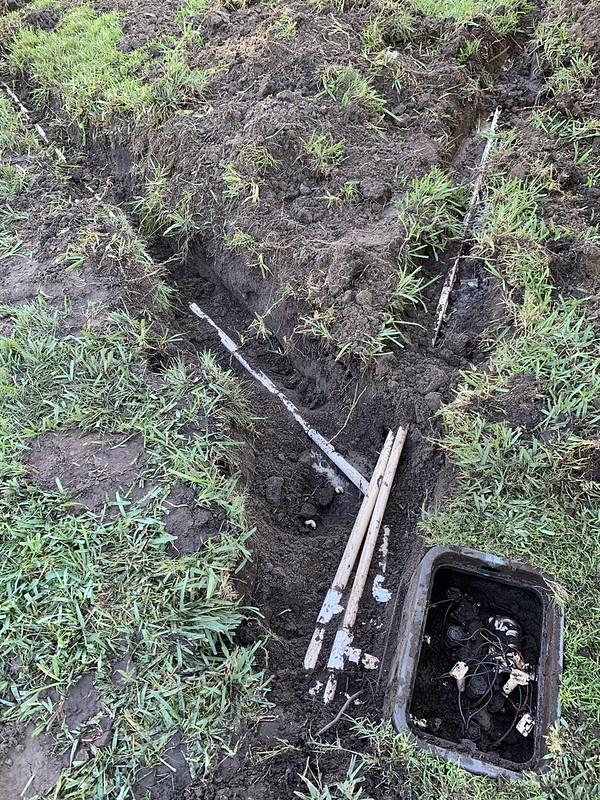
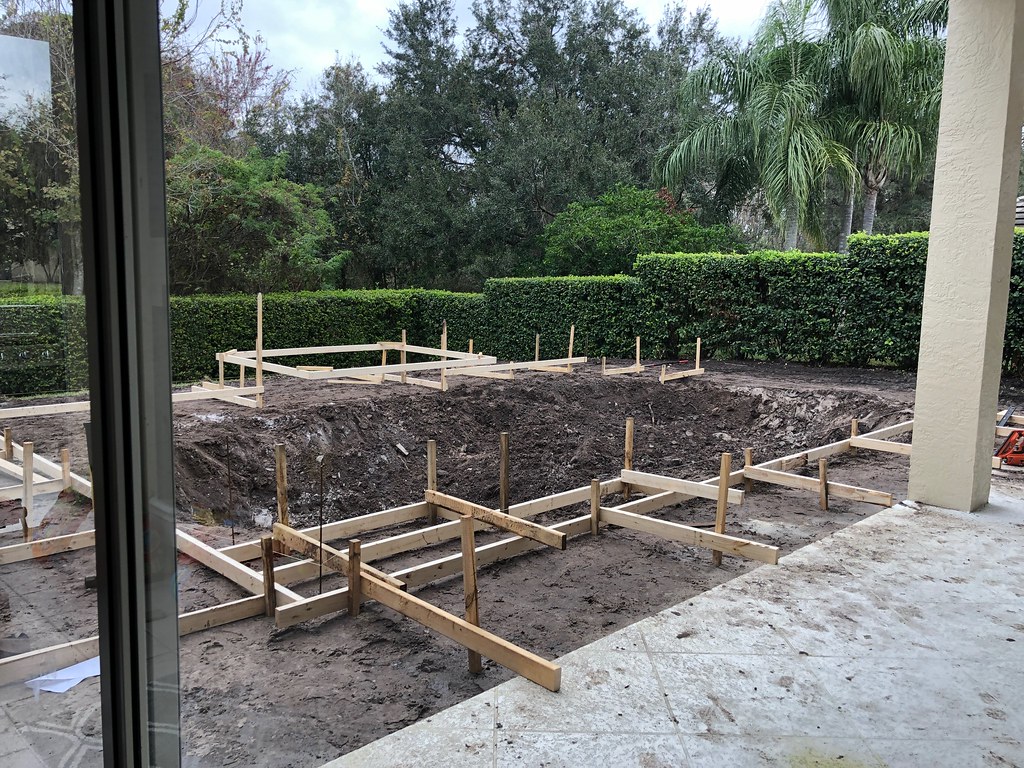
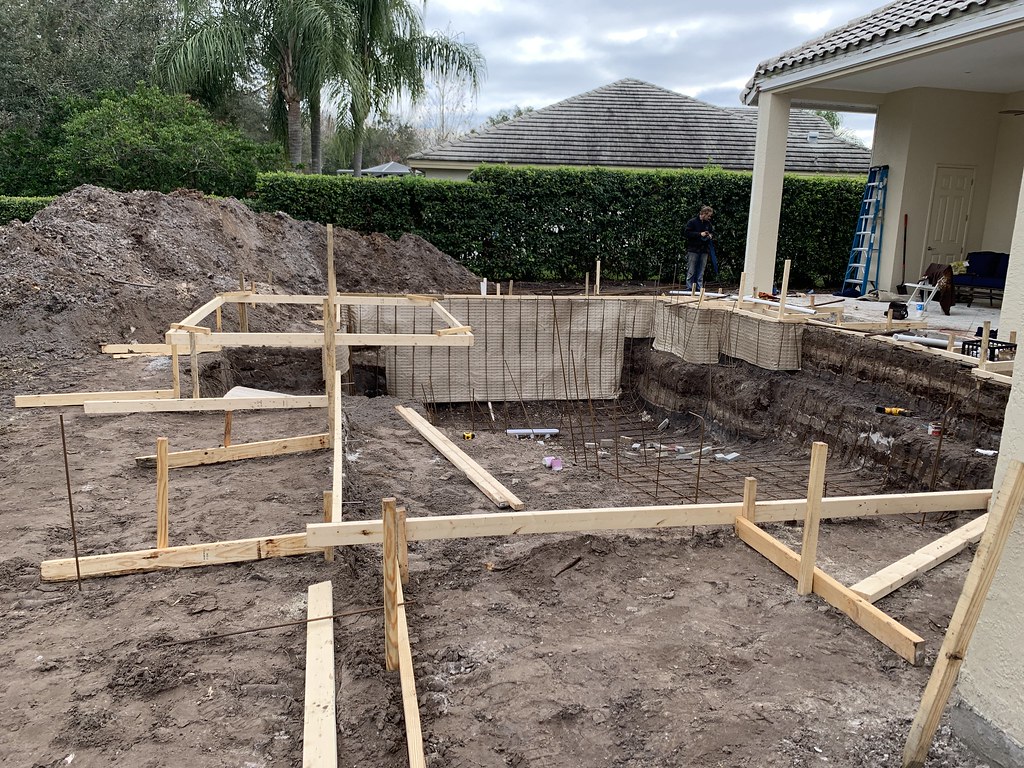
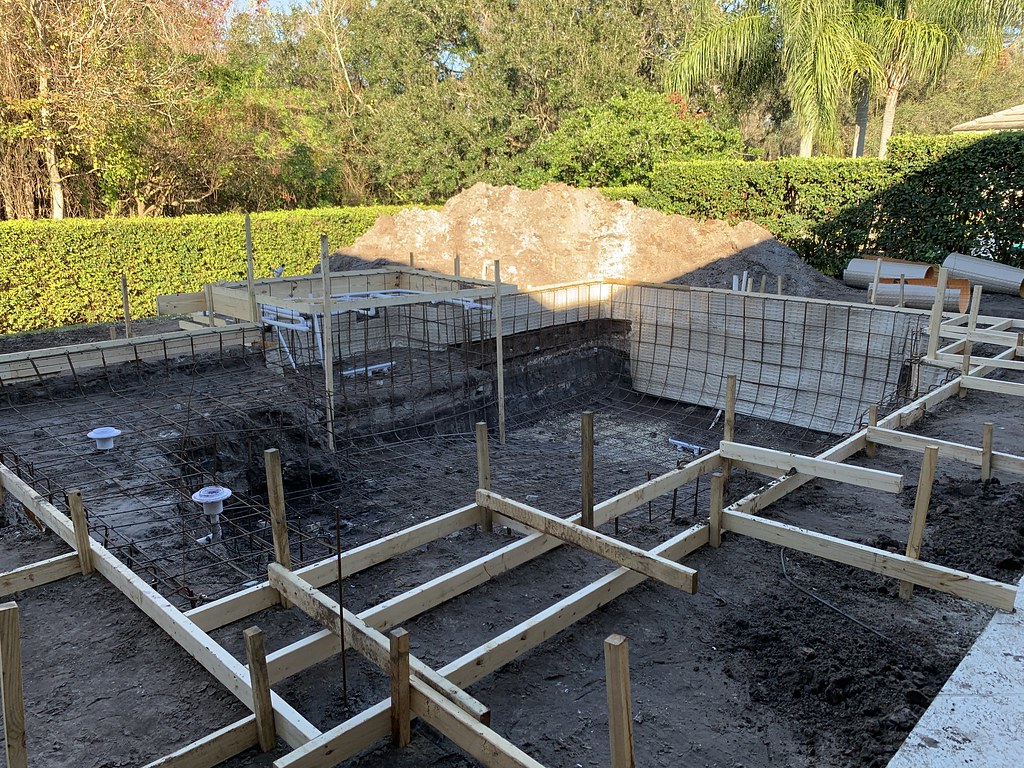
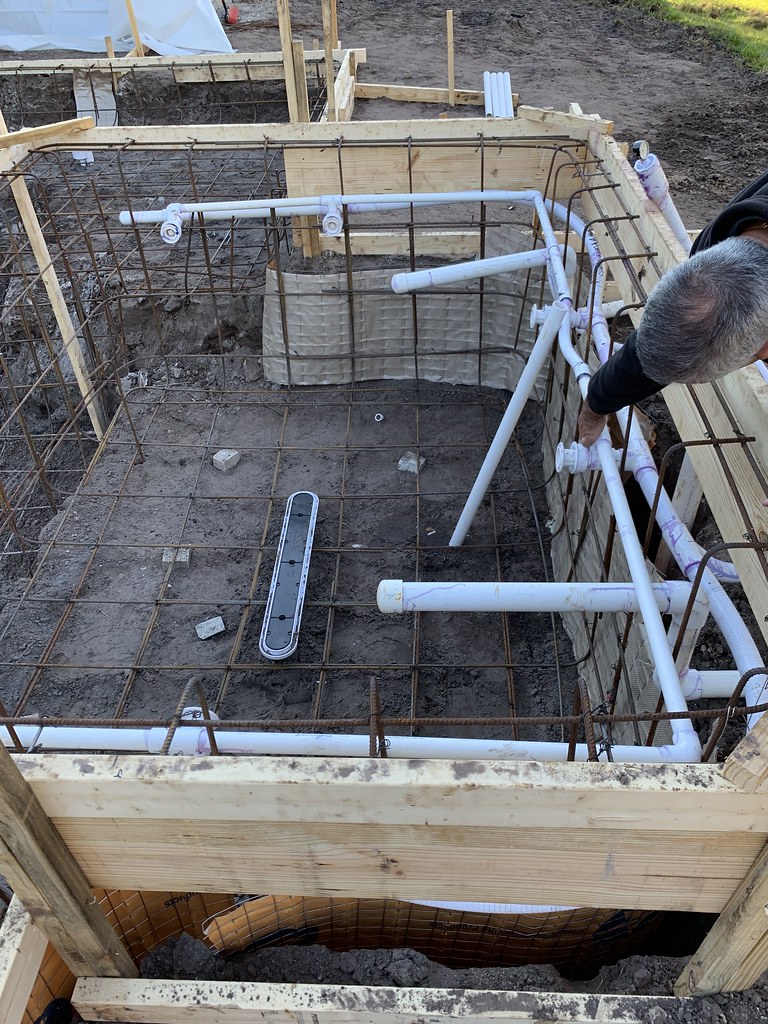
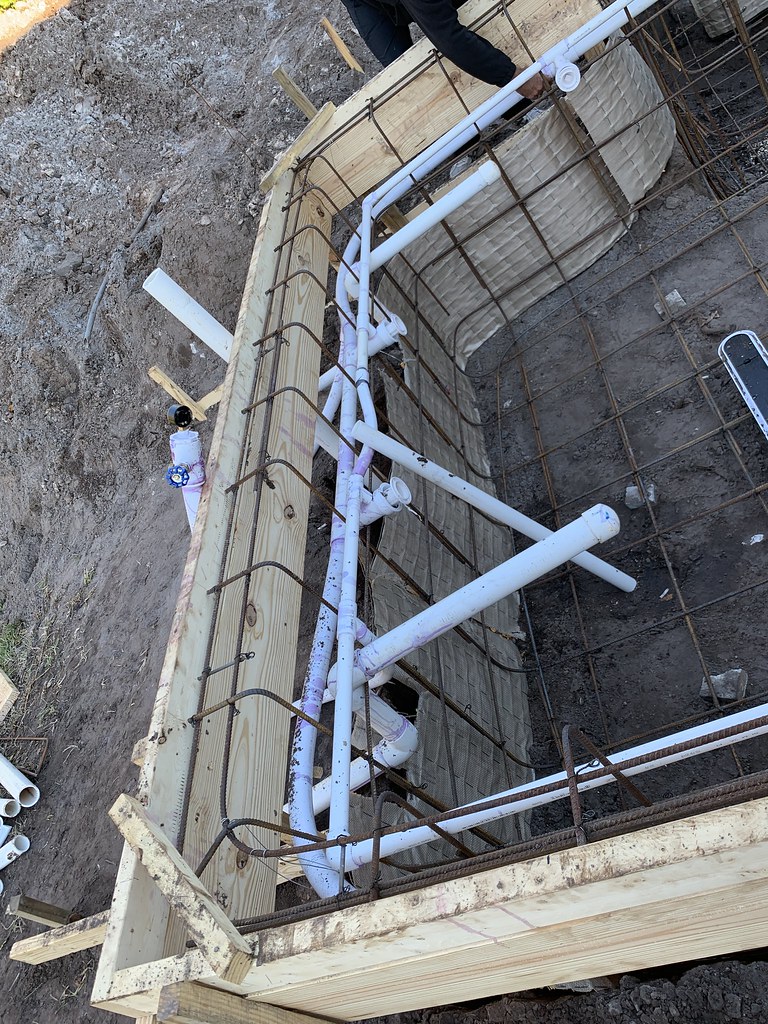
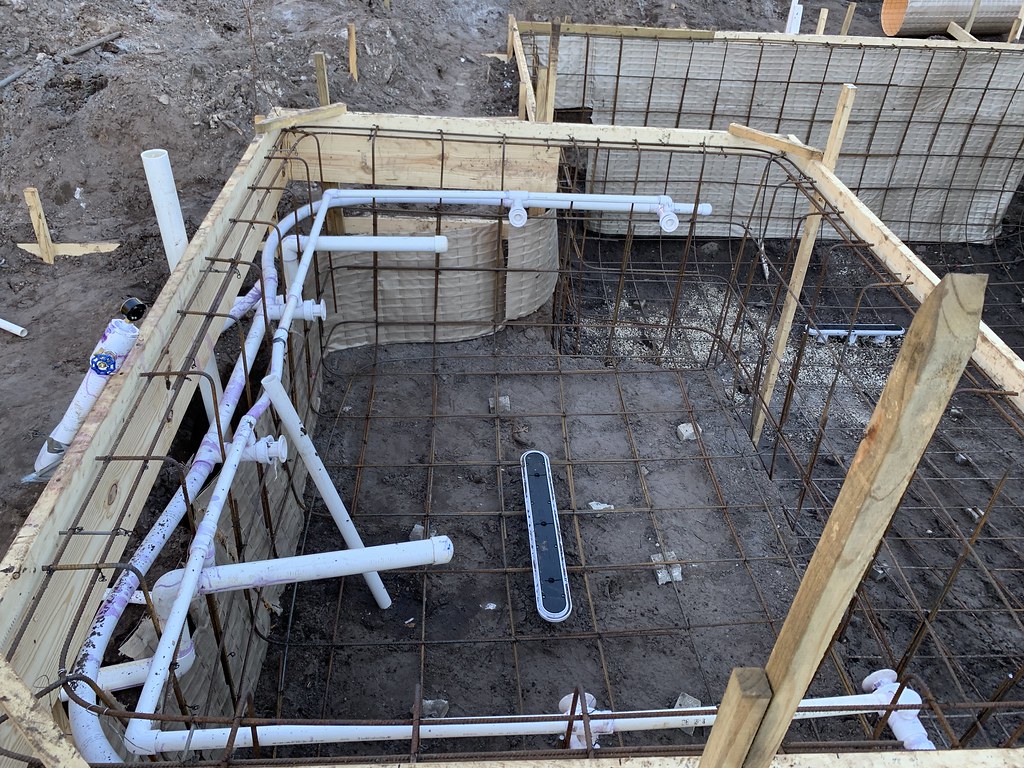
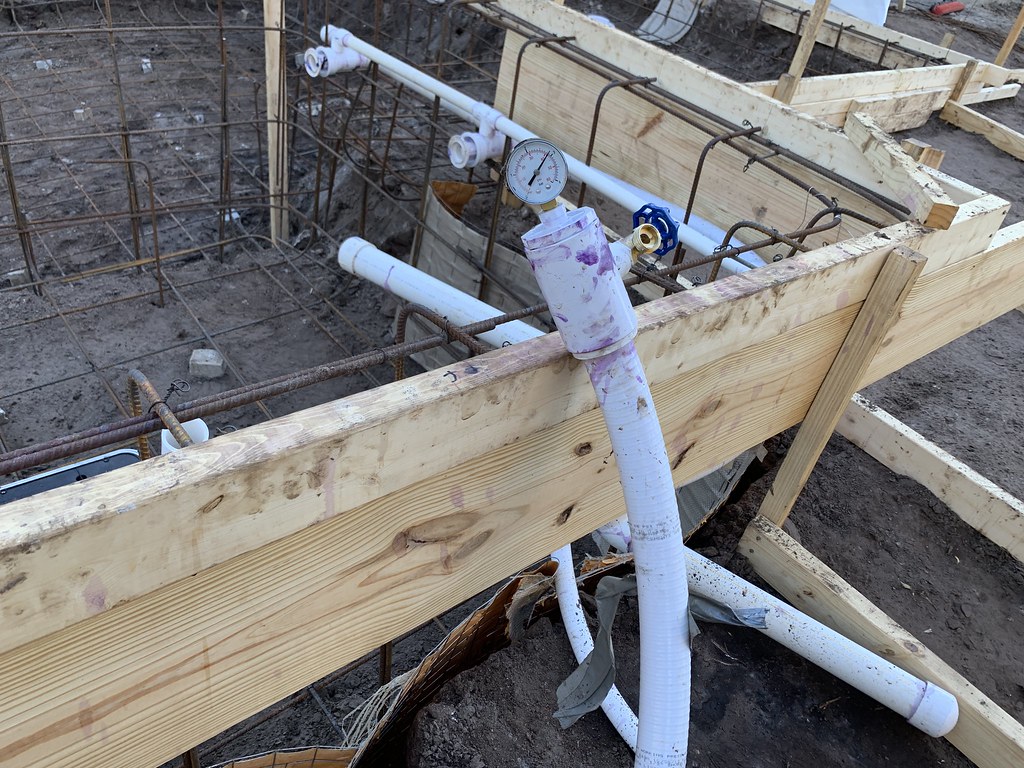
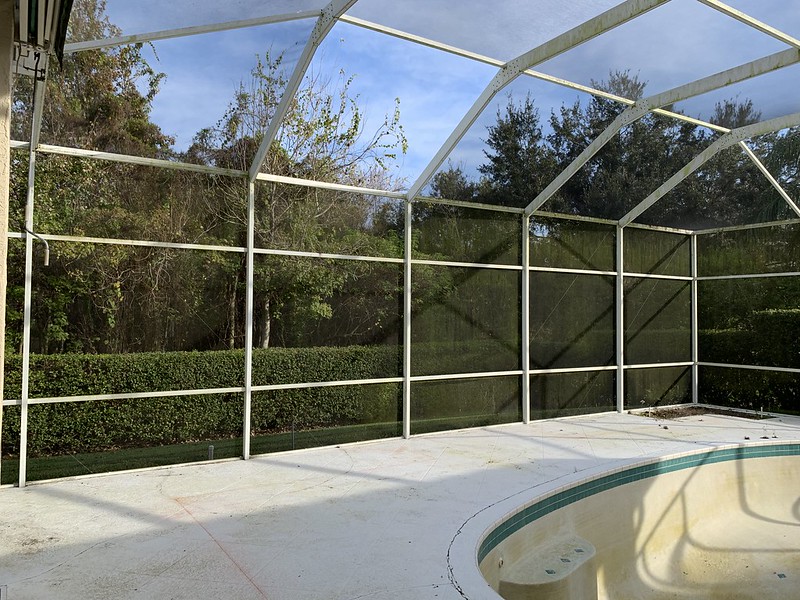
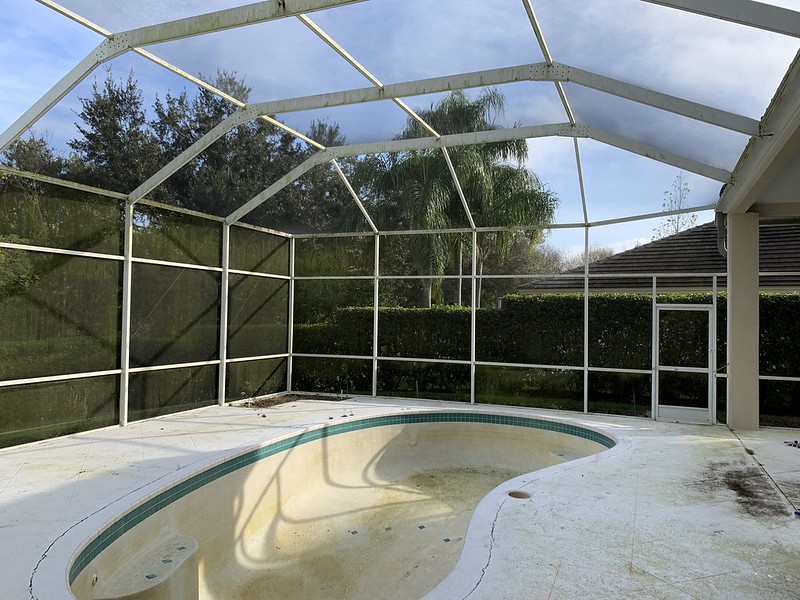
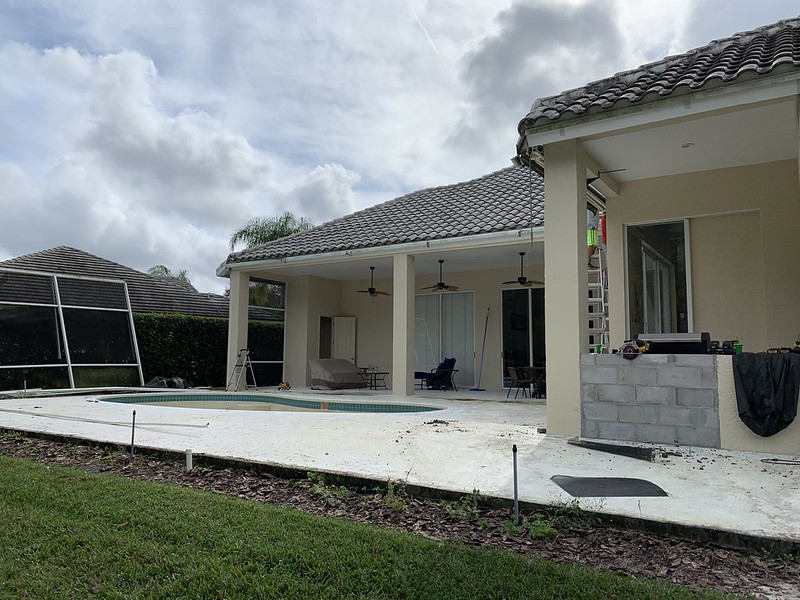
Pool was drained at the end of December and the existing screen enclosure was scrapped on January 3rd, since a new bronze enclosure will replace it.

All of the pool equipment was already purchased and the travertine decking will be delivered on January 16.

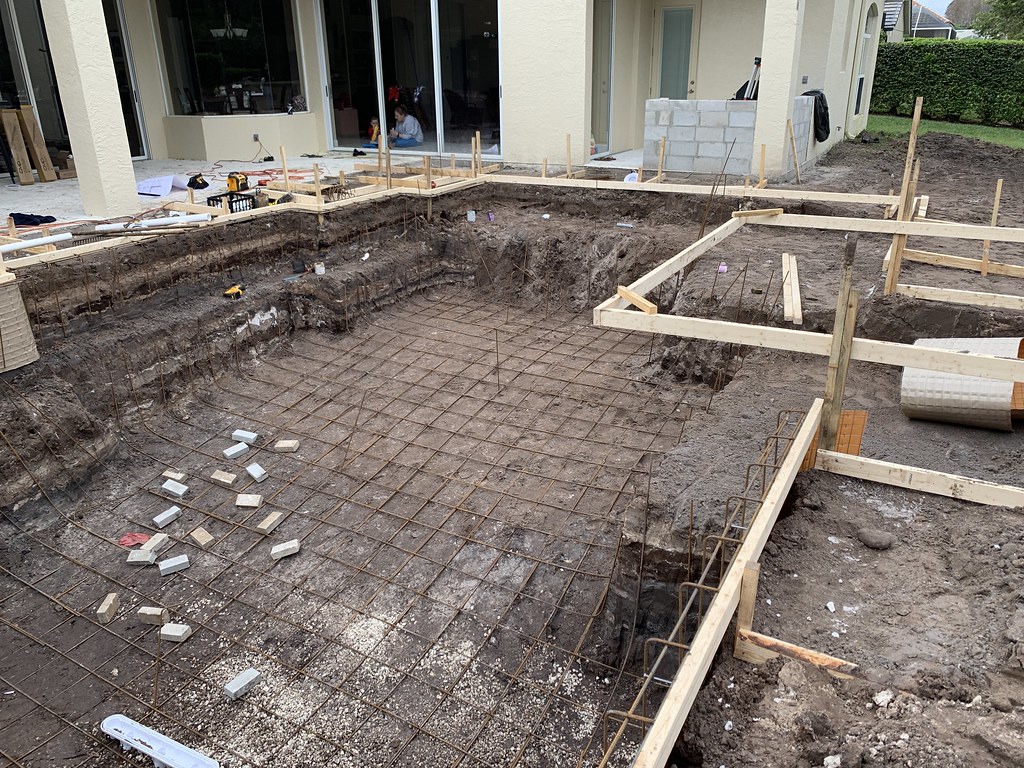
Specs: 105 foot perimeter, 558sq feet, approximately 12,000 gallons.

One Pentair Intelliflo VS pump
Hayward AQR15 SWG
One Sta-Rite 400kbtu LP heater
48sq ft pentair DE filter
2 LED bubblers
5 Microbright LEDs (thanks BDavis)

Untitled by T V, on Flickr

Untitled by T V, on Flickr

Untitled by T V, on Flickr

Untitled by T V, on Flickr

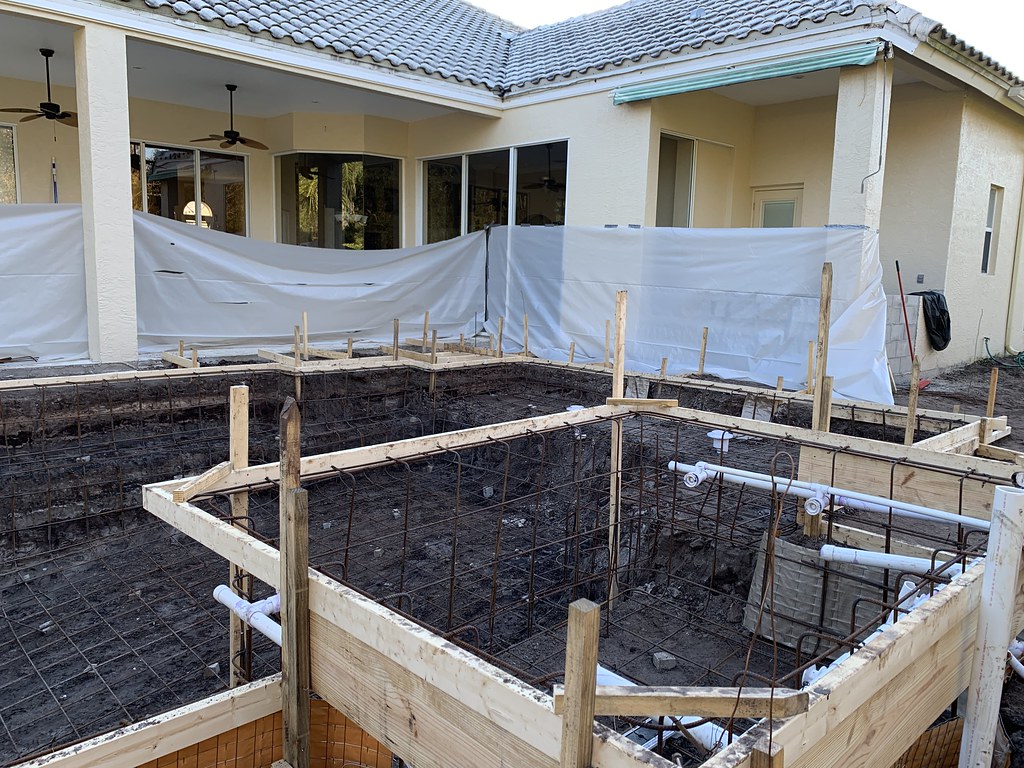
How it originally looked.....
Untitled by T V, on Flickr

Untitled by T V, on Flickr

Untitled by T V, on Flickr

Untitled by T V, on Flickr

Untitled by T V, on Flickr

Untitled by T V, on Flickr

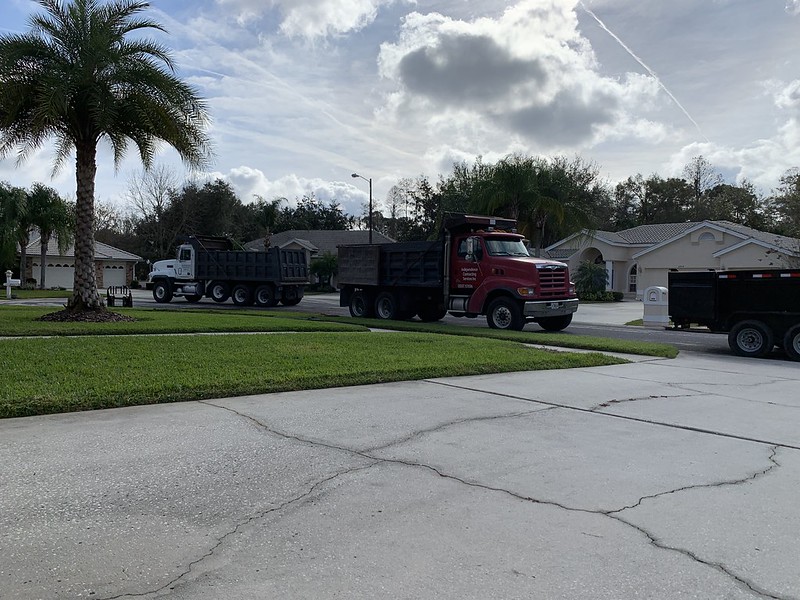
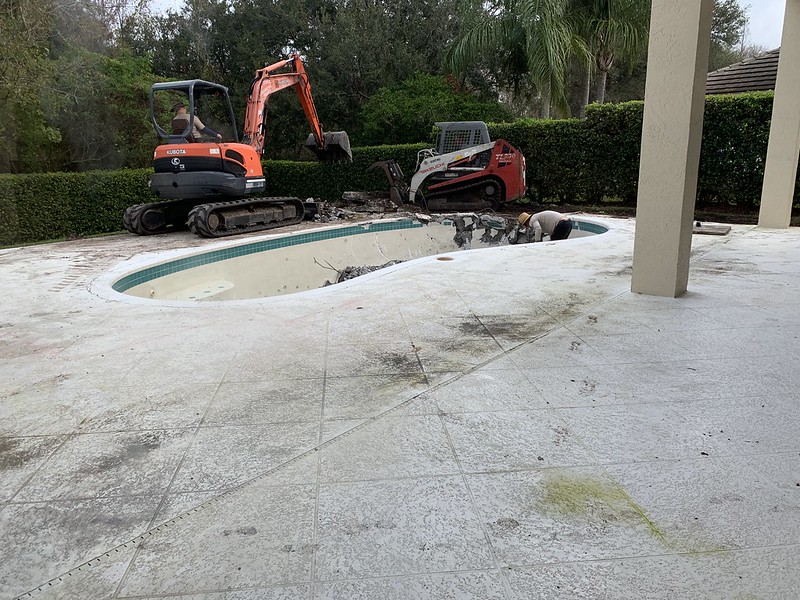
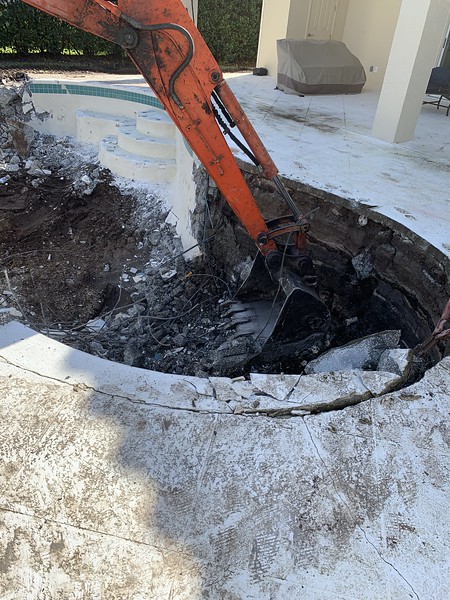
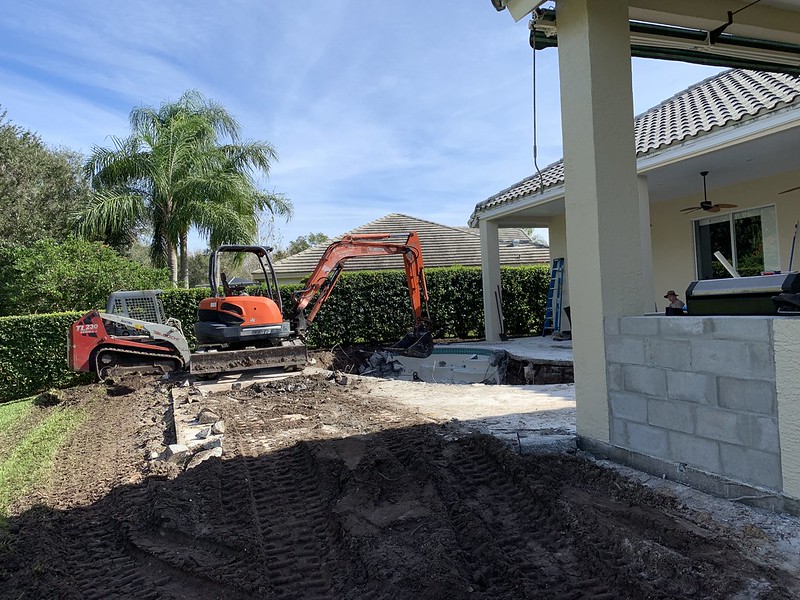
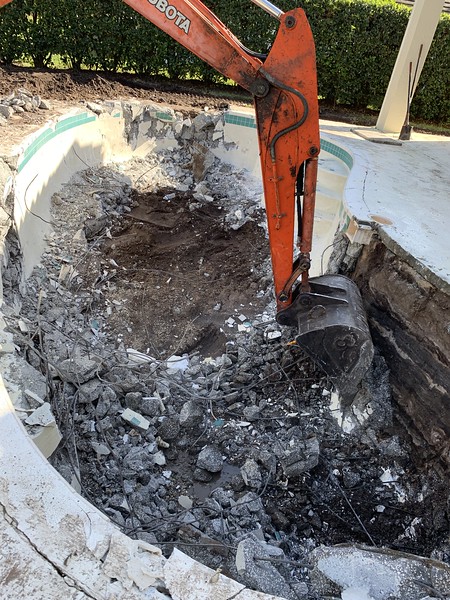
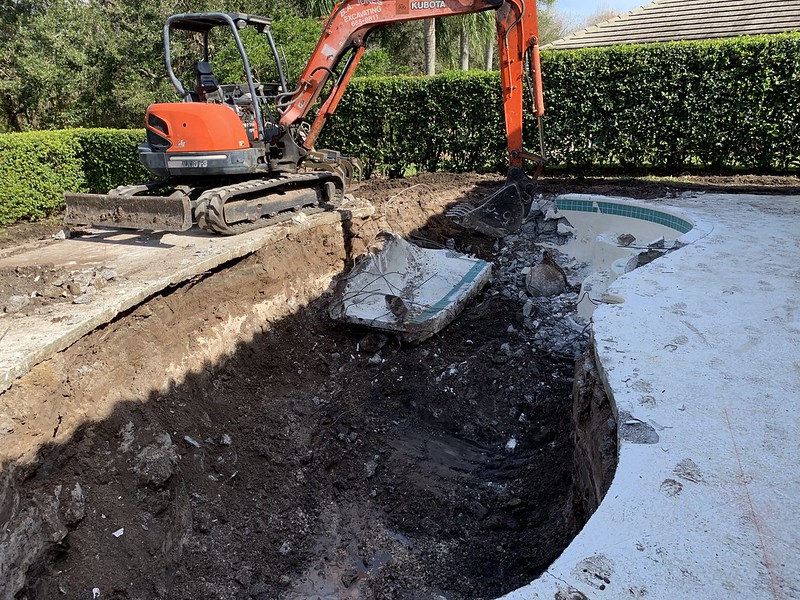
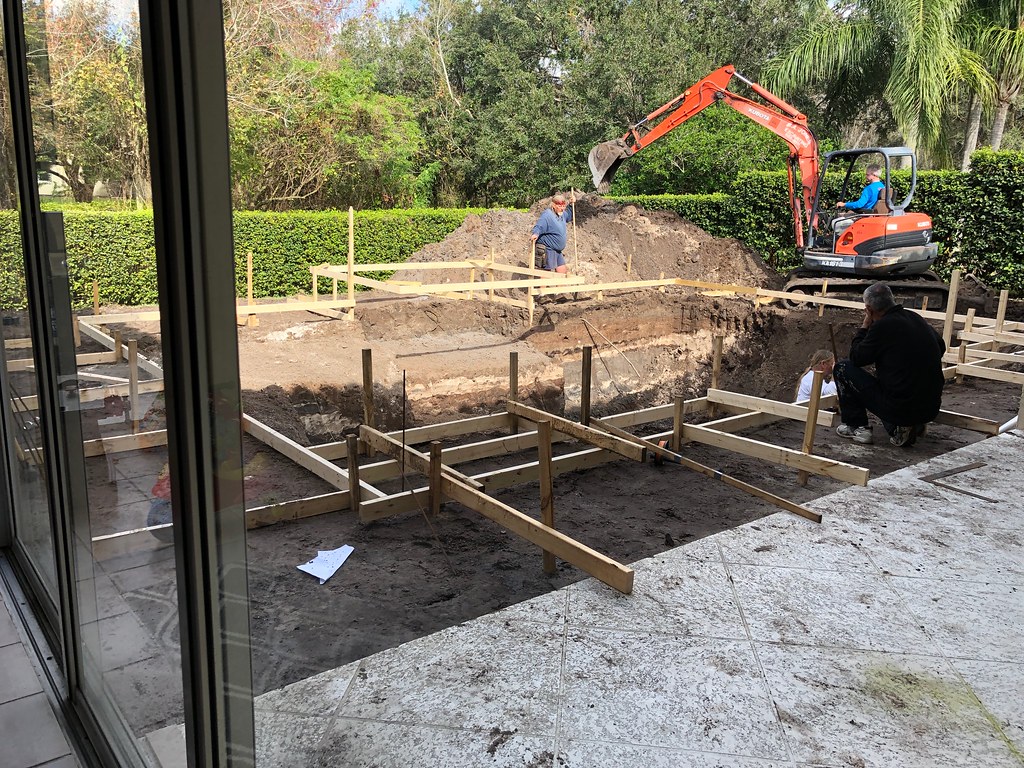
Demolition of concrete patio and existing pool will take place on Wednesday, January 9th. Pics will be a' plenty.
 
Last edited:
This morning and early afternoon was spent digging up existing irrigation line that will need to be re-routed due to the new deck. Feed lines were identified and different zones were cut and capped off and will be re-installed in new locations after the footer is installed. Of course, there are two separate control boxes, each controls half of the property. We think we did a decent job identifying which line runs to each zone, but its the main feed into the box below that has us wondering how it feeds the box. It really wont be a big deal since all we are doing is cutting a middle portion of the feed line out and re-installing it to the existing valve in the box.

Untitled by T V, on Flickr

Untitled by T V, on Flickr

Untitled by T V, on Flickr
 
Well we went from a back yard to a dirt yard in a matter of about 8 hours! They started around 8am with the wrecking ball and finished up around 5:30pm with everything done. Pool layout and dig will be the end of this week/beginning of next and our GOAL is to have shotcrete done by next Friday, though it may be a few days past that. I spent almost the entire day outside with them. It was absolutely fascinating to watch them. The existing pool was shotcrete and was built pretty well. Every swing of the wrecking ball and i was afraid things would fall off of the walls in the house. Our little guy was fascinated by all of it as well! All in all, it was 4 dump trucks full of debris that was removed.

Untitled by T V, on Flickr

Untitled by T V, on Flickr

Untitled by T V, on Flickr

Untitled by T V, on Flickr

Untitled by T V, on Flickr

Untitled by T V, on Flickr

Untitled by T V, on Flickr

Untitled by T V, on Flickr

Untitled by T V, on Flickr

Untitled by T V, on Flickr

Untitled by T V, on Flickr


The picture below is a video, click it and it will take you to flickr and play.

Untitled by T V, on Flickr

Untitled by T V, on Flickr

Untitled by T V, on Flickr
 
Welcome tampatommy, this is going to be a good one to watch. Here are some suggestions if I may.
1. Speaking from experience. Put in a double door on one of the sides. I only had one door and ended up putting in a double door and another single door on the opposite side. I should have listened to my wife
2. Plan on plumbing electrical and water for a future summer kitchen.
3. Plan on adding solar and heat pump in your equipment pad.
4. Make sure that you have a very large equipment pad, our equipment pad is 19 ft long x 9 ft wide.
5. Put lights at pool pad.
6. Put in water spigots in all 4 corners of the screen cage both inside and outside the screen cage.
7. Put in electrical outlets in all 4 corners of the screen cage both inside and outside the screen cage.
8. Go with a large outdoor space as possible. We have 1800sq ft of pavers and we wish we did a larger space. You will be quite surprised how much room tables chairs and lounges take up.
9. Run conduits for speaker wires if you plan on wired speakers.
10. Plan on positioning your pool so that you can watch TV comfortably when you are in it. I know that this may sound strange but we love watching TV, football games, NASCAR races and movies when we are relaxing in the pool.
11. Place pool light facing away from the house, we had ours facing towards the house and we notice some glare from it.
Look at the 3 links in my signature bar for ideas. Post lots of pics :cheers:
 

Enjoying this content?

Support TFP with a donation.

Give Support
Dig day was yesterday, unfortunately i was stuck at work and could not watch. Most of the steel work was finished today and will be done tomorrow. It was amazing that they were able to dig the pool the way they did when the old pool's shallow and deep end were opposite. We ended up doing a 3.5' to 6' depth.

The only hiccup we have run into so far is that the steel guy doing the spa says 4 jets and a single return are more than enough, but the plumbing sub said he suggests 2 jets on each of the 3 spa walls as well as 2 "overflows"- what he called them (spa returns, instead of just one due to a 4 foot wide spillway). They arent seeing eye to eye but i agree with adding jets to make it a little more symmetrical. Sounds like i will be picking up the parts in the morning for the steel guy to finish the spa as the inspection is scheduled for Wednesday and shotcrete is scheduled for Friday.

Pool plumber said 3 returns will be more than adequate for the pool because we have a screen enclosure as well as the no-see-um screen and there wont be any debris or leaves falling into the pool. I was always under the assumption that more returns is better, but thats above my level of comprehension so I will have to trust him on that one.

Here are pics from dig day and the first day of steel.

Untitled by T V, on Flickr

Untitled by T V, on Flickr

Untitled by T V, on Flickr

Untitled by T V, on Flickr

Untitled by T V, on Flickr

Untitled by T V, on Flickr

Untitled by T V, on Flickr

Untitled by T V, on Flickr

Untitled by T V, on Flickr

Untitled by T V, on Flickr
 
Question for you to compare notes. Who is roughing in the plumbing prior to the shell being shot? My plumbing guy said on a pool only (my case) the shell is shot and they just leave holes in the concrete for the plumbing to pass through after the fact. I ended up roughing them in myself one evening by taking 2.5' sections and pounding them into the dirt and tying it off to the steel and the shotcrete guys said they see it 50-50 either way. I figure with a spa the plumbing sub is more likely to get in there to do work prior to concrete.
 
The steel guy is putting the plumbing and electrical stubs in and the shotcrete crew will shoot around it and the plumber can dig and make the connections from the other side. We were told by the plumber that what typically happens is that a stubbed pipe is shoved through the shotcrete right after it is shot. I honestly do not care which is done as long as the pipes are perfectly straight. Ill let you know tomorrow or Friday.
 
Follow the plumbers lead as that is his area.

Make sure there are dubies under the steel. These are little "chairs" that goes under the steel to keep it off the dirt. This allows the gunite to get under and all around the steel.

Once they say they are done with the steel go out there with your plans and a tape measure. Add about 6" for the gunite and plaster. Is it long, wide, deep, etc enough? Thing about water depth that will end at the middle of the skimmer. NOW is the time to tweak or fix as needed.

Kim:kim:
 
Steel work was done today. Spa was completed along with the plumbing in the spa. Unfortunately the pressure test is currently failing. There is a hose spigot type thing at the end of the hose that has a very small leak. If you hold it to your ear, you can hear air whistling out of it, so the steel guy is coming back out in the morning to rectify it prior to inspection. Shotcrete will be done Friday morning.

I had to fix a couple silly little things in the pool itself, like removing trash, etc, and my awesome skill caused two small cave ins which i had to hand dig back out. Patio is all wrapped in visqueen in preparation for friday.

Overall, im not super impressed at the plumbing in the spa, but i guess it is what it is. I would have preferred PVC with fittings vs the flex pipe, which is what is used in the pics.

Coastertrav, there are 3 pool returns and 4 microbright lights that will be in the pool. The shotcrete crew will push the piping through the walls as they install the concrete. I was under the impresion that the pipe stubs would be installed already, but this is not the case. Oh well. Just seems like it will be more of a pain in the butt for the plumber to dig and find the pipe in the dirt.

Untitled by T V, on Flickr

Untitled by T V, on Flickr

Untitled by T V, on Flickr

Untitled by T V, on Flickr

Untitled by T V, on Flickr

Untitled by T V, on Flickr

Untitled by T V, on Flickr

Untitled by T V, on Flickr


Untitled by T V, on Flickr

Untitled by T V, on Flickr
 
Here is your next "job" for the build. Run out with your plans and a tape measure. Add about 6" for the gunite and such. Is it long, wide, deep, etc enough? NOW is the time to fix or tweak it.

Water depth should be measured to the middle of the skimmer NOT the bottom of the coping. Yeah some try to say it IS to the bottom of the coping when they dig it a little shallow :roll:

Kim:kim:
 
  • Like
Reactions: chemillion
We measured it all today. Literally every measurement is within 1/8" which i was greatly impressed with. And that 1/8" was only in one spot. The rest were literally dead on when you add in the beam. Im very impressed with how precise everything is so far. I will be home friday when it gets shot so that is when the real precision counts. Thanks miss kim!
 
Now that is CLOSE to purrfect! NICE!

I am glad the leak was found but who found it? I can just see someone walking around putting their ear by every joint and such to find it LOL

I am VERY glad you will be there for the shoot. You just never know what questions, concerns, or ideas they might have.

Kim:kim:
 

Enjoying this content?

Support TFP with a donation.

Give Support
Thread Status
Hello , This thread has been inactive for over 60 days. New postings here are unlikely to be seen or responded to by other members. For better visibility, consider Starting A New Thread.