- Nov 28, 2020
- 253
- Pool Size
- 15600
- Surface
- Plaster
- Chlorine
- Salt Water Generator
- SWG Type
- CircuPool RJ-45 Plus
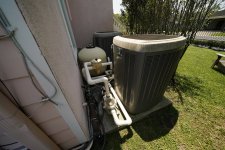
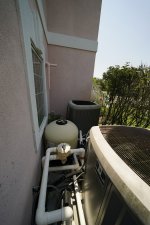
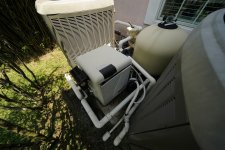
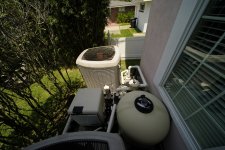
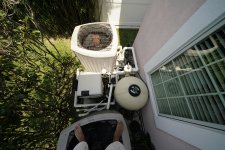
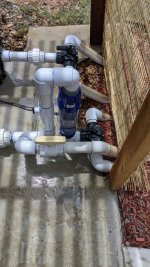
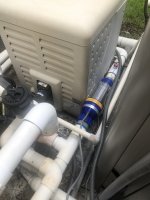
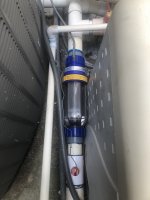
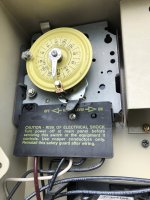
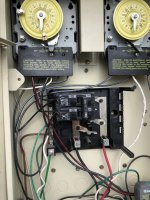
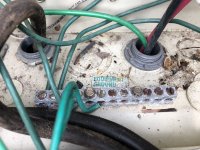
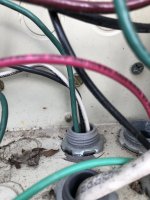
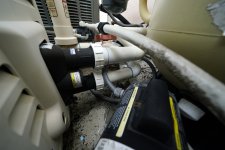
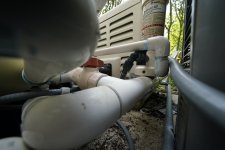
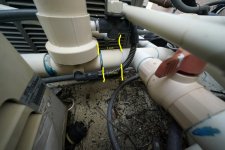
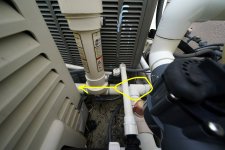
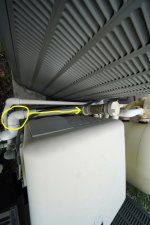
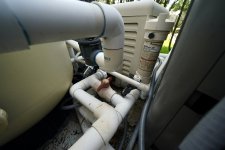
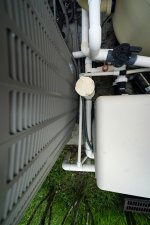
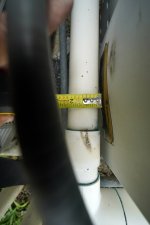
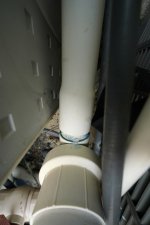
I broke out my Sony pro gear for better images, to determine my plumbing for the SWG. Correct me if I am wrong, but it looks like everything from that t-joint next to that bypass valve, all the way to the 90 degree elbow joint well past the chlorine feeder will have to be replaced? Looks like the vertical install kit might be needed. Thoughts?
Attachments
-
 pool plumbing 101.JPG274.1 KB · Views: 30
 -
 pool plumbing 102.JPG266.9 KB · Views: 28
 -
 pool plumbing 103.JPG320.5 KB · Views: 28
 -
 pool plumbing 104.JPG307.8 KB · Views: 29
 -
 pool plumbing 105.JPG285.9 KB · Views: 29
 -
 pool plumbing 106.JPG241.2 KB · Views: 28
 -
 pool plumbing 107.JPG339.2 KB · Views: 25
 -
 pool plumbing 108.JPG183.3 KB · Views: 22
 -
 pool plumbing 109.JPG170.2 KB · Views: 30