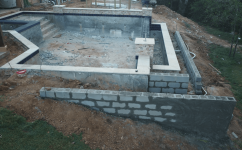
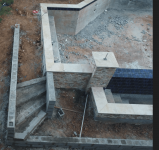
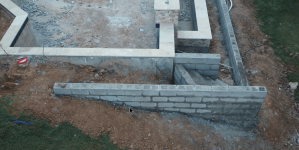
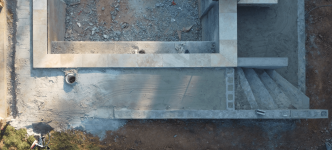
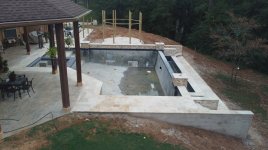
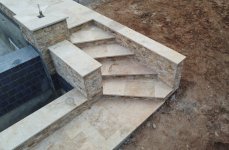
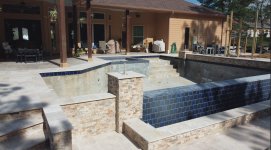
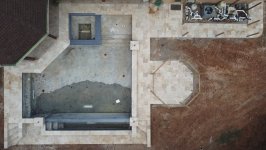
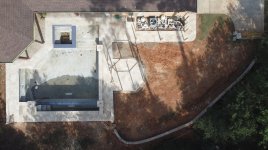
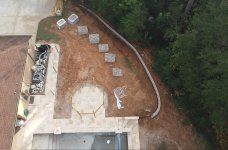
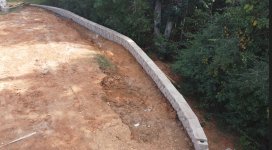
New Construction Started - Willis, TX (north of Houston)
- Thread starter Duffatola
- Start date
You are using an out of date browser. It may not display this or other websites correctly.
You should upgrade or use an alternative browser.
You should upgrade or use an alternative browser.
- Dec 14, 2021
- 288
- Pool Size
- 24000
- Surface
- Plaster
- Chlorine
- Salt Water Generator
- SWG Type
- Pentair Intellichlor IC-60
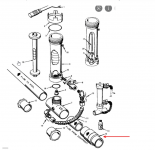
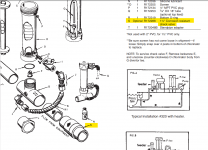
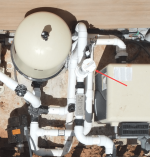
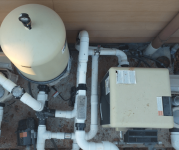
A (another) picture speaks a thousand words. I guess I'll have to don my plumber hat in the near future.
- Dec 14, 2021
- 288
- Pool Size
- 24000
- Surface
- Plaster
- Chlorine
- Salt Water Generator
- SWG Type
- Pentair Intellichlor IC-60
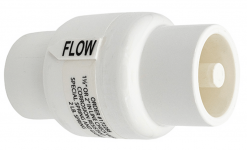
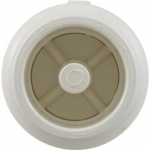
Part #19?Part number 19 is a 2 lb spring check valve that will add additional head loss.
View attachment 454295
View attachment 454296
This is the spring CV I have installed:
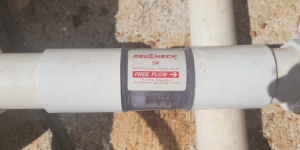
There is a spring check valve that comes with the tab feeder, which would be right before the feeder if they installed it, but maybe they did not install it.
- Dec 14, 2021
- 288
- Pool Size
- 24000
- Surface
- Plaster
- Chlorine
- Salt Water Generator
- SWG Type
- Pentair Intellichlor IC-60
Thankfully, they didn't.There is a spring check valve that comes with the tab feeder, which would be right before the feeder if they installed it, but maybe they did not install it.
- Dec 14, 2021
- 288
- Pool Size
- 24000
- Surface
- Plaster
- Chlorine
- Salt Water Generator
- SWG Type
- Pentair Intellichlor IC-60
9/24 construction update.
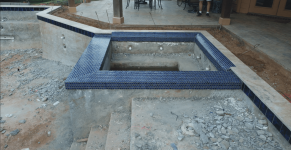
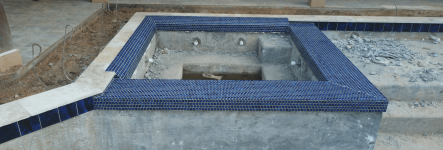
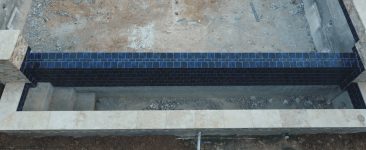
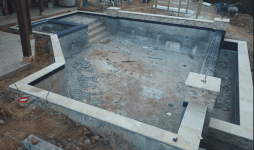
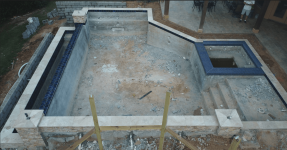
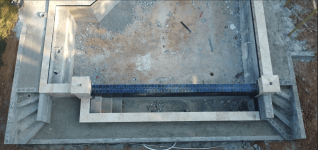
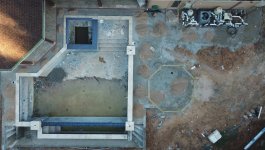
Modern Method Gunite started shaving the beam, raised beam and 3 columns to lower them 1". That's a nasty and unbelievably dusty job. All went well until they punctured a spa plumbing line. They then had to demo around it so the plumbers can make the repair. Fortunately they were able to complete the lowering scope and the mason crew can resume their work.
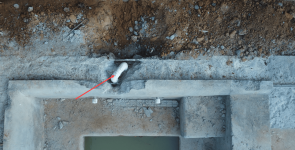
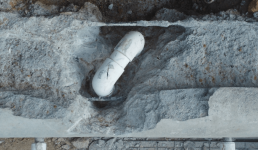
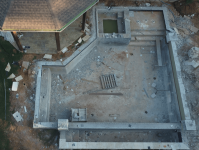
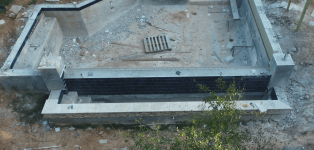
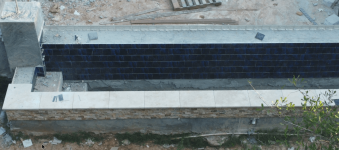
Modern Method Gunite started shaving the beam, raised beam and 3 columns to lower them 1". That's a nasty and unbelievably dusty job. All went well until they punctured a spa plumbing line. They then had to demo around it so the plumbers can make the repair. Fortunately they were able to complete the lowering scope and the mason crew can resume their work.


- Dec 14, 2021
- 288
- Pool Size
- 24000
- Surface
- Plaster
- Chlorine
- Salt Water Generator
- SWG Type
- Pentair Intellichlor IC-60
- Dec 14, 2021
- 288
- Pool Size
- 24000
- Surface
- Plaster
- Chlorine
- Salt Water Generator
- SWG Type
- Pentair Intellichlor IC-60
- Dec 14, 2021
- 288
- Pool Size
- 24000
- Surface
- Plaster
- Chlorine
- Salt Water Generator
- SWG Type
- Pentair Intellichlor IC-60
- Dec 14, 2021
- 288
- Pool Size
- 24000
- Surface
- Plaster
- Chlorine
- Salt Water Generator
- SWG Type
- Pentair Intellichlor IC-60
@JamesWGot pricing from PB for the Hayward and Raypak flow switches. The Raypak is in the same pricing ballpark as the Harwil, therefore i would consider either. Any words of wisdom?
Harwil $150.00 + shipping
Hayward UHXFSW1930 $266.98
Raypak 007142F $167.59
I've searched but can't find the installation instructions on-line (the paper instructions met an untimely demise after the box was left in the elements) for the Raypak 007142F. Can you advise where I might source them? The electrician who came out is uncertain on how to install the switch.
Contact Us – Raypak
Raypak Pool & Spa, Residential and Commercial Hydronic Products -
- Dec 14, 2021
- 288
- Pool Size
- 24000
- Surface
- Plaster
- Chlorine
- Salt Water Generator
- SWG Type
- Pentair Intellichlor IC-60
Thanks, James. I wound up finding this one. It's different manufacturer (2004) but seems to be the same flow switch. I couldn't find anything on Raypak's site.
Contact Us – Raypak
Raypak Pool & Spa, Residential and Commercial Hydronic Products -www.raypak.com
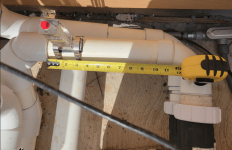
Additionally I just noticed the flow meter was not installed quite correctly since it's recommended to have a 4" span before and 10" after the meter (2" pipe). Unfortunately there is only 10" total between fittings. The flow switch will require a 2" reducing tee to be installed. Would you suggest installing he flow switch where the flow meter is and move the flow meter farther down the line or moving the flow meter down as far as possible and then install the flow switch down stream of it just before the 90° elbow?
Attachments
agjr85
Well-known member
This still isn't done, wow.
Hopefully it finishes out well and no more hiccups.
Hopefully it finishes out well and no more hiccups.
- Dec 14, 2021
- 288
- Pool Size
- 24000
- Surface
- Plaster
- Chlorine
- Salt Water Generator
- SWG Type
- Pentair Intellichlor IC-60
- Dec 14, 2021
- 288
- Pool Size
- 24000
- Surface
- Plaster
- Chlorine
- Salt Water Generator
- SWG Type
- Pentair Intellichlor IC-60
- Dec 14, 2021
- 288
- Pool Size
- 24000
- Surface
- Plaster
- Chlorine
- Salt Water Generator
- SWG Type
- Pentair Intellichlor IC-60
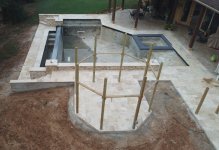
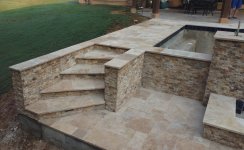
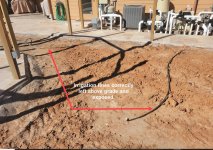
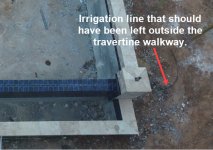
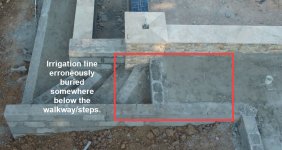
Unfortunately another one reared its head. I found after the decking crew completed the walkway and steps foundation that they had buried an irrigation line ("funny pipe"). Although it was obviously exposed for a reason, like the others I installed and routed out of the trenches, they buried this one. There's no way to ensure they didn't damage it when they completed their work. I've tried my best to ensure I monitored this project closely to avoid any pitfalls but I've found it can be a daunting process. At this point, the PB is planning on digging under the walkway and/or steps to find the line. That concerns me a bit because I'm fearful after that's done and backfilled, there may be a void under the walkway/steps which may lead to cracking or other issues down the road.This still isn't done, wow.
Hopefully it finishes out well and no more hiccups.

Last edited by a moderator:
agjr85
Well-known member
Dang, that seems pretty obvious, at least a hey PB the owner has some black lines just hanging out, any idea???
- Dec 14, 2021
- 288
- Pool Size
- 24000
- Surface
- Plaster
- Chlorine
- Salt Water Generator
- SWG Type
- Pentair Intellichlor IC-60
Construction update: 11/22:
Unbeknownst to be, the plumbers finally installed flow switch. However, I'm not sure it was done properly. My understanding is it should be installed just before the heater on the inlet piping. The instructions sent to me by Raypak (attached) state it can be on the inlet or outlet side. Additionally I don't know if or what paddle they installed The instructions are not very helpful as they don't reference any pipe sizes, only specific Raypak heaters. I am thinking that the paddle only needs to be long enough to be able to extend into the pipe about half way in order to detect flow.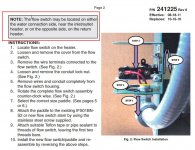
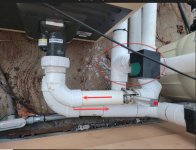
Unbeknownst to be, the plumbers finally installed flow switch. However, I'm not sure it was done properly. My understanding is it should be installed just before the heater on the inlet piping. The instructions sent to me by Raypak (attached) state it can be on the inlet or outlet side. Additionally I don't know if or what paddle they installed The instructions are not very helpful as they don't reference any pipe sizes, only specific Raypak heaters. I am thinking that the paddle only needs to be long enough to be able to extend into the pipe about half way in order to detect flow.


Attachments
Last edited by a moderator:
Thread Status
Hello , This thread has been inactive for over 60 days. New postings here are unlikely to be seen or responded to by other members. For better visibility, consider Starting A New Thread.


