- Jun 9, 2021
- 79
- Pool Size
- 17500
- Surface
- Plaster
- Chlorine
- Salt Water Generator
- SWG Type
- Hayward Aqua Rite (T-15)
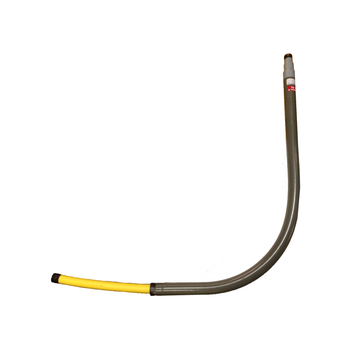
Ok. Then I think I have my answer b/c I’m not going to mess with pvc joints. Digging time!Those are only meant for polyethylene tubing.
Any ideas where to look for 2” risers in stock? HD would not give me an eta. Will take me a while to get this trench dug anyway.
I assume that I can buy fittings to reduce from 2” to 0.75” at heater (after riser).
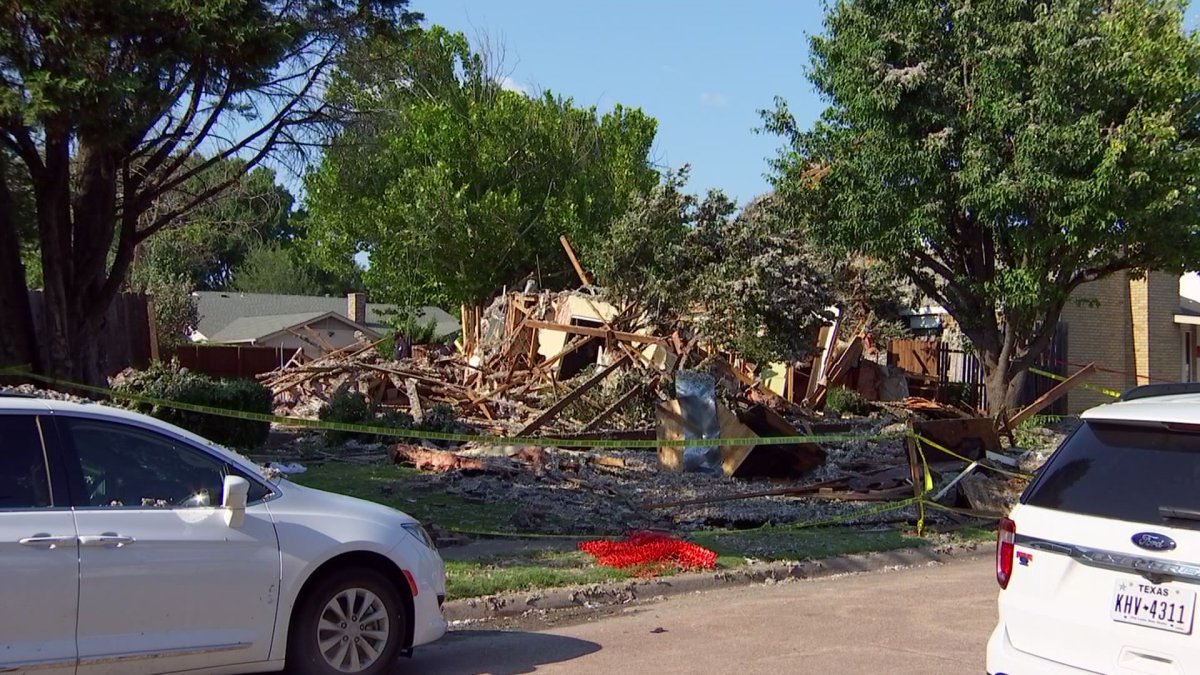
 I'm not a qualified gas plumber but I've played with enough hazardous gases in my life (and produce some hazardous gas myself ...) that I'm comfortable mucking around with gas lines ... of course, my homeowner's insurance might have a few questions for me when I submit that claim of total property loss due to raging, gas-fed fire ....