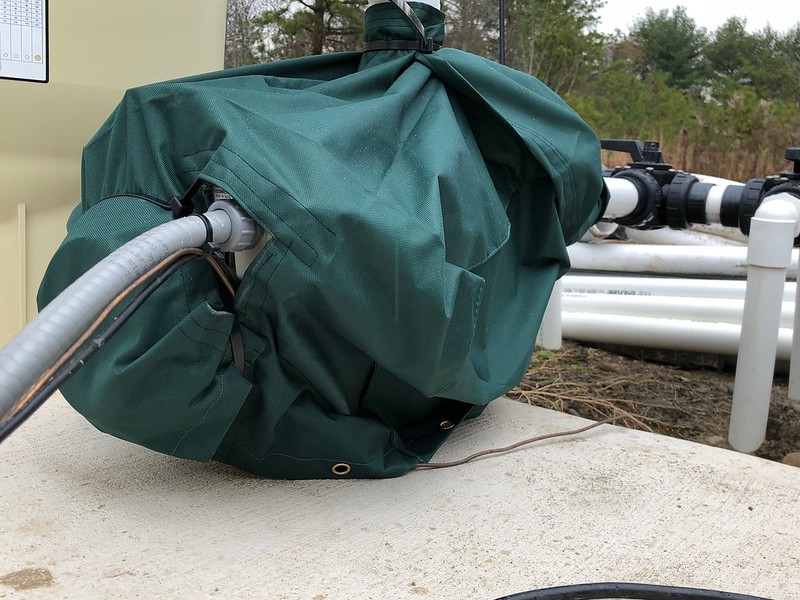
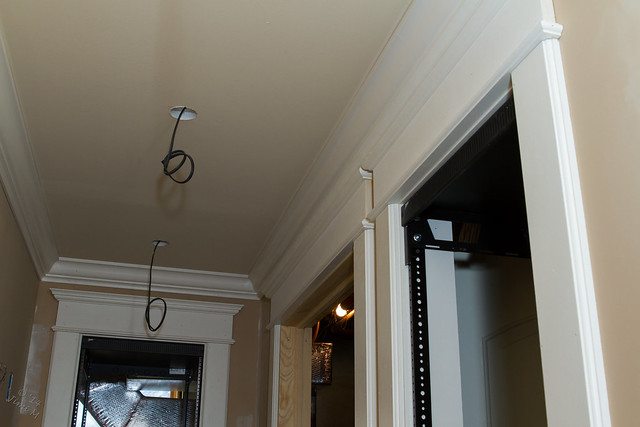
So here are some pics for anyone who ever wondered how racks work for custom installs. I am prepping for my amps and network pieces to power my 2 outside pool zones this spring. I also am adding 2 HDMI over Cat6A for a nintendo switch and other gaming machine in our lower living space for the kids. I have been using these a lot more lately for future proofing since HDMI changes so often. They work perfect. I only use Atlona cause they test properly and certify their specs. plus their warranty is 10 years. Mono price make some nice baluns also but when it comes to 4K and now HDR its a totally diff animal. These ones I used don't do HDR. they do up to 4K along with all audio up to the new Dolbey Atmot standard. They require Cat6 A shielded end to end wiring to to work reliably.
 Untitled
 by
Jim, on Flickr
 Untitled
 by
Jim, on Flickr
 Untitled
 by
Jim, on Flickr
typical shielded cat6a. notice the metal that hugs the sheath. it holds the drain wire which shields the cable. totally diff tools used to terminate also. the ends are also totally diff. they deff take some getting used to to terminate. the wire is also a bear to run. so stiff.
 Untitled
 by
Jim, on Flickr
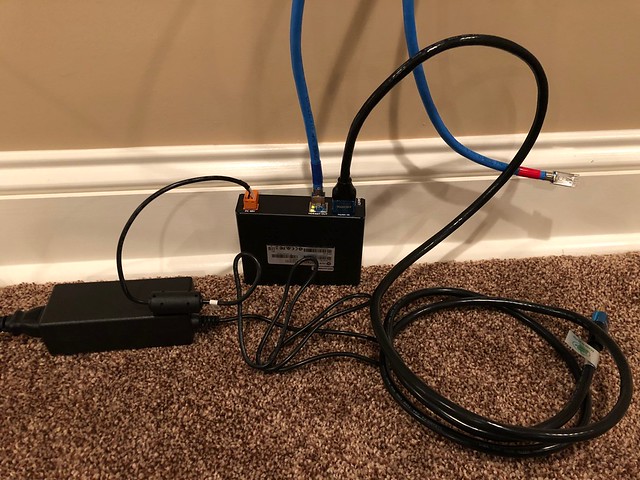
one end is powered then the other end is powered over the cat6a so only one power supply is needed. you pay for that but makes it easier for organizing and keeping everything clean looking.
 Untitled
 by
Jim, on Flickr
new shelves stripped down and ready to go.
 Untitled
 by
Jim, on Flickr
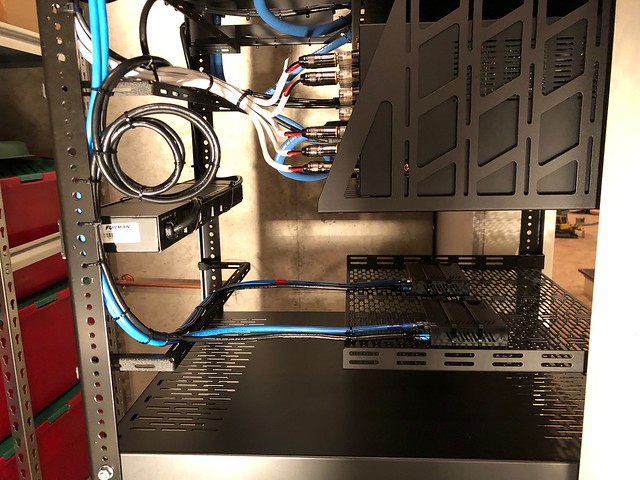
side view with lacing bar to organize wires and new power pack above to keep all the power nice and neat. this gets fed above to a line conditioner.
 Untitled
 by
Jim, on Flickr
installed and tied down
 Untitled
 by
Jim, on Flickr
 Untitled
 by
Jim, on Flickr
 Untitled
 by
Jim, on Flickr
then everything gets custom faceplates for each component or for things that change a lot like cable boxes or the baluns i just did they go behind blanks like above.
Untitled by
Jim, on Flickr
 Untitled
 by
Jim, on Flickr
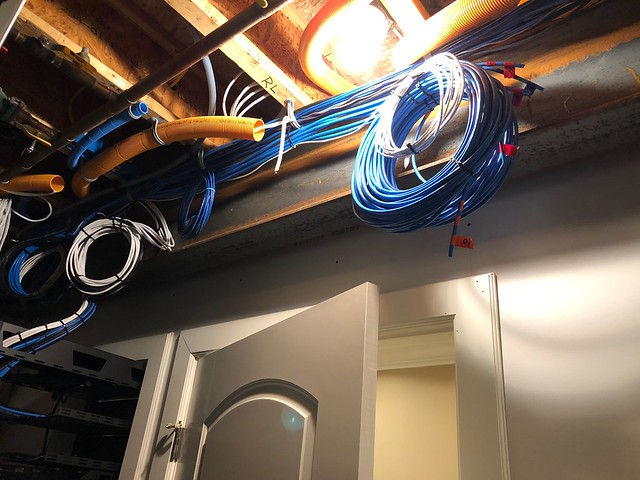
this is just how we typically run our bundles. i keep them labeled and up in the joists tim they are needed and they are then pulled out and tied in and service looks are left above like in the rear of this pic. not the nicest looking but it's the cleanest way to keep everything accessible and also to keep service loops so you aren't married to ur layout in the rack incase you got to shuffle. i never cut to length anymore. you get in trouble that way. only the geeks get to see the back anyway. the front is the money shot and what matters for finished product.
i have a pic in my thread of a finished rack wit the trim strips covering the screws so it totally looks built in. also how i trim and set the rack in the opening helps for the overall finished look.
 IMG_3433.jpg
 by
Jim, on Flickr
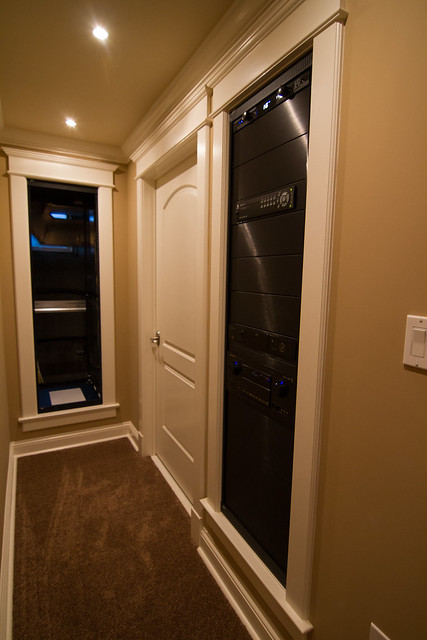
this kinda shows a nice profile of how i steps everything to get the finished built in look.
 IMG_8542
 by
Jim, on Flickr
there is that finished pic with trim strips in place. the other rack is for the audio and video only for a dedicated room in the future. that rack will only house audio and video. no network or anything else that doesn't have to do with just the dedicated rooms audio and video. all the power for this equipment is on its own leg of the service for the house and grounded side and outside on its own along with being it it's own sub panel so there is zero ground noise issues. it's called star grounding. it's what they do in recording studios and other rooms like that.
just wanted to share. net step is to prep my zones for the spring. i have figure out how i'm carrying the audio to the amps in basement from the closet upstairs where the head units are. either cat5e or RCA with baluns. haven't decided yet. keypads will be on their own cat5e end to end cause it's the only way to power them.