Inground 1994 Pool Renovation

Jayphil

Well-known member
May 3, 2021
84
Canada, Quebec
Surface
Vinyl
Chlorine
Liquid Chlorine
Hi everyone,

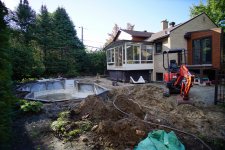
We are in the process of renovating our pool and I wanted to share with you. The pool was built in 1994 and never touched since. The liner was more than due and we decided to do a full concrete deck renewal and pool pluming. The goal is to make our old pool look more up to date while keeping the cost reasonable. The good news is that in general the initial installation of the pool was great since there is no major problem, only reasonable concrete cracks and normal wear. The project was supposed to start in August but started only recently because of supplies issues.

Here the main things that are being done:
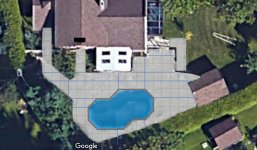
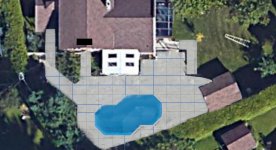
  1. Removal of old concrete, pavers (3 models) and low wall to replace only with concrete with rectangle decorative saw cuts and new low wall. Square concrete copping will be in place of old white pvc copping. It was not looking clean that there were so many different type of pavers plus the concrete. Total of around 1000 sq ft of concrete.
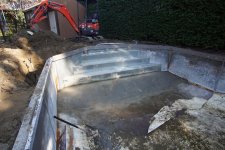
  2. Removal of two white stairs, new metal walls in those area, adjust the floor to sit the new stairs and replace with integrated metal stairs with liner on top from Latham.
  3. Repair of surface rust on the walls and primer
  4. Replacement of all pluming lines, skimmer, bottom drain, grounding lines etc. Every accessories will be in light grey color to match the liner. There will be 4 returns and 1 skimmer to manage my odd shaped pool. (before there was two returns)
  5. New carpeting on the concrete floor before the liner.
  6. New Latham "Urban Marble" liner.

Side project there will be a new portable hot tub as well in the pool area.

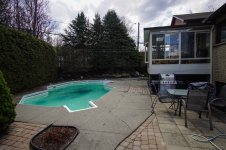
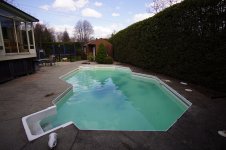
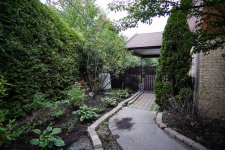
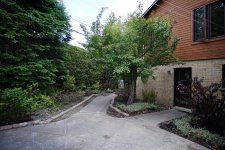
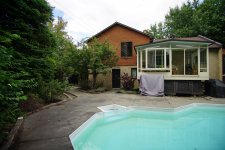
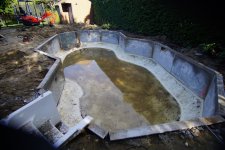
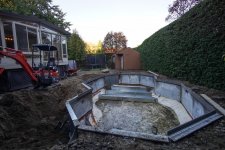
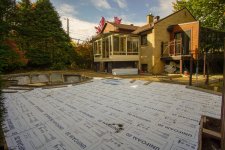
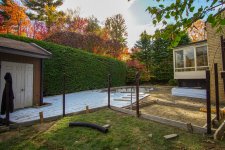
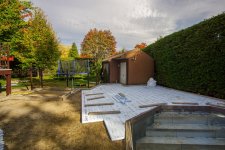
BEFORE PICTURES

1.jpg
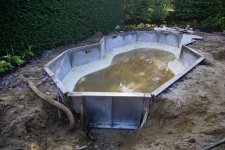
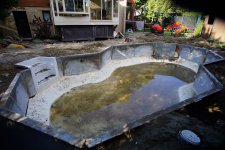
4.jpg2.JPG

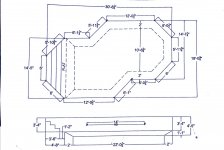
POOL Specs with integrated steel stairs. First stair is 6' and the last one is the full width of the pool 14' 5". They are 14" long for smooth entry in the pool or to sit on.
20211006_184809109_iOS.jpg
 
Last edited:
  • Like
Reactions: Snoobug
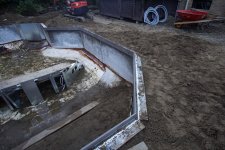
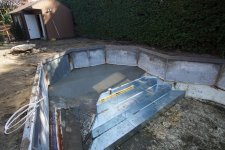
  • So now they removed all the stairs.
  • New pluming is done.
  • New liner attach system and coping molds are getting in place
  • New steel steps (arrived in 3 pieces) are assembled.
  • Adjusted the level of the pool where the step will be with sand in preparation to receive concrete.
Today they will be pouring the concrete in the pool to support the new steps as planned in the ordered liner dimensions.

14.jpg
DSC00321.JPG
 
Oh my goodness. No idea how I’ve missed this so far. THANKS. Keep them progress pics coming and best wishes !!
 
  • Like
Reactions: Jayphil
Update of the day.

One panel was not strait so they had to dig to straiten it, put back some concrete to stabilize it etc. otherwise the new steps would not fit.
So here we go the new steps are in place.

Next Monday they will clean everything, level the ground and start the concrete formwork for the deck. Expectation is to pour the concrete deck next Friday.

DSC00333.JPG
 

Enjoying this content?

Support TFP with a donation.

Give Support
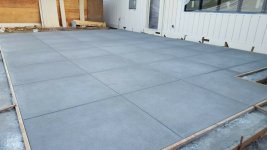
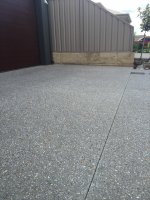
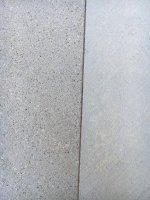
Next Friday is the concrete deck pouring and we are still not decided on the finish... Any recommendation on which option to choose? Our plan is to have the concrete cut (decorative cuts) in square or rectangle around 48" X 48" or 48" X 72"
  • Broom finish
  • Manual Trowel
  • Exposed Aggregate
  • Sandblast
Other option that from google pictures we like the best is light sandblast but not sure my contractor is offering it. Obviously Exposed Aggregate and Sandblast finish would be a premium over Trowel or Broom finish.

So far we are going toward broom finish but would ask for the smoothest brush option...

Here are example of finishes and decorative saw cuts

Decorative saw cuts
decorative saw cut.jpg

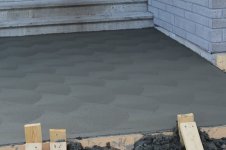
Trowel (I believe we like the least)
Trowel.jpg
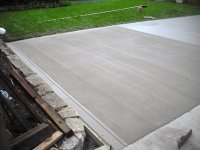
Brush
broomed.jpeg
Exposed Aggregate
exposed.jpg

Sandblast. You can have different level of blast
light sandblast.jpg
 
Saw it 48” X 72”
Thanks for the feedback this is what we were heading for because to align the ideal placement of relief cuts with perfect placement of decorative ones is almost impossible so some rectangle might actually by 50" X 72" and some closer to 48"X 72. I believe that with big rectangles the difference will not catch the eyes but with squares not always fully square (48X48 vs 50X48) it might become more obvious...

I assume my contractor will use chalk marks to build the pattern to ensure it is perfect before cutting...
 
I assume my contractor will use chalk marks to build the pattern to ensure it is perfect before cutting...

I would think the same thing, but I would make sure to discuss with him his plan of attack, prior to the work beginning. I have learned that while I would do something one way, and that is the only 'right' way, that others have varied opinions on how to skin that same cat. I have been very disappointed in some work I've hired done because I didn't open my mouth ahead of time and assumed they knew what they were doing and would do it the same way I would.

A perfect example, I was remodeling a bathroom. I hired a plumber to move a shower valve from one wall, to an adjacent wall. Literally just around the corner. My home has a crawlspace. I met him at the house, and showed him where I wanted the new valve, and left him to work. I came home and he had drilled through all the studs and ran the lines through the wall cavity instead of cutting the lines off in the crawlspace and stubbing up through the baseplate in the new wall. I couldn't imagine a scenario where that could have happened. So I had to cut it out and redo it. I couldn't fault him, because the only instruction given was to relocate the valve. He had one idea, I had a completely other one.

--Jeff
 
  • Like
Reactions: Jayphil
Today was a big day.
  • All extra dirt was removed
  • ground was leveled
  • they started the framing
  • they started putting the under slab insulation ( 1"7/8)
  • Some drain was installed next to the house and shed
We decided to separate the spa slab, which need to be leveled, with the main slab which to flow the water. There will be 10" river rocks around the spa slab for draining as well as look. The will be river rocks in few other area like next to the shed and under the fencing etc.

Framing finish next Monday since concrete trucks are schedule next Tuesday. In the meantime the pool guys still have some drains, water supply, ground wires, coping molding etc to complete.

DSC00455_small.jpgDSC00454_small.jpg

DSC00453_small.jpg
 
That’s looking great!

Ok, gonna show my ignorance here… what’s the under slab insulation for? I’ve seen that done when installing radiant floor heating, but never outdoors.

—Jeff
 
  • Like
Reactions: Gladius Nova
I find that insulation under the patio floor strange too. Maybe it's the pool builders version of the notorious car dealers under car rust proofing..

However I can see potential benefit insulating the pool floor and walls to help maintain pool temperature.
 
+1 Jeff. :) Ignorance loves company, or something like that.

Seen a ton of construction in my day but never this. Looked it up and it’s a thing. The same vapor barrier and moisture stopper as you’d expect anywhere else. It is evidentally mostly used for basement floors.
 

Enjoying this content?

Support TFP with a donation.

Give Support
Thread Status
Hello , This thread has been inactive for over 60 days. New postings here are unlikely to be seen or responded to by other members. For better visibility, consider Starting A New Thread.