How to dissemble and repair Pentair Easy Touch 8 button remote

Bradmu

0
May 26, 2018
4
Visalia,ca
I thought I would post my experience so other people can benefit.
My power button stop working on the remote.
To open the remote I used a Dermel tool with a diamond blade. I had to cut all the around the outside.
Once open I saw the ribbon cable to the front board had corroded on one pin. The way this remote turns on, I couldn’t simply just use another button on the remote. I had to add one. I added a 12mm Boat Momentary Metal Push Button I got off ebay for about a buck. I then drilled a 29/64 hole on the front near the bottom. This whole is a bit small but allowed me to screw in the button for a tight seal. I then soldered 2 wires from the button to the board on pin 1 and 10. Now the new button acted like the menu/power button.
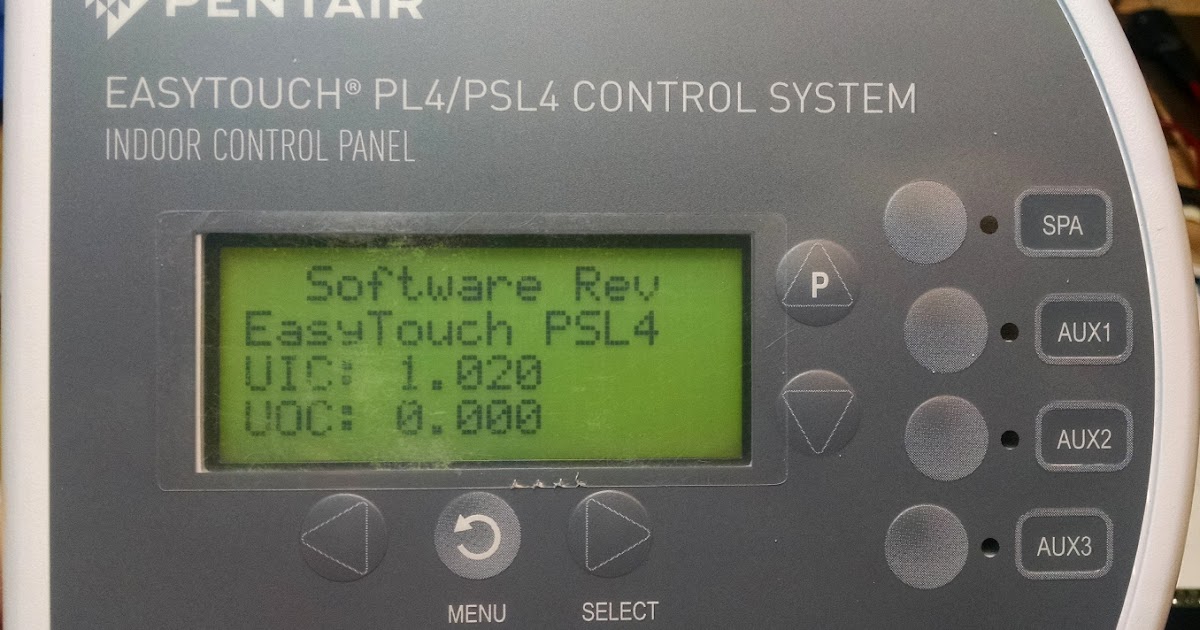
I"ll try to upload some photos.


3.jpg
 

Attachments

  • 7.jpg
    7.jpg
    48.6 KB · Views: 120
  • 8.jpg
    8.jpg
    62.9 KB · Views: 115
  • 9.jpg
    9.jpg
    91.4 KB · Views: 138
520546 Repair

Re-allocated the menu switch function to the unused Aux 3 switch
 

Attachments

  • IMG_3659.JPG
    IMG_3659.JPG
    228.1 KB · Views: 44
  • IMG_3660.JPG
    IMG_3660.JPG
    272.9 KB · Views: 44
  • IMG_3662.JPG
    IMG_3662.JPG
    273.4 KB · Views: 41
  • IMG_3663.JPG
    IMG_3663.JPG
    170.8 KB · Views: 49
Hey Brad this is great stuff! @Jimrahbe I actually saw Jerry's ebay listing before I saw this ;) Looks like he used jbweld? to seal it back up... came out great.

I cut these open with a diamond blade set in a drill press so it cuts half of each of the overlapping tabs... then I just spin the remote around it. Makes a nice even cut. Here's a Mobiletouch2a before I cut it open to fix:
IMG_20210630_220655162.jpg

IMG_20210630_215751389.jpg

I haven't tried it but it shouldn't be hard to slap an Easytouch remote board into an off-the-shelf case (or even 3d printed) and you could even make a new keypad with actual buttons rather than the lame membrane ones.

Converting a 4-button remote to an 8 is easy too... just cut the right jumper on the keypad. My post here shows how:

Tom
 
I used a diamond blade in a Dremel router table, then beveled the edges with the same router table with a bevel bit, so the JB Weld would go in as a wedge. Thickness of the cut was 1/16"

With practice, it might come out perfect. White epoxy would also have been nice.

Found a couple of options for replacement switches;
 

Attachments

  • s-l1600.jpg
    s-l1600.jpg
    91.1 KB · Views: 9
  • JS1300-series.jpg
    JS1300-series.jpg
    33.8 KB · Views: 8
Great idea @jerryt with the jbweld wedge... I do love that stuff. I also wondered if you could use straight up pvc glue (i thought i read someplace that these were pvc)

Here's another you could try if you wanted to add another 4 buttons onto an ET4 remote to make it an 8. I've always wanted to get a few of these myself but I can't get through my project list!
 
Here's some more info on the remote keypads if anybody needs it or feels like making their own. I don't have a schematic but this ought to get you close enough.

first, a look at the keypad traces with the vinyl top torn off...
IMG_20191116_184029711.jpg

and here's some info showing the keypad pin to cpu connections, the keypad pins used for each button, and details of how the keypad is wired for the hardware id (is it an ET4, ET8 or PSL/lite)
keypad_pinout.PNG
 

Attachments

  • keypad_pinout.PNG
    keypad_pinout.PNG
    10.5 KB · Views: 39
  • Like
Reactions: Hulaomr
Used a hot knife to open the case of the Easytouch wireless receiver this time instead of the dremel.

Replaced the the commonly failed switches with a 5way membrane switch
 

Attachments

  • IMG_3890.JPG
    IMG_3890.JPG
    289.5 KB · Views: 49
  • IMG_3823.jpeg
    IMG_3823.jpeg
    478.3 KB · Views: 43

Enjoying this content?

Support TFP with a donation.

Give Support
Thread Status
Hello , This thread has been inactive for over 60 days. New postings here are unlikely to be seen or responded to by other members. For better visibility, consider Starting A New Thread.