Hello, all,
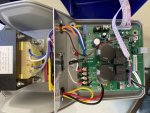
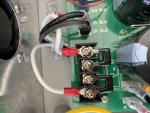
I ordered an RJ45 SWG a while back, and it is still sitting in my house. I'm a (middle school!) teacher trying to convert my 10 classes (and 4 different technology-related, usually hands-on subjects) to distance learning, and DH is disabled. I am fairly handy overall so I ordered figuring I could get it installed, with the possible help of a more-knowledgeable friend for the electrical connections, if necessary. This friend won't leave his house nowadays, and I find I have neither the time nor the patience right now to figure out how to install this unit. As we live in SW Florida and the weather has been unseasonably warm, I would really like to get this installed sooner rather than later.
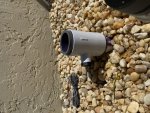
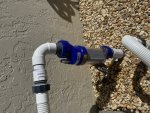
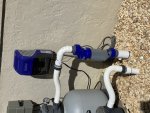
I have a 15x30 inground concrete integrated spa/pool, StaRite cartridge filter and ss pump, AquaSpa heater and Pentair remote system to control it all. The pump, filter and heater are installed on a concrete pad at the side of the house. I believe there is enough room to install the swg unit without an adapter kit.
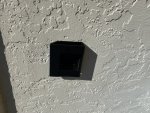
My biggest install concerns are the proper wiring (incl. integration with the remote system) and properly mounting the 22 lb control panel on the side of the stucco house. I have been unable to find any videos that show new installs - most seem to be replacements of pre-existing units, while a couple show wiring including a manual timer, which I do not have. I could replace it if a unit was there - that's easy. I'm just a bit unsure of the wiring details.
Does anyone have suggestions as to the best way to find someone to install this unit for me? I don't want to just randomly call pool companies without having a general idea what to ask and what a reasonable fee might be (or how to evaluate that). Alternatively, is there anyone with patience willing to help me figure out the details if I supply pictures of my current set-up?
Any advice would be greatly appreciated!
Laurie


