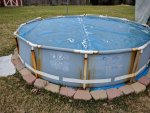
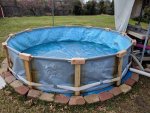
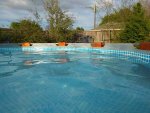
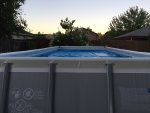
Ya... our neighbors around the corner are in a similar boat. Their frame looks similar to yours,
Townlakecakes, in terms of kind. I believe theirs was 4 ft by 18ft?... and they had the exact same story as us. Pool was up for 2 full summer seasons... rust got really bad this past winter. Maybe it was the winter in Texas?... they were not using a salt-water system. We're starting our own neighborhood competition: how to rebuild an Intex pool without Intex. lol
 chayne
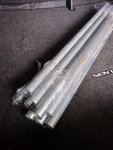
, it really was just a day of working with wood. The legs are just cut up 2X4s I had laying around. I had originally routed notches in the top of them thinking I was just gonna replace the legs and put the metal frame on top, but then the top rusted out too... so... I went down to the local fence supply store and bought two of their smallest diameters galvanized steel pipes, and had them cut them to size for me, so I ended up with this:
Then... for the joints, I just cut up a 4x4. In my case, the angle of the cuts was 15 degrees (12 joints, two edges per joint). Miter saw is best suited for that task:
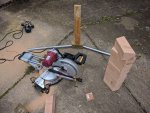
(that's my prototype you see on the ground there... for the actual day, I used all untreated wood... don't want anything leaching into the water)
Anyways... then you have to drill the joints. Again, a bit tricky because of the 15 degree angle.
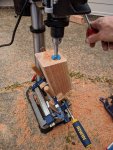
this probably took the longest of all the tasks because I had to block and clamp every hole I drilled (24 holes).
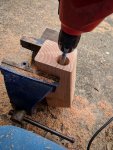
Since my poor little drill press only has about 4 inches of press action, I had to finish the holes to depth by hand:
Lastly... I needed to "attach" the legs, so I decided to just re-use the routing I had already done on the legs to create a type of mortise and tenon joint. This involved 2 steps: step 1, drilled out as much material as I could with the drill:
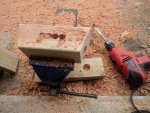
and then step 2) finish with a router that is extended out way past the manufacturer's recommended safety depth setting. lol

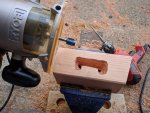
(you gotta be real careful and strong doing this because the router can have a real kick when it catches sideways)
But... once you've done that, then just hammer the legs together with a mallet:
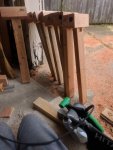
(some of the 2x4s I used were left over from when I was leveling concrete on a different project, so a little sanding was needed, but otherwise all the boards are all still rough and untreated).
The last step was to round off all the sharp corners:
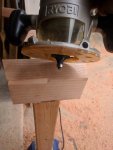
and you are ready to assemble (which you can see on my previous post).
This design has no nails, no screws, no bolts, absolutely nothing that will rust.

I previously had created wood footings for the old frame, so this new frame just went on those same blocks. I really got inspired when I saw how thrashed the original frame was and how it didn't collapse. The weight of the water is what made it work, and that's what makes this design work. The frame was pretty solid before I filled the pool, a lot more solid than the original. Once filled with water, it locked up stone tight, dwarf style.

I'll probably start making plans to upgrade to a larger 4 or 5 foot round next spring, and based on everything I've seen and read here, I'll probably apply this same principle then, and just skip putting up the Intex frame altogether (other than to measure it for my replacement).


