
Hi All, just finished installing my safety cover and thought I'd post it up being that it's that time of the year. I haven't closed yet, but I wanted to have the cover ready to go for when I do. The only pool store I could get to give me a quote was the builder and they came back with $4700, I got a couple quotes from online places and ended up with a loop-loc mesh for around 2K. I have a paver deck and was very nervous about using a hammer drill and cracking the pavers so I went with a core drill. Here's a pic of the back of paver for a test hole drilled with a hammer drill and a core drill
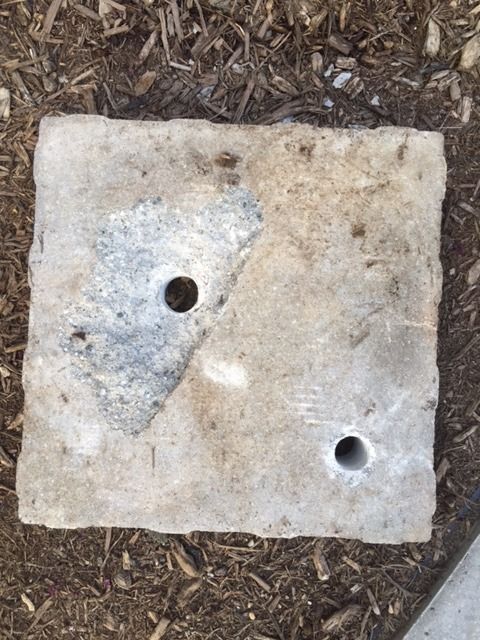
A much cleaner hole with the core drill.
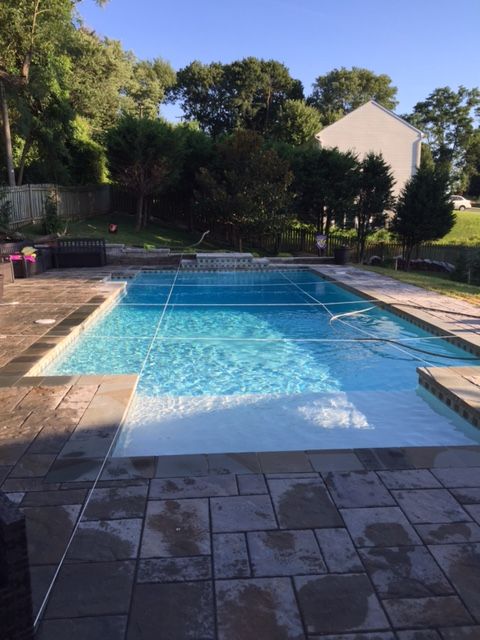
I laid out the ropes as per the instructions.
This may not have been necessary with the water being high, but it wasn't that big of a deal to do.
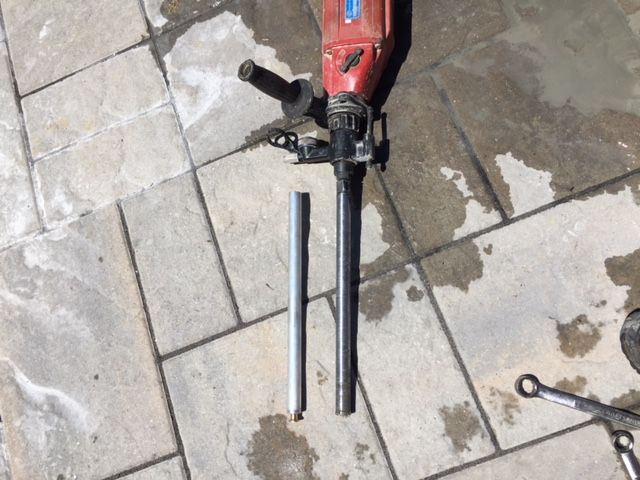
Ready to start drilling. The sleeves for inserts are 12" long
the water attachment on the drill wasn't working. It should have been feeding water inside the core bit, but the quick disconnect didn't work, so I had to rig a hose. I think it would have worked a lot better if the water could have been feeding from inside the bit.
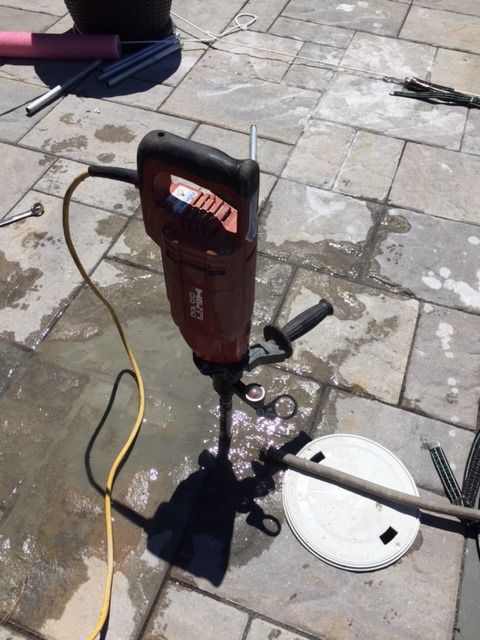
This was when I realized I was going to be in for a long day. It varied on how far down the bit would go before it stopped because it couldn't push the material up the bit any further. I had to take the bit off the drill and then use a piece of rebar and a hammer to clean it out and then go back to drilling. Even after getting through the paver it wasn't always easy and the crush and run under the pavers clogged it up as well. With having to go 12 inches deep for each hole I ended up having to clean the bit out at least 3 times per hole and sometimes more. Here's a pic of the bit cleaning station.
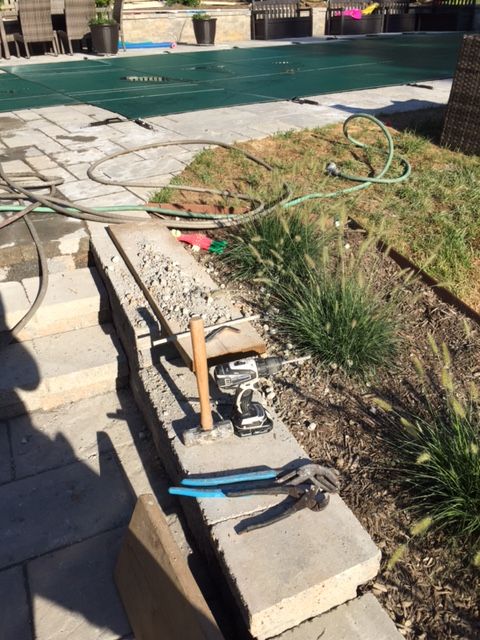
The cordless drill with a masonry bit was used sometimes to loosen the gravel so it would come out easier.
Here's a pic halfway through

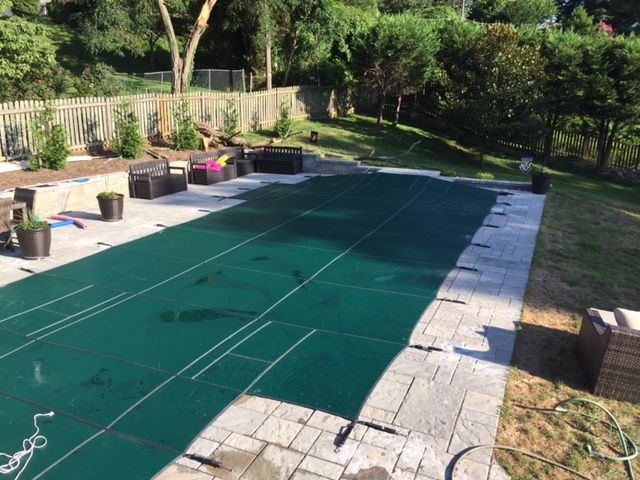
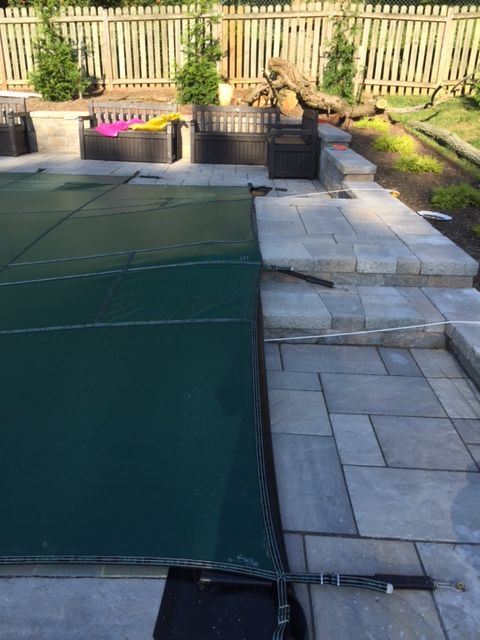
And complete
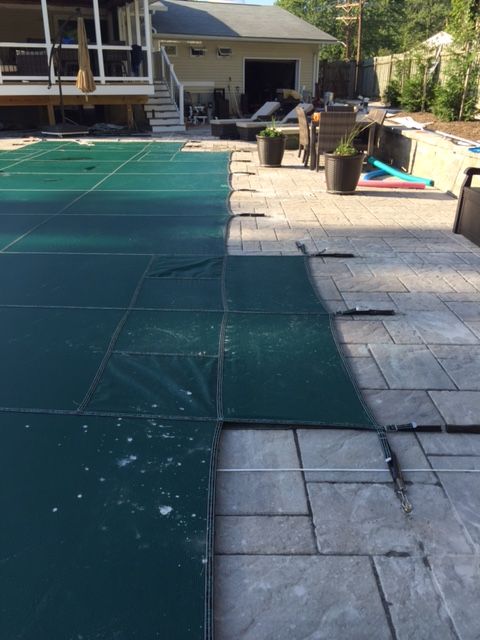
The waterfall area is 1 foot higher than the res of the coping and I was torn about going up and over, verses drilling into the tile or coping and putting anchors to go straight across. I chose up and over.
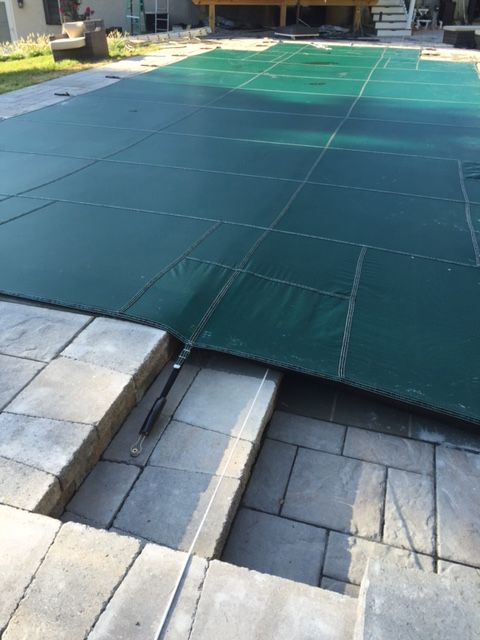
The black flap you see is what they call the gap guard I think which helps keep things from getting in through the gap. I need to trim those when I reinstall in the fall.
I'm not happy about how tight it is on the two high corners and even got this small rip at some point during the install.
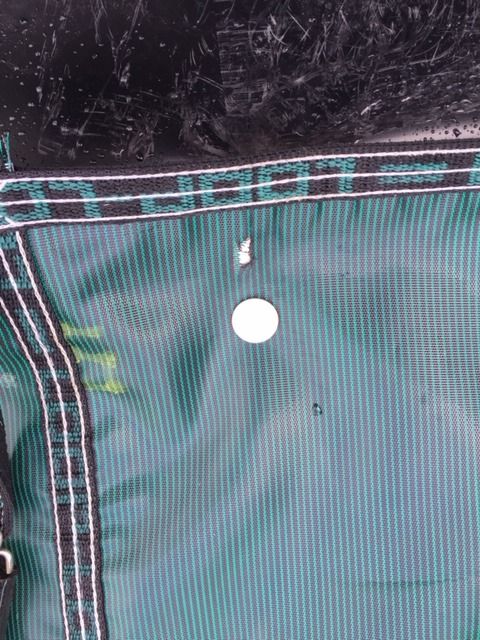
There is rubber padding under this and it didn't cut through that, but I got a patch kit and will patch it when I put it back on and put some extra padding on those corners.
So all in all I'm happy with it, other than the rip, but hopefully I can keep that from happening again by being more careful. Maybe going across the tile/coping would have been better, but hopefully this will last a while. If I had it to do over, I would have rented a core drill and a hammer drill and used the core drill to go through the pavers and then use the hammer drill to go through all the gravel, dirt and rock. This install took 10 hours with the core drill due to the numerous time I had to clean it out, but no pavers were cracked so I'm happy.

A much cleaner hole with the core drill.
I laid out the ropes as per the instructions.

This may not have been necessary with the water being high, but it wasn't that big of a deal to do.
Ready to start drilling. The sleeves for inserts are 12" long

the water attachment on the drill wasn't working. It should have been feeding water inside the core bit, but the quick disconnect didn't work, so I had to rig a hose. I think it would have worked a lot better if the water could have been feeding from inside the bit.

This was when I realized I was going to be in for a long day. It varied on how far down the bit would go before it stopped because it couldn't push the material up the bit any further. I had to take the bit off the drill and then use a piece of rebar and a hammer to clean it out and then go back to drilling. Even after getting through the paver it wasn't always easy and the crush and run under the pavers clogged it up as well. With having to go 12 inches deep for each hole I ended up having to clean the bit out at least 3 times per hole and sometimes more. Here's a pic of the bit cleaning station.

The cordless drill with a masonry bit was used sometimes to loosen the gravel so it would come out easier.
Here's a pic halfway through

And complete


The waterfall area is 1 foot higher than the res of the coping and I was torn about going up and over, verses drilling into the tile or coping and putting anchors to go straight across. I chose up and over.


The black flap you see is what they call the gap guard I think which helps keep things from getting in through the gap. I need to trim those when I reinstall in the fall.
I'm not happy about how tight it is on the two high corners and even got this small rip at some point during the install.

There is rubber padding under this and it didn't cut through that, but I got a patch kit and will patch it when I put it back on and put some extra padding on those corners.
So all in all I'm happy with it, other than the rip, but hopefully I can keep that from happening again by being more careful. Maybe going across the tile/coping would have been better, but hopefully this will last a while. If I had it to do over, I would have rented a core drill and a hammer drill and used the core drill to go through the pavers and then use the hammer drill to go through all the gravel, dirt and rock. This install took 10 hours with the core drill due to the numerous time I had to clean it out, but no pavers were cracked so I'm happy.