Before I begin, I would like to say that this forum is fantastic as a resource for not only pool chemistry and maintenance, but also landscaping and poolscaping. I wound up here originally because of someone's AG pool deck slideshow. As I was planning my project, I viewed a number of the posts here to get ideas of "how to hide" an above ground pool. My yard is big, but not big enough for an inground pool. However, I am not a fan of having a big ugly tub sitting in my yard. So the idea became... let's put an AG in and poolscape to hide it.
At first I considered burying it. But that seemed to be a bad idea for longevity (another bit I learned here) unless I bought a pool designed for it which was definitely out of my budget. I could always have built a retaining wall around it to "bury" it, but that seemed like a lot of work or a costly hire. In the end, I decided that I would get a pool going first and then build a deck and the camouflage later.
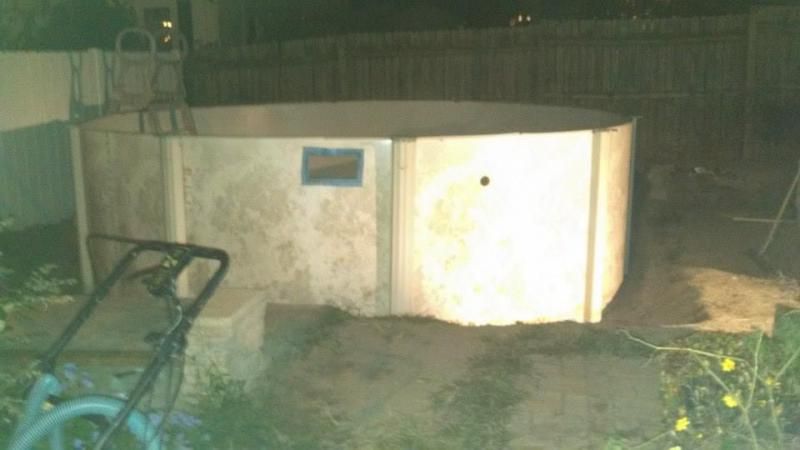
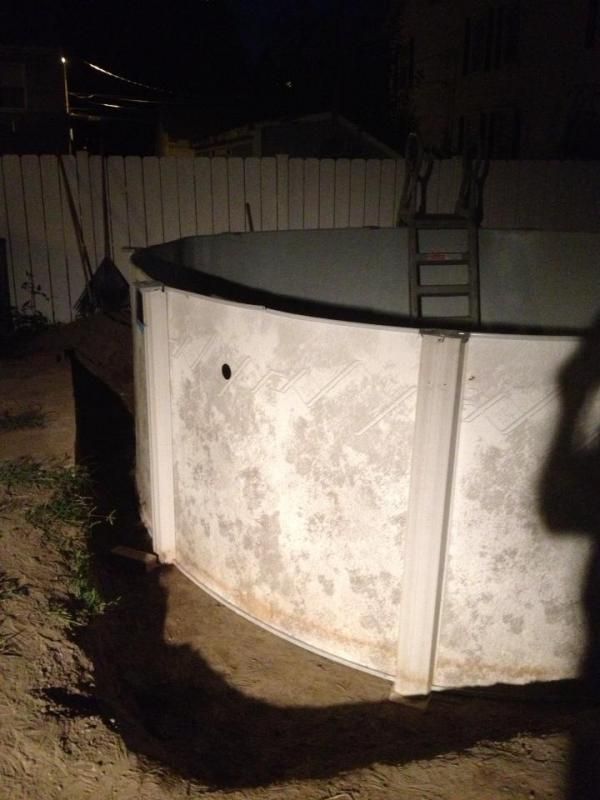
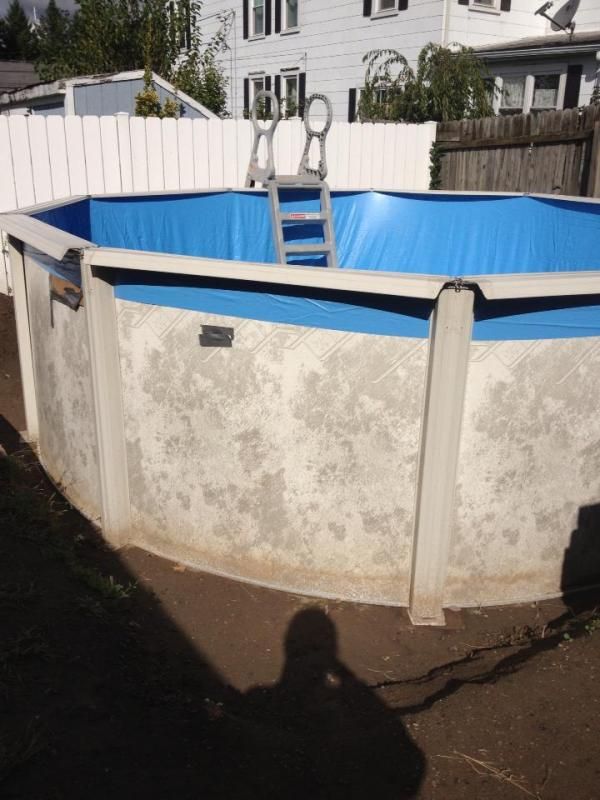
Last year I lucked out on craigslist and found a fantastic deal on a 3 year old Leslie 15' round AG pool. The seller was including the pool structure, a brand new liner, pump system, the solar cover, a premium ladder, and all his DE, hoses, vacuum, etc. For $600. Score! I went to get it immediately. It was in great condition. Thus began the backyard renovation to prepare for the pool.
It... took... all... season...
So without further ado. Put on your hard hats.

Welcome to my humble little plot of land in Central PA.
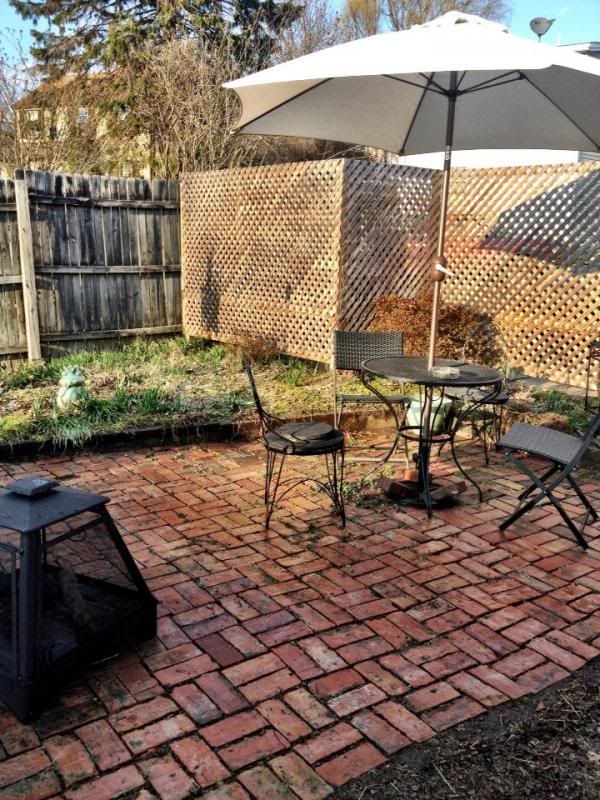
Here's a shot of my backyard as it was at the beginning of last season when I was working on repairing my patio items. I had had a lattice privacy fence built behind my herb gardens two years prior. About 8 years ago the reclaimed brick patio was laid and had been there ever since.
For the pool to be installed there were a number of things to do first.
1) Move some bricks. I decided to create a brick walkway from my kitchen door to the side alleyway (which would become a gate).
2) Put up a fence with self-latching gate(s). I live in town and we are required to have self-latching spring hinge gates.
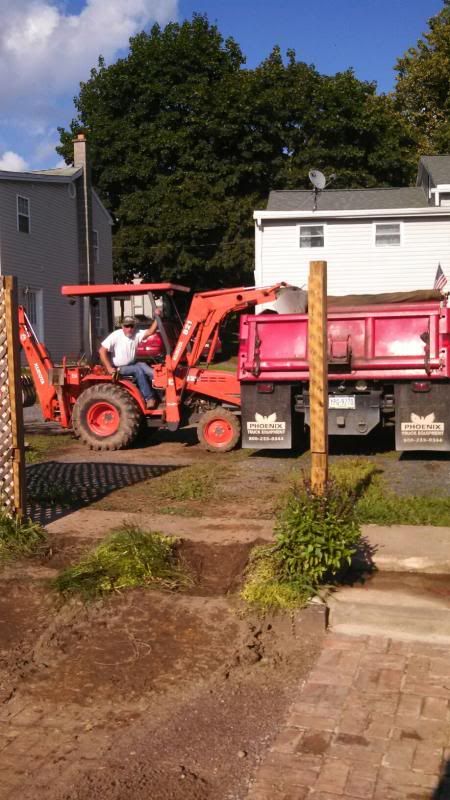
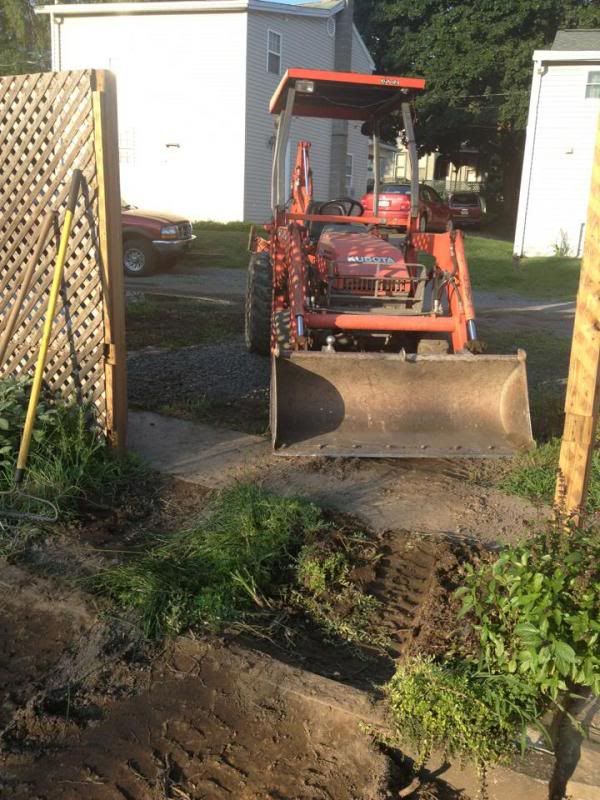
3) Remove a 10x10 metal shed and take 2 feet of concrete off the pad.
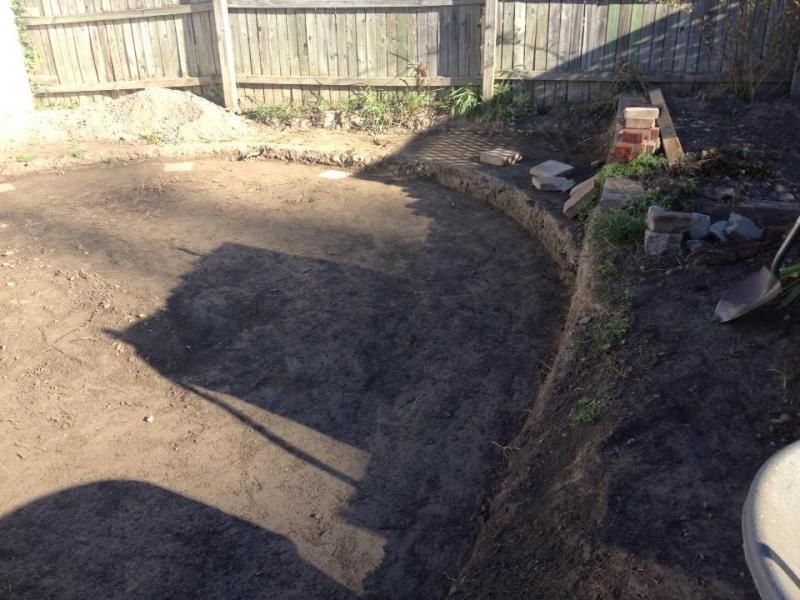
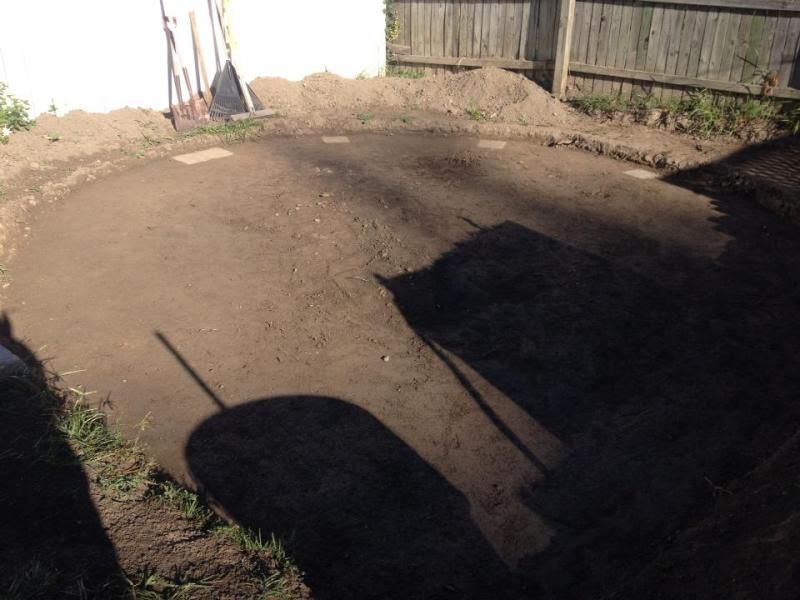
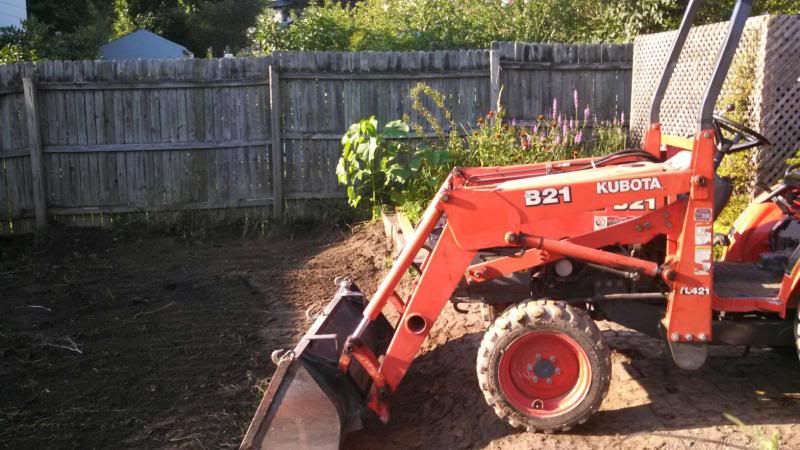
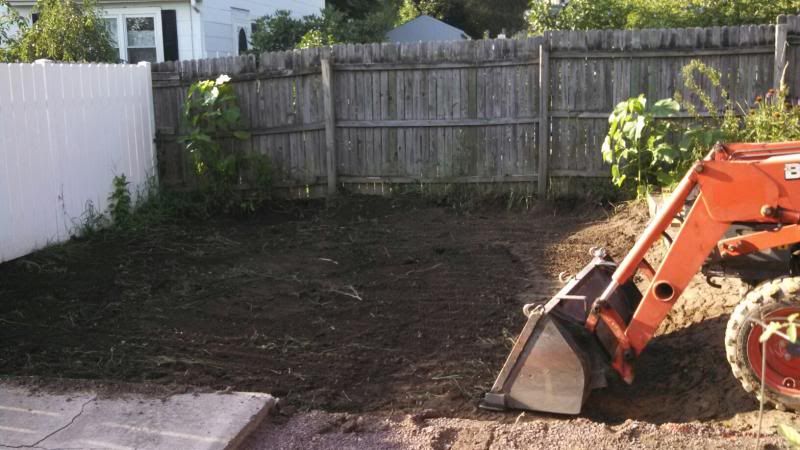
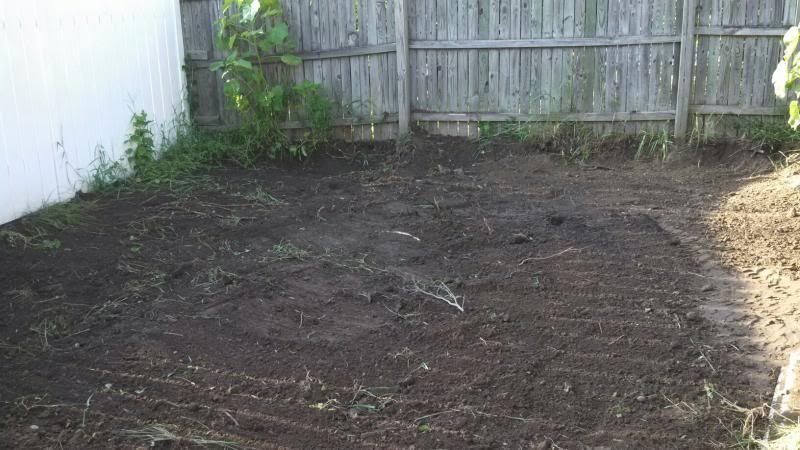
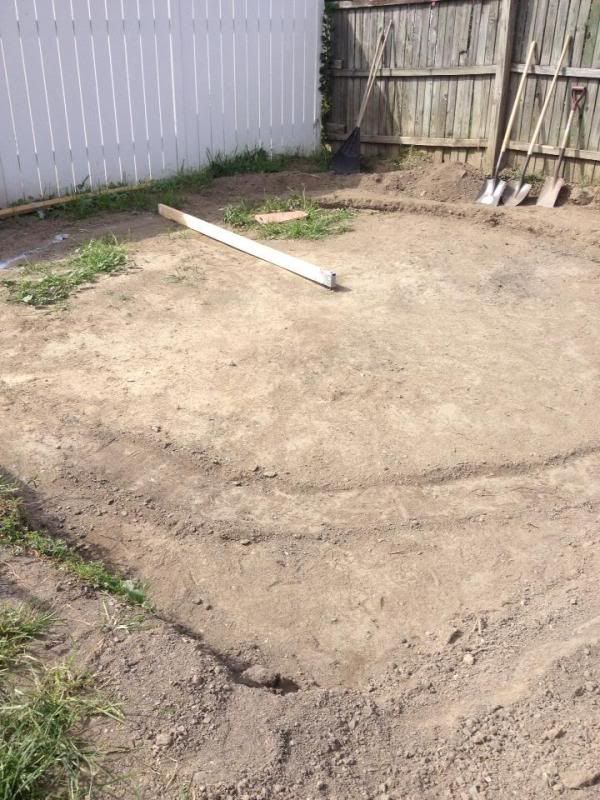
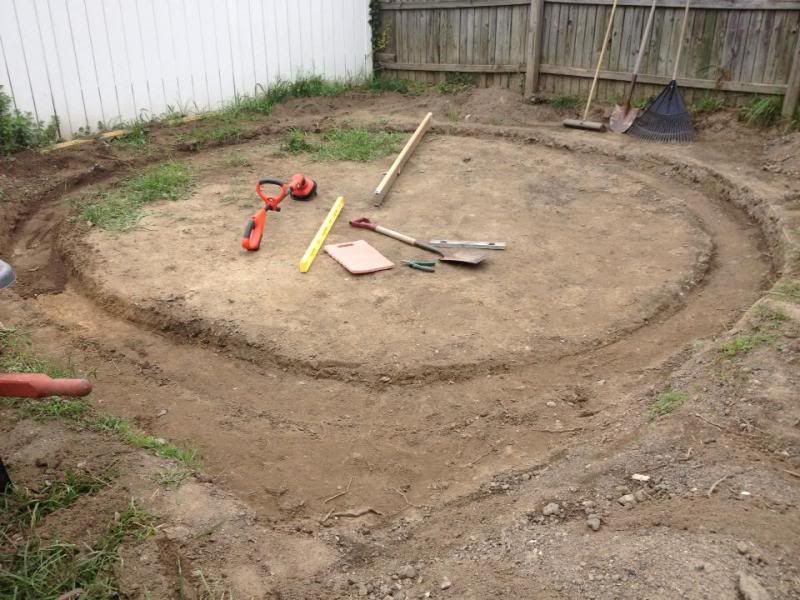
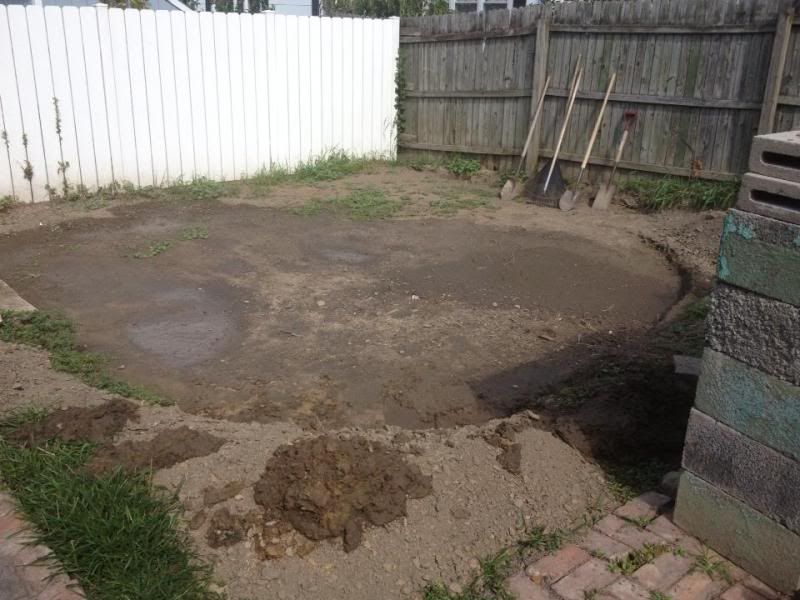
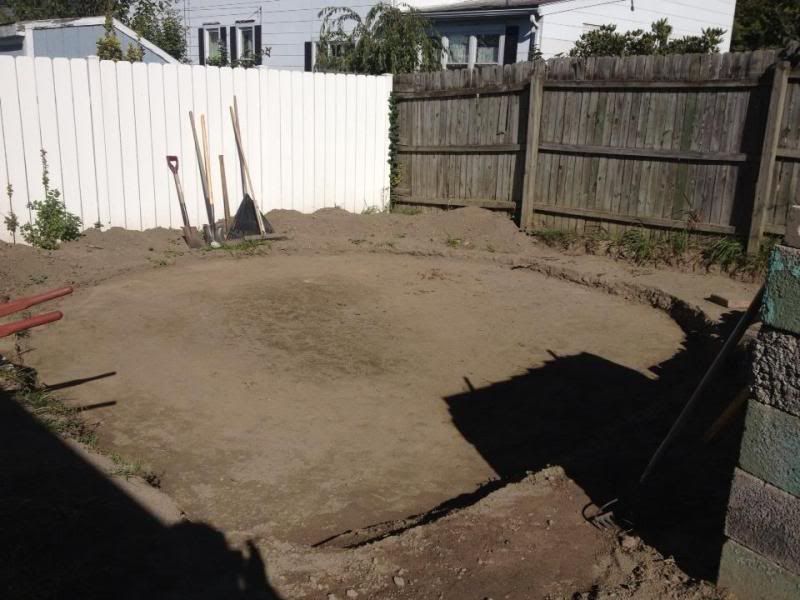
4) Level the pool area.
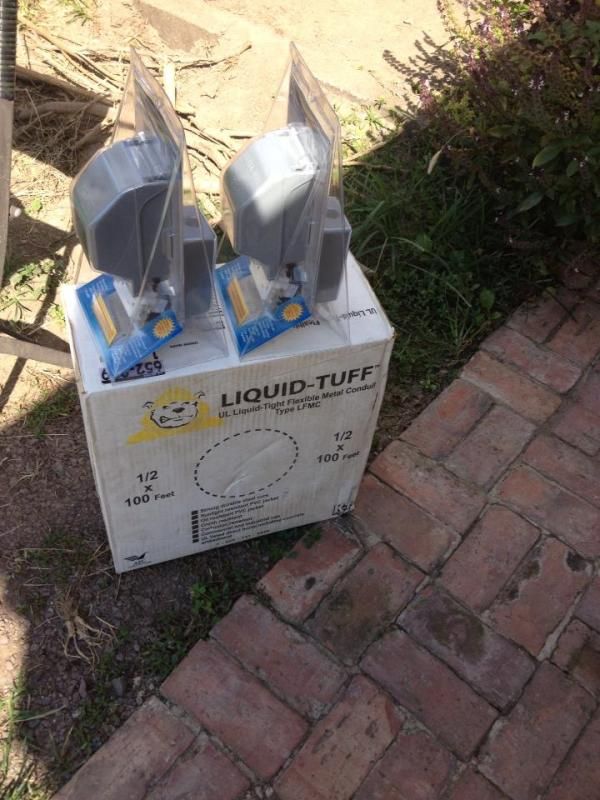
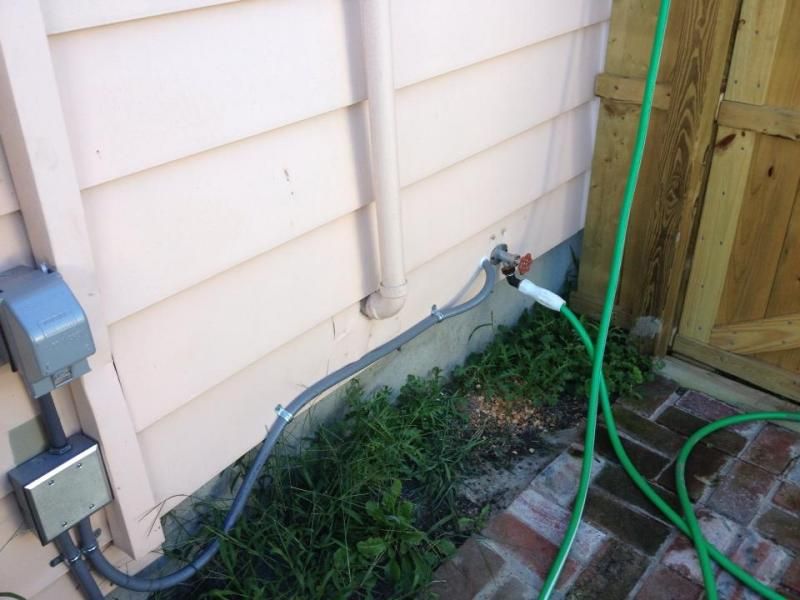
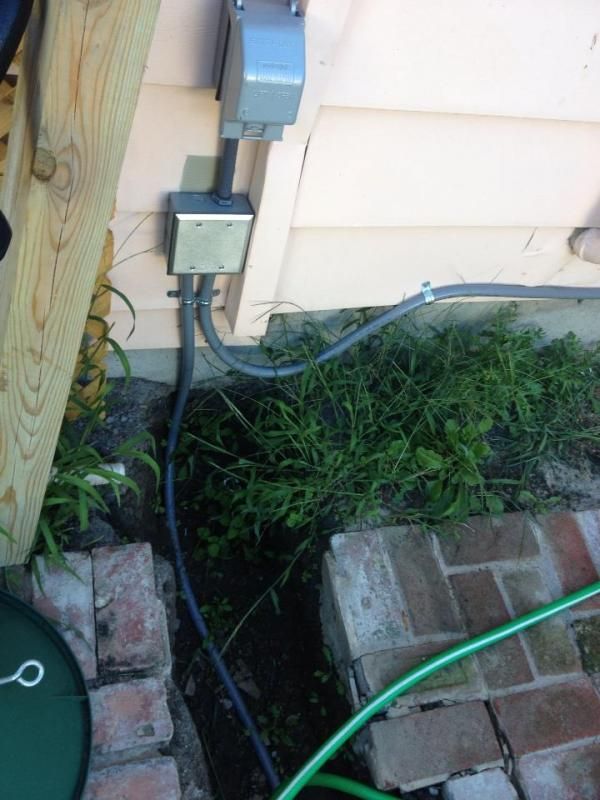
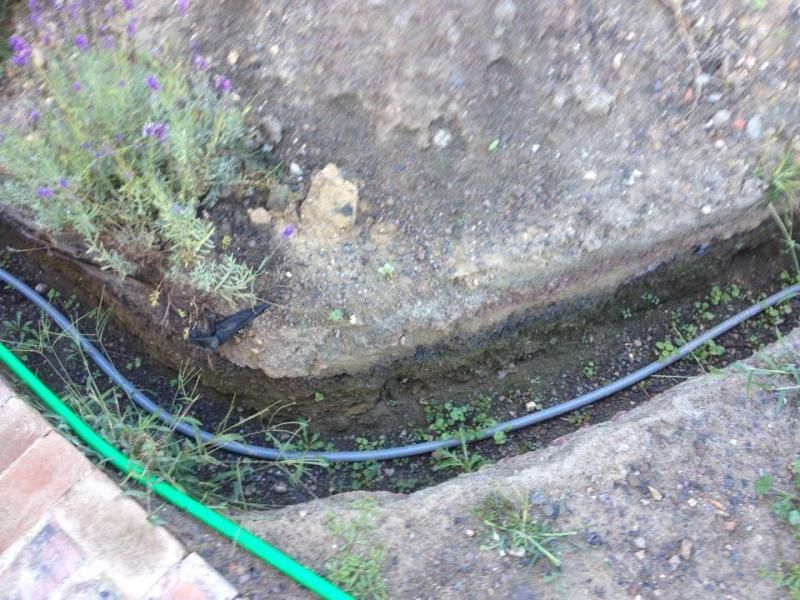
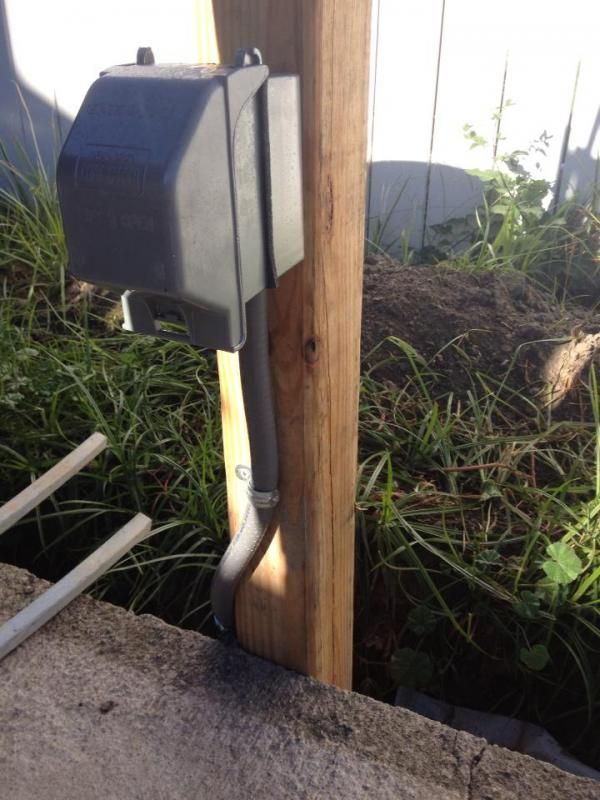
5) Install the electric.
Obviously, these things became big projects all on their own. I'm sure you all know how that goes. But here are some photos.
Brick Relocation/Reclaimed Brick Walkway
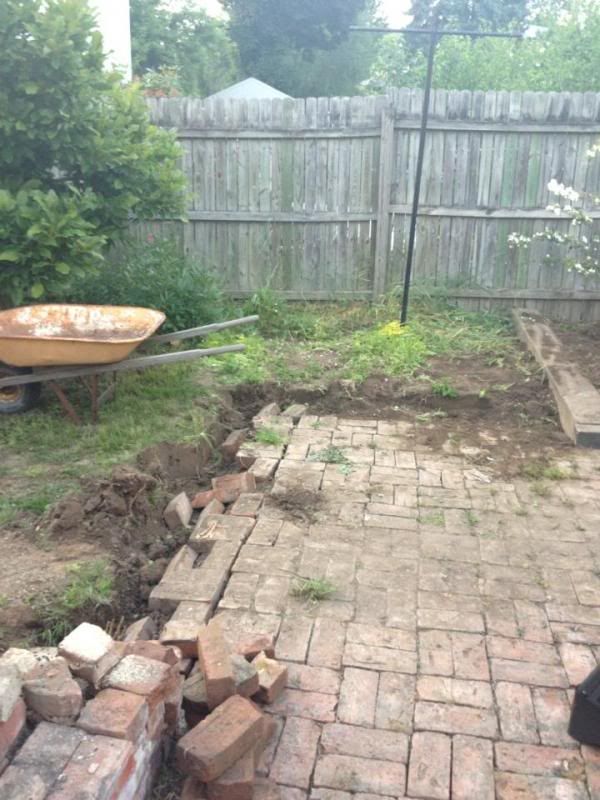
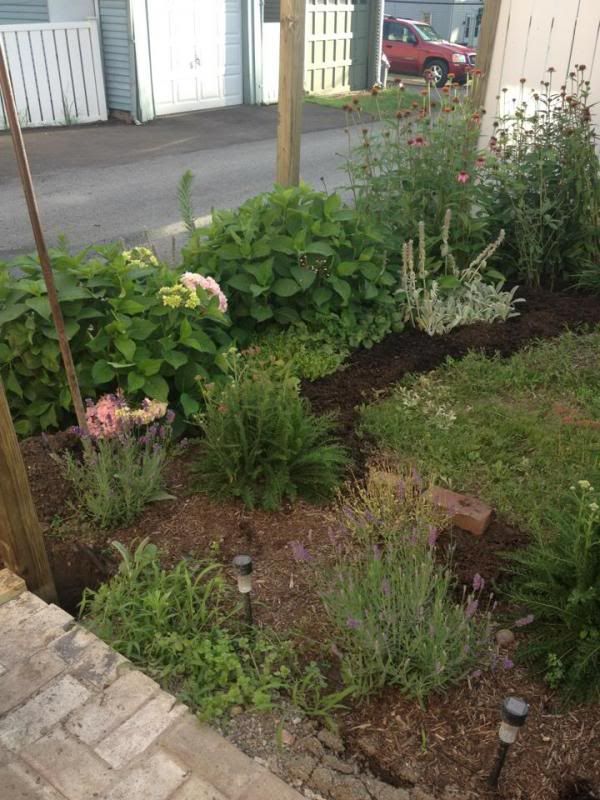
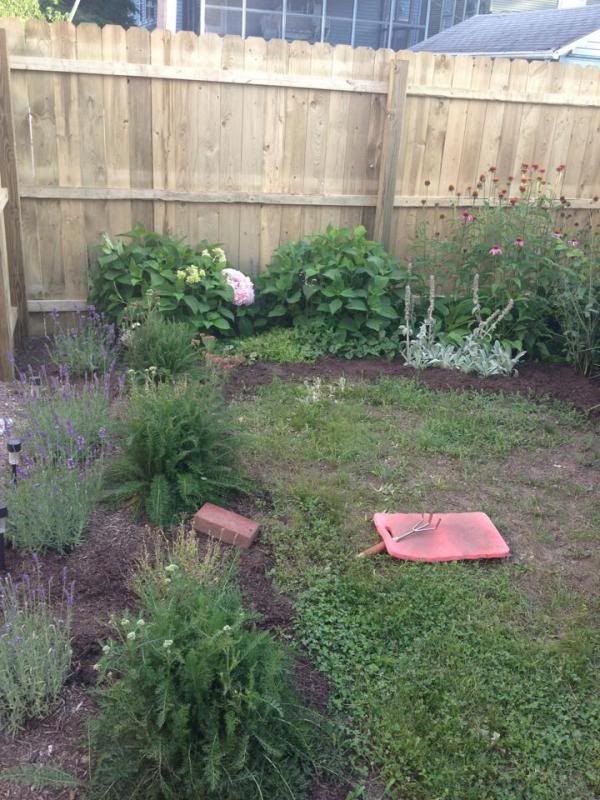
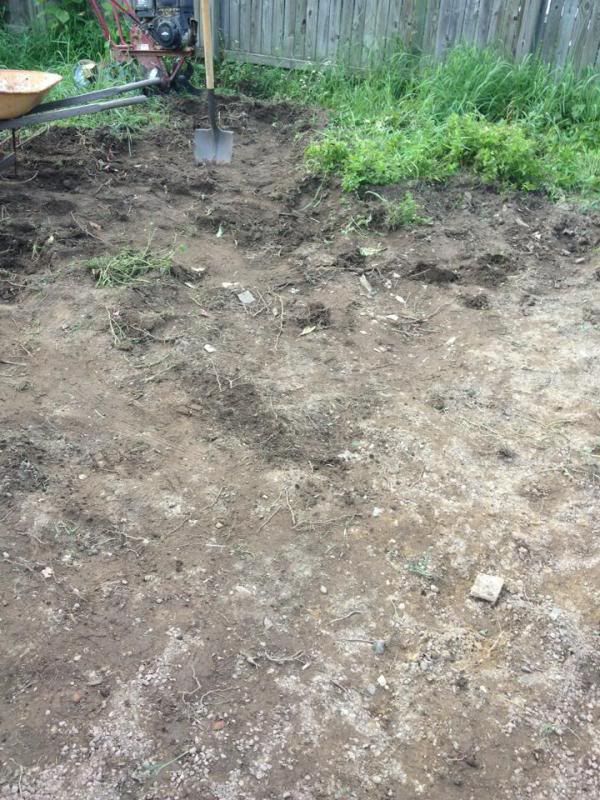
This is the beginning of the brick removal. This is also probably the best photograph I have of the backyard including where I planned to put the pool. See the magnolia tree there? Yep, that's the place where I decided the pool should go. This was because it was the furthest spot from the house and pretty much the only spot that the pool was legally allowed considering setbacks. You can probably imagine already that this posed a number of problems when we got to #4, level the pool area. If you haven't caught on... I'll also say that 10-11 years ago, we also cut down 3 80ft pine trees on the property lot and that 2 of those were located in this little spot for my pool. Dun dun dun...
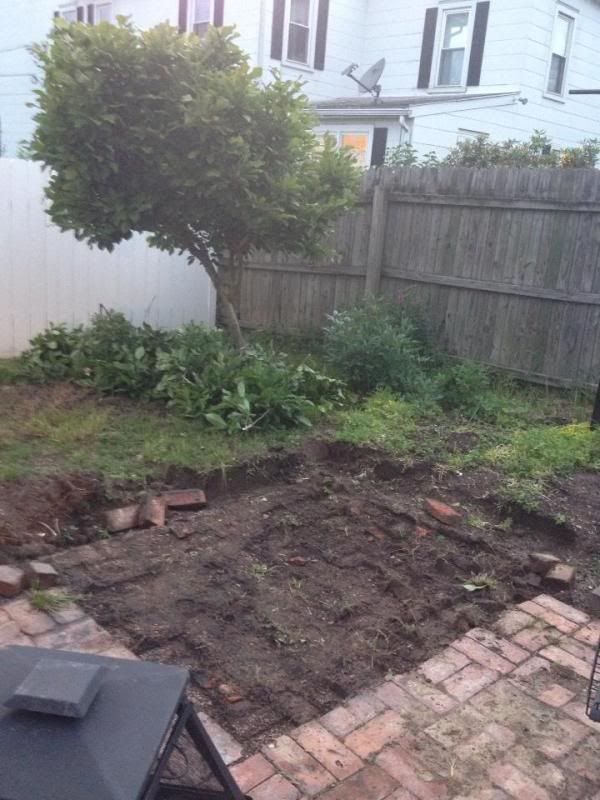
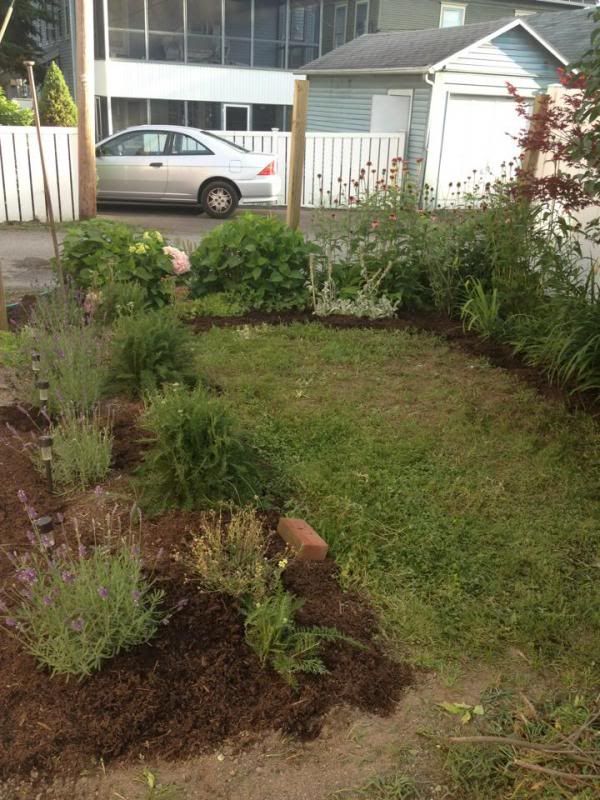
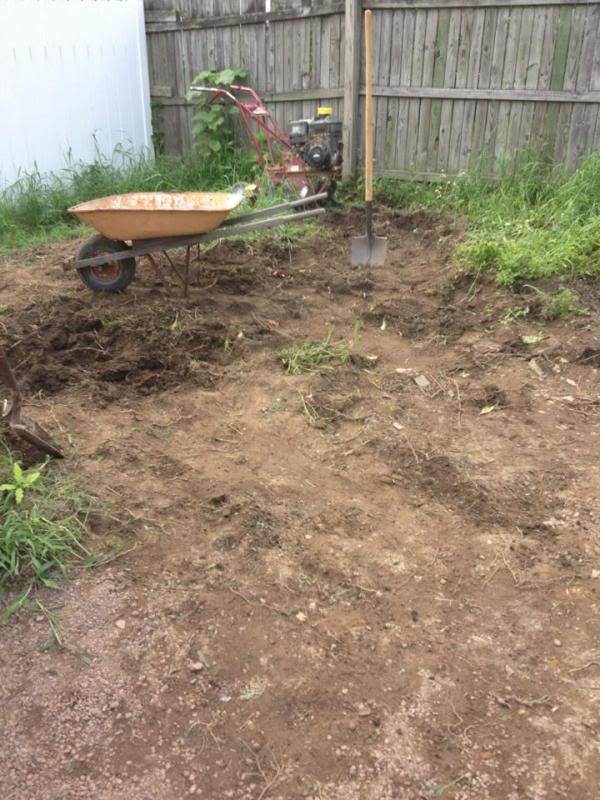
A better shot of the corner the pool will go in with some bricks removed.
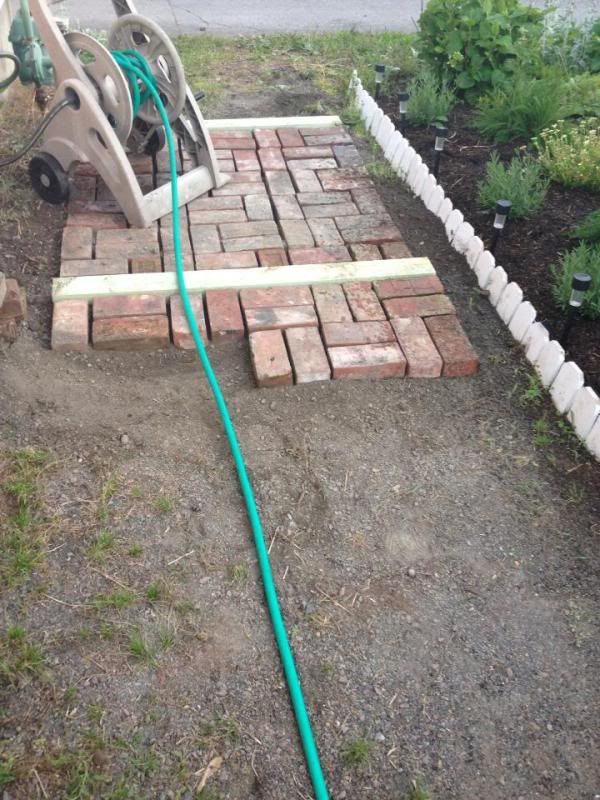
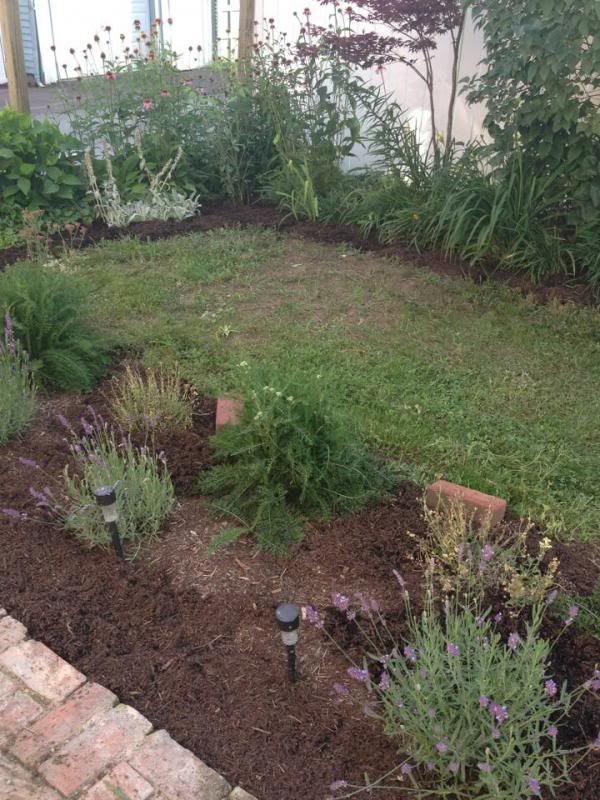
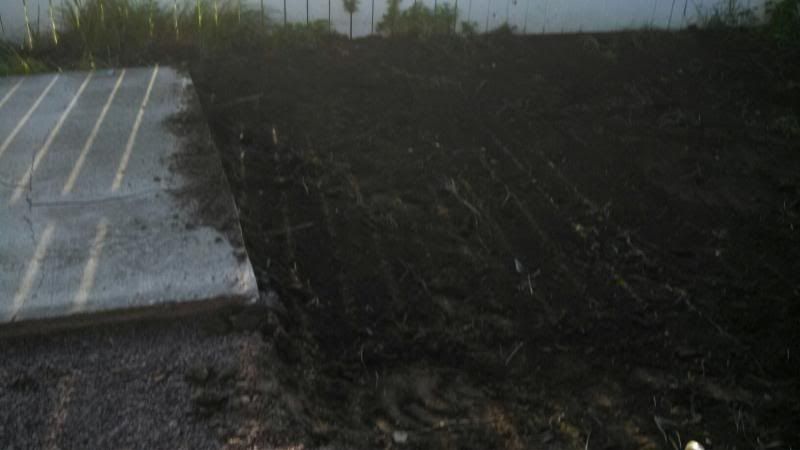
Beginning to lay the bricks.
My mother found a great video on YouTube of a shortcut for brick walkways.
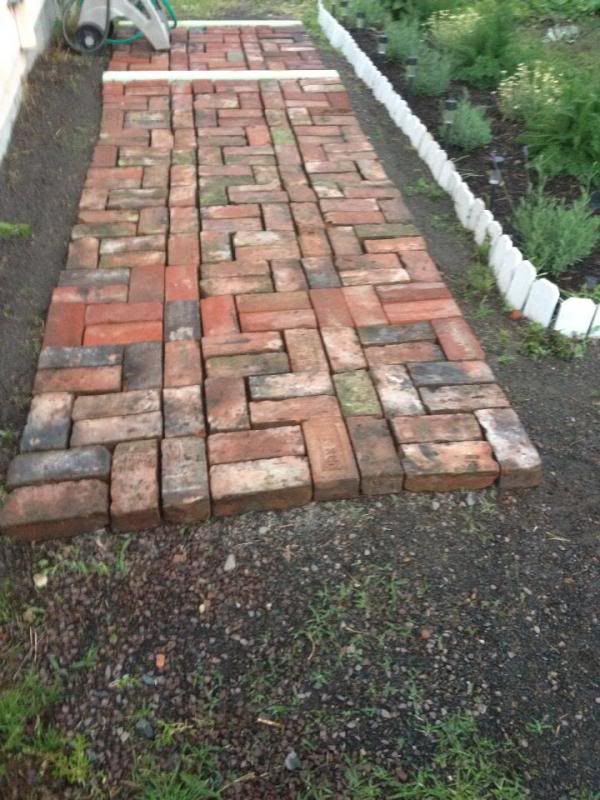
You level the ground as you go and lay out all the bricks in the pattern you want.
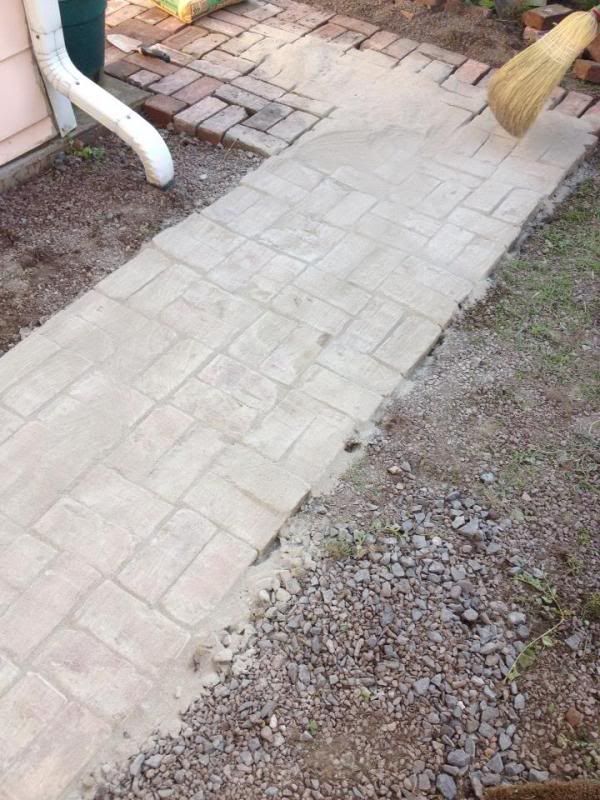
Then you brush quickcrete into all the cracks.
Then you hose down the quickcrete and repeat until you have filled the cracks.
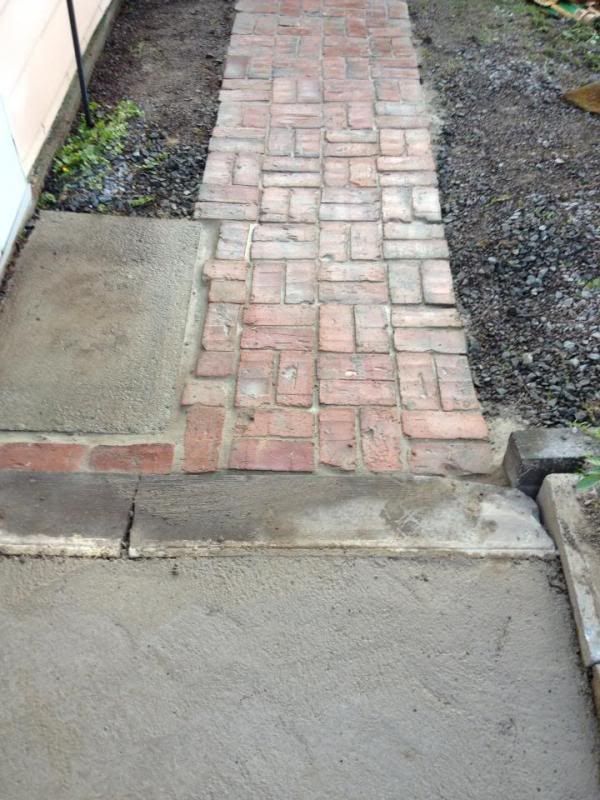
Let me give you a bit of advice about this method. If you live anywhere where the ground freezes up pretty bad in the winter, this is a very bad idea. This looked great when it was finished last year. It was beautiful. Then we had a heck of a winter with polar freezes. And those bricks looked TERRIBLE in the spring. They had heaved every which way and the quickcrete was cracked and chipped all over the place like the house had been in disrepair for 20 years. I don't recommend this method for anyone with ground freezing in the winter. It's definitely not a long term method for northerners. Please don't do it. Ever. It will make you sad no matter how easy it seemed. Trust me.
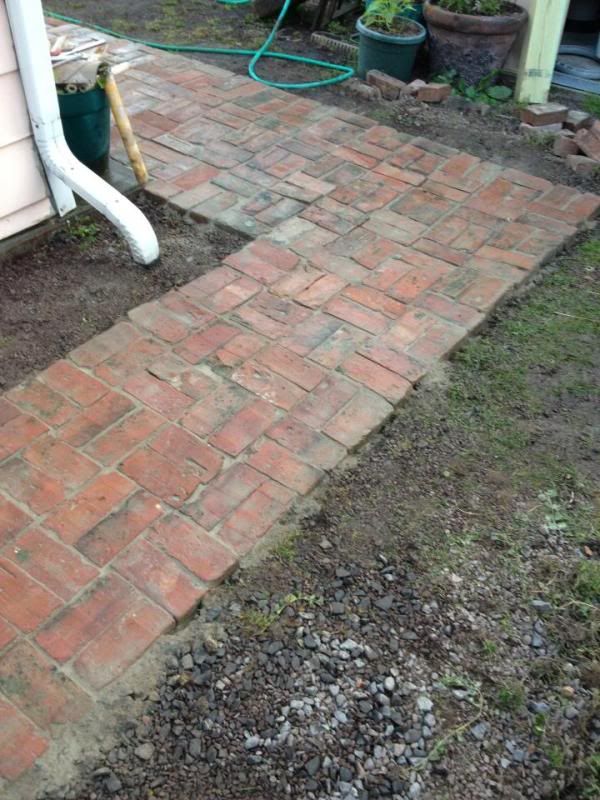
But so this is how it looked up by my door. Notice that ugly concrete step. That's still being worked out because that concrete didn't hold up either. And that was actual concrete. This winter hated on my projects.
But last year before we were schooled, we considered the walkway complete after the quickcrete set.
Put Up a Fence with Self-Latching Gates
The next part of my project was to fence in my yard. I am lucky in that my neighbors on two sides of my lot have 6' fences already. I only needed to fence in 2 sides of my backyard. I already had a privacy fence so we shortcut that last year also and only installed a section of fence and gate on that side before winter. But the side that faced the alley was open to it so that was the next step.
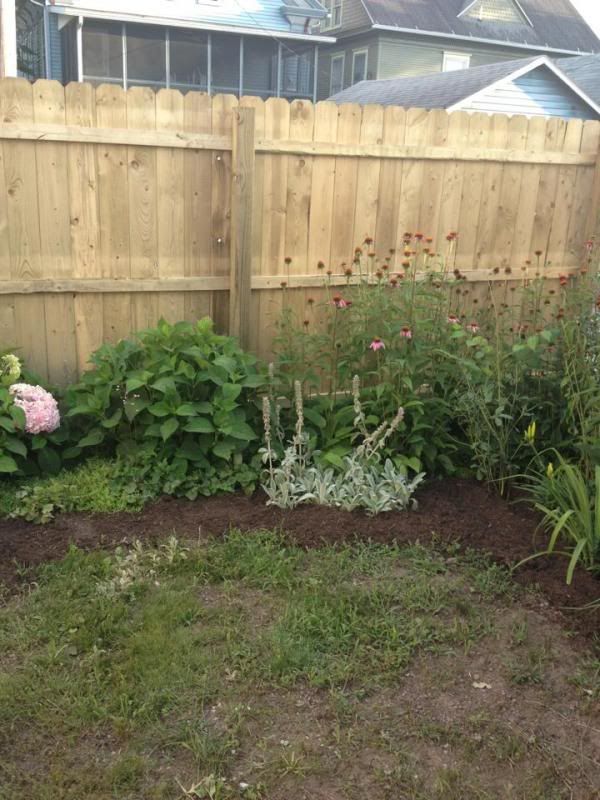
Here are the posts going up behind my garden.
And here are the fence panels on...
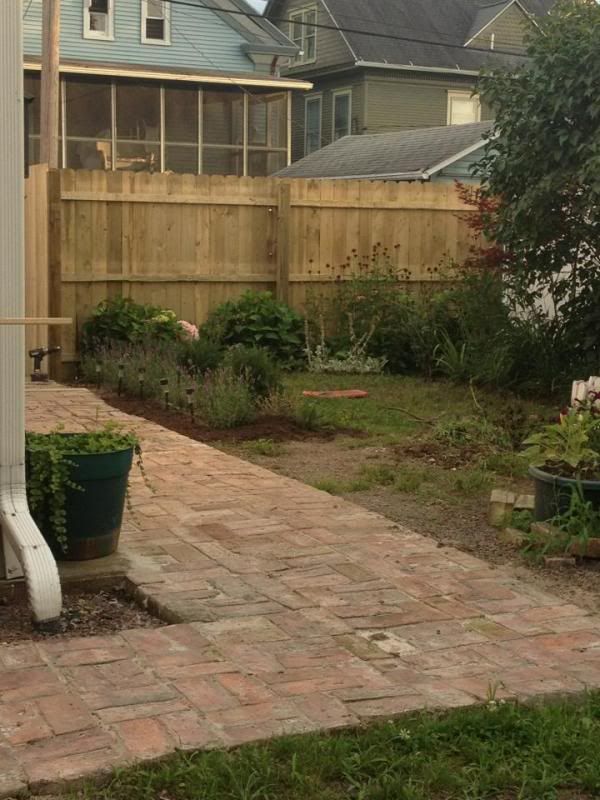
A wider view.
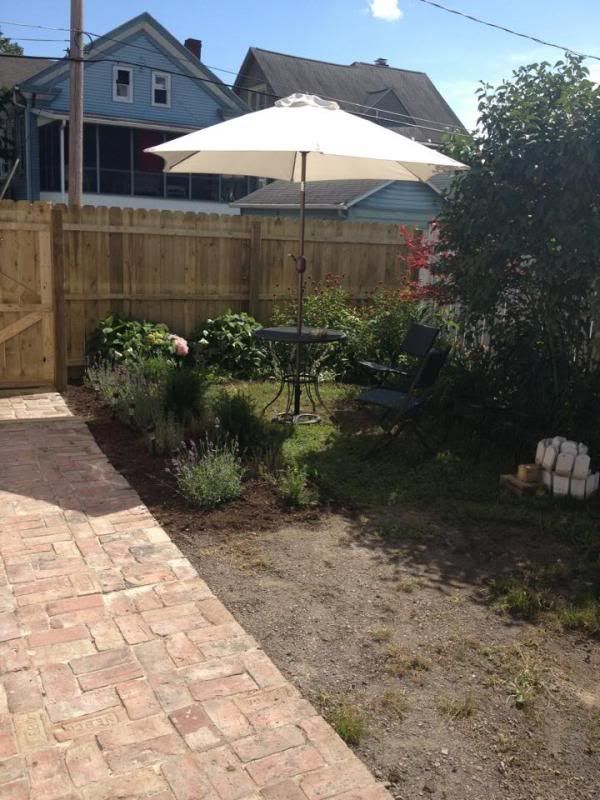
With the gate and my umbrella table.
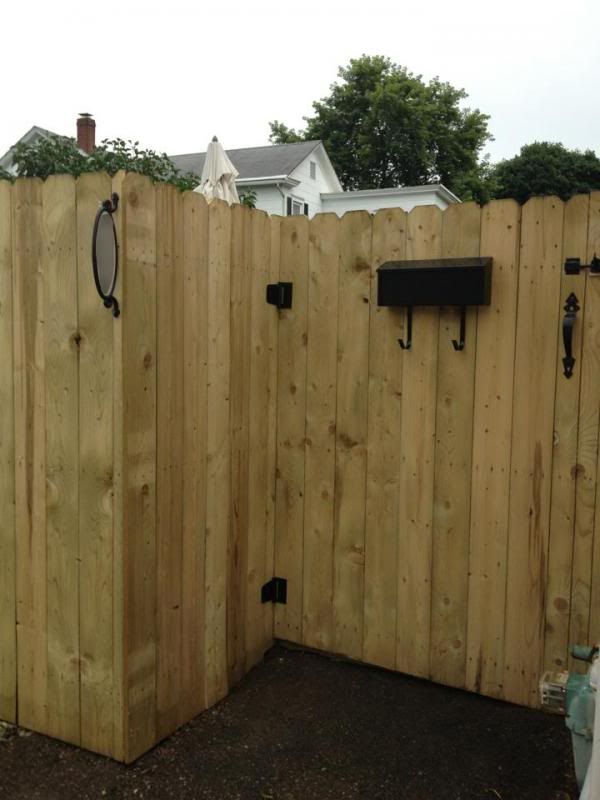
And from outside, here is my gate area.

And this was the other side where we added a panel and a gate to the privacy fence.
To be continued...
At first I considered burying it. But that seemed to be a bad idea for longevity (another bit I learned here) unless I bought a pool designed for it which was definitely out of my budget. I could always have built a retaining wall around it to "bury" it, but that seemed like a lot of work or a costly hire. In the end, I decided that I would get a pool going first and then build a deck and the camouflage later.
Last year I lucked out on craigslist and found a fantastic deal on a 3 year old Leslie 15' round AG pool. The seller was including the pool structure, a brand new liner, pump system, the solar cover, a premium ladder, and all his DE, hoses, vacuum, etc. For $600. Score! I went to get it immediately. It was in great condition. Thus began the backyard renovation to prepare for the pool.
It... took... all... season...
So without further ado. Put on your hard hats.
Welcome to my humble little plot of land in Central PA.
Here's a shot of my backyard as it was at the beginning of last season when I was working on repairing my patio items. I had had a lattice privacy fence built behind my herb gardens two years prior. About 8 years ago the reclaimed brick patio was laid and had been there ever since.
For the pool to be installed there were a number of things to do first.
1) Move some bricks. I decided to create a brick walkway from my kitchen door to the side alleyway (which would become a gate).
2) Put up a fence with self-latching gate(s). I live in town and we are required to have self-latching spring hinge gates.
3) Remove a 10x10 metal shed and take 2 feet of concrete off the pad.
4) Level the pool area.
5) Install the electric.
Obviously, these things became big projects all on their own. I'm sure you all know how that goes. But here are some photos.
Brick Relocation/Reclaimed Brick Walkway
This is the beginning of the brick removal. This is also probably the best photograph I have of the backyard including where I planned to put the pool. See the magnolia tree there? Yep, that's the place where I decided the pool should go. This was because it was the furthest spot from the house and pretty much the only spot that the pool was legally allowed considering setbacks. You can probably imagine already that this posed a number of problems when we got to #4, level the pool area. If you haven't caught on... I'll also say that 10-11 years ago, we also cut down 3 80ft pine trees on the property lot and that 2 of those were located in this little spot for my pool. Dun dun dun...
A better shot of the corner the pool will go in with some bricks removed.
Beginning to lay the bricks.
My mother found a great video on YouTube of a shortcut for brick walkways.
You level the ground as you go and lay out all the bricks in the pattern you want.
Then you brush quickcrete into all the cracks.
Then you hose down the quickcrete and repeat until you have filled the cracks.
Let me give you a bit of advice about this method. If you live anywhere where the ground freezes up pretty bad in the winter, this is a very bad idea. This looked great when it was finished last year. It was beautiful. Then we had a heck of a winter with polar freezes. And those bricks looked TERRIBLE in the spring. They had heaved every which way and the quickcrete was cracked and chipped all over the place like the house had been in disrepair for 20 years. I don't recommend this method for anyone with ground freezing in the winter. It's definitely not a long term method for northerners. Please don't do it. Ever. It will make you sad no matter how easy it seemed. Trust me.
But so this is how it looked up by my door. Notice that ugly concrete step. That's still being worked out because that concrete didn't hold up either. And that was actual concrete. This winter hated on my projects.
But last year before we were schooled, we considered the walkway complete after the quickcrete set.
Put Up a Fence with Self-Latching Gates
The next part of my project was to fence in my yard. I am lucky in that my neighbors on two sides of my lot have 6' fences already. I only needed to fence in 2 sides of my backyard. I already had a privacy fence so we shortcut that last year also and only installed a section of fence and gate on that side before winter. But the side that faced the alley was open to it so that was the next step.
Here are the posts going up behind my garden.
And here are the fence panels on...
A wider view.
With the gate and my umbrella table.
And from outside, here is my gate area.
And this was the other side where we added a panel and a gate to the privacy fence.
To be continued...

")