Hey there - How's your project coming along?
Question on your hidden drains. I see that the square ones are listed on their site as shower drains. Were you able to use the 1 1/4" thick paver or did you have to shave them down? If they intend them for shower drains I'm surprised that they'd accept material that thick.
Thanks and let us know how you're doing!
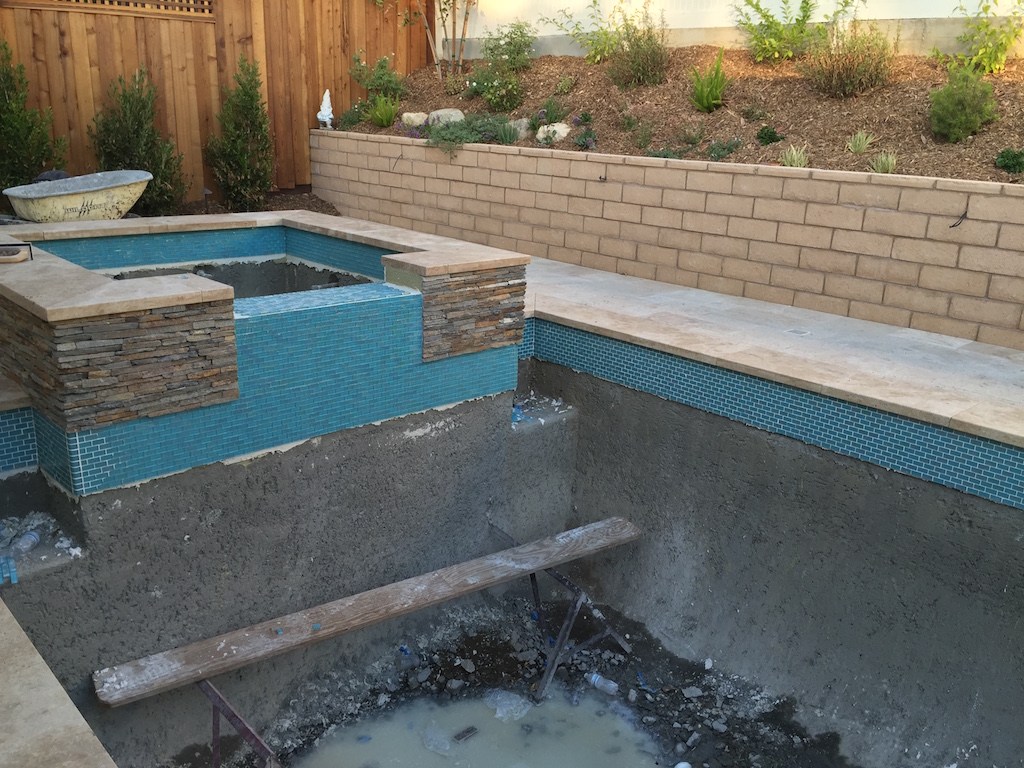
Im still waiting for my 1 1/2 booster pump to install and bond....then I can call for pre plaster inspection...I blew it and forgot it on the order and now it is on backorder....grrr.
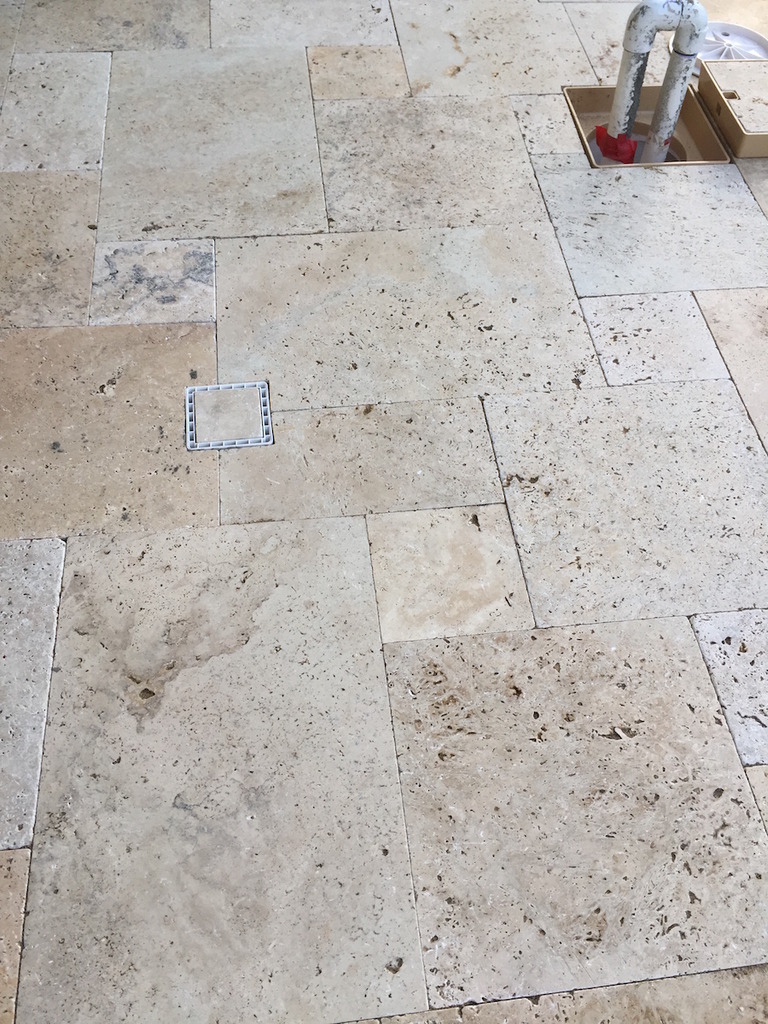
Yes they are shower drains. They make round ones specfically for 3 and 4 inch drains...i ordered a dozen and sent them back because it would be a pain to cut round holes in my pavers (the "outdoor" drains only come in round) I was going to splurge for a round diamond bit to burn the holes, but many of them landed on joints and it uickly became a pain, so I sent square because my pool is a rectangle.
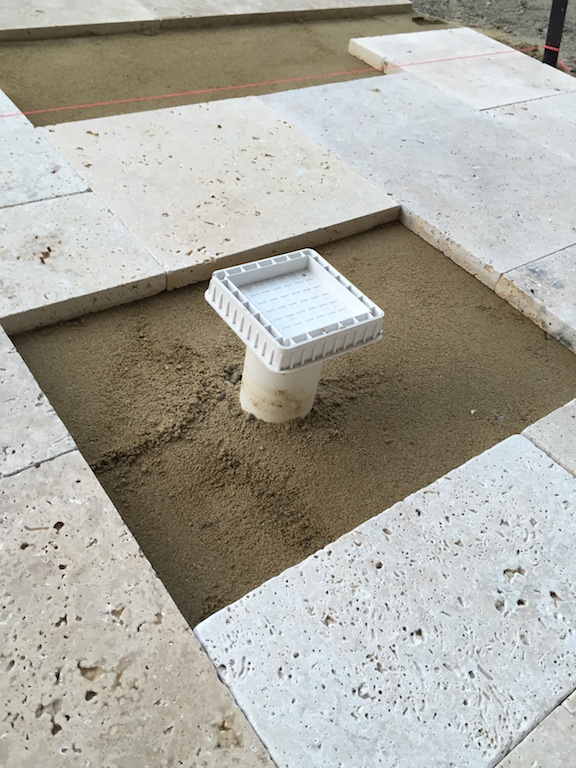
You need a Dremel - or better yet a bench grinder to cut/grind the lugs off of the outside diameter of the square to make them smooth. The lugs give proper 1/8" spacing from the tile so you can grout them in place, so you dont need them for pavers. They fit fine under the 1 1/4 pavers. They are about the same thickness as the pavers, so we compacted them with pavers at the same time
The drains have 2" MPT outlets. I does not rain that much in So Calif, so that does not bug me and I put 12 of them in so I think I have plenty of drainage.
My drain lines are 3" so I ended up buying 12each 2x2.5" (or maybe it was 2x3"?) bushing x spigot fittings from flexpvc.com and they fit in the 3" pipes pretty well. The centers of the drains pop out if you ever need to snake out the lines. The guy at hidden drain warns that the shower drains are not really UV rated and might have problems later (he really does not know for sure) being outside. They are really close to standard 4x4 3 inch surface drains, so if they end up having problems in 5 or 10 years, I could swap them out.
Full credit to Apapaz2. These were his idea. He bought all the beige ones, so I used white.
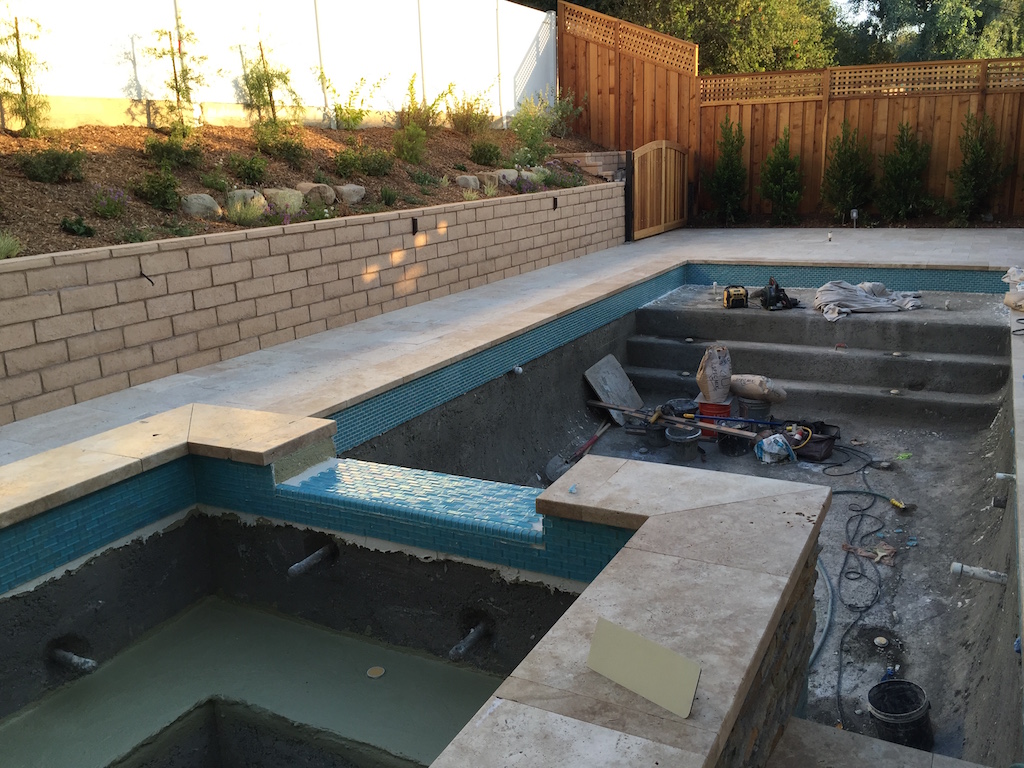
I bought two lids from Stetson and only used one on the skimmer. I ended up cutting a piece of travertine for the auto fill cover instead. Once you get the pour a lid with a piece of 1 1/4" travertine in it - it is pretty heavy. I dont think my wife will be able to pick it up if she needs to check the skimmer if Im traveling. If I had to do it again, I'd pass on the pour a lid and just cut the travertine.
Hope that helps.