The husband and I live in SWFL and finally made our big purchase (our Coleman pool) ! We have been wanting a pool for a year now, but have been putting it off, as we knew how much work it would be to set-up. I am so glad that I found TFP because it is a wealth of knowledge! I am hoping to share our journey in setting up our Coleman pool and getting some feedback as we run into questions. If you have any advice, please feel free to share!
Here are some progress pictures *We are burying the pool 2ft down

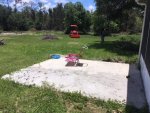
We decided to put the pool close to the cement slab, so we can build a deck off of it to the pool.

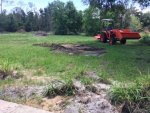
Starting to dig the hole.

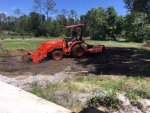
Still digging...

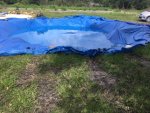
We had a pretty heavy rain, so we covered the hole.
 ! We have been wanting a pool for a year now, but have been putting it off, as we knew how much work it would be to set-up. I am so glad that I found TFP because it is a wealth of knowledge! I am hoping to share our journey in setting up our Coleman pool and getting some feedback as we run into questions. If you have any advice, please feel free to share!
 Here are some progress pictures

We decided to put the pool close to the cement slab, so we can build a deck off of it to the pool.

Starting to dig the hole.

Still digging...

We had a pretty heavy rain, so we covered the hole.


 :
:

 I did not forget about this thread!


