
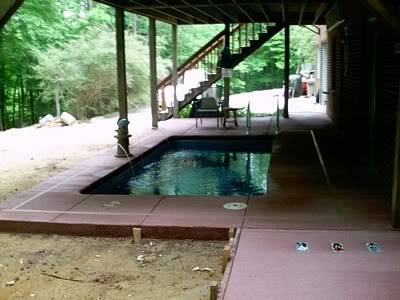
We still can not believe it is really finished and everything is working perfectly!! :-D
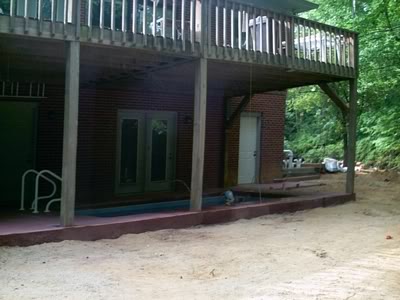
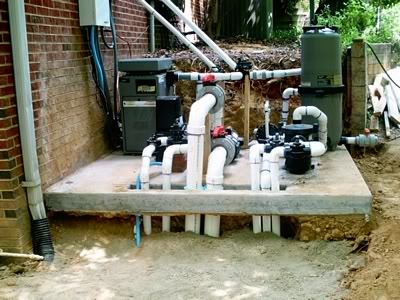
We put a ton of hard work in it and still have the enclosed multi-windowed sunroom and landscaping yet to come; but today is a very BLESSED and great day. . . no more plumbing or electrical work. Here are a few of our first pictures. Also, this is what is in it:
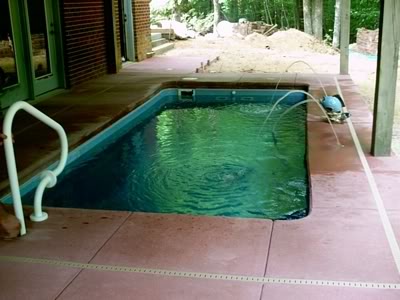
Viking/CPC 6500 gal shaphire blue fiberglass shell          Â
0.75 HP Jandy Stealth Pump (Filtration System)
0.75 HP Hayward (booster pump)
4 HP Speck Pump - Badu Jet StreamII system
Jandy CJ250 single cart. Pool Filter
Jandy Lite2 LJ125K BTU propane gas heater
Solar heater, Aquatherm Sys w/6 panels
Hayward Phantom Pool Vac
(A) Jandy 2†Never-Lube 3-port valves (2)
(B) Jandy 2†Never-Lube 2-port valve (5)
(Ck) Jandy 2†Never-Lube Check Values valve (1)
(C) Jandy JVA 2440 Actuators (2)
Asahi 4†PVC Butterfly valve w/ flanges (2)
Auto Water-Leveler
Fiberstar Fiber Optic circumferential lighting
Handrails/anchors/cover
Jandy Control Interface – PDAP8 Aqualink
Jandy Sub-Panel Power Center (6614AP700)
Jandy Purelink 7-blade Salt Chlorine Generator
Simple fish water accent and (2) Jandy Deck Jets
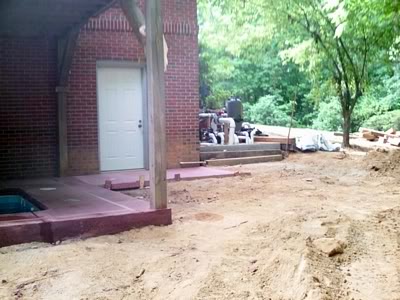
 (dry-in roof next and then the walls with huge windows to go in ASAP)
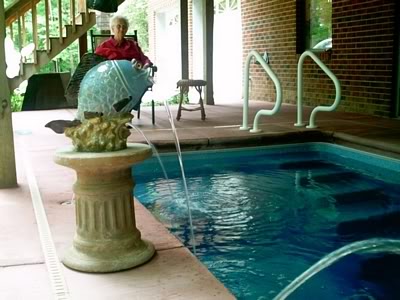 (Mother is pleased)

We put a ton of hard work in it and still have the enclosed multi-windowed sunroom and landscaping yet to come; but today is a very BLESSED and great day. . . no more plumbing or electrical work. Here are a few of our first pictures. Also, this is what is in it:
Viking/CPC 6500 gal shaphire blue fiberglass shell          Â
0.75 HP Jandy Stealth Pump (Filtration System)
0.75 HP Hayward (booster pump)
4 HP Speck Pump - Badu Jet StreamII system
Jandy CJ250 single cart. Pool Filter
Jandy Lite2 LJ125K BTU propane gas heater
Solar heater, Aquatherm Sys w/6 panels
Hayward Phantom Pool Vac
(A) Jandy 2†Never-Lube 3-port valves (2)
(B) Jandy 2†Never-Lube 2-port valve (5)
(Ck) Jandy 2†Never-Lube Check Values valve (1)
(C) Jandy JVA 2440 Actuators (2)
Asahi 4†PVC Butterfly valve w/ flanges (2)
Auto Water-Leveler
Fiberstar Fiber Optic circumferential lighting
Handrails/anchors/cover
Jandy Control Interface – PDAP8 Aqualink
Jandy Sub-Panel Power Center (6614AP700)
Jandy Purelink 7-blade Salt Chlorine Generator
Simple fish water accent and (2) Jandy Deck Jets