JoeSelf
Gold Supporter
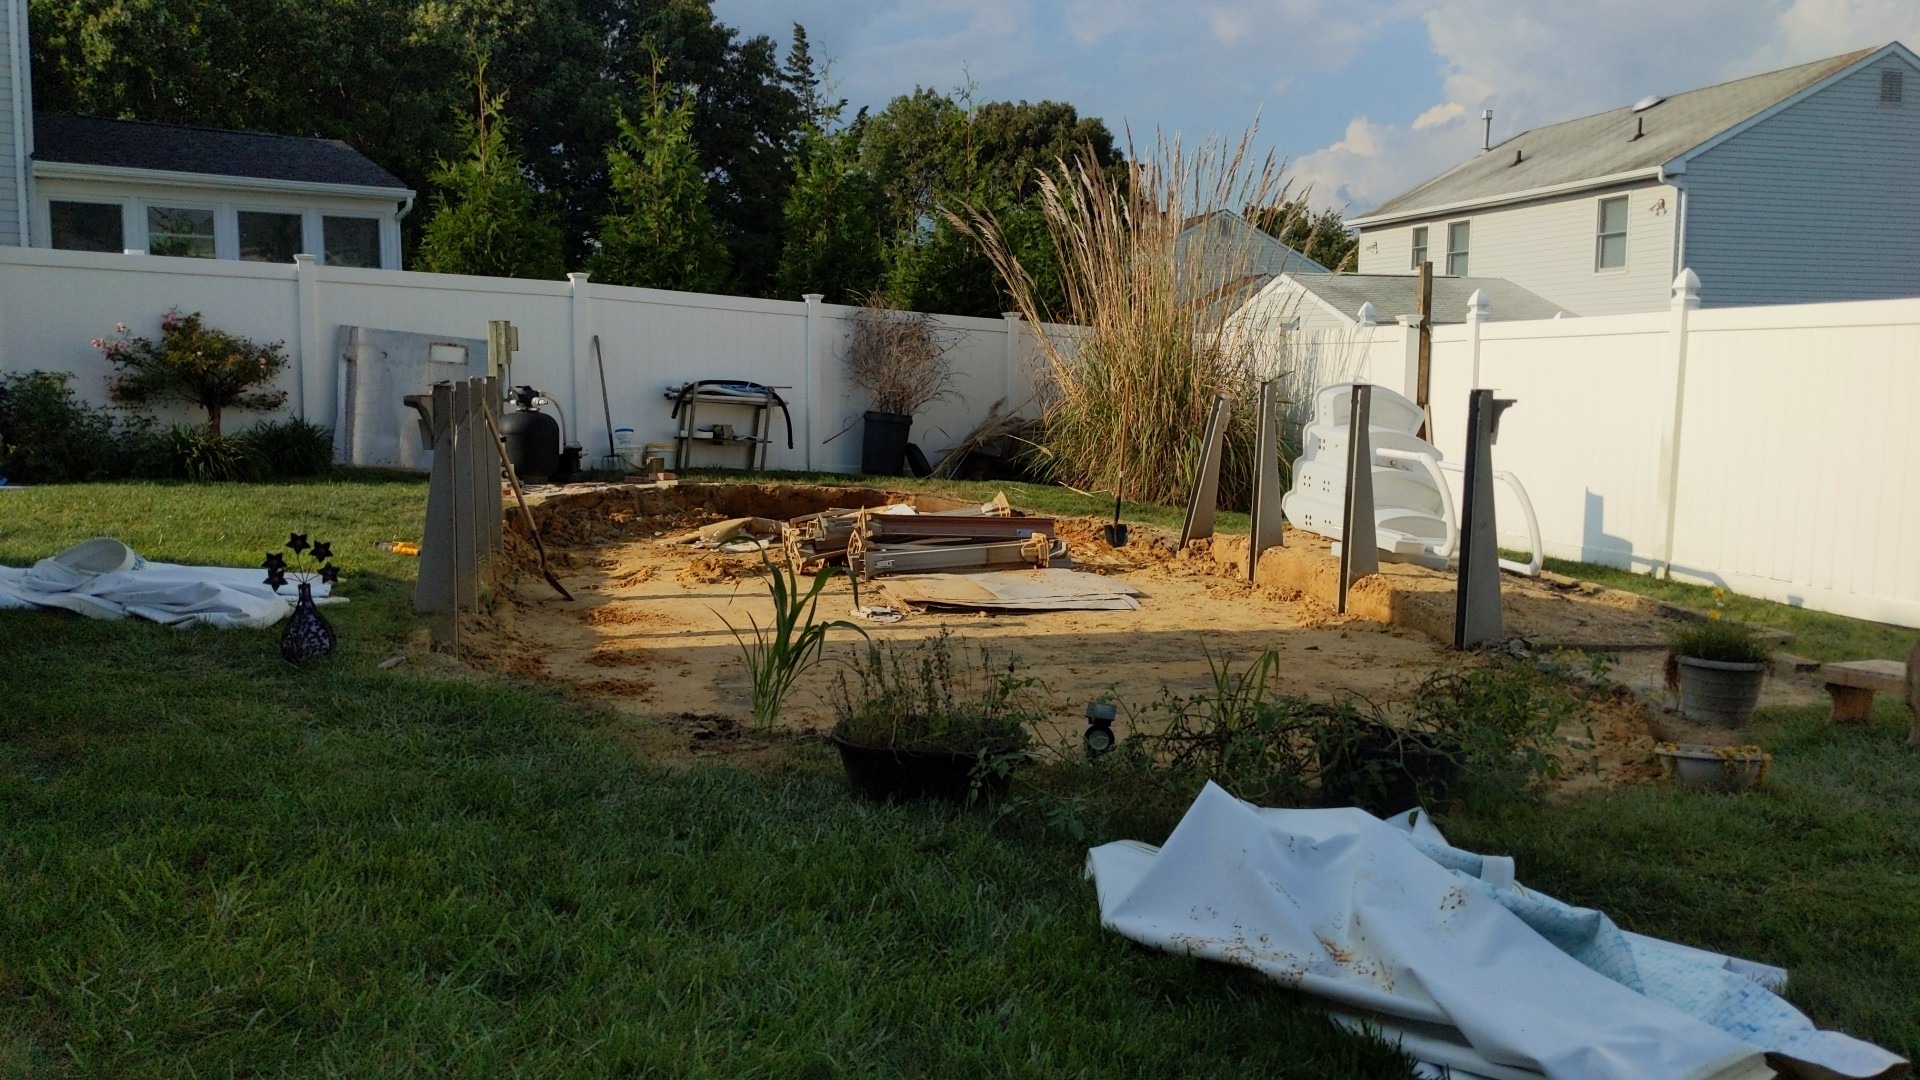
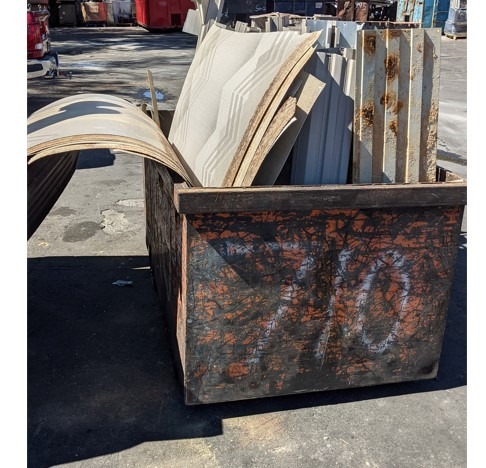
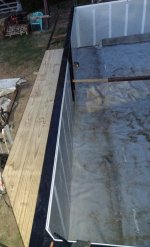
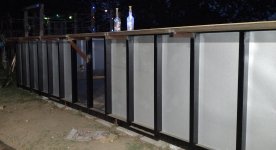
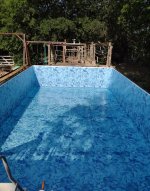
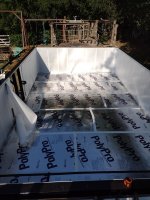
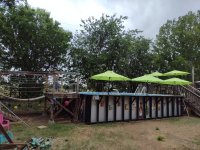
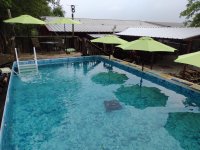
I had a narrow yard pool. The braces had to be 3/8" minimum bent plate around the uprights. Buried under the sand was the corrugated metal on the front right in the bin, bolted together @ each upright for a total of 8. Weight of the water on top of them.