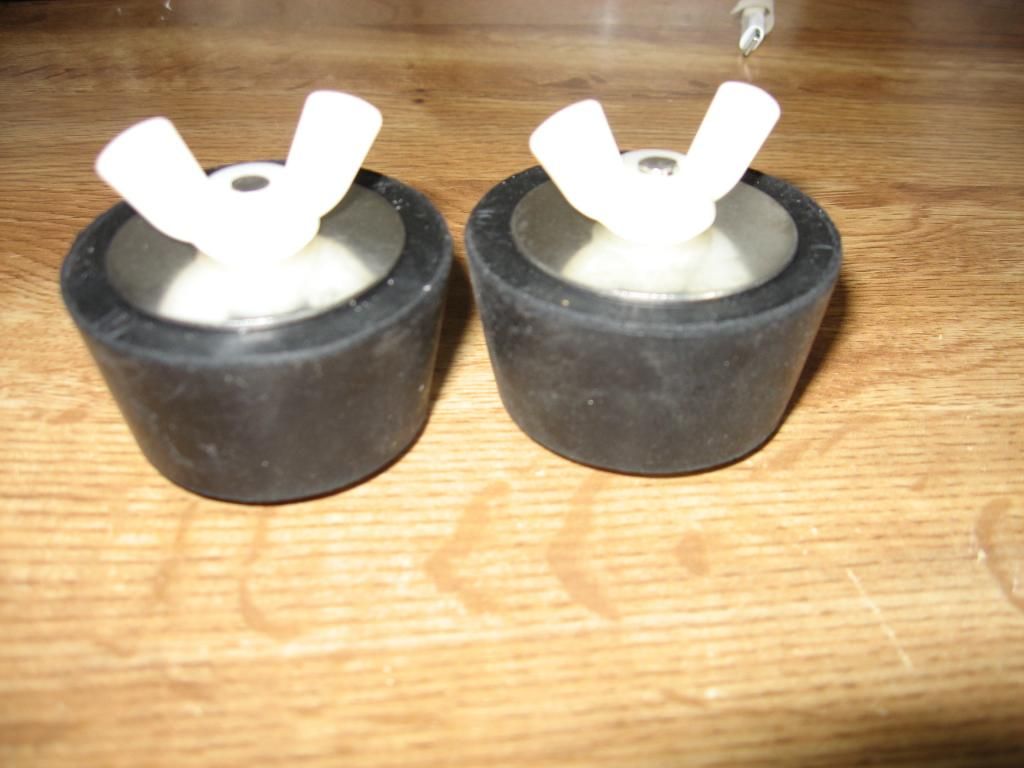
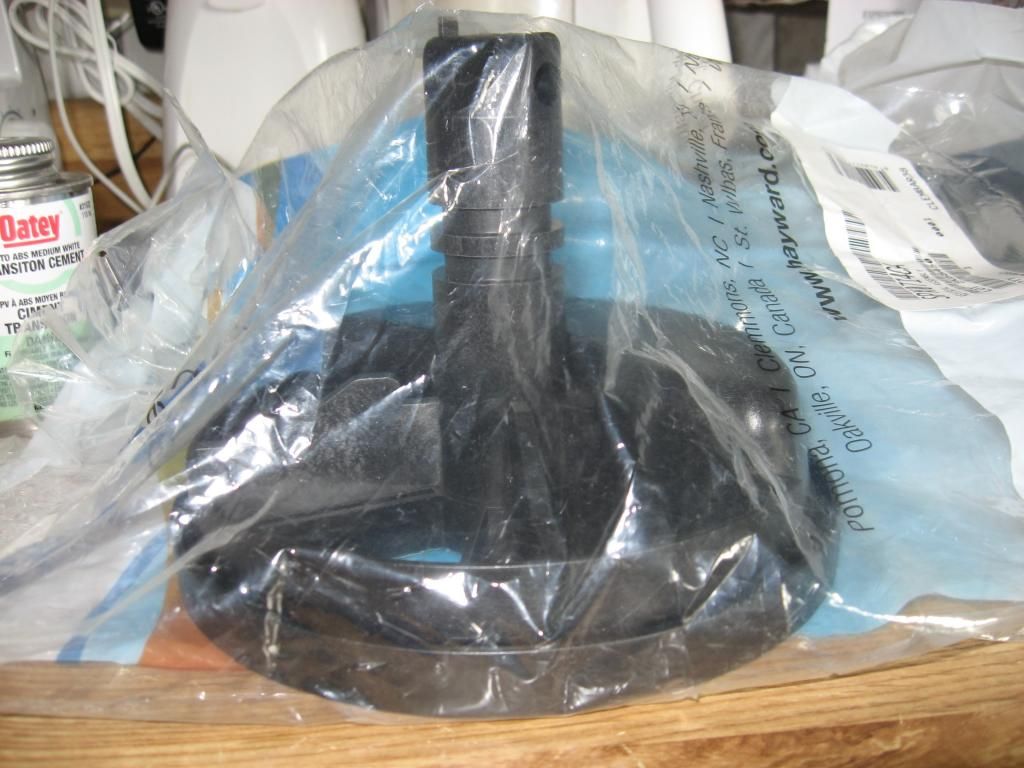
Those caps are ONLY if the inside of the union is threaded. Yours do not look threaded.
No, you're right. The union inside is NOT threaded.
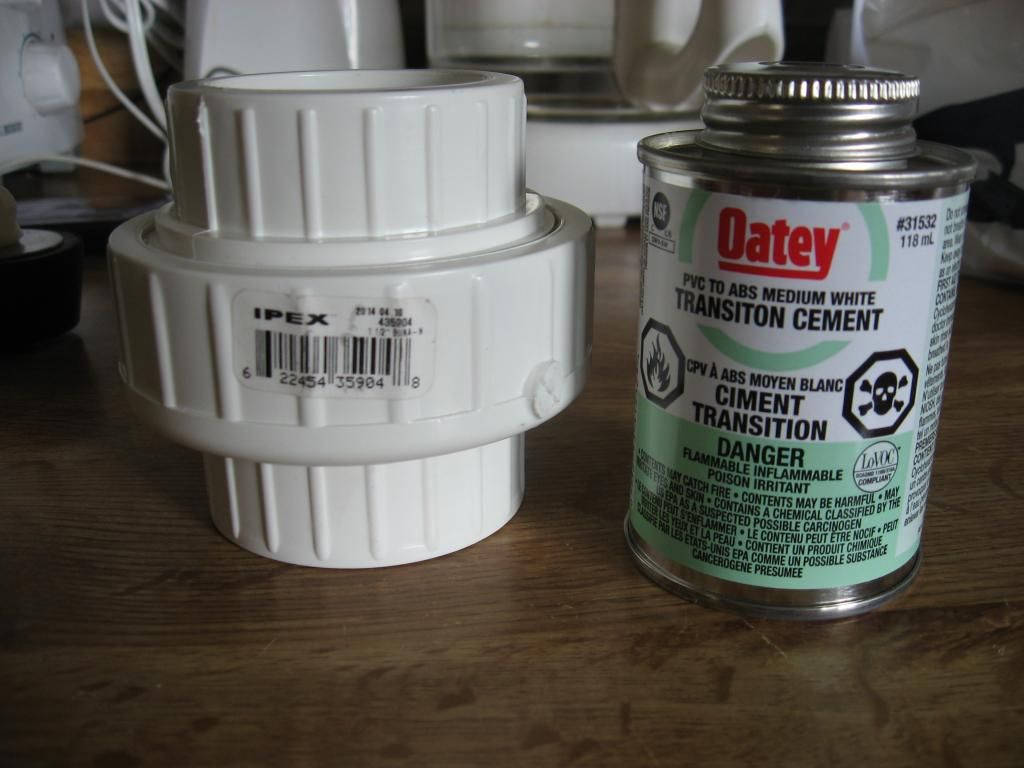
Okay do you know what to do next? As in how much to cut from the black pipe to put in the union? Just in case here is what my husband said............
-use a tape measure
-you should be able to see where the pipe will stop inside the union on each side
-measure the part that will be between the pipes. It will not be much.
-THAT is how much you will cut out of the black pipe
I measured, it's between about 1/2". I am assuming that it is ideal to put the union as close to the sand filter as possible. How many inches away from the sand filter should I leave?
I say play with your union so you really understand how it works.
I actually have some extra pieces of 1.5" pipes, so I'm going to "practice"...without the epoxy, of course!
There will be some water coming out of the pipes and LOTS of water when you are working on the filter. Think ahead on how to route the water out like we talked about before.
This is why I was asking whether I should do the pipe from skimmer to pump FIRST so that I can then shut the water off while I'm working on the pipe from pump to sand filter. Not with a union fitting, but with one of those black flippy valves. Or a two-way Jandy valve. Then there wouldn't be any water coming out of the pipes, right? And what setting do I use on the sand filter while I'm working on this pipe from pump to sand filter? Does it matter? I know it will be unplugged, but do I need to change the multi-port to the CLOSED setting?
You CAN do this! We are here for you as you do it!
Thanks, Kim! Big HUGS to you!! And to everyone else as well!
I've thought a lot about this overnight, and I love that you are keeping me focused with baby steps so that it's not too overwhelming...but I need to see the big picture and have a Plan A, Plan B, and Plan C!! So, Baby Step #1 is installing the union from the pump to sand filter. Got it. I would think that I also need to install unions from return to sand filter and waste to sand filter so that I can lift the multi-port up and remove it from the top of my sand filter, right? So, really, I need to have 3 union fittings on hand. Plus a black flippy valve or 2-way Jandy valve if I'm doing the one from skimmer to pump and, if so, shouldn't that be Baby Step #1??
Next, after the unions are all on, then I can unscrew the two bolts on either side of the sand filter's collar to lift the multi-port up and away. At this point, I'm not doing a "deep cleaning" because we need to see whether I have a broken lateral. I watched a couple of YouTube videos on changing the sand in a sand filter. One guy said just unplug the bottom of the sand filter and the water with sand will just come pouring out the bottom. Others don't mention unplugging the bottom but just use a shop vac through the top instead. Wouldn't it be faster to just unplug the bottom and let 'er rip?
If I
do have a broken lateral, what is the next step? I need to know in advance if this is (a) something that I can fix and (b) what I need in order to do it. I need to have the proper materials and tools on hand. The last thing that I want, and this is the part that gives me nightmares, is that I have the sand filter dismantled and that there IS a broken lateral and that I cannot fix it...and then I'm waiting a week for a service call from the pool guys, and what will that do to the water in the pool with no working pump?? Water that I've worked so hard on to clear??
If there
isn't a broken lateral, then I guess I just need to put the sand back in. At that point, I may as well put in clean sand instead of trying to scoop the wet sand from the shop vac back inside. So, I will also need to have enough sand on hand to re-fill the sand filter.
Am I missing something? The way that I see it, I need to buy 2 more union fittings, a black flippy valve or 2-way Jandy valve (I like the Jandy better), 225 lbs of sand (wow, is that right?? that's what it says on the filter label), and whatever is needed to fix a broken lateral (help on this, please!).
Are there any other scenarios that I should be prepared for? Thanks!
- - - Updated - - -
Thanks, Matt!


 Hope my order gets here soon!! Will have to wing it and go by my results for the past few nights and add the usual amount to bump the FC up to 21 ppm overnight.