New pool in Tucson

I'll be very interested to hear how the alternative negative edge does at retaining water. I expect it will allow a decent amount to flow out during rough play but it should stabilize at a certain level allowing much less out. Our autocover dam wall is similar but our angled portion starts a little higher and is flatter. The appearance should be great and it's something I've never seen before. Your dry environment should allow for the water to easily be absorbed into the hillside below the pool for what does escape.

I love the plaster color too! Before you expose the aggregate is exactly how our colored plaster looks permanently (mottles and all). We have just a hint of shiny quartz due to Diamond Brite being used as the tint.

Do we have pics yet?
 
Isn't pebble fina still an exposed aggregate, but with much smaller pebbles? I could easily be wrong, but that's my impression.

My understanding is they use a finer, but similar material and do not expose it as they do with the larger pebble. That's the way the estimator explained it to me, but hopefully the OP can set us straight.
The estimator did say that the fina product is notorious for swirls and unevenness of color.
 
Sorry for the delay -- too much to do, so little time.

Friday, during the night it was filling up. There was quite a bit of cloudy material in the pool.
IMG_8365.jpg


Saturday, pool filled up and looking great. They did a hot start on it where they put in 6 gallons of muriatic acid. They would normally use 8, but it was going to sit all day Saturday and Sunday. The idea is to fully disolve all the dust so it doesn't have to be filtered out. It worked quite well. There is a bit of a slippery dust/scum layer on the pool that had to be brushed off, which I assume was partially dissolved plaster. The acid did bring out the small grains of quartz and other material. They shimmer in the sunlight, although the surface isn't as soft/smooth as it was.
IMG_4584.jpg


On Monday, they neutralized the acid, turned on the pump and put in 3 trichlor tablets. They put one in the skimmer basket (hmmm, I've seen places that said it would damage the plastic on it). No CYA added at this point, they wanted to let it finish curing. They put in sodium bicarbonate in the water with the sun shinning bright. The added particulates caused the glass (and glow-in-the dark) tiles to reflect, sending light shafts out of the pool.
IMG_4583.jpg


Monday night, everything looked great. There has been a full moon that overwhelmed the the glow-in-the-dark tiles; however, the tiles are glass, so they reflect the moon glow, really causing them to stand out.
IMG_4581.jpg


Tuesday morning, looking good. I started running my own chemistry, adding 10% pool bleach. pH was good, and I was letting the plaster pull it up before lowering it with acid. A friend had told me to get a solar cover, so I did Tuesday morning. By Tuesday afternoon, the water temp was 78 degrees. I took a quick dip (got to love Tucson).
IMG_4589.jpg


Wednesday. My kids finally got their first dip in the pool. They loved it. Similar frolicking Thursday and Friday. The pool temperature was 84 degrees today with help of the solar cover.
IMG_4592.jpg


Friday, I had my pool school. I was pretty disappointed with the lack of depth he went into. I would hate to have to take care of a pool with as little info as I got (I think he assumed I knew a lot). He brought over my aquabot Turbo t-jet. It works nicely; however, the main drain and skimmer did a decent job by themselves. He put in about 2 pounds of CYA, which I tested to be around 20 ppm this evening.

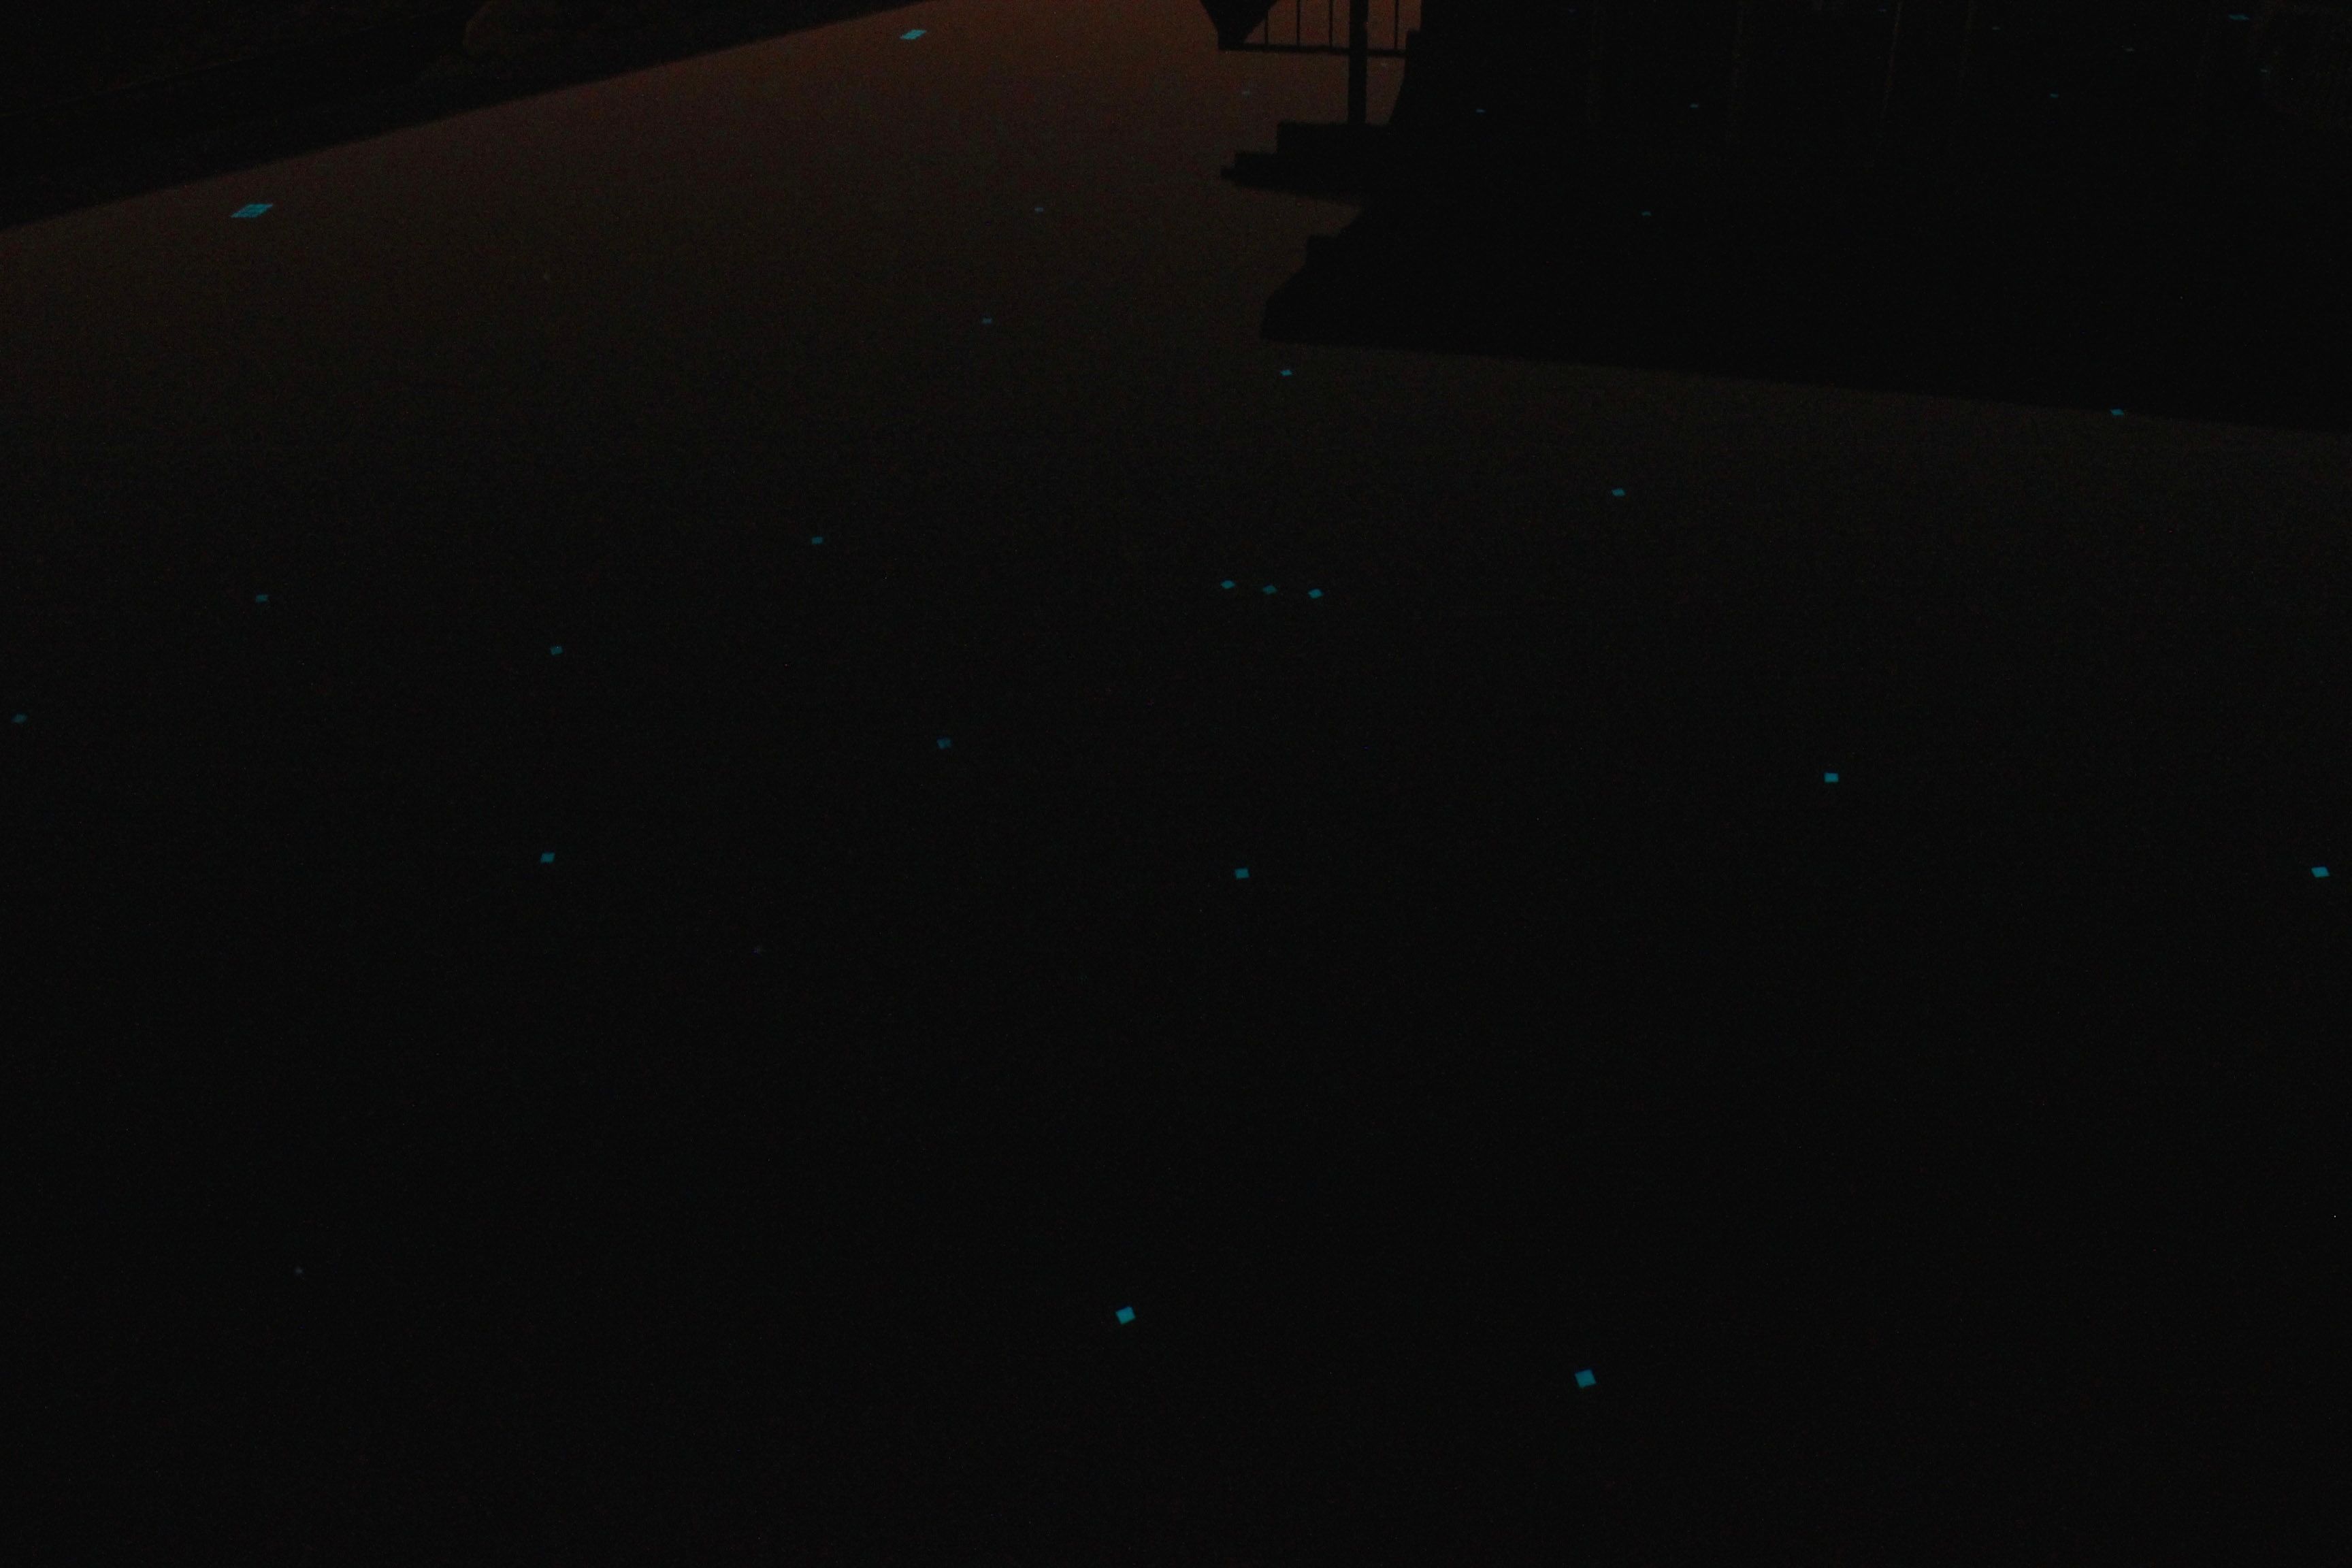
I will post pictures of the glow-in-the-dark tiles soon, they turned out excellent. I need to take pictures without the moon and calm weather. I ended up scattering 3 dozen tiles on the floor to look like stars and even put in the Orion constellation, and it looks pretty cool. What is really awesome is the pool light will recharge the tiles. Thus, you can run the light (which is a 70watt LED) for 10 minutes, turn it off and get the tiles at full glow -- so cool.
 
The pool is awesome and I'd like to see more of the tiles! That view... wow! Stunning!!!
 

Enjoying this content?

Support TFP with a donation.

Give Support
People were interested in what Pebble Fina looked like once set. When the plaster was put down, it was very smooth and the stones/shells were not very noticalbe. During the hot start, they put in a lot of acid (it was off scale for the pH testing kit). It removed the outside layer of plaster, which I assume was somewhat floated with fine particles. Now, the surface is a little less smooth, but not nearly as rough as Pebble Tec.

Here you can see a large amount of small minerals (aggregates), some of which are posited so they reflect making a sparkle. The tiles are 1" square.
IMG_8457.jpg


There was also a question about how the negative edge looked. It looks pretty good, and if you are not looking too closely, it likes a infinity-edge. Because the water reflects the sky, the blue tiles make the transition between water and tiles not very noticeable.

This picture is just after a big (my first) pool party. About an inch of water was splashed out. The normal level of the water is 3" lower than the top of the negative edge. I noticed during the party that the water stayed in very well, except for when one large adult did a huge canon-ball near the wall.
IMG_8463.jpg
 
Very nice! My brother is good for being the large adult who does cannon balls near the edge of the pool! I called him my CYA regulator! :mrgreen:

 
The negative edge looks great! Sounds like you are already enjoying it!!

jro33176 - Thanks! It is really cool, and if the sky has the right color, it really makes the edge not noticeable.

I just finished reviewing your pool build! Wow, you had a lot of stuff going on with the utility lines. I'm sure you are glad you are through it. Speaking from experience, it is very disheartening. Many people told me to just remember how nice it will be when it is done. I must agree, now that it is done, the kids are playing it in, it was worth it.
 
Glow in the dark tiles --
It isn't too easy to take pictures of them, so here are some picts that isn't too bad.

First, the pool with no other lights than the pool light
IMG_8489.jpg


Now, the pool without the pool light (and a 30 second exposure with an F-stop of 11 to get lots in focus). This is the exact same point of view. There is quite a bit of camera noise because I don't have a great camera. I pushed the shadows up so you can see the walls of the pool in relationship to the tiles.
IMG_8488.jpg


Here are the steps. The benches on the far side are similar. I ended up putting two 3x3 on each long wall, and a bunch on the benches and steps.
IMG_8480.jpg


Finally, I put 3 dozen 1" single tiles on the bottom of the pool floor. They placed those tiles while they put down the plaster. I wanted to add a splash of extra light on the bottom of the pool to look like stars. I didn't want to use a lot (I've seen some with a whole lot of tiles, but it seemed to be too much). While they glow for many hours after sunset (I've come home at 1 am and the tiles could still be seen), I can recharge them with the pool light. I can turn on the light for 10 minutes, and they are very bright again.
IMG_8484.jpg


Bonus -- I arranged the some of the stars as a specific constellation. I tried to keep it subtle so it wouldn't be obvious and distracting.
 
I put on a solar cover on my pool for the last few days. The pool temp was 92 when I finally got home and went for a swim at 9pm! Yes, 92 degrees! It was like a bath. I left the cover off last night, and it dropped down to 85.

I am amazed at how much dirt and rocks my dog kicks into the pool as he races around it trying to catch birds!
 

Enjoying this content?

Support TFP with a donation.

Give Support
Thread Status
Hello , This thread has been inactive for over 60 days. New postings here are unlikely to be seen or responded to by other members. For better visibility, consider Starting A New Thread.