Its time... Pool resurface and deck updates

DBfan187 said:
how long does it take for plaster like that to set? like harden a little to where it's difficult to move/trowel?

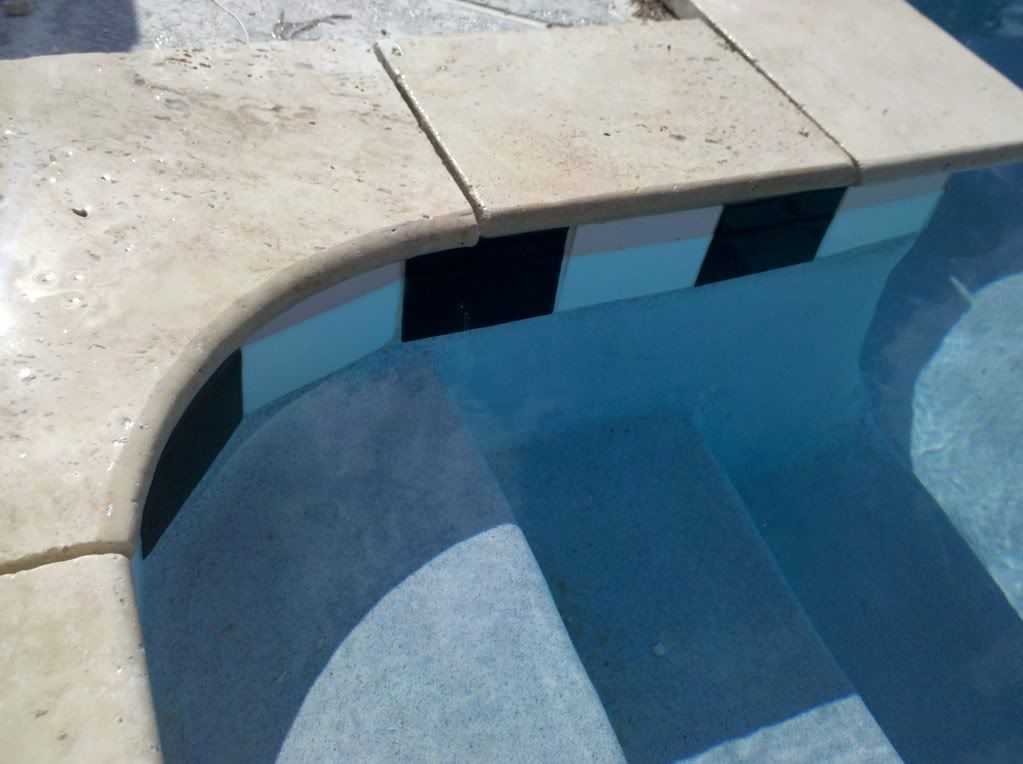
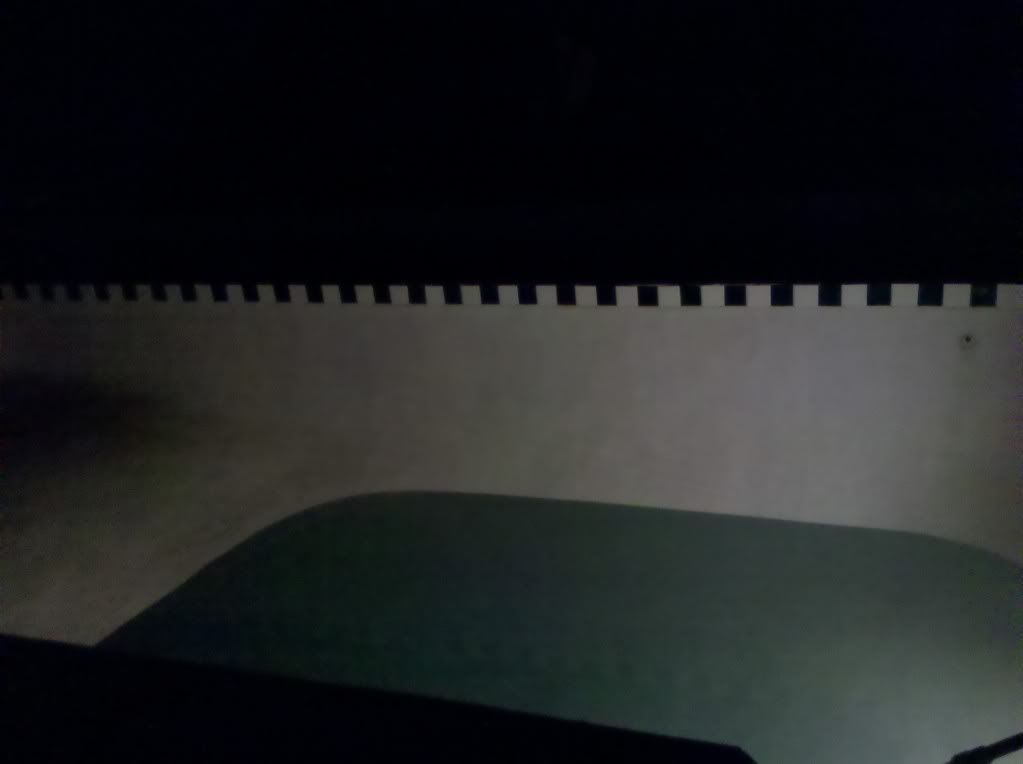
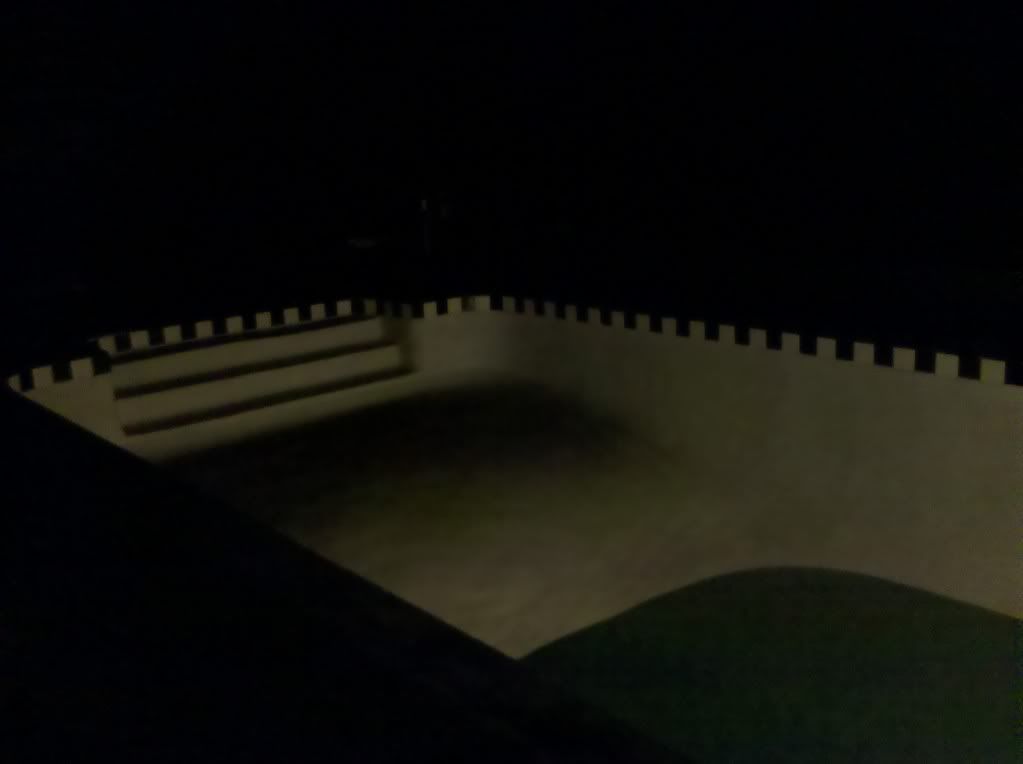
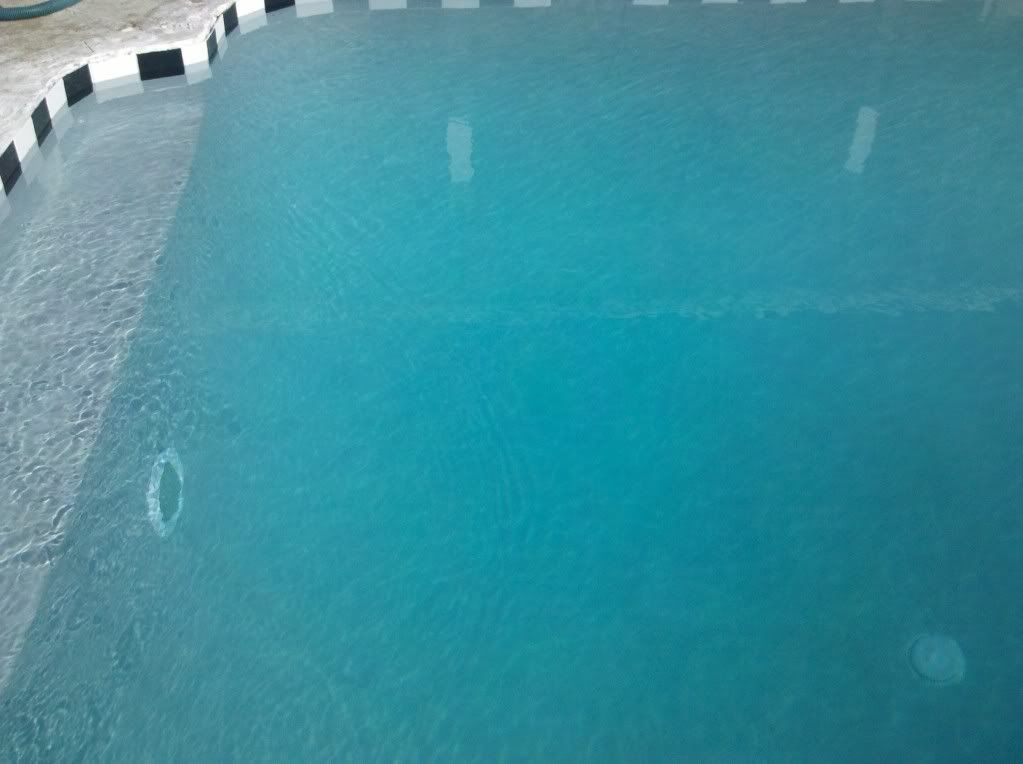
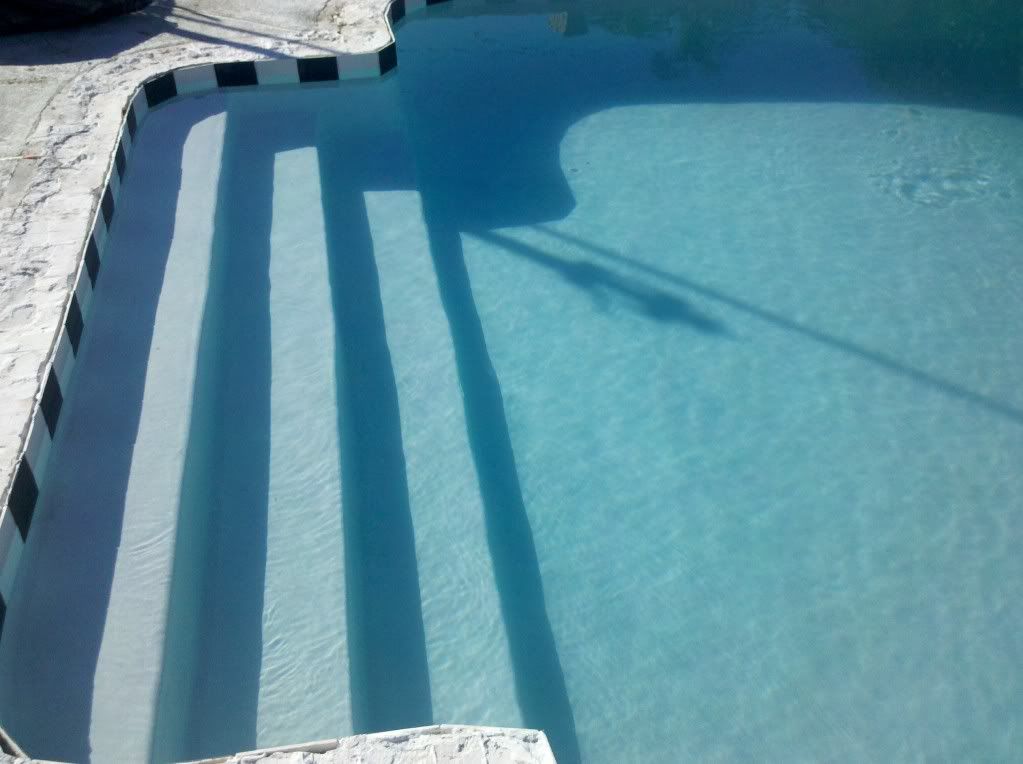
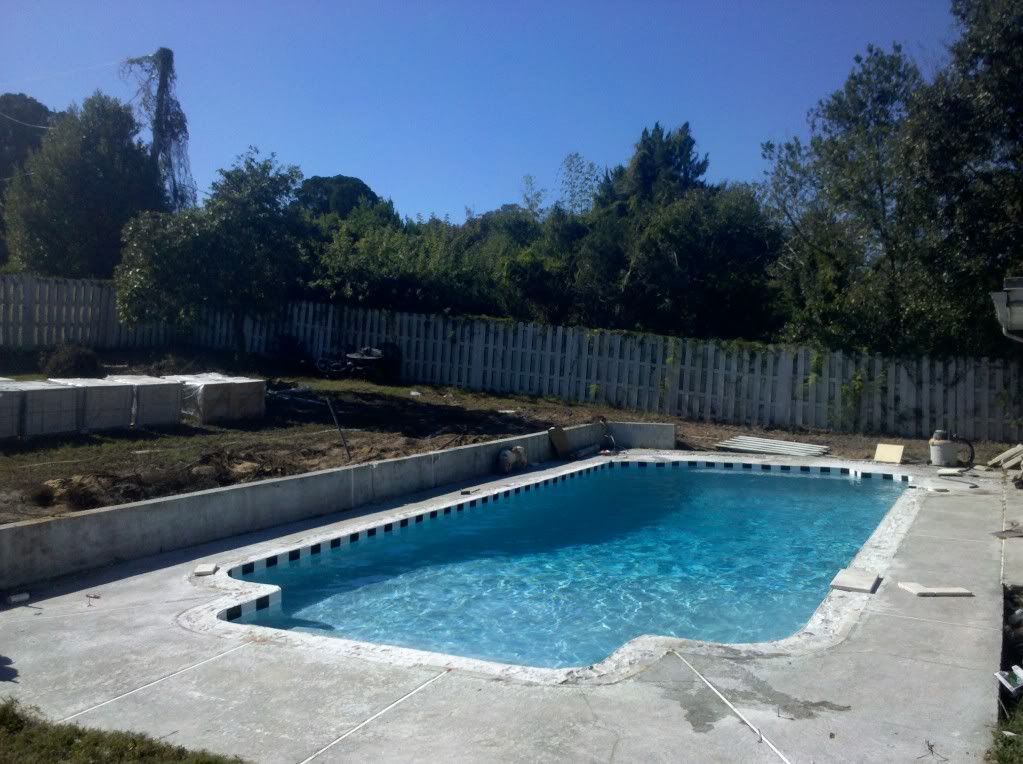
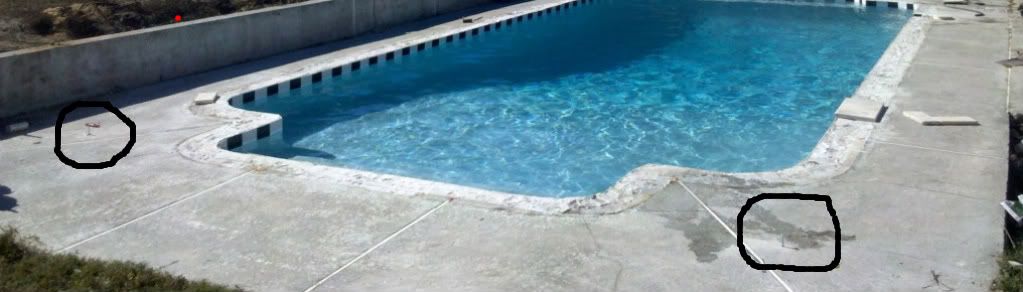
From my vantage point just a few hours... this will vary from region and the mix:water ratio and how long the mixer runs :blah: I'd say a 3 hours and they were sock walking - they made it look easy... They worked the finish for hours and then did the acid wash. I read up on SGM install steps fully knowing that these guys like us all would have little tricks and shortcuts... For the most part these guys were on-point! If I recall there are at least 3 ways to remove the cream and reveal the aggregate on DB. The most desired brush technique, the common acid rinse w/drain, and the least desired wet wash; acid wash and leave acid in the pool for refill.

I kept my internet knowledge to myself for the most part and didnt hover over them
 
Pool is full at 6am and pump is running 50/50 skimmer/MD. The MD had a bunch of trash in it - I flushed it in to the pool and I'm sure my filter can handle it in moderation.... (I had a hunch the drain pipe was loaded with plaster powder from the chipout - no big deal)

Basic times:
9am turn-on the mixer
11am scratch coat complete
Lunch
3:45 guys leave

The 'pool guy' will begin the start-up and a week of chems and brushing on Monday. He says that I will be able to swim in the pool when he is done... Hmmm... I'll be testing the water too!! I do have a few issues, but I am pleased with the overall experience and outcome. My wife will be thrilled when she sees it and my daughter will be shocked the pool has water again!!! They are out of town (again) returning Sunday...

The water is clear, has no green tint, these are cell phone pics...
6:30
ba2687c8.jpg

d232f2db.jpg


11:36
aa88cf29.jpg


3:34am
6aea32ea.jpg


9am (24hrs later)
Deep End - we opt to no have tile or other designs on the swimout and steps
6aad8303.jpg


Steps
5f23f789.jpg
 
simicrintz said:
Looks awesome :party: :party:

Thank you!!! We are getting closer....!!!

Just reporting the facts:
Pool guy just came by: Dumped 2 scoops of Alklinity into the pool and poured 2.5 gal Ch and 1 bottle of acid... He said that someone else will need to come by and vacuum the pool. He didnt brush and didnt test the water...

I guess I cant assume what he should be doing - just stating the facts. I'll test the water this evening...

edit: They just came back and two guys with steel brushes brushed it.
 
interesting thread.

you have 5k gallons more but otherwise our pools look very similar. I paid a separate chipper to cut a 2 inch thrench below the waterline tiles and he spent 14 hours chipping and exposing gunite and finally applied bondcote. next day, I had half dozen men applying the plaster and tiles. I chose to add an additional ultra-filter for the initial fillup water to eliminate all metals and chemicals from the muni water supply. I added 80 lbs of colored quartz into the DB to deepen the color. otherwise same acid wash / rinse method and I did not add any chemicals until day 3. set pump to run 24 hours/day on low speed @ 99 watts and 799 rpm.

will continue to run pump for another 30 days @ 24 hr/day and will add salt on dec 28 @ day 60 to initialize the SWCG system.
 
:lol: I jumped in!!! Got 11 crates in the backyard 7:30 this AM - as fog covers the lake... We love the travertine paver look and for FL - I'm sure we'll be fine with the general issues surfaced vs. crete or brick pavers... these are 6X12x1.25 and 24X24x1.25 pavers and 12X24x1.24 coping. Lots of work to get the deck ready for these. I'll post my 'draft' pics tonight...

beff6243.jpg
 
Okay... Got back out on the deck today and have lots to do... I want the coping to be flush with the deck, this means clearing off the beam of the old thinset etc. I Just some random pics - not sure what brand mortar to use, I'm still doing research on setting techniques, and flex bonds. I pulled a few pavers out to take a look... 24x24s are monsters!!
121e7464.jpg

9025660a.jpg

9025660a.jpg

21b9a009.jpg

efedc02d.jpg
 
Somehow I missed following this thread :oops:

However 'TFP_wanna_be' Pm'd me to look at this and give advice on setting coping.

It's been over 15 years since I installed pool coping :|

String, a tape measure, a 4' level, a 9" 'torpedo level' and a rubber-headed mallet are tools you'll need to set the coping.

Uhm... how much detail do you want? (I don't want to go 'crazy' and tell you too much, nor do I want to give you too little info)

You'll also need a margin trowel, soft sponge and a stick/ tongue depressor to do the grout/ inner lip.

I didn't read the entire thread, but you will want to use 'backer rod' or similar to keep the deck and the coping separate.

Others here know what I'm talking about, and we can all work together to give you practical advice on your project :-D

"Slow and steady wins the race" :cool:
 
Awesome Thank you!! So... "backer rod" is a new term for me. I will need all the pointers can get and I'll keep the progress posted, perhaps for others too...

I'm new to pools, but not afraid to get my hands dirty or buy a tool or two to finish a job. I've got several types of levels and do have the rubber mallet... I do have stone coping router bit and other odd tools... What I have done so far is drill pilot studs then the 4-corners and ran independent string levels for each of the (4) sides - I do have some 'level issues' which I'm sure can be absorbed in the layer of mortar between the beam and the coping pavers. This has helped me see the high-points on the slap and I have line levels for each section.
efedc02d-1-2.jpg
The old coping was also 12x24 and the pool is over 20yrs old, I'm hoping the movement of the slab and pool is over. I dont recall any true cracks the coping, just loose coping.

I do have access to a transit measure stick, but that may be overkill - nothing is that exact on the pool so I may get an unwelcome reality check with a transit.

Not sure what other tips/tricks there may be out there - I will have the deck ready to accept the coping this weekend. I'm not in a rush, but I would like to get the coping up to soon...

Thanks guys!
Kevin
 
TFP_wanna_be said:
not sure what brand mortar to use, I'm still doing research on setting techniques, and flex bonds. I pulled a few pavers out to take a look...


I've used the flexbond thinsets, in white, for light colored stone as you have and never had any adhesion/cracking issues or bleed through (avoid using gray thinset with light colored stone). I just read through their data sheet to confirm and apears to be OK for use outside. This may be overkill as it is polymer fortified, but I've yet to have any tile / stone issues around the house. Here is the link for your research :goodjob:

http://www.custombuildingproducts.com/P ... inSet.aspx
 

Enjoying this content?

Support TFP with a donation.

Give Support
It warmed up today so I decided to take a look at the coping. I plan on using this white mortar found this ball-level that claims to * Unique aviation style ball replaces bubble vial for an easier to read level * Levels and Plumbs * Easily measures angles in degrees or pitches * Levels in 2 directions at the same time... Never used one before, but I set it down on the floor at Lowes and seemed like a perfect fit to help me level the 12x24 slabs after I set the general placement/height.

Any last min thoughts?
2f7573ae-e613-4296-b79c-4d2d62883c2b_400.jpg

5b489827.jpg

92479434.jpg
 
waste said:
You'll also need a margin trowel, soft sponge and a stick/ tongue depressor to do the grout/ inner lip.

That will work. But i'd use a grout bag. It looks like one of those little bags that you use to put decorative frosting on a cake. You fill the bag up with grout/mortor and fill the joints up then use a tounge depressor or popsicle stick to finish off the joint and make it lok nice.

Are you setting the pavers on the exisiting concrete slab with thinset?
 
bk406 said:
waste said:
Are you setting the pavers on the exisiting concrete slab with thinset?

Yes, I do plan to set them with thinset and create new drainage for the deck...

I am afraid of wash-out if I used 'sand over crete, so I'm gonna take the risk involved with wet setting over crete. On the positive side, the deck is 20yrs old and I have not noticed any movement or new cracks in the last 4yrs.

:whip: I didnt get any work done - today was a constant slow rain and next week calls for temps in the 40s so its back to the drawing board.
 
Yup - I'm still here.... Been super busy and let things get ahead of the pool project...

Hope everyone had a fantastic holiday season...!!!
I bought my Polaris a NEW HOSE for Xmas - Makes huge difference as my old hose was stiff and the back-up box was cracked...
2b2db9a1.jpg

Dry fit of the Ivory coping - I wanted the keep the outside 'blocked/squared-off' and of course the inside had to follow the radius of the pool. I'll bull-nose the corners on Sunday. Then just breakout the mortar ;-) . 3/8 spacers for the grout lines.
4f0e2ffb.jpg

Tools of the trade. I made an outline spacer and taped a pencil to it and ran along side of the tile and got the exact measurements. underside of a 24x24x1.25 paver just before the cut.
58dcb8de.jpg

Deep end dry fit
151b69f2.jpg


Hope to have more updates - Its just been so cold, windy, & wet in FL, I've almost not had many weekends to work on it.
 
Okay.... took a few hours this morning to get a grasp of using the 7" grinder with the full-bullnosed attachment. These are 3 test slabs. I'll be unable to even look at this coping until next weekend - so until then here is my first pass at bullnosed coping. I'm using 150 grit sandpaper along with the bullnose router bit. No effort was mad to set the stone or even them up for the picture - I can still do lots of fine tuning... More to follow on the coming weeks! Have a great day!!!
e3cda547.jpg
 
Well, I think we'd all like to know if it were finished.
 

Enjoying this content?

Support TFP with a donation.

Give Support
Thread Status
Hello , This thread has been inactive for over 60 days. New postings here are unlikely to be seen or responded to by other members. For better visibility, consider Starting A New Thread.