Ahultin
Bronze Supporter
- Aug 19, 2021
- 1,429
- Pool Size
- 17700
- Surface
- Plaster
- Chlorine
- Salt Water Generator
- SWG Type
- Pentair Intellichlor IC-40
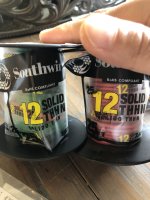
white and yellow from the power center are the correct wires for 240V and are interchangeable on the load side of the relay, however, for compliance with NEC, assuming you have to buy wire, dont use white as white indicative of a neutral wire in 120v. if you already have white then at a minimum, you need to tape the conductor black or red to indicate that the white wire is used as a hot. There is enough of a mess in that panel as it is (no judgement lol, just my adhd brain really wants to fly to texas and clean it upI have Yellow/White power wires from Power Center. Does it matter which color goes to load 1 or 2 (see image?)
 ) so make life easy for someone working on it in the future and dont use white.
Green arrow to the ground BusbarAlso sorry for the dumb question. Where do I connect the ground wire from the Power Center on the Easy Touch panel?
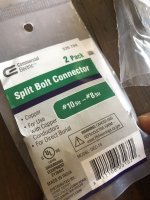
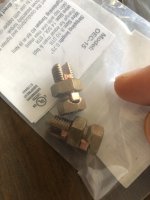
 In addition, dont forget to connect the bonding lug on the power center to your bonding wire with #8 bare copper, youll probably need a split bolt and ~4-5ft #8 bare copper wire depending on where you put the power center
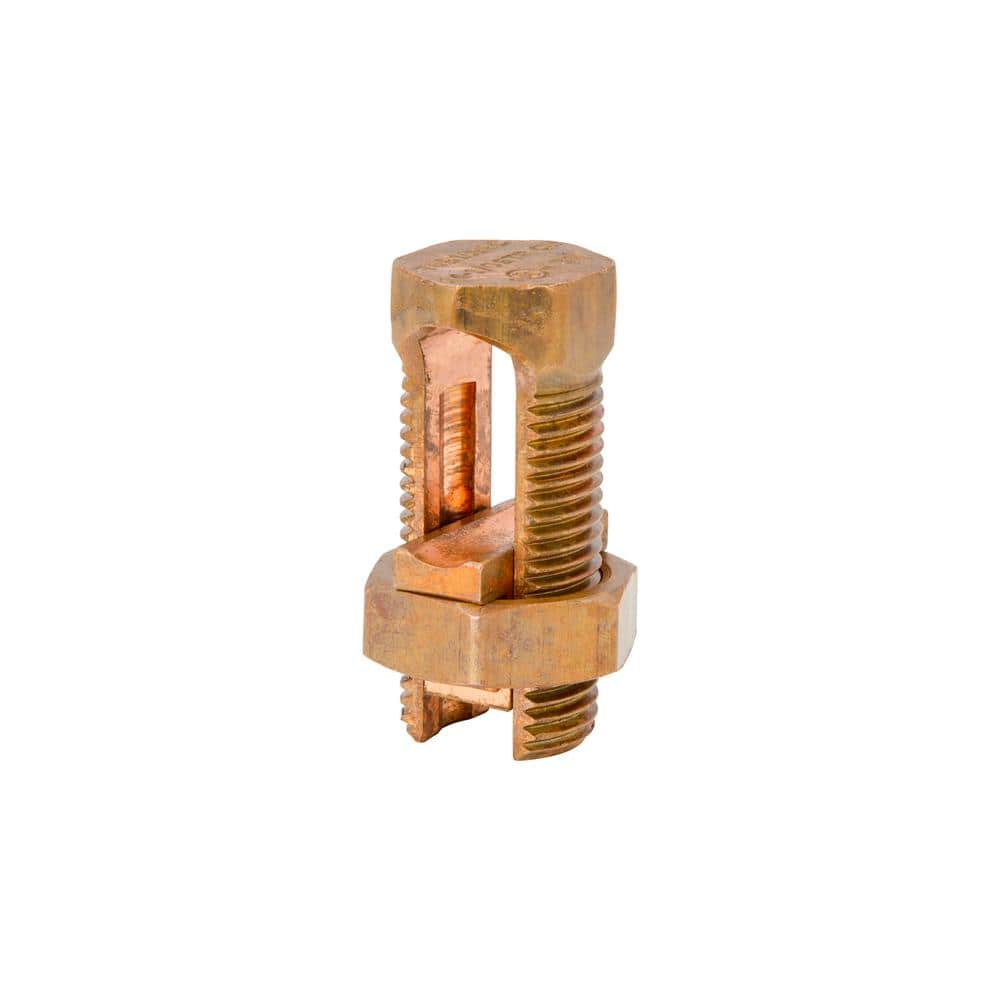
Blackburn #8 SOL/STR to #16 SOL/STR Split Bolt Wire Connector 8SBC-B2-5 - The Home Depot
Use the Blackburn #8 SOL/STR to #16 SOL/STR Split Bolt Connector to join 2 copper wires in power or grounding electrical connection applications. Copper alloy bolt and nut construction provides reliable
www.homedepot.com
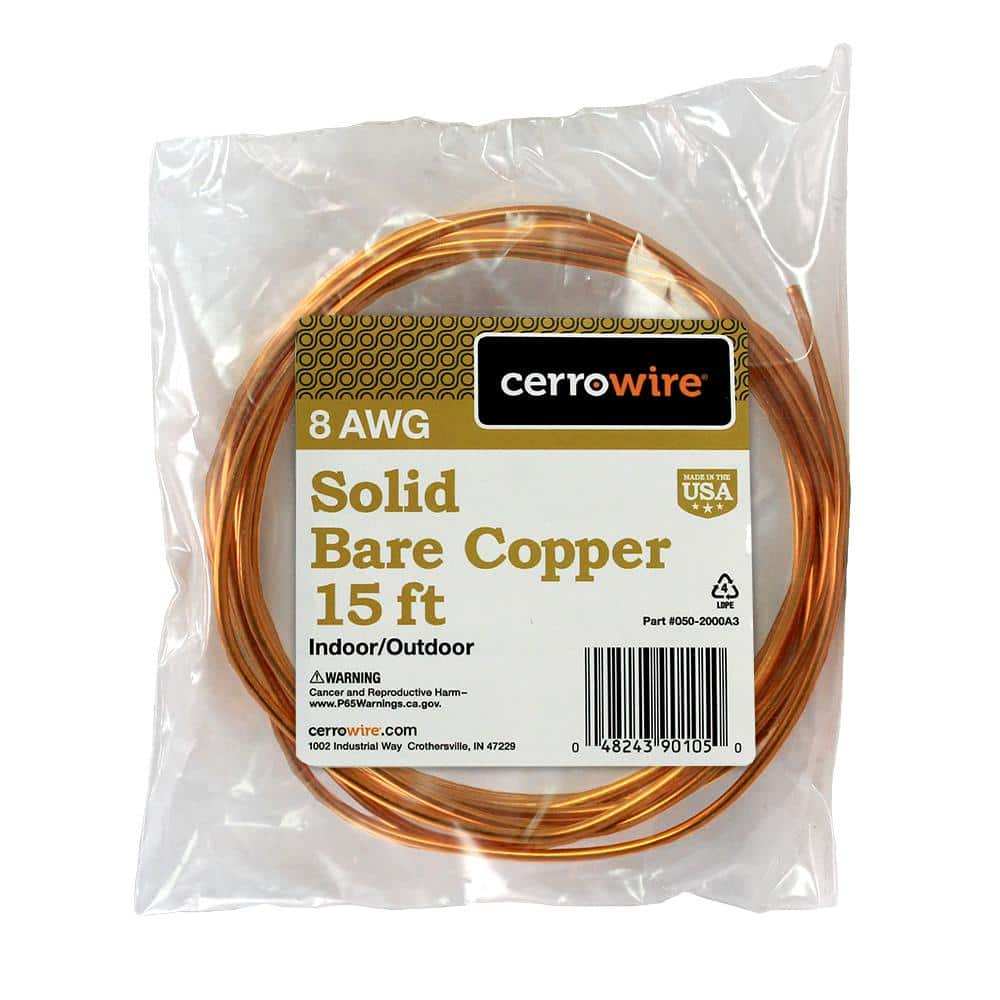
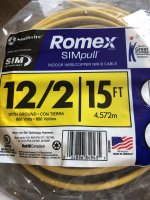
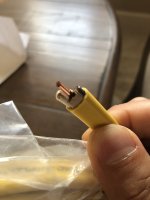
Cerrowire 15 ft. 8-Gauge Solid SD Bare Copper Grounding Wire 050-2000A3 - The Home Depot
Cerro's solid, bare copper grounding wire is soft-tempered for flexibility. This wire is for use in overhead transmission and distribution applications, as well as grounding applications. This wire is
www.homedepot.com
Last edited: