
Drilled a 1 1/4" hole for the 3/4" high volume keyed gas valve.
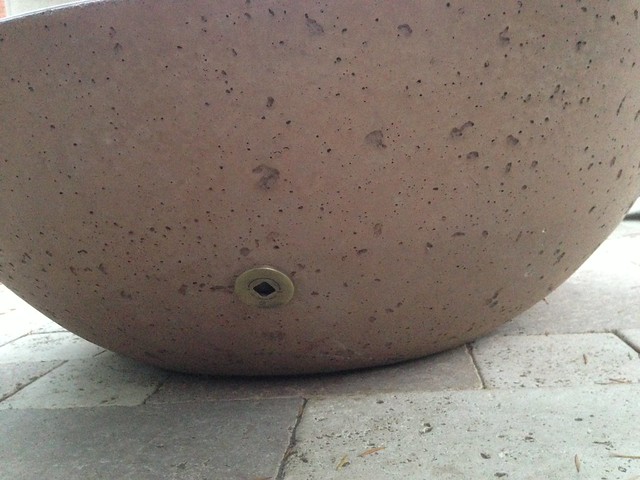
2" underground gas line stepped down to 3/4" to the valve
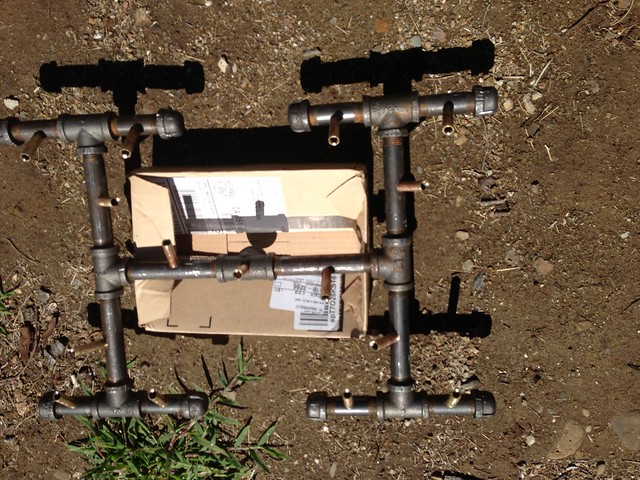
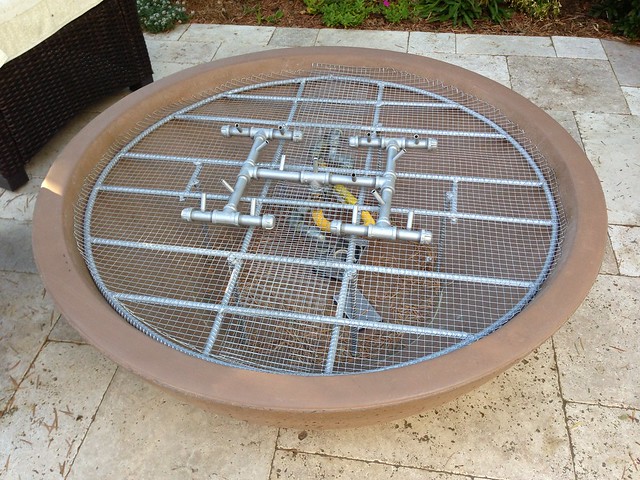
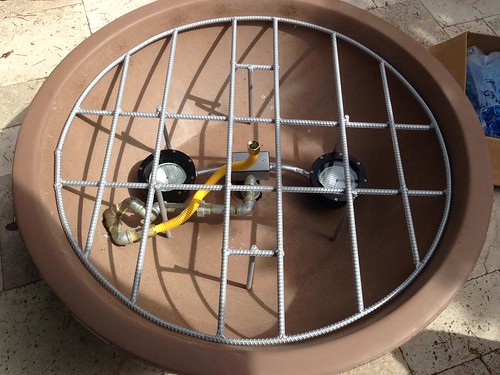
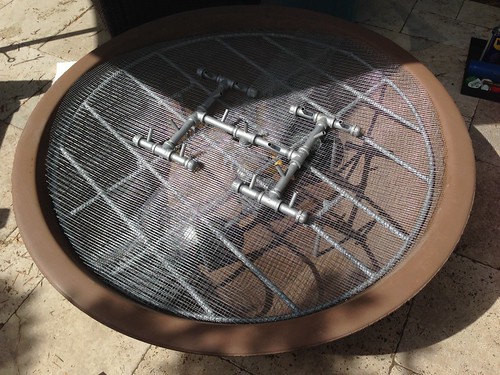
Constructed the gas manifold out of 1/2" black pipe and 1/4" brass pipe similar to the Crossfire burner by Warming Trends. Ace Hardware had a sale and picked up the materials at 1/4 the usual price so it was worth the time and effort to build it myself.
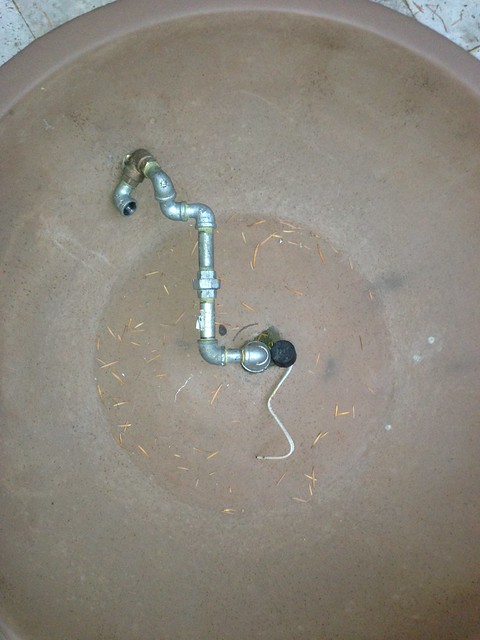
Used a 3/4" to 1/2" blackpipe T to allow maximum gas flow to the burner.


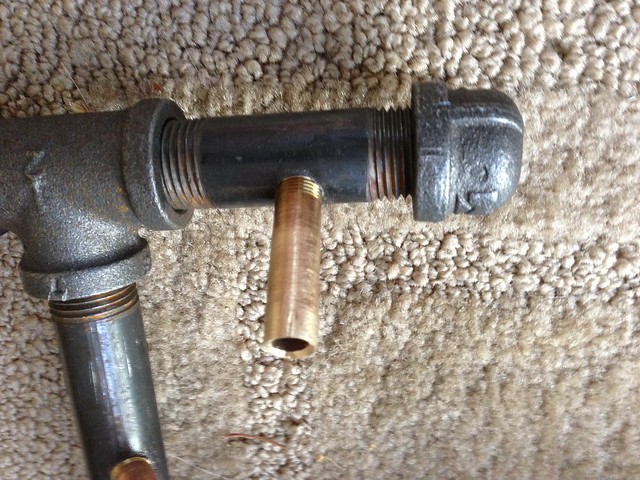

I made a mistake and didn't remove the oil used when tapping the holes for the brass pipes and the first paint job with black paint became sticky and would not fully cure. Ended up using brake parts cleaner to remove the paint and any residual oil prior to priming and painting again.
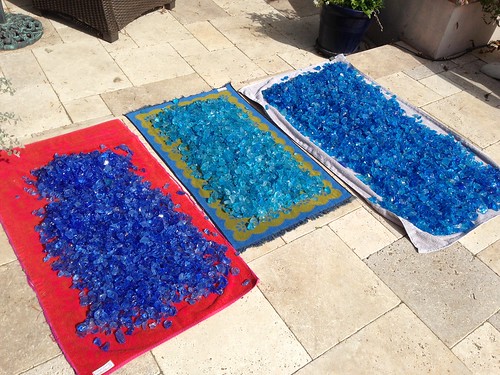
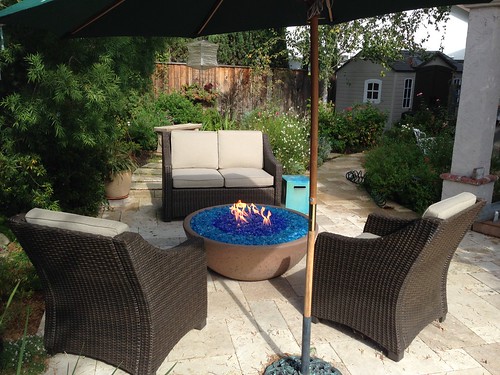
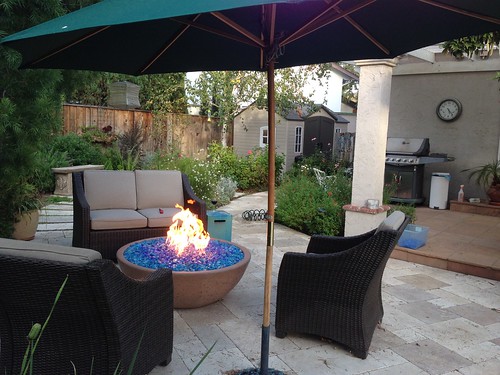
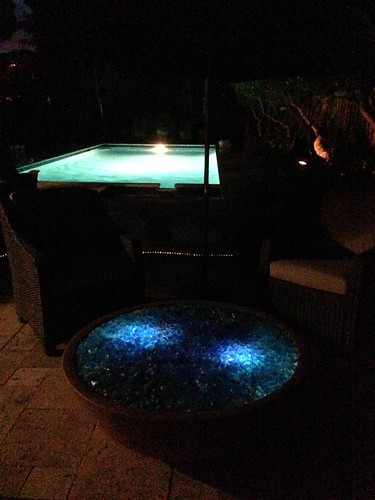
Painted the rebar with a final coat of high temp BBQ paint. Since we plan to use blue and turquoise fire glass, silver paint was used instead of black. The manifold is only half primed since I ran our of primer at the time of these pics.
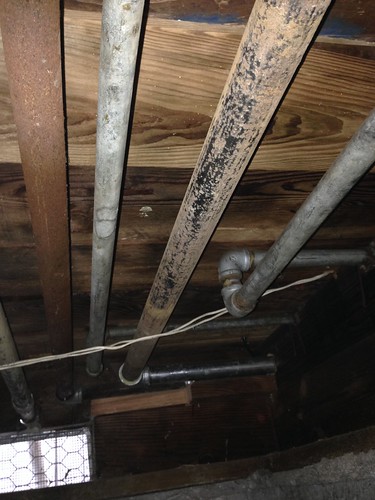
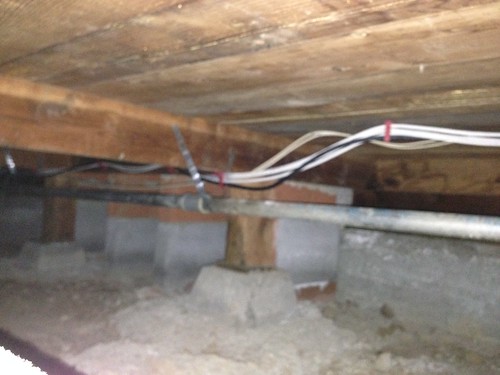
Been under the house the past 2 weekends running 1 1/4" gas line for the bowl. It will be about 80 feet under the house and through the garage to the meter. Then about 25' 2" gas line buried outside which the contractor installed. Still have about 20' to go under the house. Should finish the gas line this weekend
2" underground gas line stepped down to 3/4" to the valve
Constructed the gas manifold out of 1/2" black pipe and 1/4" brass pipe similar to the Crossfire burner by Warming Trends. Ace Hardware had a sale and picked up the materials at 1/4 the usual price so it was worth the time and effort to build it myself.
Used a 3/4" to 1/2" blackpipe T to allow maximum gas flow to the burner.
I made a mistake and didn't remove the oil used when tapping the holes for the brass pipes and the first paint job with black paint became sticky and would not fully cure. Ended up using brake parts cleaner to remove the paint and any residual oil prior to priming and painting again.
Painted the rebar with a final coat of high temp BBQ paint. Since we plan to use blue and turquoise fire glass, silver paint was used instead of black. The manifold is only half primed since I ran our of primer at the time of these pics.
Been under the house the past 2 weekends running 1 1/4" gas line for the bowl. It will be about 80 feet under the house and through the garage to the meter. Then about 25' 2" gas line buried outside which the contractor installed. Still have about 20' to go under the house. Should finish the gas line this weekend


")

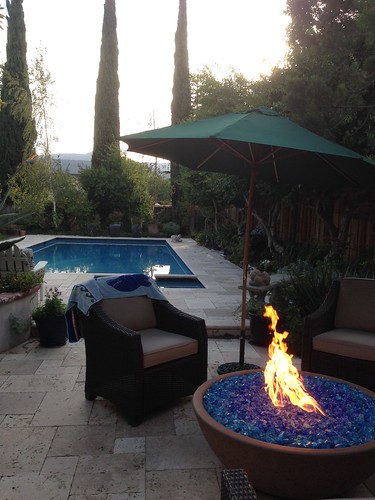
 After they dug up the backyard, the lawn was never touched again...