The next day went much the same, more batches, applied, more area covered
As it dried and I rinsed/scrubbed away what was on the tile, and tht left some streaking in the dry cement, but it tended to vanish when it was wet, so I didn't worry
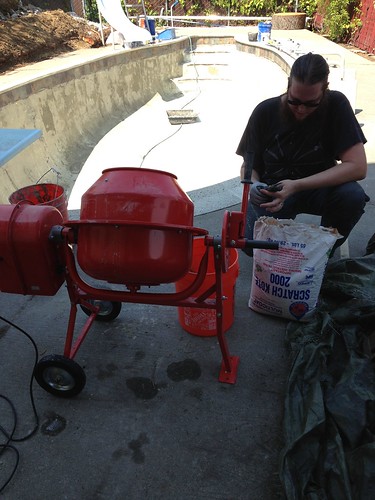
 Untitled
 by
bradisdrab, on Flickr
The instructions from SGM about the Diamond brite had a detailed section about exposing the sgregate while it was wet, but since I didn't have the time/skill to backtrack I opted not to worry about it and just plan to use the acid exposure process instead, and hope that helped with the tile cleaning and streaking as well...
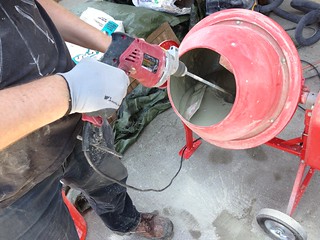
 Untitled
 by
bradisdrab, on Flickr
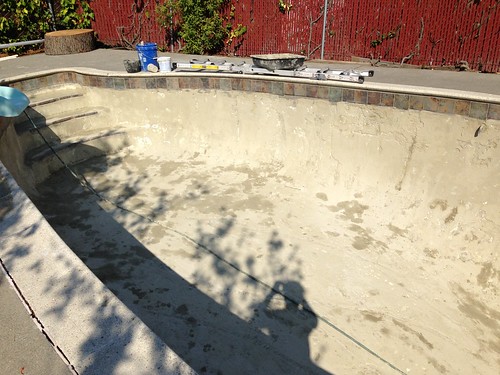
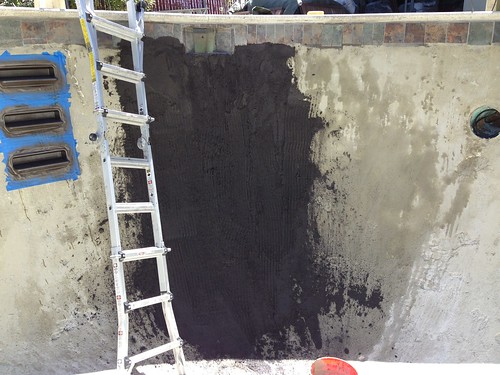
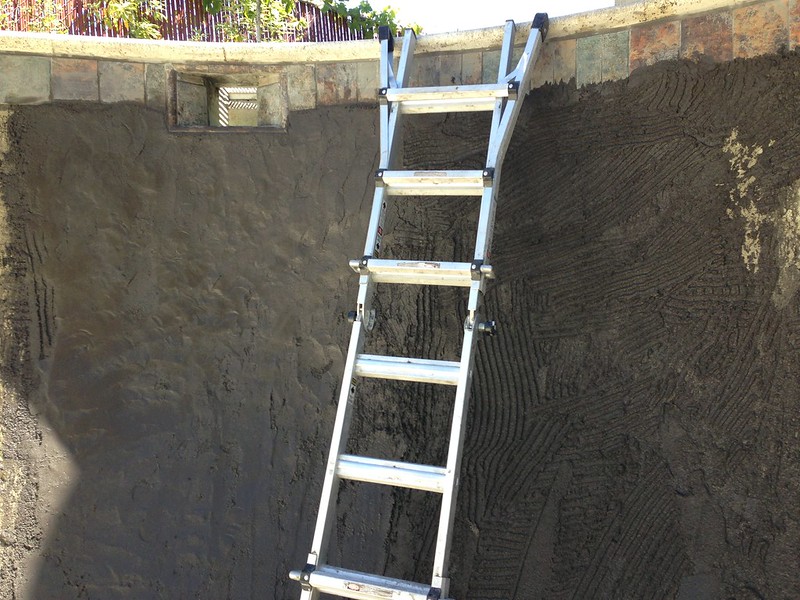
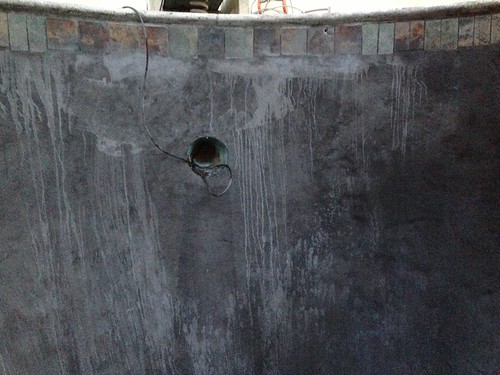
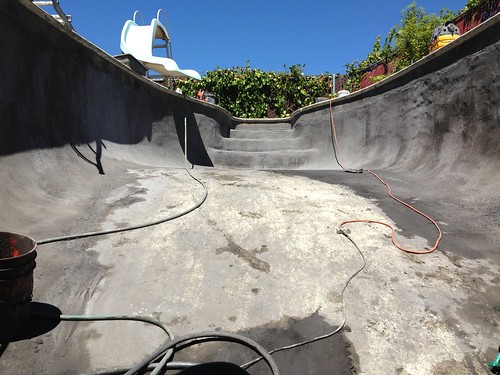
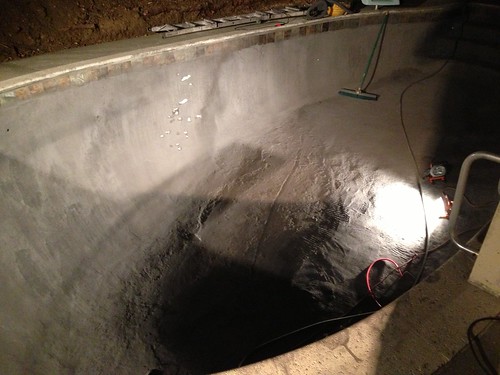
Getting edges to match presented some challenge, but that was just further reason to go as quickly as I could
I knew it'd be a risk, with it drying as I work, but still scary to see small cracks hit, I found around 5 like this, around a couple inches in length. I could stress and obsessively fix each one as I go, but then I'd never finish. The plan had to be to just fix them all when I was done with the rest of the main application .
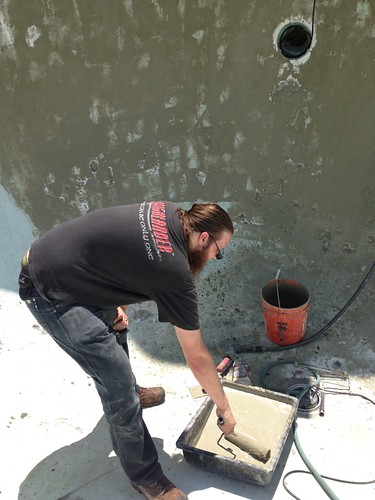
 Untitled
 by
bradisdrab, on Flickr
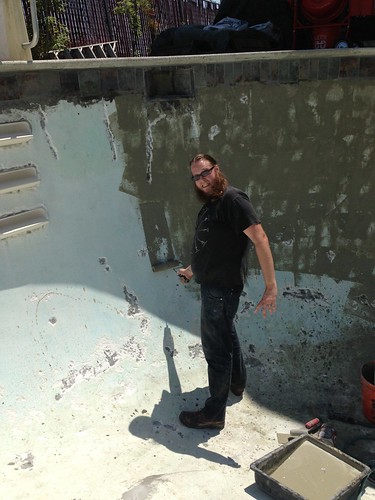
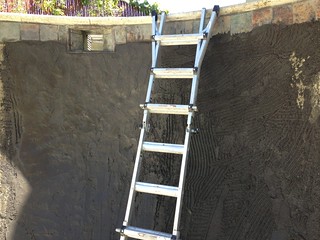
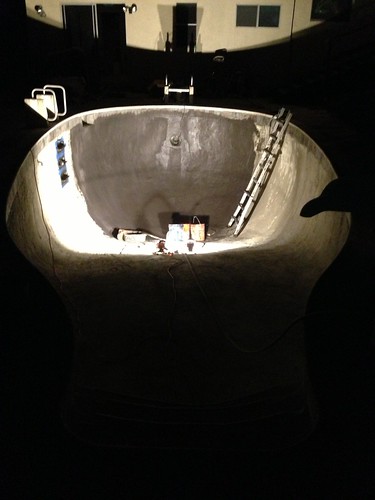
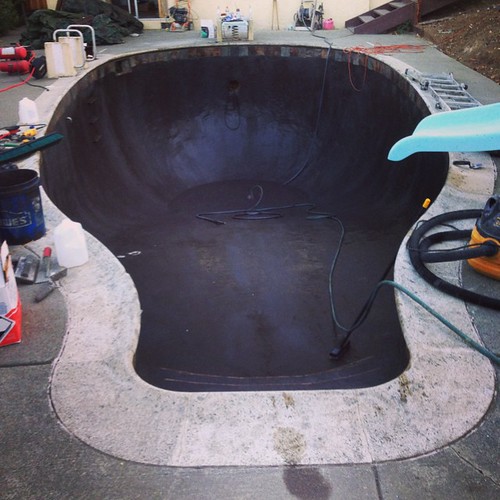
By the end of the second day I'd gotten the deep end's walls done;
 Untitled
 by
bradisdrab, on Flickr
I also felt like I was getting the hang of the application;
http://instagram.com/p/sF67GePfSq/
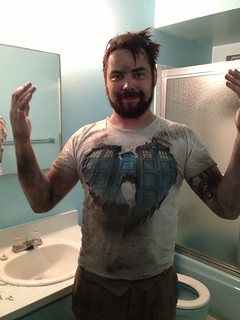
This was the most tired I can remember ever being. Fuel...
 Untitled
 by
bradisdrab, on Flickr
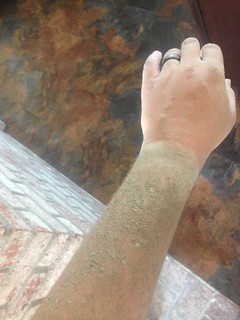
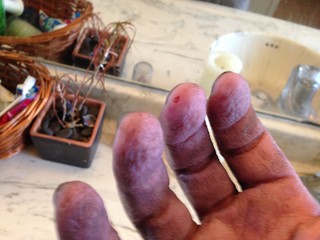
Hands swollen and sore. Wearing the skin off my hands and arm where it rubs the bucket when I scooped. Mental note - make an armband.
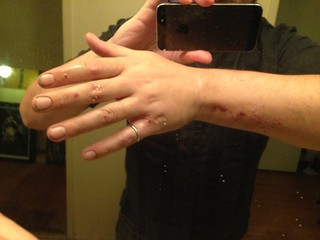 Untitled
 by
bradisdrab, on Flickr
This became my 2nd skin, doubled up work gloves with vinyl kitchen gloves and a cut-off sock arm band;
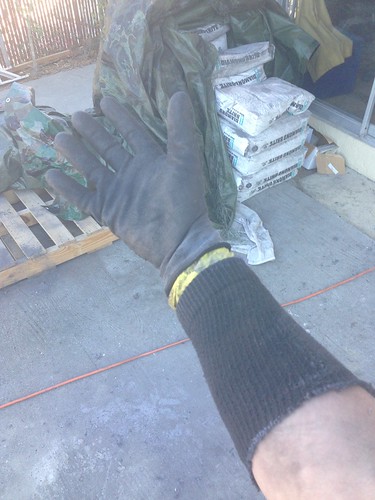 Untitled
 by
bradisdrab, on Flickr
More progress;
 Untitled
 by
bradisdrab, on Flickr
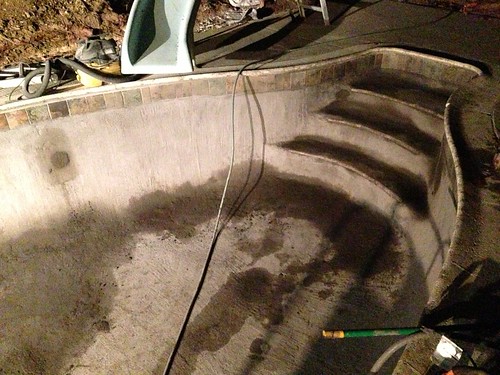
I almost stopped there but I was determined to do as much as I could. I had stayed home from work, using up a vacation day on my birthday, so I HAD to do as much as I could, so with the work lights out again I managed to finish the stairs;
 Untitled
 by
bradisdrab, on Flickr
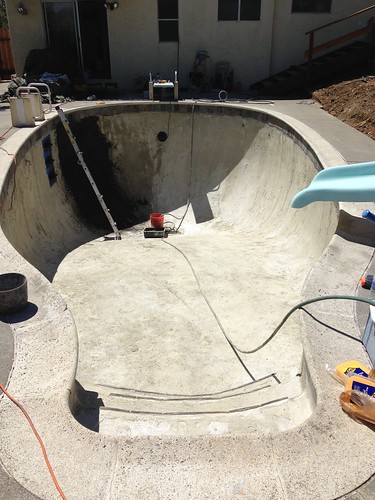
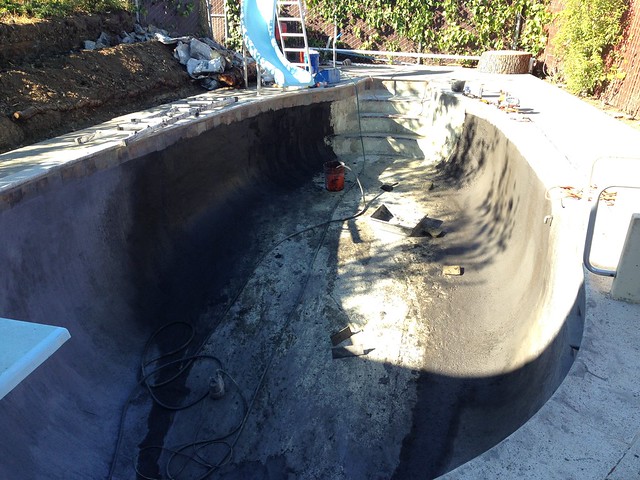
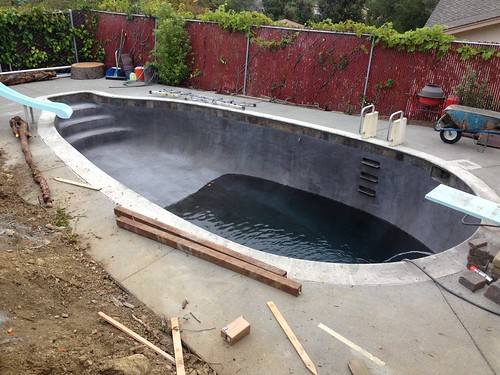
The following weekend and just the floor remaining, this all seemed well within reason;
 Untitled
 by
bradisdrab, on Flickr
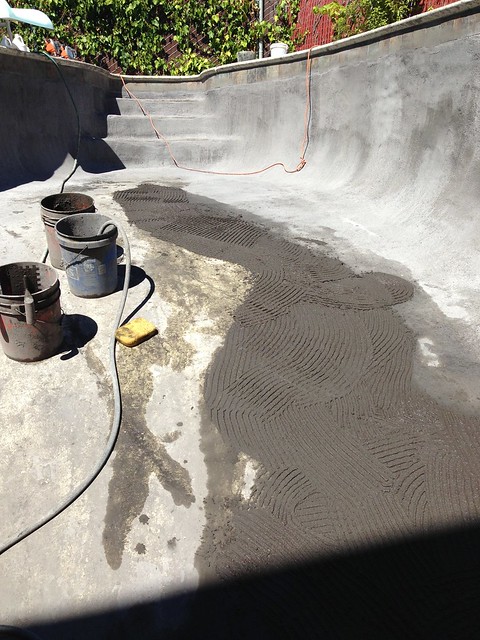
A lot more surface area to cover, but not having to sling it against the wall I could cover more faster;
 Untitled
 by
bradisdrab, on Flickr
I never did make spiked shoes, but I found that by setting sponges strategically I would have places to step
 Untitled
 by
bradisdrab, on Flickr
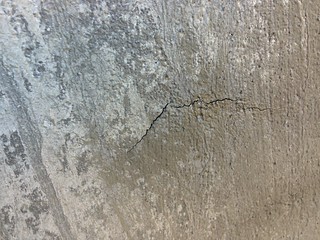
You can see that I've also been chiseling out the cracks a bit too
 Untitled
 by
bradisdrab, on Flickr
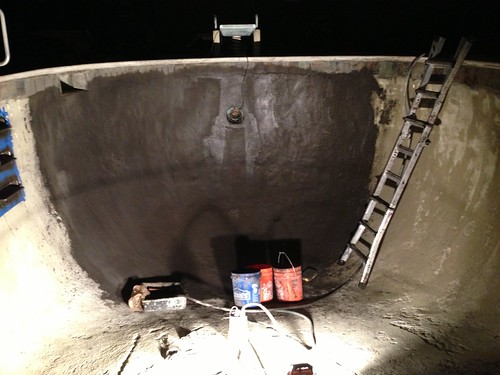
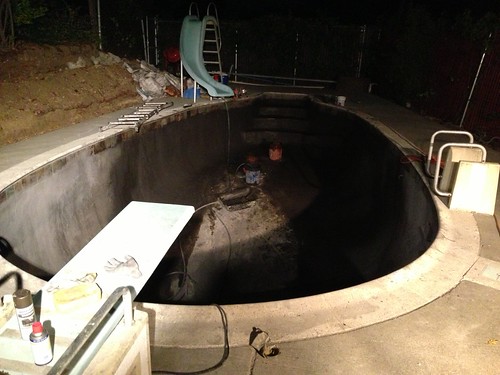
The last night's work, filling the last corner of the floor.
 Untitled
 by
bradisdrab, on Flickr
Touchups and covering up any thin spots, by this point I was in my socks, hopping from sponge to sponge
 Untitled
 by
bradisdrab, on Flickr
The last day!
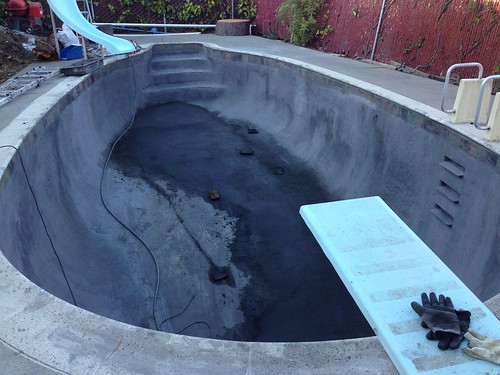
I started with a full acid wash;
 Untitled
 by
bradisdrab, on Flickr
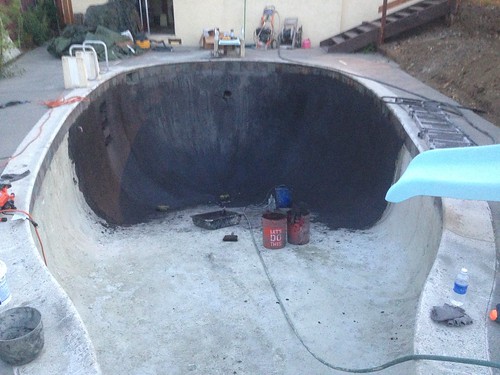
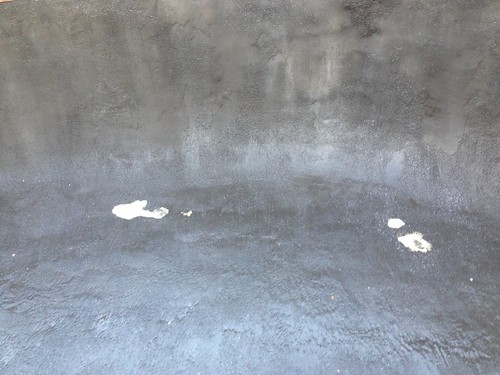
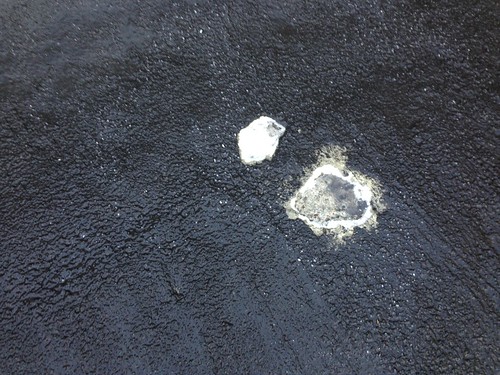
The cement was looking good at this point, and I was feeling pretty good abput it again, but it revealed a couple more thin spots,
 Untitled
 by
bradisdrab, on Flickr
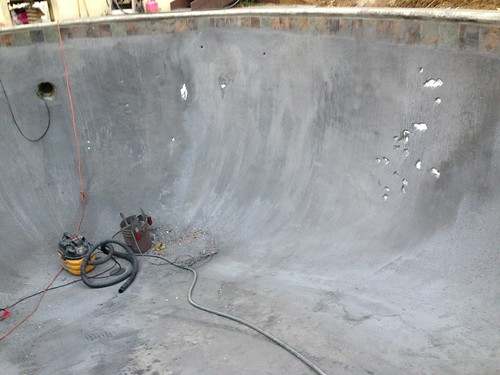
So I chiseled them down to make sure the patches would stick, I also took a wirebrush on an angle grinder to some of the rough patches.
 Untitled
 by
bradisdrab, on Flickr
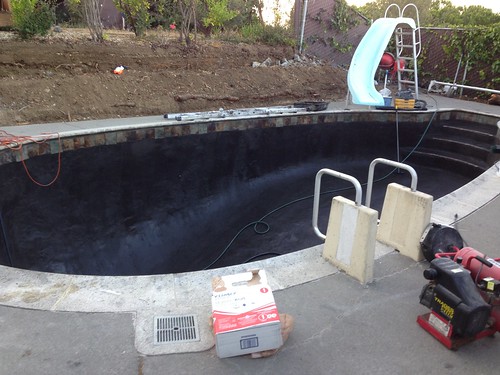
While I was doing that the guys came by and installed my new filter grids, timers, and pump. One of the few things I wasn't sure I could do myself.
Just the last patches to do here;
 Just finished the last of the patching, plastering and acid washing,
 by
bradisdrab, on Flickr
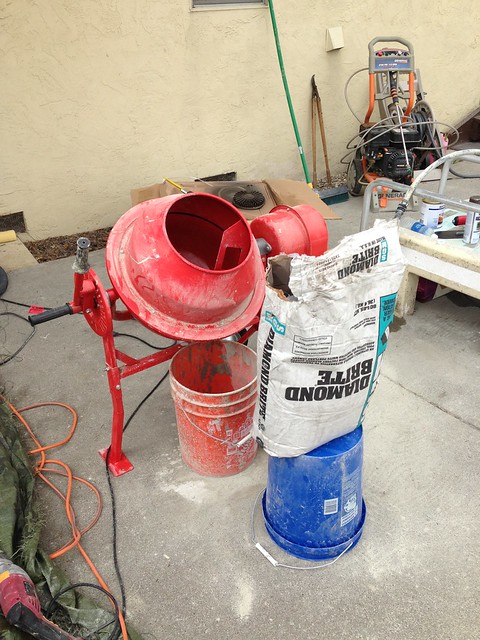
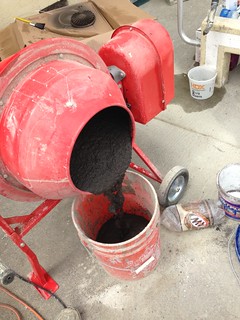
Six solid days, thirty-two batches, over a TON; (2500lbs) of cement mixed and plastered by hand.
I did the last patches then had to walk away. It has to be done eventually and knew I could keep chipping out bits, looking for cracks, tapping to find hollow spots and just drive myself crazy.
It took me a few days to talk myself into calling it finished.
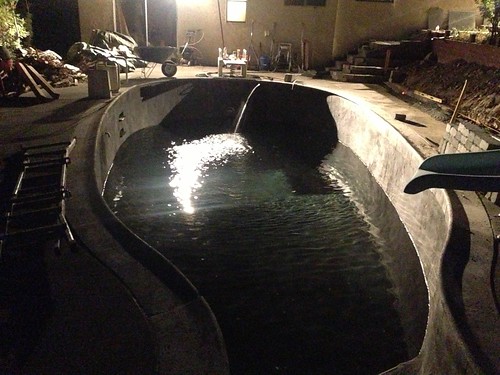
I started the water on thur night, Fri morning it was still going;
 Untitled
 by
bradisdrab, on Flickr
Friday night;
 Untitled
 by
bradisdrab, on Flickr
And filled!
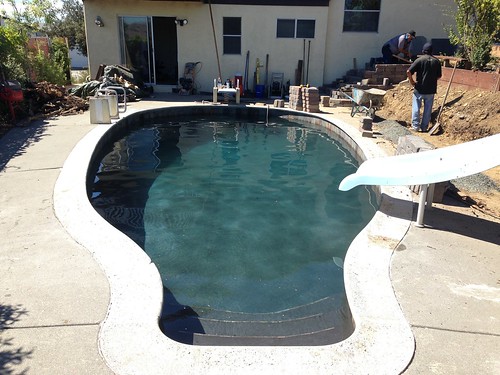 Untitled
 by
bradisdrab, on Flickr
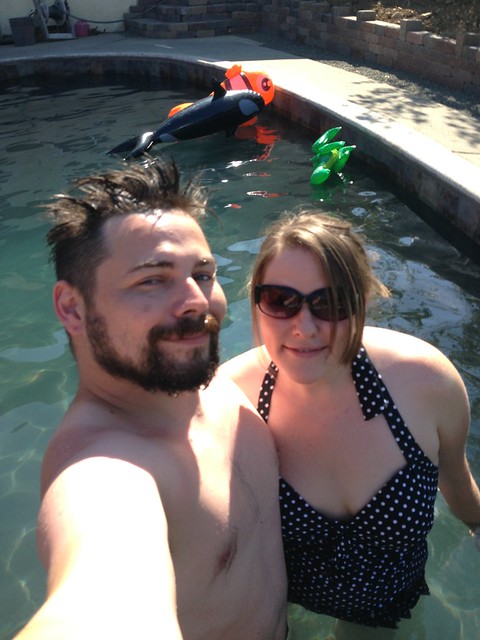
We got our first swim in on Labor day!
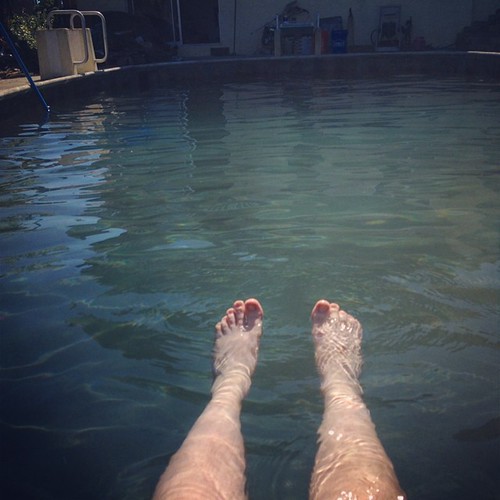 After all that work, its pretty amazing to finally go for a swim.
 by
bradisdrab, on Flickr
 Untitled
 by
bradisdrab, on Flickr
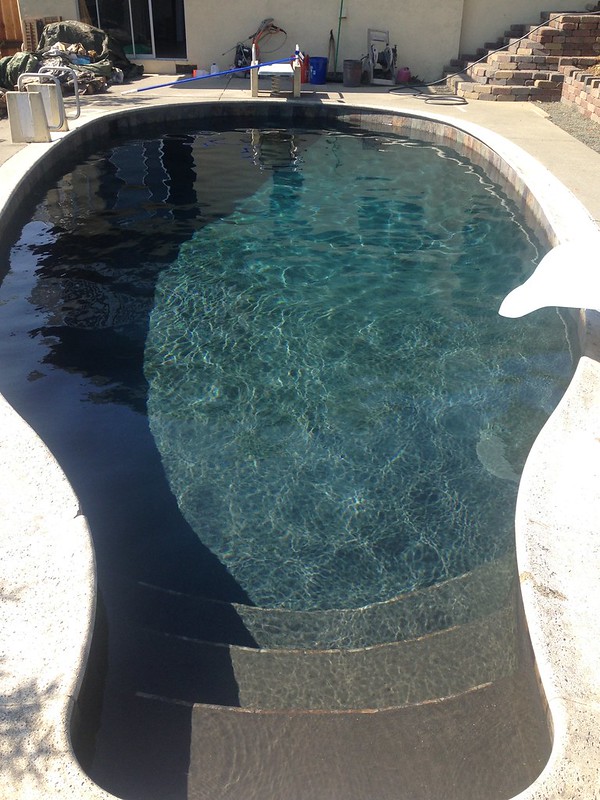
Filter running now, and I'm just learning how to ballance the chemistry, still some things to do, like sealing the expansion joints around the coping, but its close enough to call it done!
 Untitled
 by
bradisdrab, on Flickr
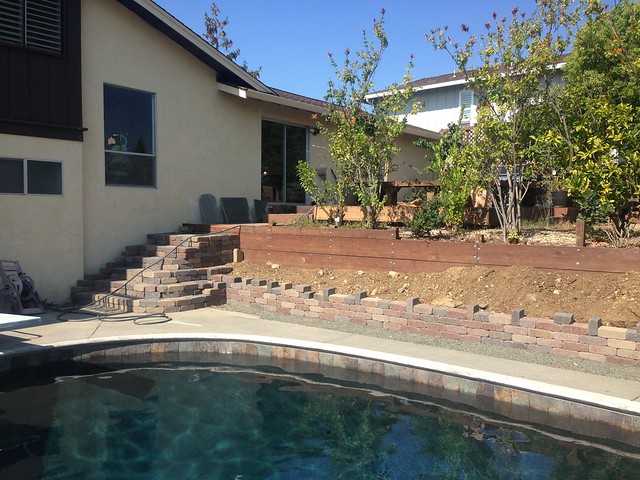
And we had the retaining wall put in as well, I think the stone ended up matching the tile pretty well after all;
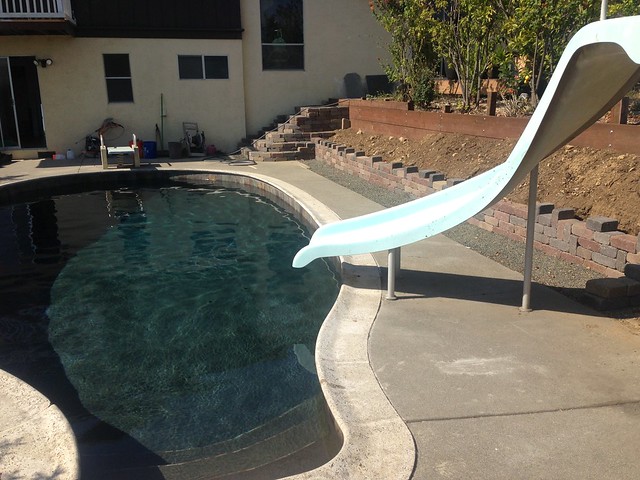 Untitled
 by
bradisdrab, on Flickr
 Untitled
 by
bradisdrab, on Flickr
Thank you all for reading along and encouraging my progress!

")