DIY IG rehab, cement walls, vinyl liner - Pool Filled!!

Re: DIY inground rehab, vinyl liner over poured cement walls

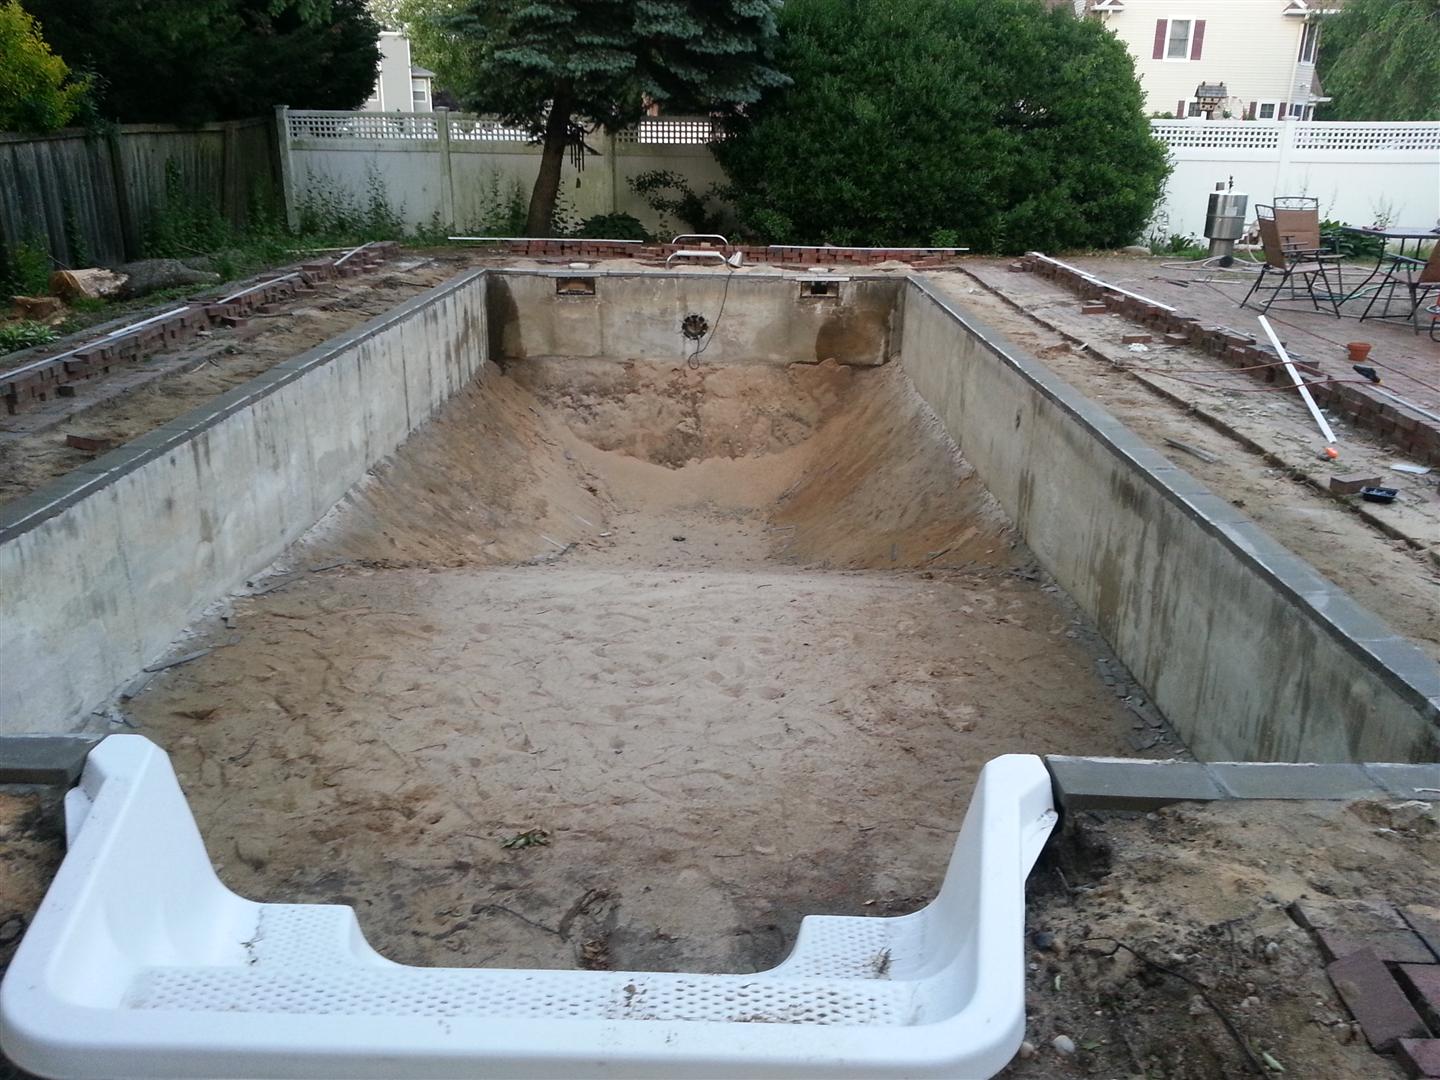
I am aware of the dust factor as well as cutting speed. My concerns are the strength and longevity of the saw since its not a worm drive (15A skil brand), and also how long Ill get out of the diamond blade. I might pick up a couple of segmented blades at HD on my way home tonight. I already have a turbo blade, but I feel the segmented ones might be a better option here. As far as the saw, its relatively disposable. If I need a new one after this, so be it.
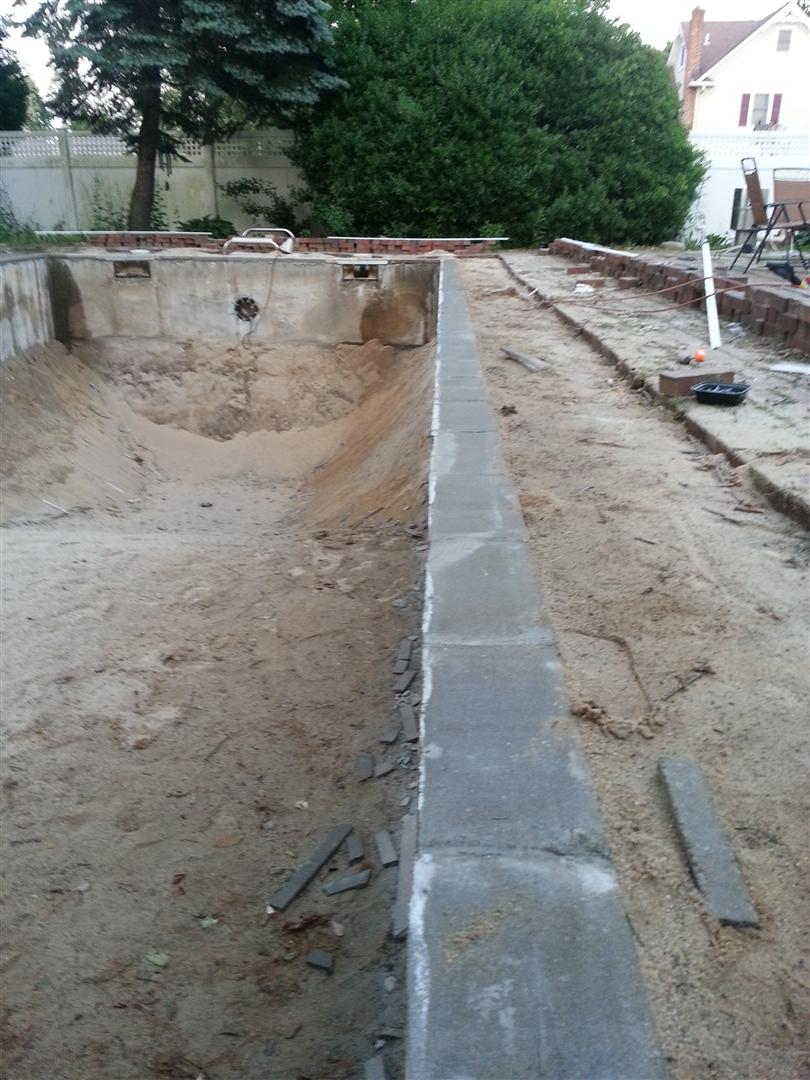
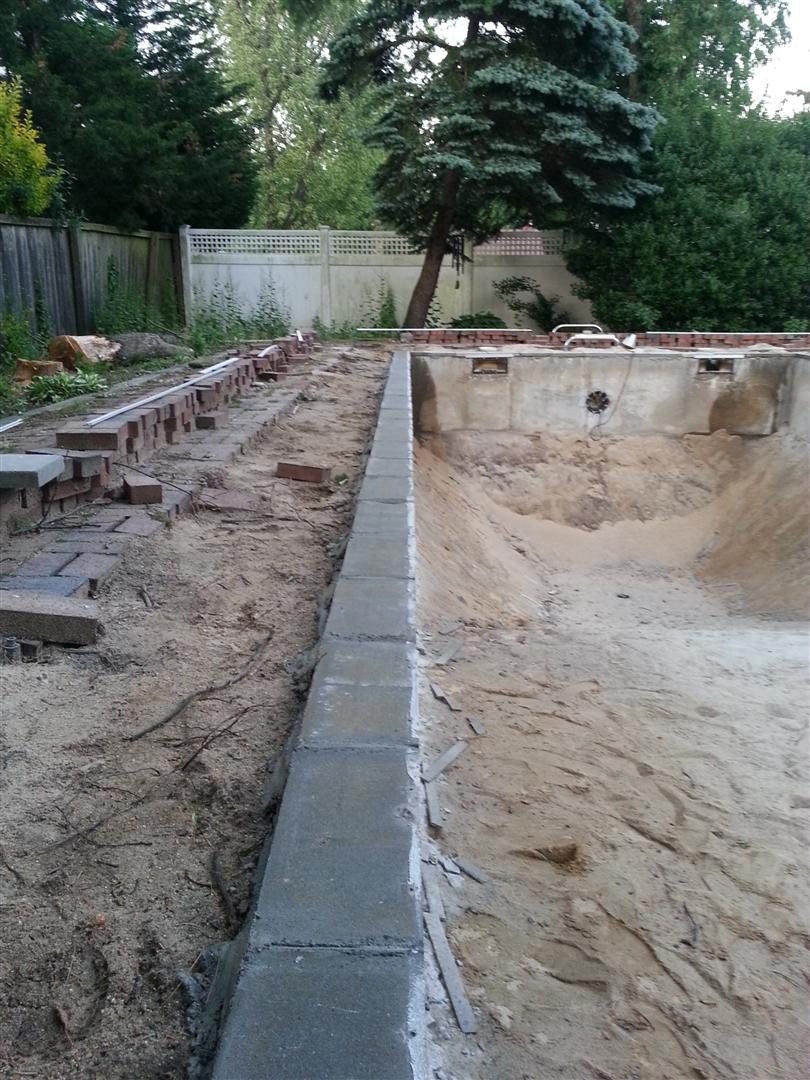
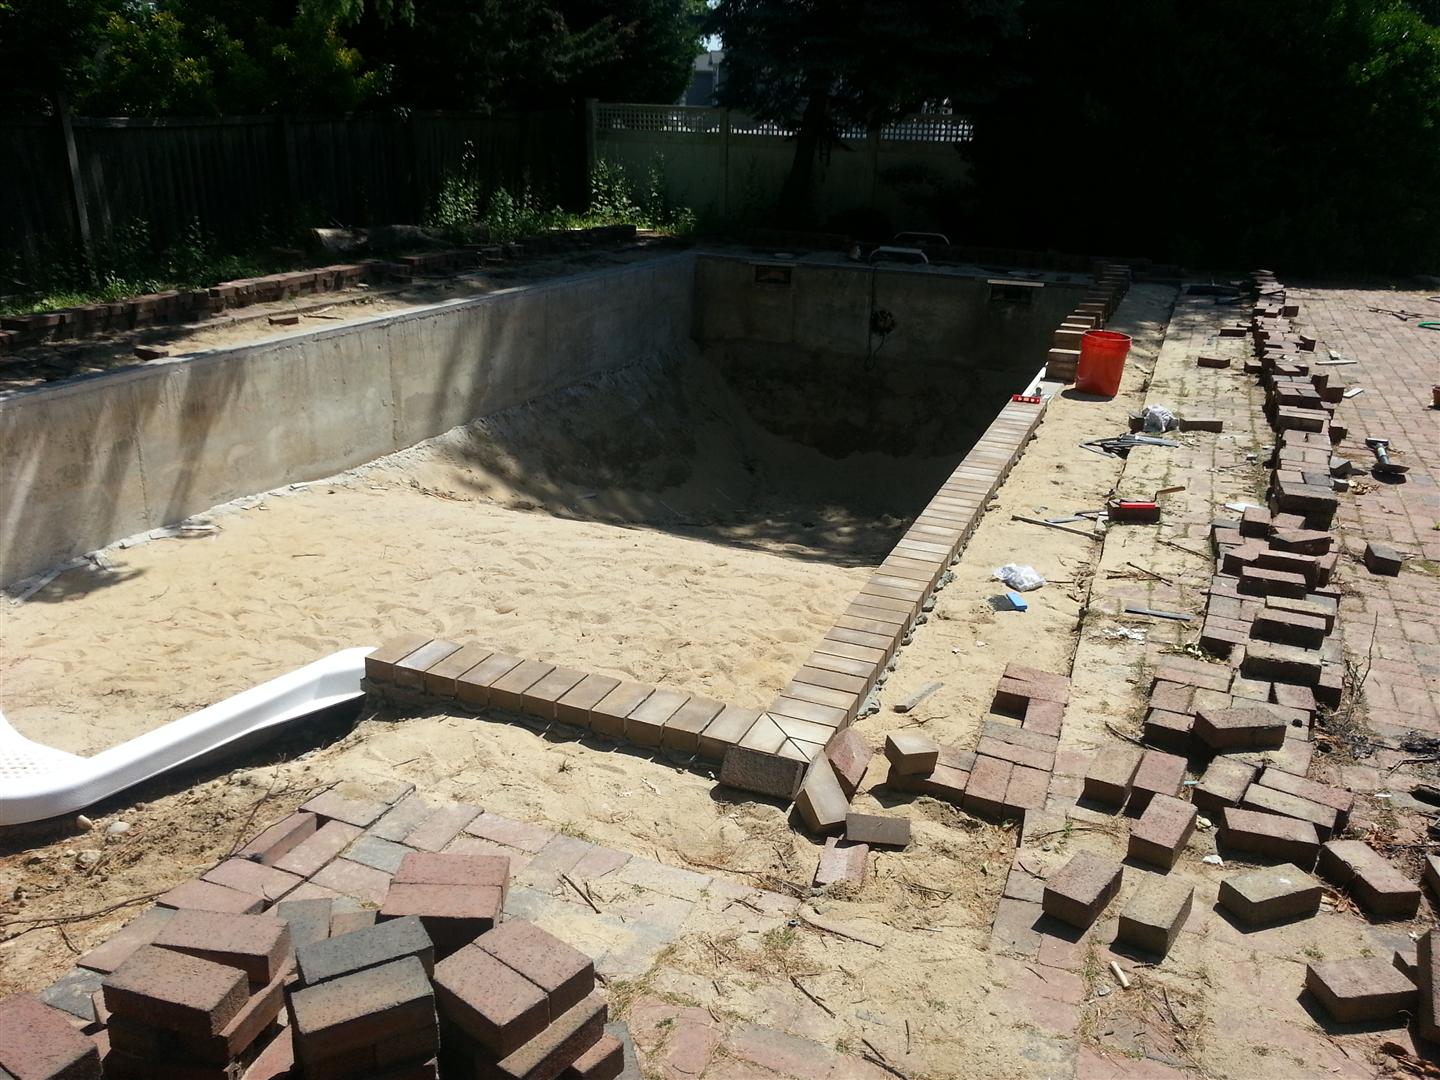
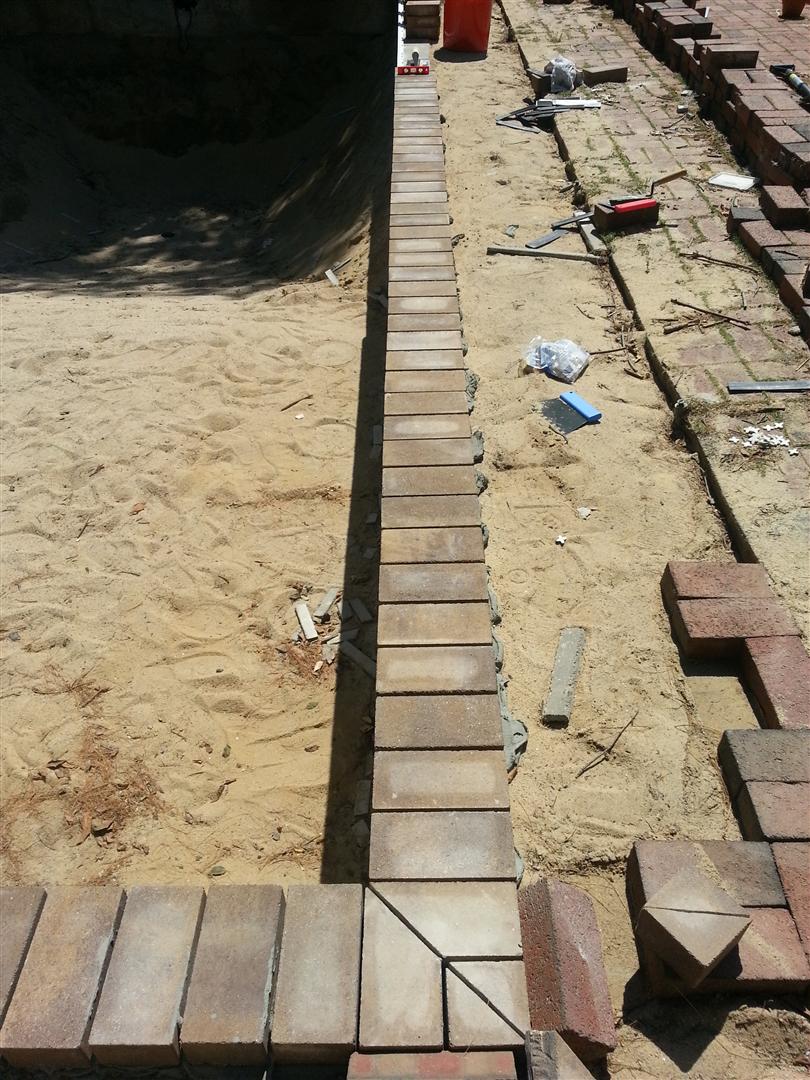
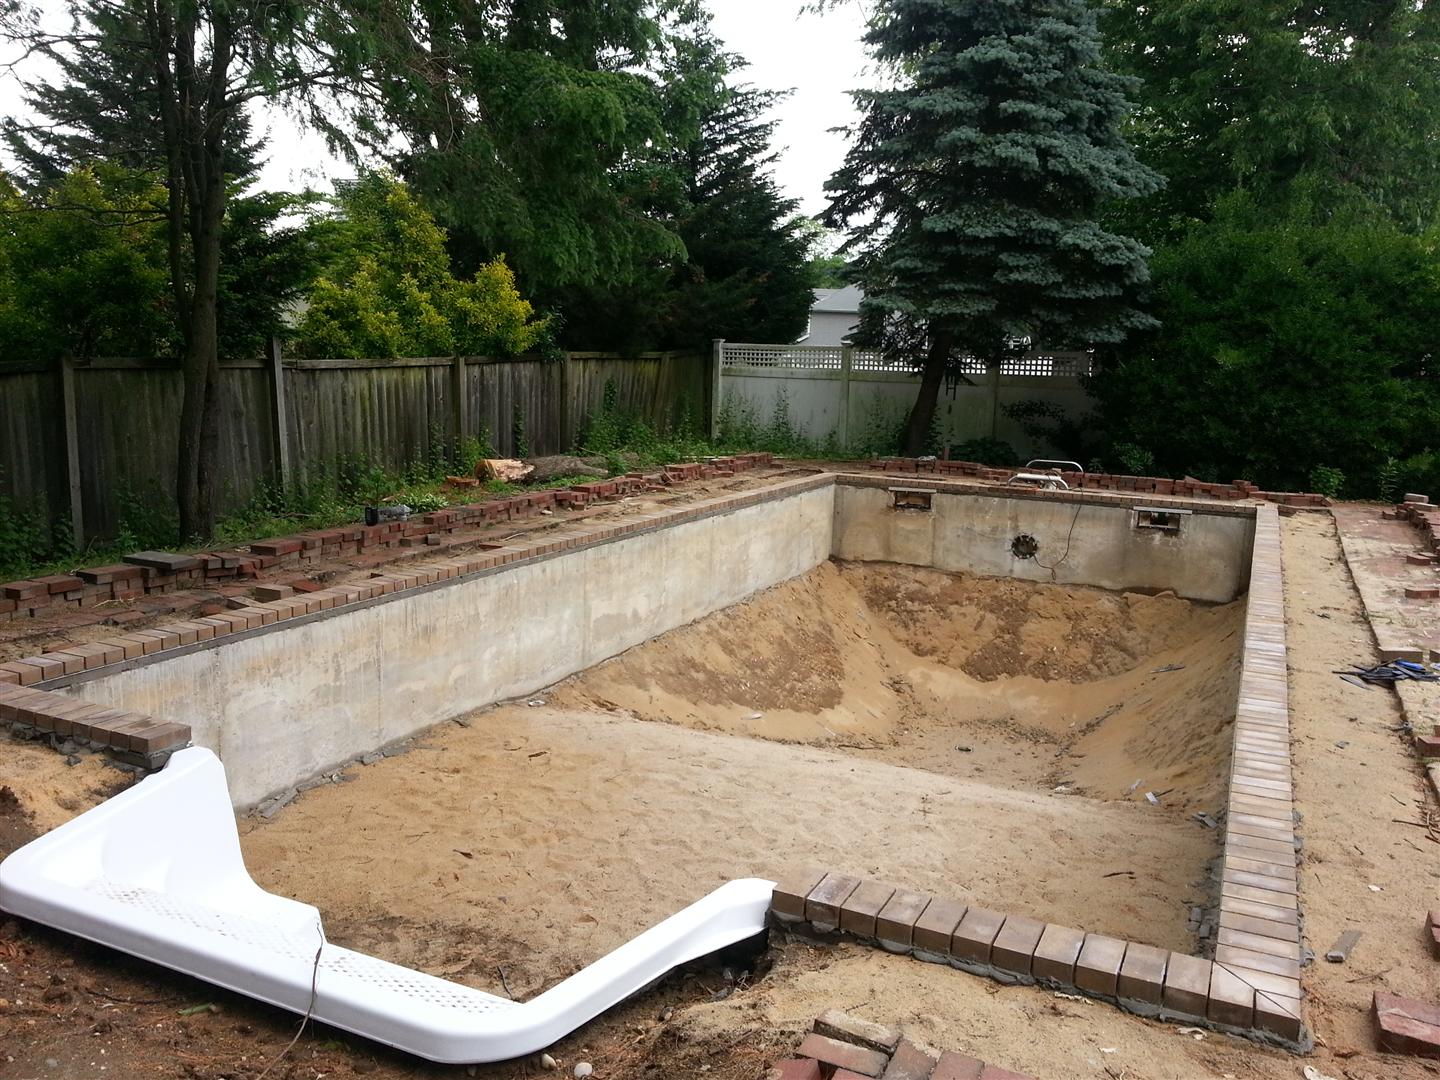
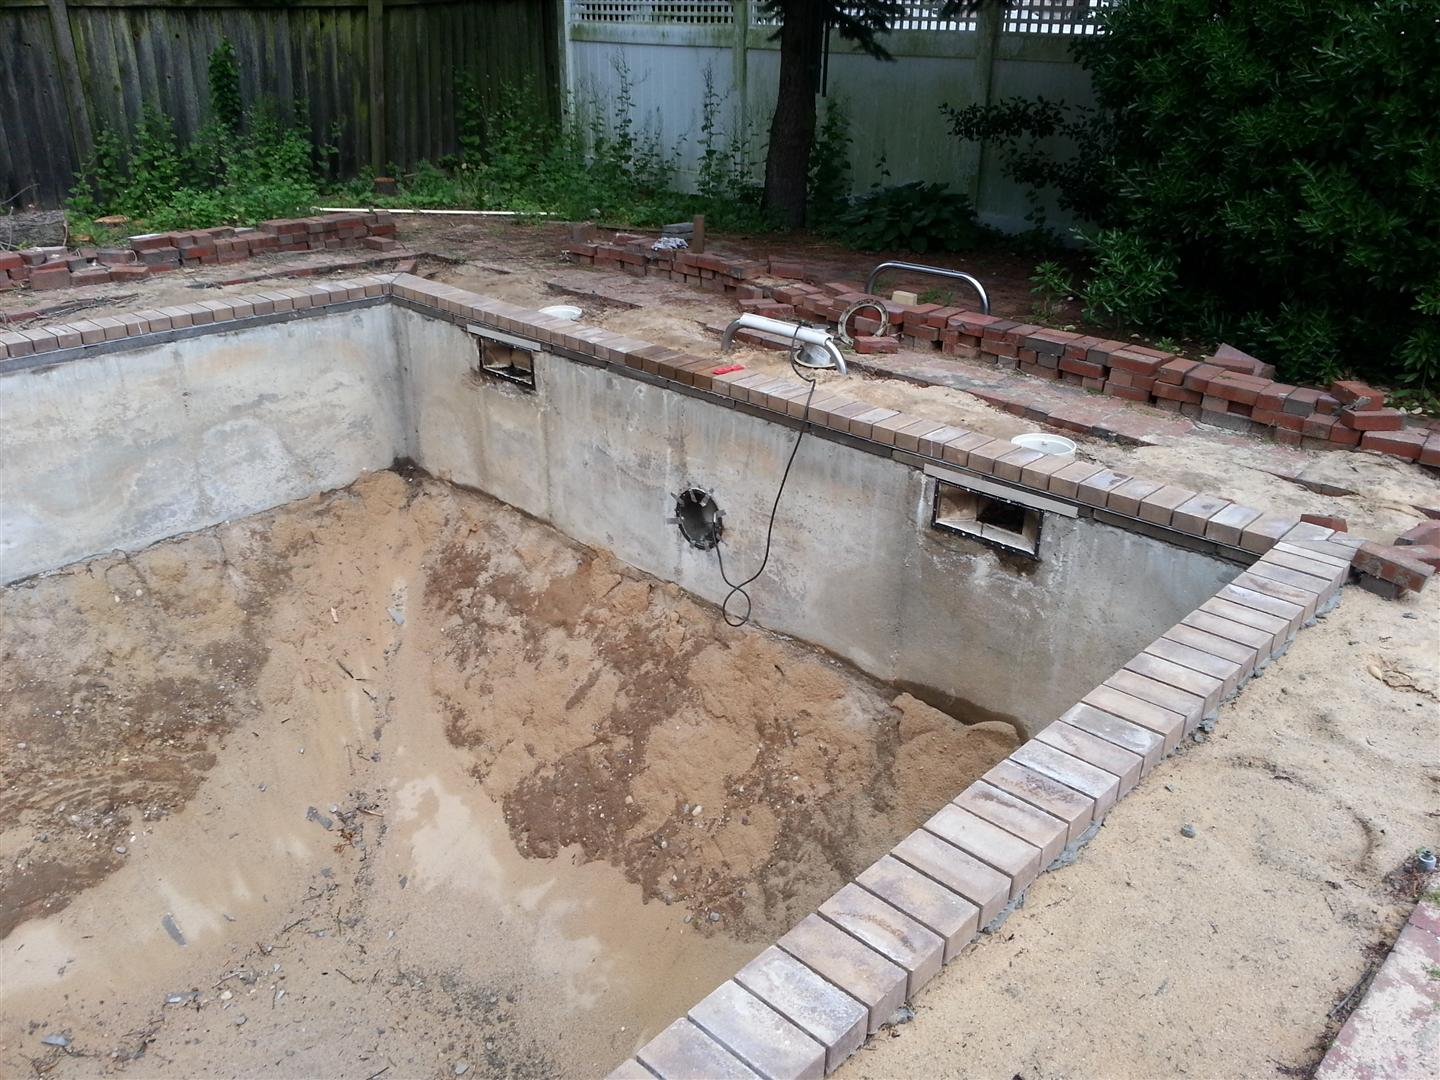
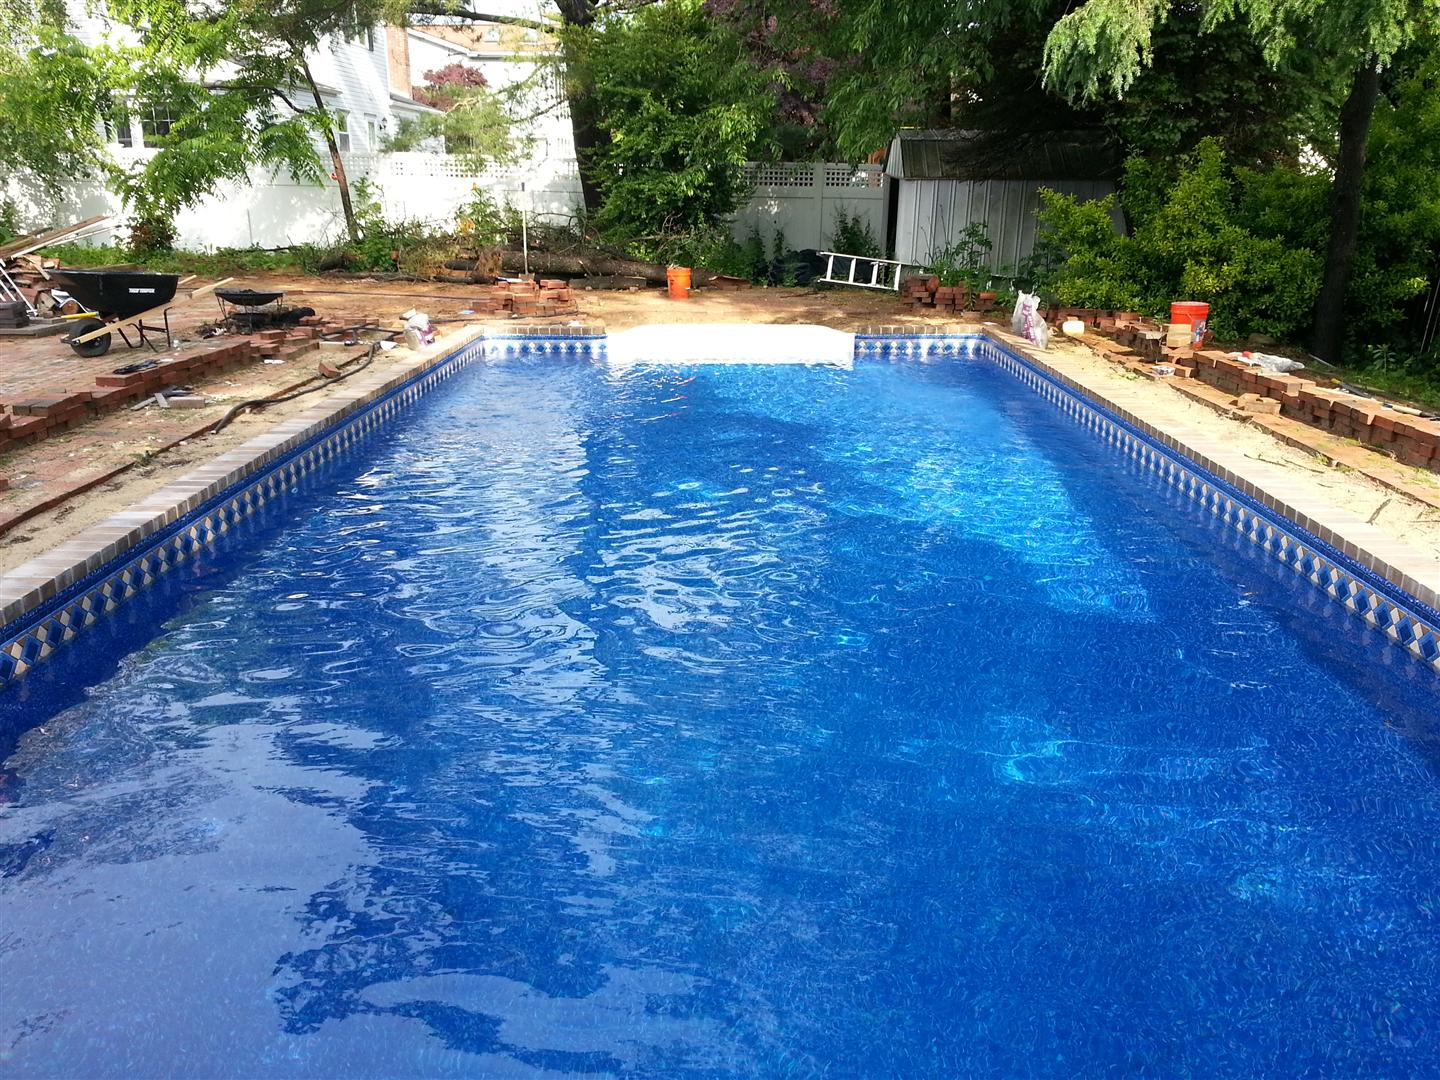
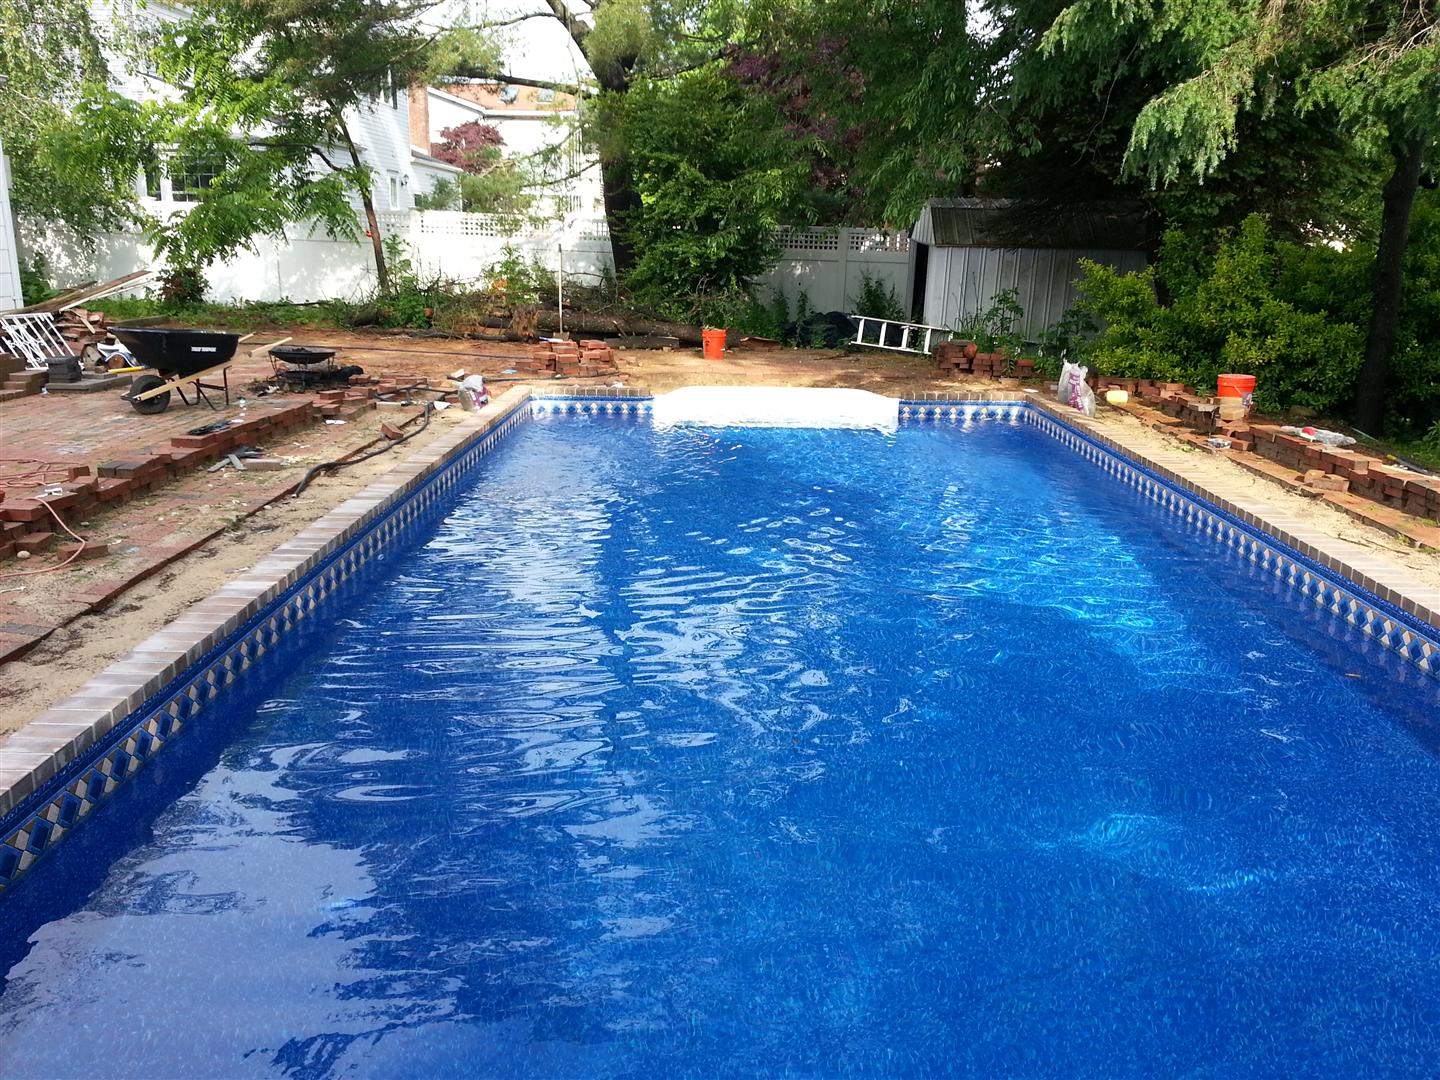
 
Re: DIY inground rehab, vinyl liner over poured cement walls

I don't know if its in your budget, but renting a gas powered saw with a 14" diamond blade for half a day would probably cut it in about 15 minutes and go all the way thru with one cut. My guess would be 60-70 bucks but save a lot of time. I know I used one a ton on my pool.
 
Re: DIY inground rehab, vinyl liner over poured cement walls

janthony said:
I don't know if its in your budget, but renting a gas powered saw with a 14" diamond blade for half a day would probably cut it in about 15 minutes and go all the way thru with one cut. My guess would be 60-70 bucks but save a lot of time. I know I used one a ton on my pool.

Actually, what started as a test cut turned into cutting about 10 linear feet in less than ten minutes, with lots of stopping to let the blade cool. My wife stopped me cause I wasnt wearing a mask, and it was getting late anyway. I was easily able to cut through the 1-5/8 thick block in one pass. I just need to make a jig out of some scrap wood to reference the pool walls and allow me to slide the saw up against. With any luck, Ill get all the cement cut by tomorrow night. I would love to be able to lay the vinyl track down by friday night, that way I can screw it down saturday afternoon, but thats a stretch. It still leaves me all day sunday and monday to get a good chunk of the coping layed down.
 
Re: DIY inground rehab, vinyl liner over poured cement walls

Please pardon the redundancy in my comments. I just coped them straight from my reno blog.

20130530_193834.jpg

Well, after much deliberation, I decided to pull off the liner track and cut back the concrete cap block flush with the walls. I knew it was going to bother me every time I looked at the pool. Luckily the liquid nails was still soft and the liner track came off easily. Then I threw a diamond blade in the circular saw and quickly fabricated a jig to reference the pool wall below the cap block.

20130530_200836.jpg

We got the bulk of the two long walls, and the short walls on either side of the stairs cut back. I will leave the overhang by the skimmers since the skimmer protrude a bit anyway. It took just over an hour to cut through roughly 80 linear feet of concrete.

20130530_200850.jpg

You can see that the walls look much much straighter now. I can live with this.

20130530_200906.jpg

A few bits remain where I couldnt get the saw into position. Ill address these with the more maneuverable angle grinder, and then a hammer and chisel will take care of any remaining mortar.
 
Re: DIY inground rehab, vinyl liner over poured cement walls

20130531_201327.jpg

The liner track goes back down. We decided to use polyurethane construction adhesive since it expands slightly to fill gaps, and it sets up and cures much faster than conventional liquid nails.

20130531_201404.jpg

We used composite shims to level the height of the liner track, ane let the polyurethane construction adhesive fill the gaps. To say the track is considerably straighter than last time would be an understatement. I am very happy we pulled everything apart, cut the block and tried it all again. Much much better.

20130602_103635.jpg

With the liner track glued, drilled and screwed down again, we can start laying the pavers down to form the pool coping.

20130602_103650.jpg

We used lated modified thinset (versabond) instead of regular type s mortar. This should create a much stronger bond and have just a hint of flexibility in the wet environment. We mitred the corners by hand with the diamond bladed circular saw.

20130603_185601.jpg

Pool coping is doneski!

20130603_185645.jpg

I wonder if I should have put a flat lintel above the skimmers as well? Too late now. Lets hope it holds.

20130603_185703.jpg

The finished height of the coping is a good inch to inch and a half above the existsing paver patio. Im sure I will do some kind of gradual transition sloping away from the pool. Since the existing patio has so much moss growing between the pavers, I may just pull them all up and relay everything starting flush agains the pool coping. That sure sounds like a lot of work though...
 
Re: DIY inground rehab, vinyl liner over poured cement walls

WOW! You are D man! I love the corner cuts. It looks great! THE picture I am waiting for is one of you IN the pool with a cold one in your hand and smile on your face!

Kim
 
Re: DIY inground rehab, vinyl liner, cement walls - Liner Su

I dont have pics yet, but I have about half the coping grouted. What a pain in the butt. I tried using the grout bag, but it was clearly more trouble than it was worth, and went back to using the familiar float and sponge. I dont care too much about staining, since the wife loved the weather and used look the residue imparts. Not necessarily an opinion we share, but happy wife = happy life. All the same, I did spray on some sealer to help with the grout release.

Unfortunately with all the rain we are getting right now, I wasn't able to finish the grouting as soon as I had hoped. But tomorrow morning, the rain should have subsided. First thing in the morning I will be replacing all the gaskets before re troweling the hopper to make use of all this rain. Ill then spend the rest of the day finishing all the grout work.

Sunday morning, I have scheduled a handful of friends and family to help me with the liner install at 10am. Ill spend a couple hours before that cleaning up any errant grout or cement chunks, doing any last minute grading, and then finally applying the foam to the walls. Wish me luck!
 
Re: DIY inground rehab, vinyl liner, cement walls - Liner Su

20130609_102810.jpg

Its Liner Day! Here we are putting the foam up on the walls.

20130609_110729.jpg

There are a few bunches in the foam, and the grading is not exactly perfect, but I expect nothing more out of a DIY job.

20130609_113311.jpg

With six guys (including my wife), it was relatively easy to pull the liner over the pool. It took some persuasion to get it into position, but we finally got it in place as best we could. The corners are particularly difficult, since theres no way to actually get the liner bead into the track at the 90 degree angle.

20130609_122932.jpg

Here I am jumping the gun and cutting in the stairs before the water has come up. I wanted to help create a good vacuum seal, but neglected to realize how much liner would be pulled into the deep end as the pool filled up. I could have used the extra material.

20130609_132450.jpg

I'm jumping the gun again and cutting in the skimmers a bit early as well, however I have a compelling reason this time. I had to use RTV silicone sealant on the skimmer gaskets since the skimmer wasnt perfectly smooth, and I needed to get the faceplates installed before the sealant cured bumpy without being flattened out by the faceplate.

20130609_193929.jpg

A few wrinkles remain as the pool fills up. I shoudl have ordered the liner with an inch or two less depth, which would have helped eliminate the excess material. But as the water comes up, the majority of wrinkles are working themselves out.
 
Re: DIY inground rehab, vinyl liner, cement walls - Liner Su

Looking good. I'm surprised how fast your progress has been. I know you must be about worn out but it looks like it has been worth it. Something tells me that you'll be pulling and reinstalling all the pavers. Then that'll mean new landscaping and fencing. Then outdoor lighting and speakers. Then outdoor kitchen and tiki bar....... Where does it end right? Just kidding it looks great.
 

Enjoying this content?

Support TFP with a donation.

Give Support
Re: DIY inground rehab, vinyl liner, cement walls - Liner Su

janthony said:
Something tells me that you'll be pulling and reinstalling all the pavers. Then that'll mean new landscaping and fencing. Then outdoor lighting and speakers. Then outdoor kitchen and tiki bar....... Where does it end right? Just kidding it looks great.

Is this my wife posting under a pseudonym? Its like you've been listening in on EVERYTHING.

Yeah, lots of work ahead of me. The pavers need to come up anyway to clean the moss out of the gaps. Ill seat them against the pool coping first, and just work my way over. I need to grade the pavers away from the house too, since right now the water pools up against the foundation and water is dripping through a poorly patched crack during heavy rains (like the 9 inches we just had friday through monday). And yes, eventually we are thinking pergola off the back of the house with outdoor kitchen. The outdoor speakers are sitting in a box in my basement, but the wire is already run to my A/B switch. That will be an easy project to finish up. :) But first things first, I need to get rid of some of these downed trees and the trash pile of broken pool bits.

Thanks guys
 
Re: DIY inground rehab, vinyl liner, cement walls - Liner Su

20130611_081717.jpg

And the filter is running! Not too bad, had to blow out the lines with the garden hose and a rubber stopper, but the pump is running well and has plenty of pressure.

20130611_081704.jpg

The filter element is in great condition. No DE coming out through the jets.

20130611_081728.jpg

The pool is just begging for its maiden swim. The liner has tightened up as it filled. There are a couple of wrinkles in the hopper, and in far right corner to the right of the skimmers. All in all, I can certainly live with a few wrinkles considering what we had to do to get here. The corners seem to be about a 4 to 6 inch radius, and the corner below the stairs has reduced to about a 2 to 3 inch radius. Hopefully as we use the pool the liner will work its way into the corner against the stairs and sand.
 
Re: DIY inground rehab, vinyl liner, cement walls - Liner Su

OK, so what do you guys think about the corners? My last pool had 6" radiused coping, so the corners followed suit, but these corners are not supported at all from behind. Maybe this is exactly as intended?

Also, what do you think about the lack of material under the stairs? It seems to have sucked in considerably. There is still a 2 or 3 inch radius in the corner of the bottom where there is no sand supporting the liner. I am worried an errant toe or heel might put a hole in the liner there. Do you think it will continue to stretch, or borrow material from the rest of the liner and eventually work itself out? Am I worrying about nothing?

Thanks again guys, cant wait to take our first swim.
 
Dove in for the first time last night in the middle of the pouring rain. The water was frigid, but I've officially been swimming.

Well as usual, there's good news and bad news.

The good news is that the bottom corner below the stairs is fine. Its up against the stairs, and any subtle radius left in the corner has sand behind it, so I feel much better about that.

The bad news is that we lost about 1/4 to 3/8 inch of water in 12 hours overnight, so figure 1/2 to 3/4 inch per day. Now I have to troubleshoot where this leak is. Any suggestions as far as troubleshooting? Ill do a few searches, but my first thought was to hold thin plastic (like a garbage bag) against all the faceplates and see if its gets sucked against the wall. Also, after about 30 seconds of use, my brand new $40 400 watt light bulb seems to have burned out. Hopefully there's some kind of warranty on it. Otherwise the old bulb still worked if I recall, so I will use that for the time being.
 
I don't know anything about finding leaks, but have you considered going back and torqueing down all your screws on steps, skimmers, returns just to make sure everything is snug. I know I went back after a several days and was able to get another quarter turn on some of mine.
 
janthony said:
I don't know anything about finding leaks, but have you considered going back and torqueing down all your screws on steps, skimmers, returns just to make sure everything is snug. I know I went back after a several days and was able to get another quarter turn on some of mine.
Yeah, I had planned on doing that anyway, but I figured it would be easier to find a big leak first, then tighten once I know where. I know one screw in the niche faceplate was fairly stripped, so I may replace those if I can find the correct thread. I suspect they might have been 1/4-28, or possibly #12 or #14 with a fine thread. Not common sizes to find, especially in stainless.
 
I torqued down on all the skimmer and return screws by hand. The skimmers were pretty loose, and I got about a half turn on all the screws before I didn't want to chance pulling out the threads. I didnt torque the stairs or niche or main drain since I didnt want to jump in, but the food coloring didnt show any leaks in the spots I could check from up above.

Anyway, judging by water level against a skimmer screw, we didn't lose any water in the 12 hours overnight - or or if we did, it was less than 1/16. I'm going to consider this success. Now back to addressing these pavers.
 

Enjoying this content?

Support TFP with a donation.

Give Support
Thread Status
Hello , This thread has been inactive for over 60 days. New postings here are unlikely to be seen or responded to by other members. For better visibility, consider Starting A New Thread.