Good thing you had the stone on hold!
Next week for pics???????? LOL Guess we will have to wait
Kim
Next week for pics???????? LOL Guess we will have to wait
Kim

I like it, but I've been known to give boatloads of false information..
I like it, but I've been known to give boatloads of false information...
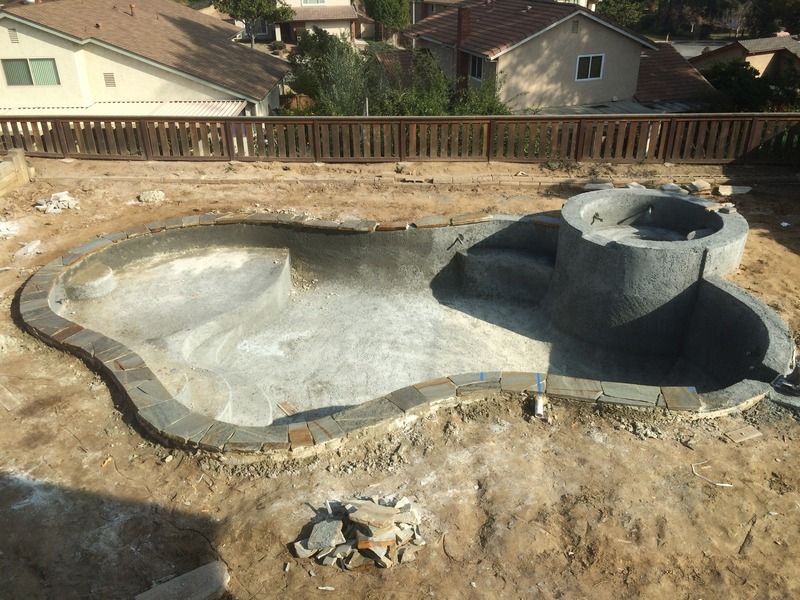
Fix that overflow while you can. What did you decide about the fireplace drain? Has there been a decking decision?
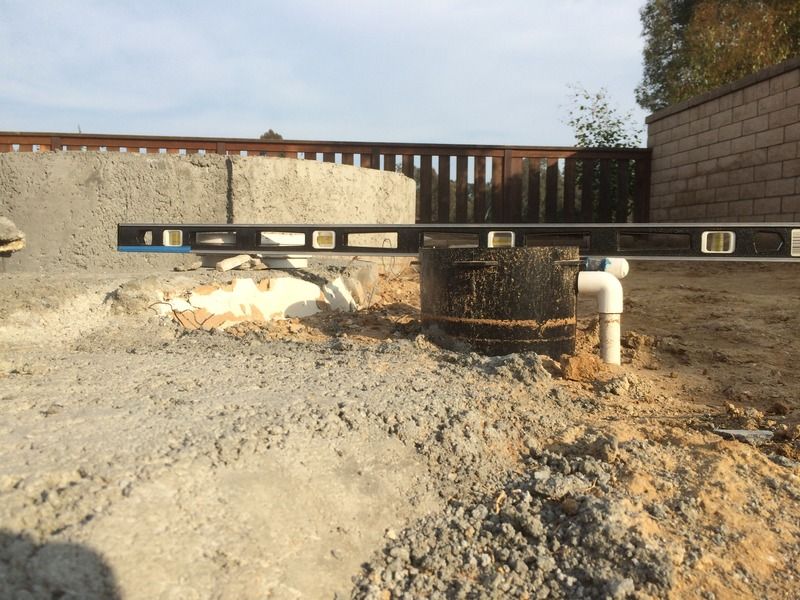
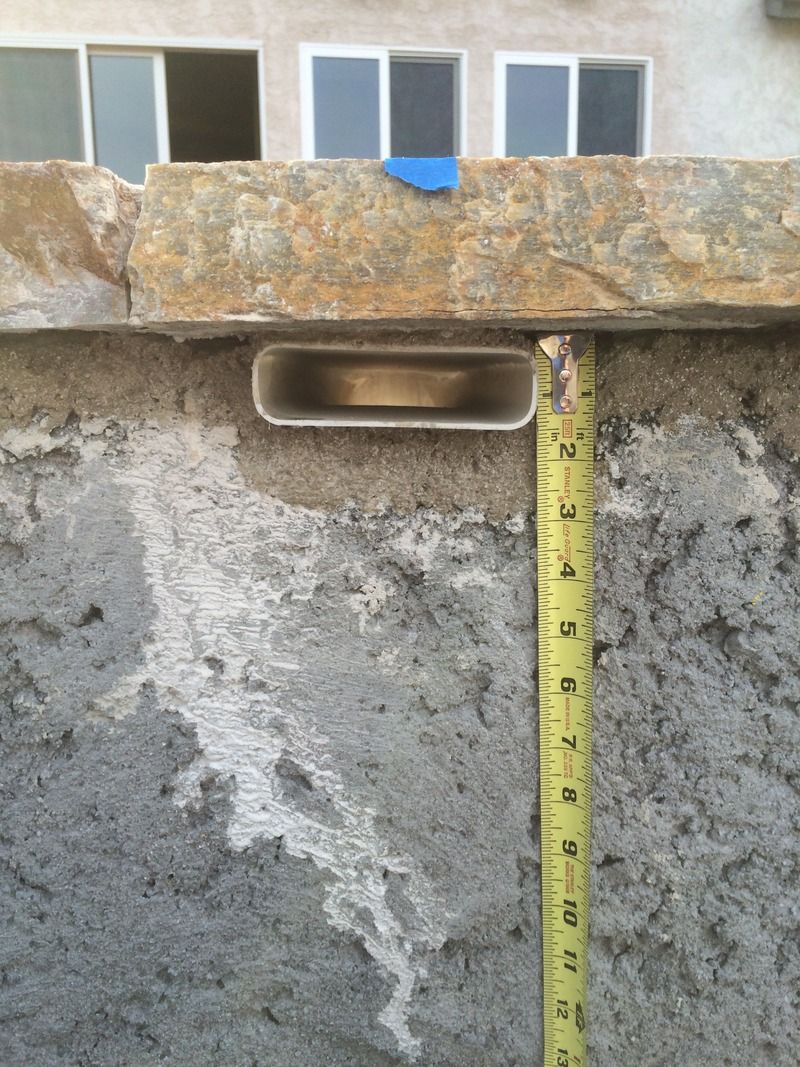
Odd they did it that way. Every unit I've ever seen says to install flush with the bond beam...and that's the Stetson auto filler because that's the only one I use!
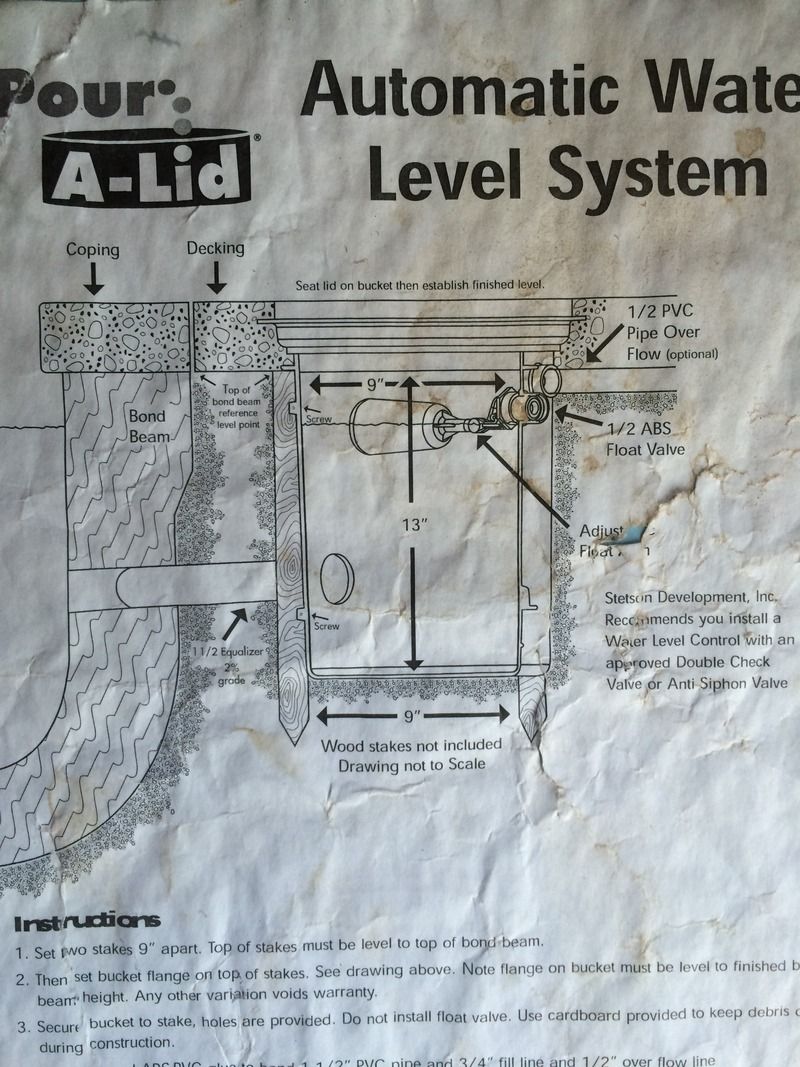
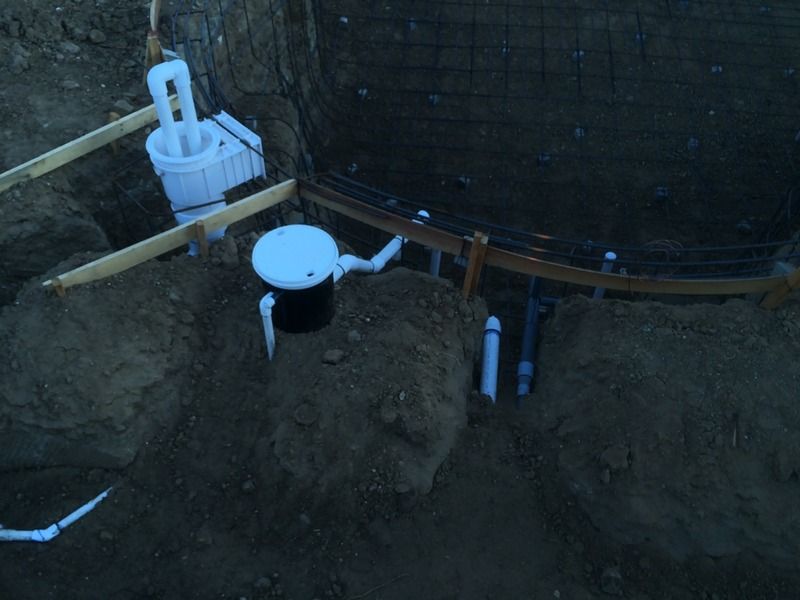
They didn't install the equalizer line correctly either. Its supposed to be a straight shot. It will likely not effect anything but jeez, read the instructions!
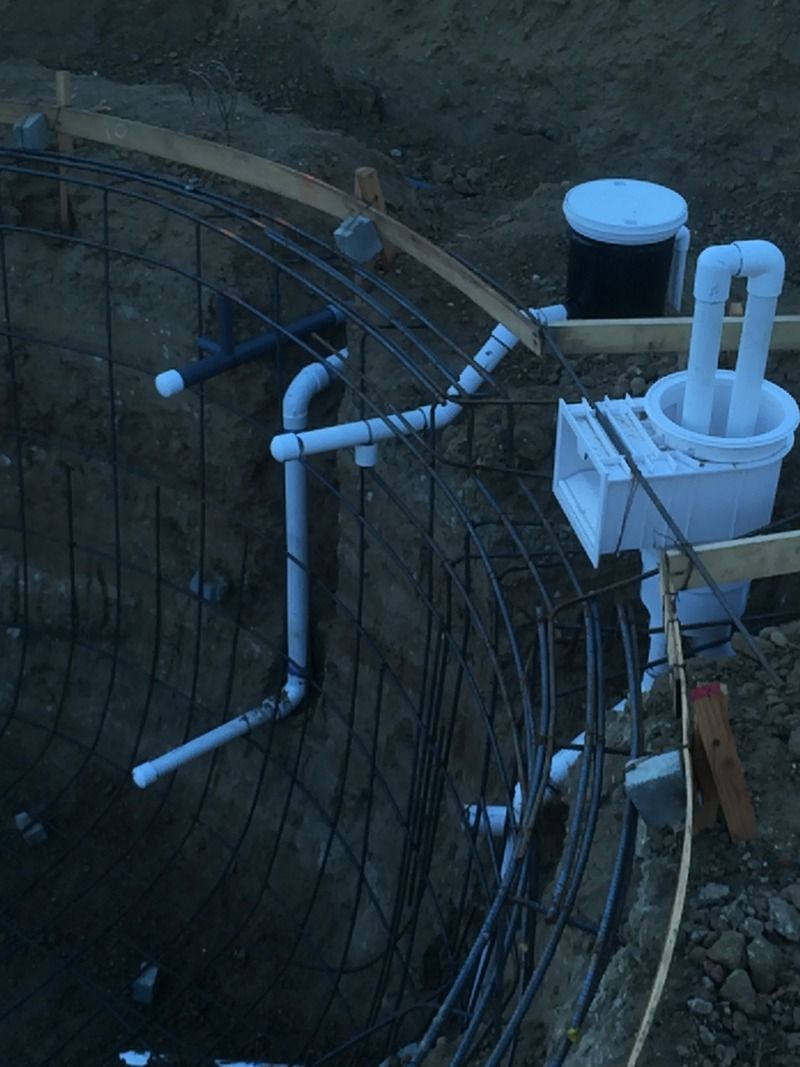
The way that is plumbed will actually work in your favor since the section at the 45 degree angle can be cut and reattached at the newer lower elevation.
It will work just fine...once its where it should be. I would not be without one in-spite of the negative views they get around here.
You do not need an overflow, its easy enough to pump a little water out with the pool pump. The last storm we got added 2" to my pool for what its worth.
Vacuum attachment drain?
I would not have a pool without an autofill and an overflow drain. Too easy and too functional to not have.