Spa Repair Thread - Pump bearing, leak, and new cover. With pics!

Update: Got an email yesterday that my spa cover is now being made. So it may end up getting here sooner than expected!

Also, in a rare move for me, I actually got around to doing something before the last minute. Given that my wife is working today, I eventually got bored of watching videos, got off my butt and got my old spa pump pulled apart so I can do a bearing replacement. So without further ado, MORE PICTURES!

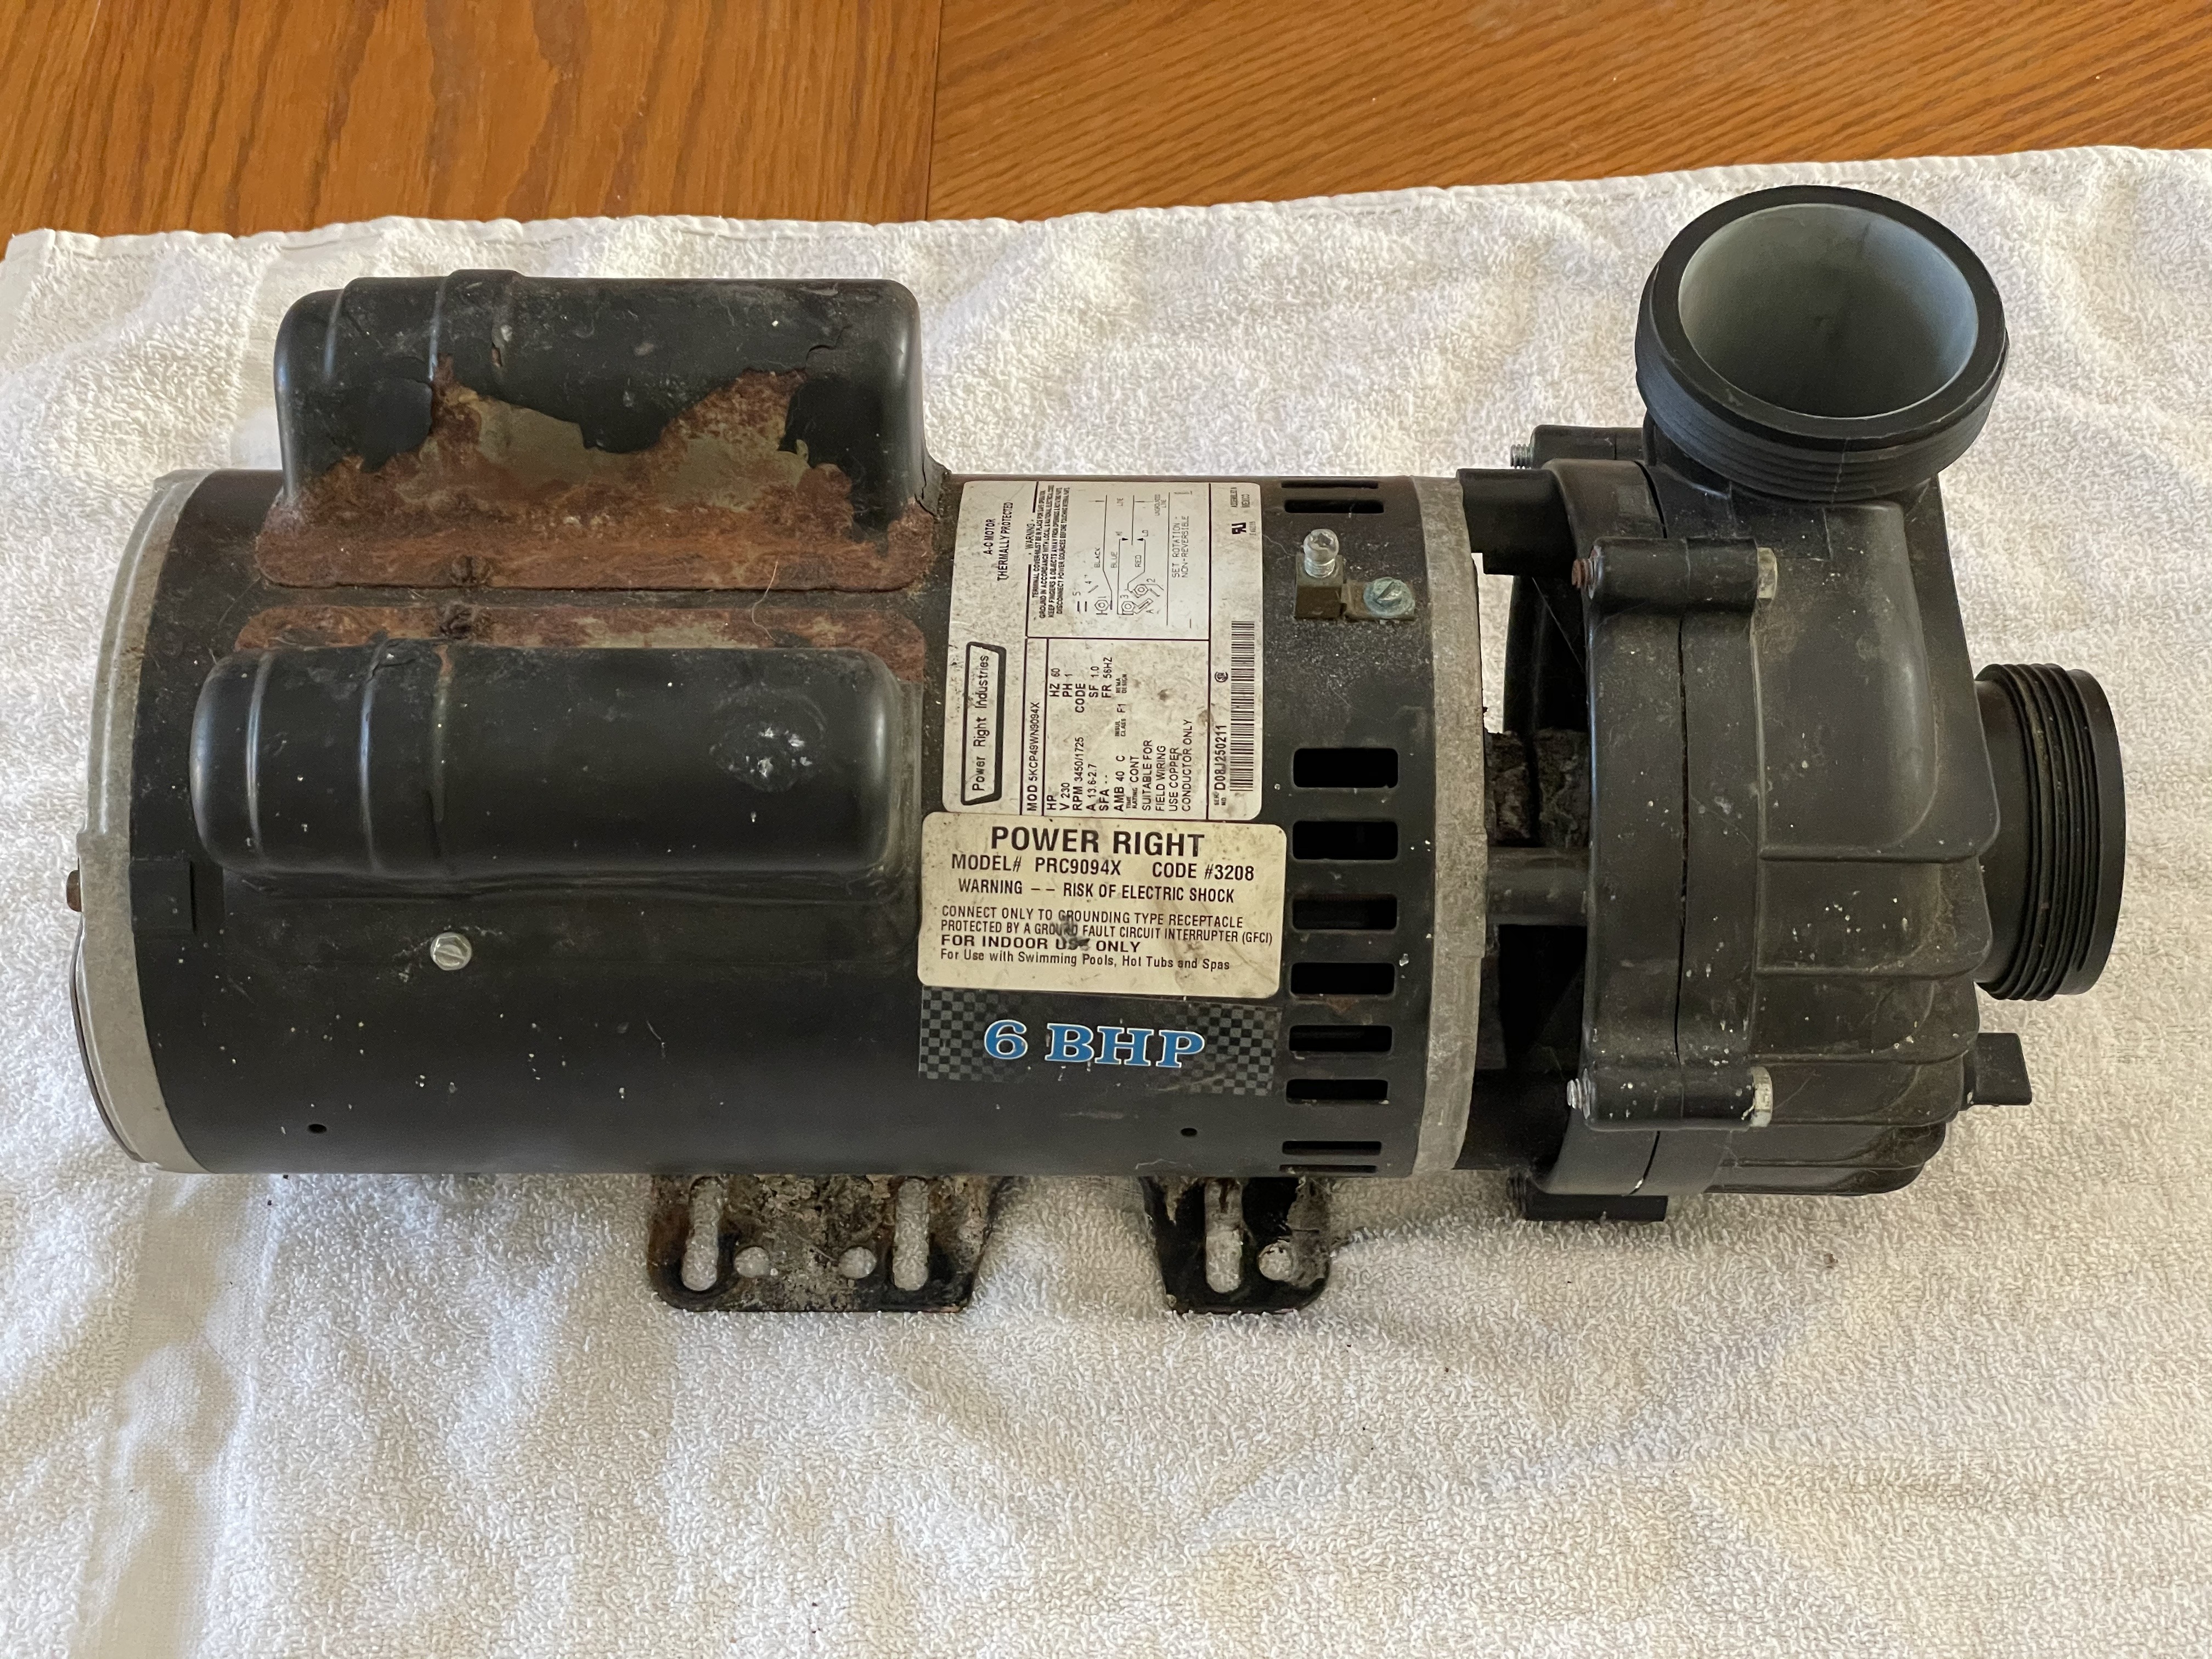
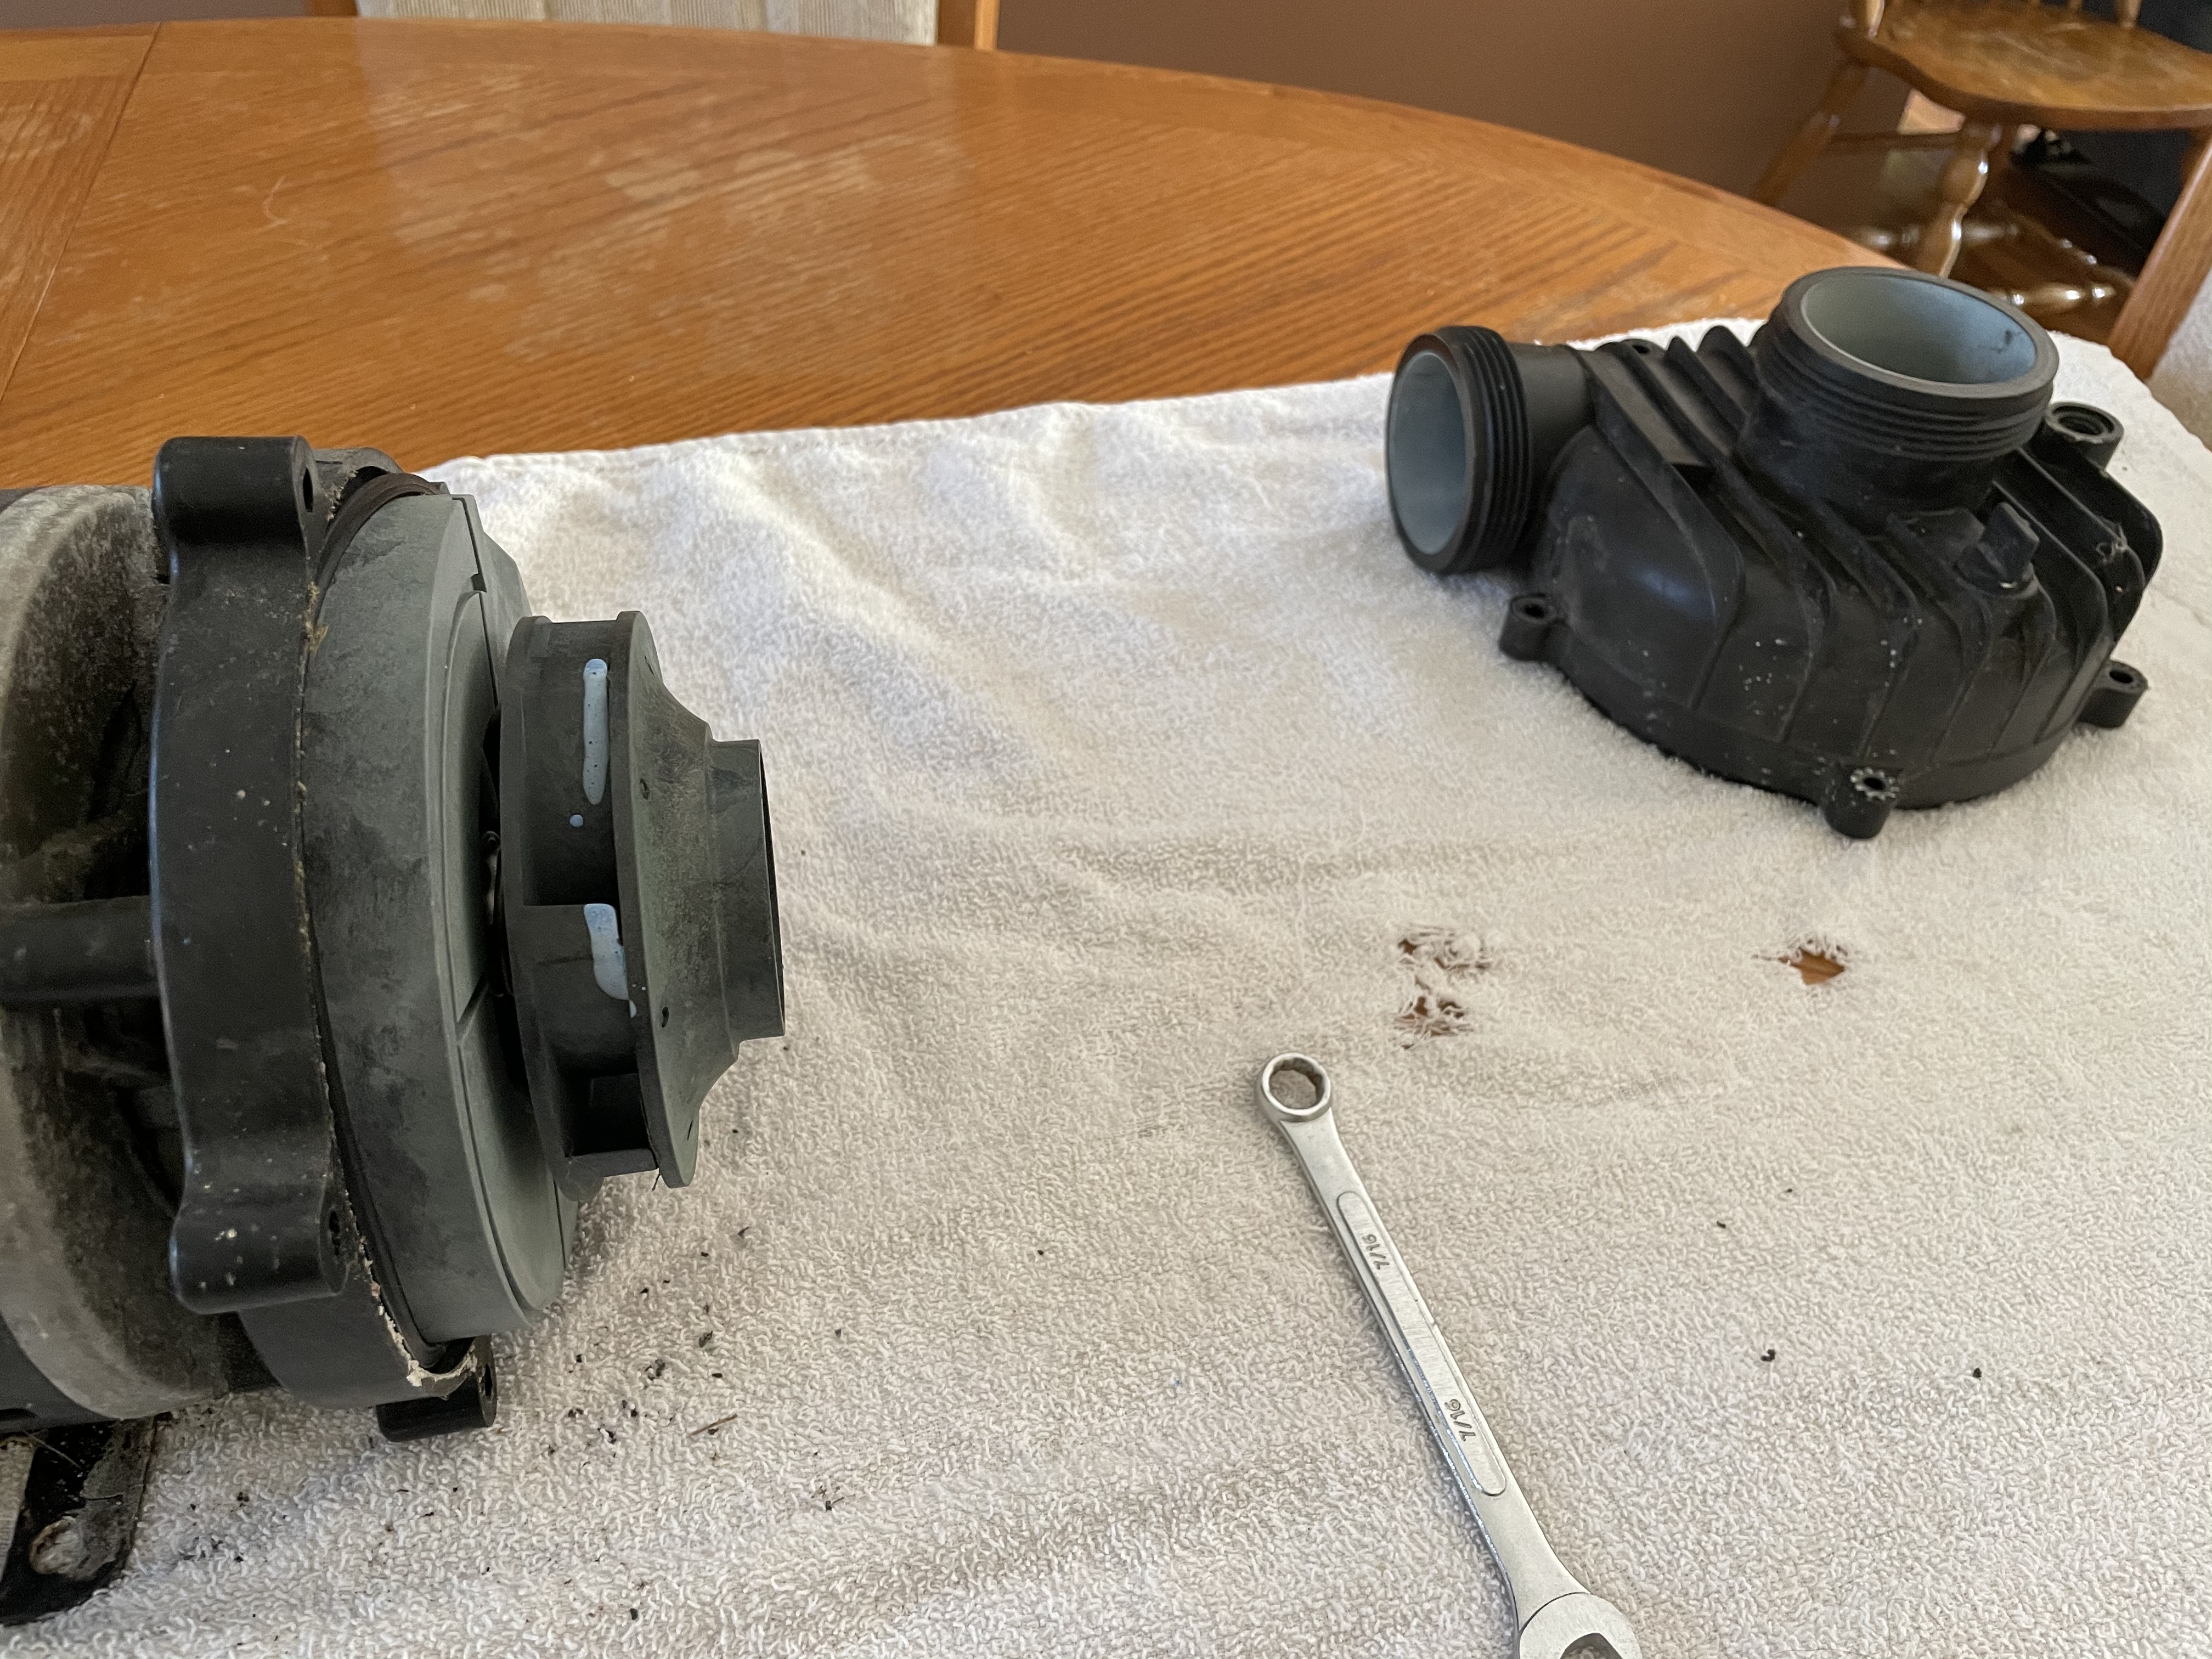
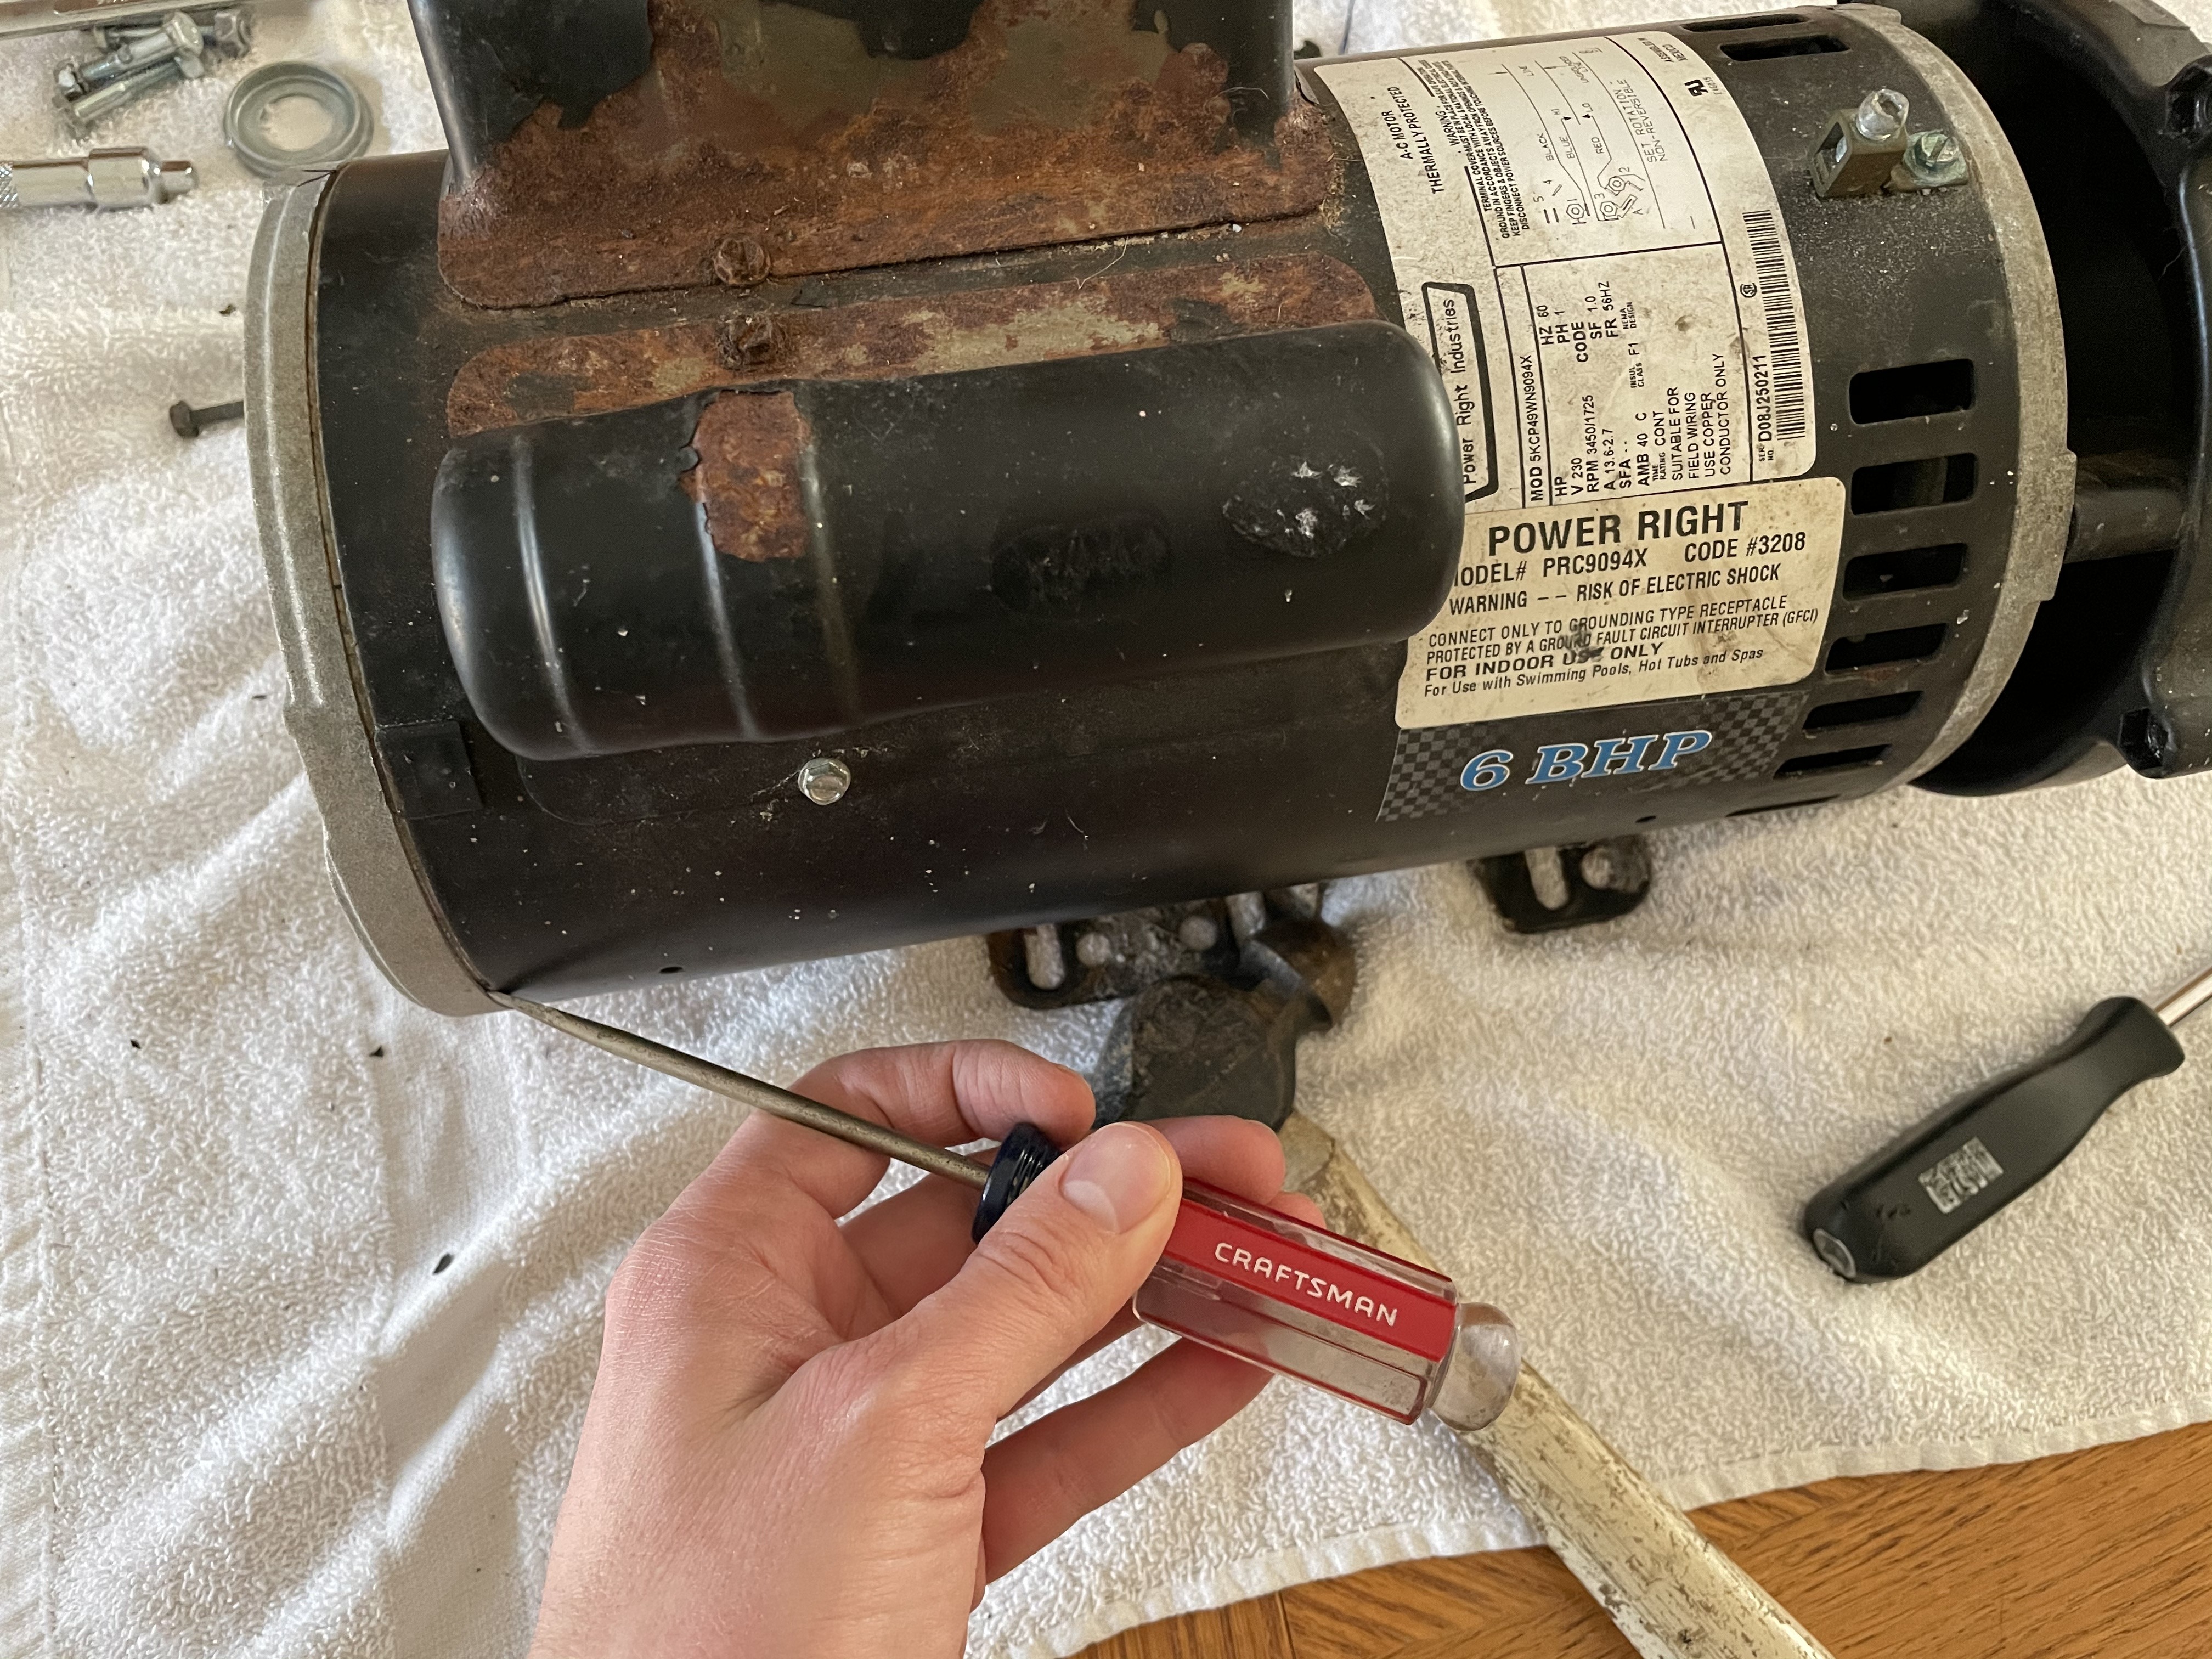
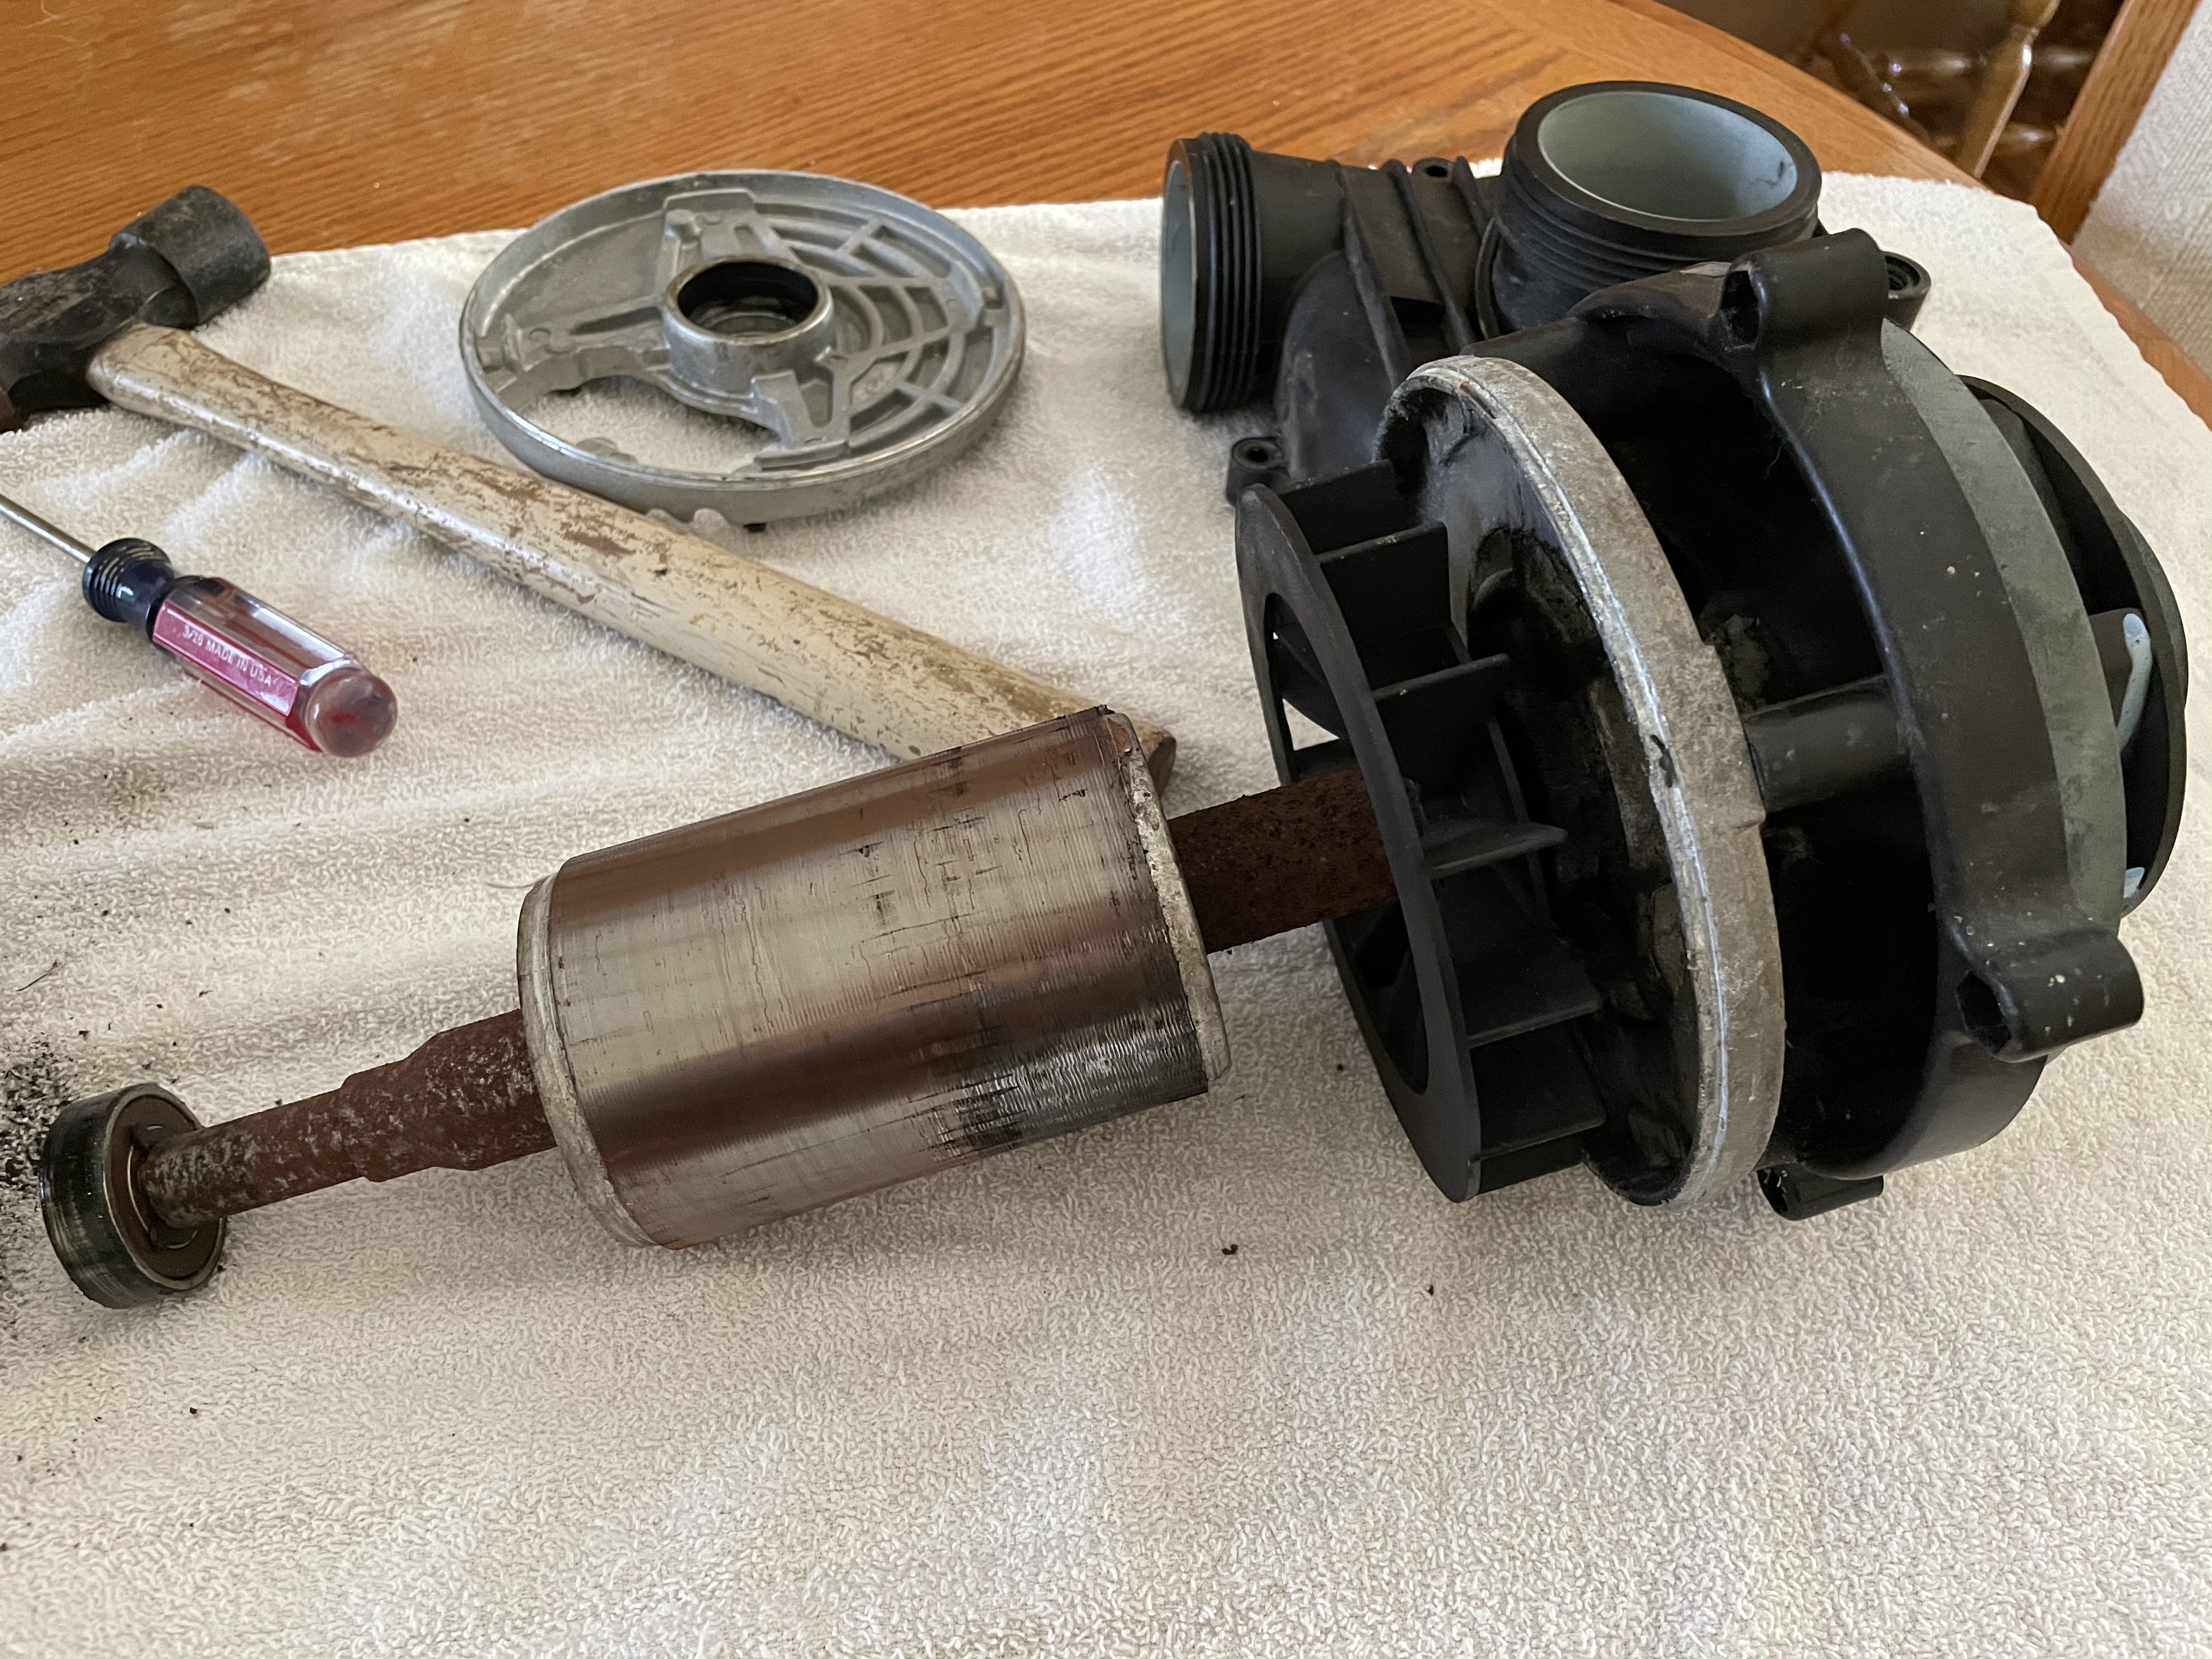
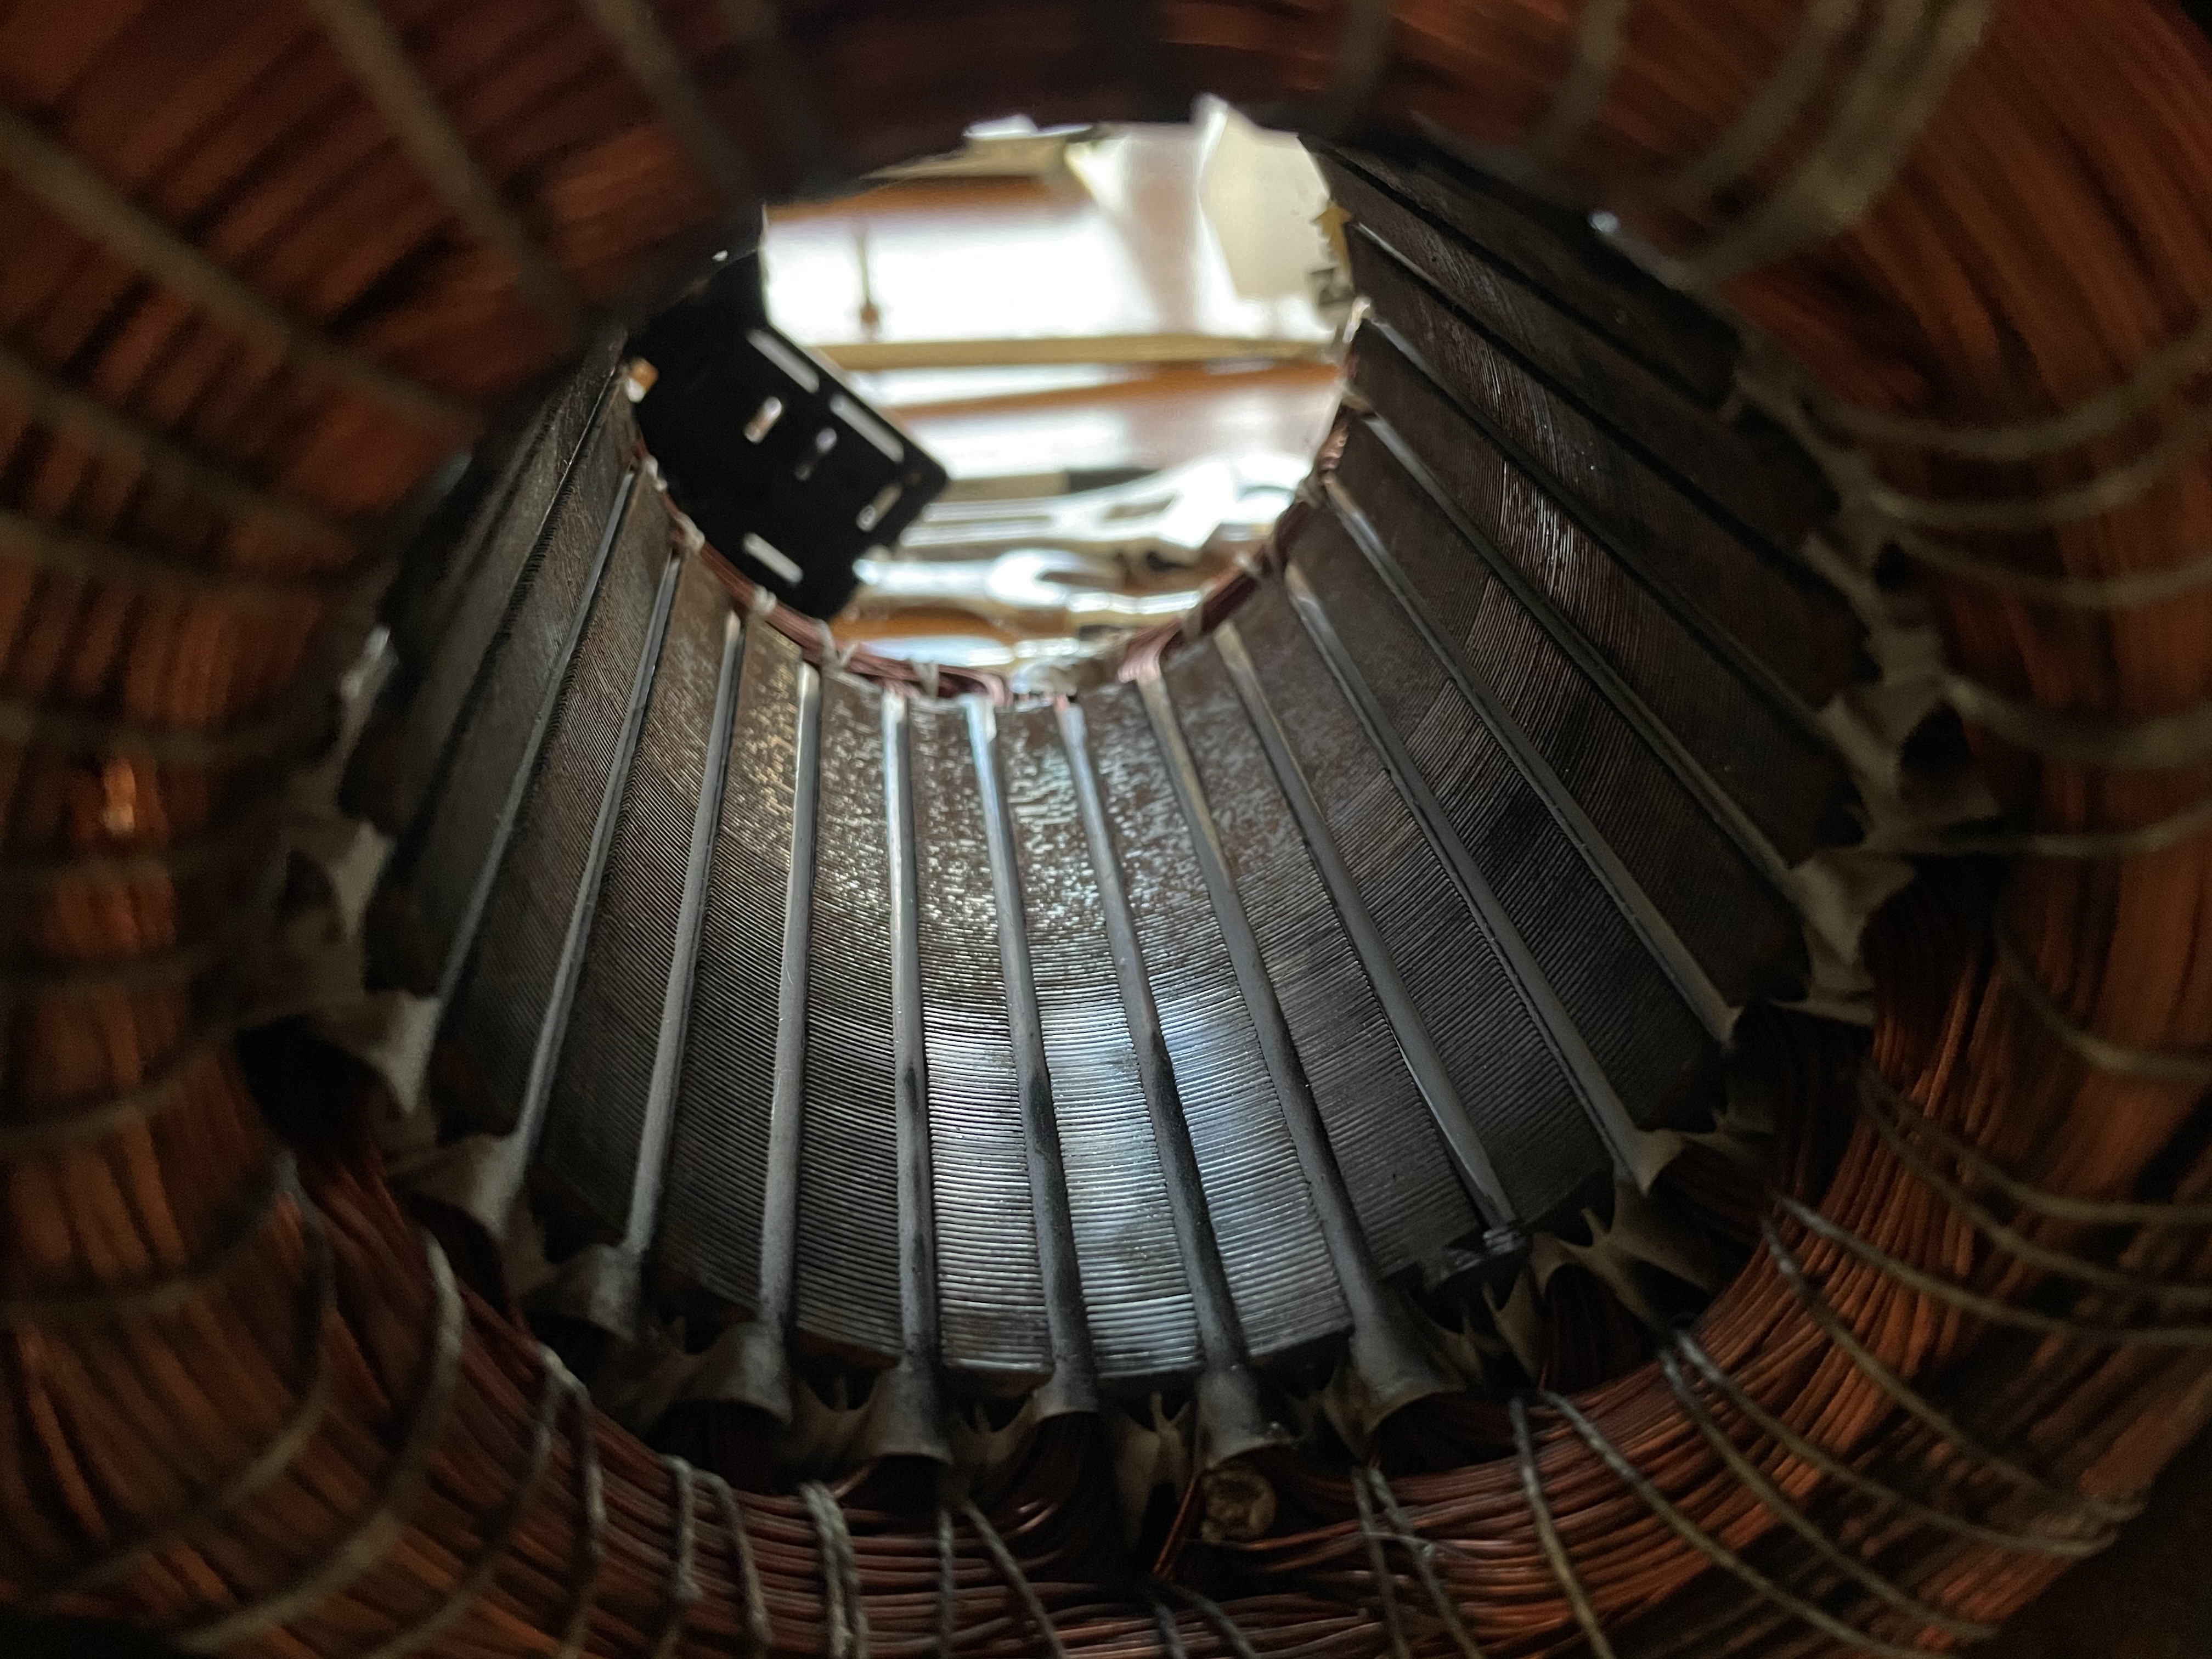
Okay, this is what we're working with. It's a Power Right, PRC9094X two speed pump. I'm assuming but have no way of verifying this is the original pump, which would put it at 12 years old. This was removed as detailed earlier in the thread because it started squealing and eventually just refused to start.
full


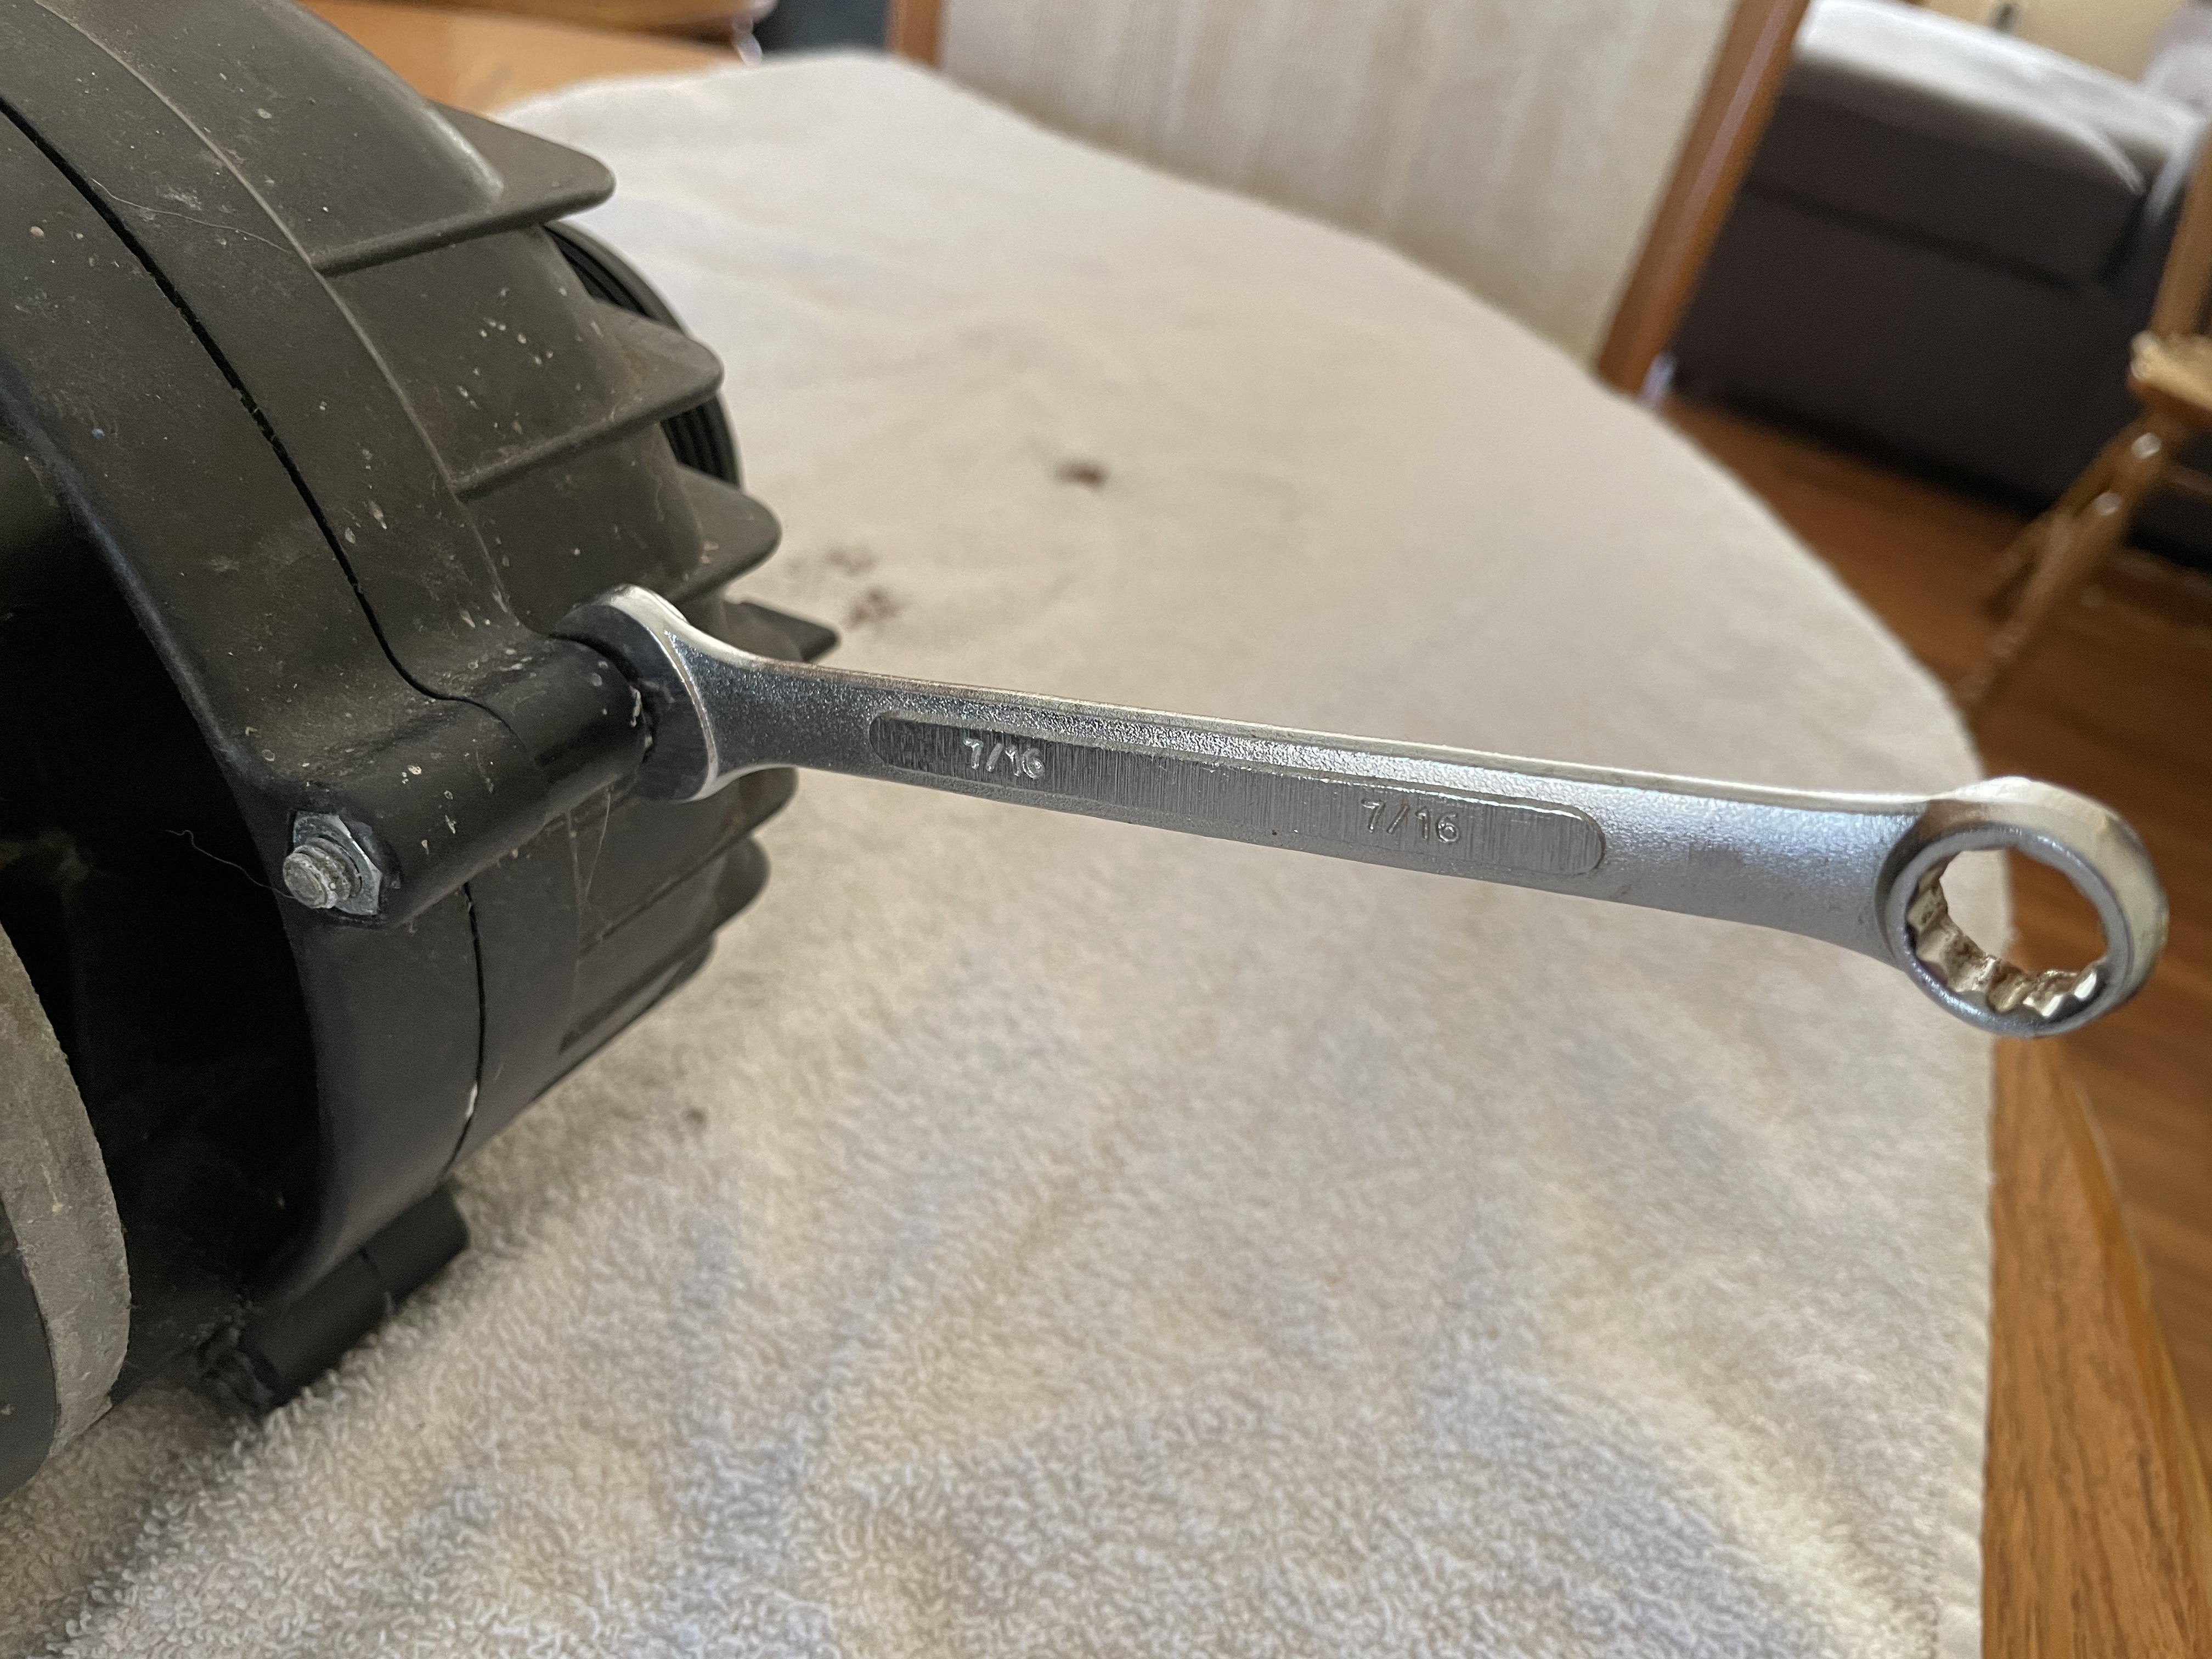
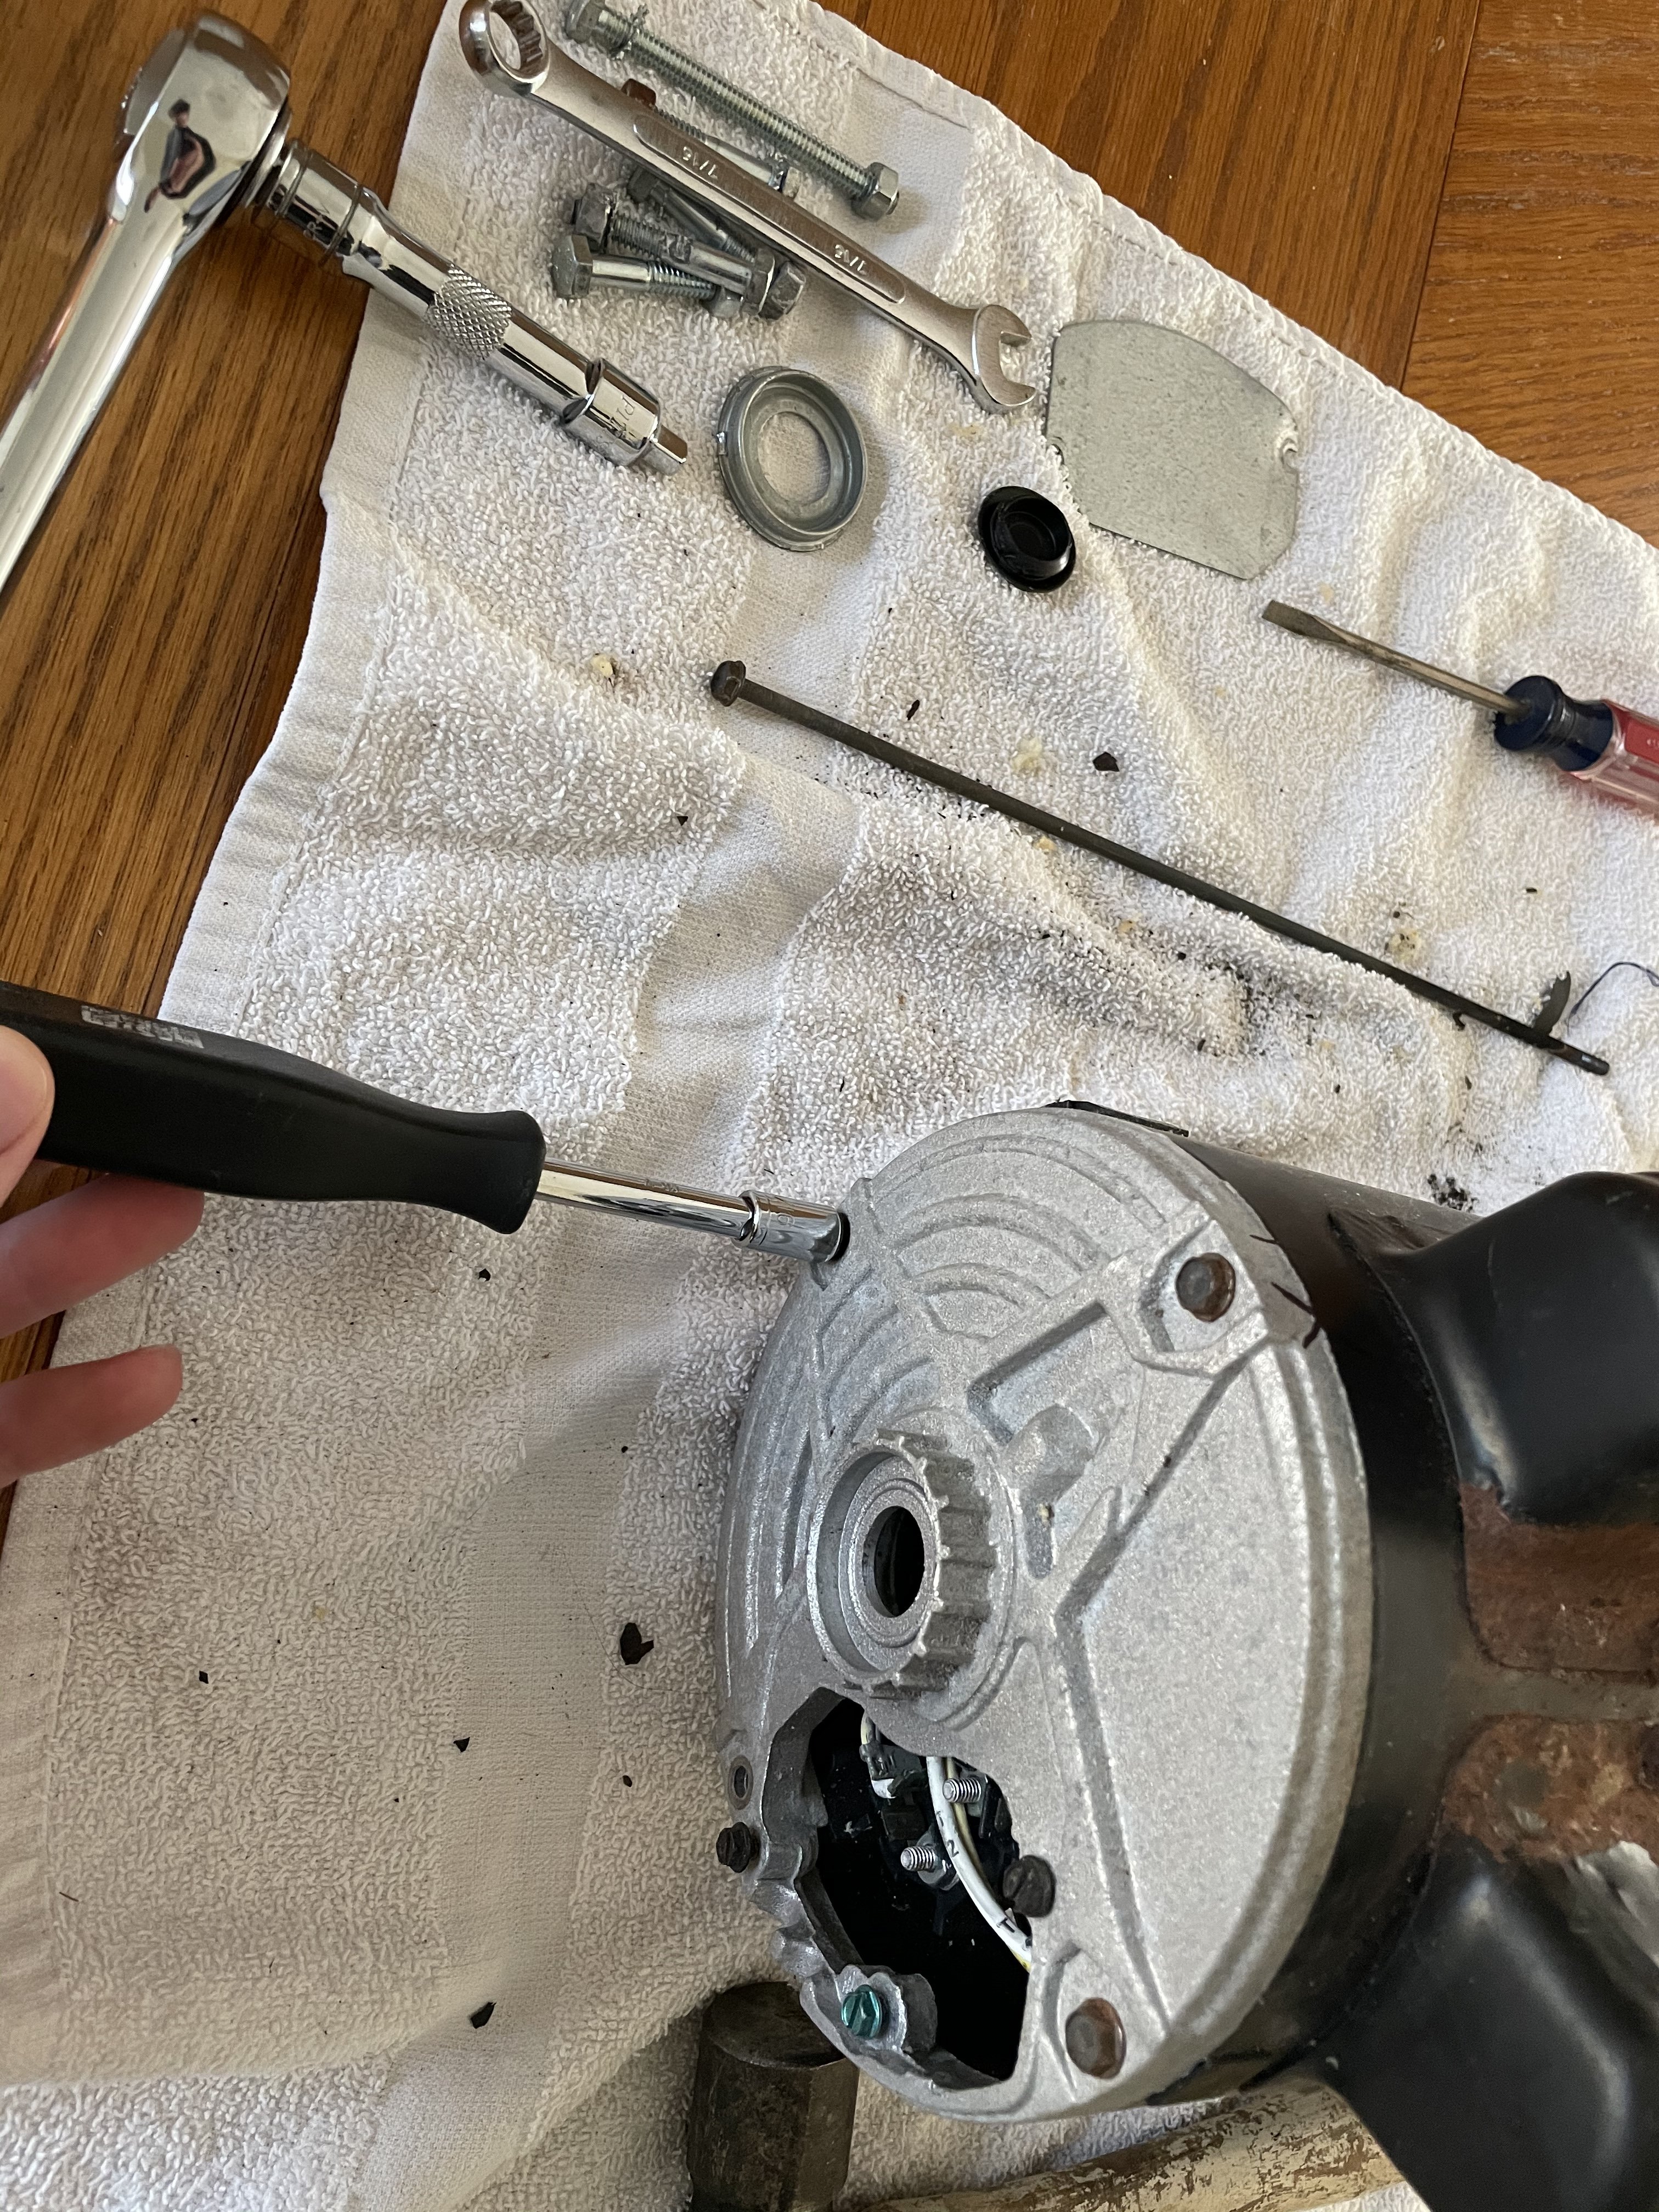
First off, open up the pump. Just 5 bolts here.
full


This slid right off, no fighting at all.
full


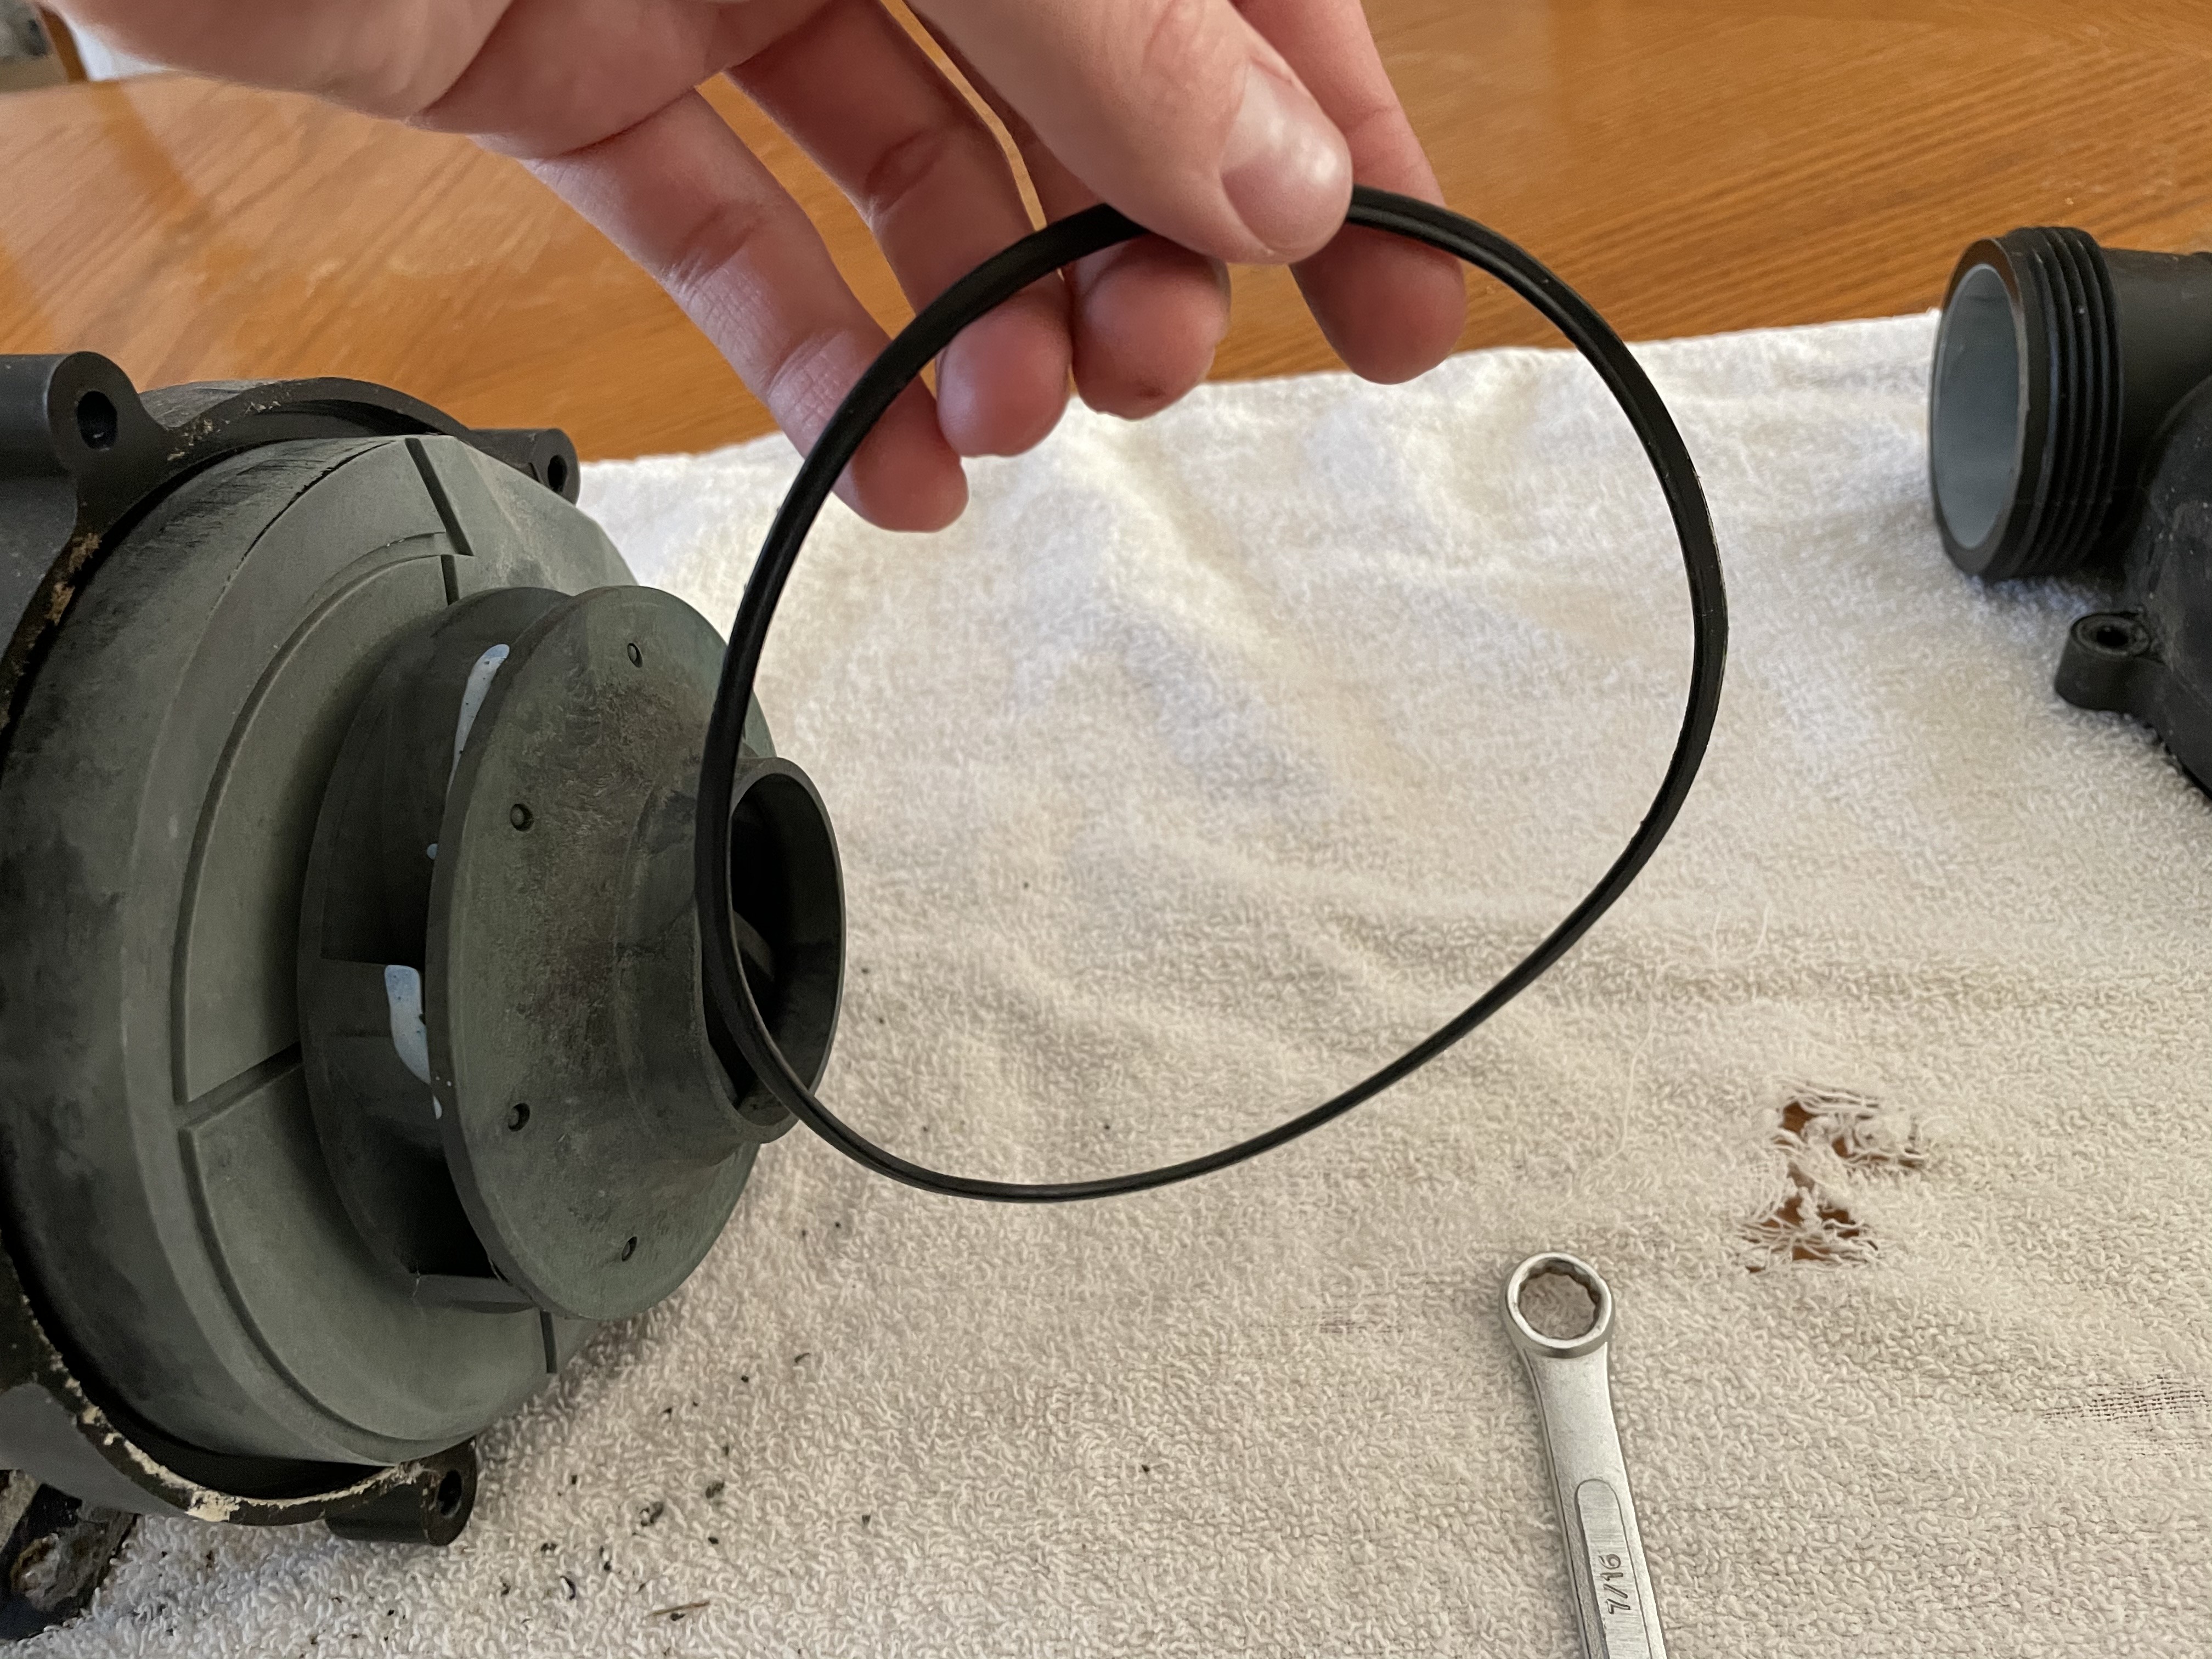
Pump housing gasket.
full


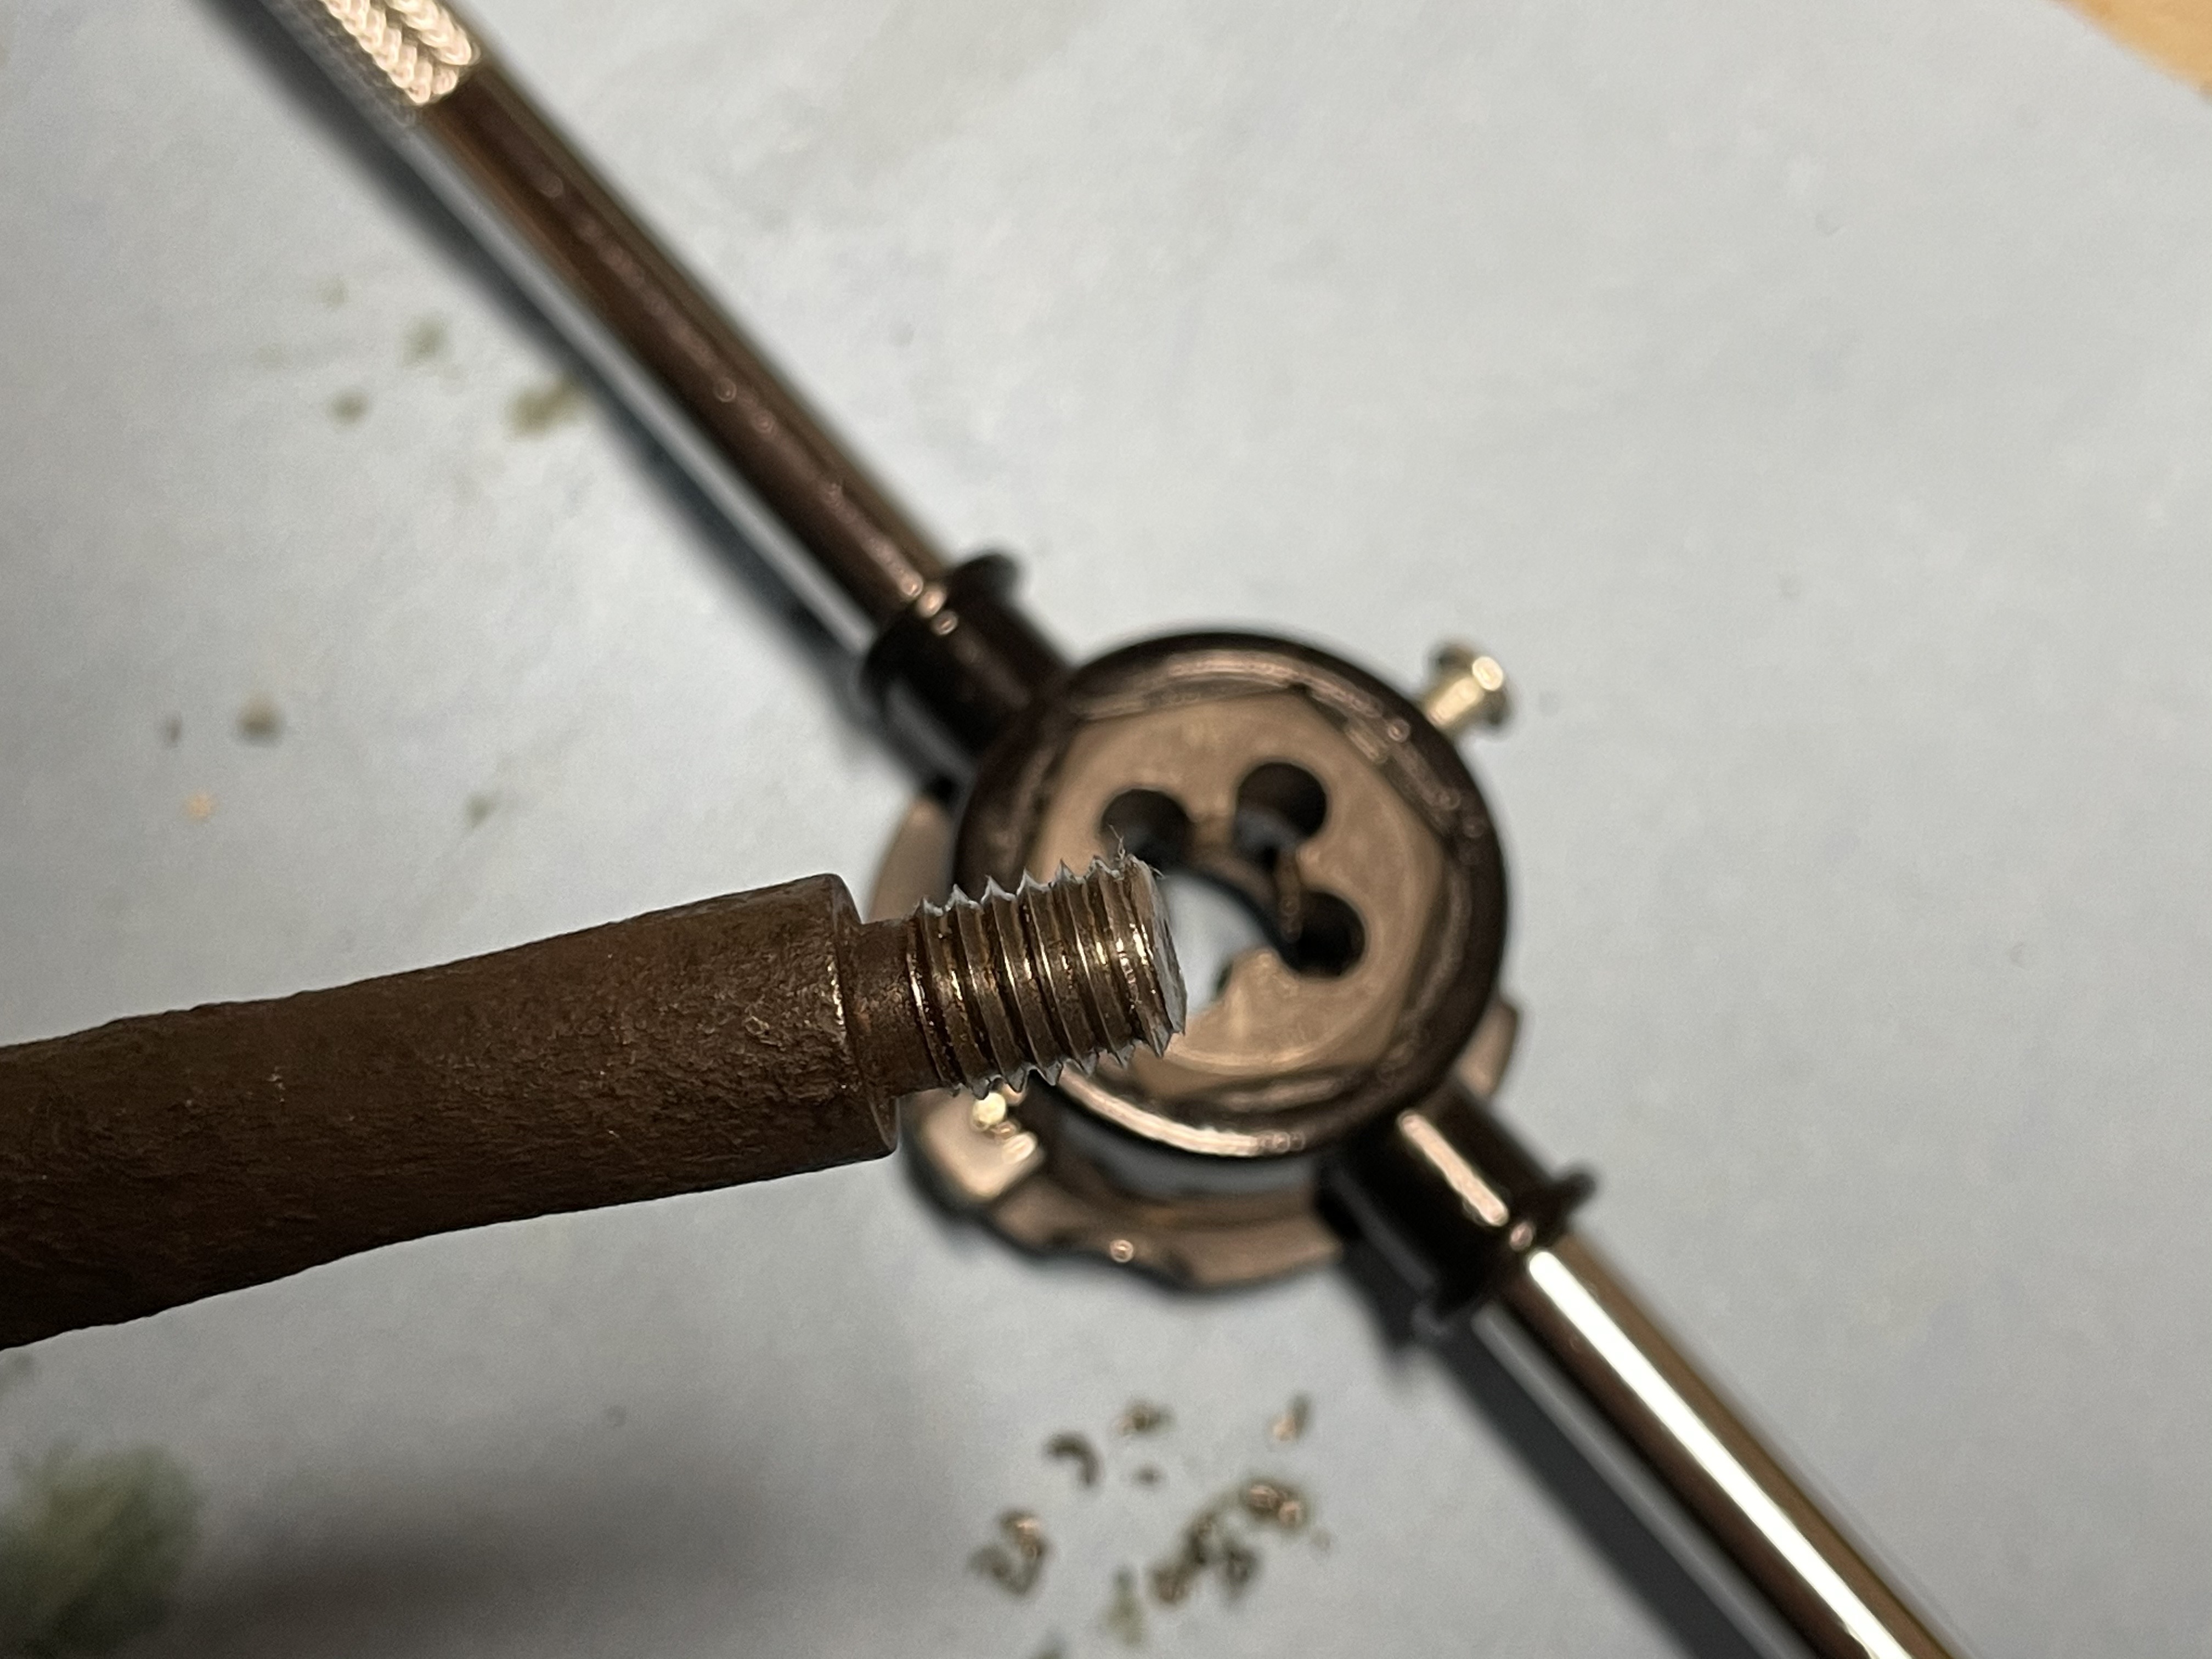
Next I had watched a pump teardown video, and knew that somewhere there was a place to turn the shaft. I removed the aluminum/rubber endcap, only to realize after hammering out the aluminum part the rubber part removes as well. :rolleyes:
full


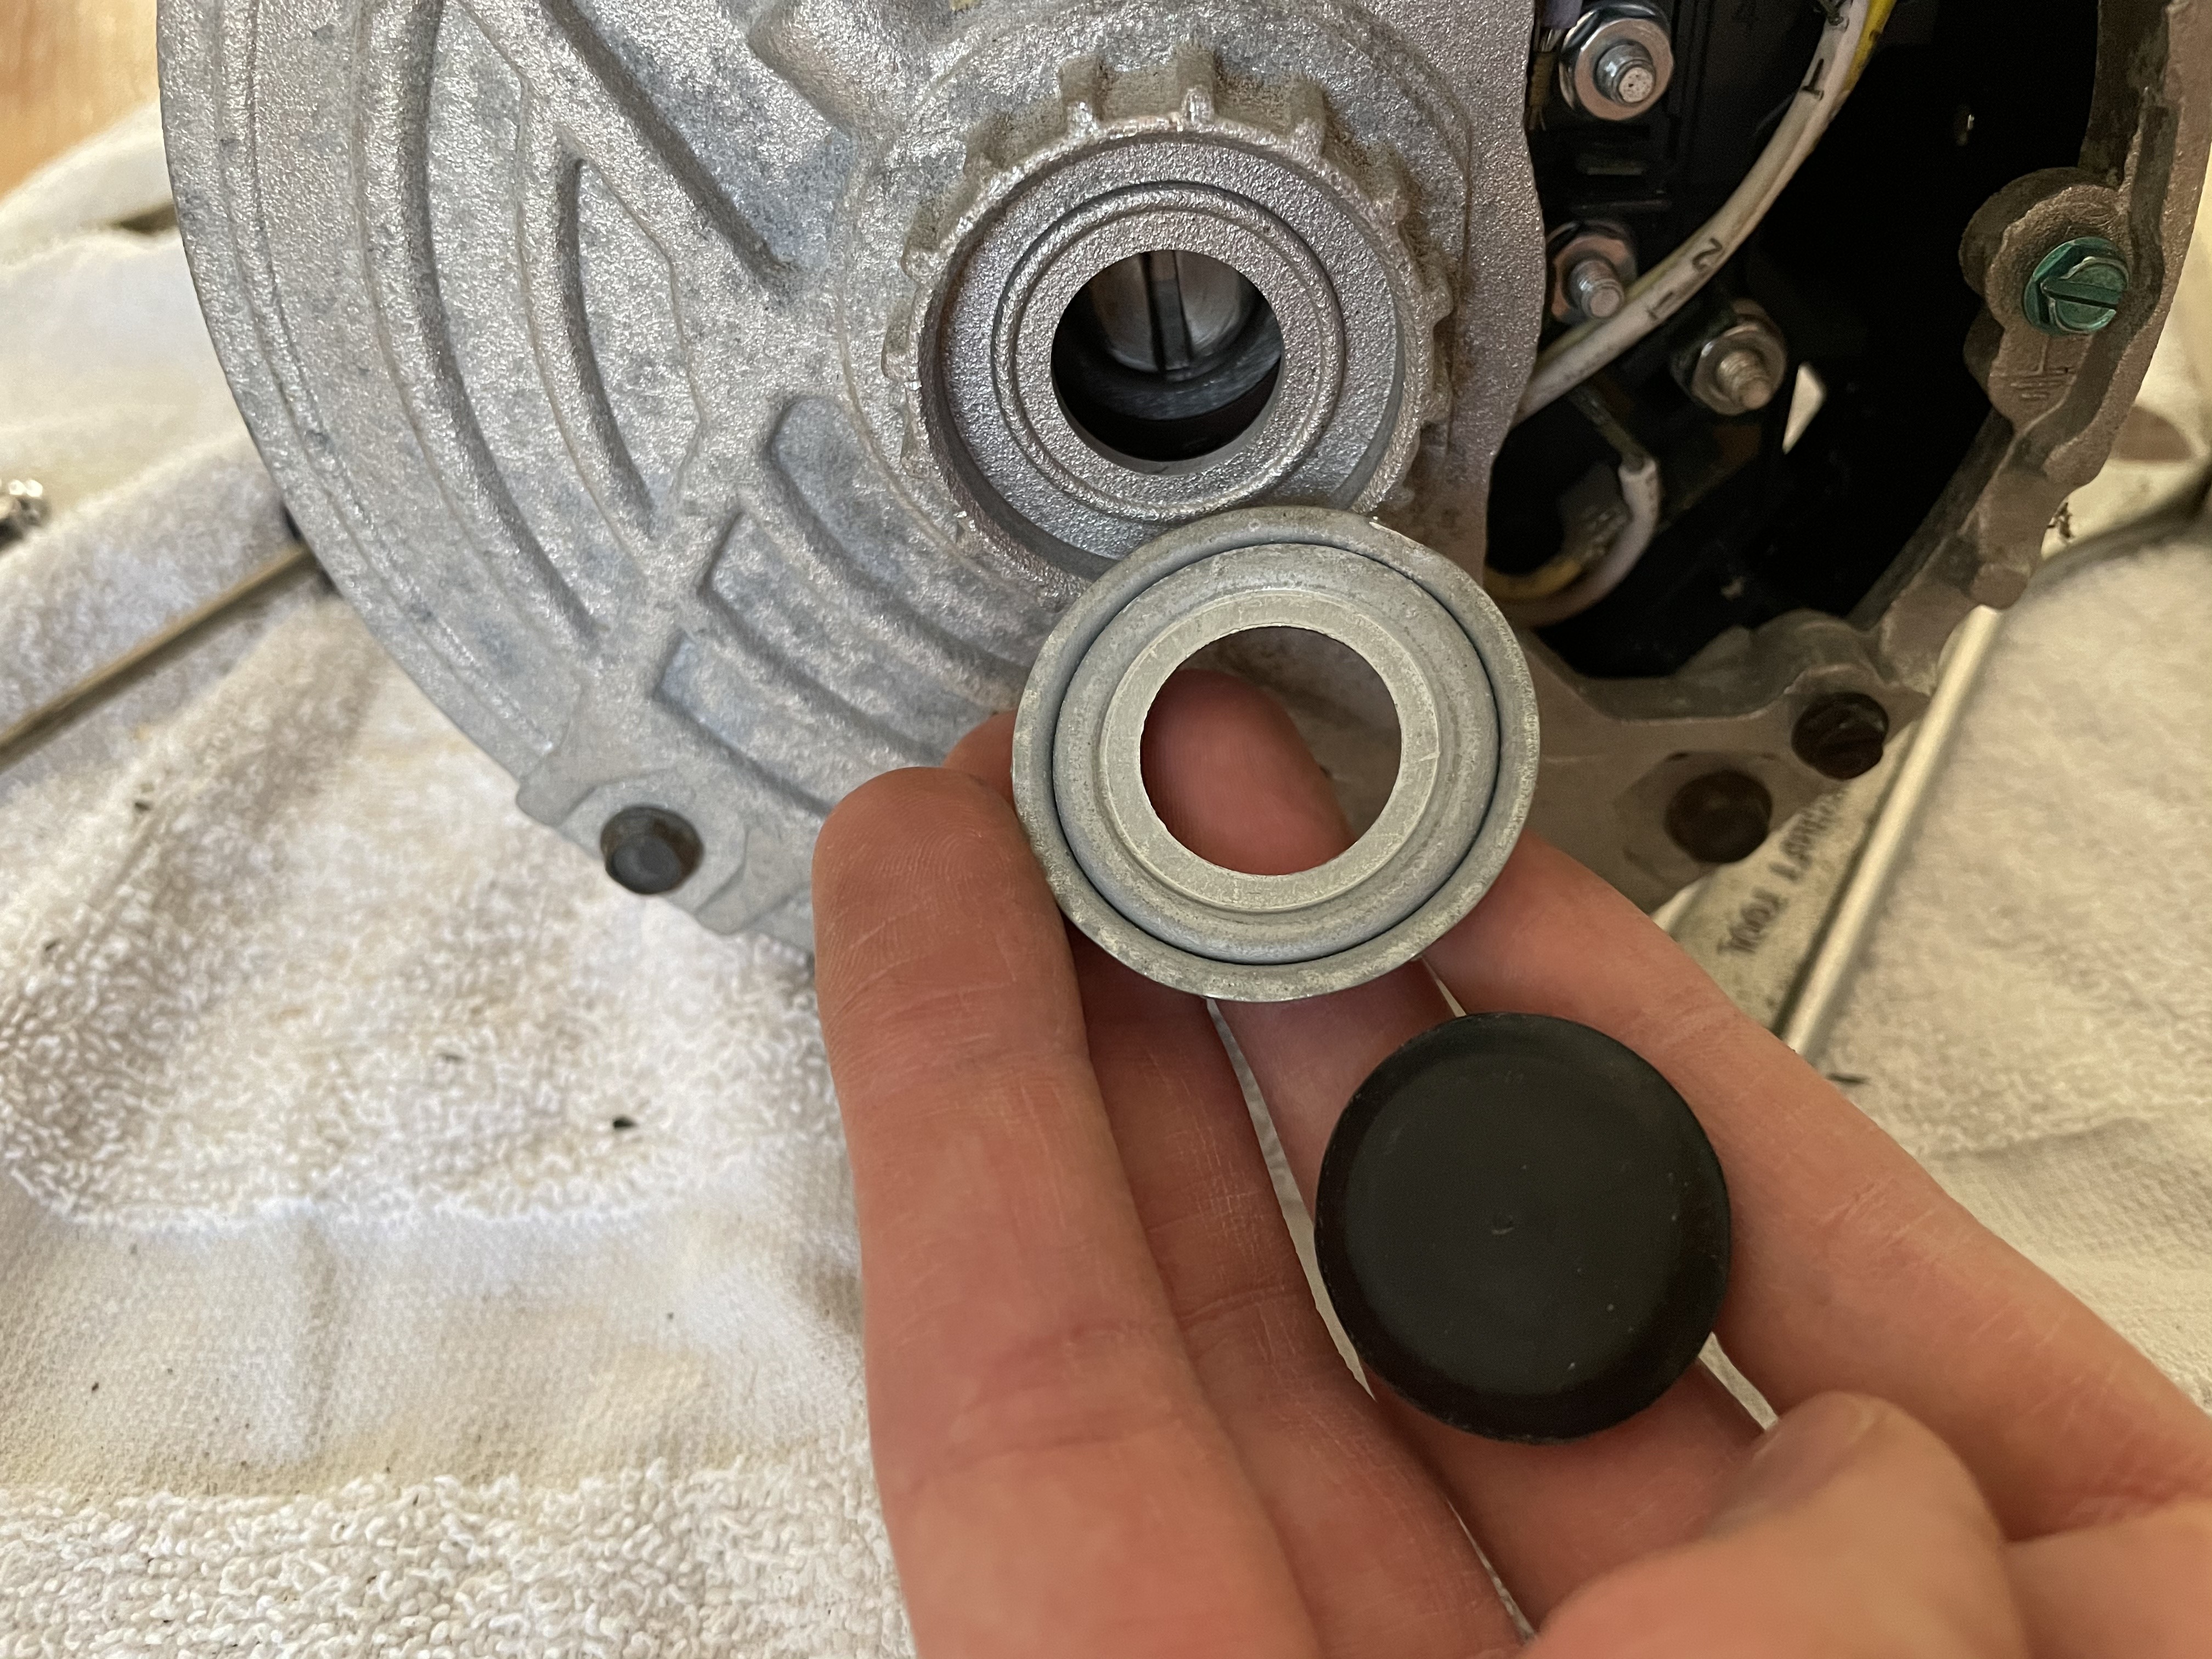
It appears based on the marks on this rubber plug that I may not be the first person inside the pump since it was built.
full


Anyway, note the slot in the end of the motor shaft. The idea is you stick a flat screwdriver here to hold the shaft and spin off the impeller with your other hand. On a 12 year old pump? Ha! That did not work. Not really surprised, after working on my own vehicles here in the midwest were everything rusts together.

So, after watching two videos to get ideas of how people get off stuck impellers, it seems the first thing is to get the motor apart so you can grip the armature better. After marking the front and back of the motor so I can put it back together, I removed the four through bolts, which came out surprisingly easily.
full


Then a few taps, alternating sides.
full


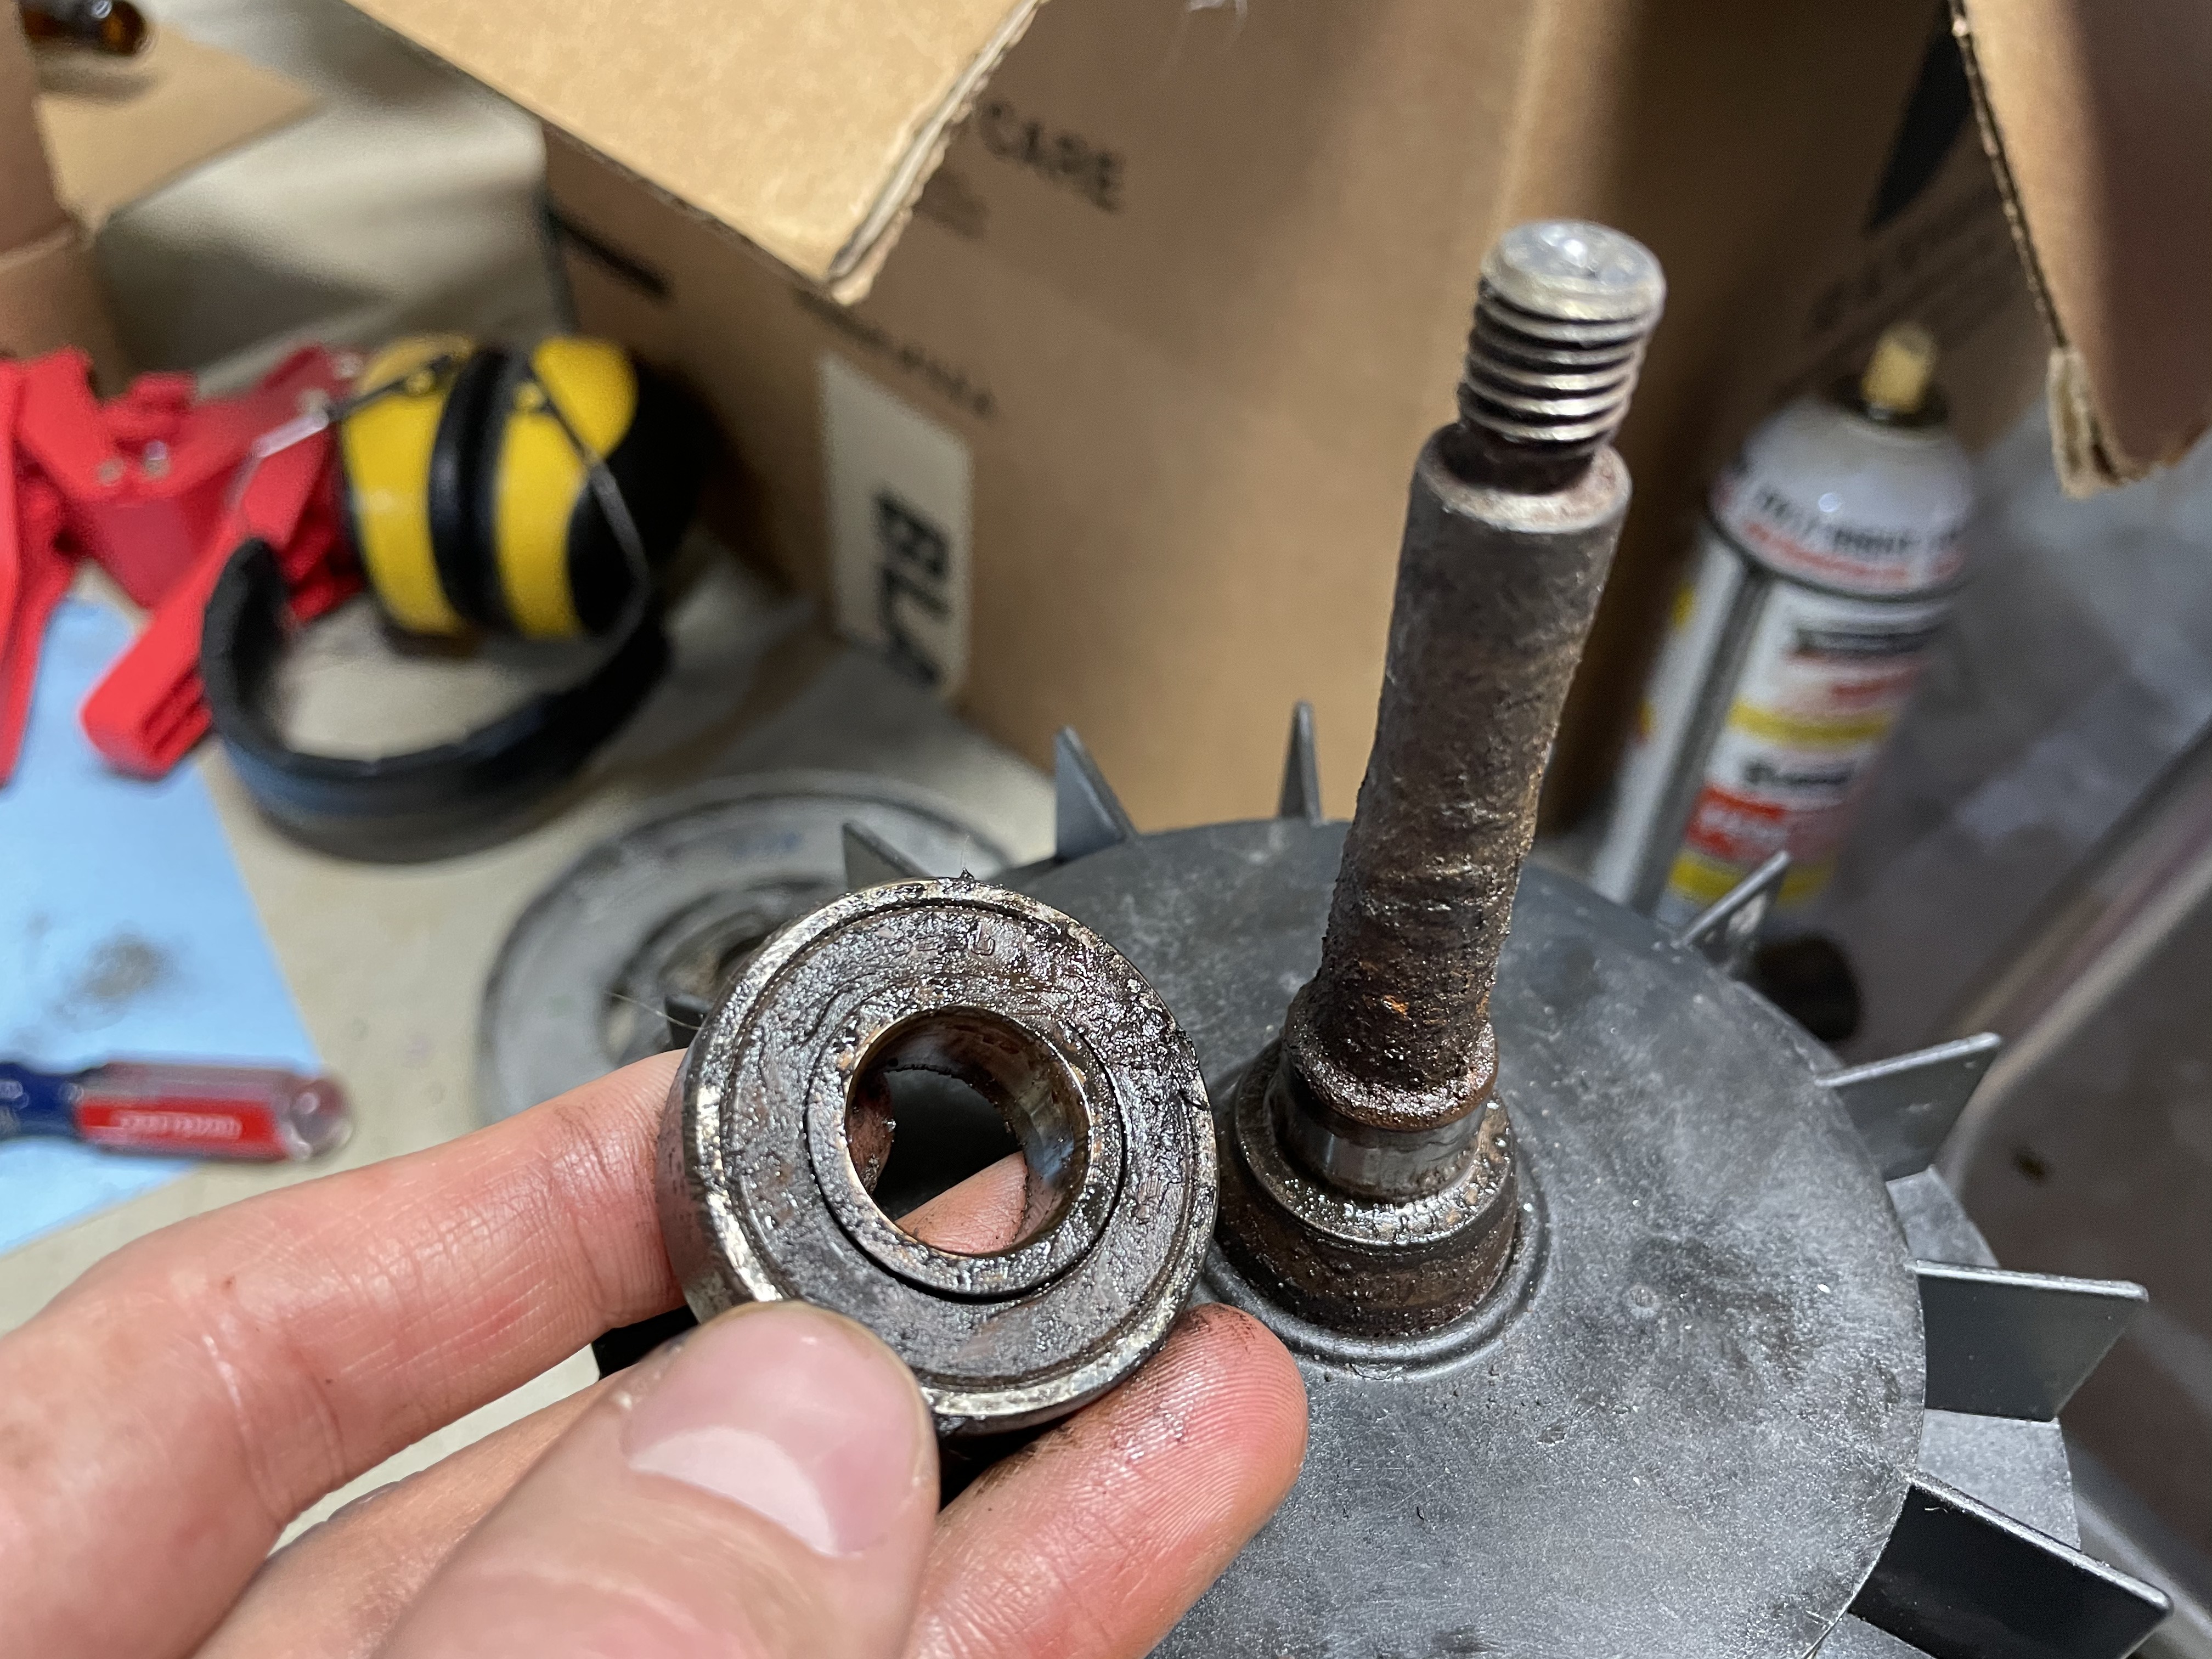
And the back of the pump is off, exposing the bearing. This bearing looks just fine, but I will be replacing it anyway since things are apart.
full


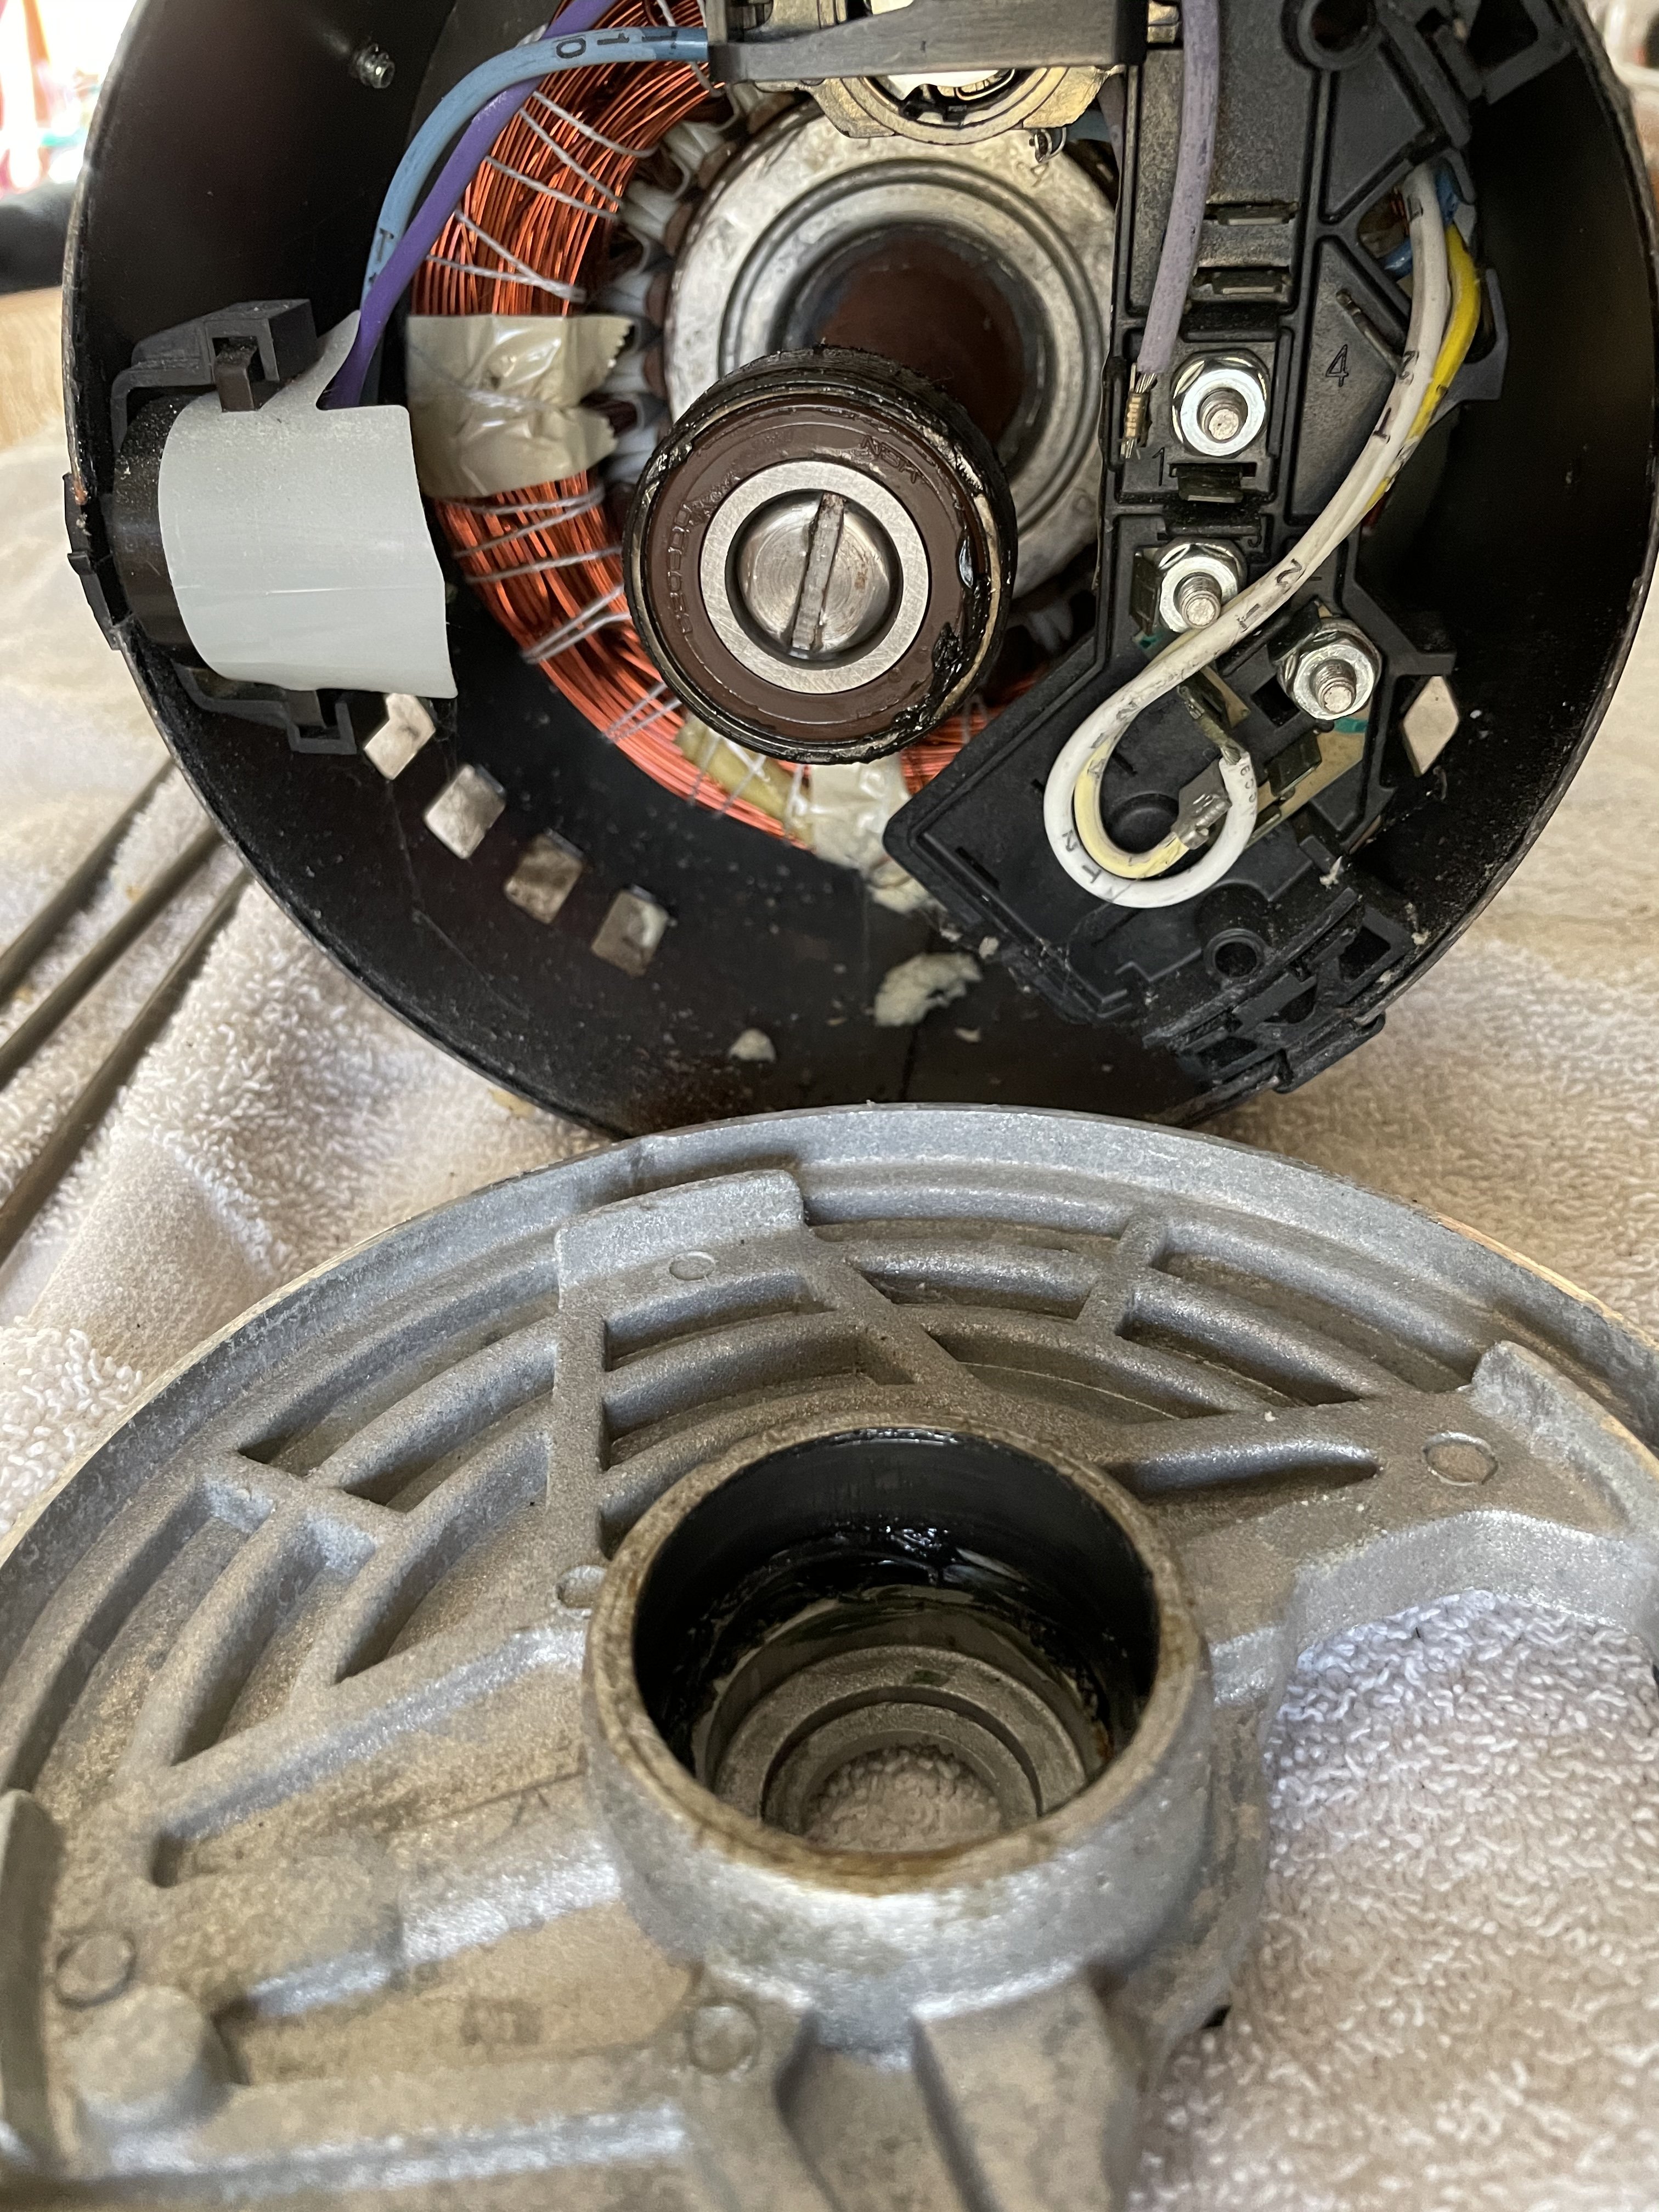
Detail shot, everything looks pretty clean on this end.
full


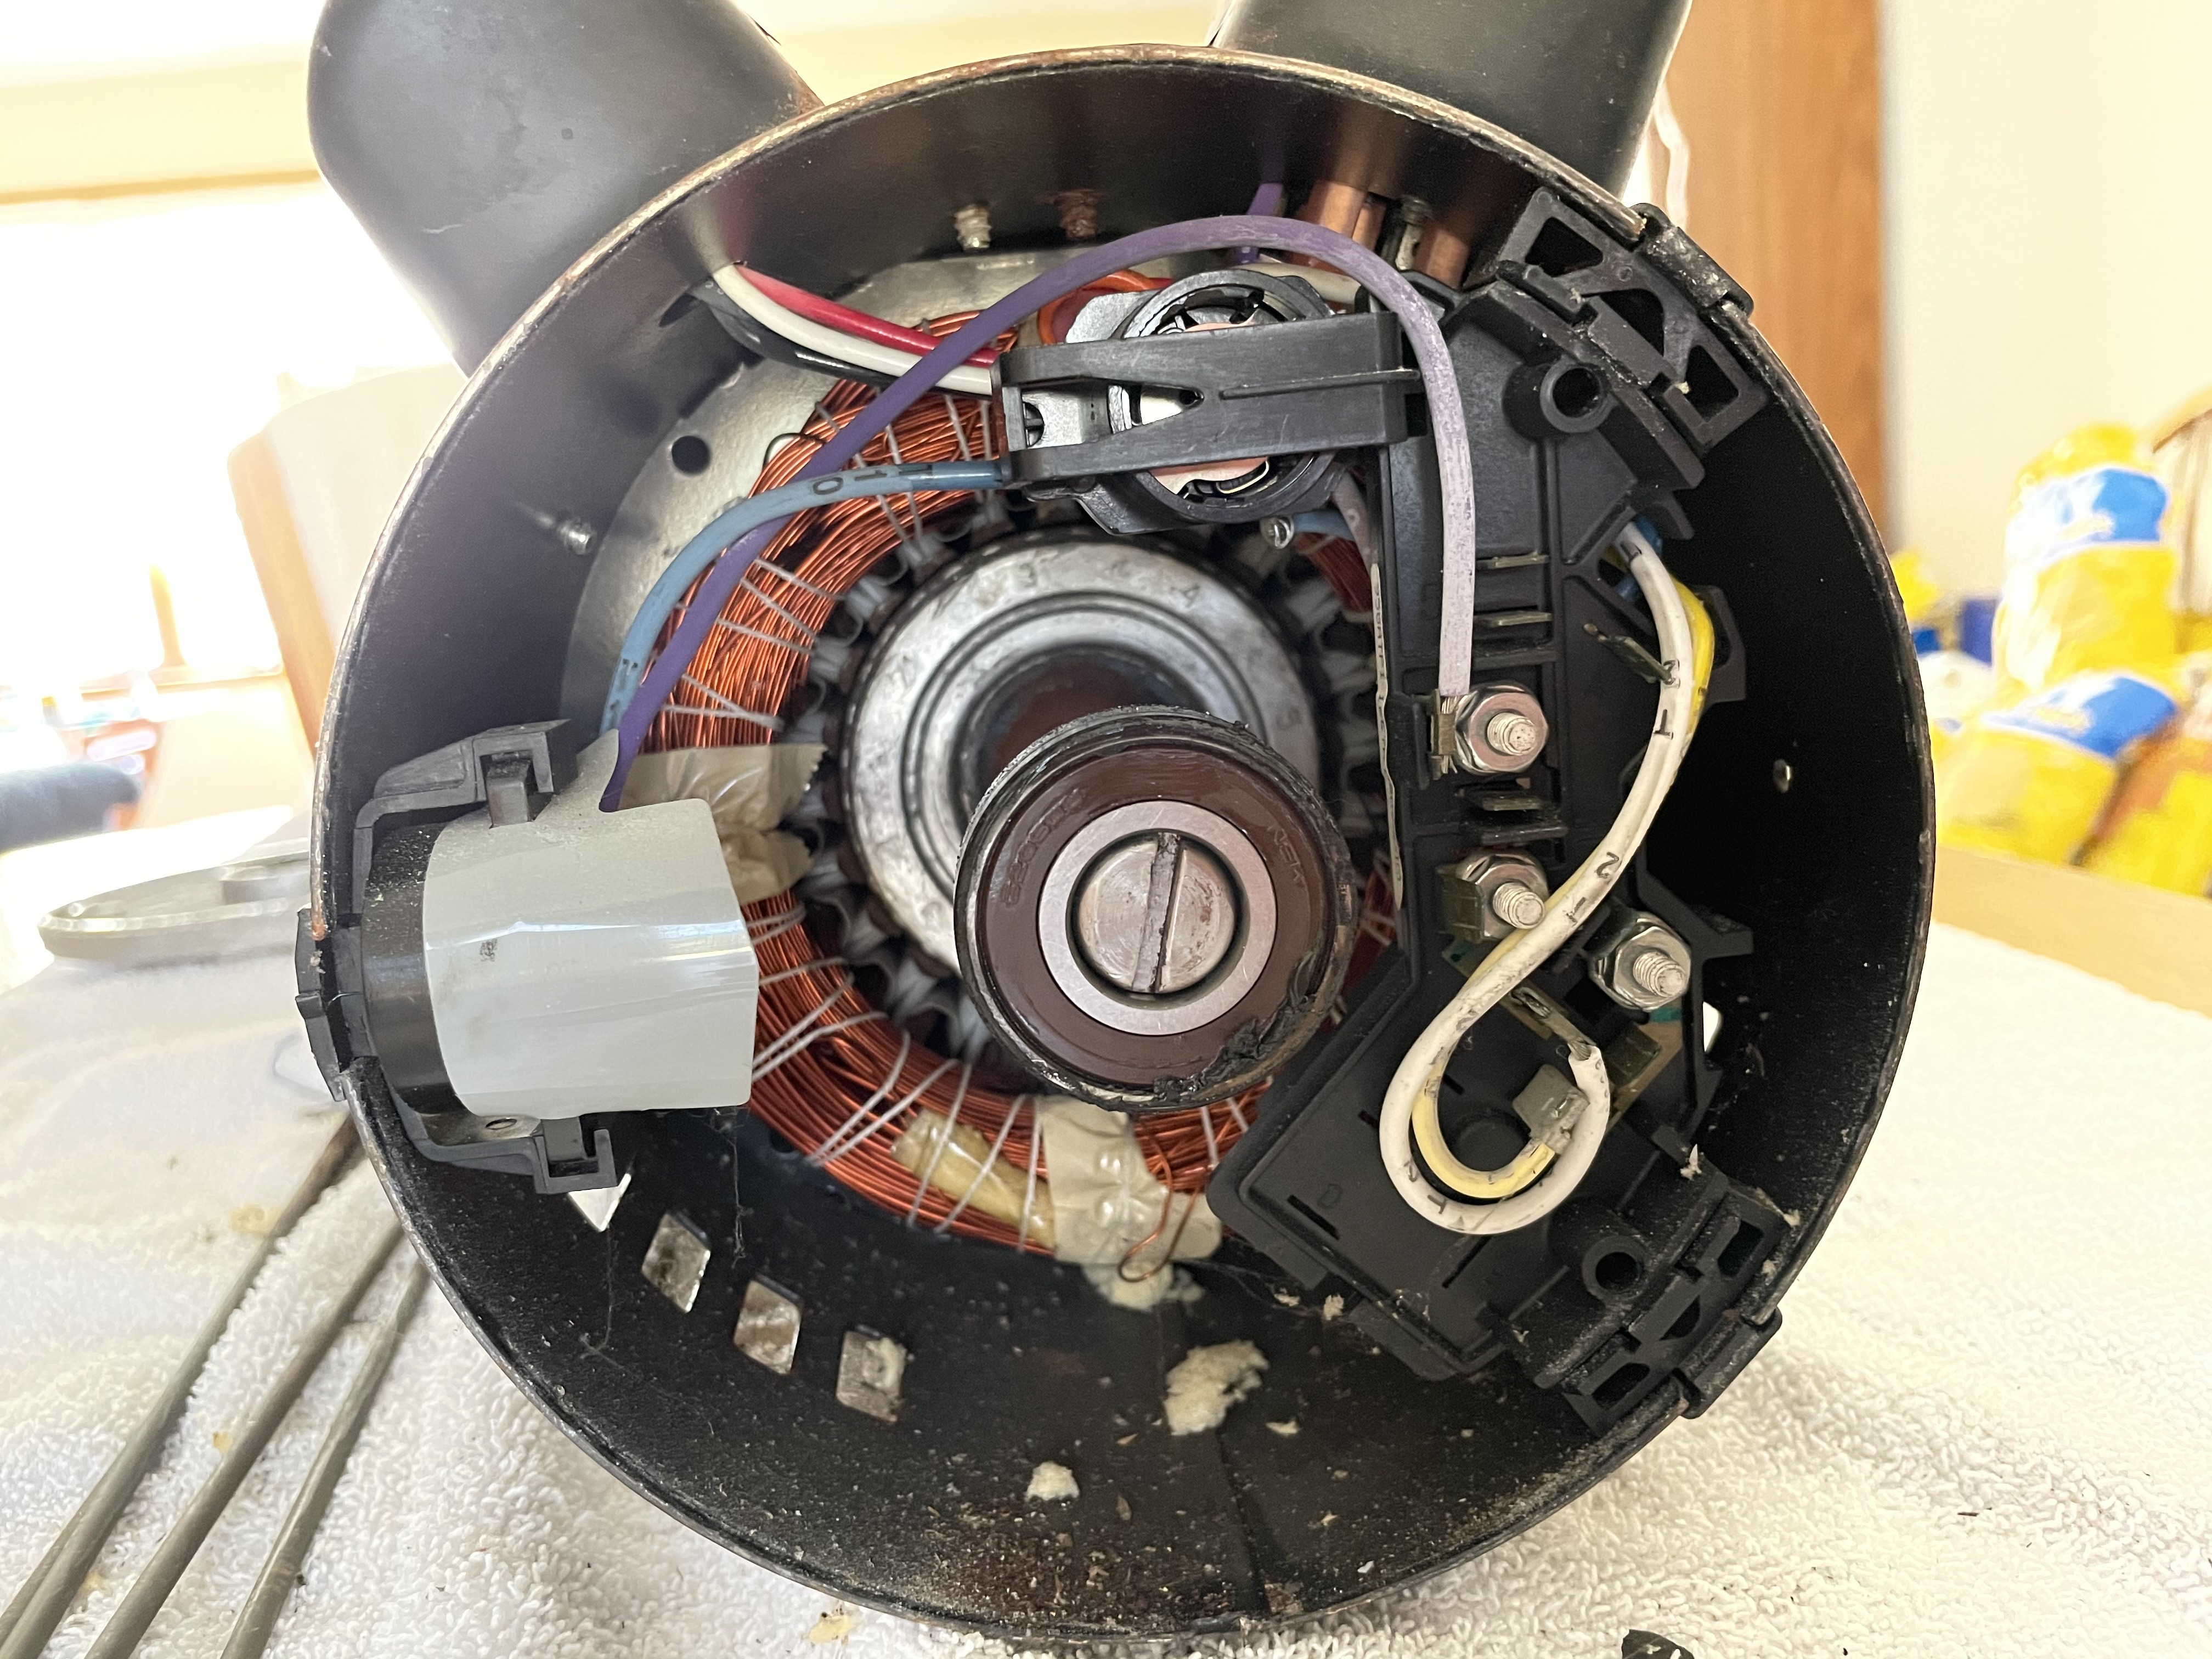
A couple more taps on the front end and everything is loose and the impeller and armature slide right out of the motor housing.
full


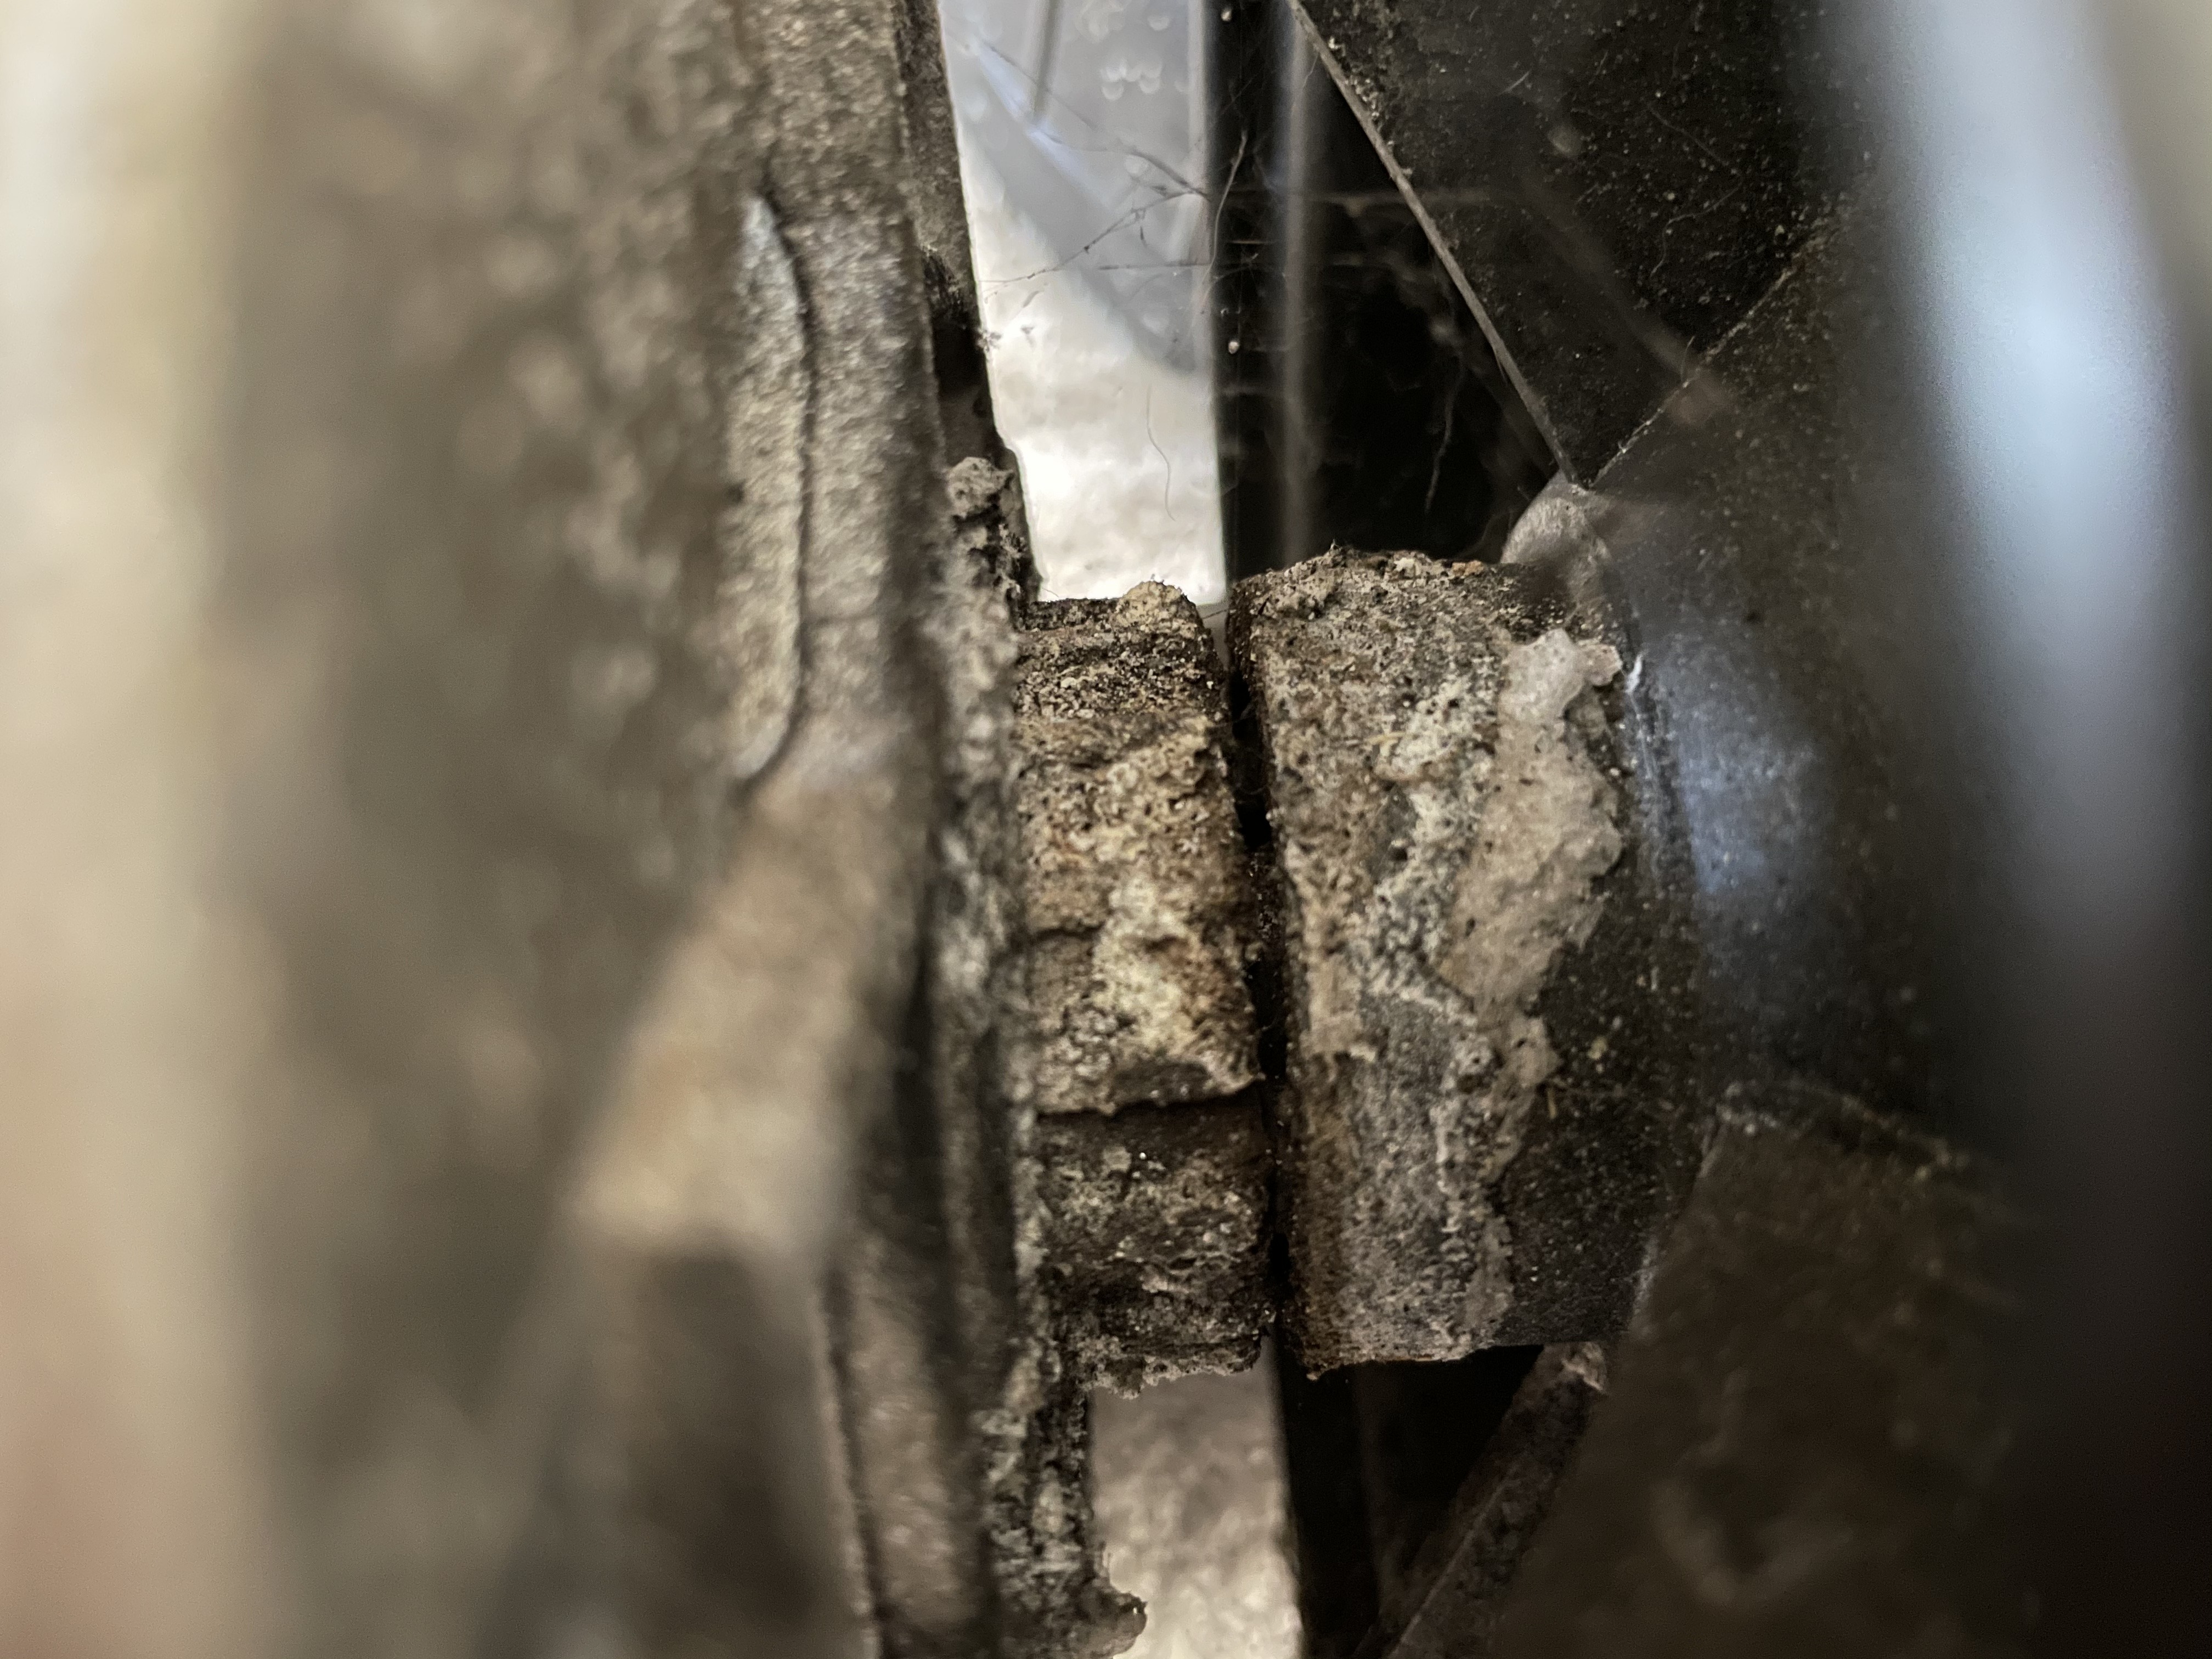
At this point I took a closer look at the joint between the motor front face and the pump assembly. Gross. I'm assuming the pump shaft seal has been leaking for quite a while. I suspect this may have lead to an early bearing death.
full


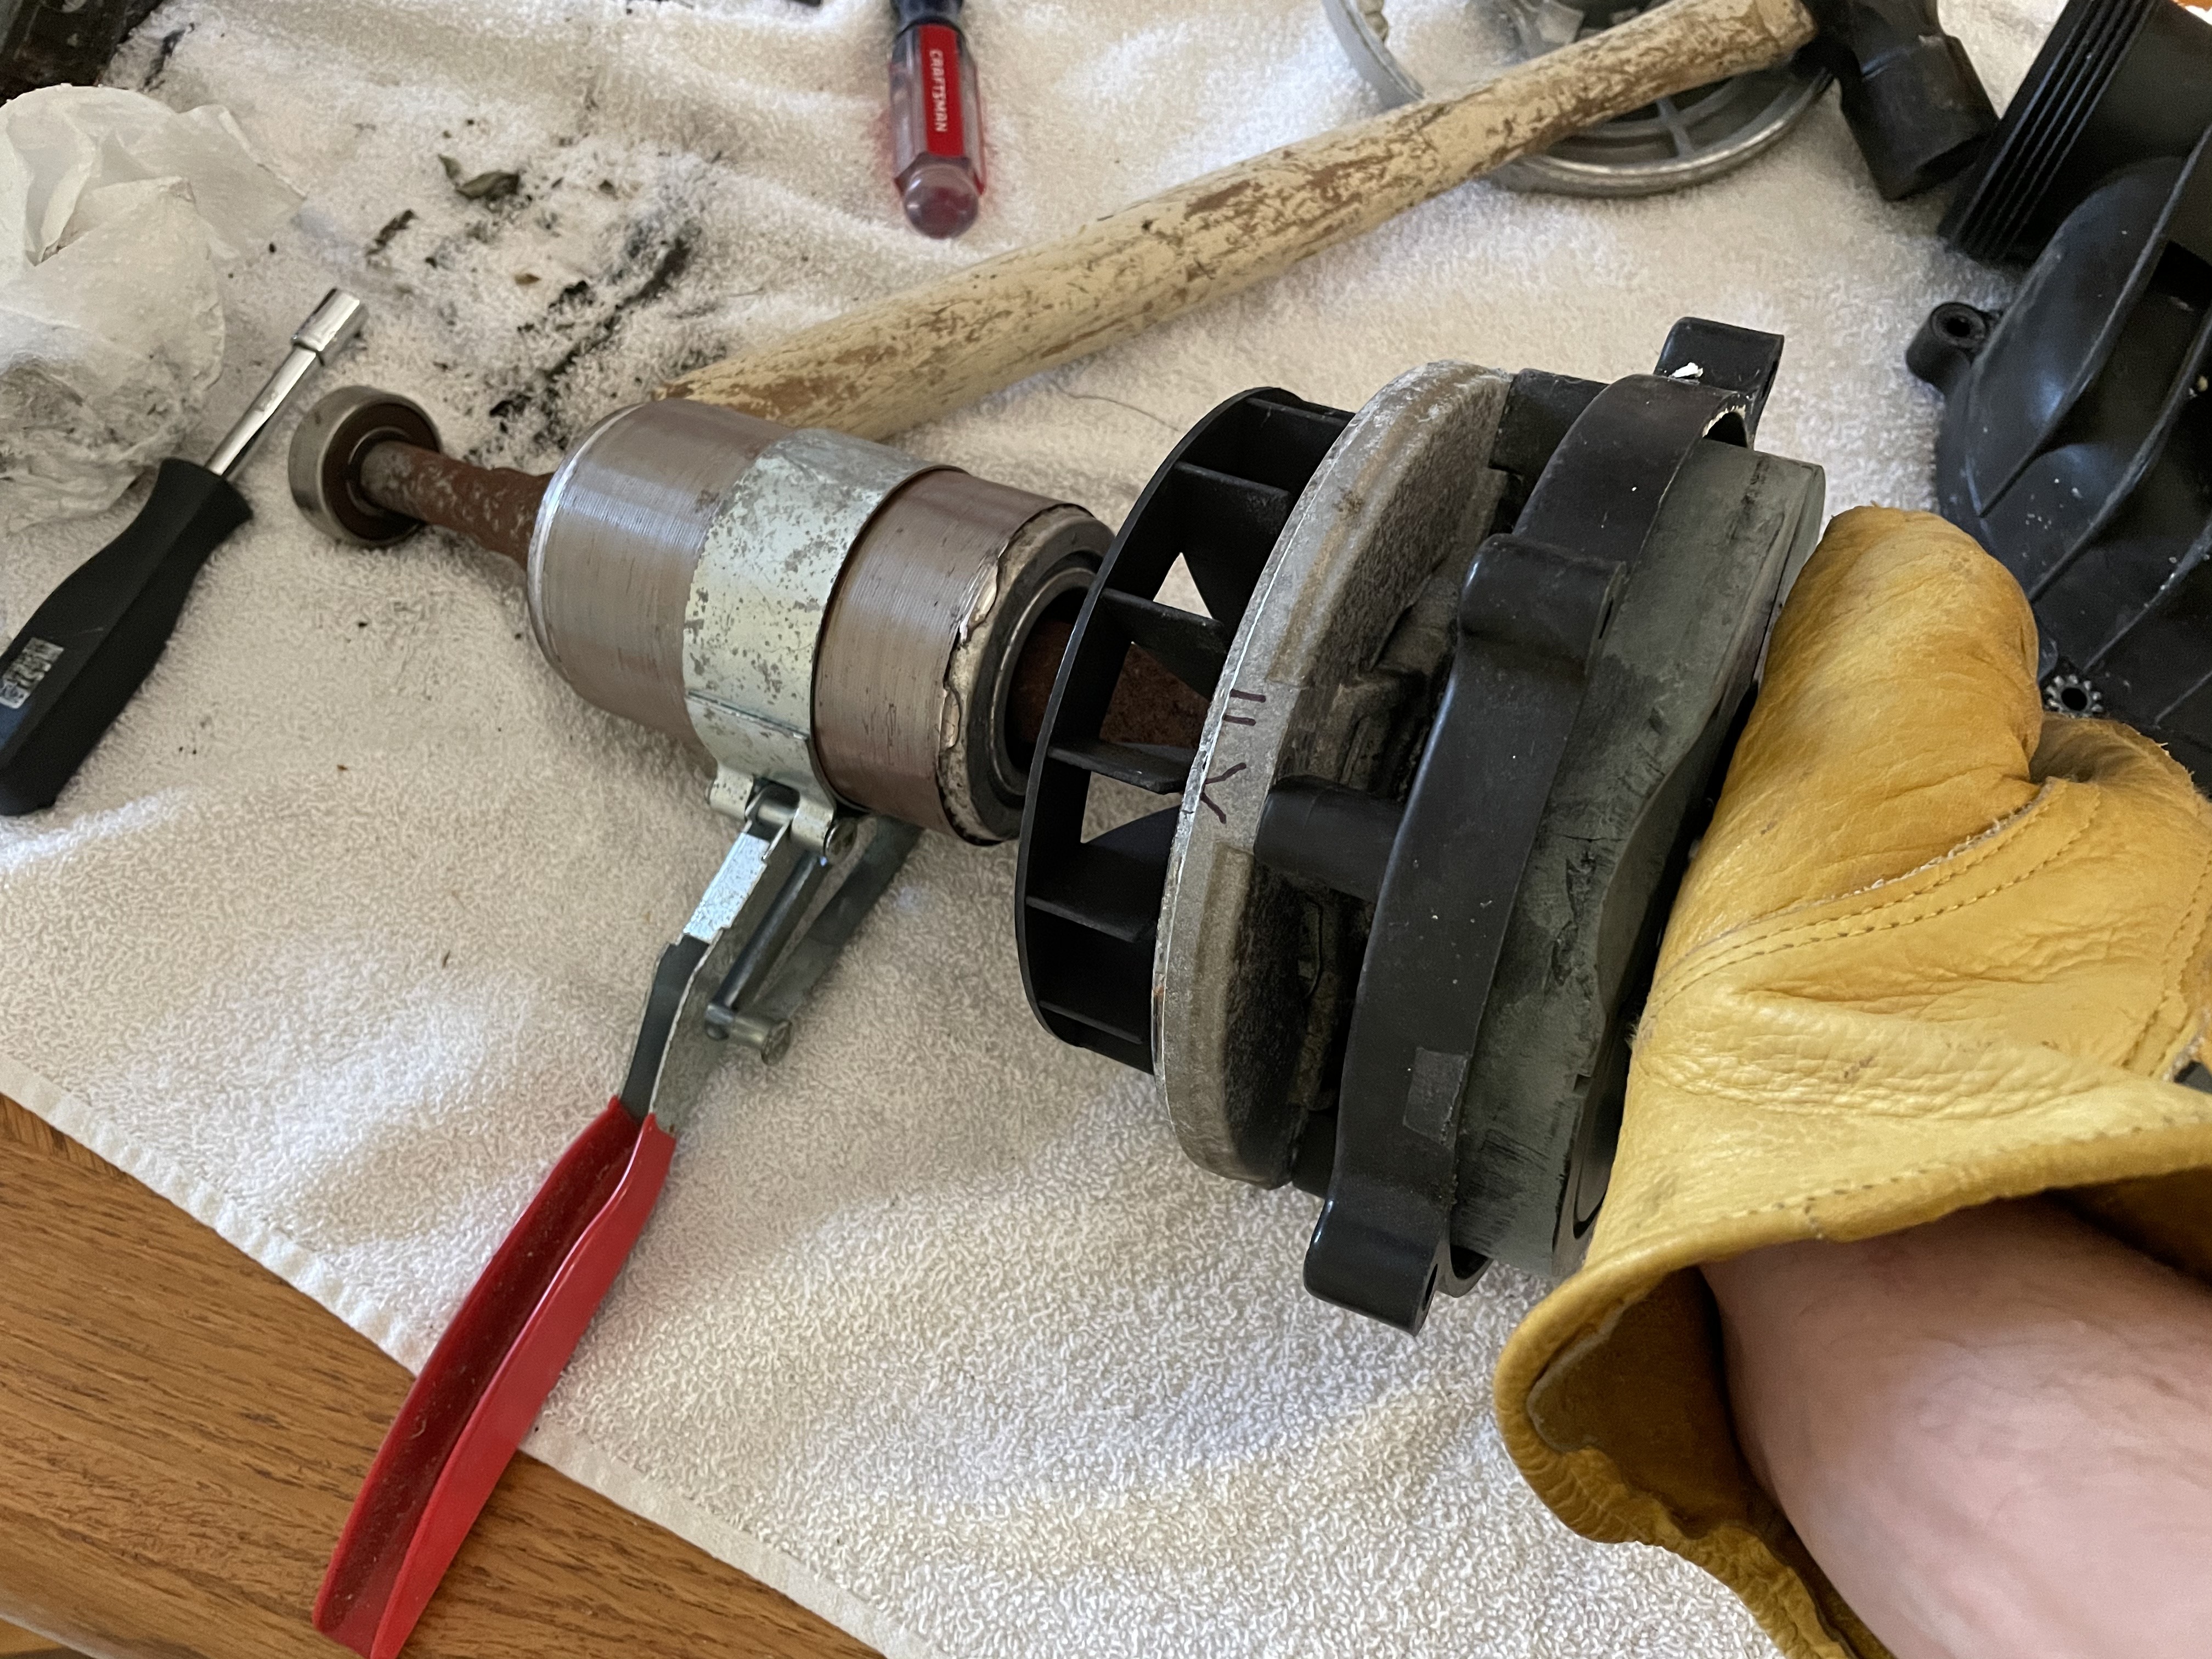
At this point I tried gripping the impeller and the armature, no luck. I remembered I had picked up an oil filter wrench at some point, couldn't remember where cause I never used on, but it happened to fit the armature. I grabbed a pair of leather gloves to help me get more grip on the impeller without killing my hands while I was there. With this setup I was able to just barely get enough torque to get the impeller broke loose.
full


full


Inside of the impeller threaded area, looks like some junk but mostly just grease and such.
full


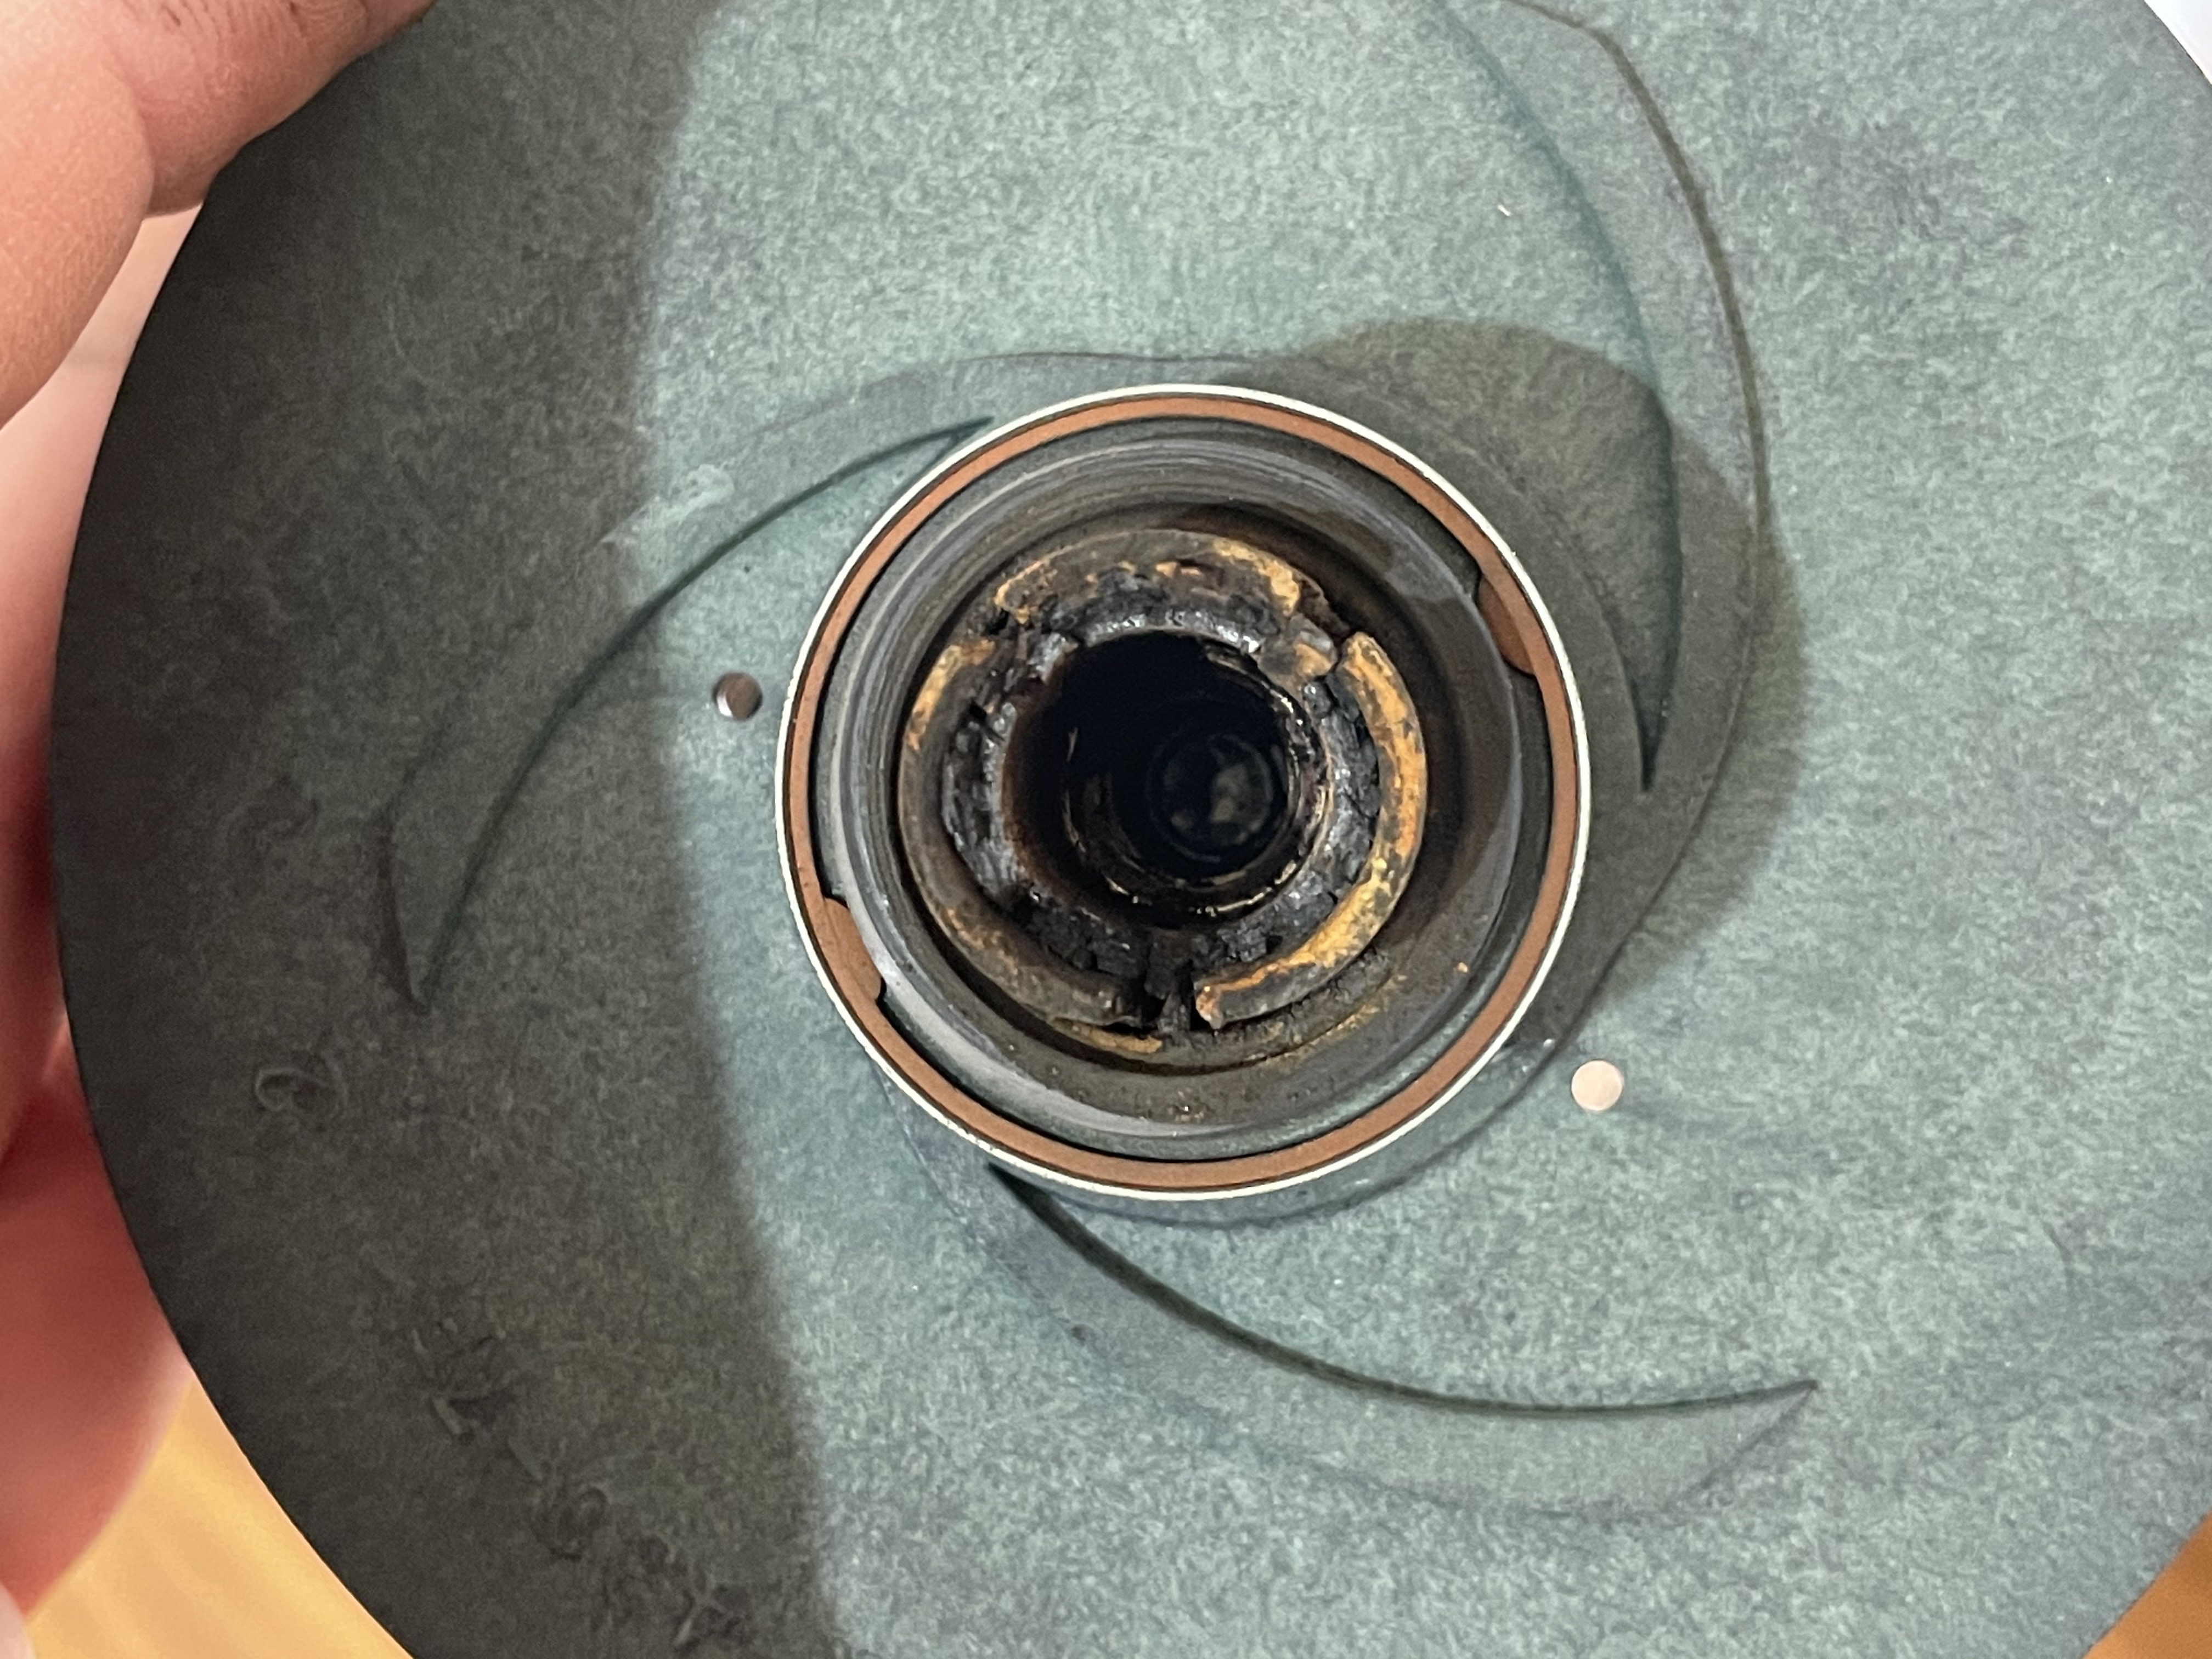
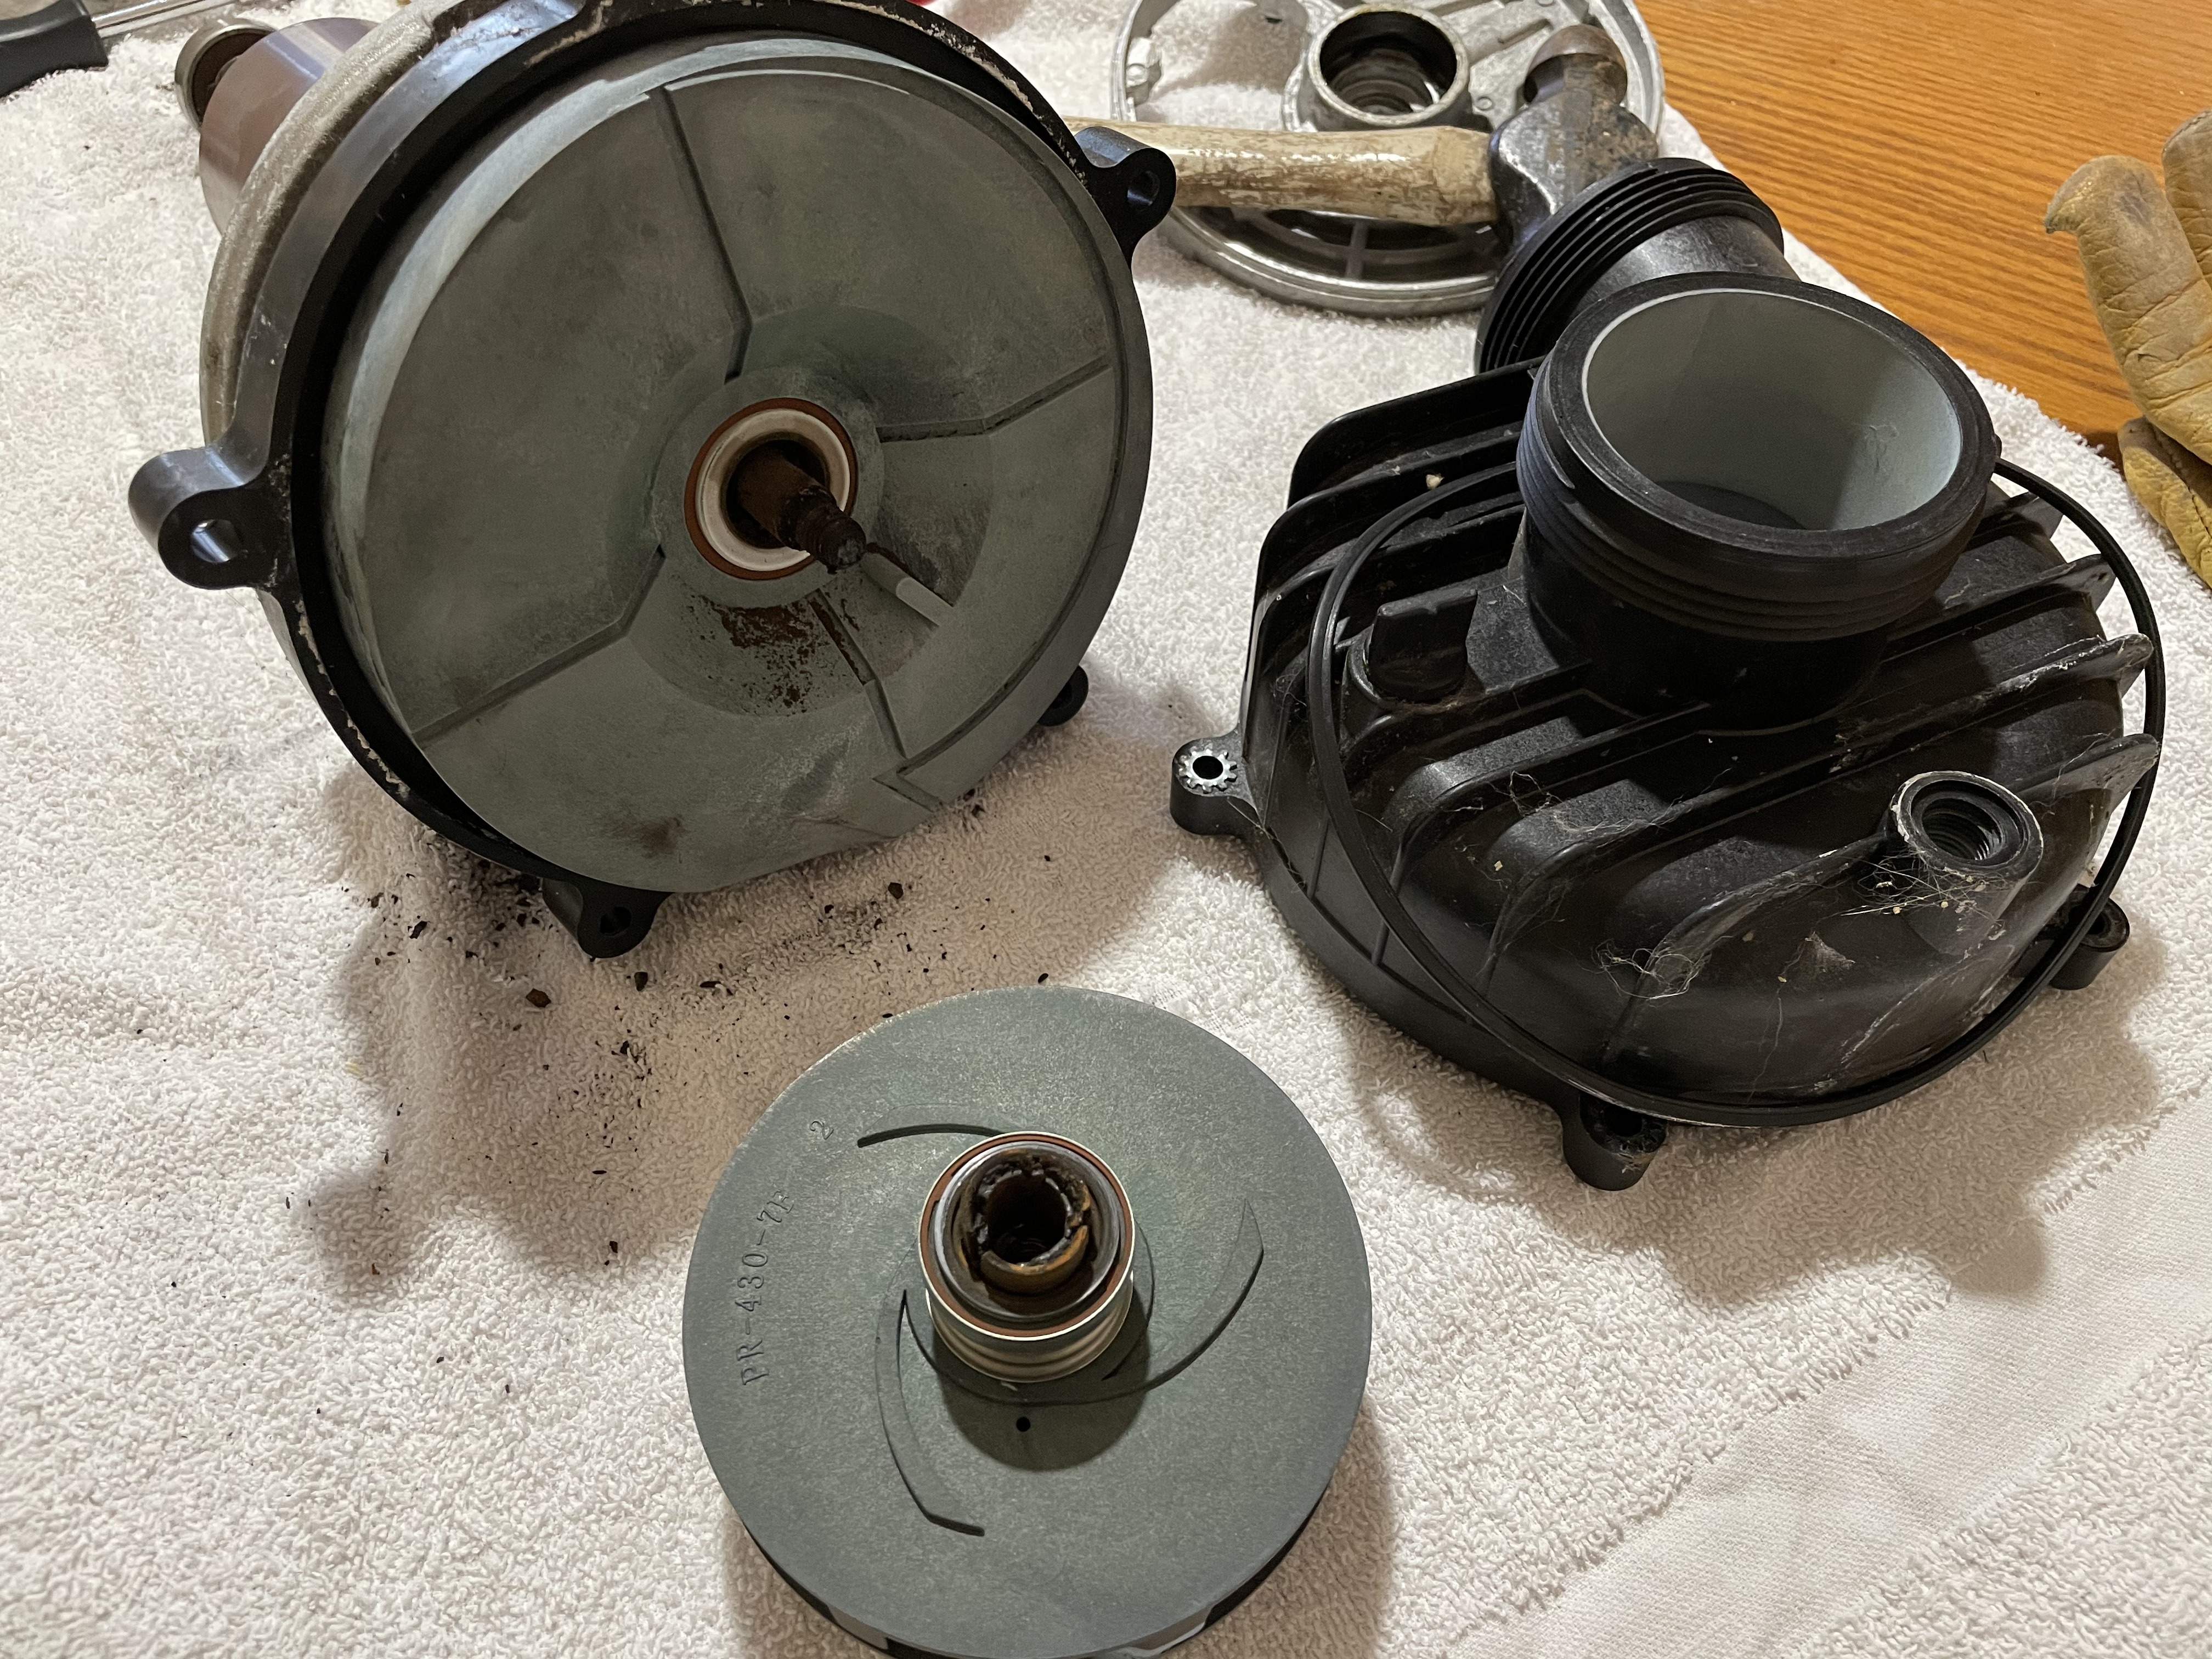
The back of the pump housing after I removed the impeller.
full


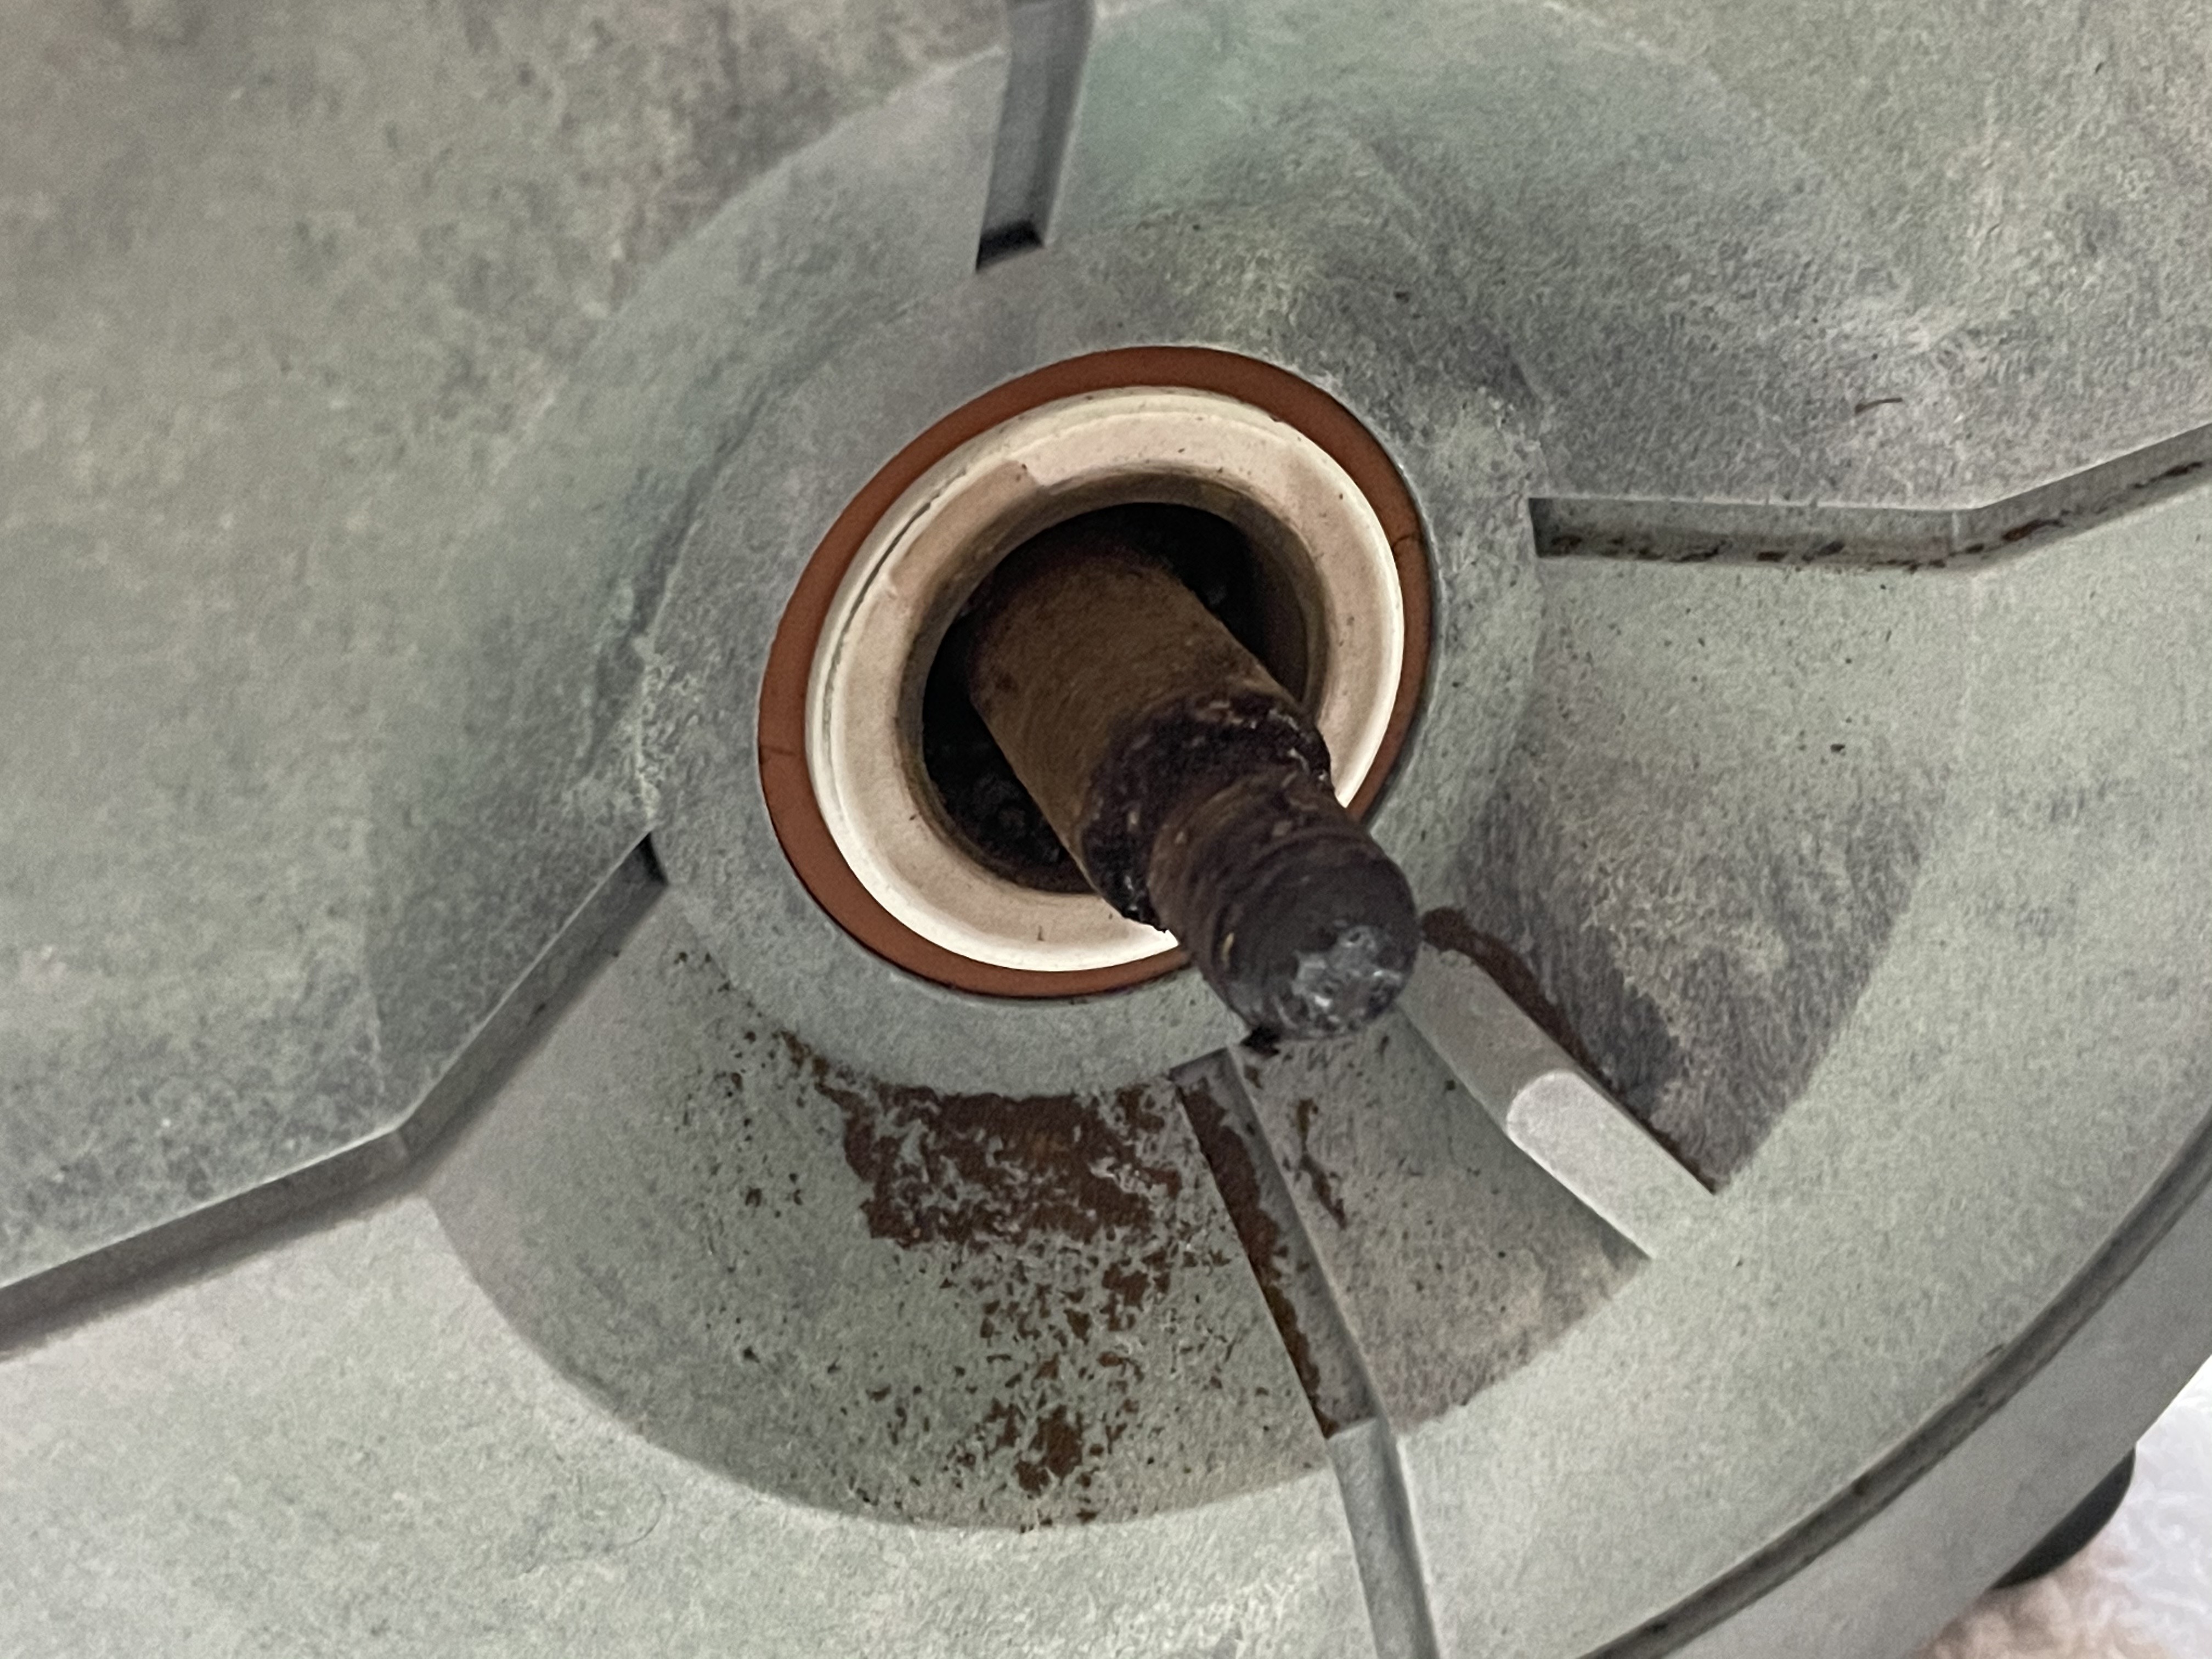
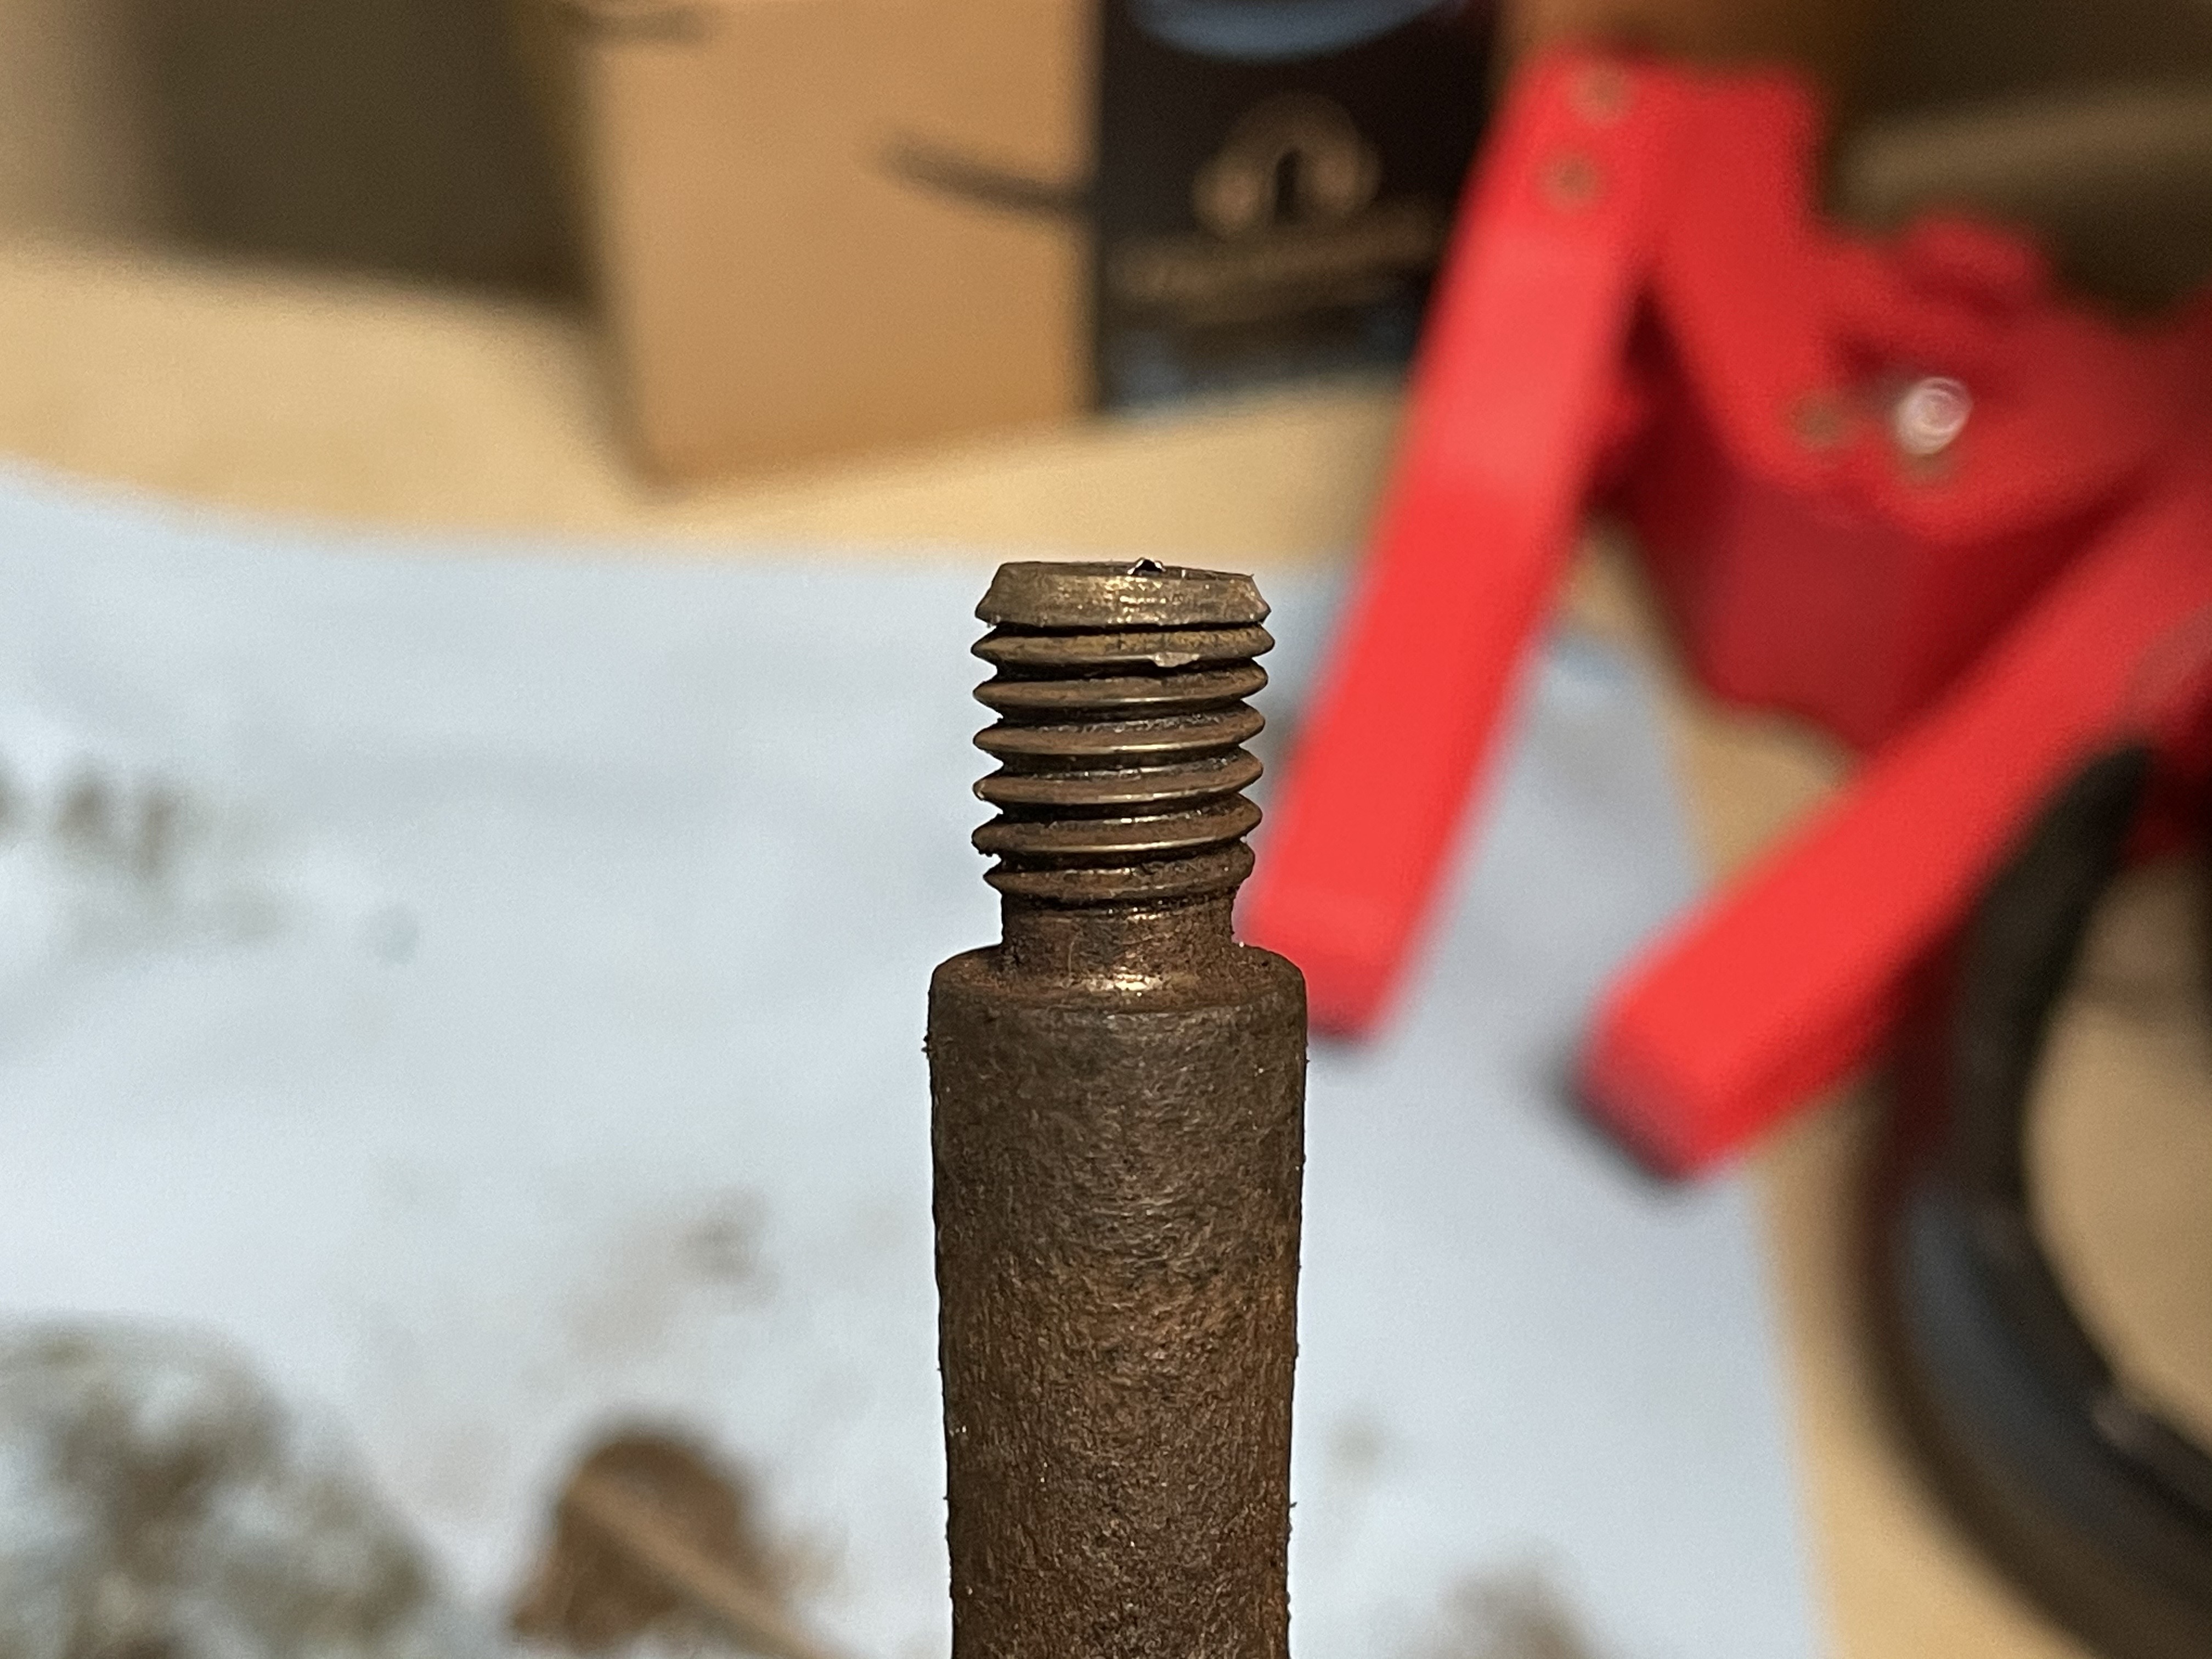
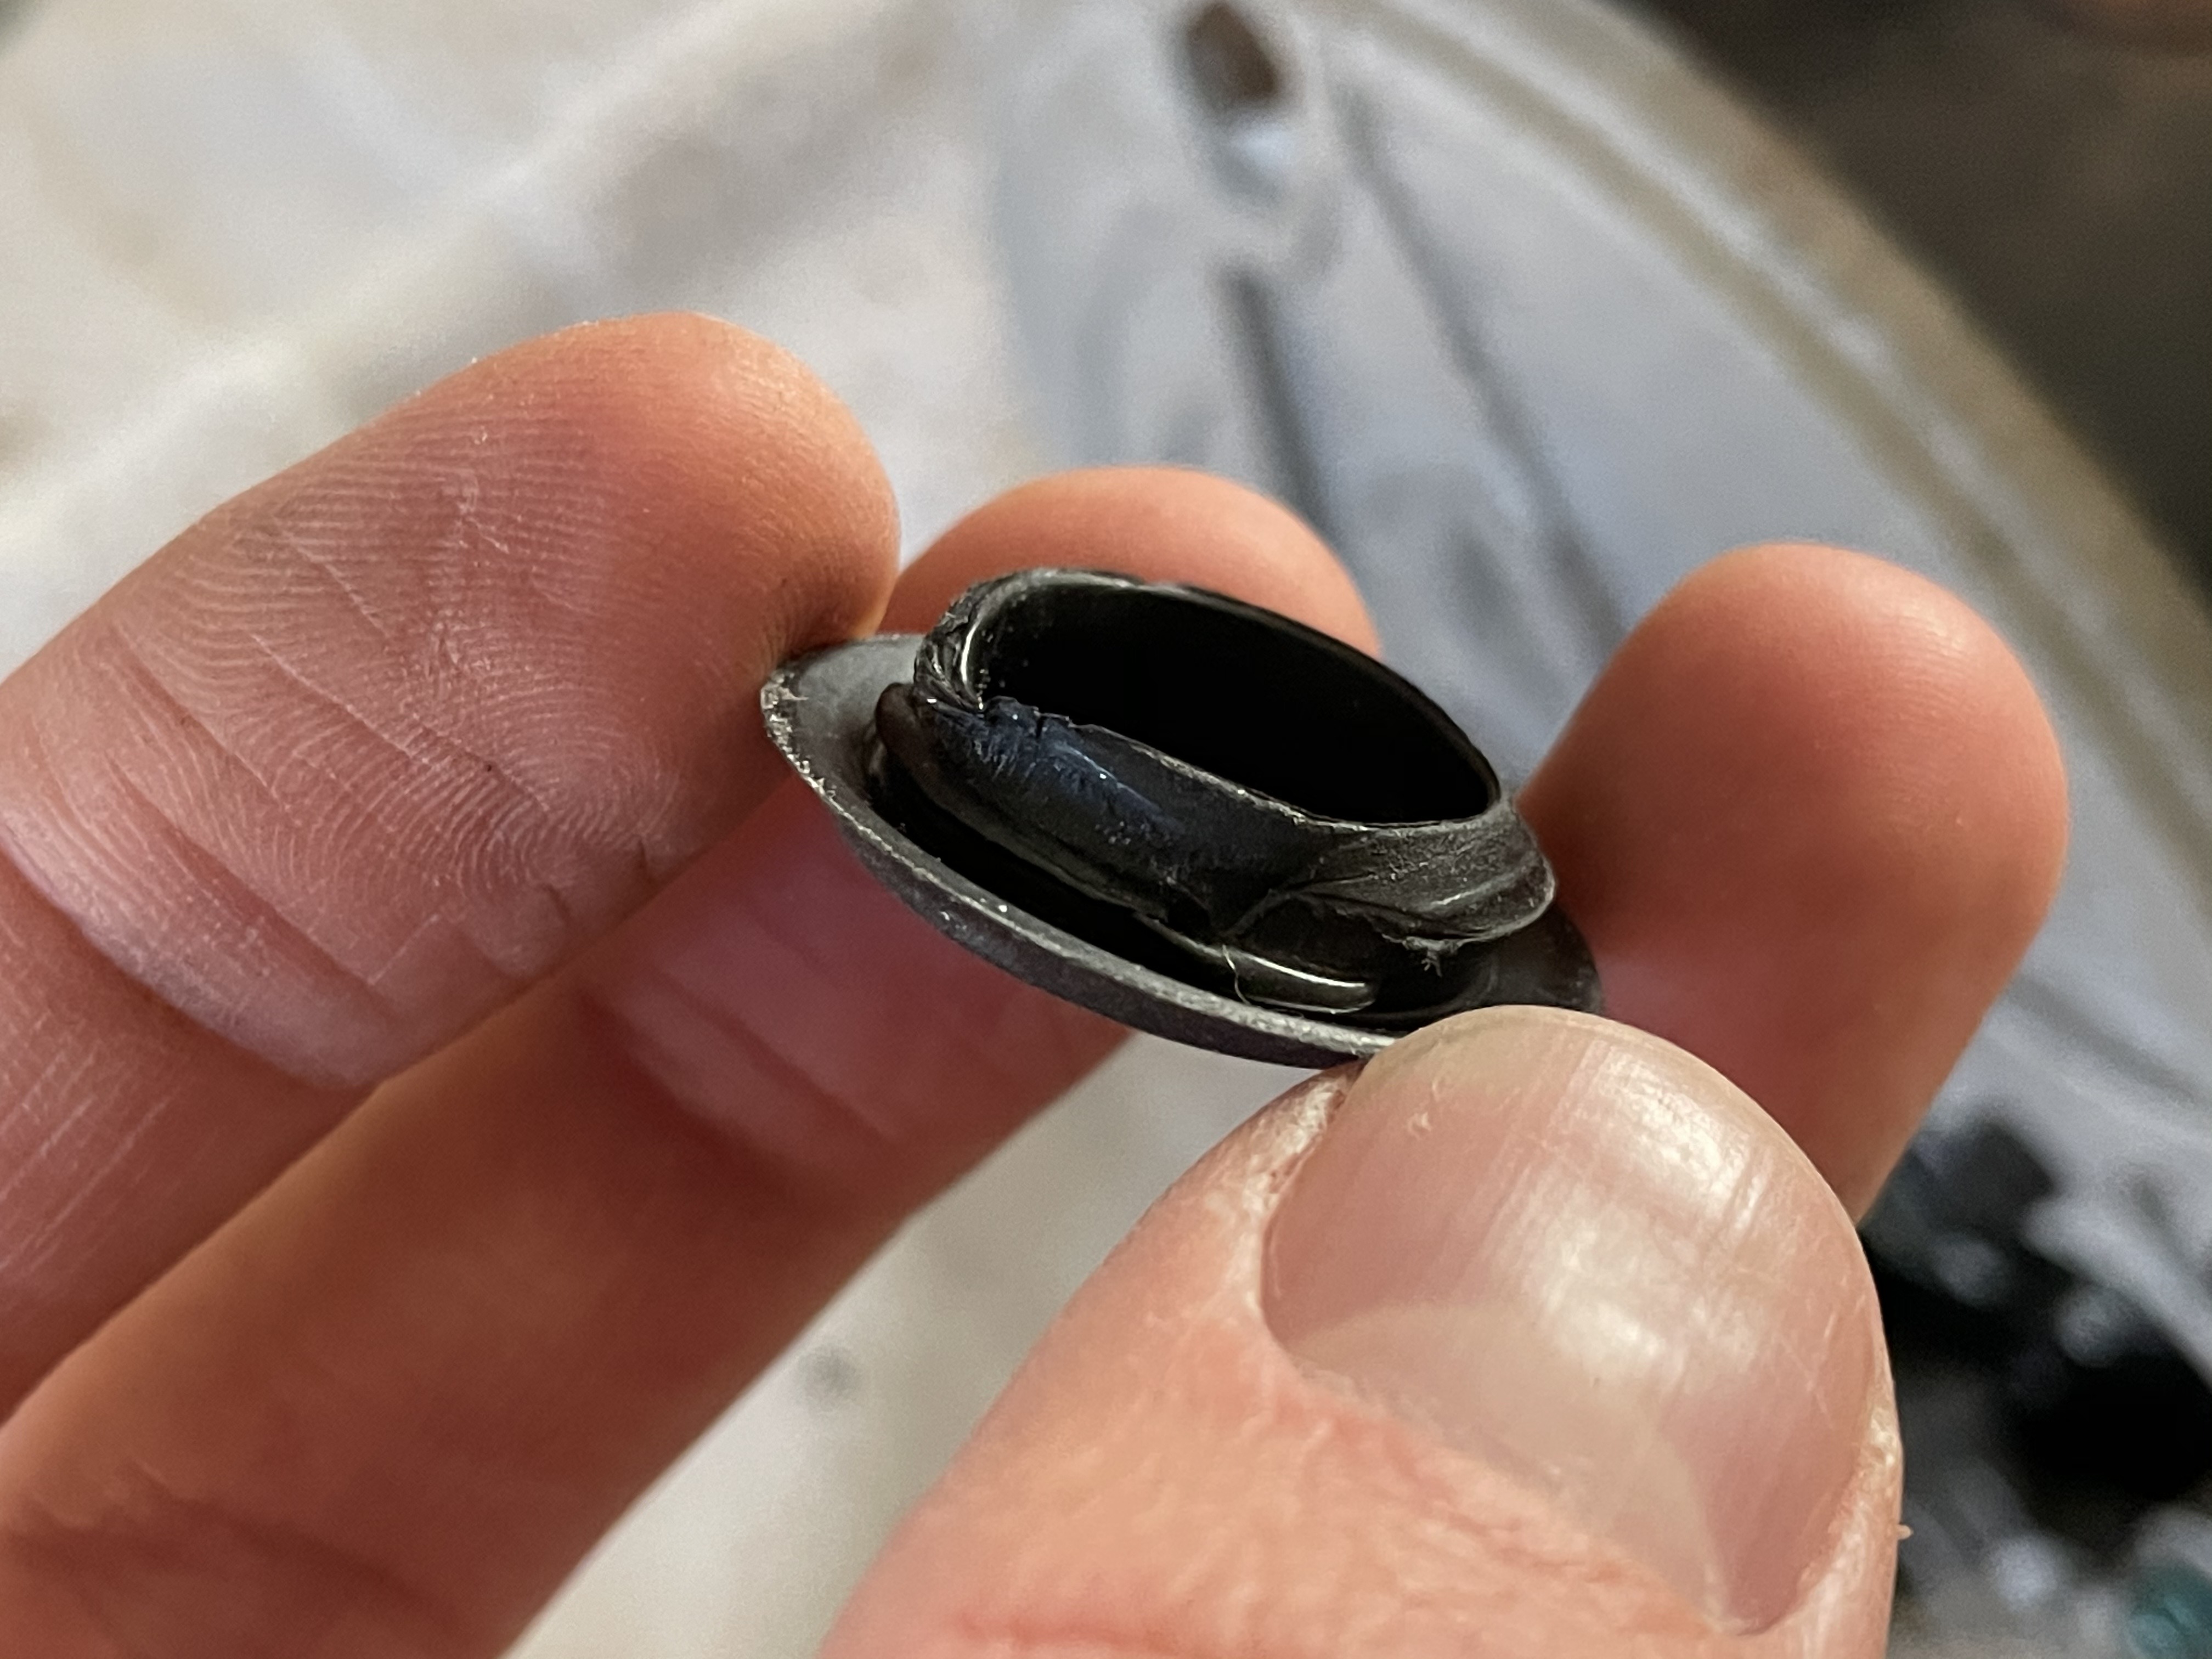
Detail shot of the shaft seal.
full


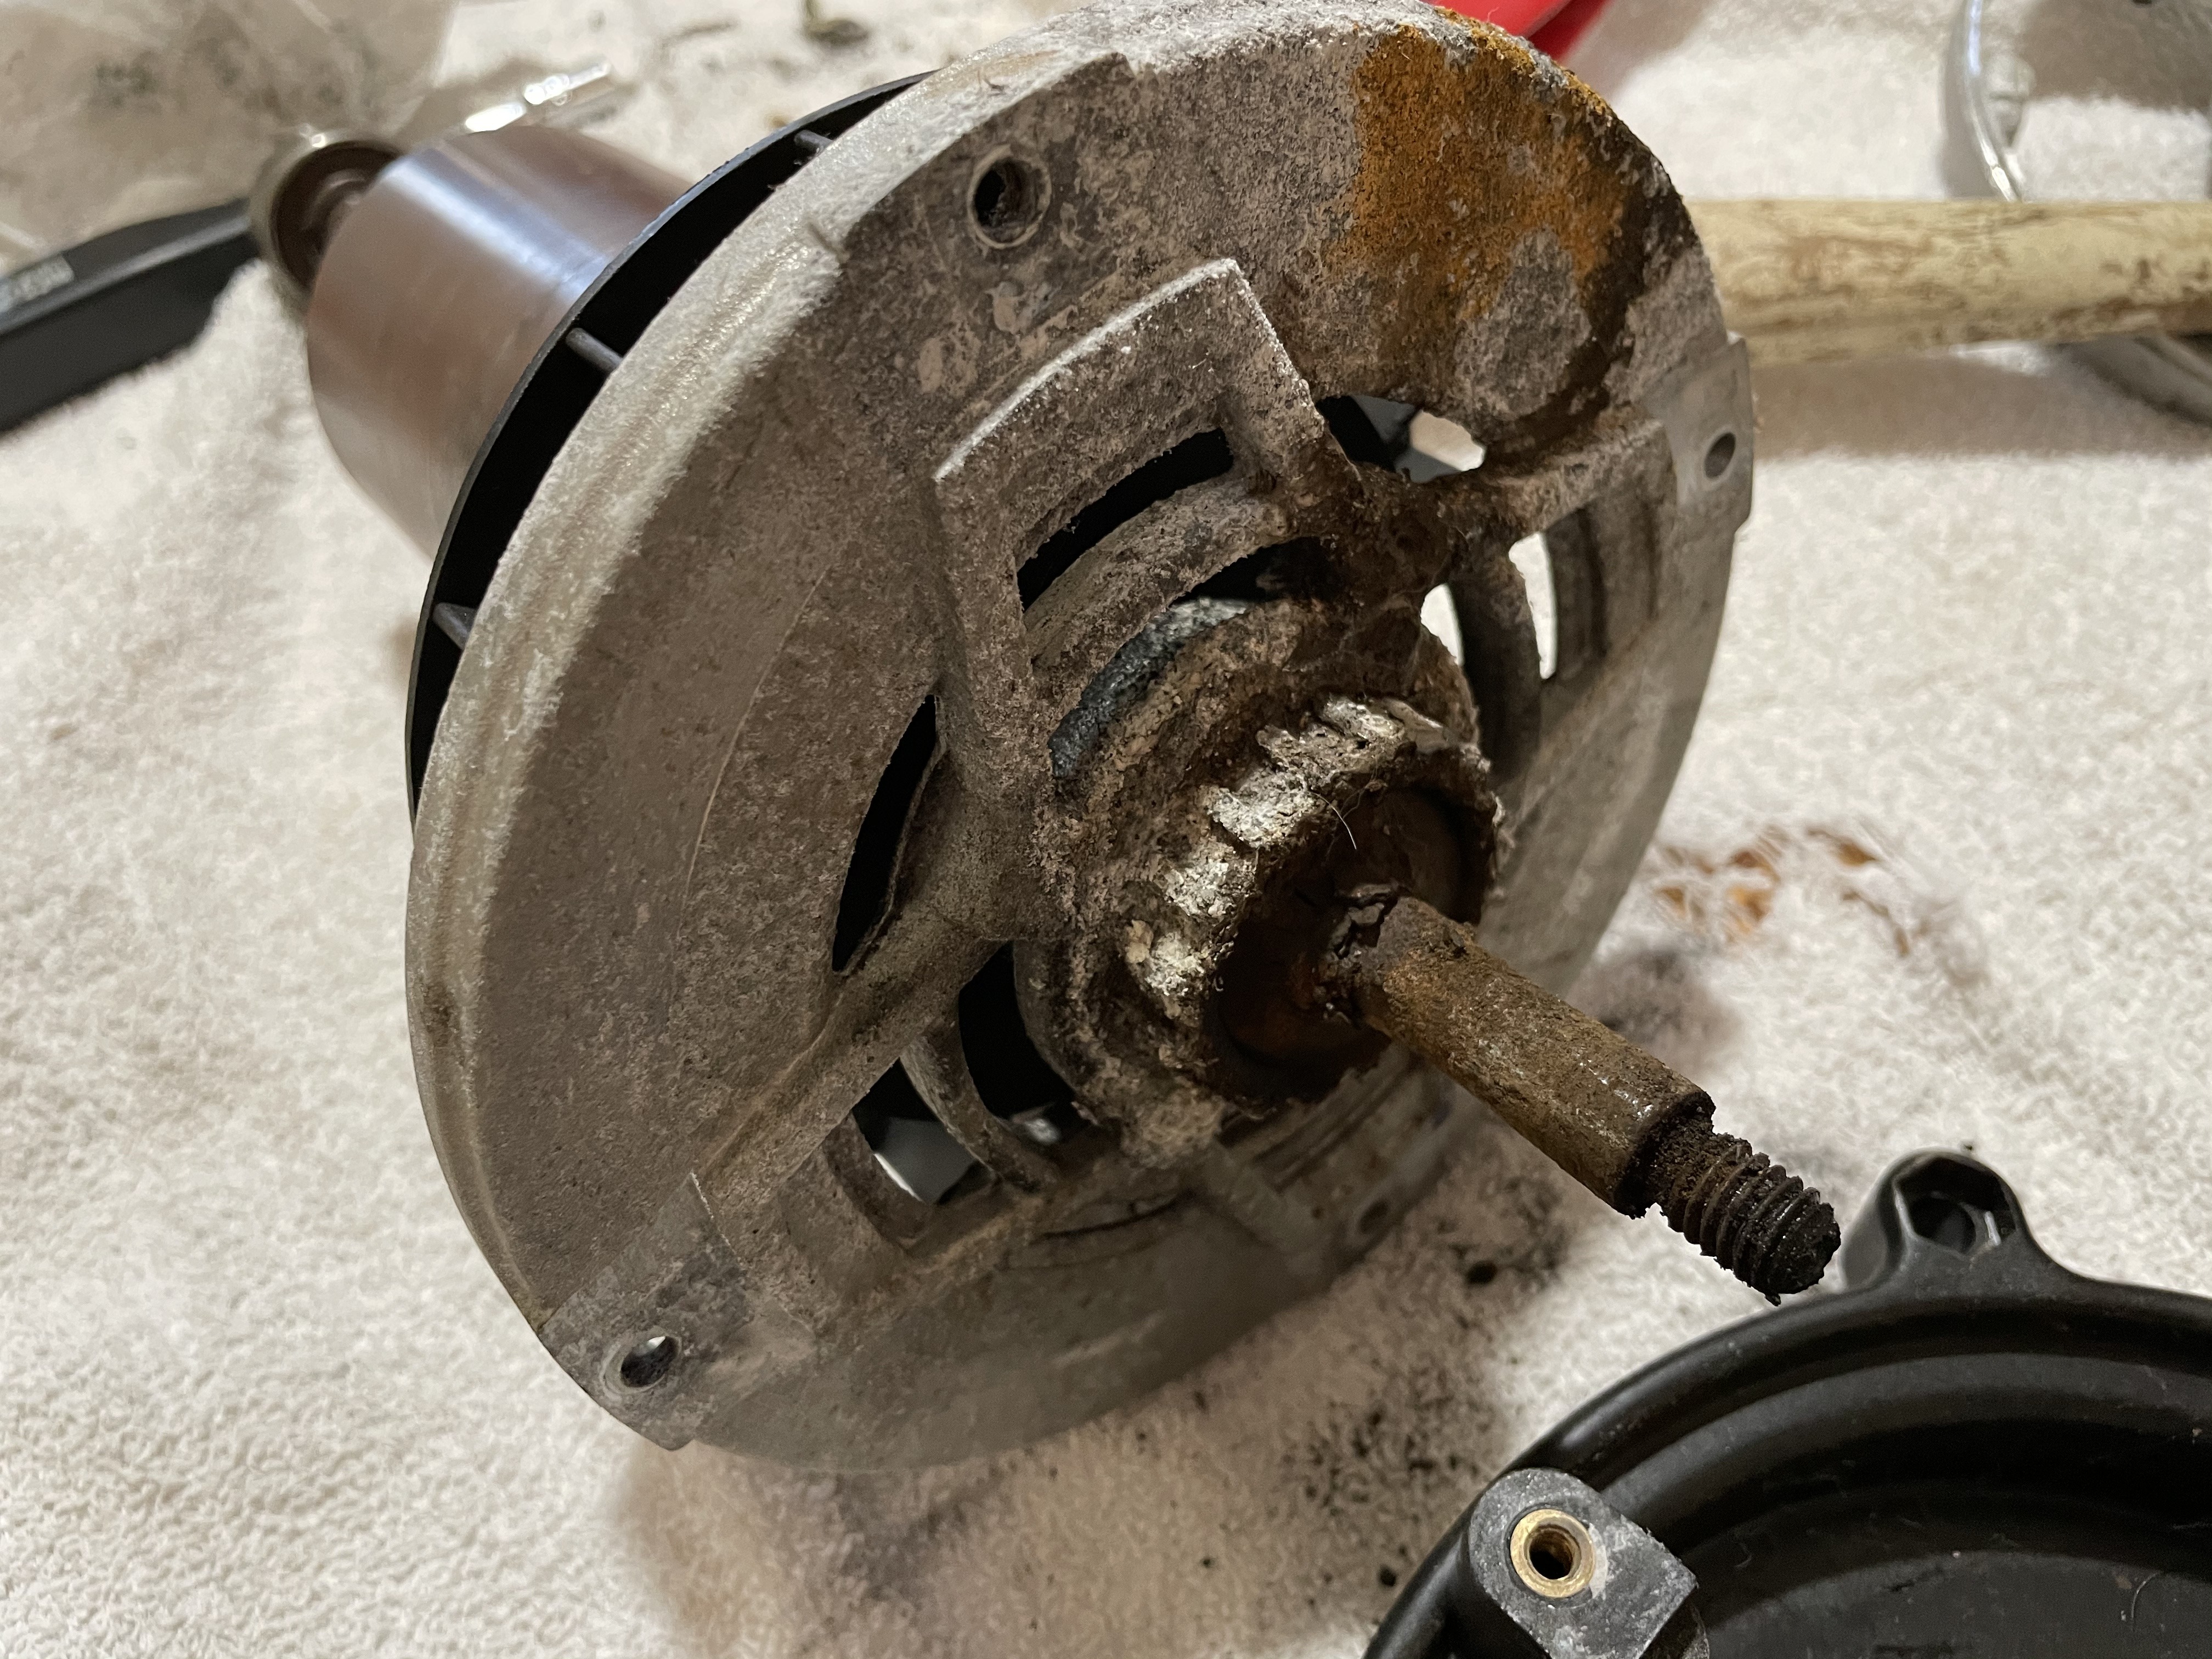
Now the rest of the pump housing could slide off the motor shaft. Gross. Looks like this thing leaked for quite a while.
full


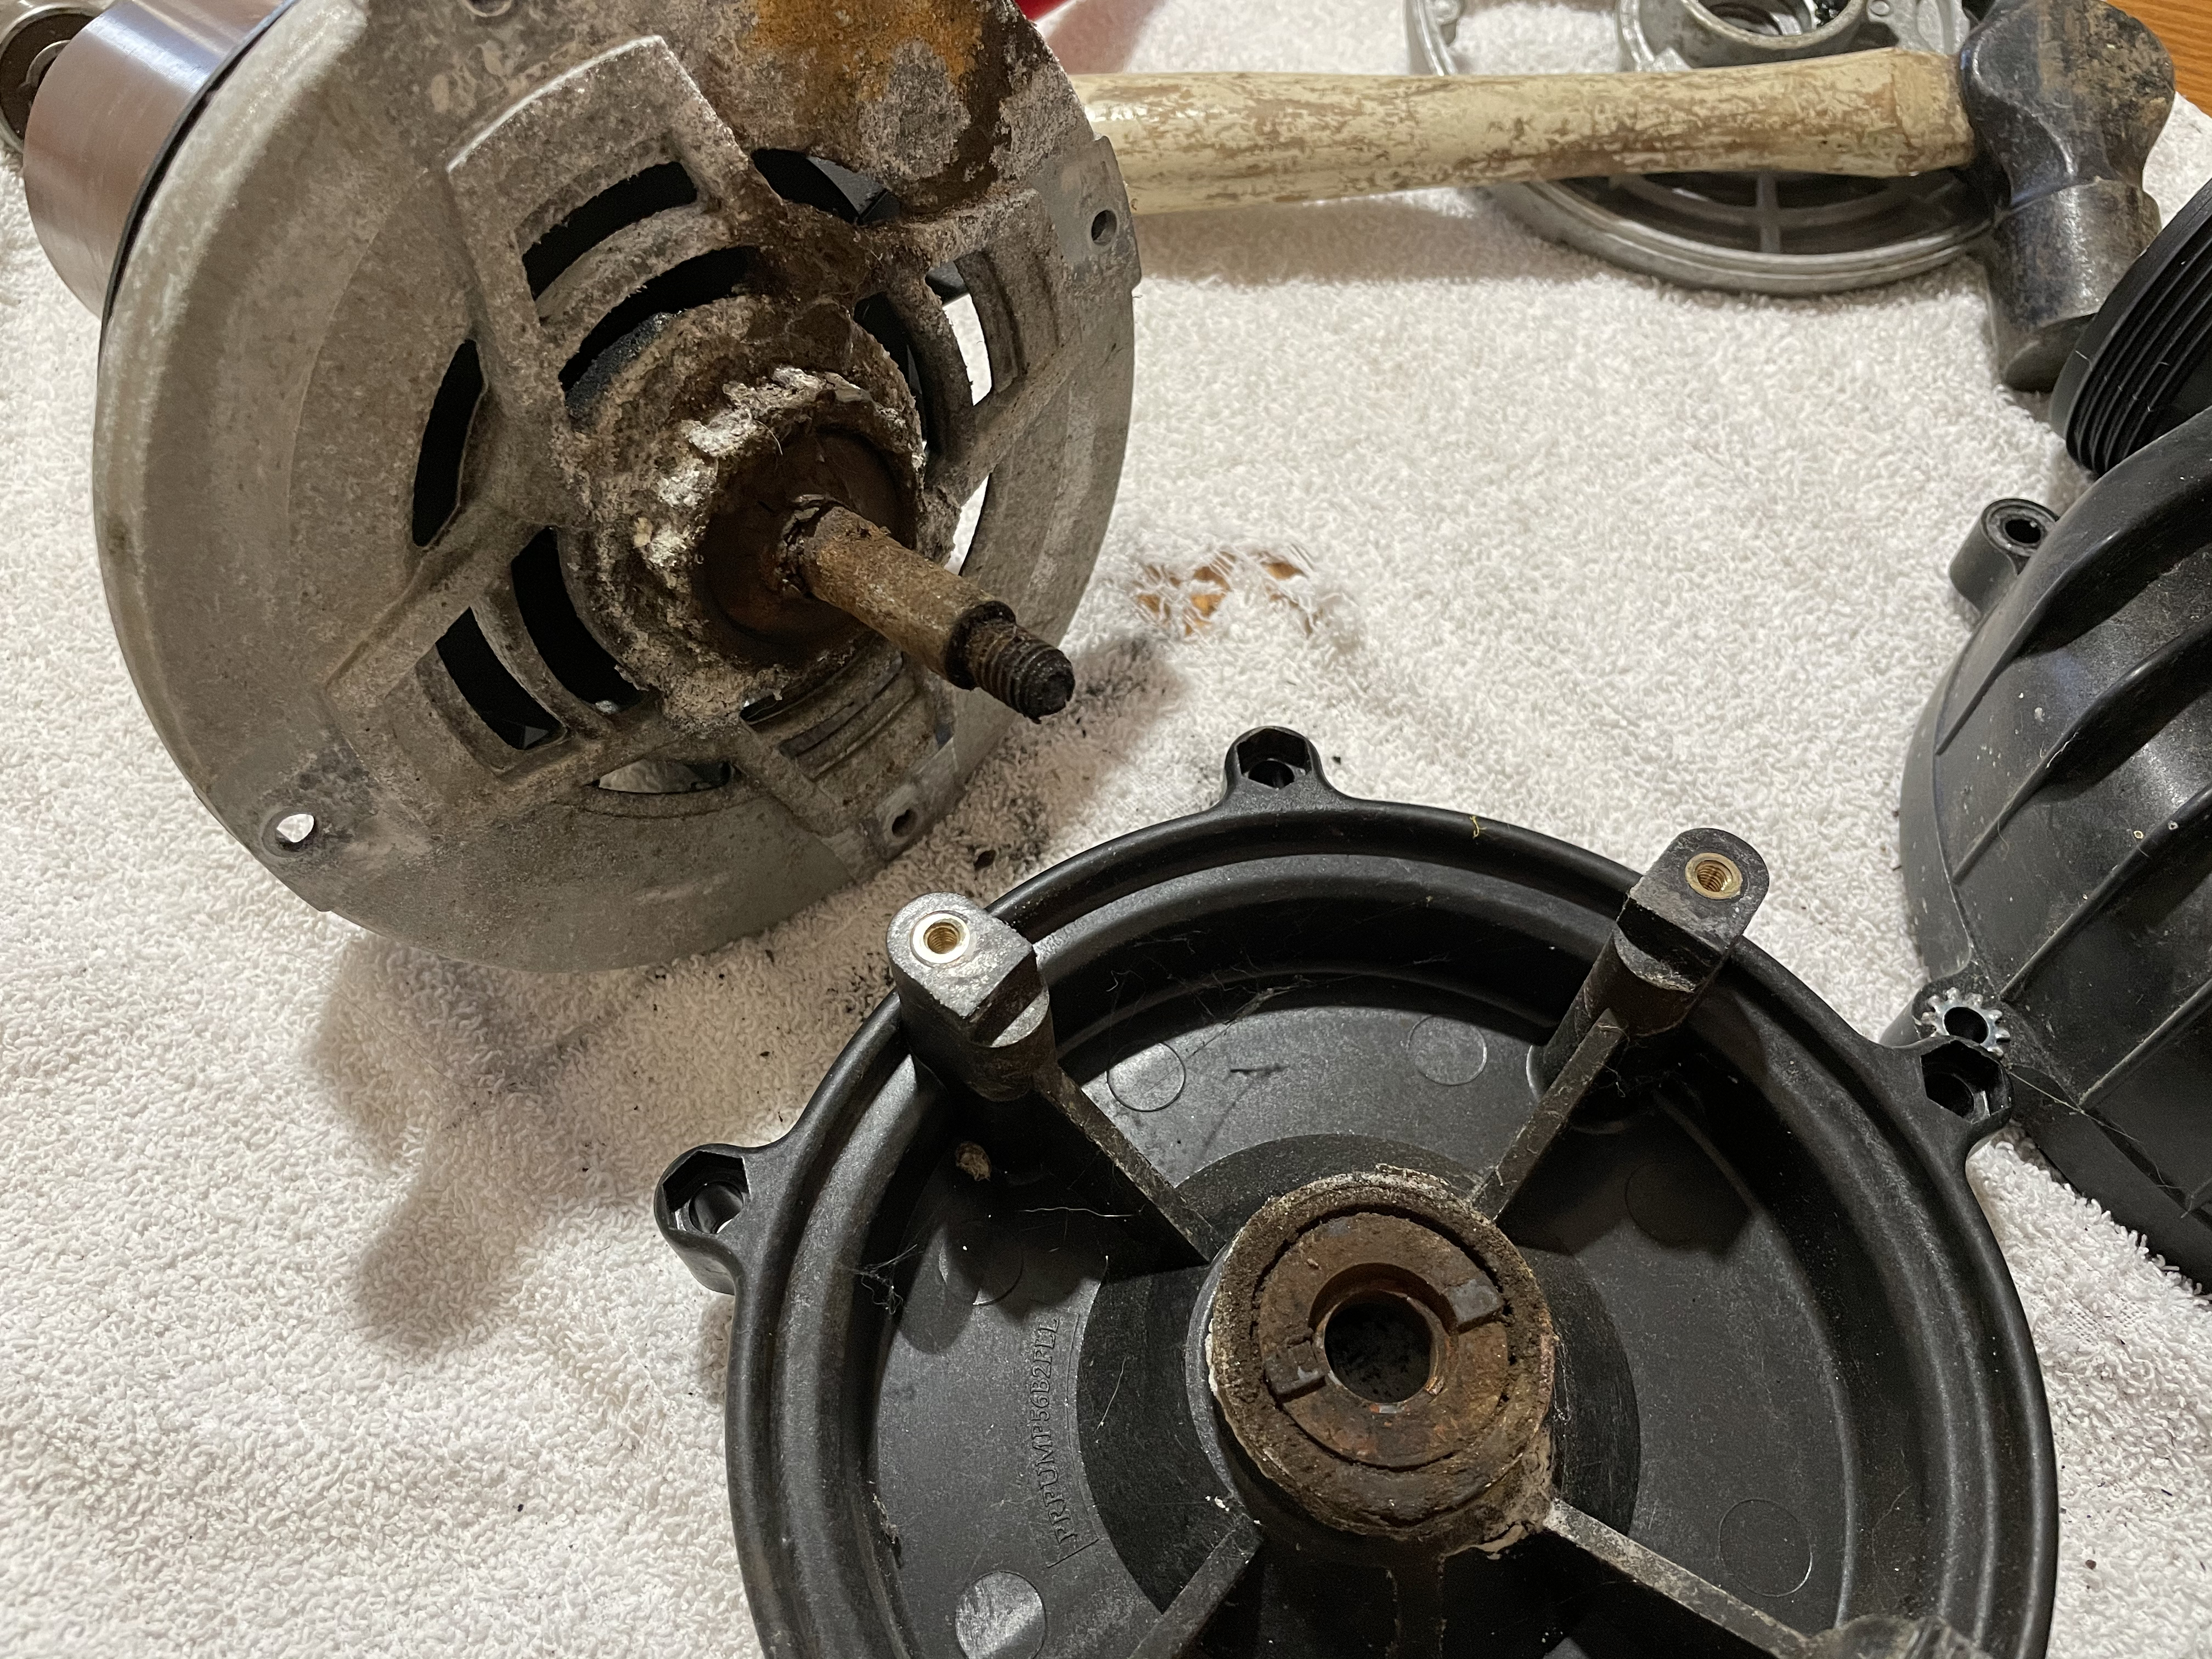
Detail shot of the front of the motor housing.
full


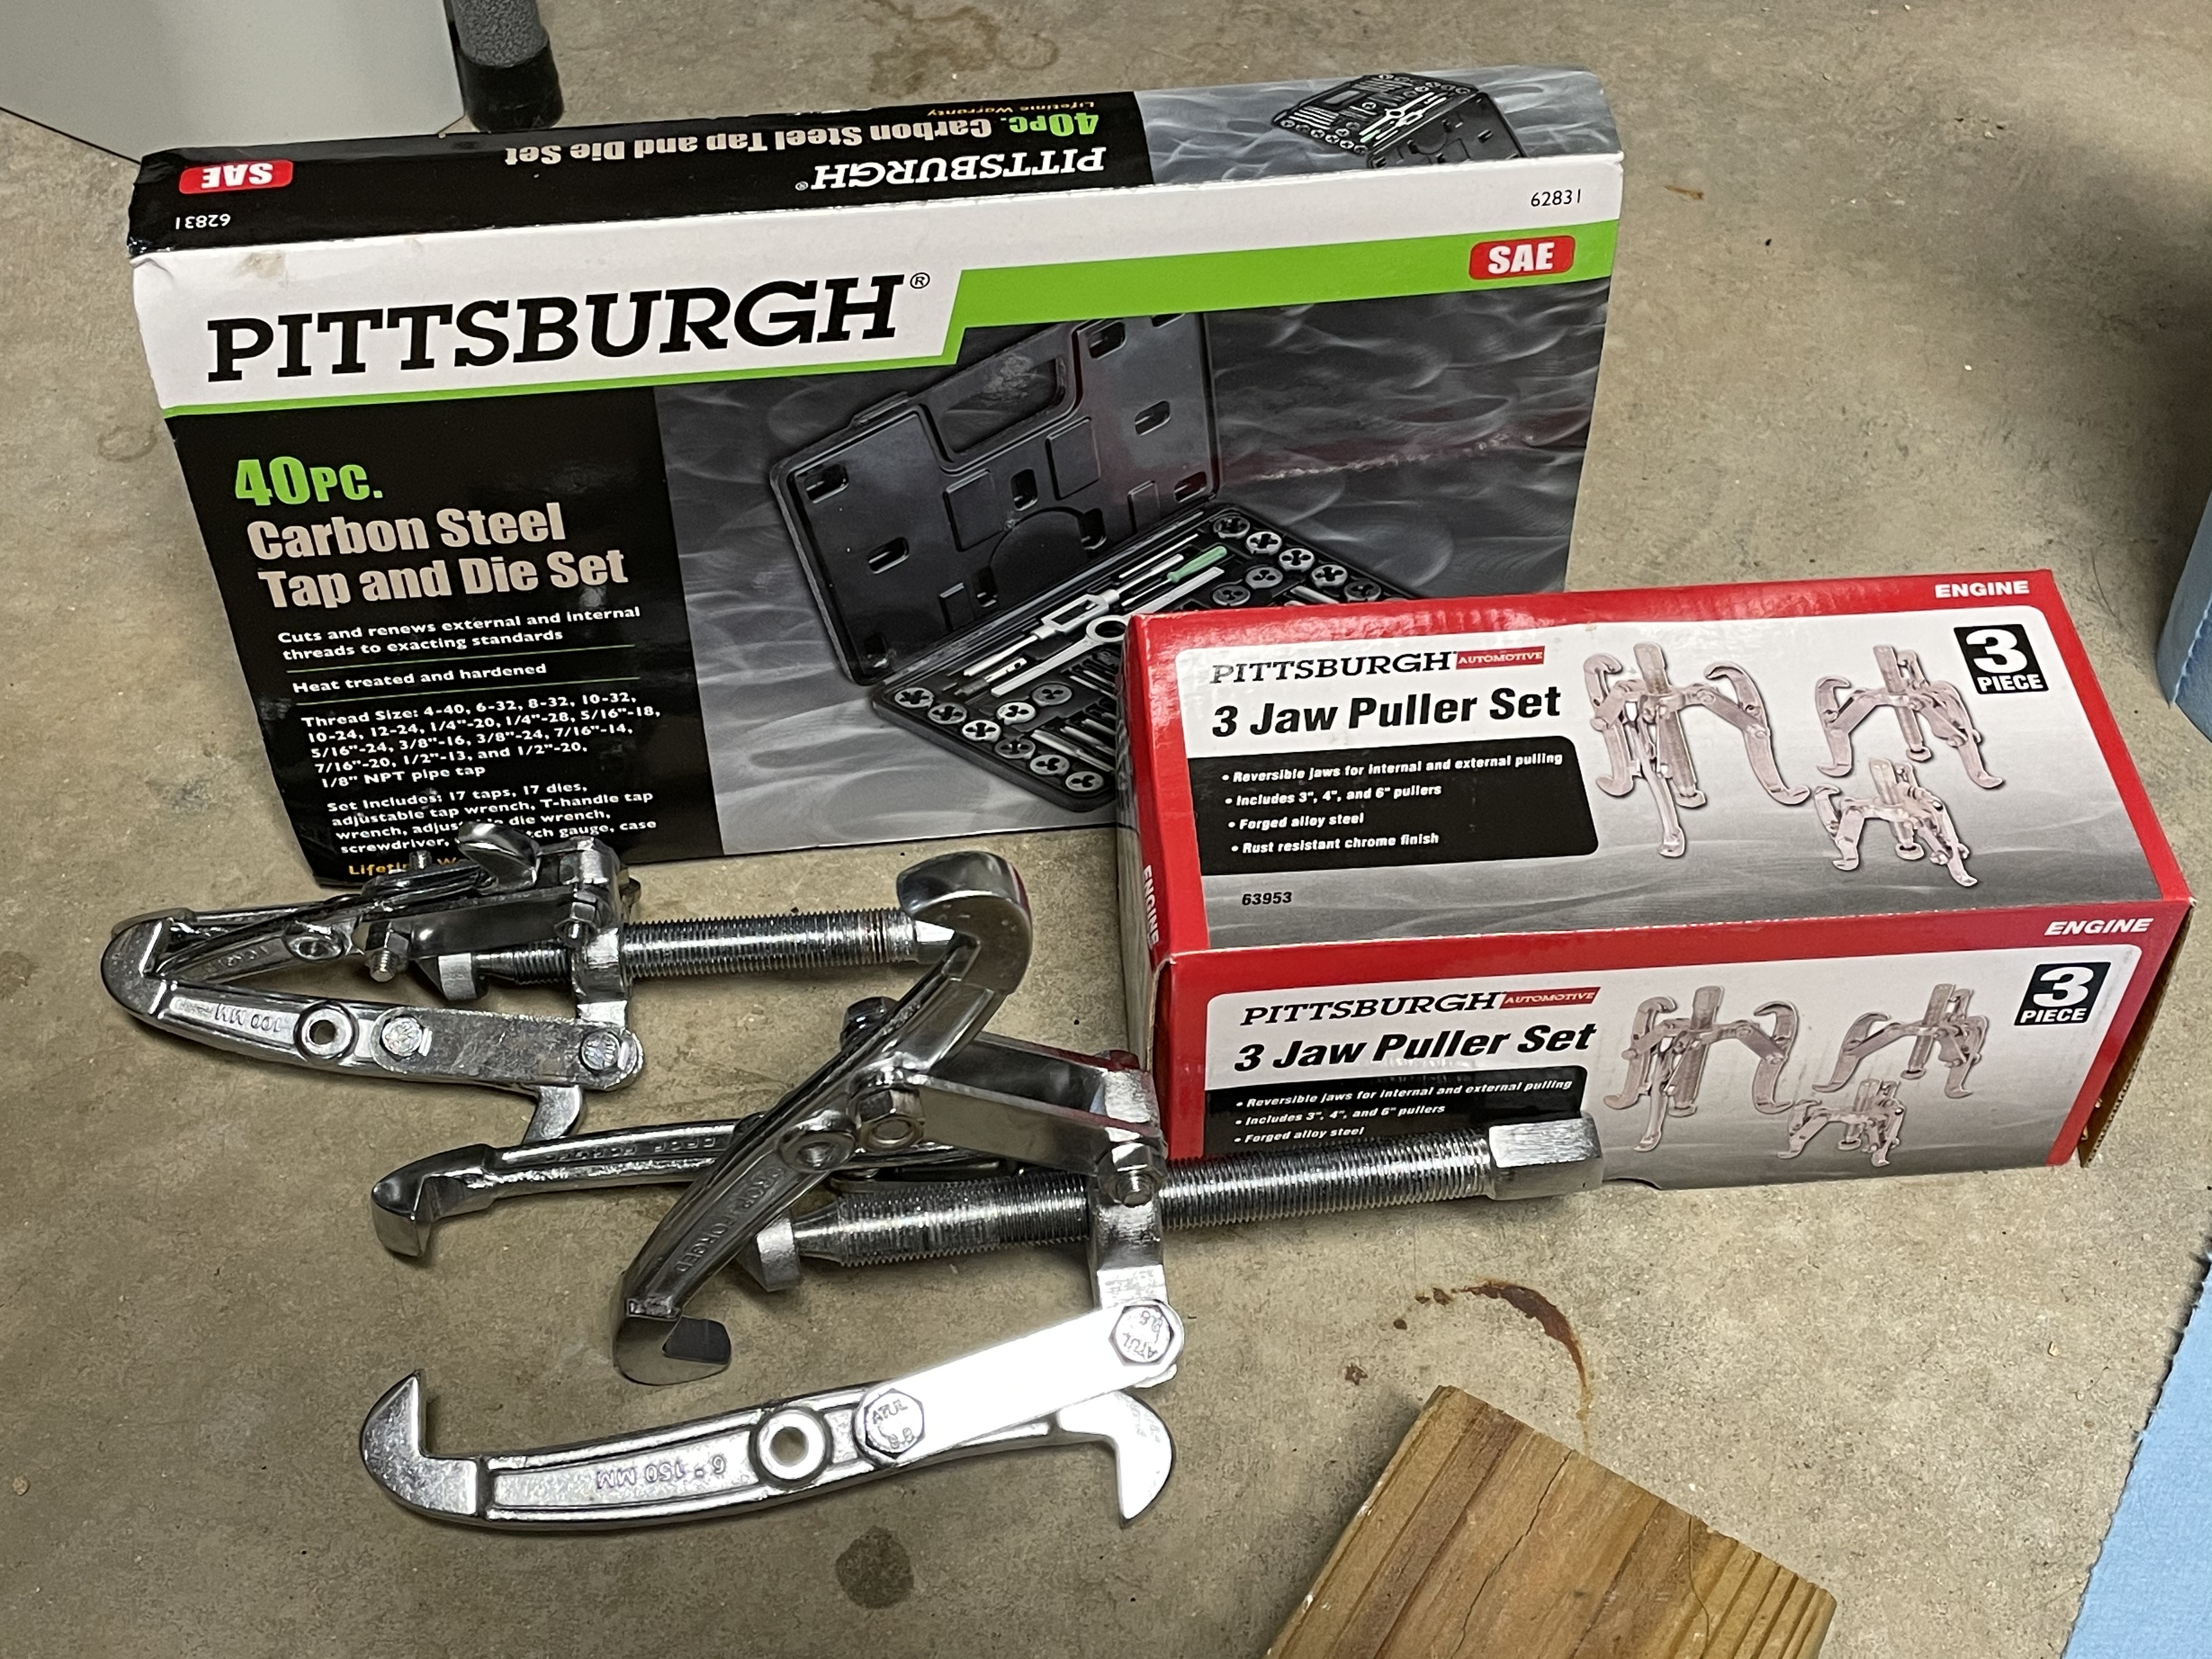
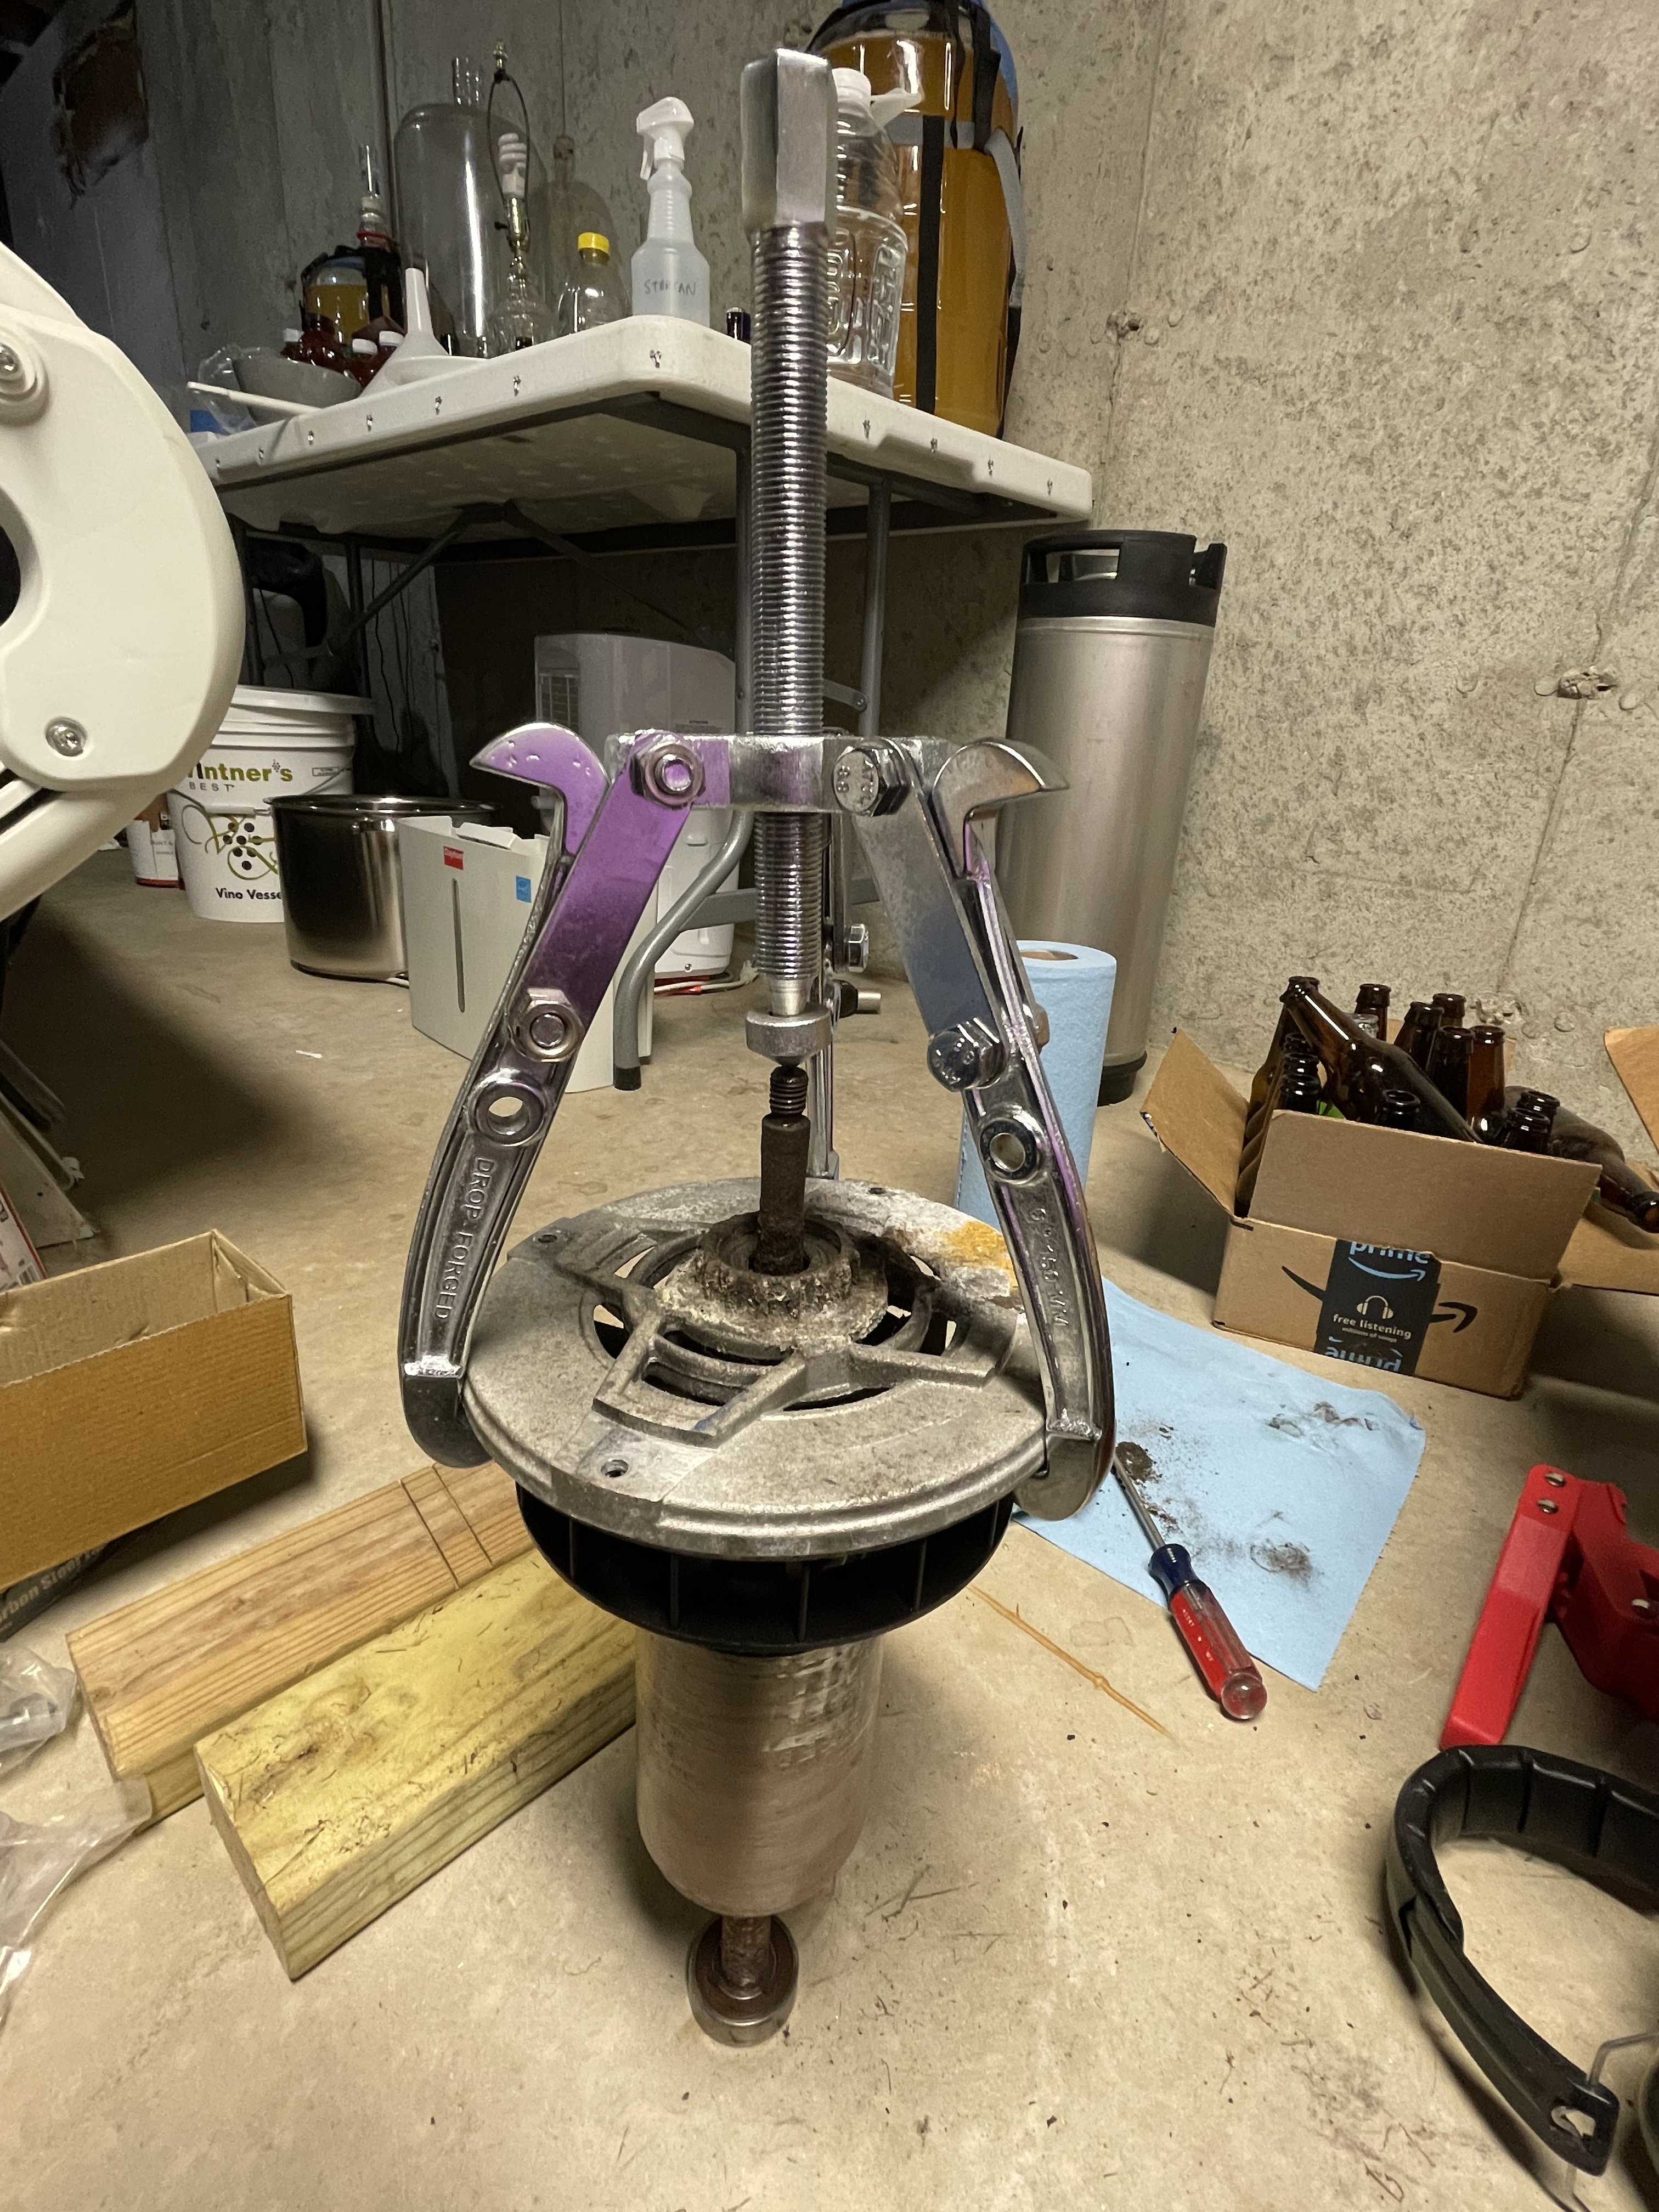
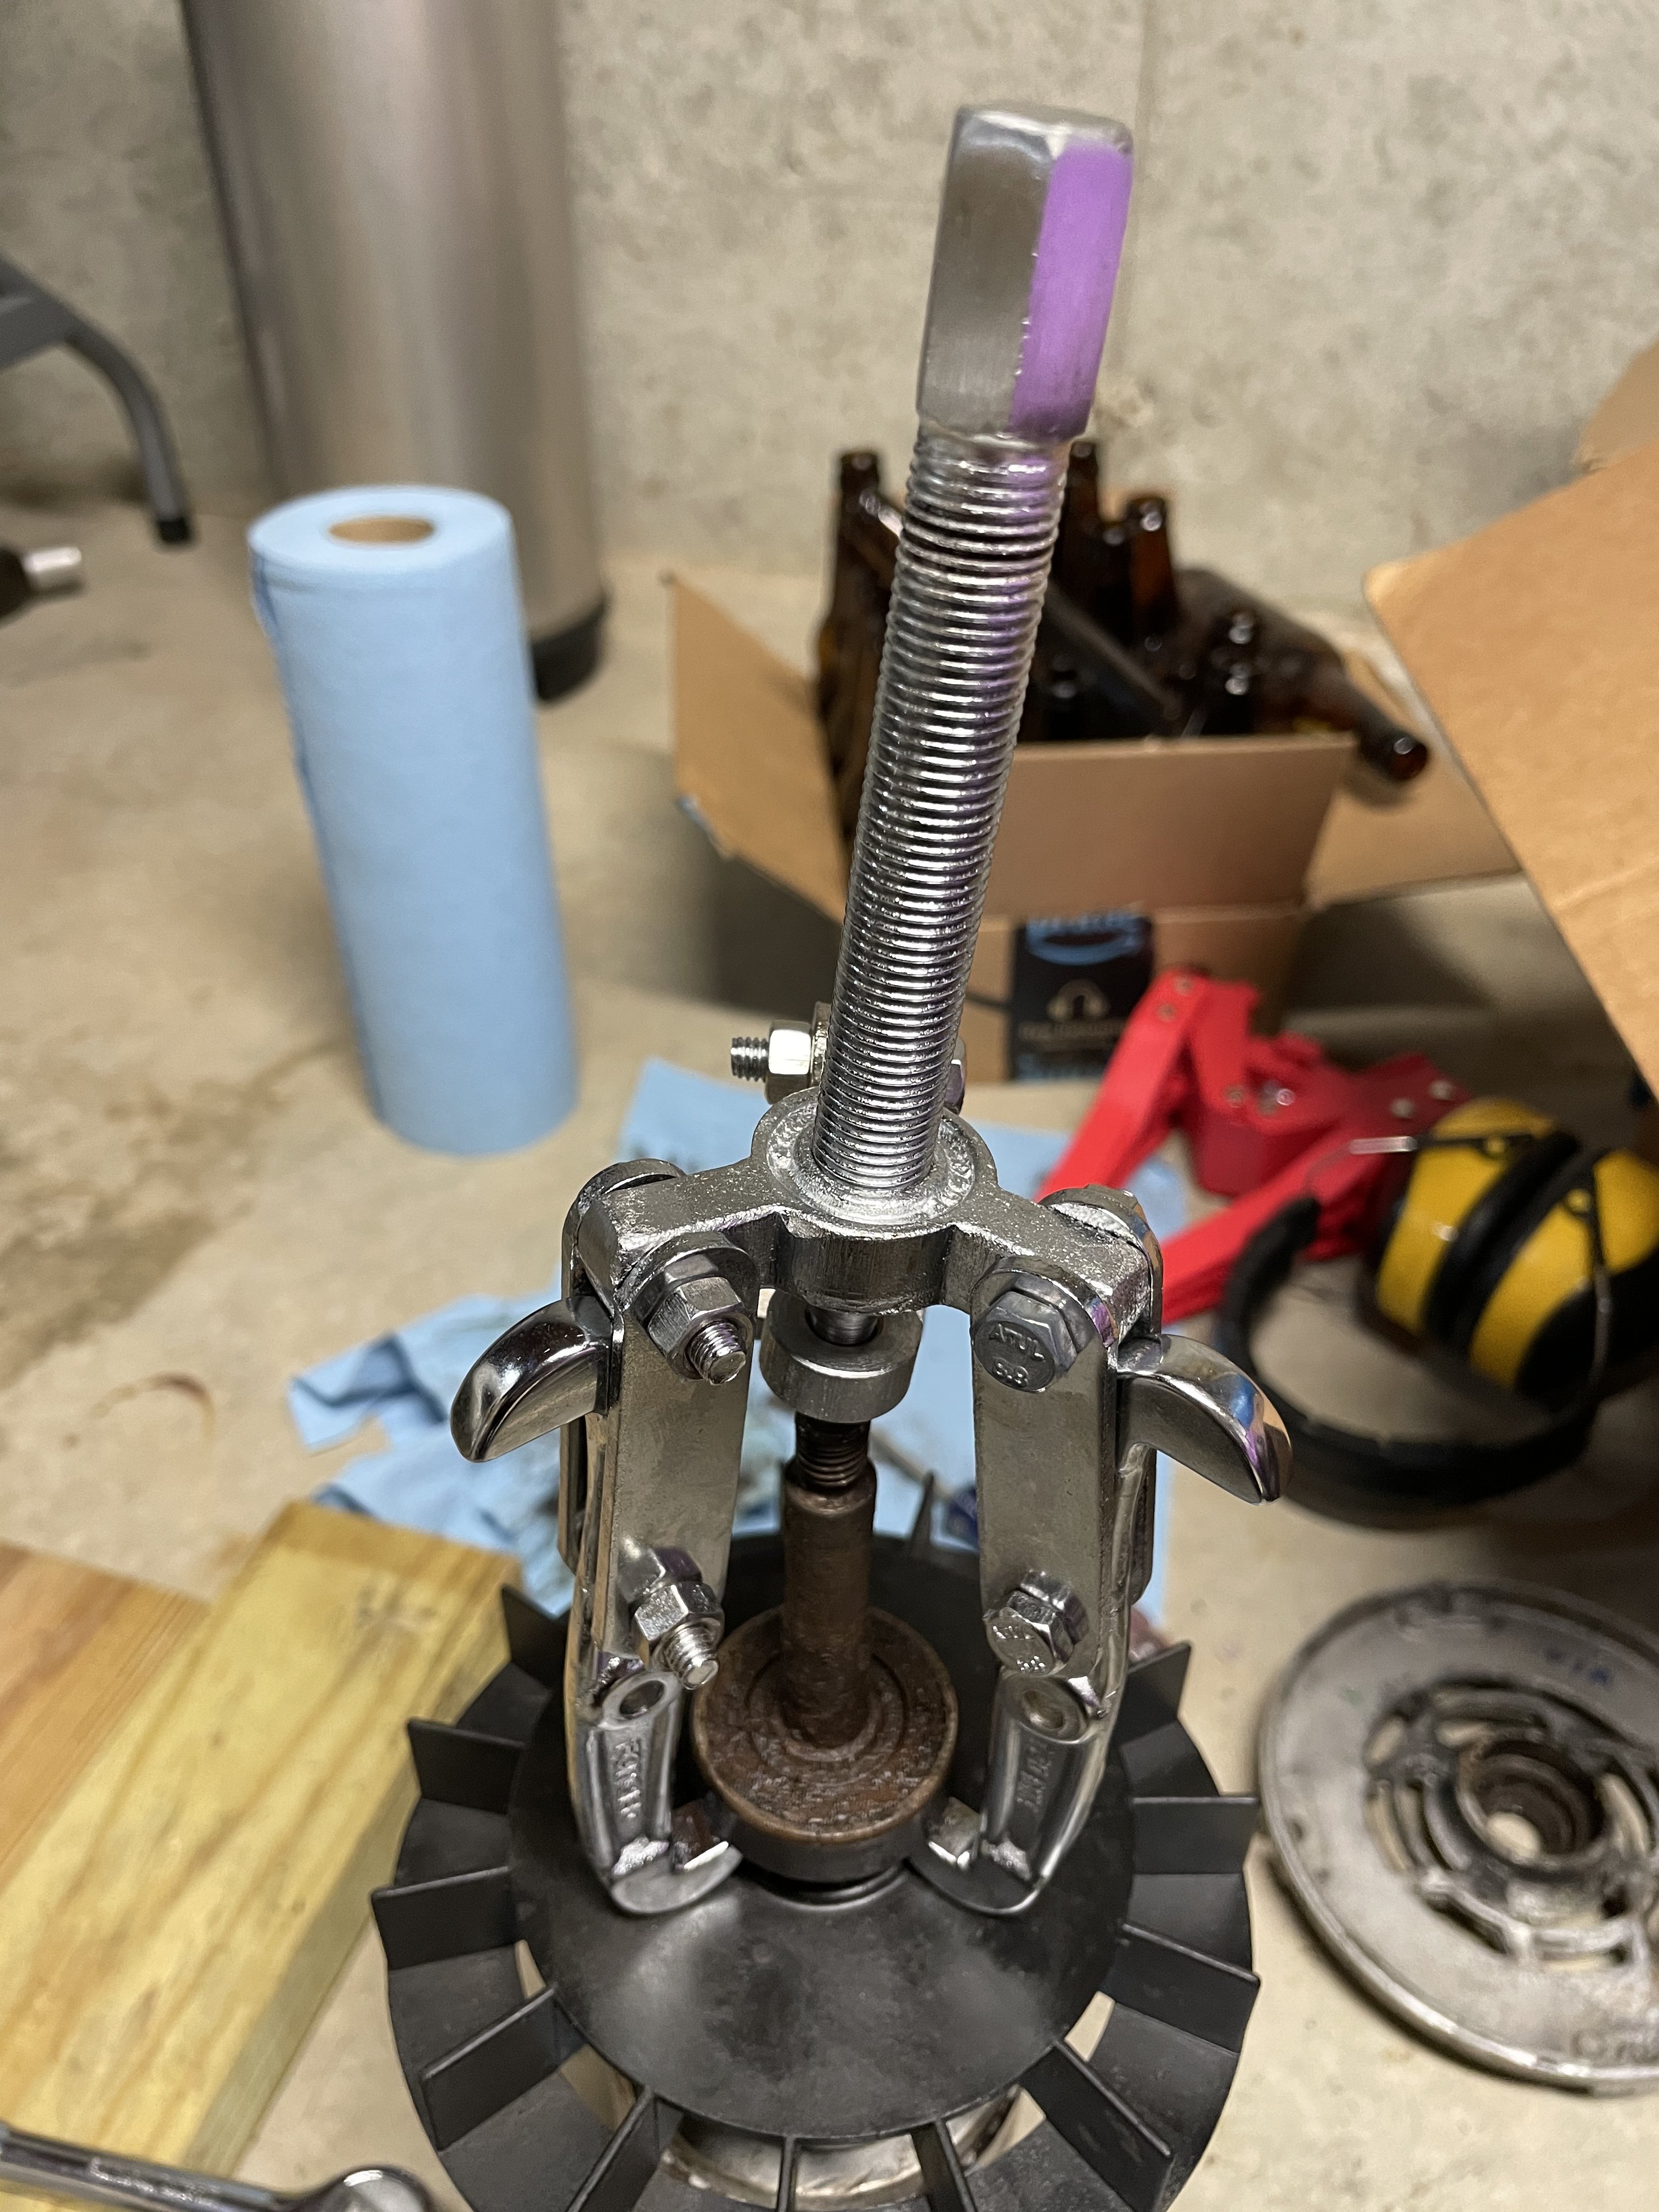
Okay, so that front motor housing plate flops around like a dead fish, so that bearing is well beyond toast. Unfortunately at this point I'm stuck. Somehow I haven't yet acquired a bearing puller, and it's Christmas so there's nowhere to buy one today. We'll have to wait for tomorrow for that.

@RDspaguy I imagine there is zero chance a shaft seal will seal on that shaft as-is. My plan is to polish the shaft somehow so the replacement seal will fit. Have you ever done that before, and if so, got any tips? Also, are shaft seals a pretty universal thing, or how do I find the correct seal for my pump?
 
Heh. One more photo. I glanced at the motor right after posting, and noticed something in the stator. There was surface rust on the iron, except not at the pump end of the stator, the side with the bad bearing. The bearing was so toast there must have been enough slop that the armature was able to touch the stator. Wow! No wonder the pump just refused to start eventually, the armature was jamming on the stator.
full
 
Oh you are going to be in SO much trouble!!! Wait until your wife sees what you are doing on her table LOL At least you are using a towel under under it!

My gut is saying you are learning a lot about your pump BUT the shaft is what will keep you from being able to fix it :( I hope I am wrong!
 
Oh you are going to be in SO much trouble!!! Wait until your wife sees what you are doing on her table LOL At least you are using a towel under under it!
She didn't say anything when she got home actually. She's great!

My gut is saying you are learning a lot about your pump BUT the shaft is what will keep you from being able to fix it :( I hope I am wrong!
I hope I can fix it. A new seal and two bearings are way cheaper than a new pump, so I'll give it a go before buying a second pump. If it ends up not working, hey I tried.

Got a quick video edited, showing me spinning the pump before opening it, then the rear and front bearings.
 
Yeah, I noticed that fancy workbench and wondered if that was why he picked this time to work on it..

@JamesW may have some thoughts about the motor condition.
 
Last edited:
  • Like
Reactions: jseyfert3
Oh, interesting! I looked up and found the shaft seal on Spa Depot. Available for $10. I was wondering how that worked, cause those parts on my pump didn't even touch the shaft. Then took a closer look at my disassembled pump. It doesn't seal to the shaft, it seals around the shaft. Clever! So anyway the shaft being rusty shouldn't matter, a new shaft seal, new bearings, and I should be back in business (I hope).

Yeah, I noticed that fancy workbench wand wondered if that was why he picked this time to work on it..
😁 But no, I seriously need to get around to cleaning up the basement and making a good solid workbench for things like this.
 
It would have been faster and easier just getting a new pump. The front housing looks compromised and it might fall apart when you try to remove the bearing. It looks like it's from 2008 according to the serial numbers.

For sure it would be faster and easier. That’s the exact pump that replaced the pump I just tore apart: Spa Repair Thread - Pump bearing, leak, and new cover. With pics! (Post #30)
 

Enjoying this content?

Support TFP with a donation.

Give Support
Impeller is toast. It will leak right past the seal with those cracks. The seal seats on the impeller, not the shaft, but the shaft will need some cleaning to get the new impeller on without cracking it.
Wire brush any rusted surfaces. For the exposed shaft, I usually get the motor all together and run it, using a wire brush or emery cloth to clean the shaft as it spins. You will need a couple of nuts or some vice grips on the thru-bolts to run it without the wet end.
On the front plate there is a 1/4" hex screw that holds a retaining clip for the bearing, loosen this and turn the clip to remove the front plate. It may be stubborn, so whack it around the sides with a board or mallet (not metal) to break it loose and use the bearing puller to remove it.
 
Impeller is toast. It will leak right past the seal with those cracks. The seal seats on the impeller, not the shaft, but the shaft will need some cleaning to get the new impeller on without cracking it.
Oh rats, yeah I see what you mean now. That’s unfortunate.

On the front plate there is a 1/4" hex screw that holds a retaining clip for the bearing, loosen this and turn the clip to remove the front plate. It may be stubborn, so whack it around the sides with a board or mallet (not metal) to break it loose and use the bearing puller to remove it.
I can’t find a hex screw anywhere. Where is it?
 
I thought I saw it, but it was just a dark spot on the front plate. Not all brands have a retaining clip, and some are only accessible from the back.
I also just noticed the crack in the shaft by the front plate. Not sure you can fix that.
 
Heh. Apparently owning a spa is like owning a car. The older it gets, the more work it needs. I was about to leave to go buy a gear puller I could use for the motor bearings/front motor plate. I decided before I left I could pop off the back panel, remove the waterfall and size out a new oring, then pick up an oring when I was gone. The oring had previously popped out of the waterfall so for most of this year we haven’t been able to shut the waterfall off.

Well, I popped off the back panel and this was what I saw.
full


Mice! Mice damage everywhere! They’ve been chewing up and making nests in the foam insulation. What fun! In this spot, they’ve chewed right on up to the shell of the tub itself.
full


Oh and that cardboard? Somebody’s done some stuff, that’s not OEM insulation.
full


I know things need repairs, and I like DIY to a point. I just prefer things spread out a little.

Oh, you know that waterfall I wanted to remove? Covered in spray foam, of course, one of the few areas on that side with no mice damage.

So anyway, in the future (I was about to say near but you guys know me by now) I’ll be fixing this. I’ll do the waterfall first, check the entire side for leaks. If I’m mbitious enough I may try to change out the LEDs in the shell on that side, as most of them are burnt out. Then I’ll get one of those two part spray foam kits and redo the insulation on this side. And I’ll plan on getting that cat anti-escape netting on my fence so I can let my cats outside, that should stave off future mouse damage.

@RDspaguy have you ever changed burned out or malfunctioning RGB LEDs like these?
full
 
Last edited:
  • Wow
Reactions: kimkats
EWWWWWWWWWWWWWW does it stink? Do you think they are still around? Yeah time to let the kitties out to play with their new friends!
It doesn't stink, and I didn't see them, but that doesn't mean they aren't there. The worst part about mice is being surprised when you're working and they run past you though...

Okay, so one thing I never mentioned was I got impatient yesterday, which is never a good thing. Since I didn't have a gear puller, I broke out the hammer. Rule one of hammers is if it's not a nail, the hammer should be one of the last tools you use. Rule one of hitting things that have threads is put a nut or two on the thread so you hammer the nuts and don't damage the threads. Since I did neither, and tried to hammer the shaft out of the motor plate I ended up with this. Oops. Can't thread anything on that until it's fixed.
full


So anyway now that things were open again I hopped over to my favorite store for tools I hardly ever use and got a gear puller set. I also got a tap and die set, to fix the threads on the motor shaft. This was my project "stupid tax."
full


I got the biggest puller set up on the front motor plate.
full


And after just a few seconds of turning the wrench the plate was off. I really should have waited and not broke out the hammer yesterday...
full


Regardless, I broke out the next smallest puller in the set and set it up on the bearing. Not exactly sure why it was so tilted. And don't use this on bearings you want to re-use, but this bearing is beyond toast.
full


Anyway again in short order the bearing was off.
full


Remember the stupid tax? Well I had to pay a second stupid tax. I knew I should not be getting a tap and die set from Harbor Freight, but I was there and the 40 piece SAE tap and die set was $15, and a die at another store was $5+, so I caved and bought it. Sure enough, the taps looked quite usable but the dies? Completely worthless. They had lots of bent metal on the cutting edges, was NOT going to work (tried anyway, no go). So my second stupid tax was another trip to return the worthless tap and die set and then go to the other store to get a quality die and die handle. I got the "good" handle which was $20.
full


So the good die actually worked, and I was able to clean up the threads. Yay!
full


Without a good way to measure runoff everything looked good, so now that I've got the bearings off and my oops cleaned up I'll be ordering a new seal, new impeller, and new bearings this evening. I'll also order a few new valves for my PVC plumbing while I'm making orders since I have that one valve that won't seal.

My plan is to order 5 bearings (4 plus an "oops" bearing), two impellers, and two shaft seals. That way when I pull out the pump that's squealing I have the parts to replace the bearings and seal on that pump in addition to the pump I'm working on now, and then I'll have another spare pump on hand.
 
So, how much total money for parts including tools and how many total hours of labor including chasing down parts and tools are going into this project?
I'm always slightly amused by how much time did you spend doing X questions. Yes, it's valid to ask what your time is worth, but only if instead of working on the project you'd be working on something that would make you money, such as if you were paid hourly and were turning down work to fix the pump, or doing something to improve your skills or knowledge to advance your career. If, however, instead of doing the project you would be watching TV or playing video games, then asking how much time was spent isn't a very valid question. In my case, I would just be watching videos of little to no value except some mild entertainment (because that's all I was doing this 3-day weekend outside of working on the pump and posting here) but I do enjoy working on projects and it's a great learning experience, and I love learning new things. So for me my time spent doing this was actually more useful then if I clicked "buy now" on a brand new pump. A similar thing applies to why I work on my own cars instead of taking them to the shop, at least for relatively easy things (I'm not going to split an engine case anything soon).

So, that said, in regards to total money let's see, $27 for a die and handle, $21 for the puller set, and I haven't ordered parts yet but it's $45 for an impeller, $10 for a shaft seal, and $13 for two bearings. Add another $20 for shipping and tax on the parts and round up and that's $140.

That said, I will almost certainly use the gear puller set in the future for other projects. And now that I know what I'm doing and have the tools, I'll be able to swap the bearings in that other pump for $70 worth of parts and do it in a fraction of the time it's taken me to do this pump. So that's two rebuilt pumps for $210, which is only 2/3rd's the cost of a brand new pump assembly. And none of this begins to factor in the cost of if I had paid a service guy to come out and swap two pumps on two separate occasions...

So, is it worth it for me? Yes, undoubtedly. Is it worth it for other people? That depends on them. If they don't enjoy stuff like this, and have the money, then it will probably almost certainly not make sense for them.

hehe stupid tax..............goin' to steal that one!!
Lol I think I picked that up listening to Dave Ramsey during the short period of time we were following some of his advice. The worst part about stupid tax is not the money though, it's kicking yourself afterwards for doing something that you really should have known better NOT to do!
 
Last edited:

Enjoying this content?

Support TFP with a donation.

Give Support
Thread Status
Hello , This thread has been inactive for over 60 days. New postings here are unlikely to be seen or responded to by other members. For better visibility, consider Starting A New Thread.