- Jul 21, 2013
- 52,233
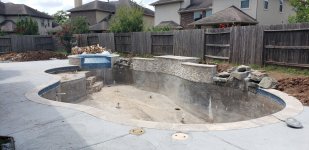
- Pool Size
- 35000
- Surface
- Plaster
- Chlorine
- Salt Water Generator
- SWG Type
- Pentair Intellichlor IC-60
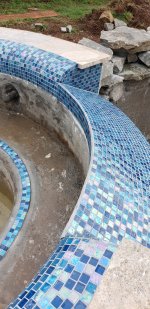
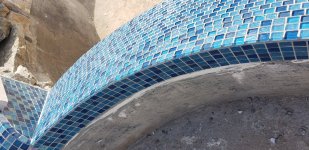
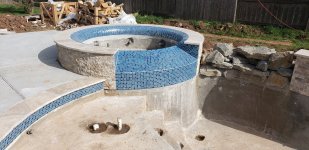
I would not try for a smaller grout line on the top. And I would not have them sand and smooth out that grout line.
That grout line is going to weather and erode from the water flow over it. You want a good thick layer of grout there that will hold up over time. I would let natural weathering smooth it out and not have sanding weaken it.
You are going to need to maintain the grout lines and repair any cracks in the grout . Keep a close eye on that edge.
If you let grout cracks develop you will get water behind the tiles, efflorescence coming out from your grout lines, and eventually tiles popping off. That tile looks great but will require maintenance.
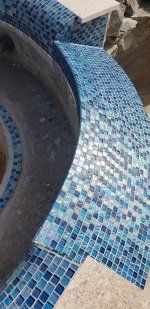