26' Intex - Planning, Install, Upgrades, and Landscaping Thread

They are here. The guy has a transit or similar, and he understands that a pool has to sit on undug dirt.
You found a good one!! SWEET!!

though it's likely we won't get it up until Saturday.
Take your time! Have you watched and re-watched any videos??? Do you have a shop vac?

LOL yeah it IS a pool build thread but it sure was fun getting to this point!!

Kim:kim:
 
Have you watched and re-watched any videos??? Do you have a shop vac?
No I haven't, and yes I do, why?

LOL yeah it IS a pool build thread but it sure was fun getting to this point!!
Fun for those watching at home I suppose. :ROFLMAO:

Nah, it hasn't been too bad overall. But it will be nice when it's finally up so I can officially relax and move onto other things.
 
Fun for those watching at home I suppose. :ROFLMAO:
Must see TV for sure. We got :

The Jeffersons (movin on up)
911 (averted house fire)
Cops (nosy neighbor)
Law and order (again nosy neighbor but with lawsuits)
Bob the builder (fence)
Pool kings (TBA, probably saturday)
 
Also should update:

So they didn't get things done. My timelapse shows they were gone for a solid 4 ½ hours, not sure where they went for that long. Anyway, the guy said it's mostly leveled with just some fine detail work left and some more dirt to haul away.

Certainly doesn't look level...but I'm well aware that eyes can easily be fooled, and he was using a transit. So long as it was set up and used correctly if he says it's level it should be level....

They don't have the skidsteer tomorrow (apparently they are renting it from someone else) and will be out later this week to finish.

I think I will buy some clear hose, make a simple water level, and double check his claim it's level before they get back. Cause the pool only cares if it's actually level and not if someone says it's level.
 
  • Like
Reactions: kimkats and Newdude
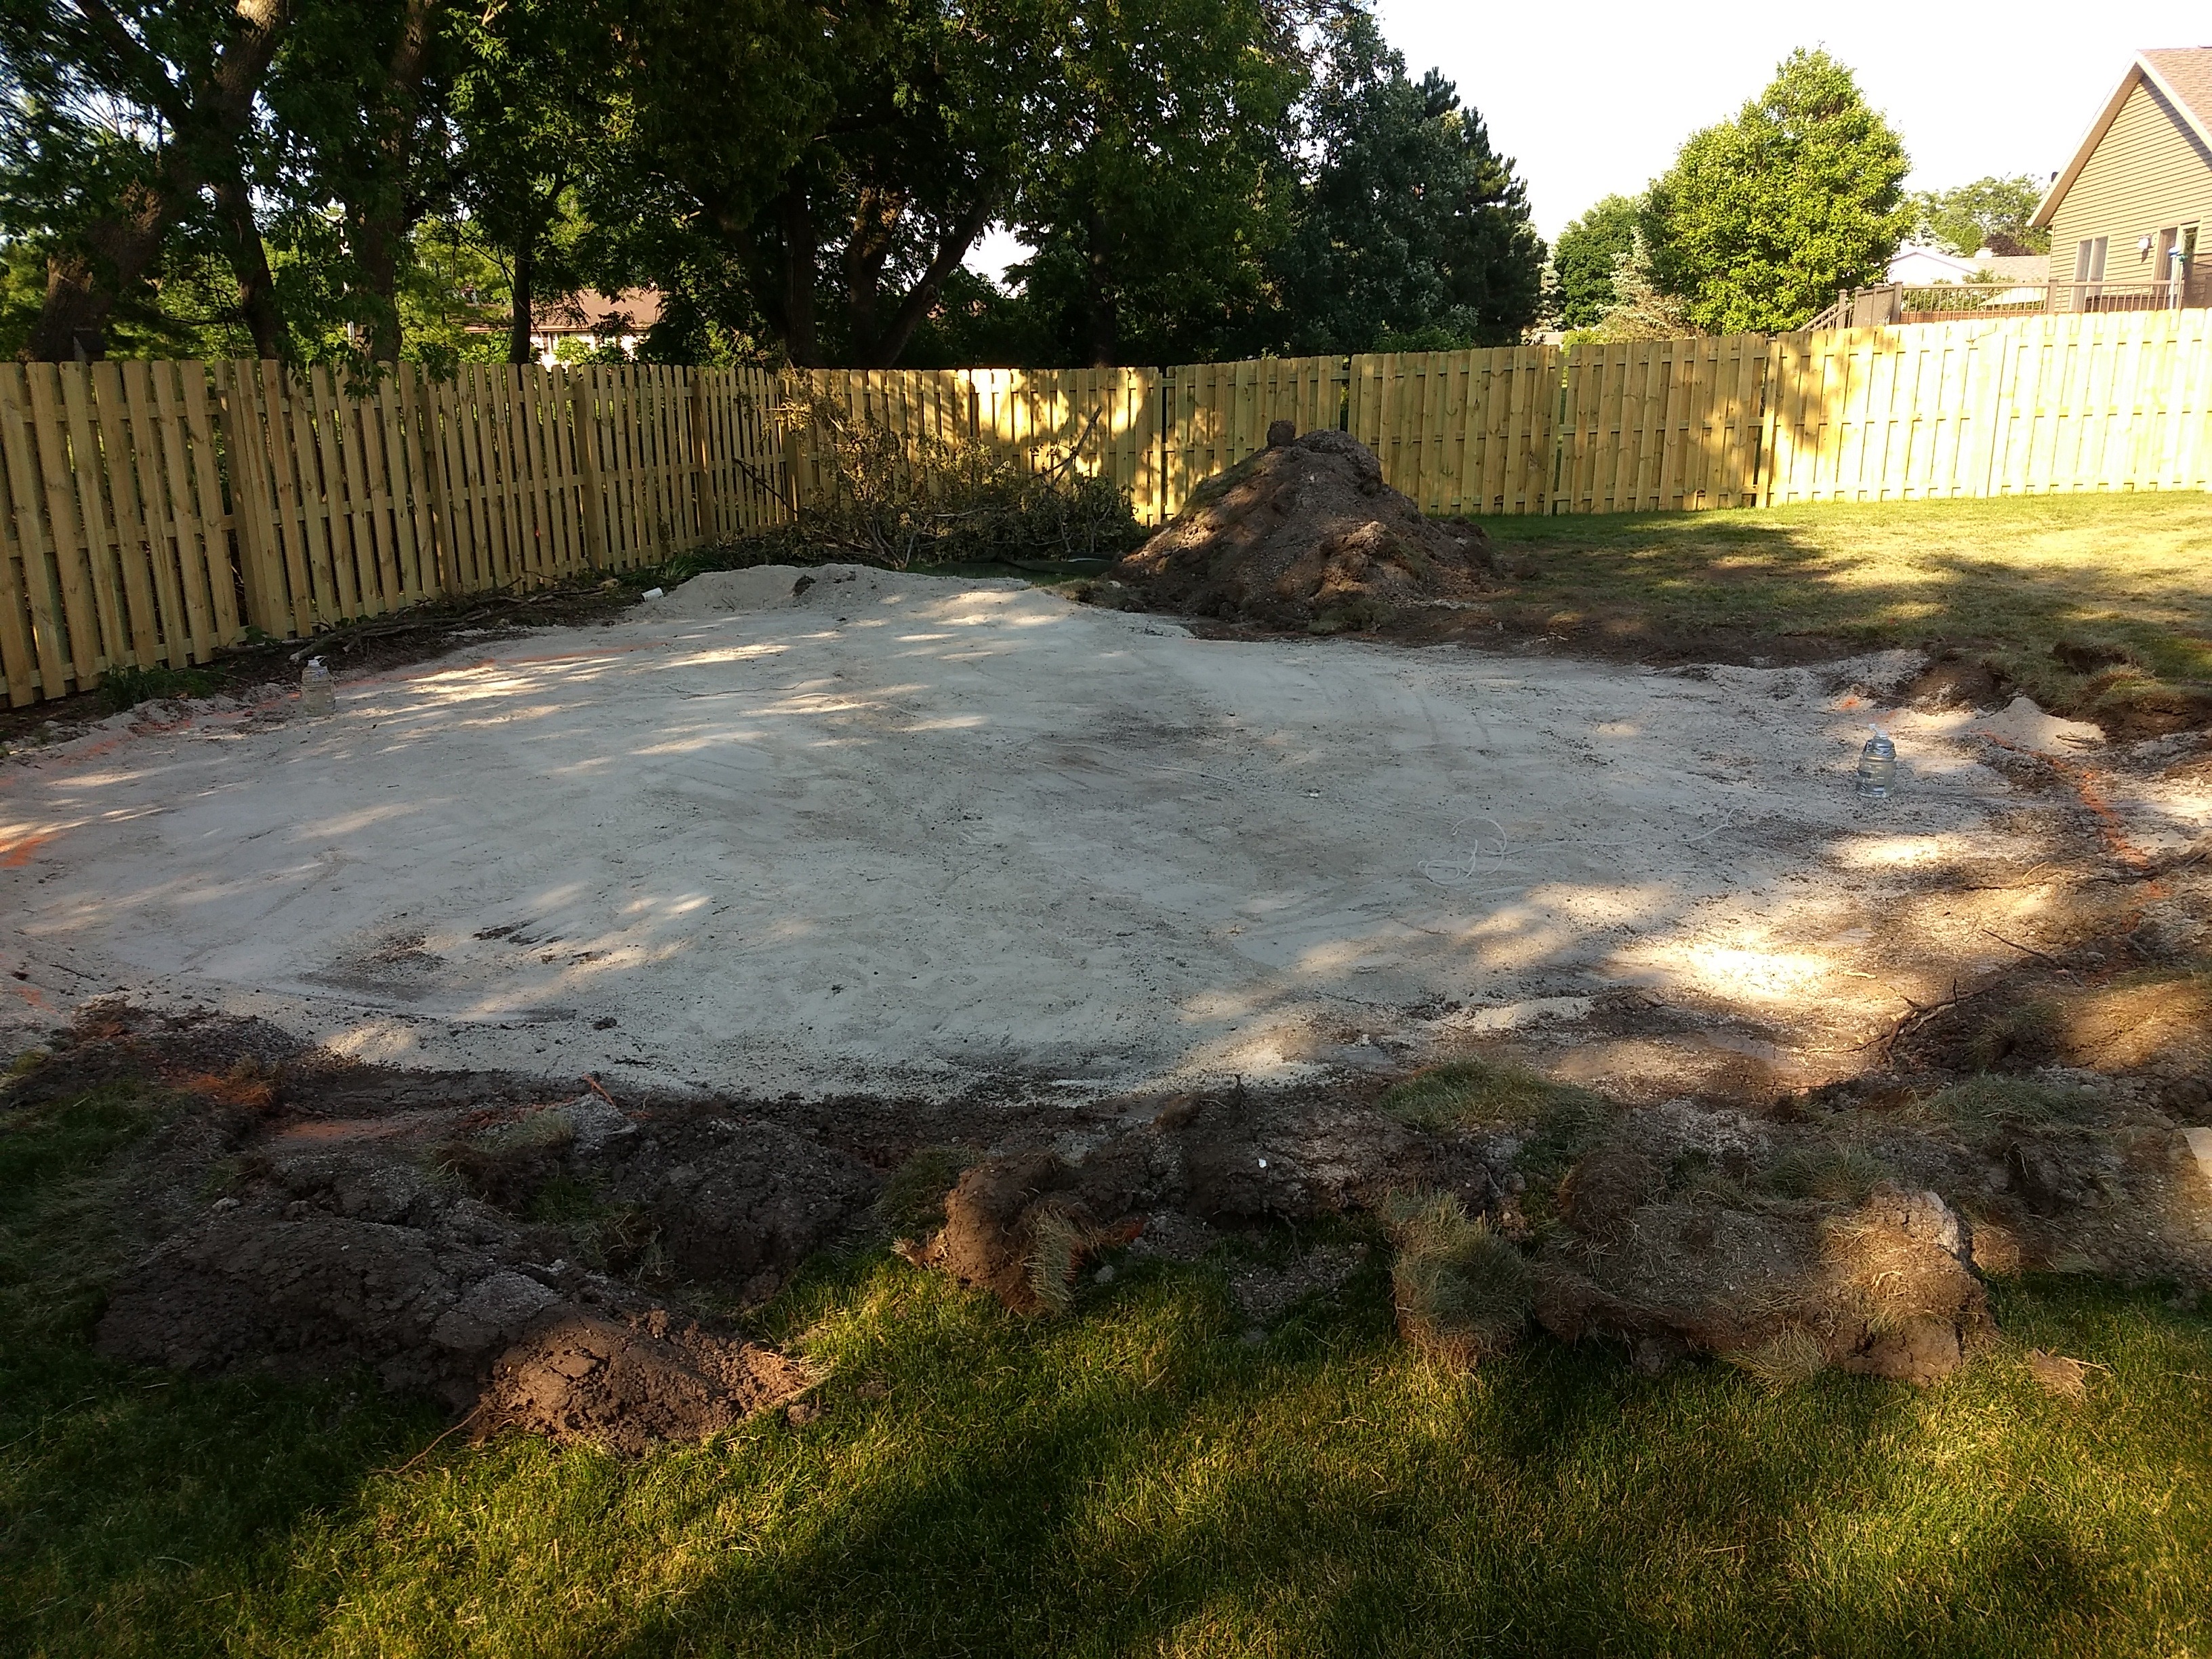
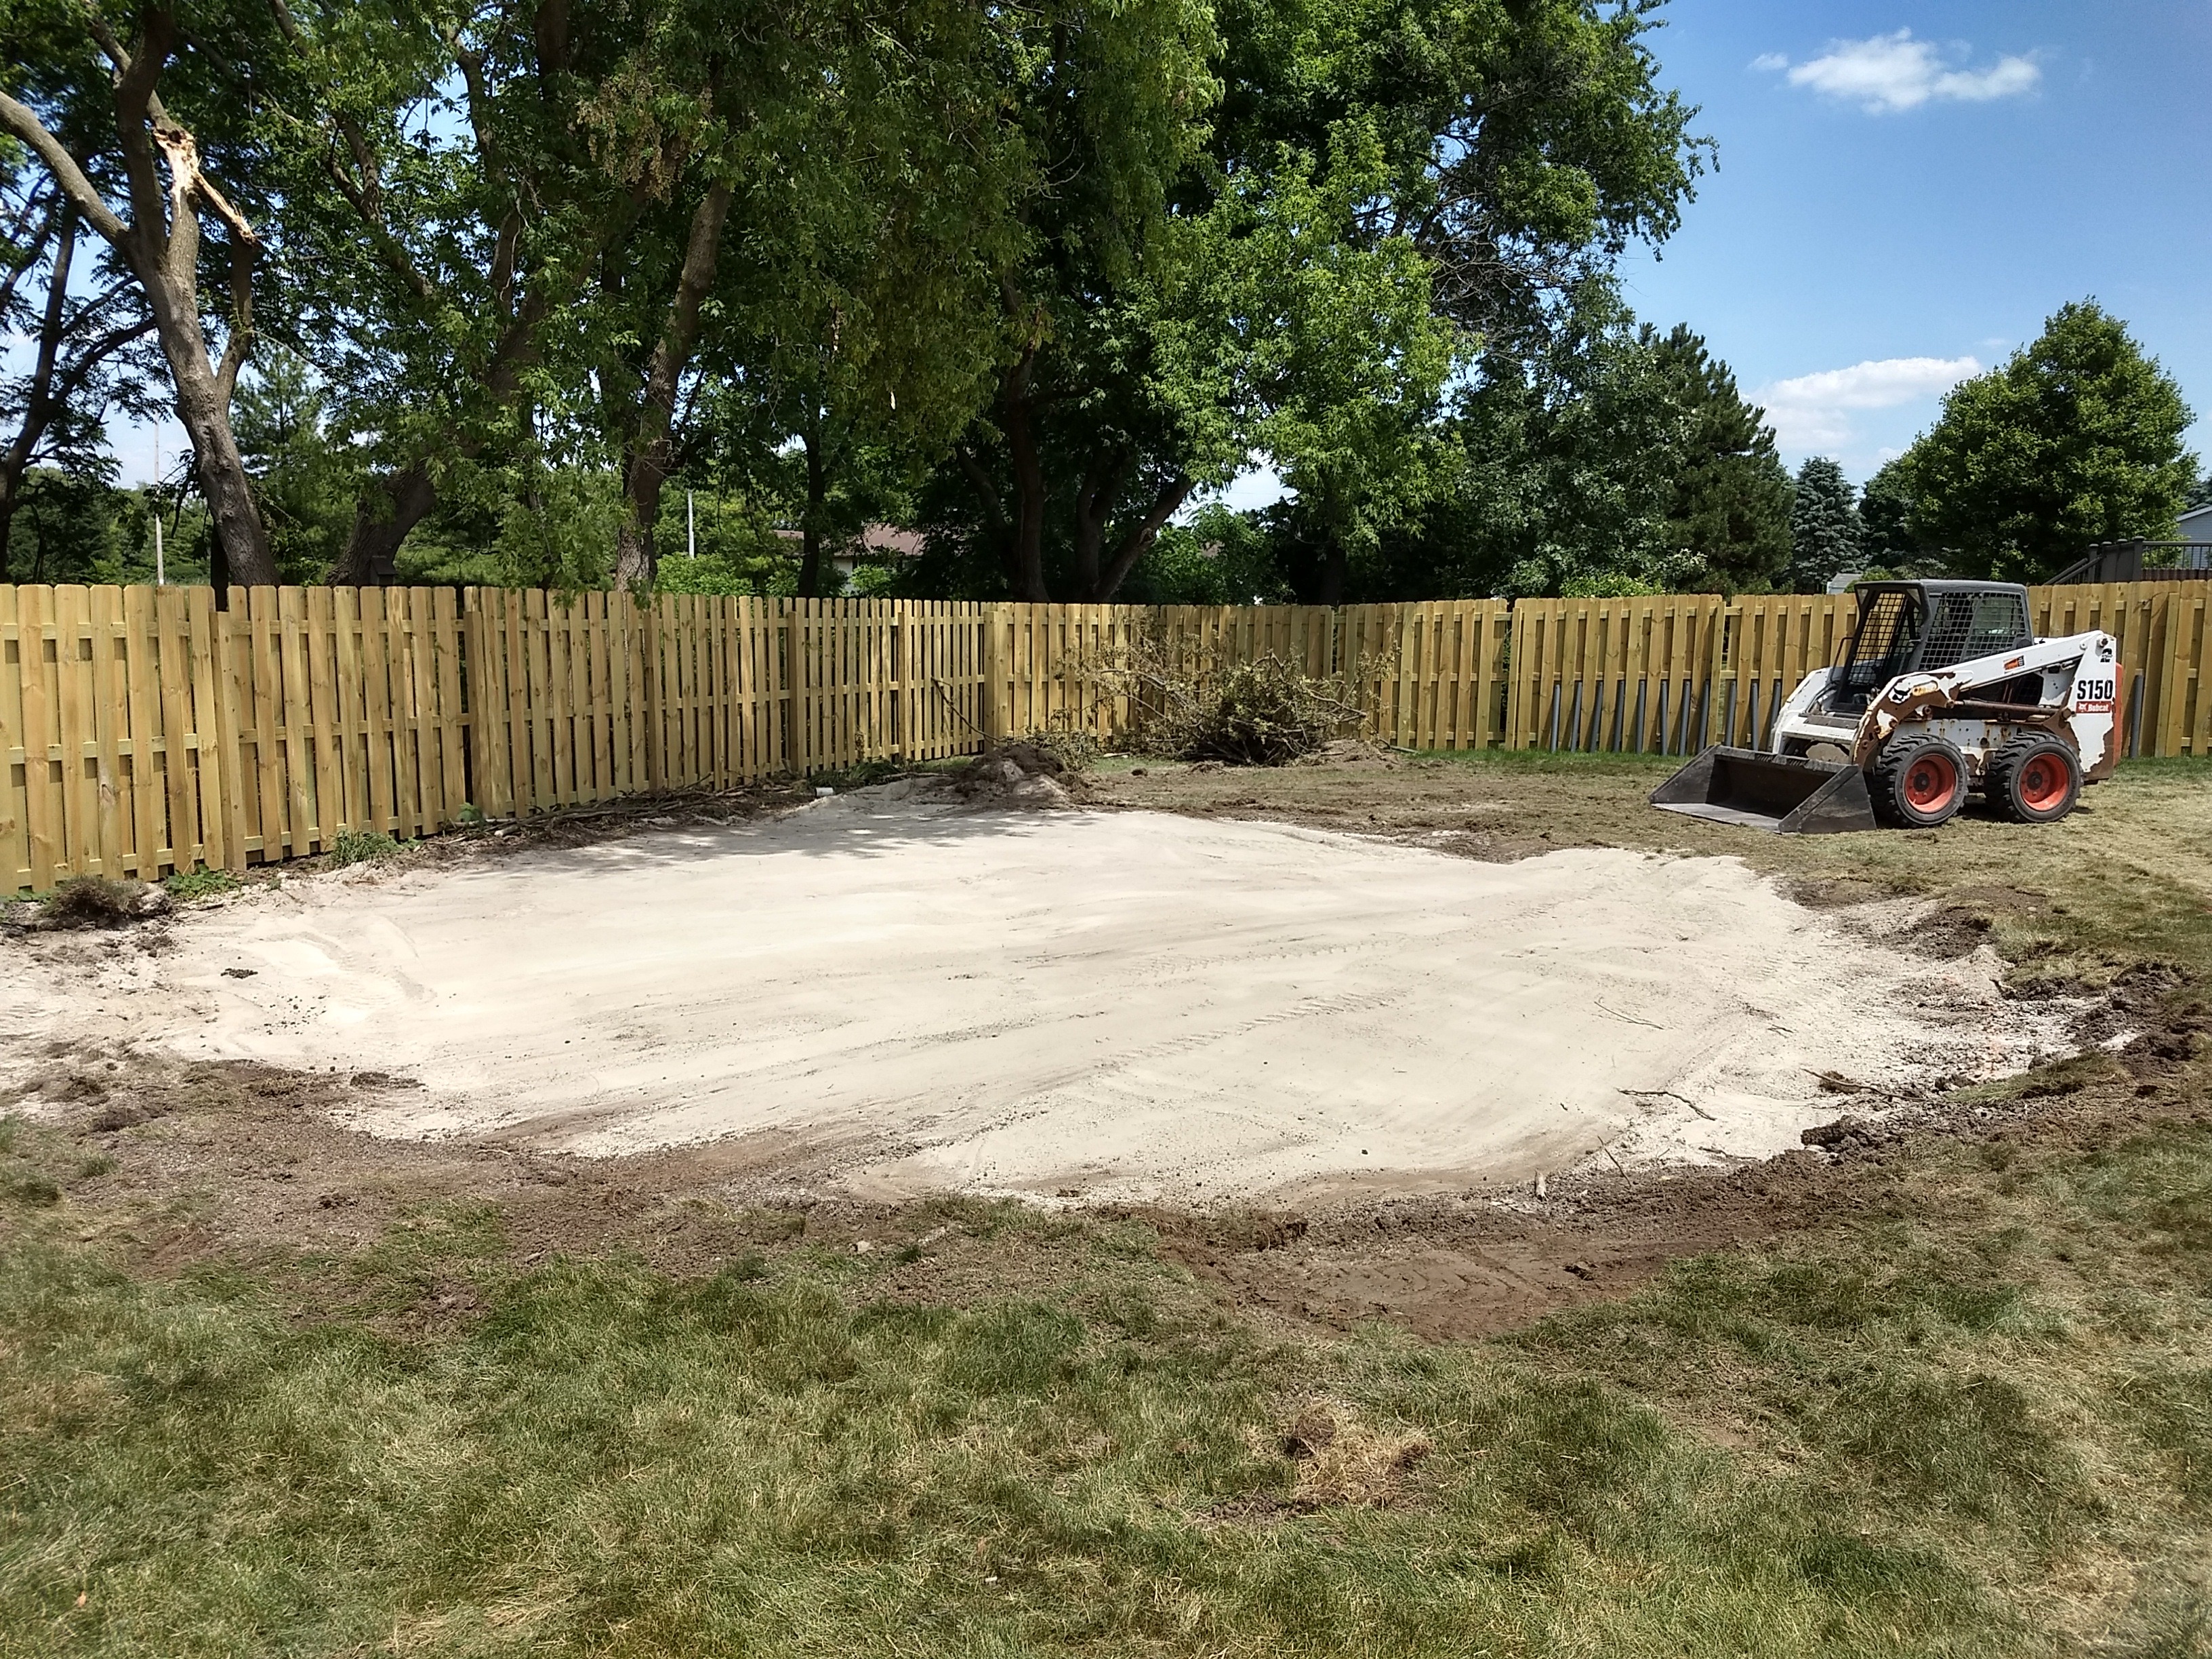
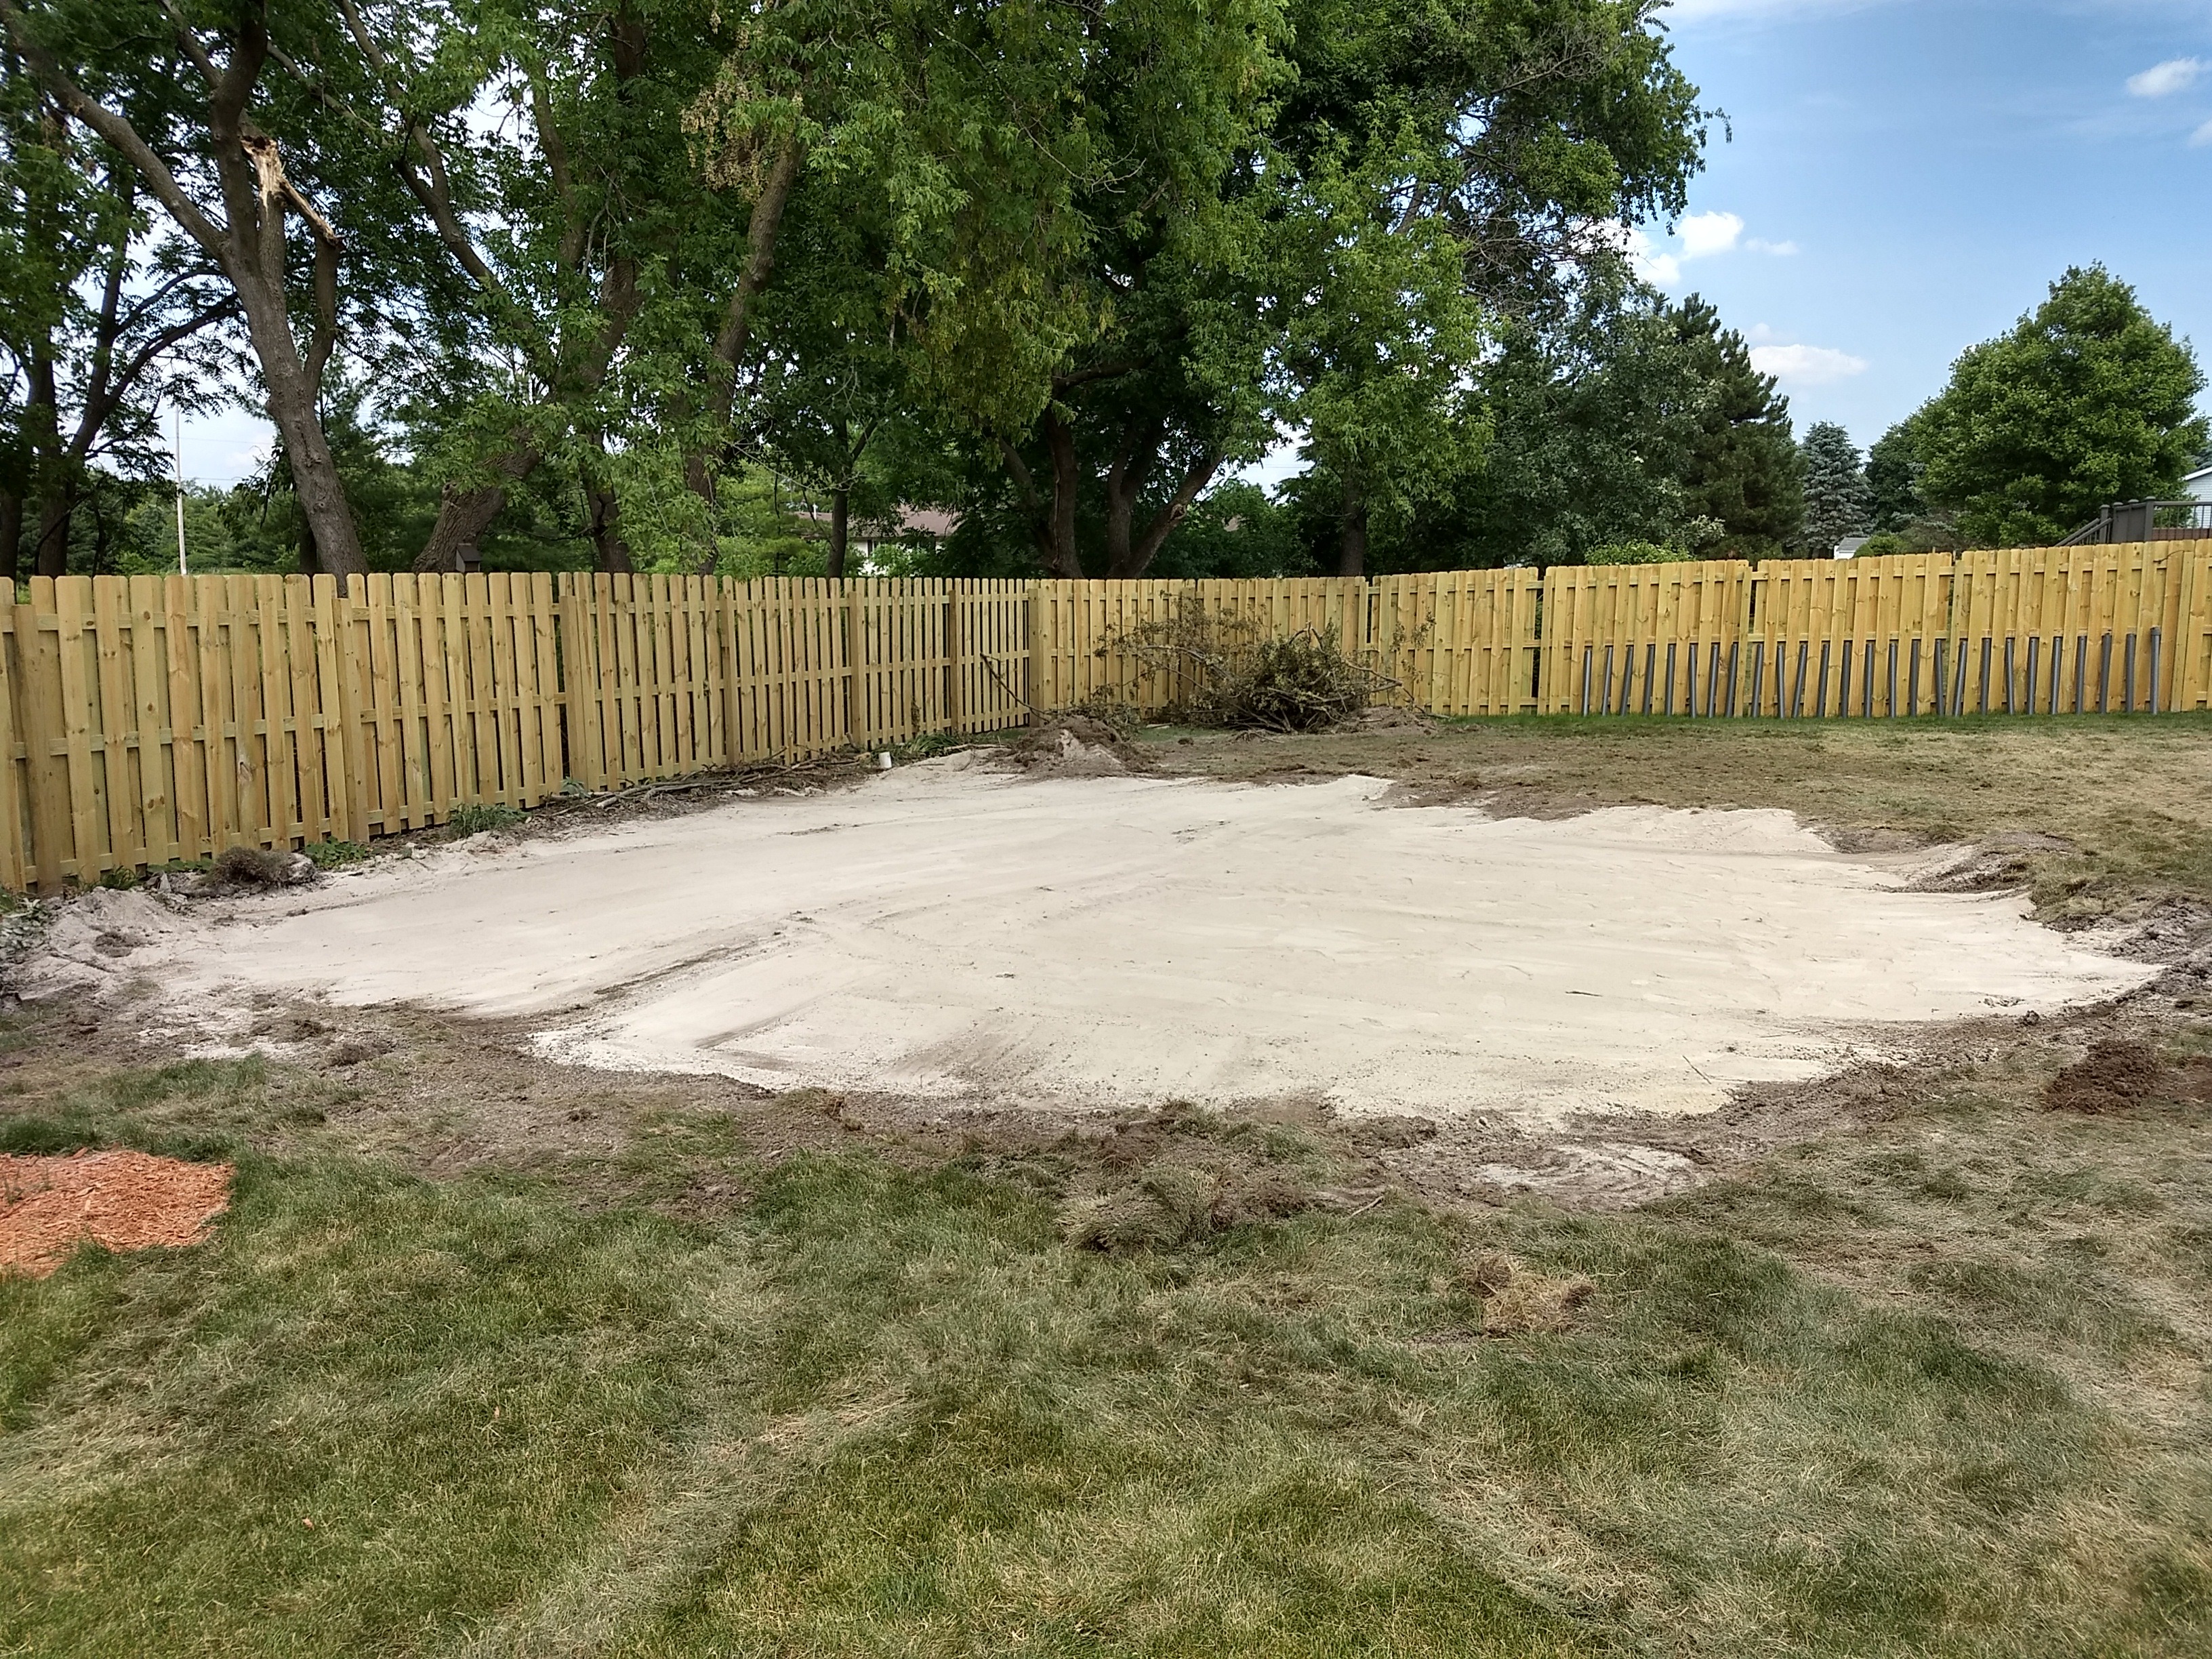
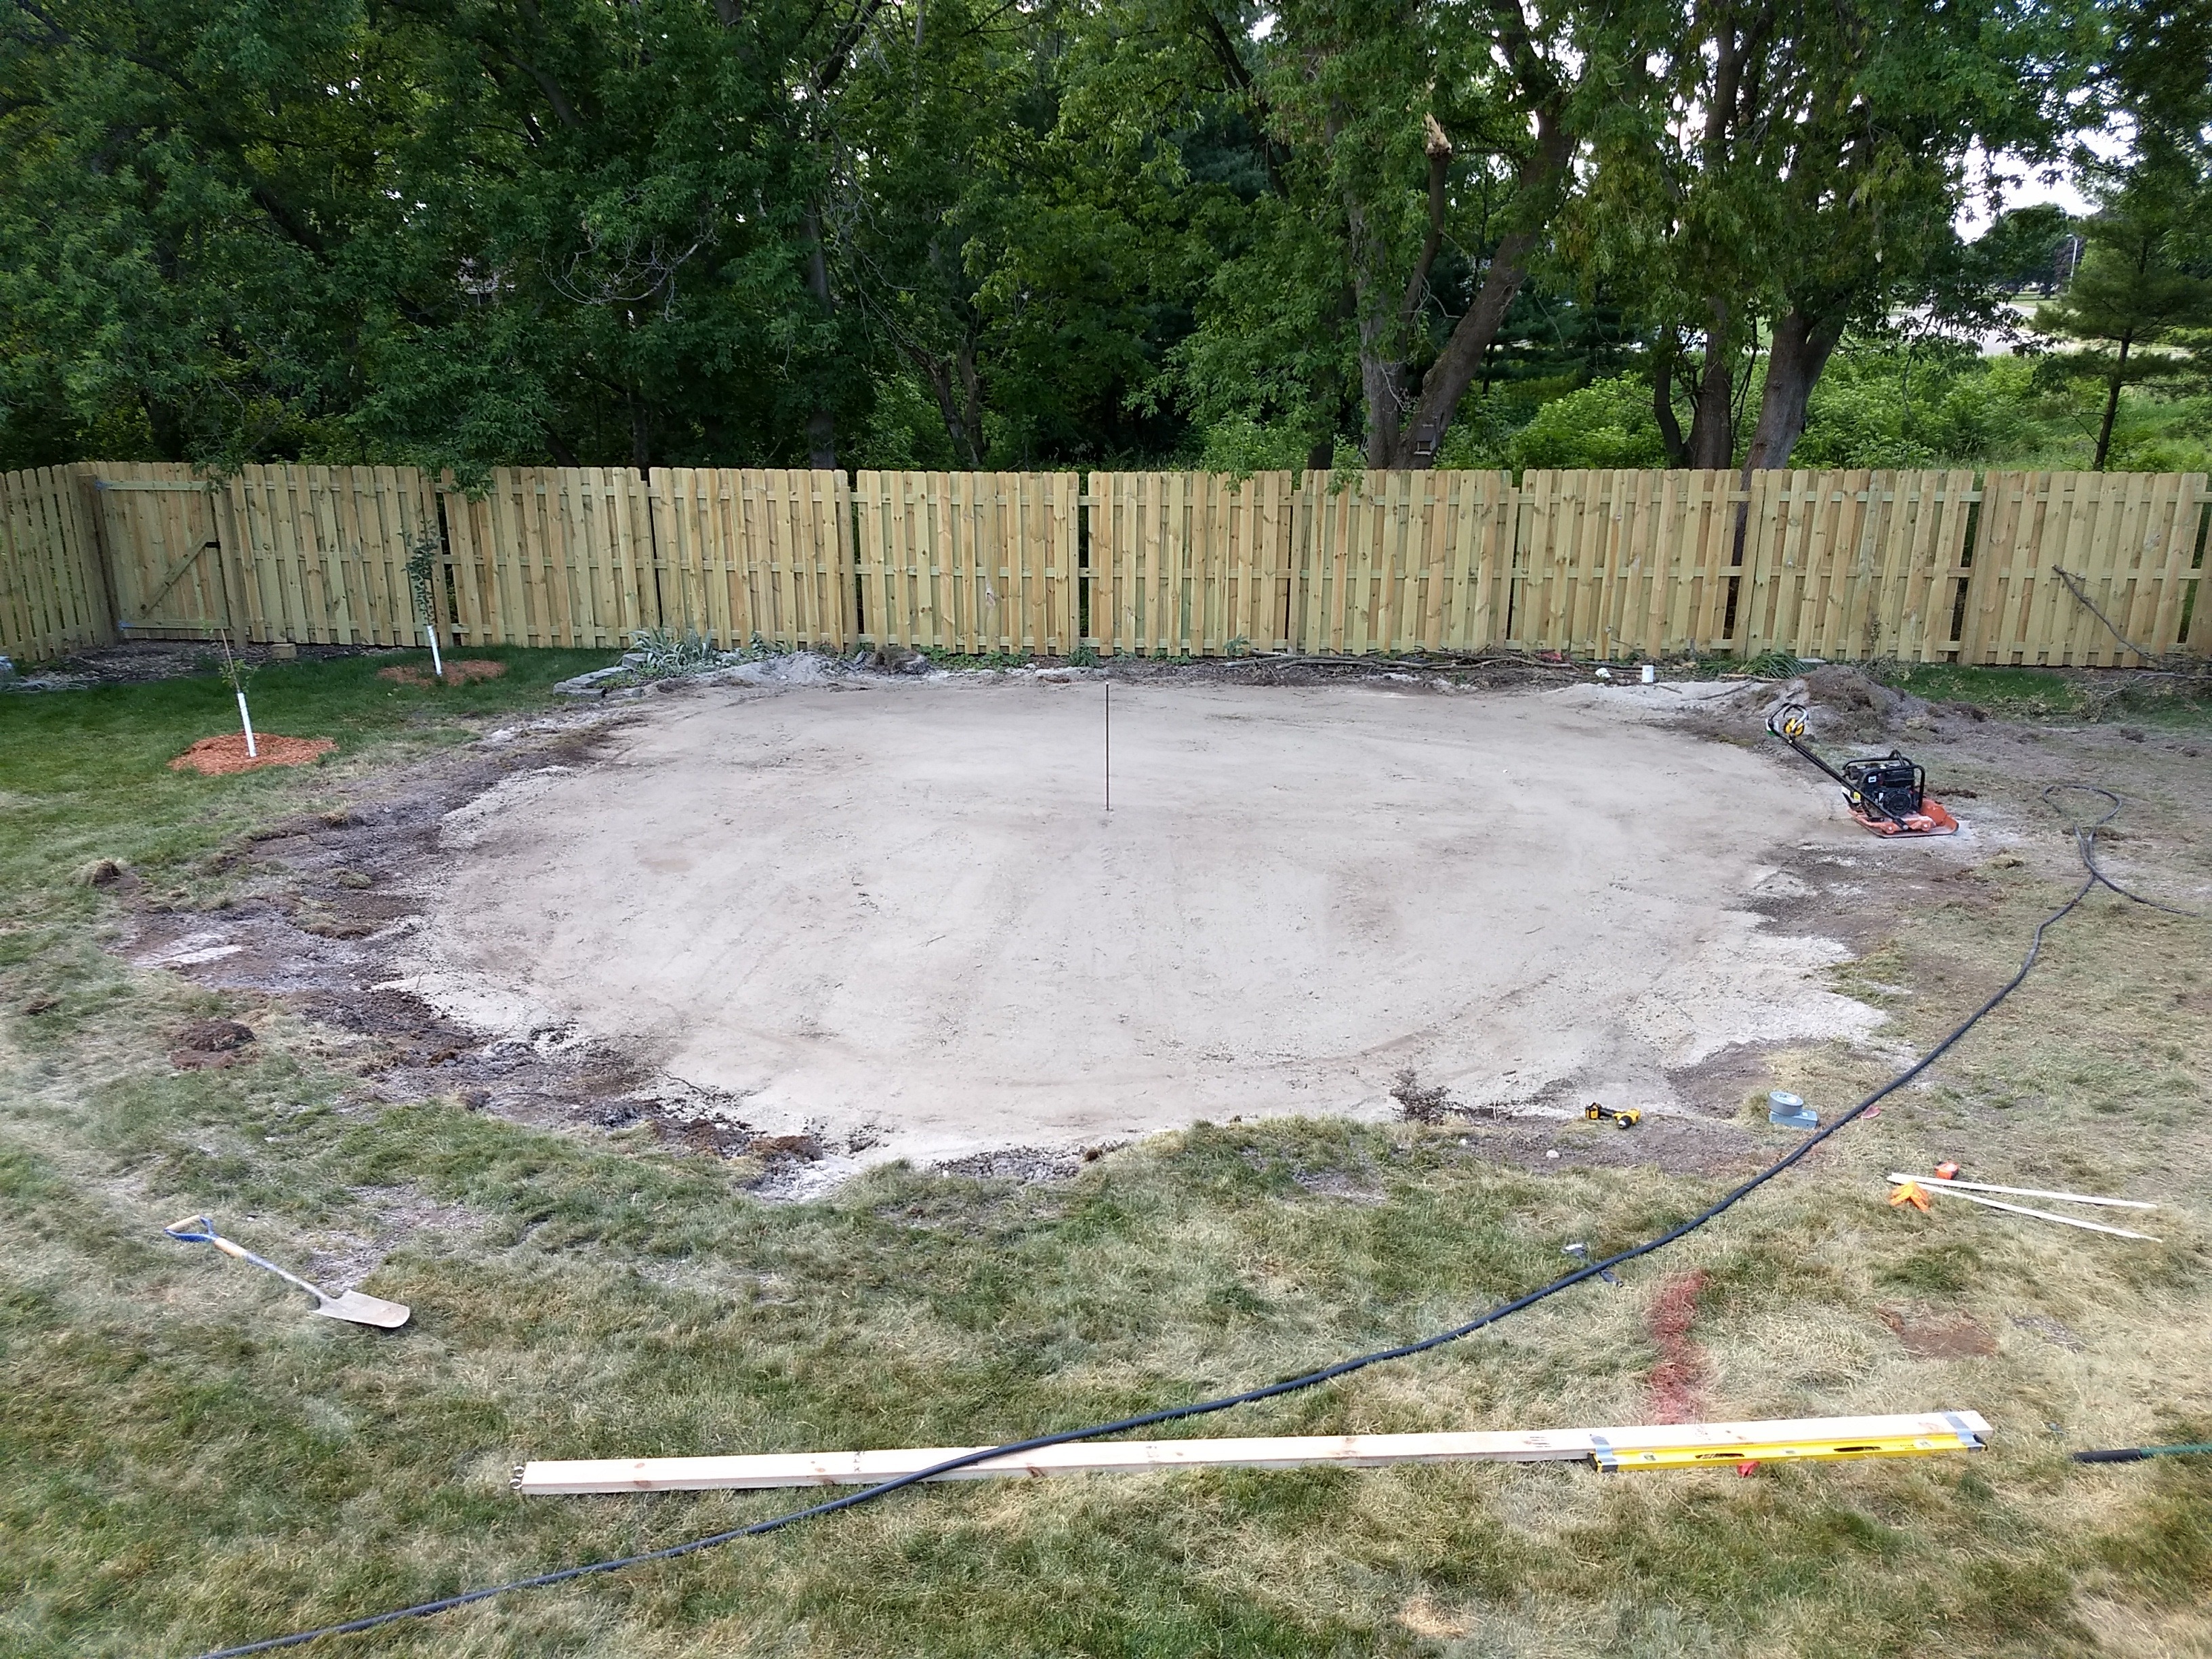
So as I said the pool area did not appear to be as level as he said. It appeared he overdug the high side when eyeballing it. So I build a water level to check.

Basic theory of a water level: Still water in a container exposed to atmosphere will always be level. The same applies to water in a tube if both ends of the tube are exposed to atmosphere. On the condition that the tube contains no air bubbles, and both ends are exposed to air, and the line isn't being moved, the water will settle to the same height on both ends of the tube. It does not matter how far apart the ends are or how the tube runs between the points. The middle of the tube can even be higher than the ends! So long as the three requriements are met (no air bubbles in tube, exposed to air, line not moving) the water level on both ends will be the same.

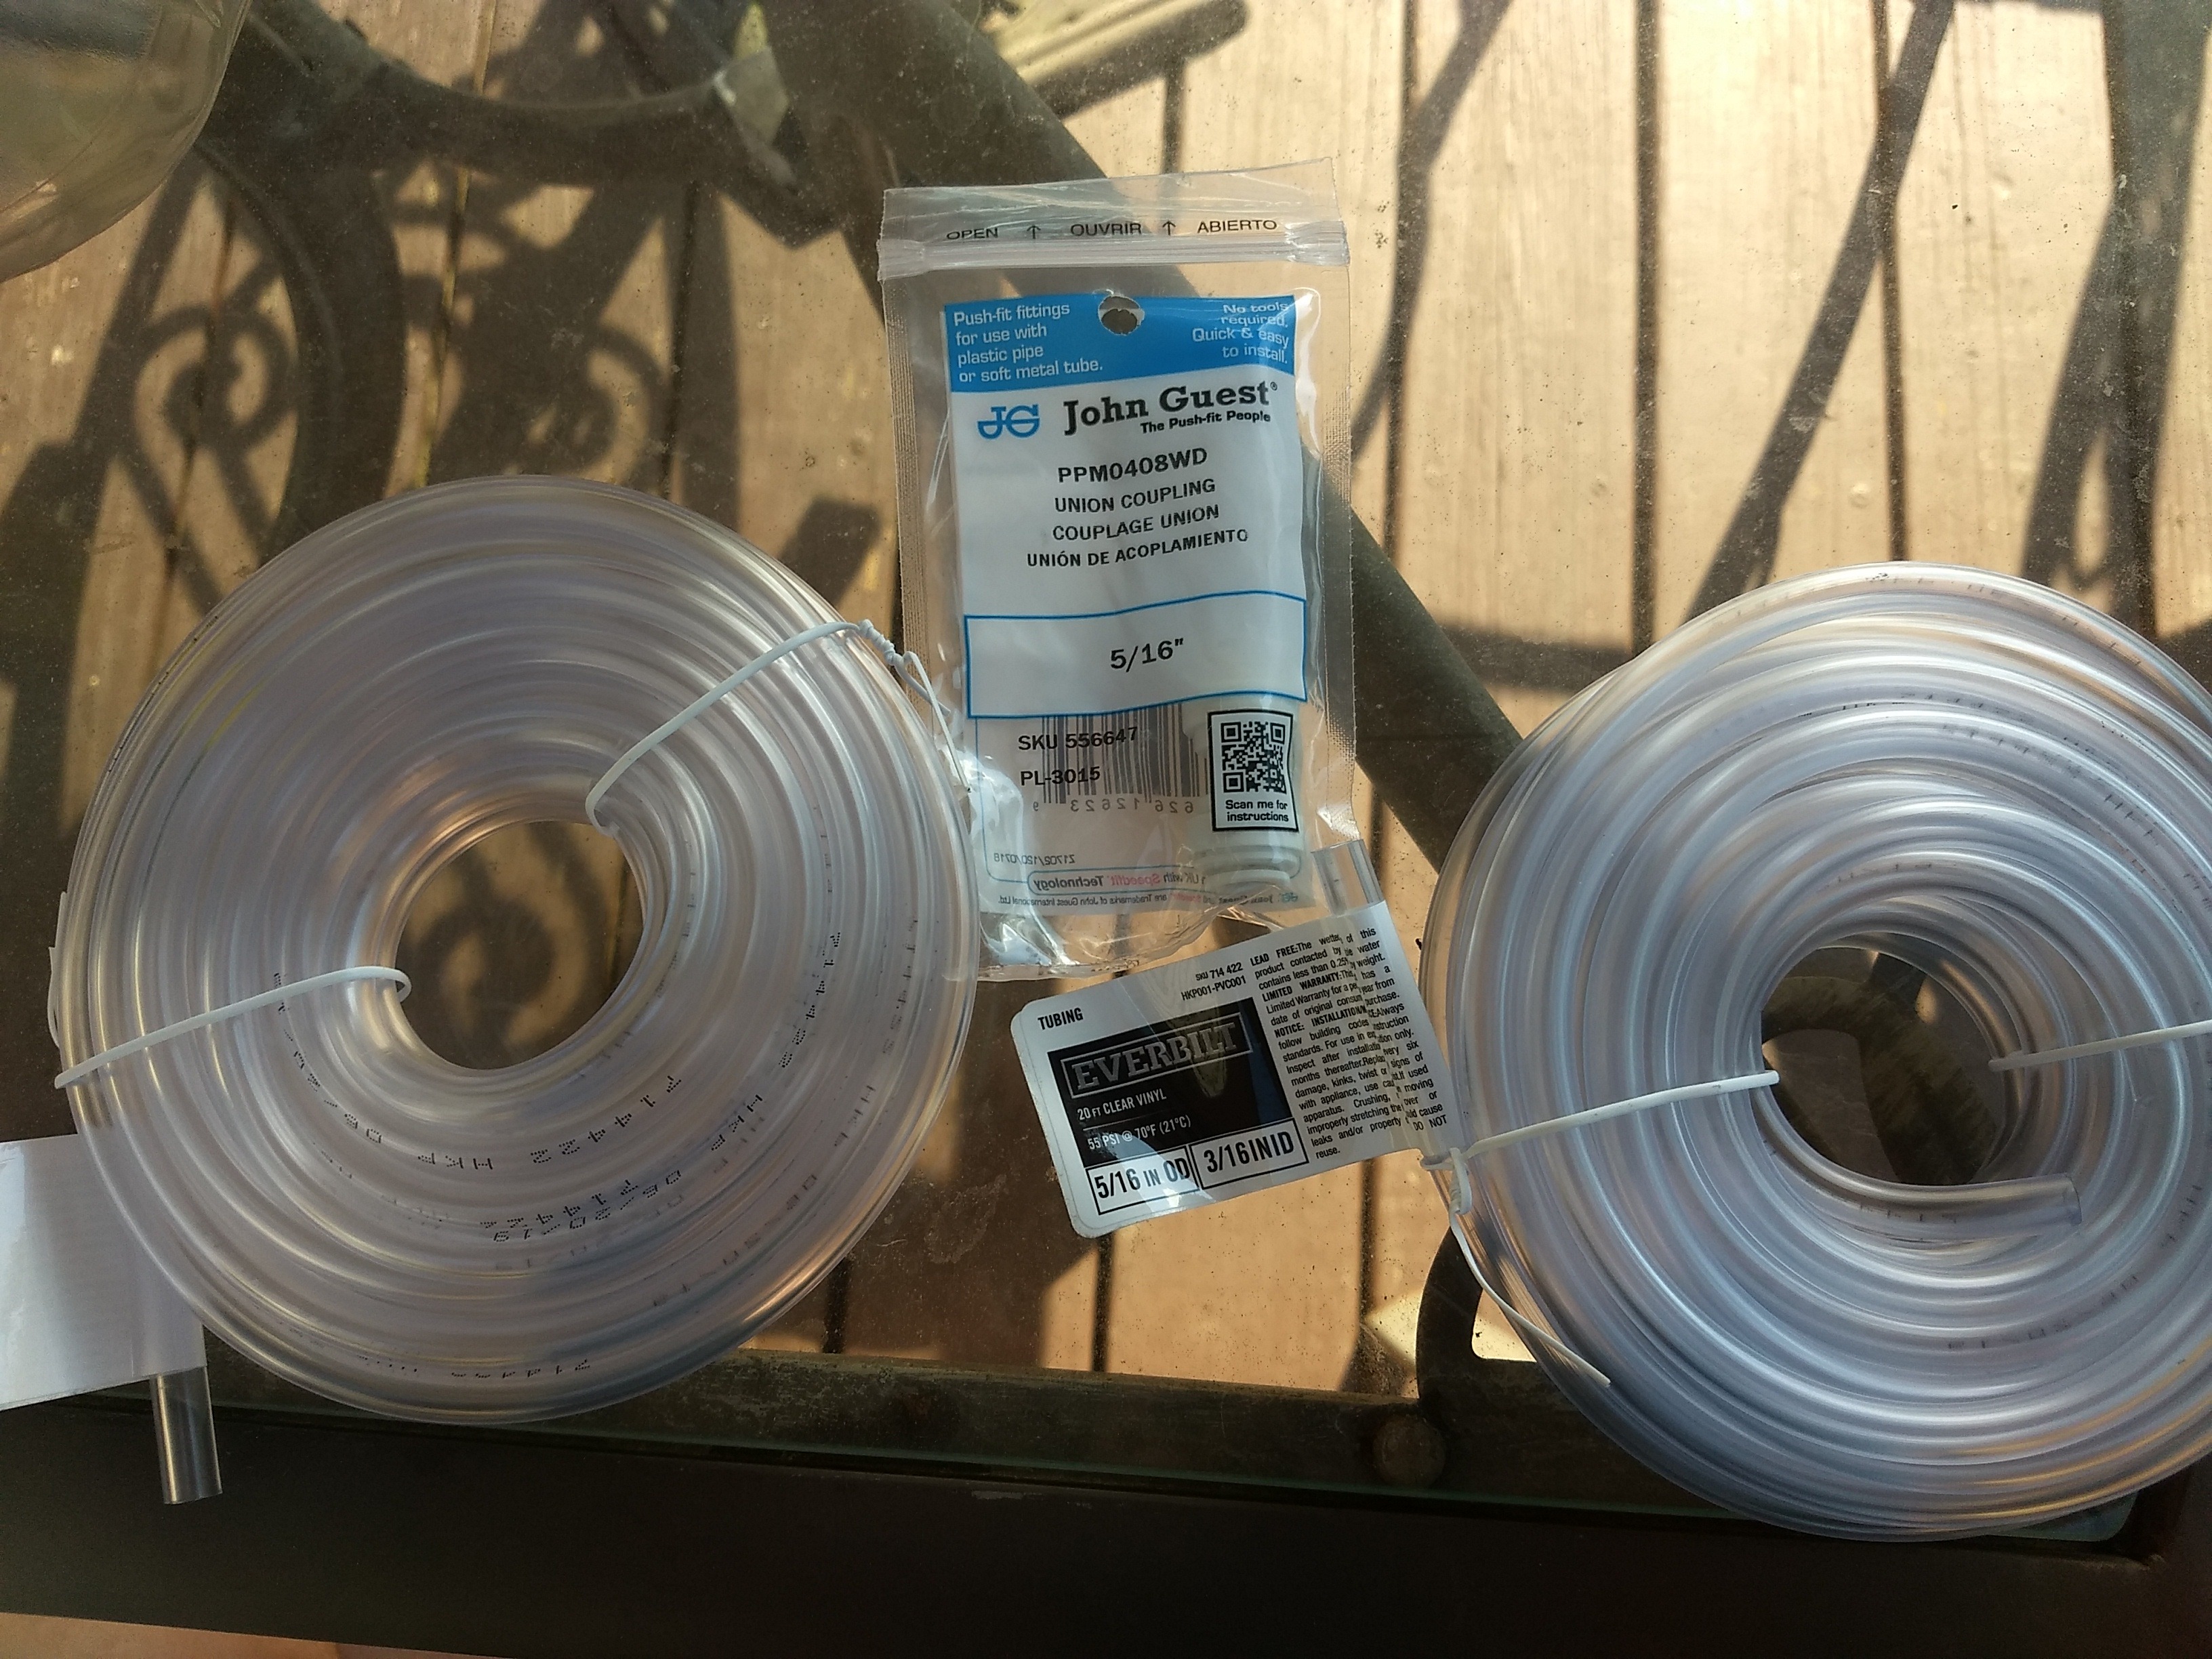
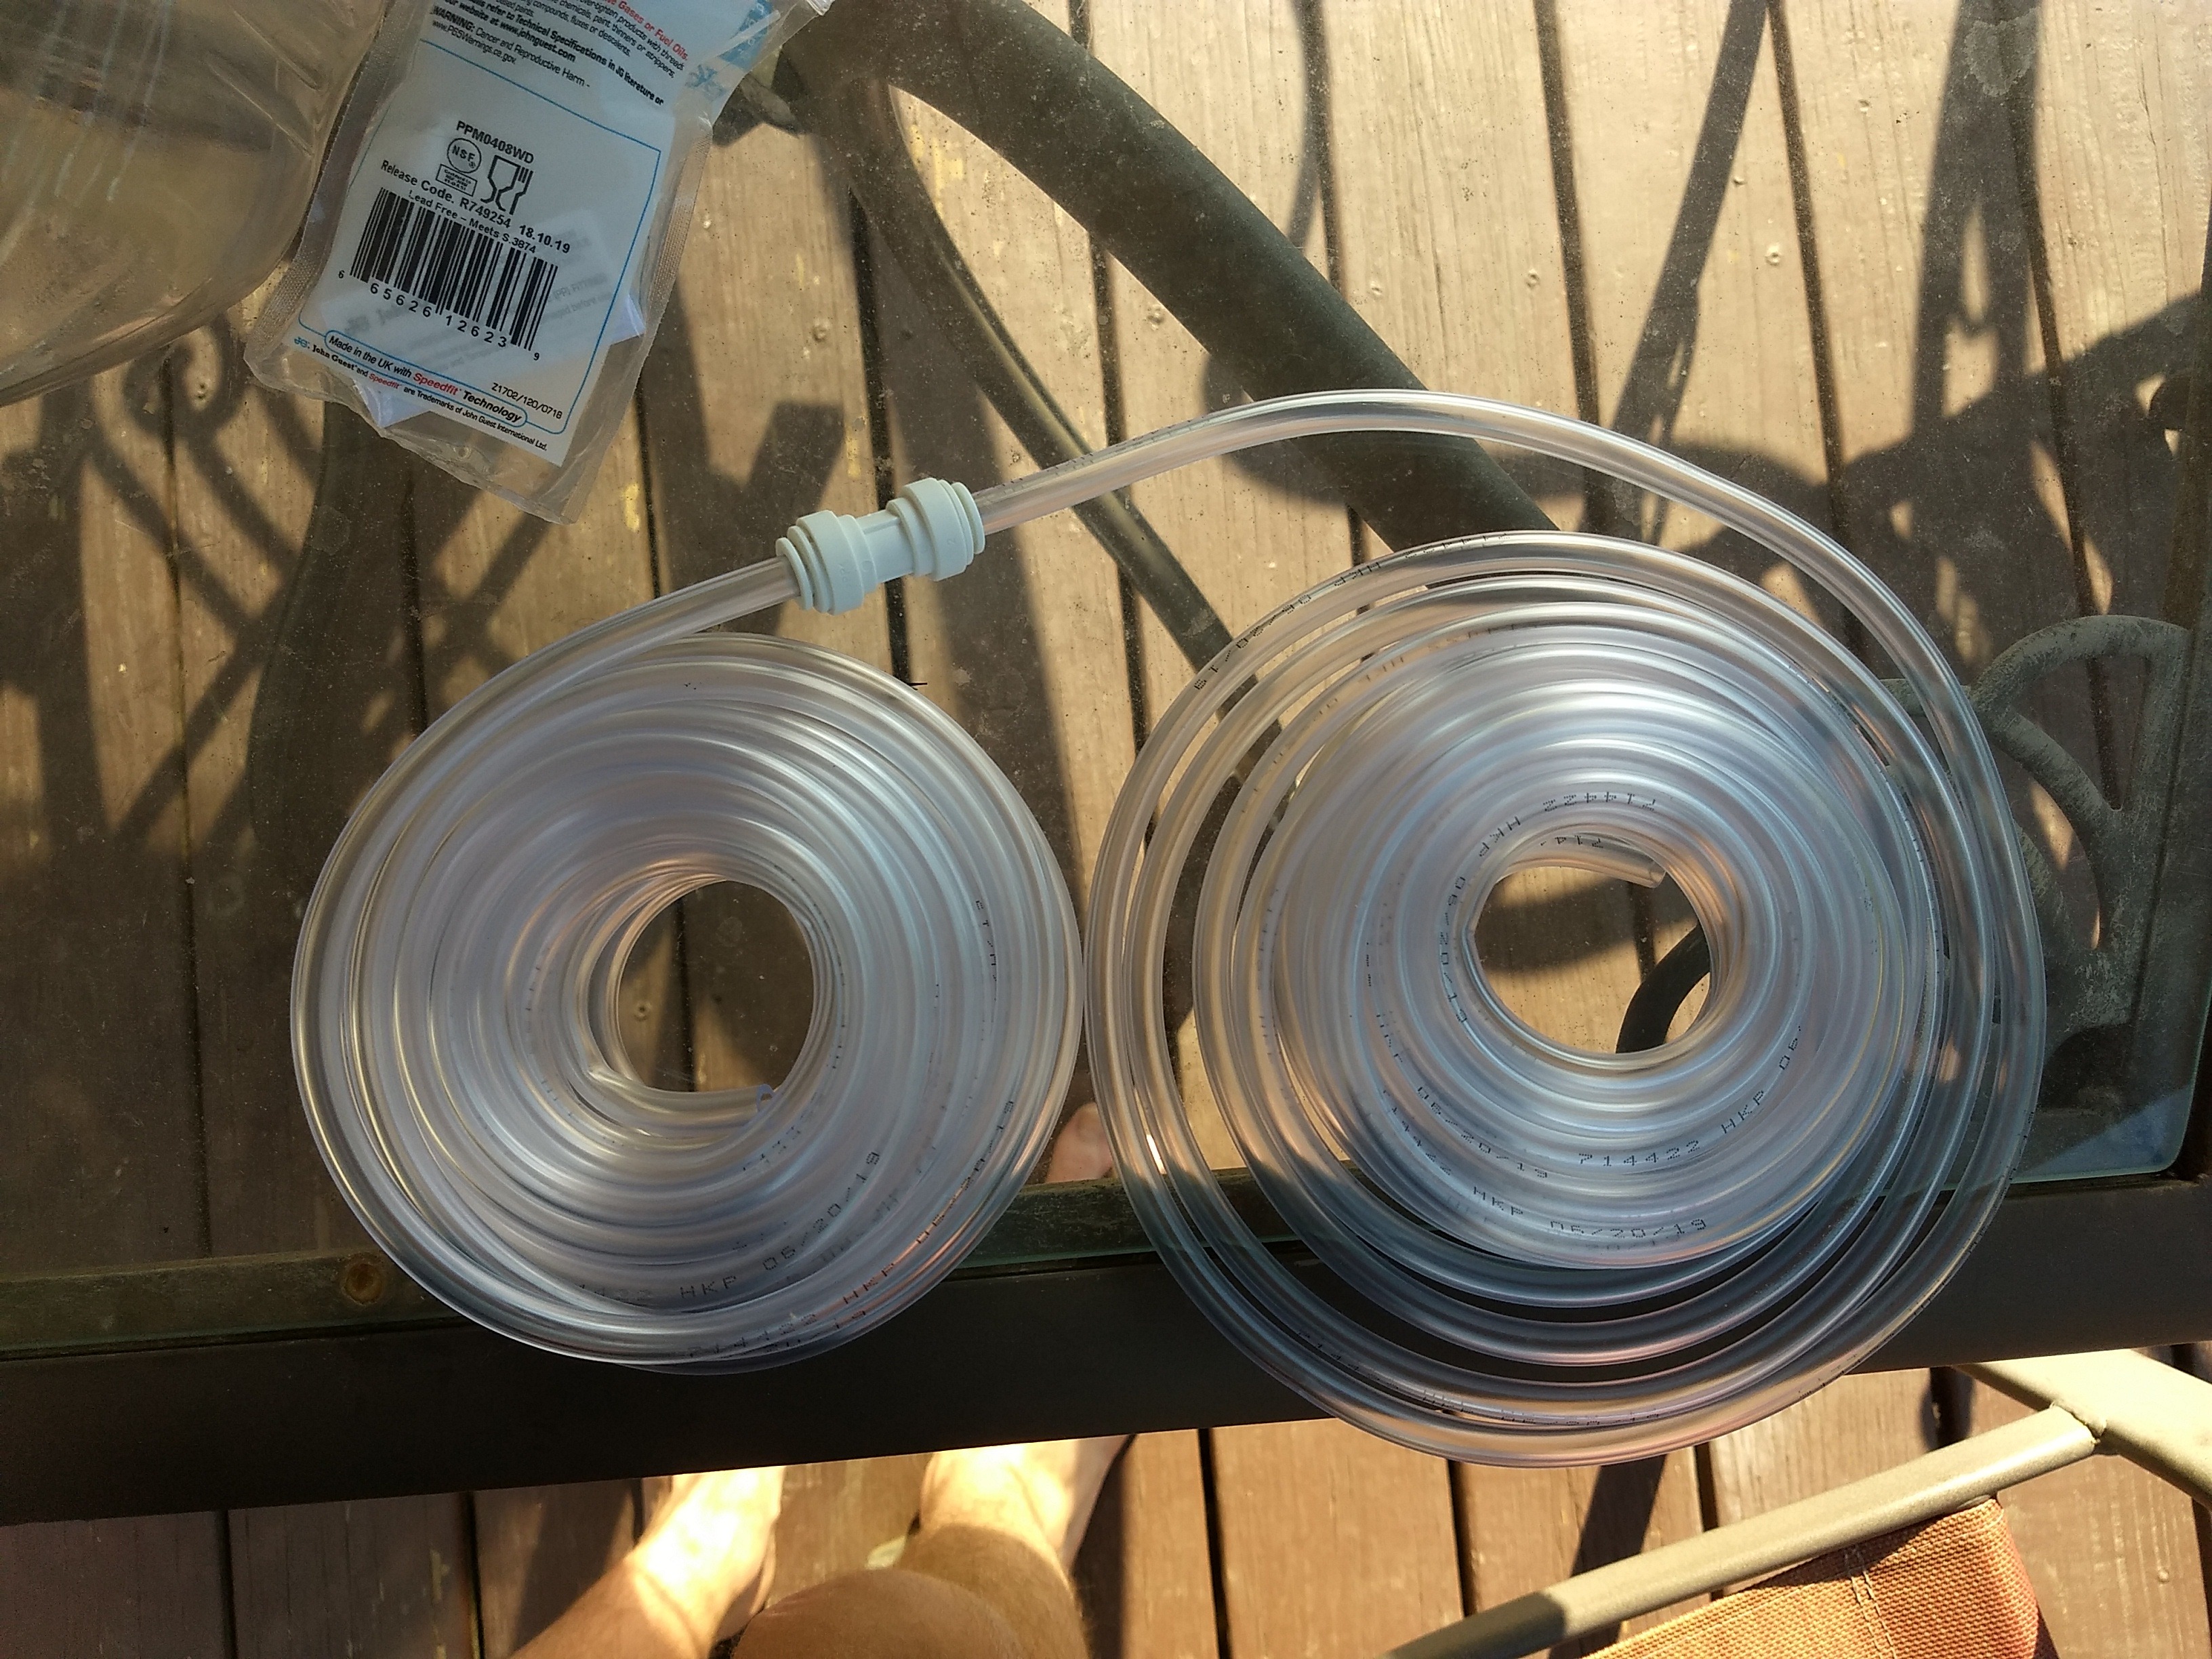
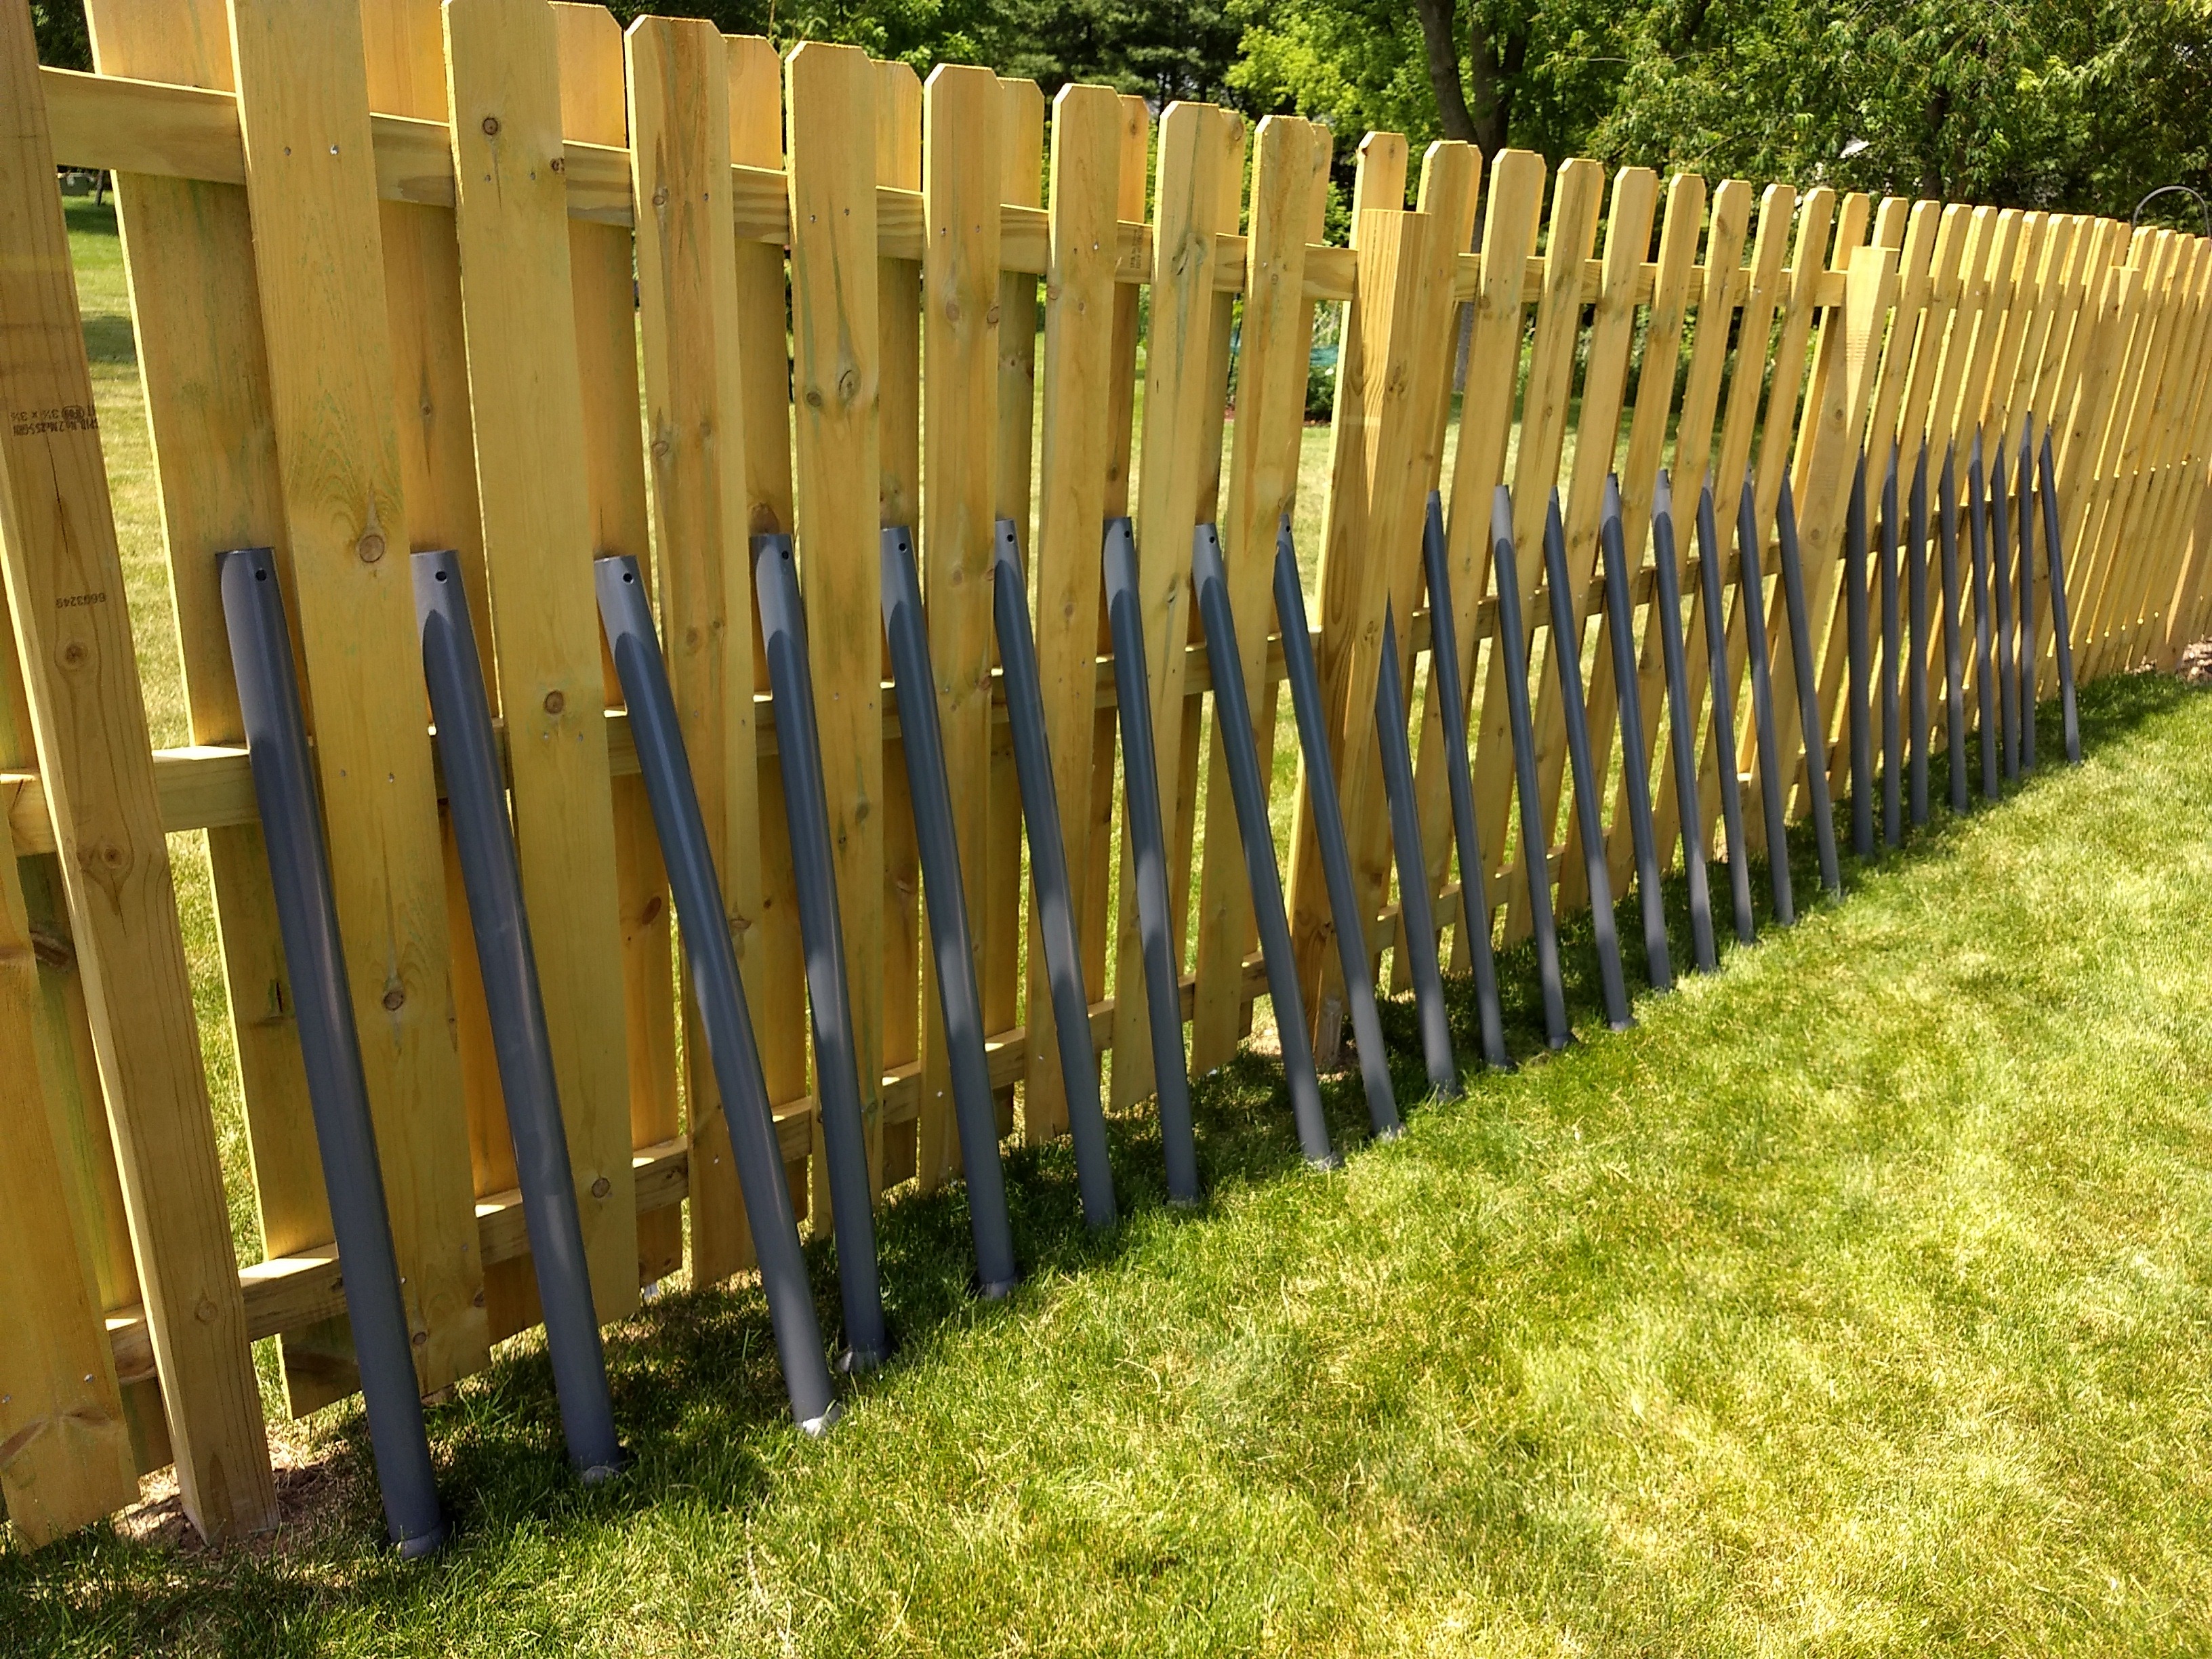
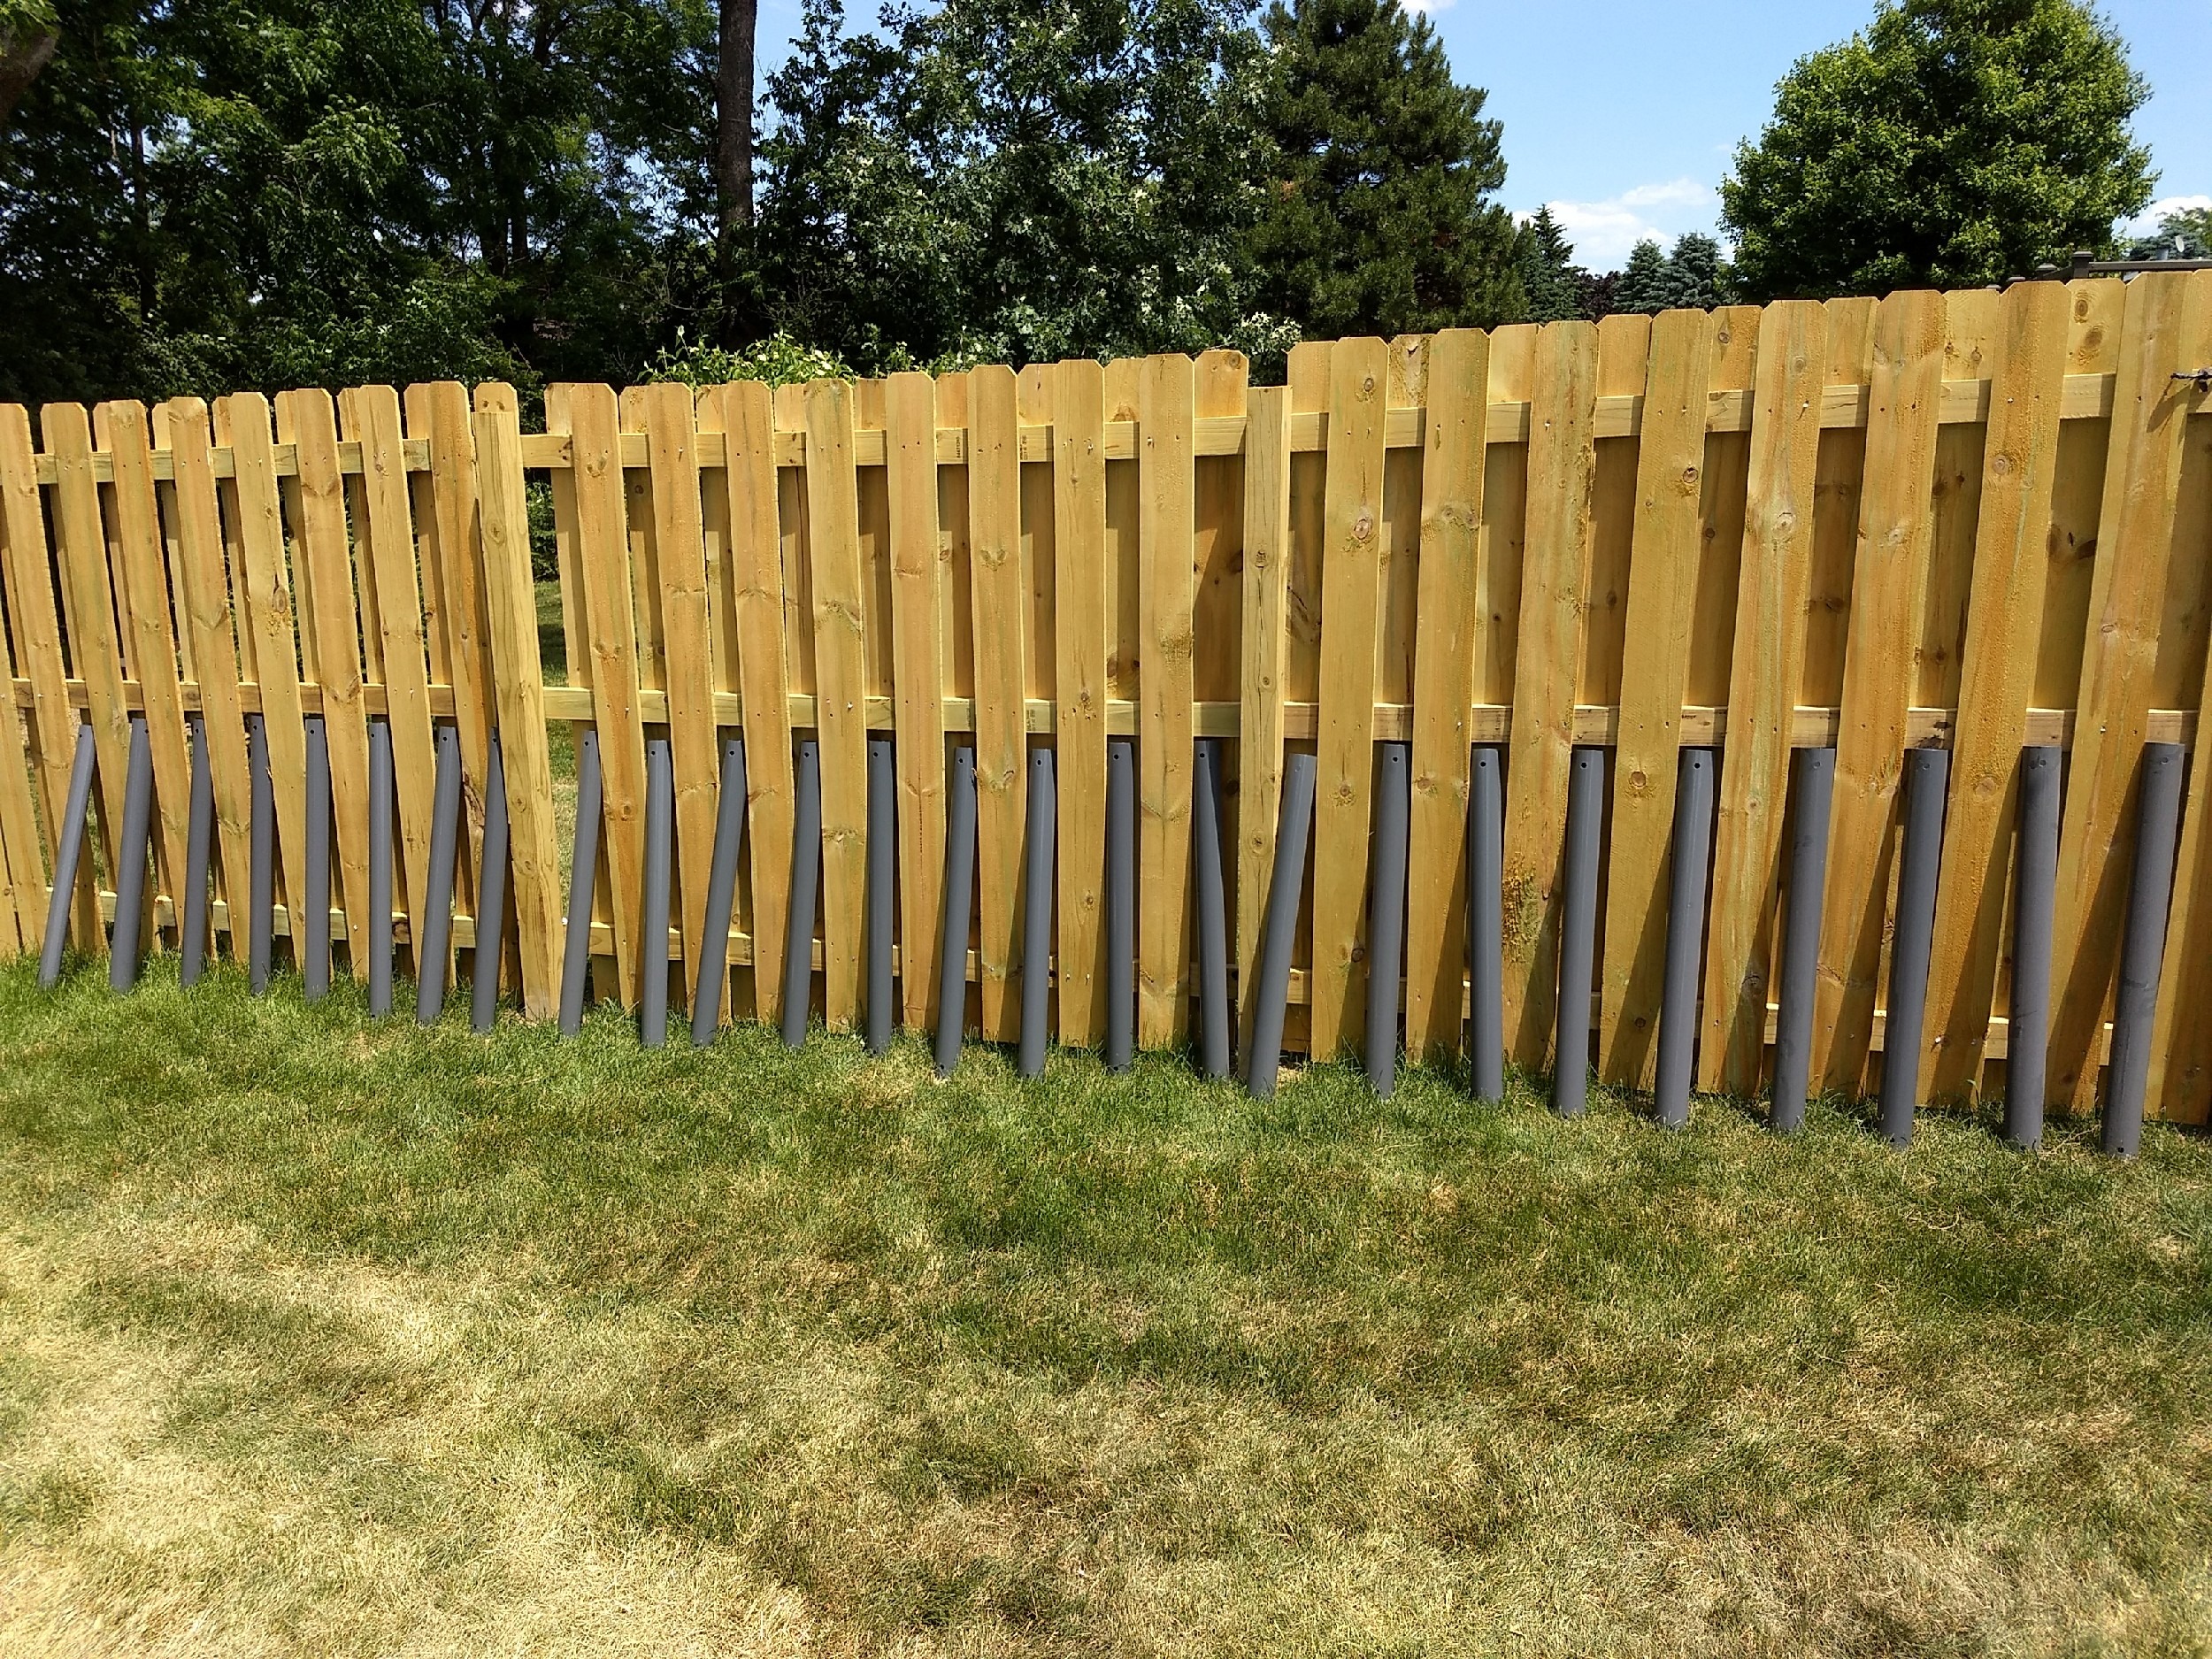
First I bought some hose. Size (diameter) isn't important, but I wouldn't go much smaller than this or filling becomes a pain. HD didn't have longer than 20', so I had to buy a coupler.
full


full


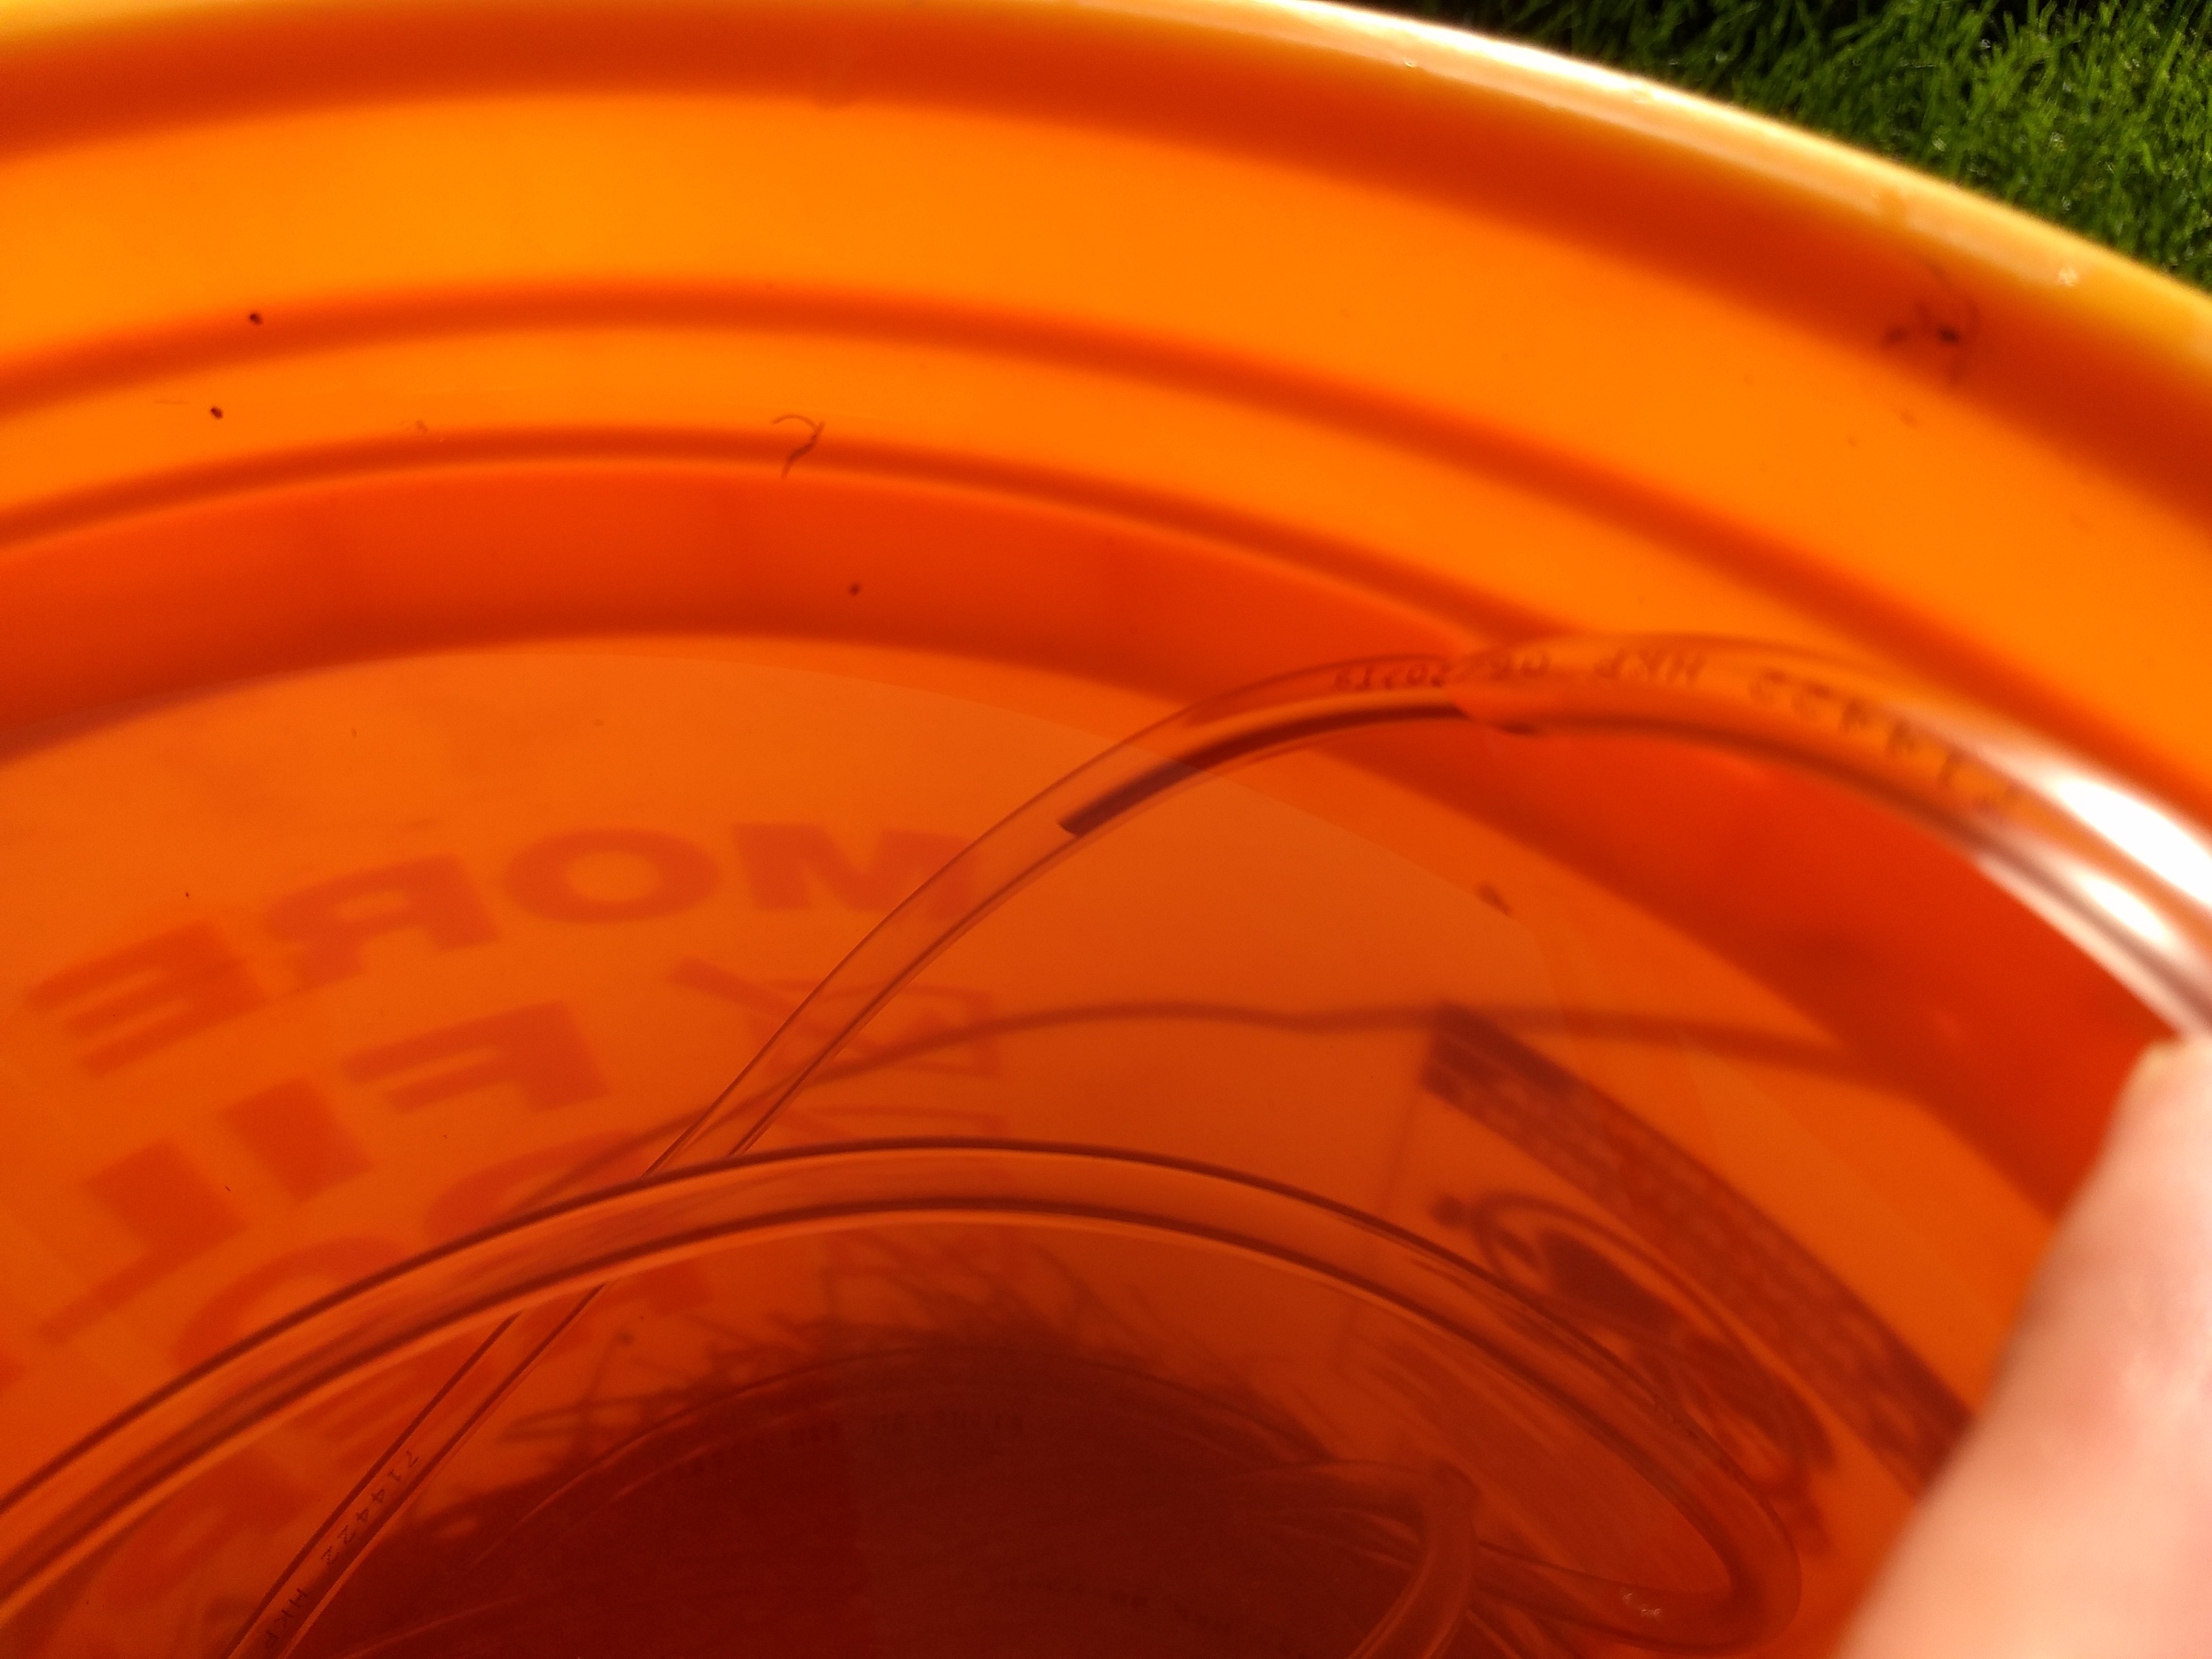
Air bubbles the size of the line will screw up water levels, so it's important to fill it with zero air. I use a bucket and immerse one end, feeding the line in. Watch the water level in the line, you can feed it too quickly and it will stop feeding. Just make sure no air bubbles get added.
full


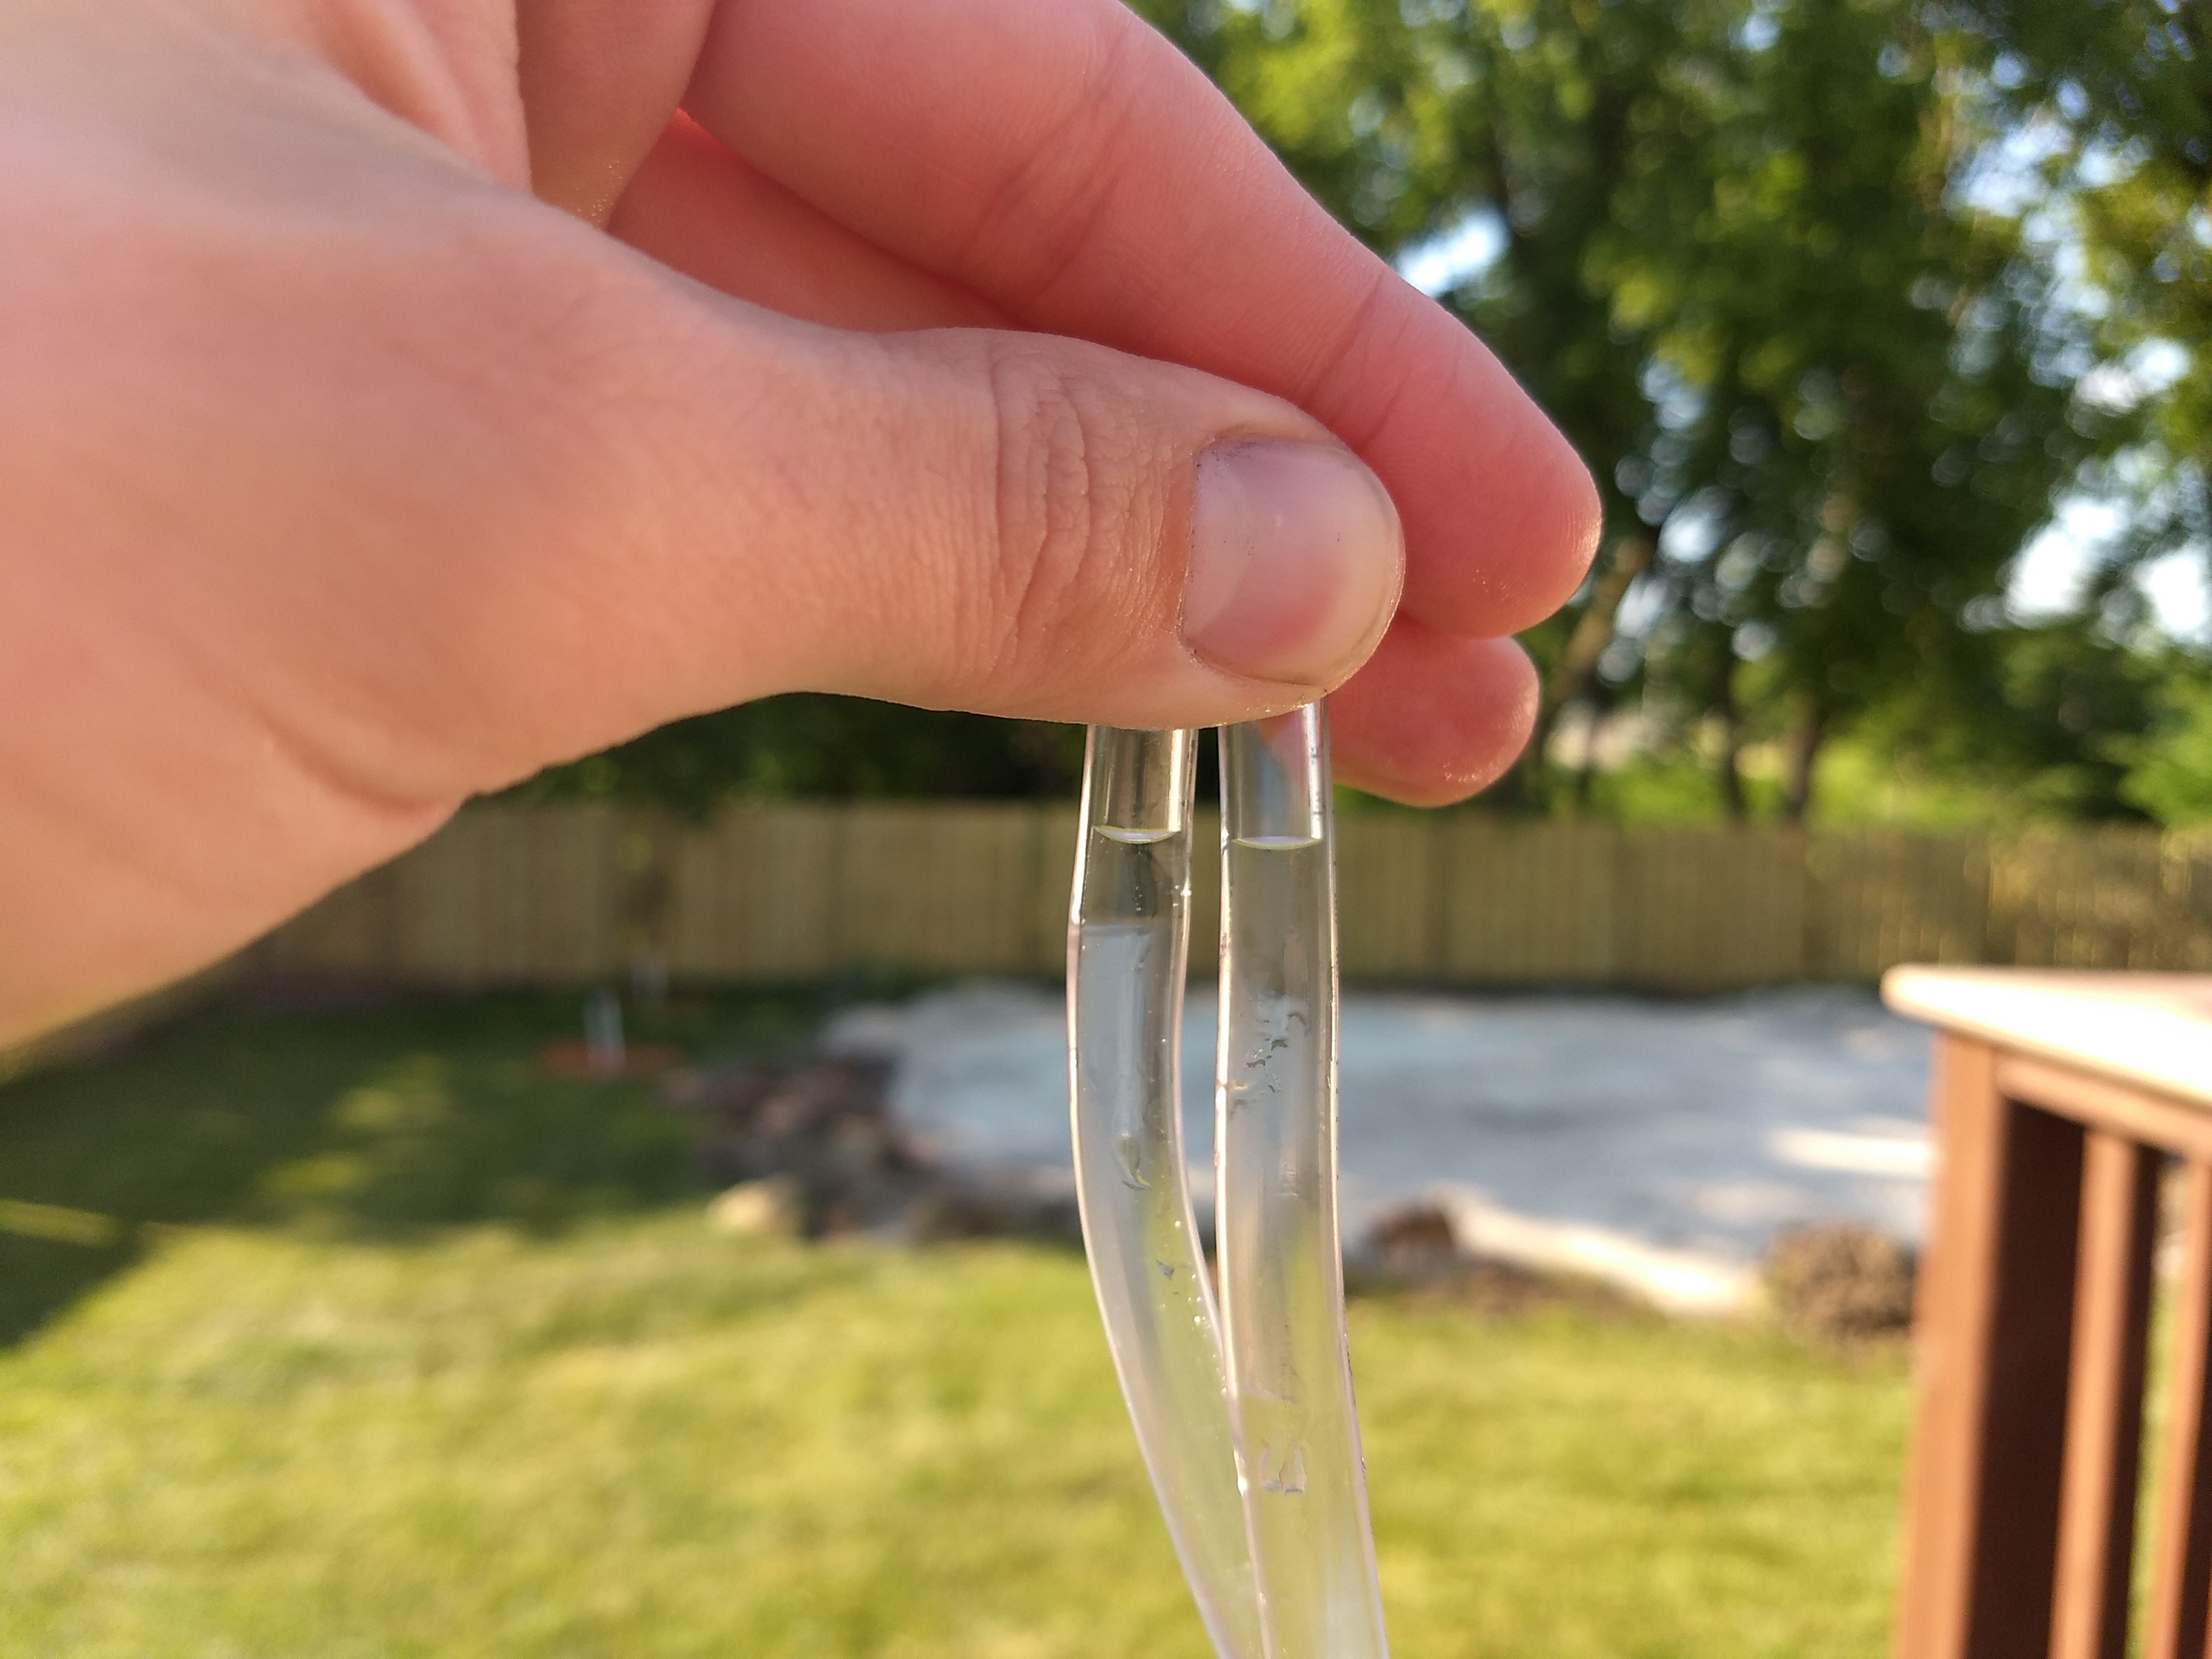
Once the entire line is submerged, place a finger over each end and pull the line out. A helper may be handy to help uncoil the hose. The finger is to ensure that until the ends are level water doesn't drain out of the line.

Once the hose is out, line up the ends. Congrats, you have now created a water level!
full


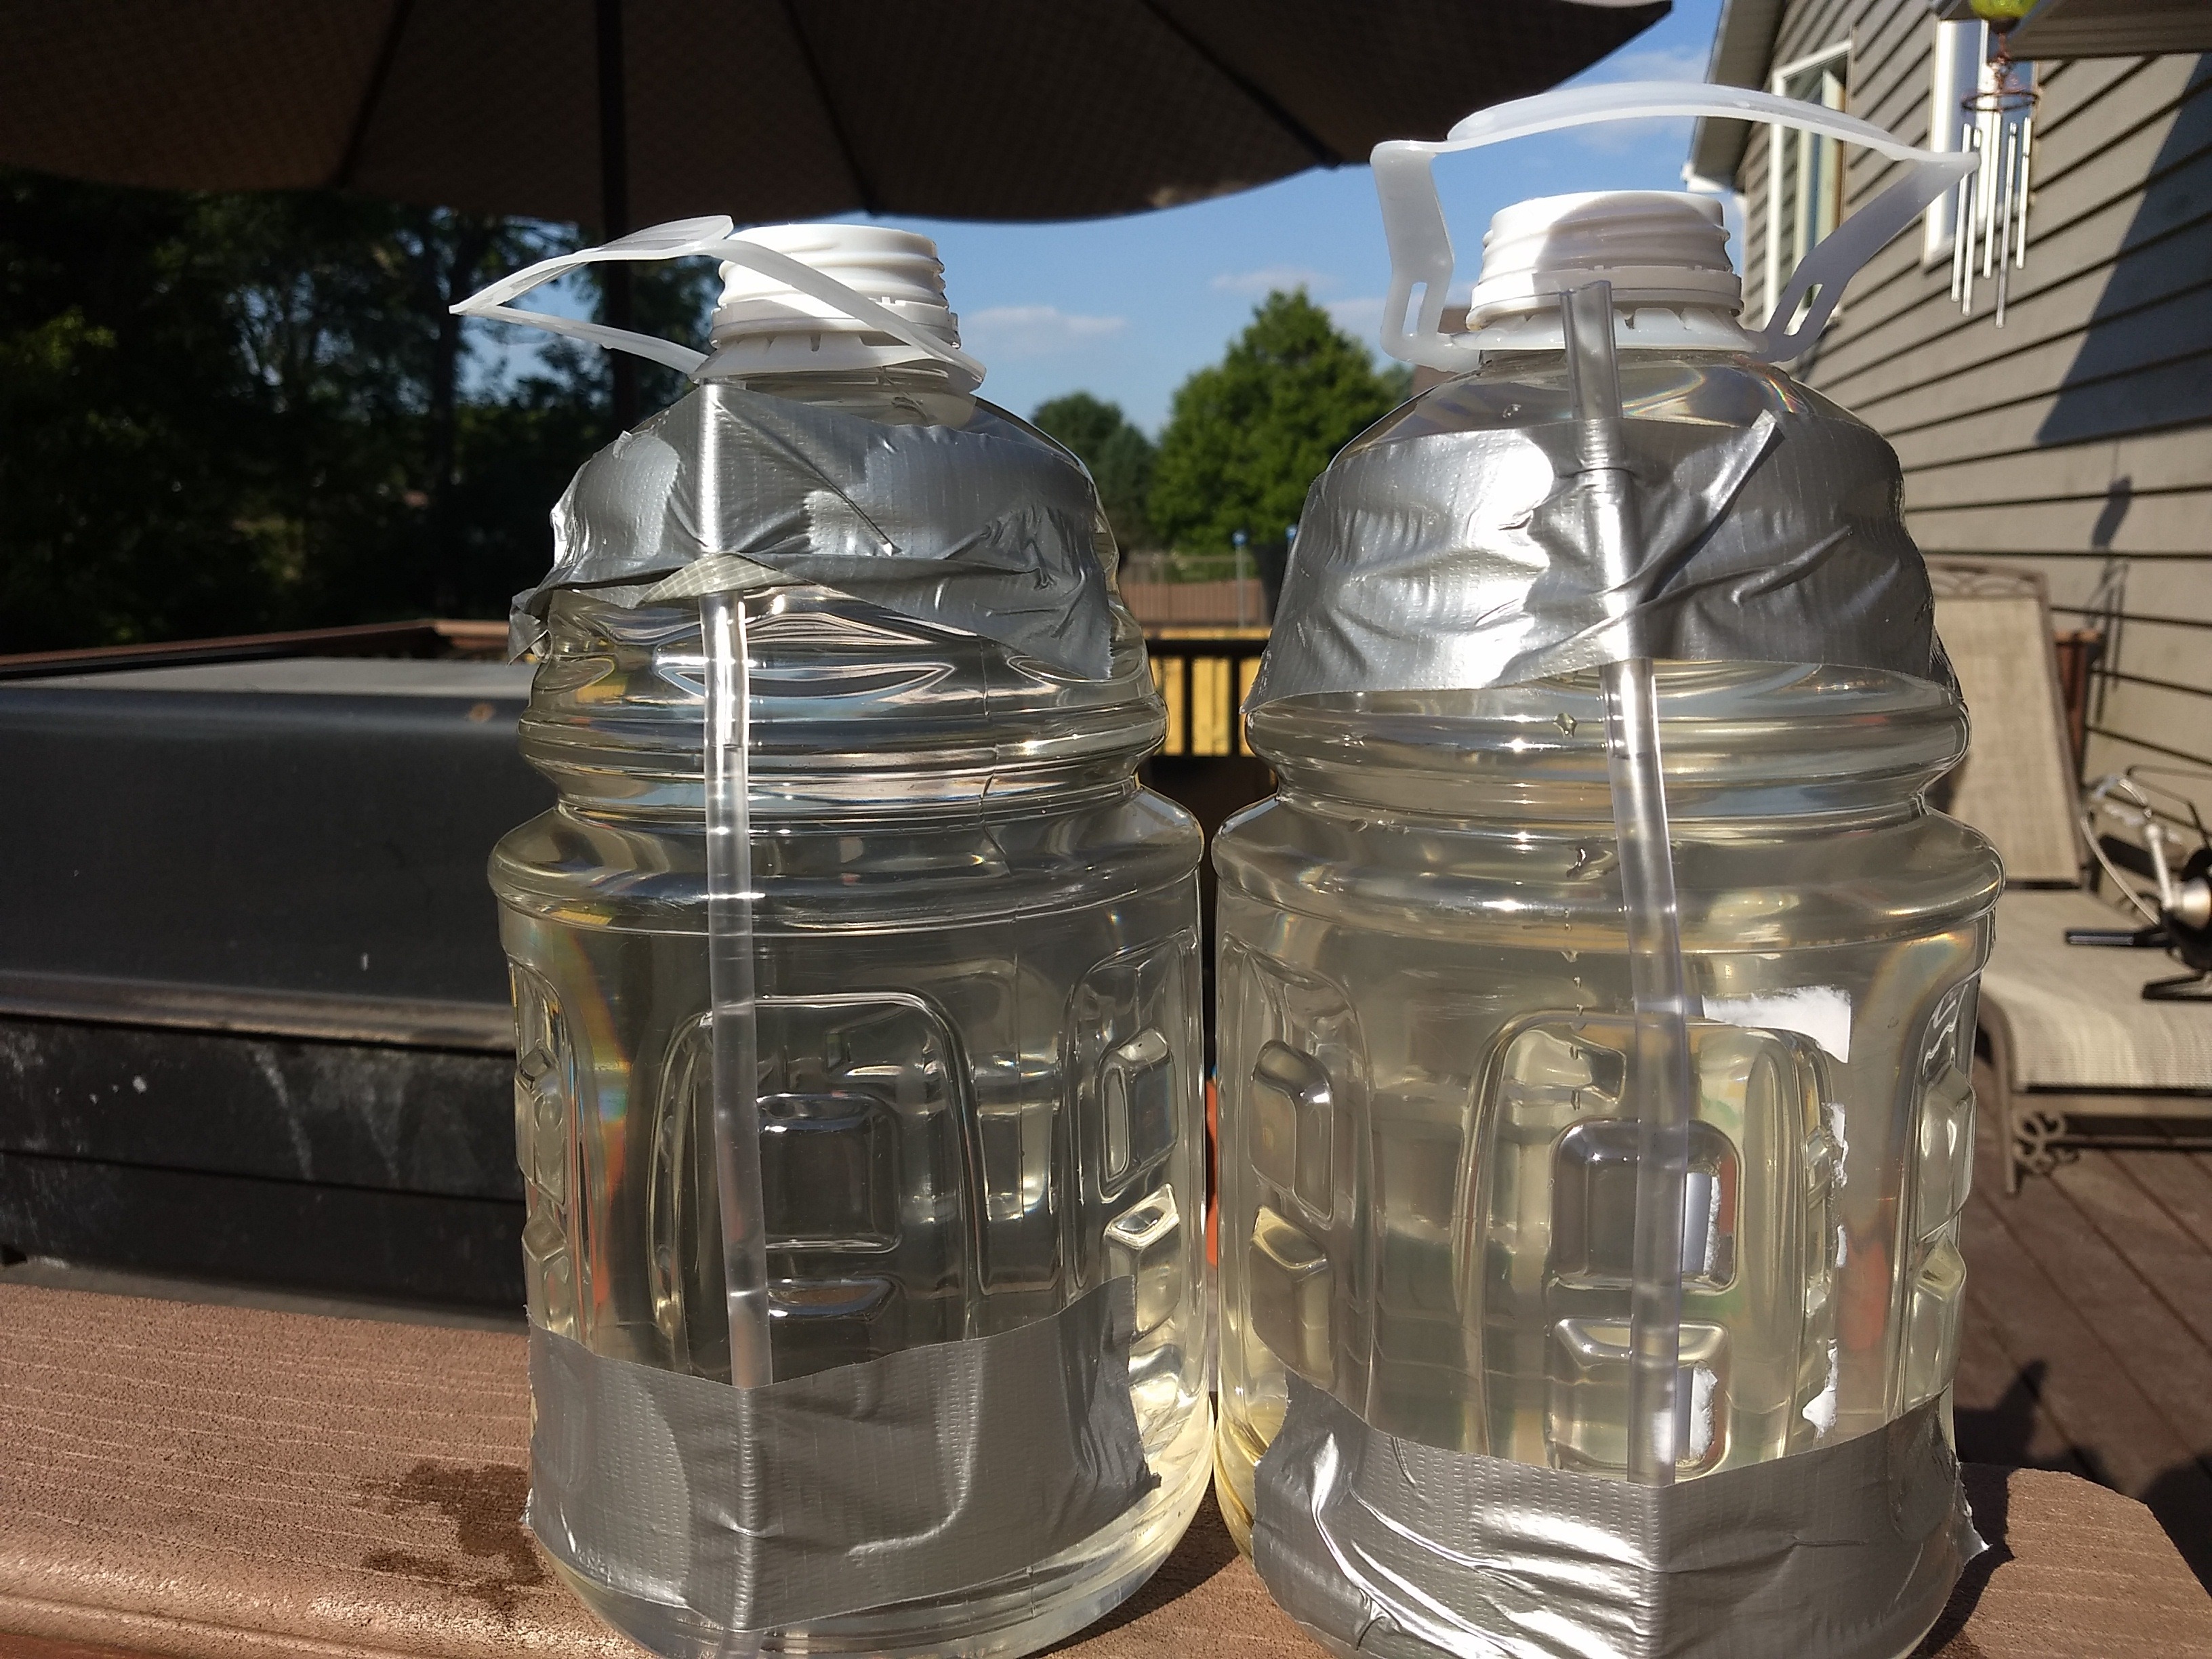
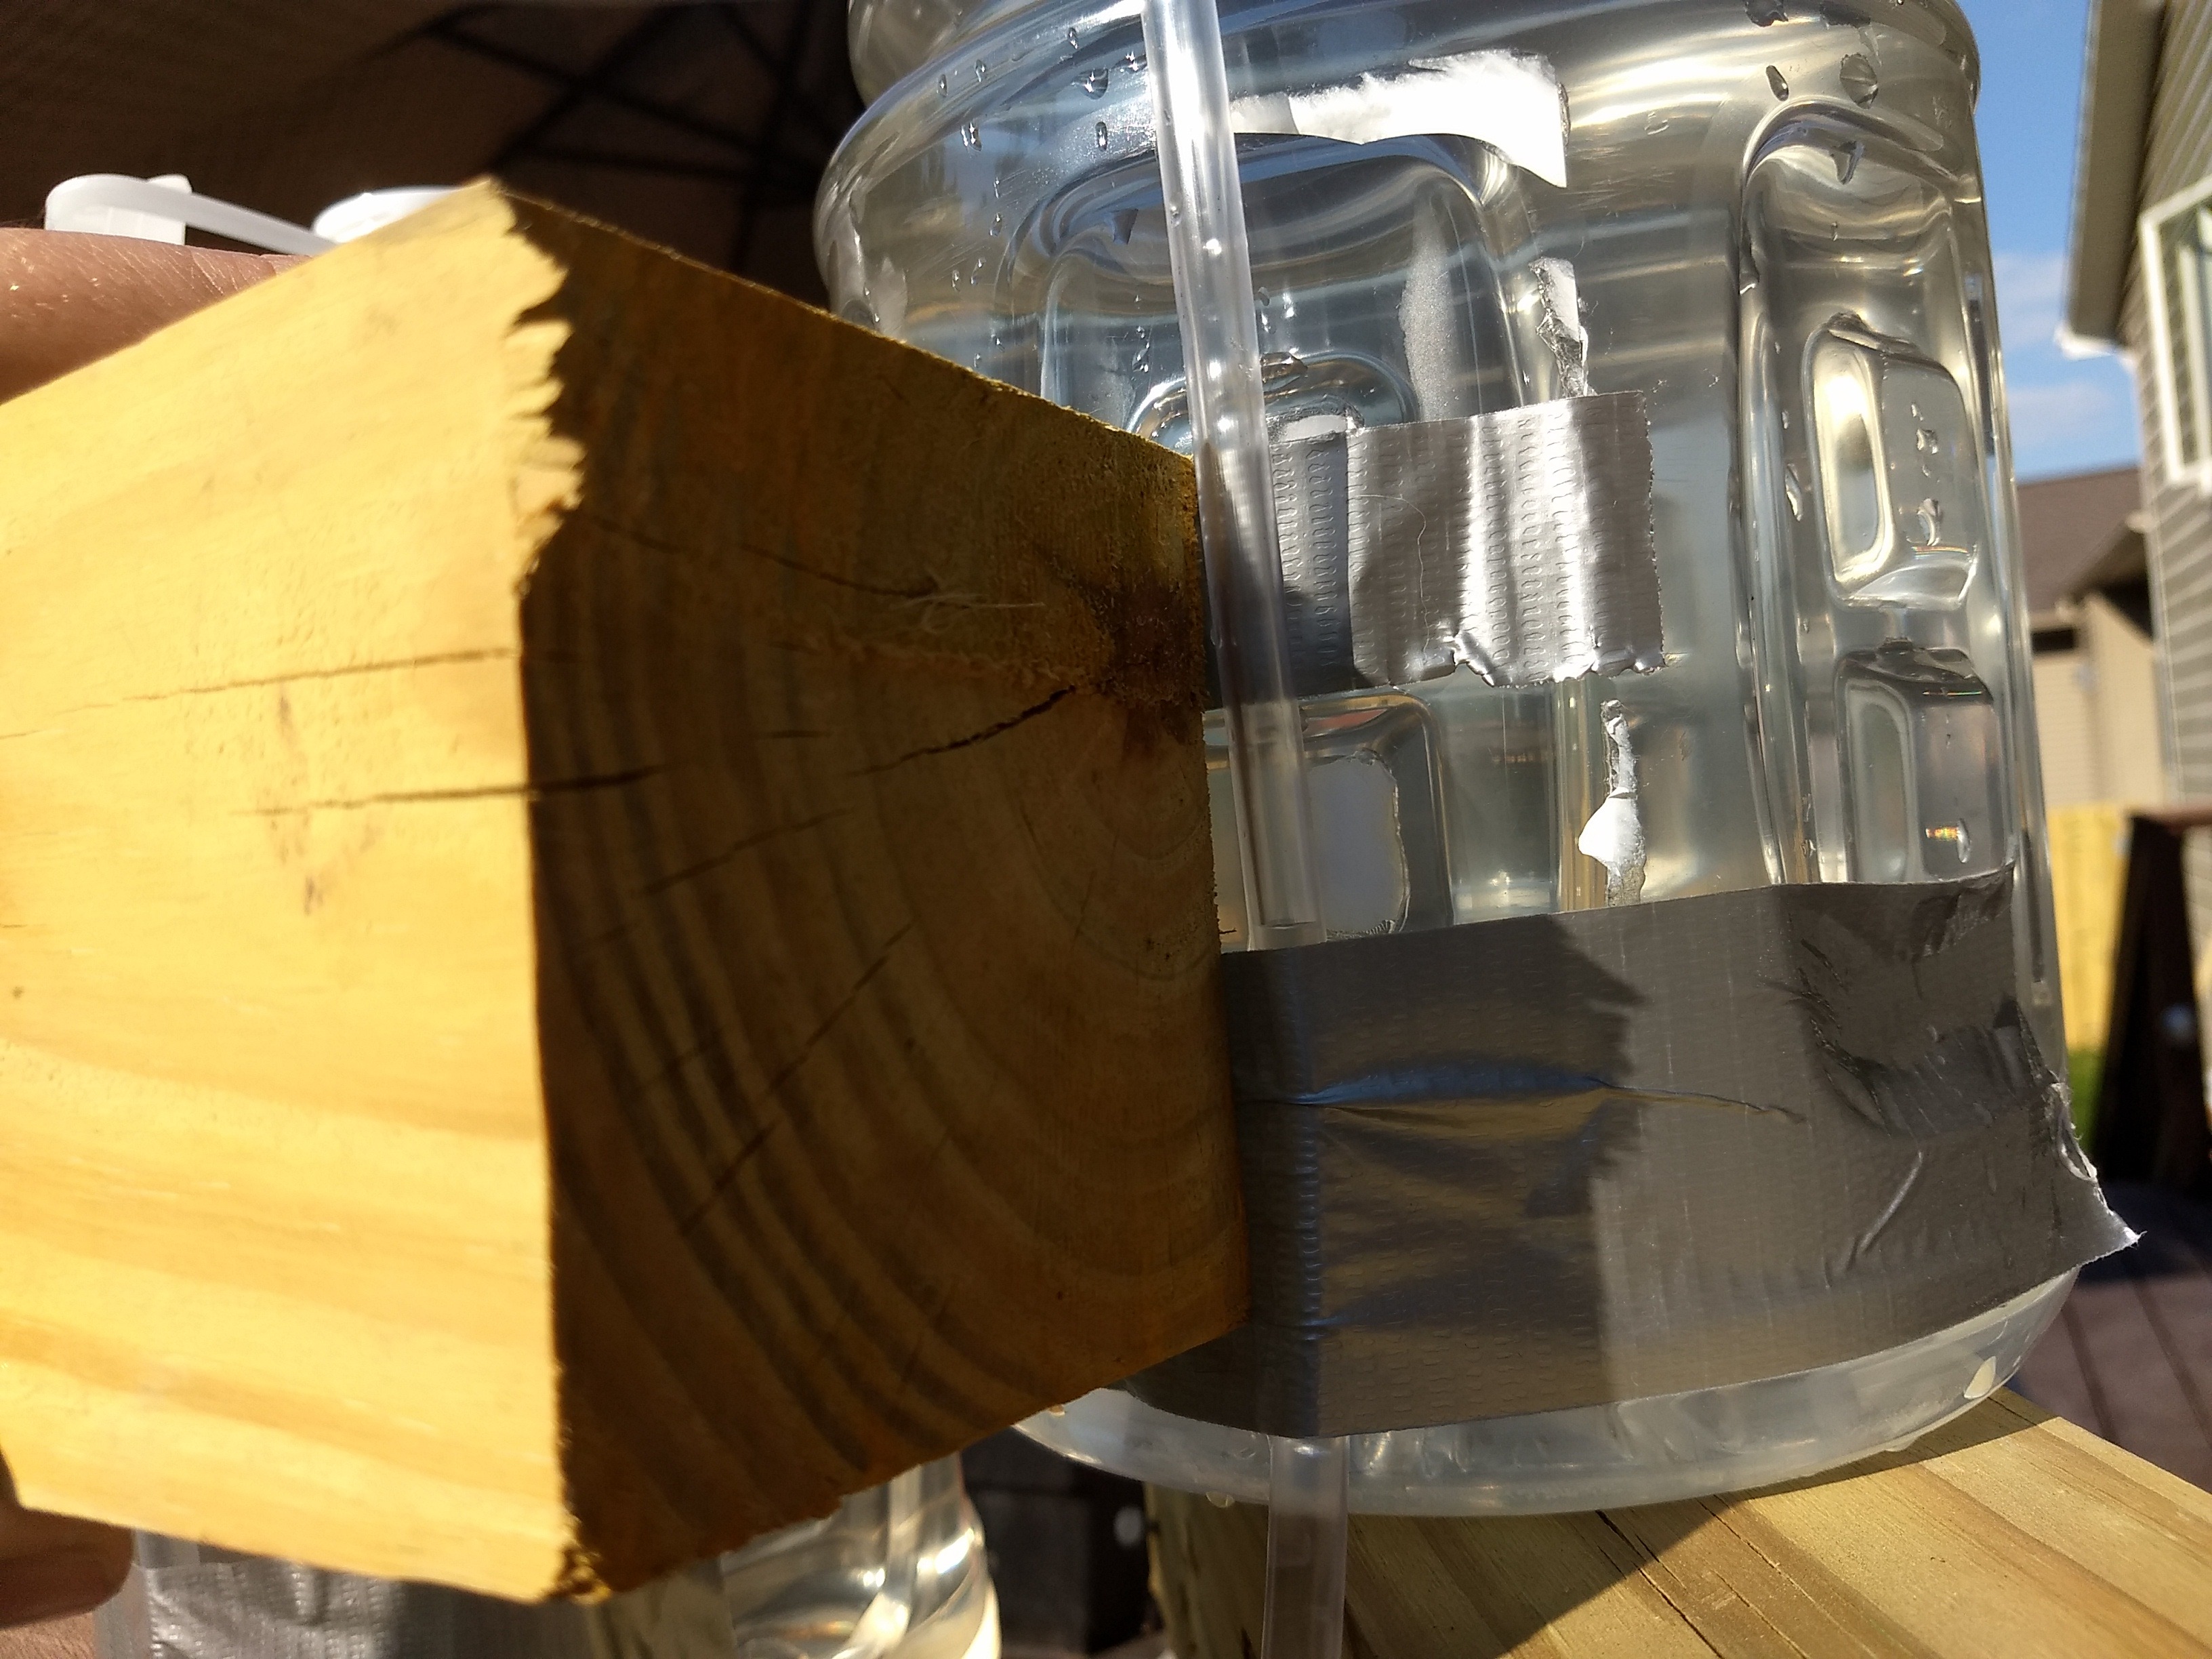
Unfortunately unless you're trying to level a beam, water in a hose by itself isn't very useful. You need something to attach the hose to that will keep it a fixed distance off the ground. For two people, two yardsticks would work great, but as I was by myself and had no yardsticks, I used empty juice jugs. Note the water in the tubes comes to the same height on both jugs.
full


If the water level is too high, simply lower one end and let some water flow out, then raise it again.
full


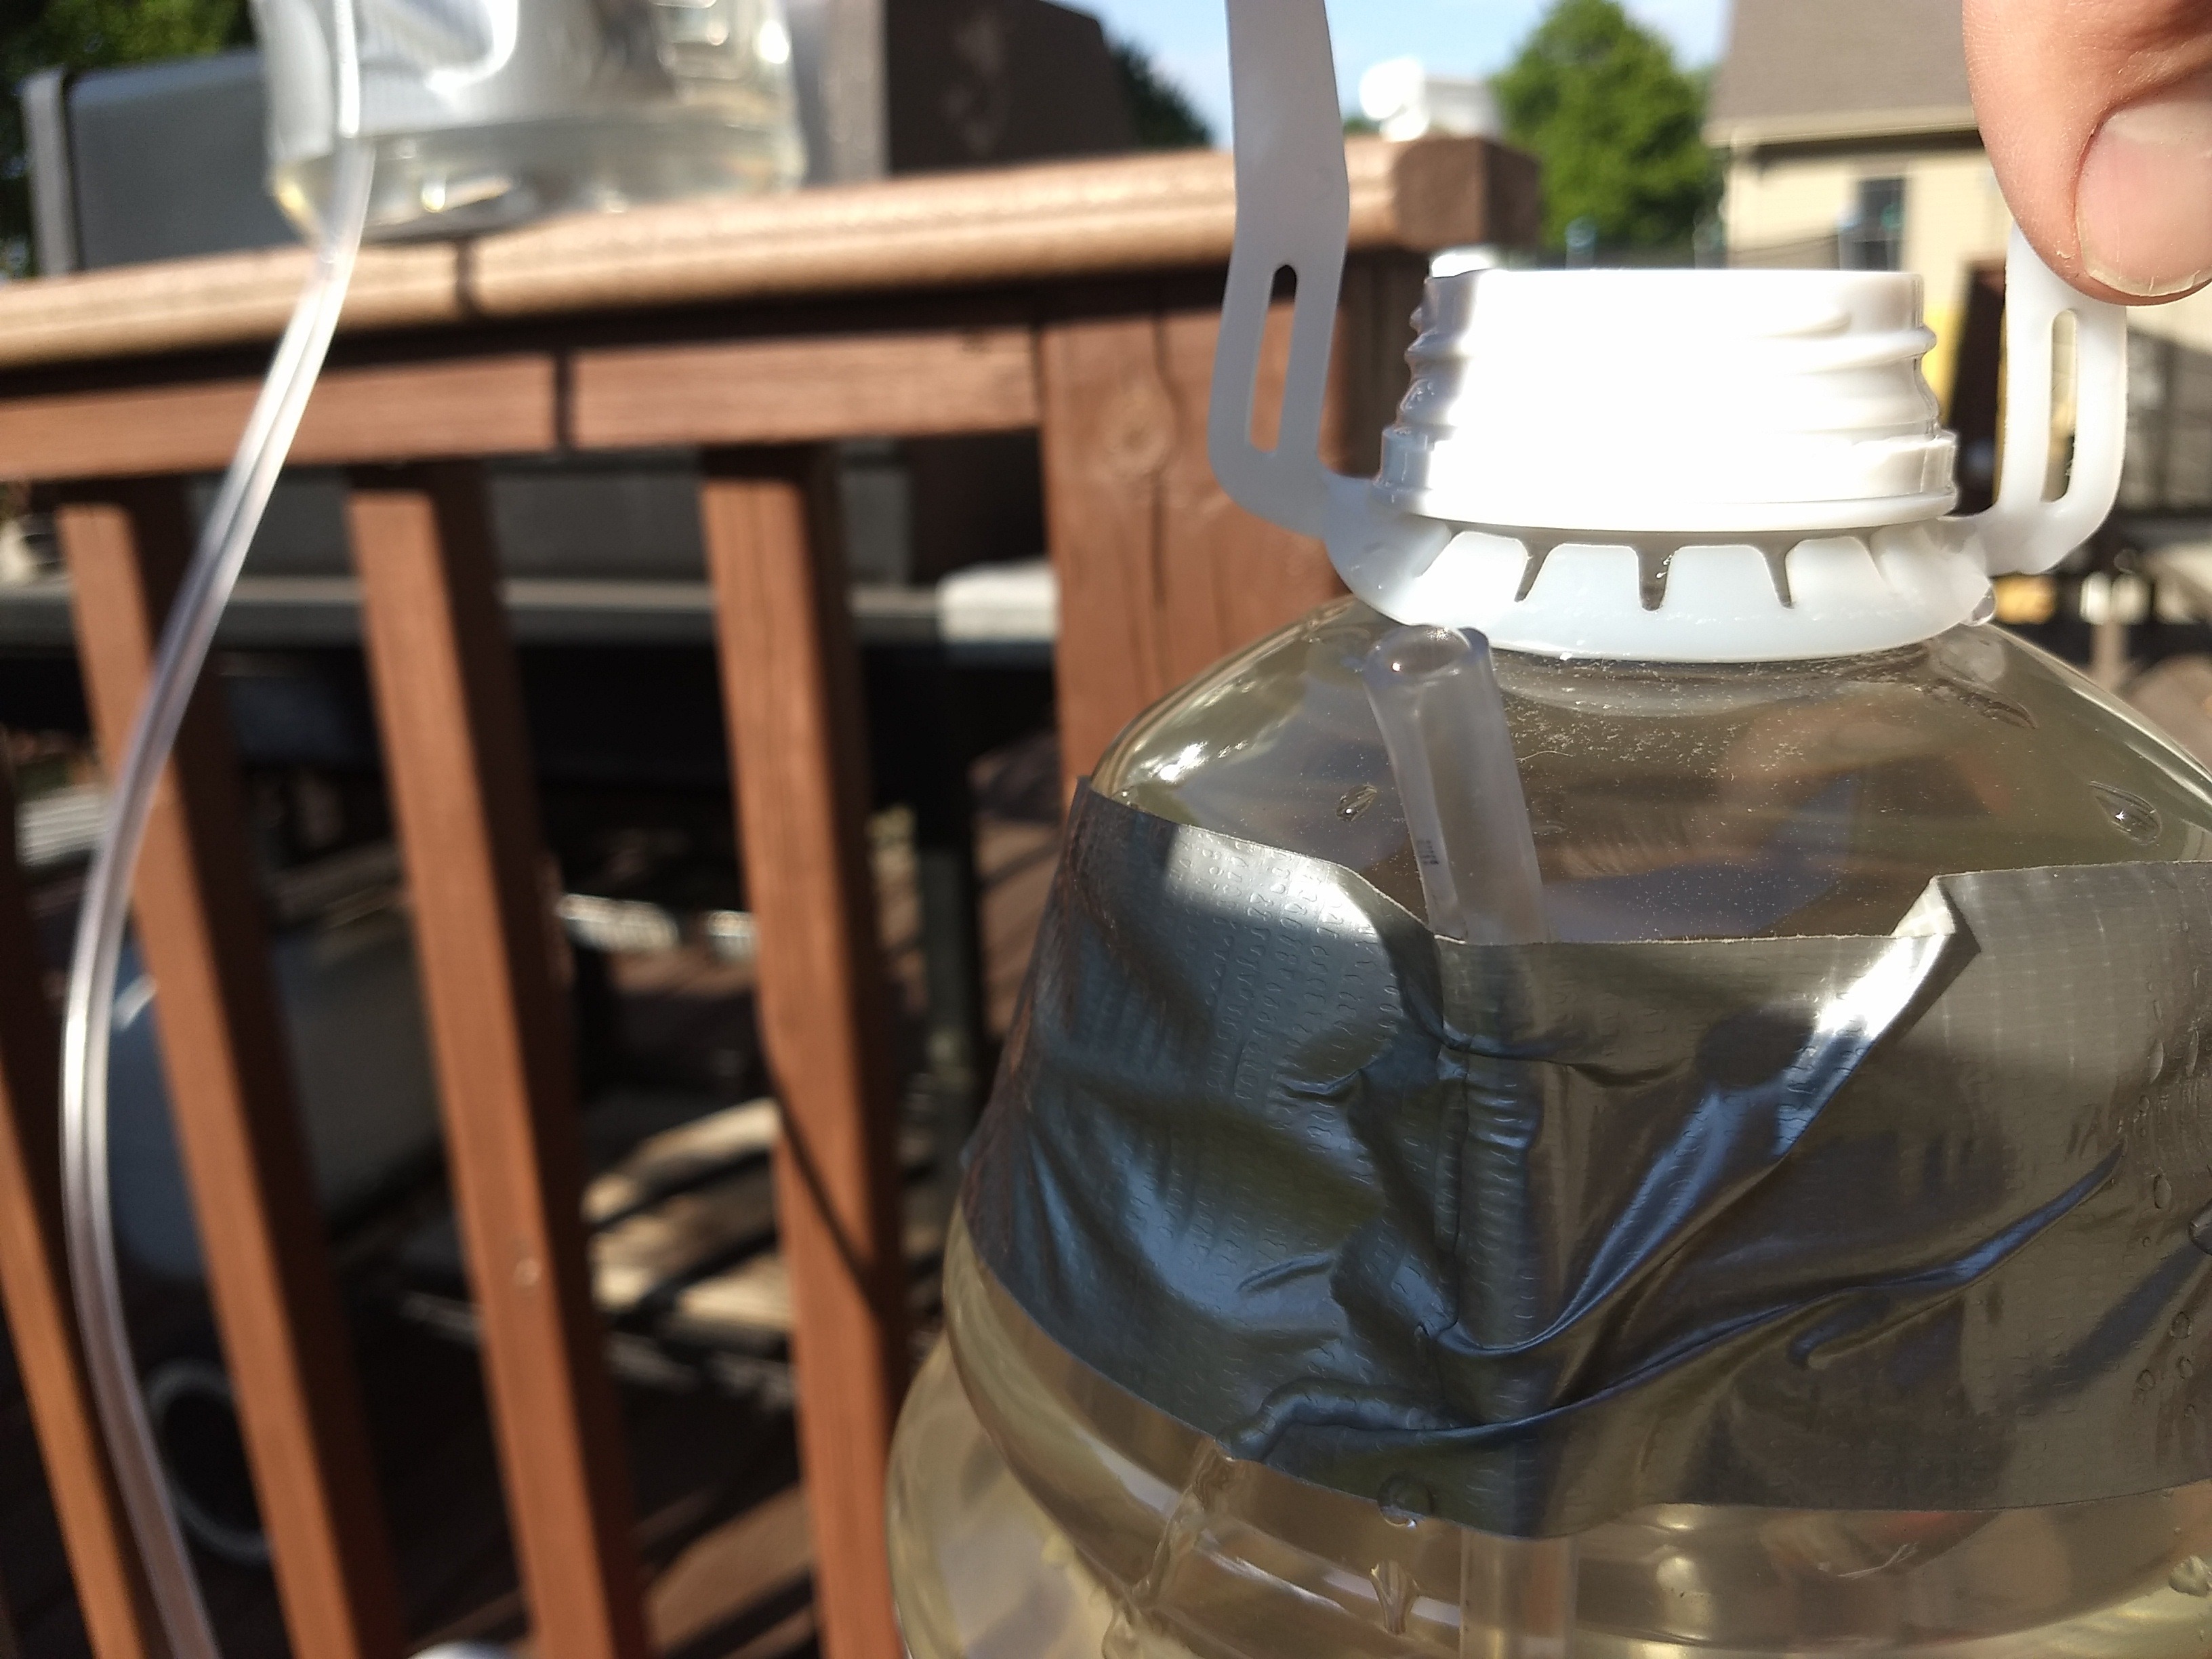
Water level is now lower. We need some reference marks. A sharpie would be good, but I couldn't find it so I put tape on both sides with the top of the tape marking the top of the water.
full


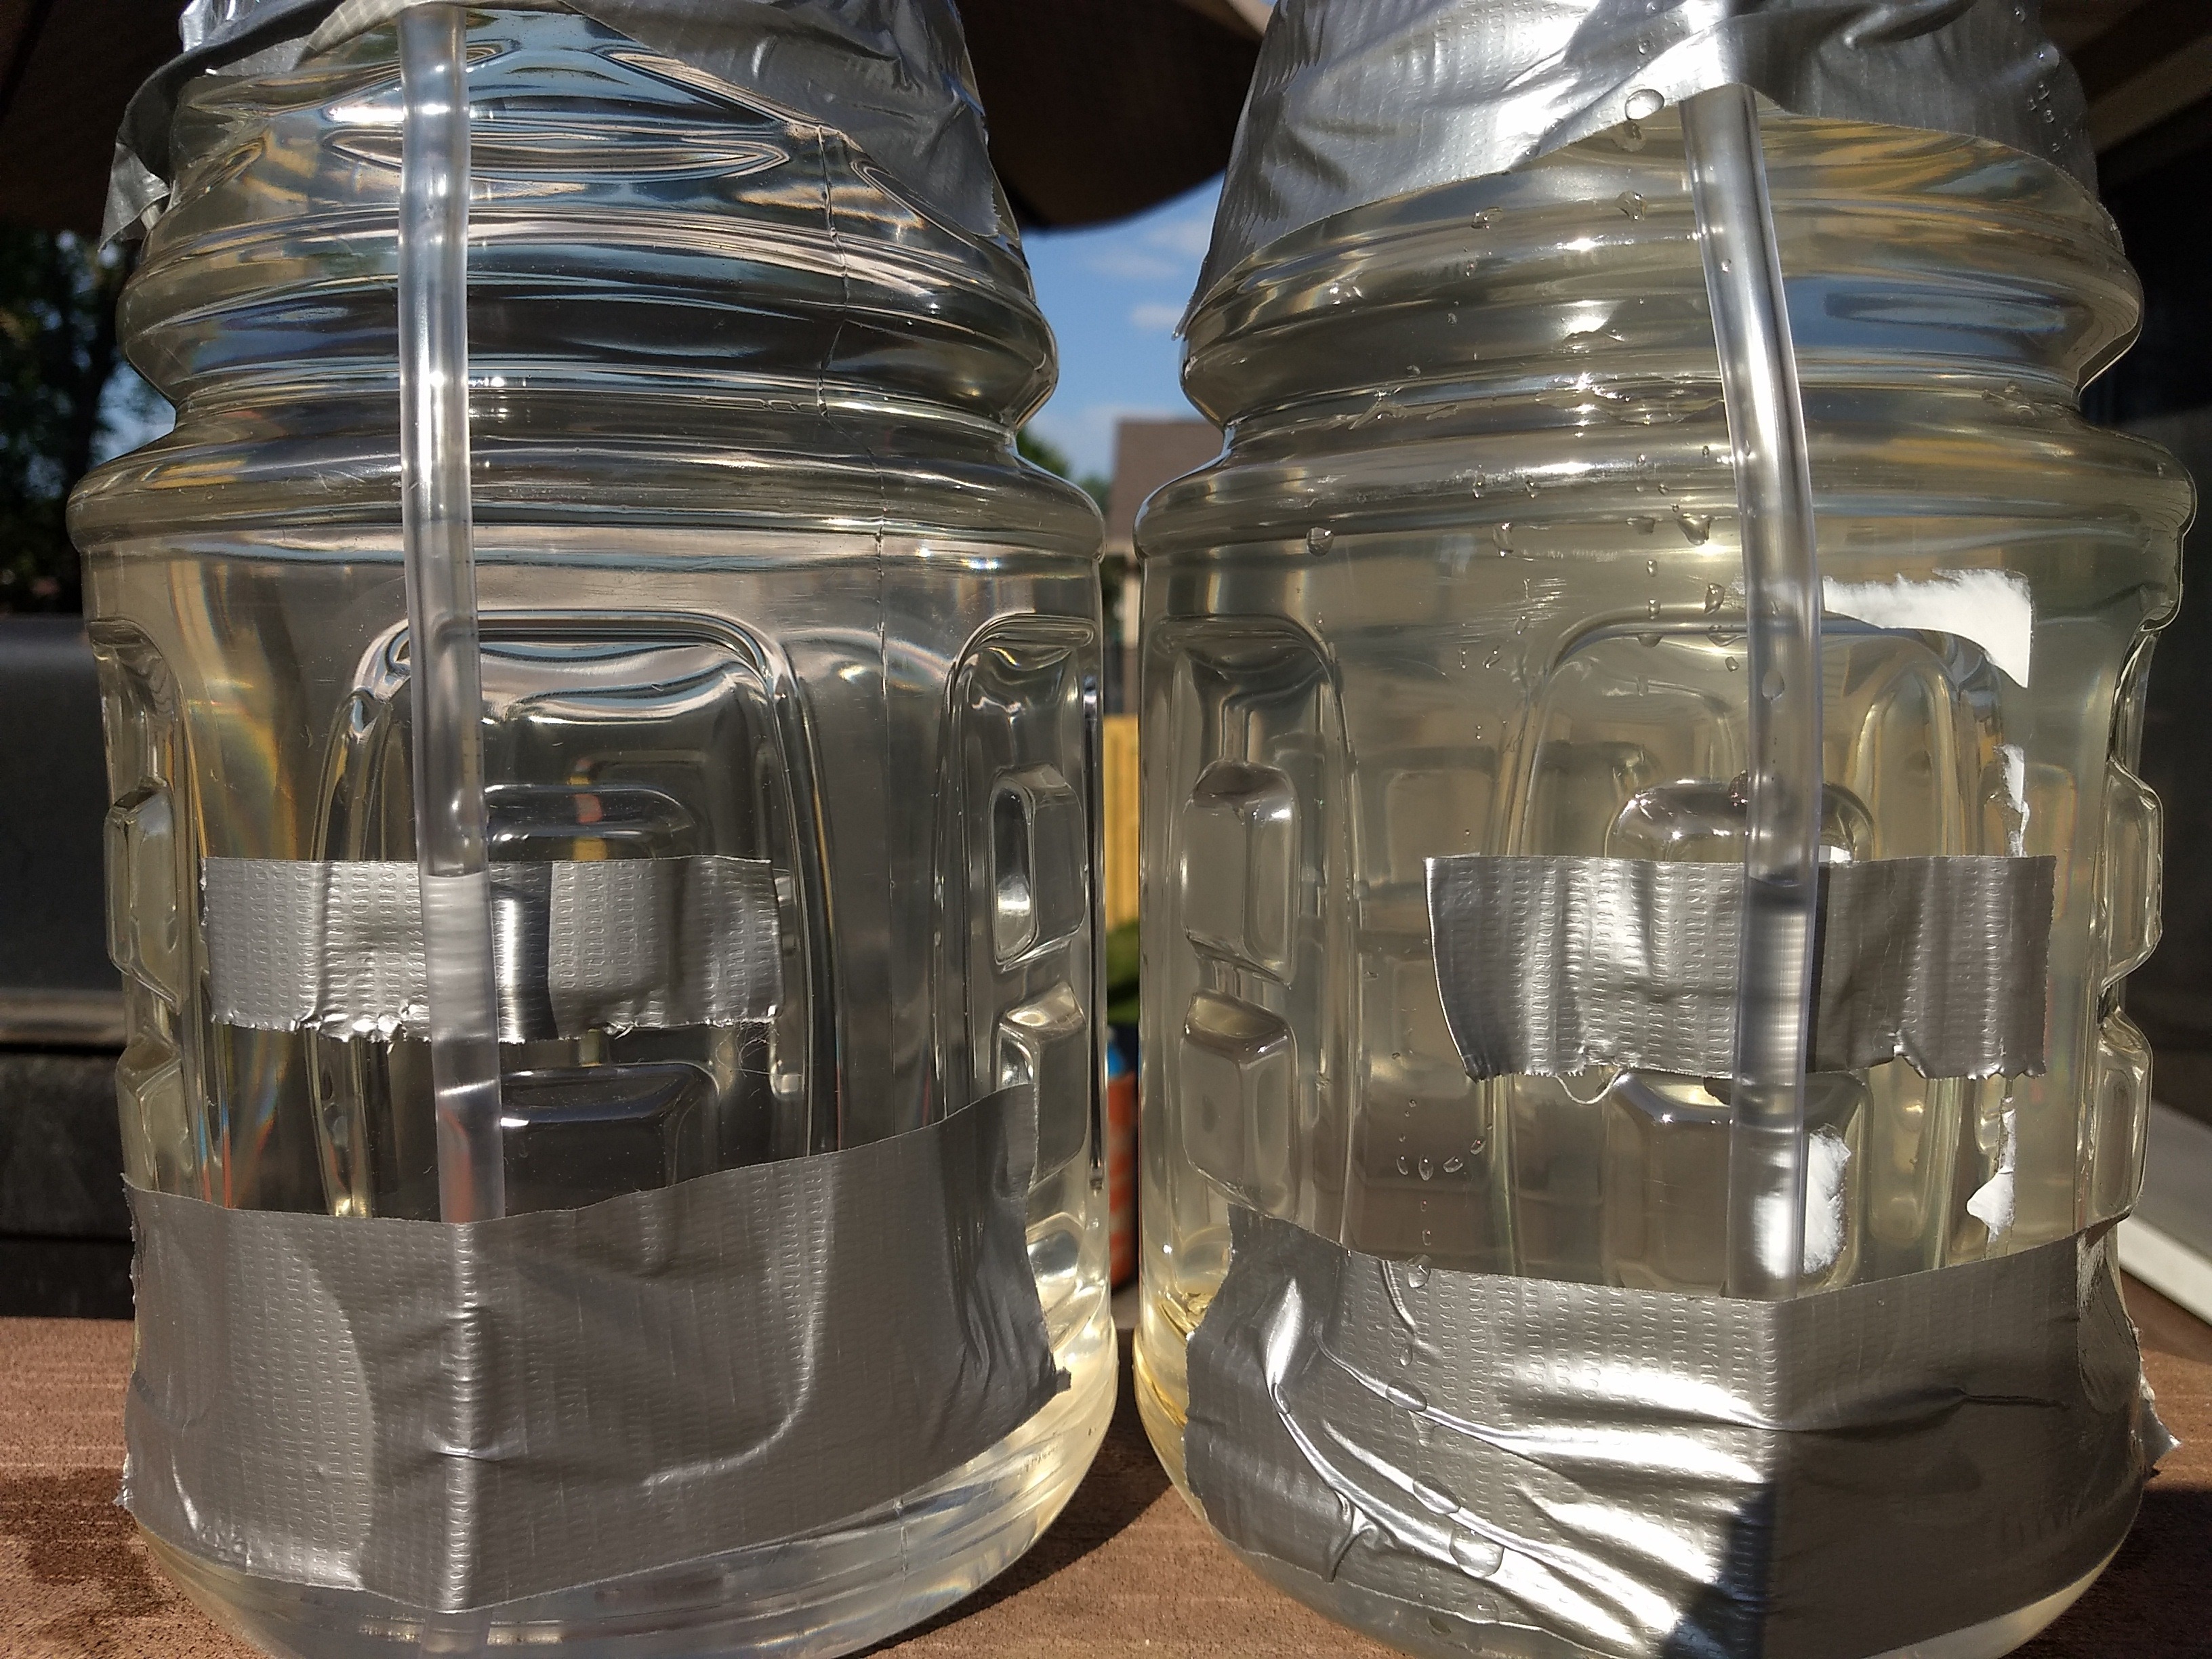
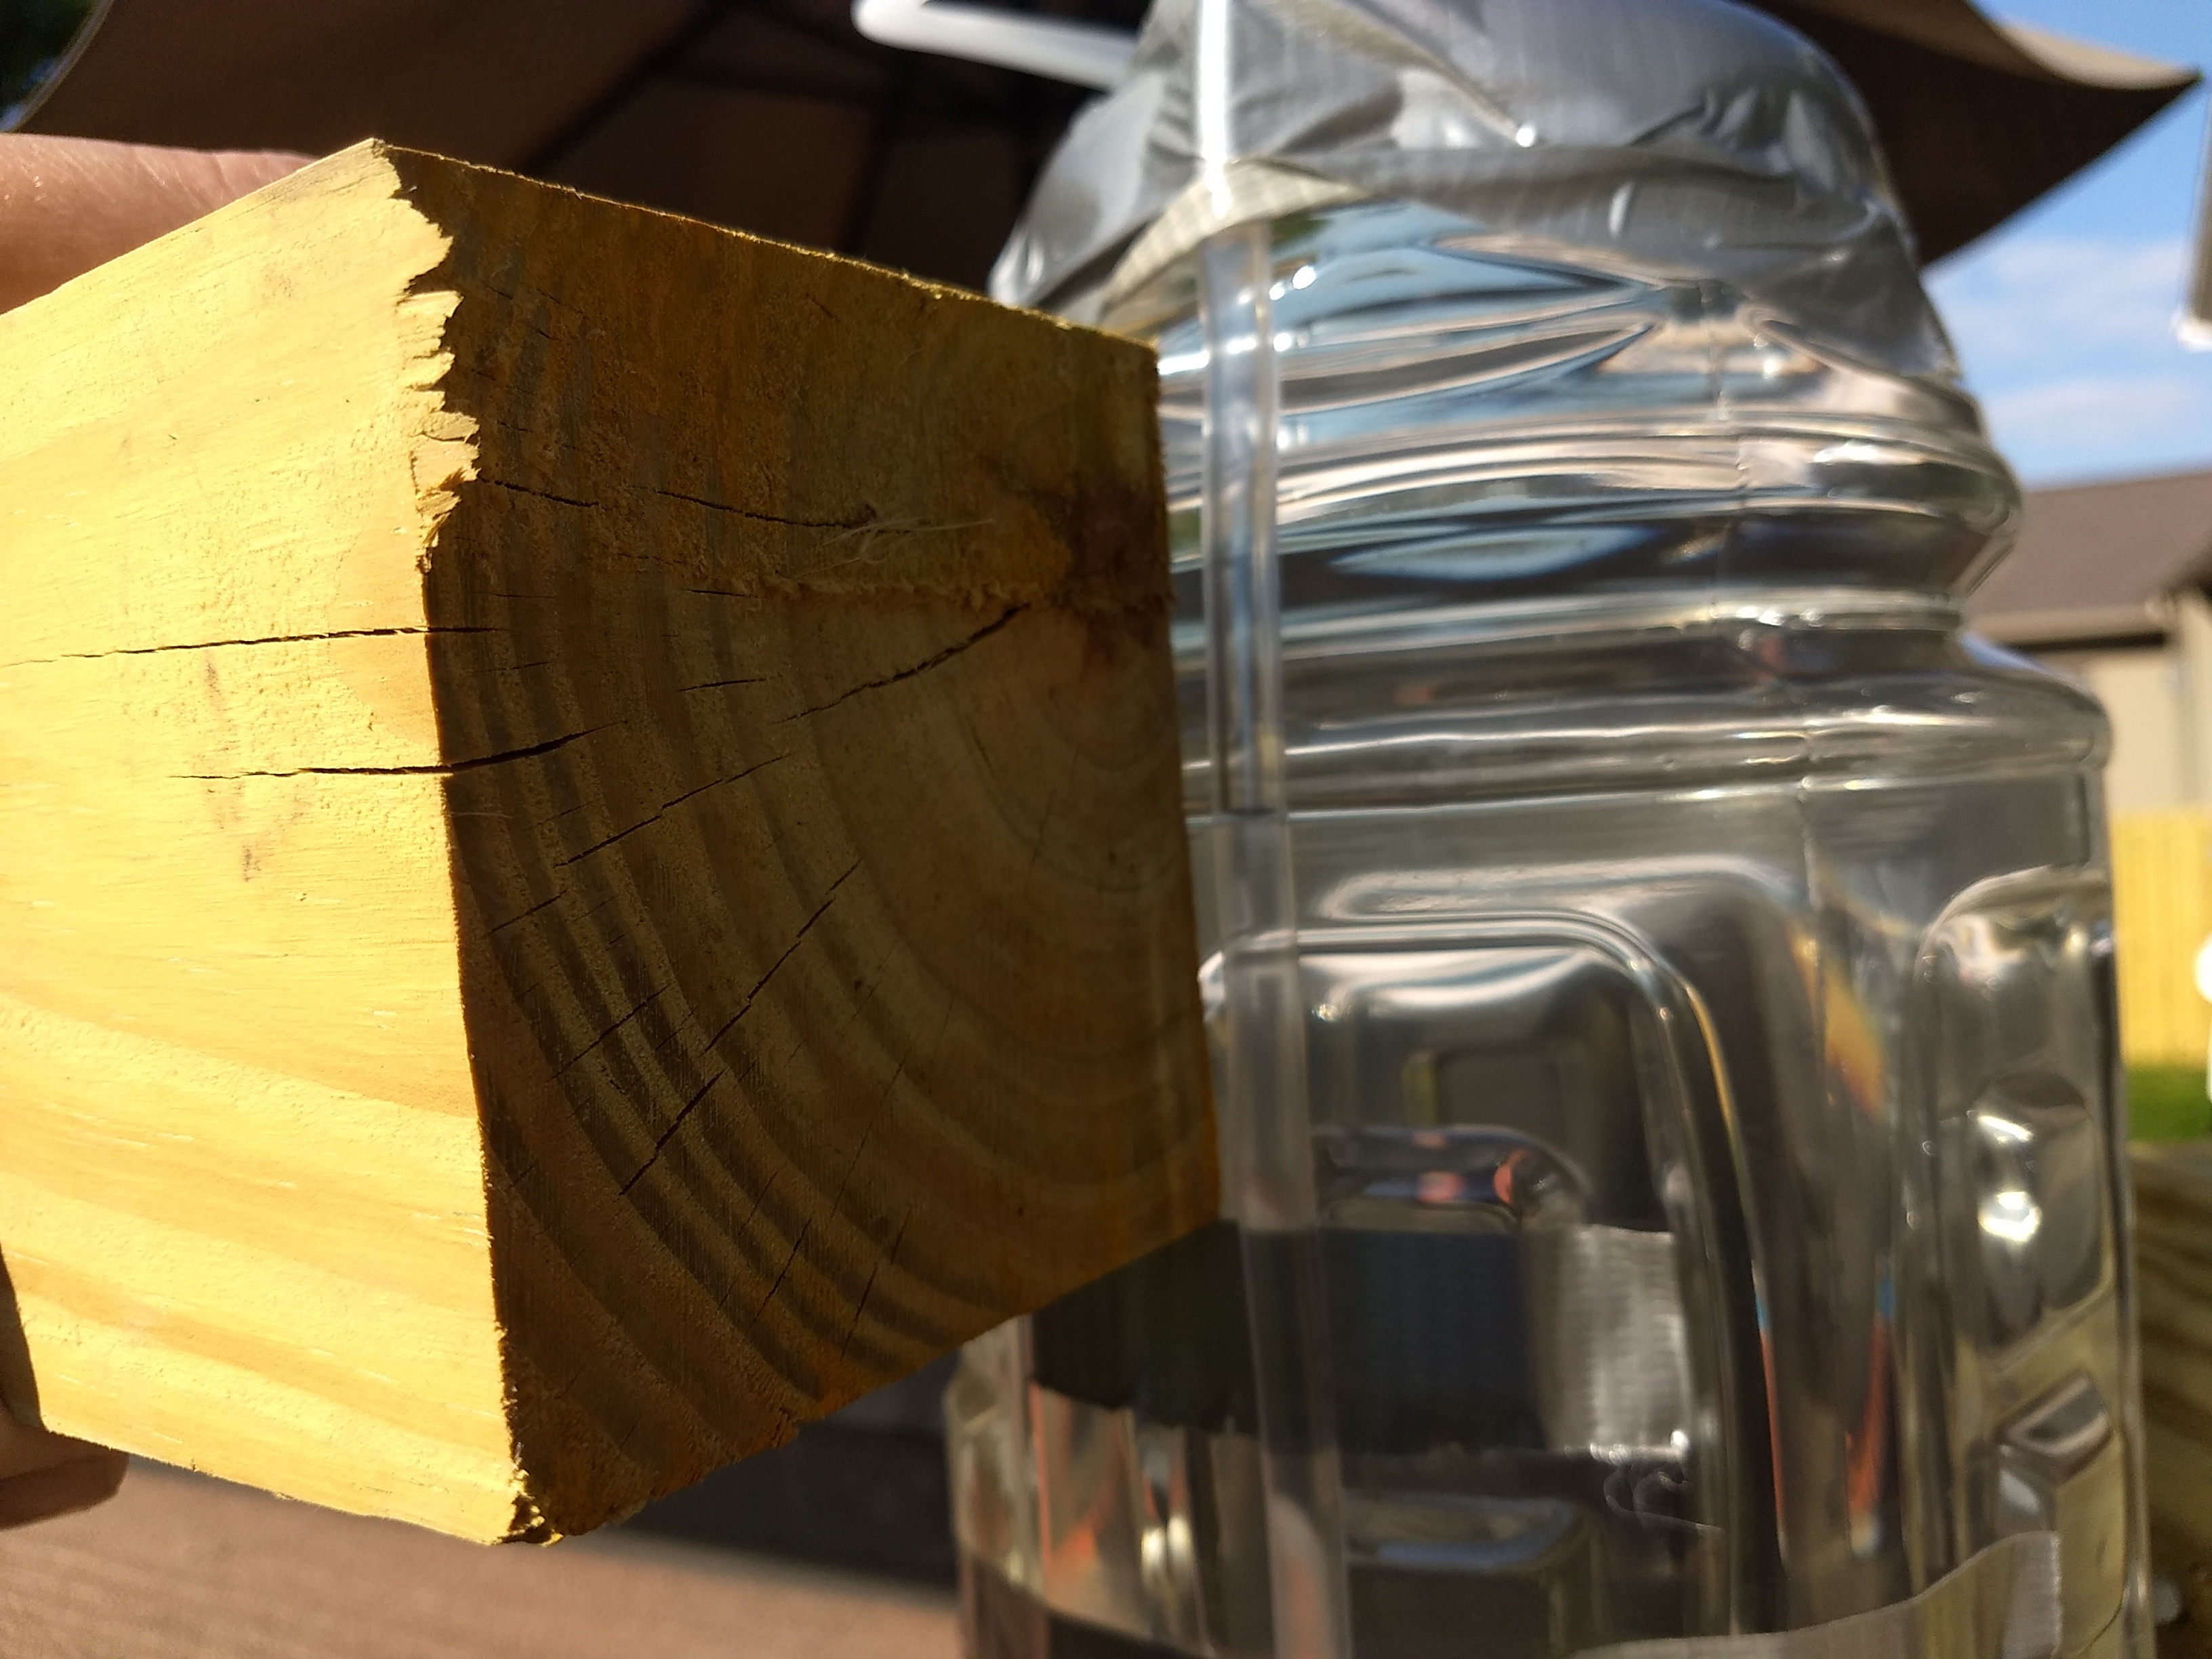
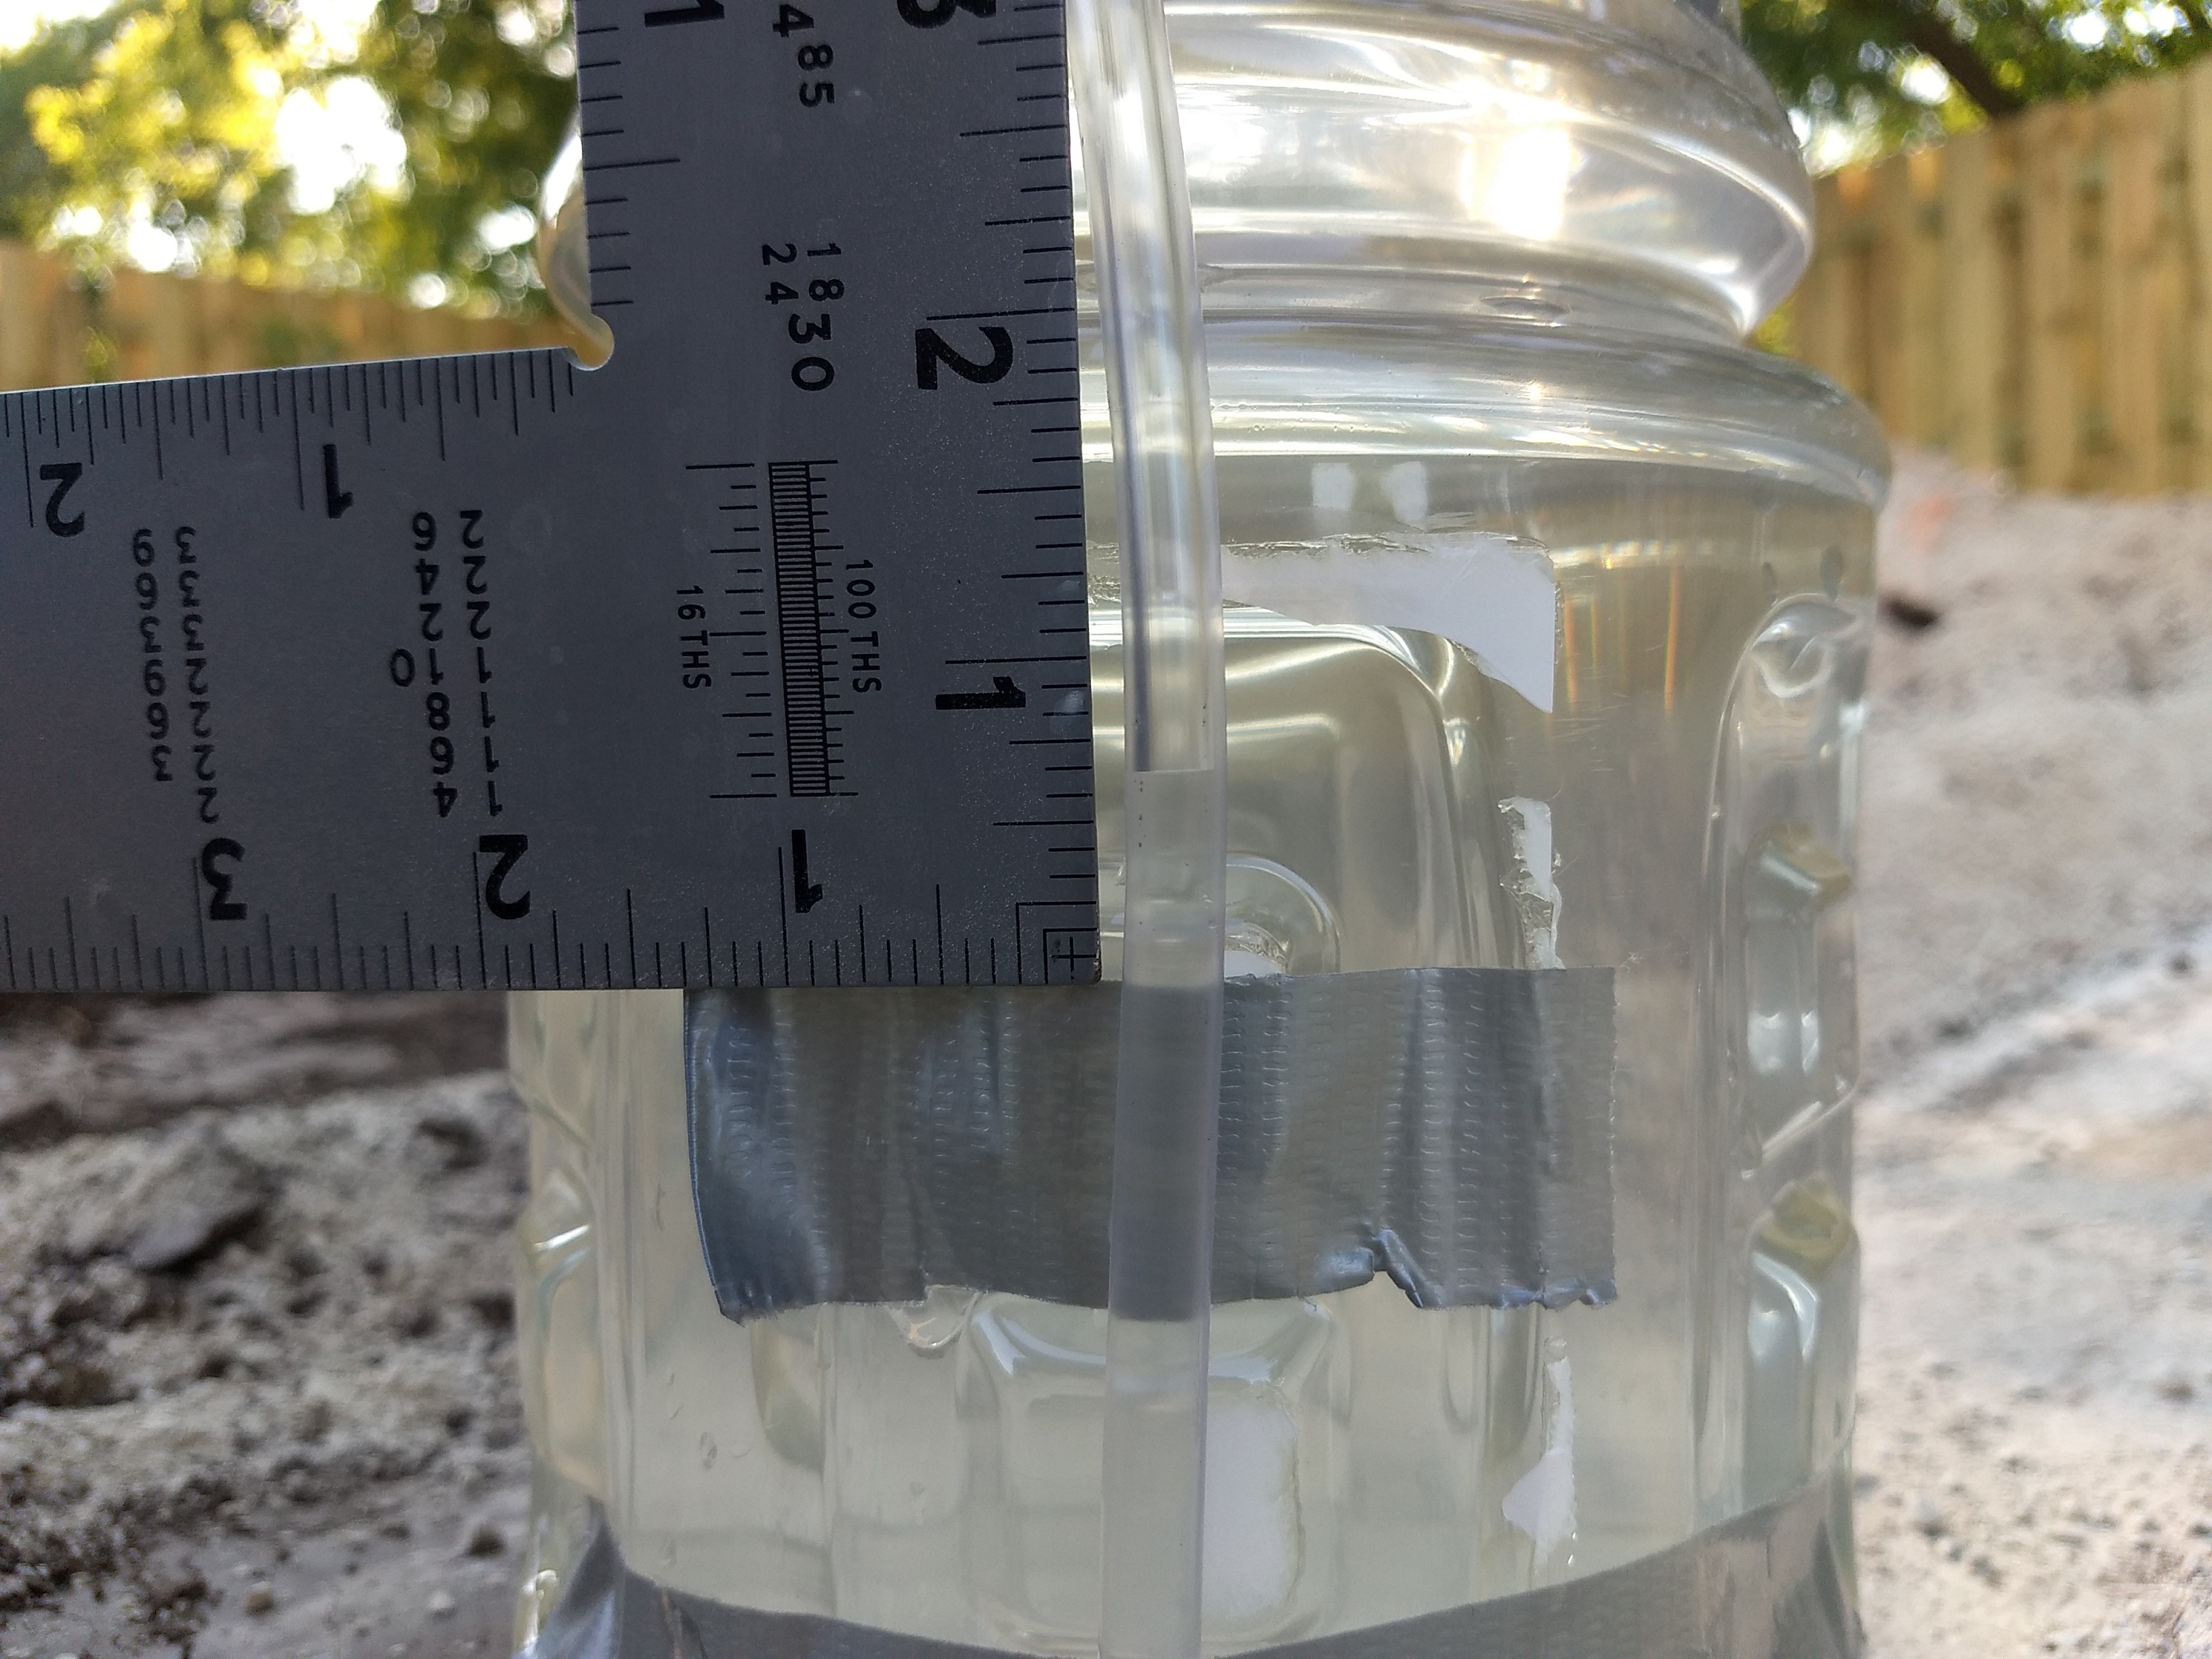
Demonstration, raising one side on a 4x4 (so 3.5").
full


A note on water levels: The water moves up on the low side by one-half the height difference, and moves down on the high side by one-half the height distance. The total water height difference gives you the total height difference. E.g. 1.75" up on one side and 1.75" down on the other, so we have 1.75 - (-1.75) = 1.75" + 1.75" = 3.5". 
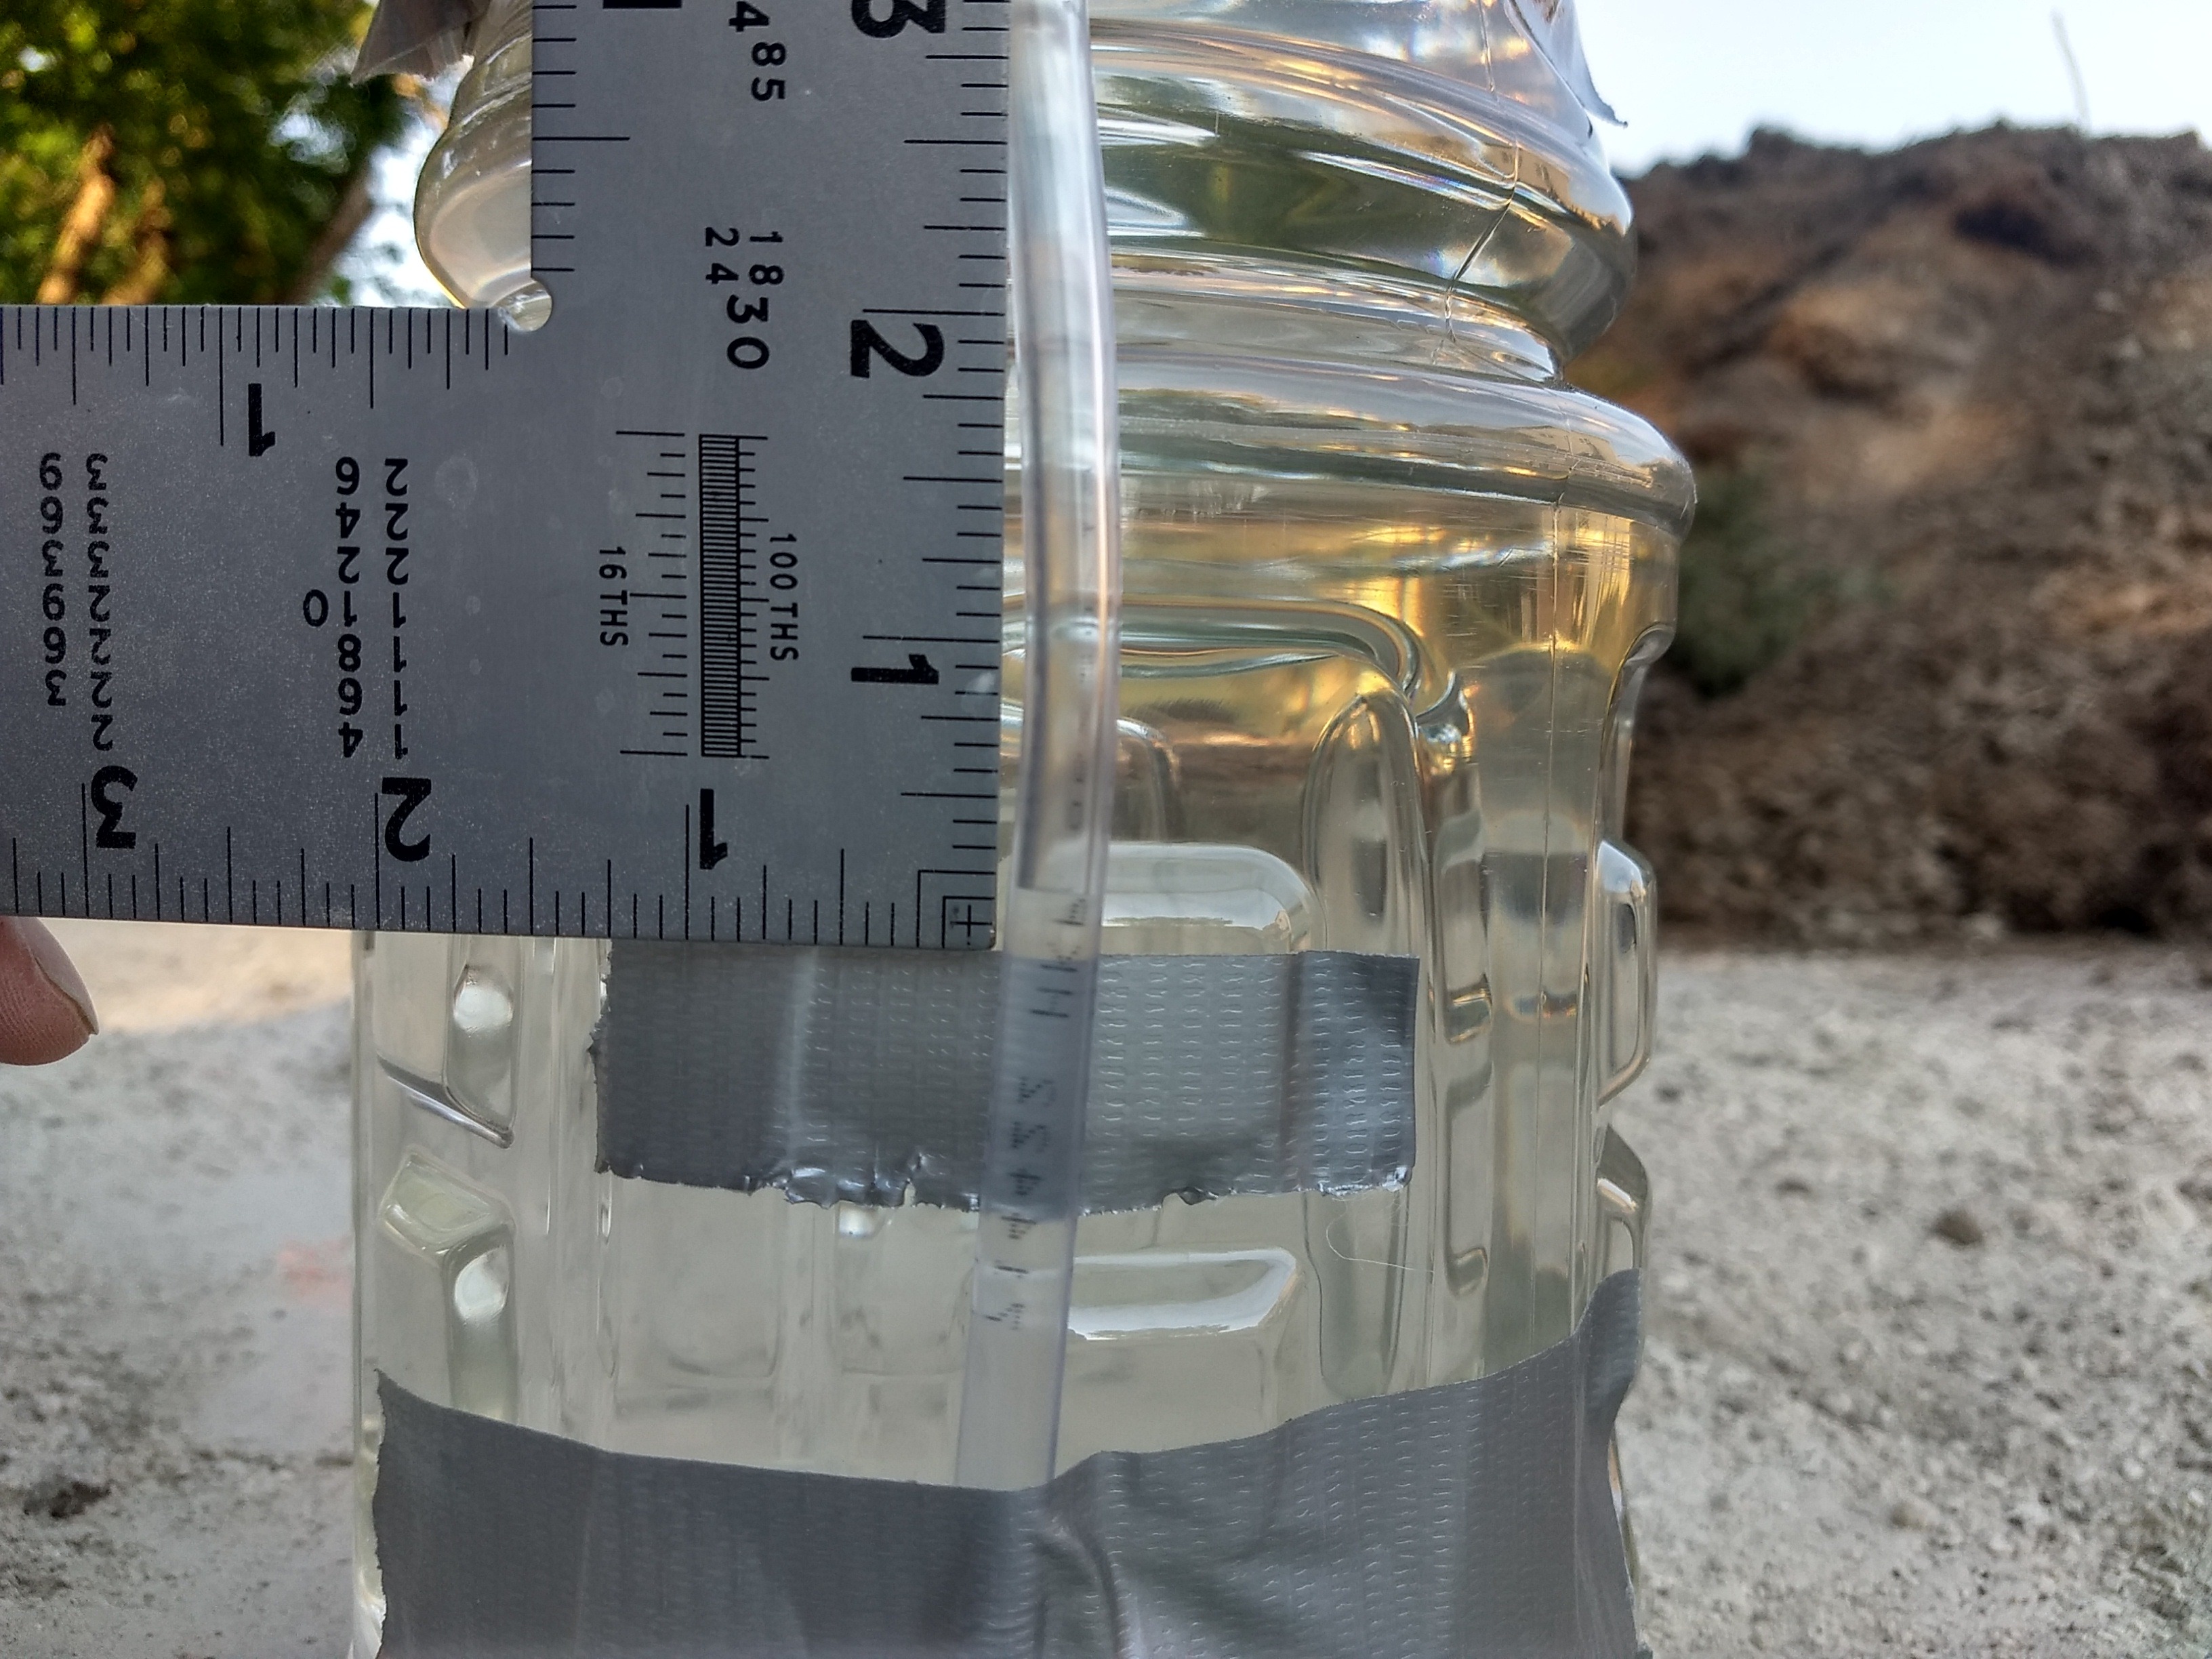
(Negative since the water is below the reference mark)
full


full


You are ready to measure! Go move your jugs to the two locations you want to measure. Be sure to keep the ends at the same height as you move. Set both jugs (stands) down at one spot, then, placing a finger over the tube end to seal it, raise one end and move to the other side of the pool, and set it down before removing your finger. Otherwise water is likely to leak out of the tube.

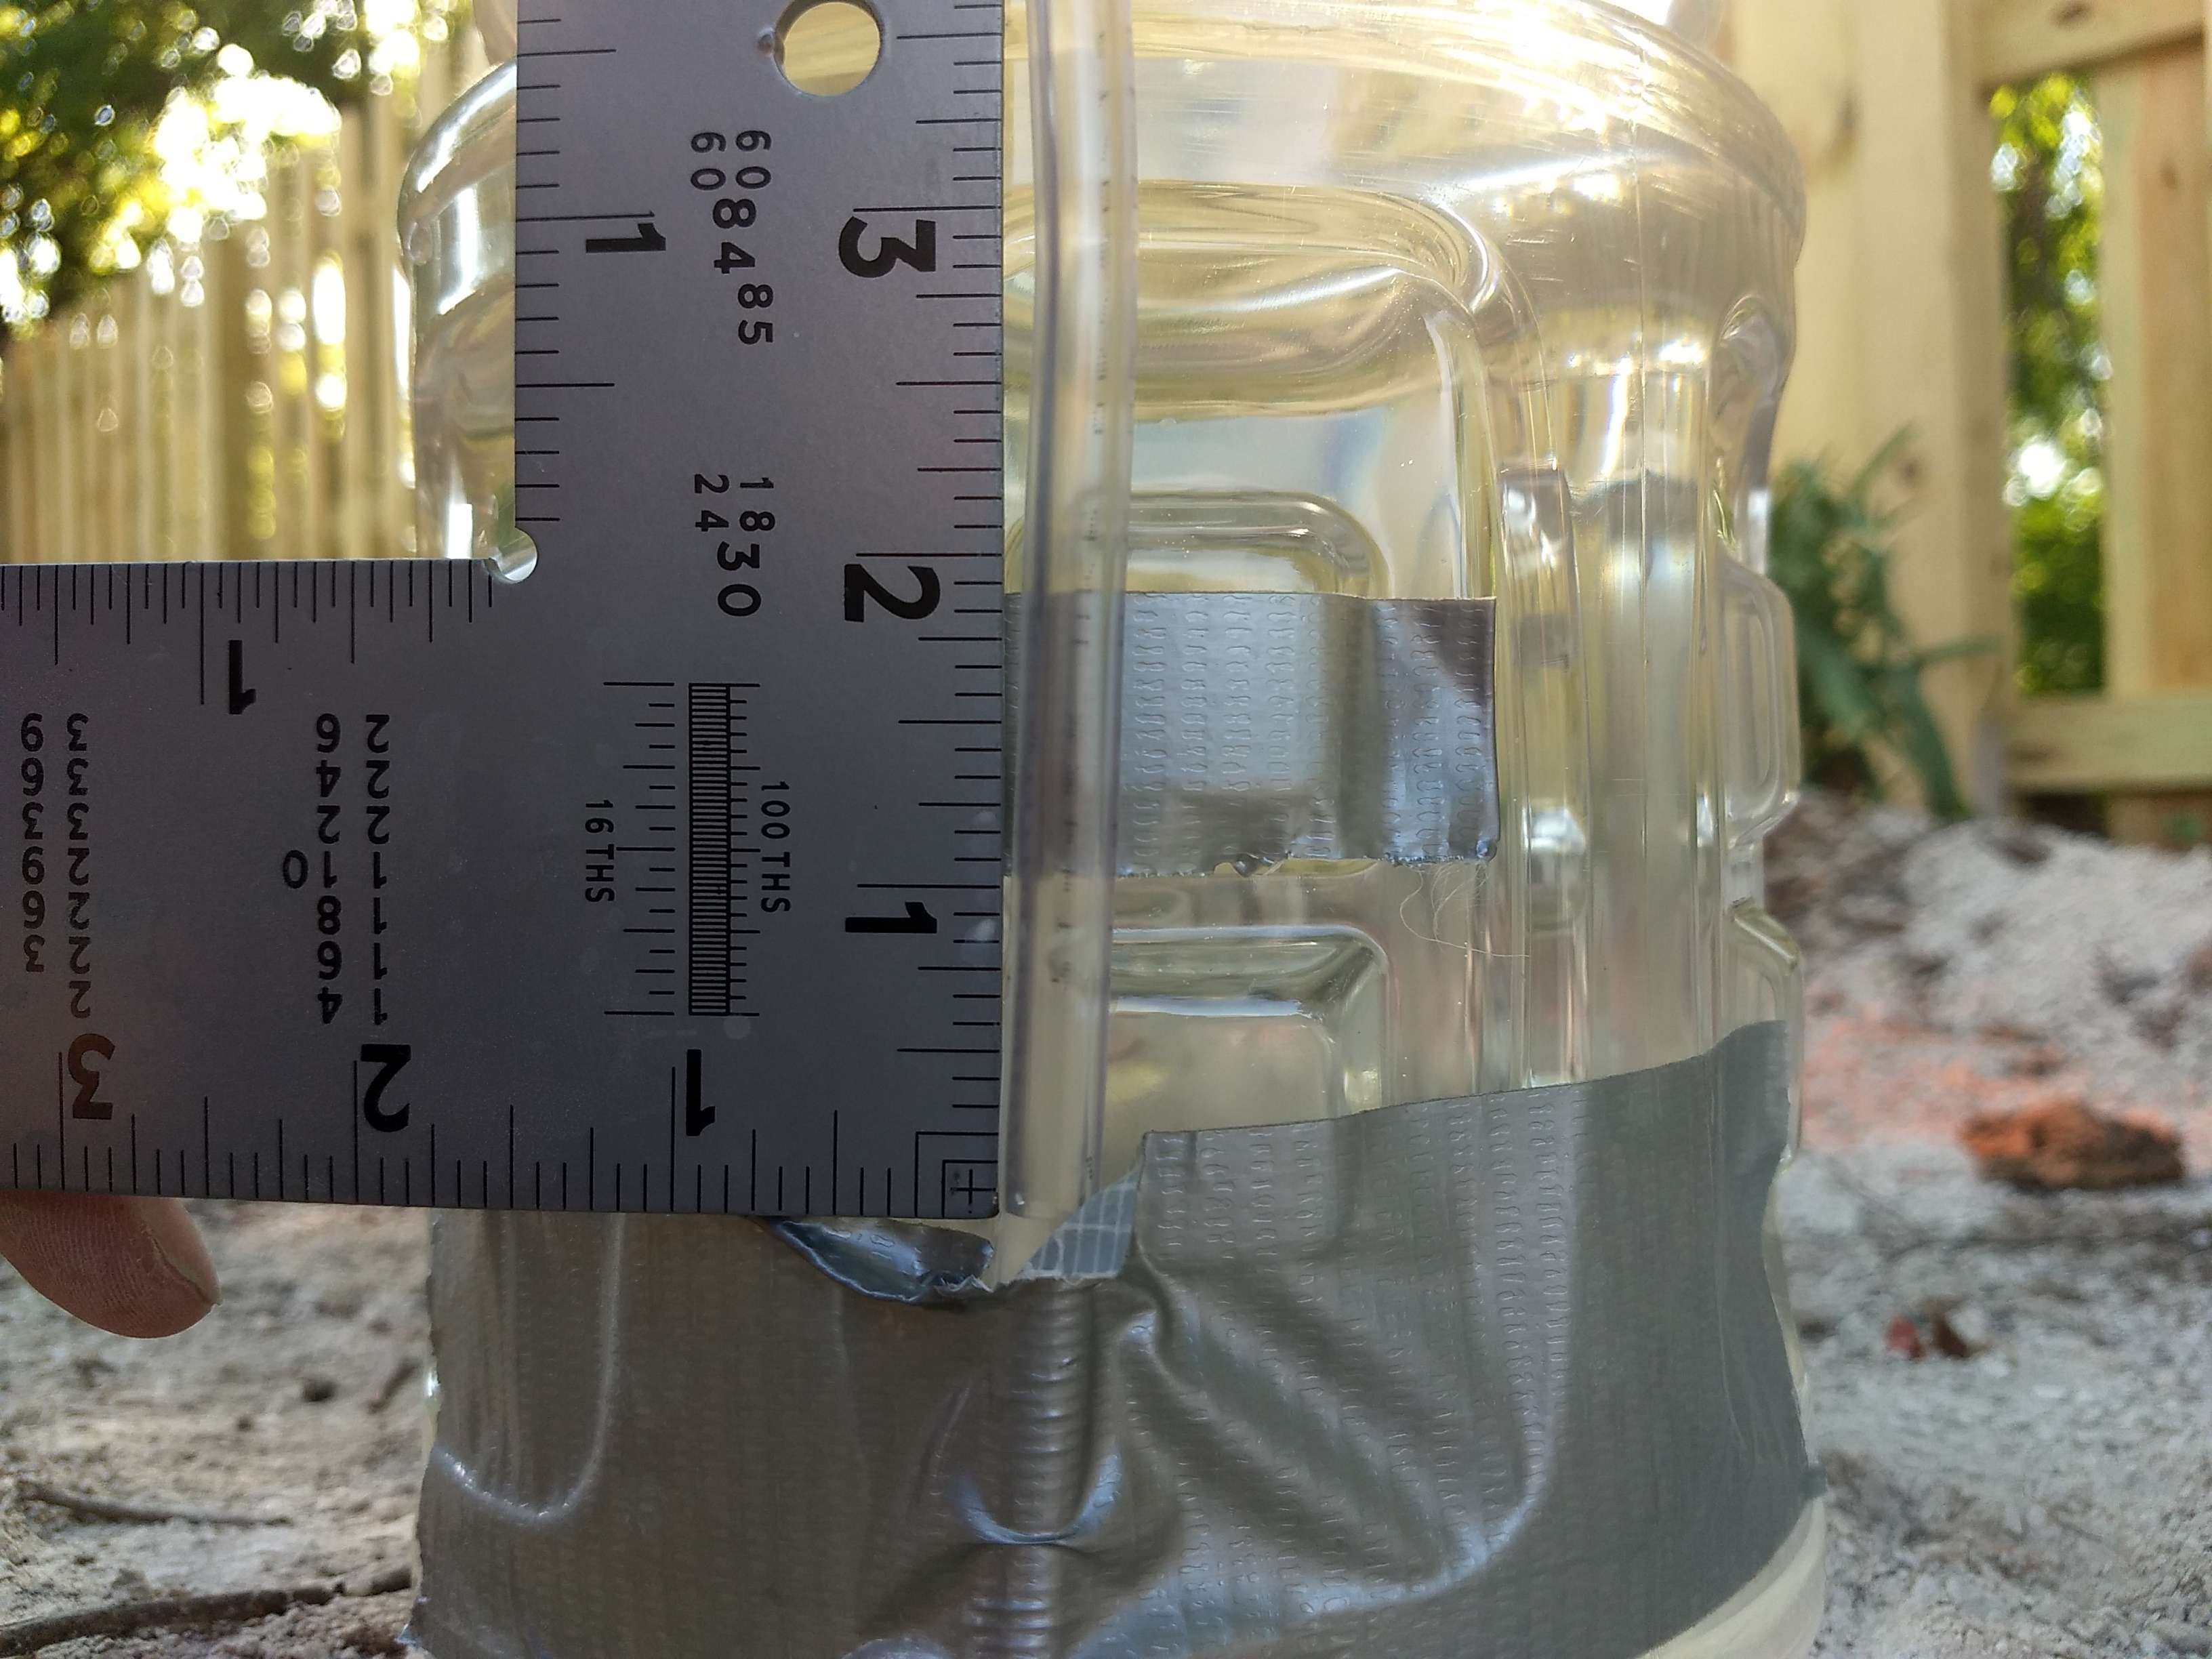
Another quirk I noticed is that depending on the location, the water on BOTH ends can move up or down from the initial creation of the level. That is fine, but it complicates the math slightly. For example, here is the measurements left to right on my pool. Note both sides are above the inital reference mark I made.
full

full


So, let's do the math. First off, note I used the "wrong" side of a framing square, so each small tick is 1/12" of an inch, not the standard 1/8" or 1/16" inch. On the low side (high water), the water is 8/12" (0.67"), and on the high side (low water) it's 3/12" (0.25"). As with the 2x4 example, it's the difference that matters, so take 0.67 - 0.25 = 0.42". This is less than 1", so the pool area is within spec left to right. Yay!

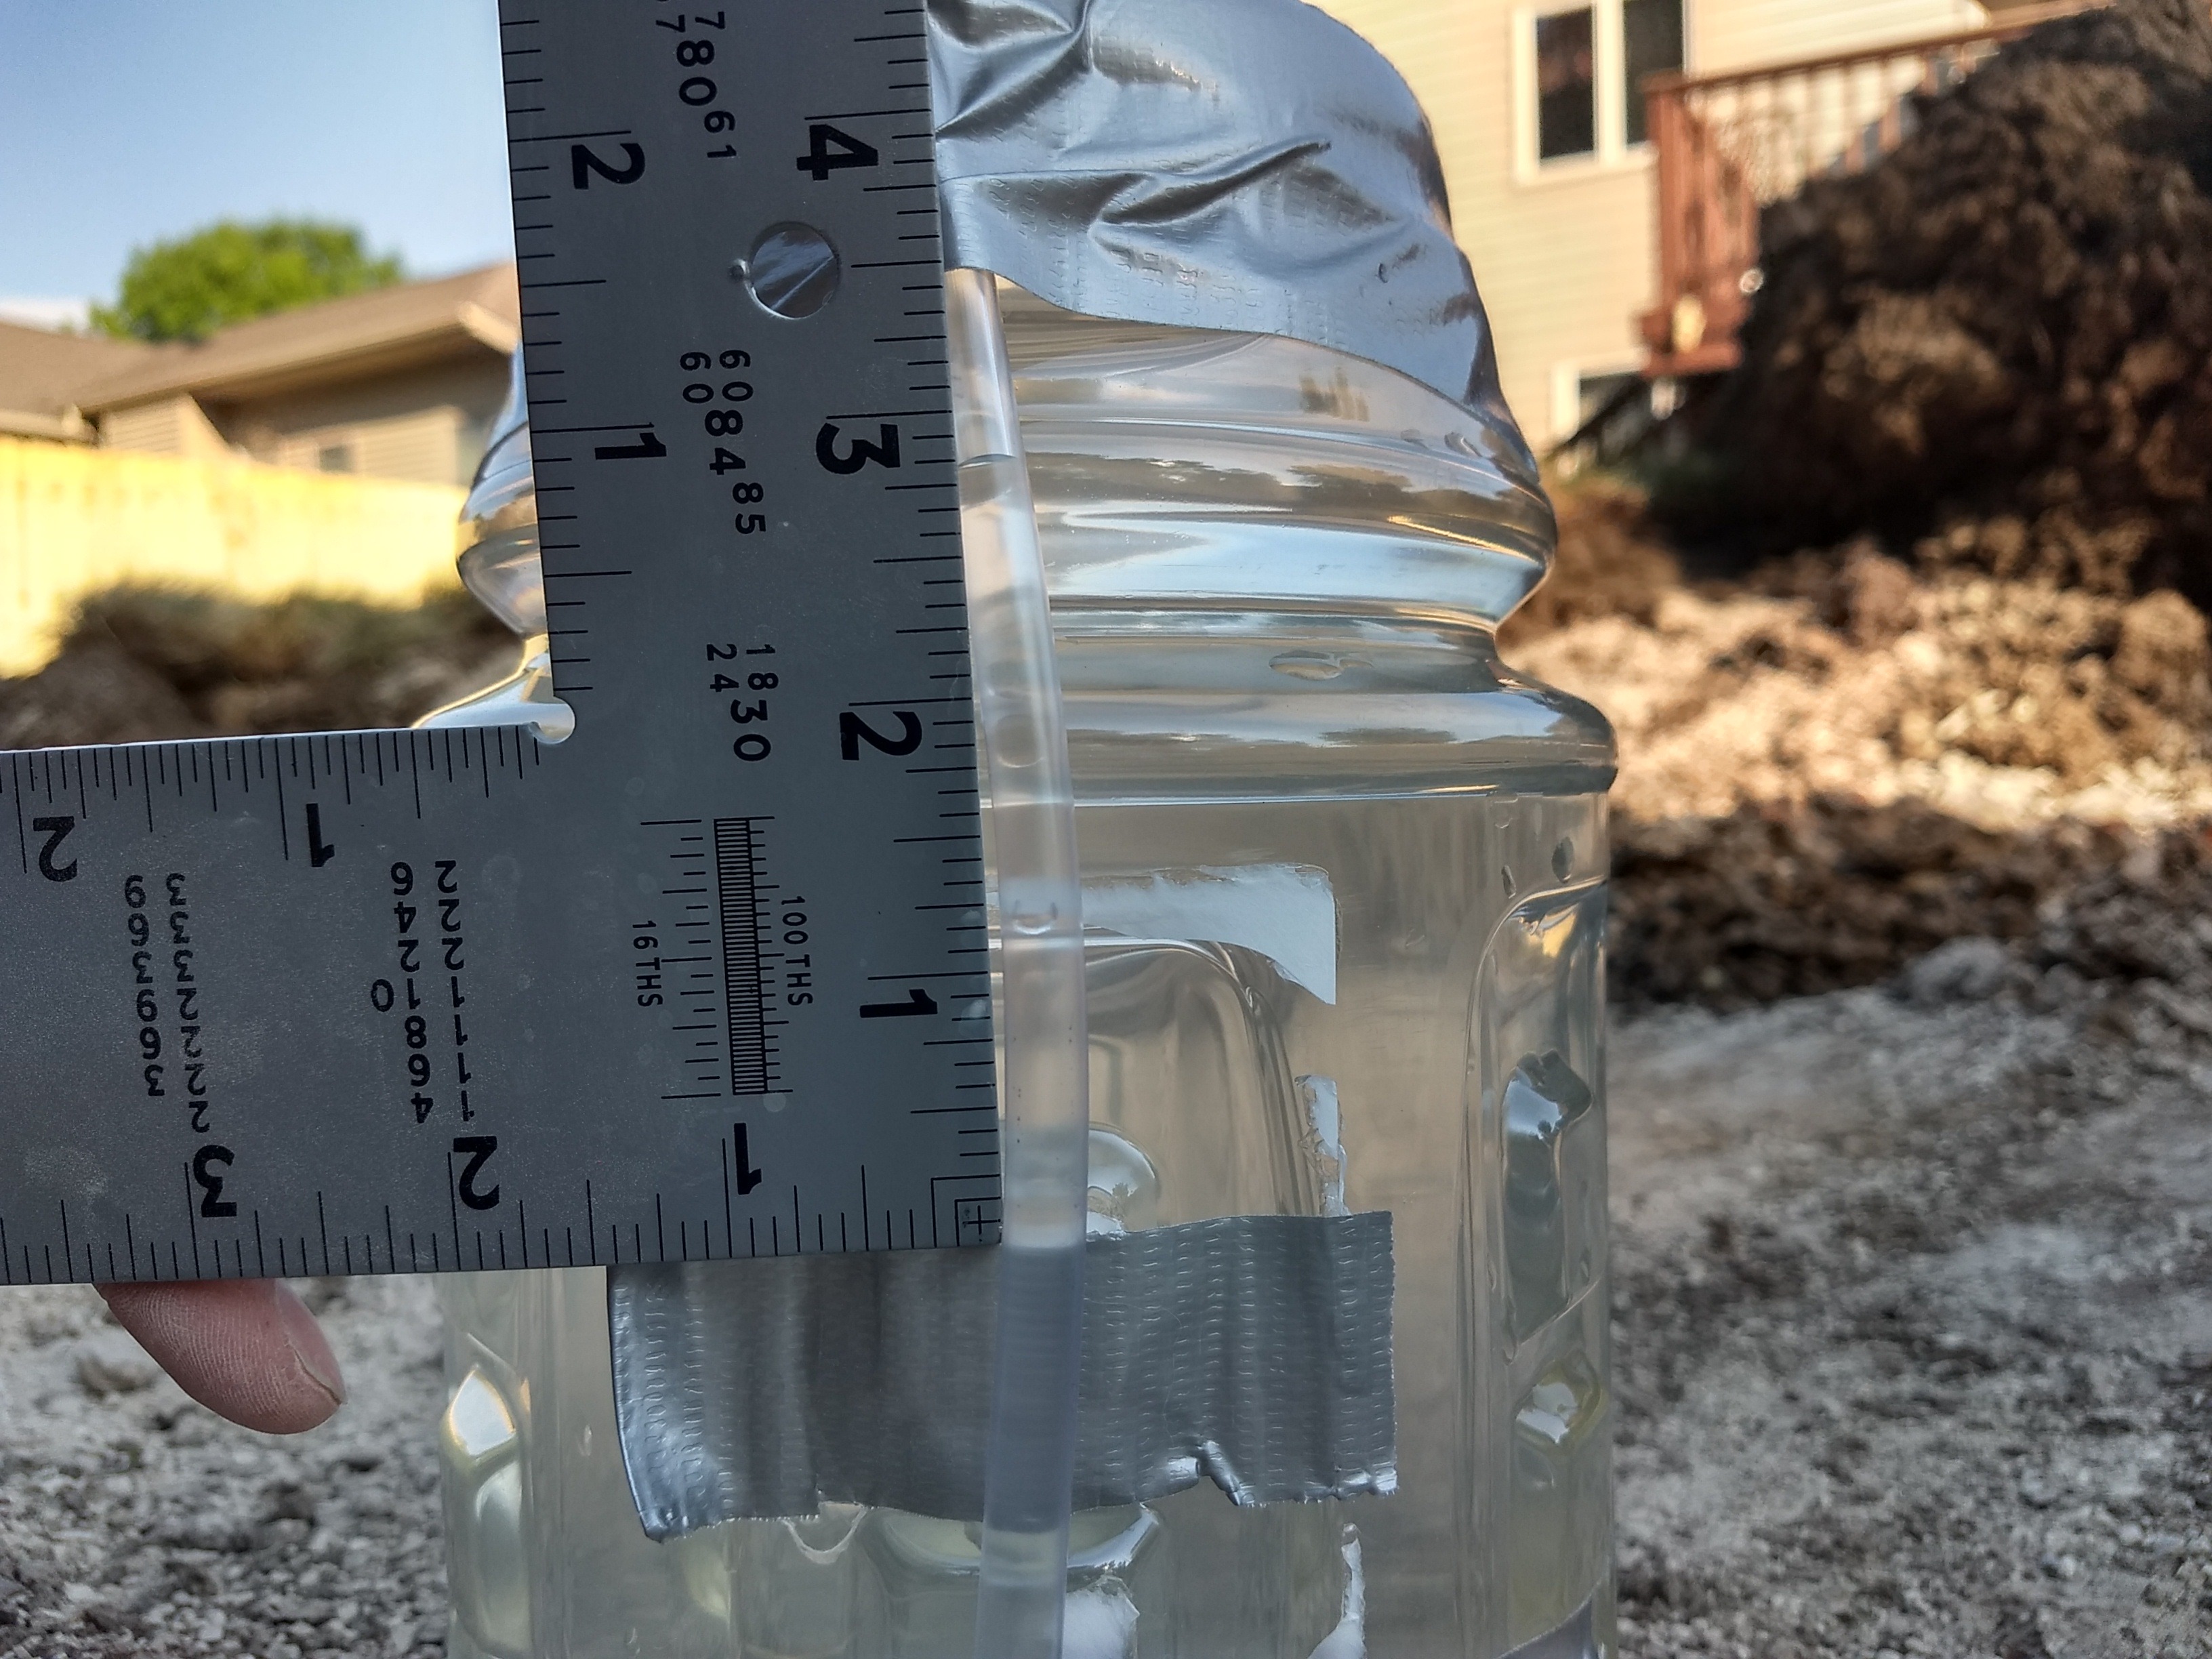
Unfortunately things looked unlevel front to back, so let's look at that. First, a shot of the water level in action.
full


High side the water is down by almost 1 11/12" (1.92")
full


Low side the water is up by 2 10/12 (2.83").
full


Again the total height difference is the total water difference, but since one side is below the reference mark and the other side is above the reference mark we will add the readings instead of subtract. So 1.93" + 2.83" = 4.76" of unlevel! This obviously won't work for a pool.

So, bottom line. I was right. The pool looked unlevel and it was indeed unlevel. They overdug the high side. Now, this isn't terrible for two reasons. Firstly, this is a tight packing sand/small rock mix, and I doubt it would settle much if we moved some from the high side to the low side (yes I know that's not recommended, and certainly wouldn't work for regular dirt, but I think it has a good chance of working with this stuff). Secondly, the high side is just the sand/gravel mix, so it's easy to dig away to match the height of the low side.

The other thing is I didn't measure out exactly the distance, and they dug wider than the pool, and this is a smallish pocket on the low side. But in any case, it's still way more than 1" off.

I'll have to talk to them when they come back and figure out what went wrong with their transit level, and make sure we're all on the same page (again) before they finish out the digging.
 
Last edited:
  • Like
Reactions: Newdude
way to go with an all out post !! Although we have come to expect as much from you, that doesn’t make it any less awesome.
 
Last edited:
  • Like
Reactions: jseyfert3
Thinking about this some more, yardsticks and two people would definitely be easier than my jugs, since the yardsticks are pre-marked and you'll always be dealing with positive numbers. Say one side the water is at 27 ¼", and the other side it is at 25". Take the difference of 2 ¼" and that's how far off the level is.

Again, a reminder that in this yardstick example the 27 ¼" is the LOW side! (The water is always "higher" on the low side)

So, to anyone who wants to build one: Buy two yardsticks and get yourself a helper and this is easier than my example!
 
  • Like
Reactions: Newdude

Enjoying this content?

Support TFP with a donation.

Give Support
How about making 2x4 'Xs' underneath like a hat/coat stand and then measure/marking them accordingly to only need one person.
 
  • Like
Reactions: jseyfert3
Okay, so for better or worse I decided what I'd have them do is shave off two inches of the sand mix that was under the putting green (high side) and put it on the low side. That's about two inches. I think it will compact well enough to not compress under the pool. If it does...well you guys can all say I told you so.

I'm debating pressure treated wood under the supports vs pavers. I've seen cracked pavers so I think I may go with the wood. Also a lot easier to deal with than pavers are, and it matches the foam height more closely. I think (there I go again) that if they are about the same height as the foam I won't flush dig the pavers/wood, as the Intex is designed to be put up on a flat surface. The round pools do not say anything about pavers, so unlike the rectangular pools which specify wood, I think the liner and supports are supposed to sit at the same height.

The guy is back digging today, he's removing the dirt pile then we'll level the sand mix. After that I think I will borrow a vibratory compactor for the weekend if available and make sure everything is compacted as I can. Then put down foam, pavers/wood, and it's pool assembly time!!!

While I wait for the leveling portion I'm going to start assembling tees and feet on the support rods, as well as the dinky little access ladder.
full
 
  • Like
Reactions: kimkats
All those years of building legos with nothing but picture instructions will serve you well today. Happy clicking.
 
The site right now. They are dumping the last of the dirt they are hauling away right now.
full


Turns out the only thing I can assemble without the liner is the feet on the vertical posts. I put them off to the side to keep them out of the way till they are needed.
full


Horizontal supports, also propped up out of the way, ready to go.
full
 
Wow the ladder is flimsy. "300 lb weight limit" it says, but the legs bow under my 190 lbs. I knew it would be bad, but wow it's worse than I thought. Making/buying a solid ladder will be high on the to do list for pool work. Probably a solid wood staircase on the outside and a higher quality pool ladder on the inside.
full
 
Bobcat is leaving. This is what we have:
full


The nice grass is no longer quite so nice.
full


Okay, so parts of this are almost rock hard, the high points that didn't get touched, and mostly on the right (towards the deck) side is a bit soft as it was fill since we knocked the high side to the low side. I think it will compact down very nicely though. I'm going to water it then head off and get the compactor rental. I'll also pick up a 14' straight board that I will tape a level to the top and swivel from a post in the middle to do a fine level.

I will top it off with 1" foam board. I'm hoping to get the pool up this weekend still but it depends how long the final leveling work takes me and what the weather is like.
 
The ground is not super level but from rough measurements I think it's within an inch. Mainly it's a little "wavy" so if you walk across the bottom you'd notice but it shouldn't affect the pool.

I don't think we'll be able to put the pool up tomorrow. There is a chance of rain tonight and rain pretty much on and off tomorrow. Showers and thunderstorms.

We may try and get some foam done, weigh down the edges with bricks if it storms, but I suspect Sunday will be the big day.

I will take some more measurements and if something is further off than I thought I'll level it out a bit before the foam.

full
 
We may try and get some foam done, weigh down the edges with bricks if it storms, but I suspect Sunday will be the big day.

The foam sheets are pretty light weight and blow around pretty easily. I would suggest not putting down the foam too early, especially if you’re expecting storms. Bricks and such might help to weigh them down, but if the wind gets under them they could still fly away.
 
  • Like
Reactions: jseyfert3
I'd wait until pool installation day. The foam sheets aren't particularly labor intensive or overly time consuming to lay in. Just seems there'd be more to lose than gain by laying them down prior to a potential storm.
 

Enjoying this content?

Support TFP with a donation.

Give Support
Thread Status
Hello , This thread has been inactive for over 60 days. New postings here are unlikely to be seen or responded to by other members. For better visibility, consider Starting A New Thread.