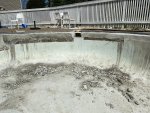
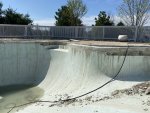
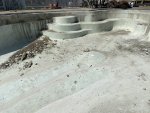
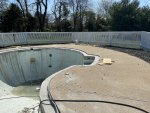
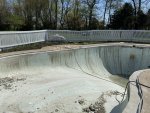
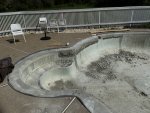
Bond beam repair

You can mix it by parts easily. For 5 10' sections i would personally form it if I was making the repair. Super easy and fast and I can leave the site with no worries or babysitting. Nothing fancy some thin plywood or whatever is laying around my yard this isn't pretty formwork.

Was thinking to use the Cement All by Rapid Set using some of their set control which gives it longer work time. Do you think this product would be okay? I think this product would allow for formless install as is. However, they also sell a plasticizer that I could use to do forms also.

I will head back out to HD tomorrow and look for some suitable wood to use as forms.

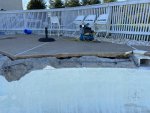
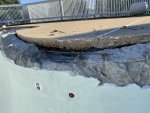
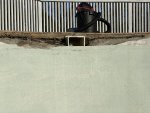
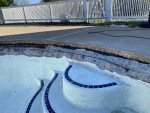
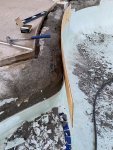
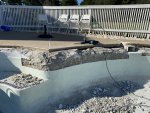
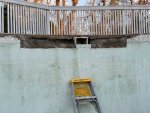
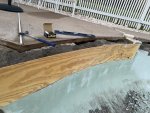
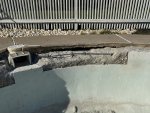
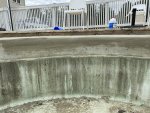
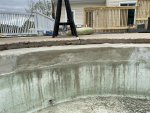
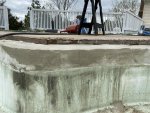
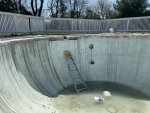
Attached some pictures of the rebar I installed. Probably could use some more pegs in certain places and maybe raise them up a bit higher. I did acid wash the bond beam today with 1 part muriatic acid and 7 parts water. Also began grinding off the old tile thin set using a diamond cutting cup.
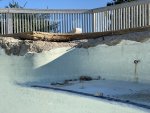
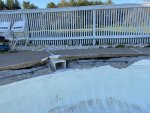
IMG-1599.jpgIMG-1598.jpgIMG-1597.jpgIMG-1596.jpgIMG-1600.jpgIMG-1595.jpg
 
I'm not a fan of any of that rapid set brand stuff. Here's how I would make that repair. I would make bench steps with the forms. 1/4 plywood is plenty. I'd shoot level with laser kind of like your chalk lines but I'd go into nice firm material. I'd take my diamond wheel on the angle grinder and make a shallow cut line and keep stepping it with a plumb cut up or down as needed. Then shave or chip some material out above it so you have some depth and thickness to the new concrete. Leave a tiny ledge of plaster to sit the plywood on so you have minimal leak out and then bend and work around the shape of pool. Use 2x material to join sections and make little squares at the top so you can attach deadman back to the deck for support. Doeant need to be pretty and just lose to original shape. The plaster guys will go heavy and fill in anything or you can shape with a grinder. The top is better slightly low you will mud up to do coping and tile will hide the gap. I think shaping this with mud by hand is gonna be alot harder than you think. You need to keep it all flowing if possible to avoid cold joints. Dont forget bonding agent on all old surfaces
 
I'm not a fan of any of that rapid set brand stuff. Here's how I would make that repair. I would make bench steps with the forms. 1/4 plywood is plenty. I'd shoot level with laser kind of like your chalk lines but I'd go into nice firm material. I'd take my diamond wheel on the angle grinder and make a shallow cut line and keep stepping it with a plumb cut up or down as needed. Then shave or chip some material out above it so you have some depth and thickness to the new concrete. Leave a tiny ledge of plaster to sit the plywood on so you have minimal leak out and then bend and work around the shape of pool. Use 2x material to join sections and make little squares at the top so you can attach deadman back to the deck for support. Doeant need to be pretty and just lose to original shape. The plaster guys will go heavy and fill in anything or you can shape with a grinder. The top is better slightly low you will mud up to do coping and tile will hide the gap. I think shaping this with mud by hand is gonna be alot harder than you think. You need to keep it all flowing if possible to avoid cold joints. Dont forget bonding agent on all old surfaces

What product do you recommend I purchase instead of the RapidSet brand of stuff? Which if any of the items on the list of locally available products should I use?
I am going to do as you say and cut out plaster to form a level surface to anchor and set forms on and will pour it in. I plan to use a mix of portland cement, acrylic bonding agent and water, mixed to a thin consistency and brush on before pouring the concrete.
 
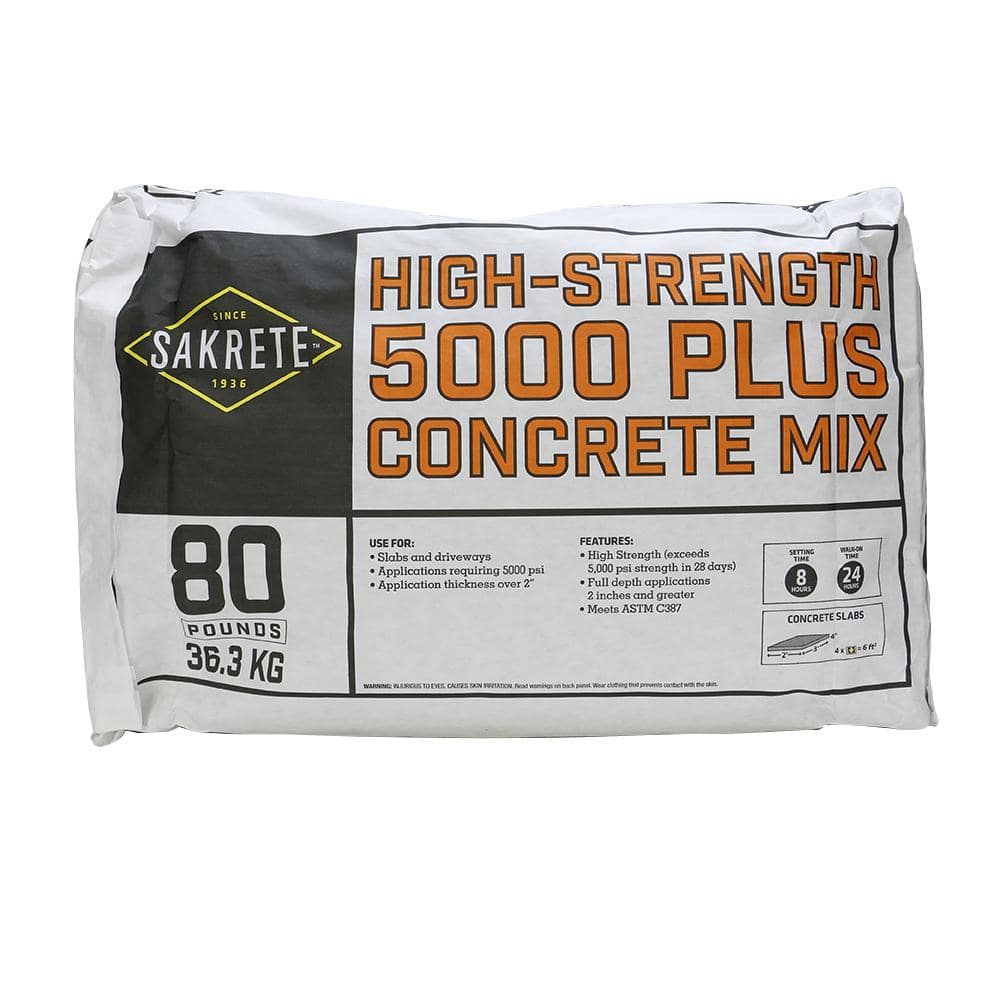
Sounds like a plan. You can throw a little caulk in edges of form to pool to seal the leakage better but your gonna chip the plaster I assume so dont sweat it too much. Get the highest strength concrete mix you can 5000psi is readily available. 4000 is prob the original mix so no worries. Dont sweat it too much just get it close to shape the plasterers will make it pretty. Little skitch marks and edges you can just grind away
 
I can't quite understand what the lack of good products in my area is all about. Lowes can get ProFinish to me, but its not carried in local store. $95 shipping to truck it to my house. Only need like $50-60 of product.

Is RapidSet hard to work with because its hardens so quickly? They sell this stuff which makes it not harden so quick.
Rapid Set 0.88 oz. Concrete Pharmacy Set Control-80100000 - The Home Depot

The list of items I sent is basically the only products I can get. Zip code is 20155.

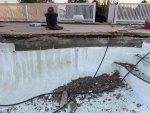
Attached some pictures of what I accomplished today before it got dark.
IMG-1607.jpgIMG-1602.jpgIMG-1604.jpgIMG-1605.jpgIMG-1606.jpgIMG-1608.jpgIMG-1603.jpg
 
Good stuff grab it and get it done

Work looks good exactly how I'd do it. Watch the skimmer be mindful of leaving a recess for tiling to finish it easier to mud it out if shallow. Bond coat everything. For those curvy corners you can cut forms a little short and use sheetmetal or anything flexible that will hold up as part of the form to keep you lines flowing with existing
 

Enjoying this content?

Support TFP with a donation.

Give Support
Got some concrete work done today. The areas pictured were done without forms and simply getting a flat surface. I did pour one form this evening, but won't have pictures until tomorrow. Hoping to finish all the bond beam tomorrow, but that will be time permitting. Thanks for the advice on the skimmer, I wasn't even thinking about saving room for the tile.

I have been using a bonding agent mixture, but did accidentally forget to add it to about a 4 ft section and didn't realize it til the concrete was already in the form. Hopefully that wasn't a huge mistake. Else I will be chipping out new concrete.

image_6487327 (2).JPGimage_6487327.JPGimage_6487327 (1).JPG
 
  • Like
Reactions: kimkats
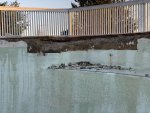
Update with pictures. I have repaired pretty much the entire bond beam it seems. I still have to do some diamond cup grinding on the face of the bond beam to make the tile happy, and some of the bond beam top is wavy, but hoping that coping mortar should take care of any of those imperfections. Process is coming along. Coping should be here by end of week to get started on install.


IMG-1635.jpgIMG-1634.jpgIMG-1632.jpgIMG-1633.jpgIMG-1631.jpgIMG-1630.jpgIMG-1629.jpg
 
Haha. Well hopefully it won't be too awful. I measured the radius on the coping that was on there previously and took pictures of each coping stone.

Plan is to dry fit coping with 1/2" grout gap, put bender board leveled around the perimeter of the pool for the front of the coping to sit on, and then mortar and level into place.

Do I need to plan on using the bonding agent between the mortar and the bond beam as well?
 
That should work fine. No need for bonding agent it's not structural. I use thinset on my copings but I get them super close and use expensive stuff laticrete 254. Type S is fine and used by most installers. Doeant hurt to throw some into the mix for good measure but you dont need it on the bond beam
 

Enjoying this content?

Support TFP with a donation.

Give Support
Thread Status
Hello , This thread has been inactive for over 60 days. New postings here are unlikely to be seen or responded to by other members. For better visibility, consider Starting A New Thread.