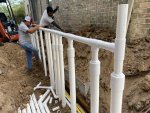
Another The Woodlands, TX Build - Finishing touches

PB told me yesterday that it will not do what we are expecting and suggested adding a manual valve to each water feature. I reminded him that the only reason we added the automation was for this function without manual valves, and for the lights, so we will see. I am sure we will be adding another actuator.

Hopefully it’s an easy addition to the automation platform. I’m not familiar with your equipment.
 
I never really posted pictures of the start of this project so here we go...

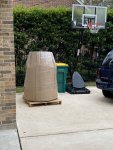
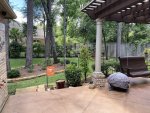
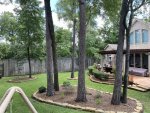
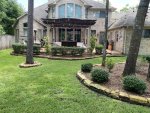
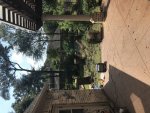
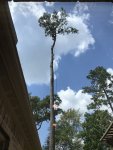
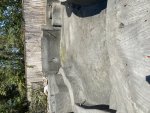
Before - it was really tough to cut down so many beautiful, tall pine trees
37D9165C-1BC4-4BEB-A1B1-2431B70F236A.jpegC4B130B7-2D75-4555-8D3C-4B4A78FB1701.jpeg22F20278-0743-4244-9755-F883617891B6.jpeg
D763C797-8CA3-47F9-BB17-40672876830D.jpeg
C1AD74C1-466F-4DE4-B2A0-49CA43AC11E1.jpeg
 
Finally getting around to updating this thread and adding pictures.

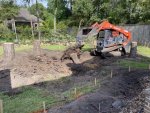
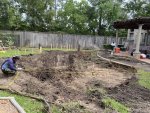
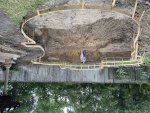
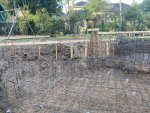
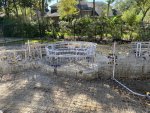
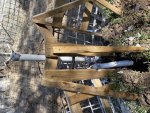
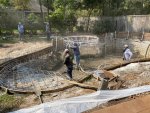
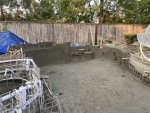
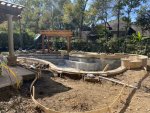
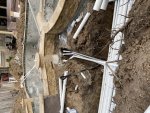
I sure wish I knew more about the excavation process which I learned here after the fact. The 2 tree stumps on the left side of the first picture are right in line with the wall of the pool and part of our pergola which became a problem later. They had to dig out the root ball on that side and we ended up with loose, disturbed soil that should have been hauled away. Instead it was left along the side of the dig which you can see in the second picture.

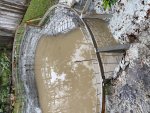
I’m not sure why the last picture is flipped?

67FDFE2C-C125-4AB8-97F5-CCD33696608B.jpeg0CA0F73E-8143-4CBA-B36A-9CC2F77C3624.jpeg35856B0F-D9CA-4425-8C81-42E7EBF268D9.jpeg
 
Last edited:
I always hit a size limit on pics. I downloaded a pic resize app to my phone and the images at 75% upload ok. There is also a limit of 10 images per post.

I typically select the “medium” or”large” picture size on my iPhone when uploading them to keep the picture at 1.5MB or less and it’s been working but know I can’t even do that or upload a 500mb picture. Perhaps there is some kind of limit per time period? I guess I could upload the pics and link them here but it’s so easy to just use my phone and add via the picture roll. Oh well.
 
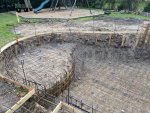
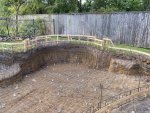
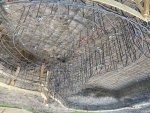
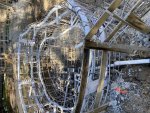
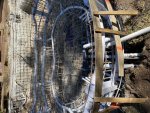
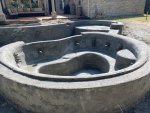
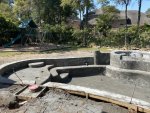
Here are a few pics from the rebar stage... This was pretty much the easiest part of the build and where I didn’t have to stay on top of things.
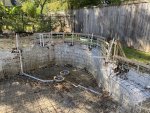
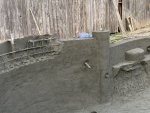
Although the last picture shows the loose soil I mentioned in the dig post earlier and became a source of frustration.

again, I will reiterate. If any soil is disturbed during excavation, it should be removed. That side will become a problem.

E841CA00-BCF3-4EA7-98DE-1F400497D145.jpegC02055BB-F07E-4477-B748-B73A23EEB204.jpeg2DD58584-E8DA-41D8-8CE5-B4E6C1FEC705.jpegD6BFF0B4-6F36-4ED0-B5F1-090CF283944B.jpeg
 

Enjoying this content?

Support TFP with a donation.

Give Support
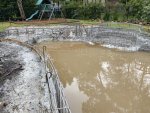
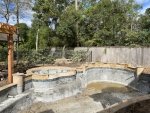
Of course with tropical storms on the way and what would end up being 4 weeks until Gunite, we had the pool flashed to prevent cave-ins. Which turned out to be a good idea as we ended up with a half full pool...


463F6F00-0AB4-4829-9C8C-AA746F164CBA.jpeg70291732-0511-4F5F-AF55-3B1906ABDF7E.jpegC2857BED-7C08-4D34-929D-A24DBF21182B.jpeg
 
Next was plumbing rough-in before Gunite. We had decided to include a couple of unique options in our build.

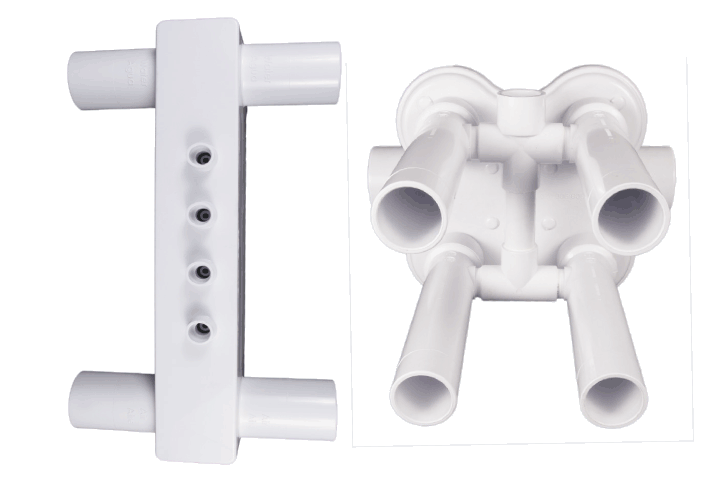
First, the spa... we wanted some pretty strong therapeutic action for the jets and another builder had shown us the JetArray product. It’s hard to find much information about them online and not really any real world feedback (even here at TFP) but we decided to go for them.


One of the major obstacles with this system was how to power the JetArrays. Even the info on their website is misleading with GPM ratings all over the place, as little as 10gpm, 10-20gpm, over 15gpm, as little as 25gpm??? We decided to run a dedicated pump for the therapy jets with 25gpm per JetArray for a total of 150gpm for the 6 JetArrays. To get that much flow, we picked a IntelliFlo XF pump and 3” suction and return lines (we have an additional 3” suction line for the spa which could provide a portion of its flow to the pump as well if necessary). The spa drain in a large channel drain capable of over 300GPM. Getting the PB and plumber to agree with the size of the pipes and runs was a little bit of a struggle but proving the flow rate charts available from the sticky thread here at TFP was a big help in those discussions.

Installing the JetArrays in the spa was another ordeal. They should have been installed during the rebar phase as the front side pretty much had to be removed to fit in the piping. Then the Gunite crew had 2 people work at least half of the day repositioning and leveling all of the JetArrays. Having the rolled beam / neck roll on the spa definitely made it more challenging as well.

19897326-23B0-47D4-BDC7-4737F17081DE.jpeg
7C184BC1-D792-41AB-AD8F-3B5DA5B84DFD.jpeg
1C284CE0-B67F-42CC-B3A4-A2ED376A9BF6.jpeg
 
Last edited:
In addition to the spa JetArrays, we also have 3 wall scuppers and 3 water bowls on columns supplied by wall drains. And a chiller return that supposed to be mounted low in the middle of the pool. As we didn’t want any toe stubbers on the floor of the pool, we used another flush circle drain for the return hence the 2 circle drains shown below.

FE062981-7965-47EA-B385-E21286E28C60.jpeg
14B35B0F-7A2A-42AC-BC06-BDD6AEF180CB.jpeg
 
The other activity before Gunite was the placement for lighting. We went a little overboard, but we wanted to have ultimate control over the lights based on where we were sitting around the pool/spa, ability to have multiple colors at the same time, have a more dim pool or really bright, so we went with 8 Microbrites and 4 transformers which will be individually controlled via our IntelliCenter.

Each Microbrite is wired all the way to the equipment pad so we can change the lights into different “zones” if necessary.

Currently the plan is to have 3 zones for the pool/spa and 1 for landscape lighting with the attached diagram.
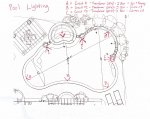
1A7F88B2-B8D7-4D7A-87AF-5512C3251B89.jpeg
We originally were thinking about putting the columns lights shining up by extending the benches and try to light up the columns and the water flowing from the bowls into the water, but after more research we thought it probably wouldn’t work very well and provide the desired effect. I think our current plan will work well with multiple lighting options.

We could have all of the lights on and have everything really glow well.

We could have the different zones different colors for a festive theme, such as red white and blue.

If we are in the spa or spa side pergola we could have more subtle lighting and just have the column lights on so lights are shining towards us.

If we are on the existing patio (bottom of the drawing) we could have the spa/tanning ledge and cove lights on without shining towards us as well.

Overall, a lot of potential options and I’m really looking forward to playing around with a few options.
 
Last edited:
Additionally, to try to light up the columns and water bowls, I’m hoping to try out these Pentair landscape lights mounted on the top beam of our existing patio to shine down on the columns and raised back wall of the pool about 25’ away.

I hope to have one light in soon to give it a try and will post some thoughts.

 
  • Like
Reactions: TampaKathy
We finally got Gunite on Oct 1st. It took 2 days to complete the pool and with the exception of part of the bench caving in the first day, and a piece of exposed rebar

FA485467-AA79-4664-A883-60CA8C935BEF.jpeg
2477DC0E-2531-4C1B-8AAB-DE4D8AD8E960.jpeg
67B4879F-B68C-481D-9DCF-A95A0AE6DFA3.jpeg
AA05174A-5AD3-48B5-98D3-528341707499.jpegE97CE3AF-3734-4D19-8219-23EAEE513F6F.jpeg
FA3538F1-91F5-4E0B-A048-44D009E1F2BE.jpeg
 
Last edited:
In the second picture, on your last post, what are the holes in the ground? Are all your returns on the floor?

I believe the holes are "weep" holes to allow pressure to equalize without water in the pool to hold the shell down. They will be filled when we get plaster.
 
  • Like
Reactions: TampaKathy
After gunite came tile and coping. We had a few issues with the coping which is when I started this thread. I had to be on top of the sub to make sure things were done correctly and had them redo several spots. I'm admittedly a perfectionist and there are some items I'm not 100% happy with (such as the shortcut on the spa coping by only cutting one side of the tiles instead of both the make the angle around the curved spa) but I'm learning to live with it and not sure the fix would be better than the current look. I'm probably the only one that notices anyway and only if you're looking for imperfections.

We even filled up the spa to examine the spillway and levelness (is that a word, haha) of the waterline tile on the neckroll. We started filling it up on an evening so we could see it in the morning, but it filled faster than I thought it would and was done at about 11pm. I knew gunite wasn't water tight, but I expected it to hold quite most of the water until the morning so we could get a better view (and pictures) in the day light. Boy was I wrong, it drained below the bench by the morning so we never got a chance to show the tile sub. Plus the crew was showing up to install the pergola near the spa and that sure didn't help with the ground be saturated, oops.

It the end, the spillover worked pretty well with just a garden hose, the water spilled over at the two ends more so than the center which is less than an 1/8 of an inch higher (maybe a 1/16 of an inch). With the spa in "spillway" mode, this shouldn't be an issue and if it is, we could grind down the center slightly. The 1"x1" waterline tiles were fairly level when filled with water but definitely some "waviness" to the tile line in the water. Two spots were more noticeable where a whole tile difference so about an inch, at the step into the spa and at the right corner next to the spillway. In everywhere else, the difference is about 1/2 a tile of 1/2". This isn't really noticeable from the pool or surrounding deck and when we're in the spa I'm sure the jets or regular water disturbance will hide these issues.

Looking at the completion of everything, we're really enjoying the overall look...

BAF31791-634F-4717-85EB-E5C1A4127DD5.jpeg
FC1D524B-E307-4EF5-B7BF-DD4F4B546612.jpeg
 
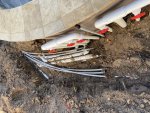
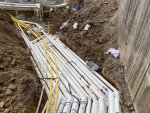
Next came the "long" plumbing and electrical. Attached is the last version on the plumbing diagram I made based on the final plumbing runs and locations. We ended up needing to extend our equipment pad about 2 feet given everything going there. I knew there would be a lot of piping, but it's different when you see everything in the ground, wow...
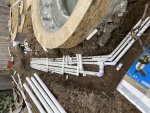
8E08F68E-6E6F-43B0-B274-F729B51D3795.jpeg

Here is behind the spa and back wall...A0C884CC-55C1-45E8-B20F-8E816B073A09.jpeg
1A5DF12C-1E1E-4E3A-94B4-D5B4EBD5E860.jpeg


Here are the valves to control the wall scuppers and water bowls (also conduit for landscape lighting as we’re planning a raised bed here along the back

0509904F-916A-4370-B65D-10994D45E51C.jpeg


And the trench where the pipes from the front and back meet on the way to the equipment pad...

44D33BF7-BE24-45FB-935E-0FF742370F8F.jpeg

And finally the equipment pad...
CE8AEE7C-7932-4317-B681-70F126EE672B.jpeg
 

Attachments

  • Collison - Pool Pump-Automation Diagram v5.pdf
    166.8 KB · Views: 11
Last edited:

Enjoying this content?

Support TFP with a donation.

Give Support
Thread Status
Hello , This thread has been inactive for over 60 days. New postings here are unlikely to be seen or responded to by other members. For better visibility, consider Starting A New Thread.