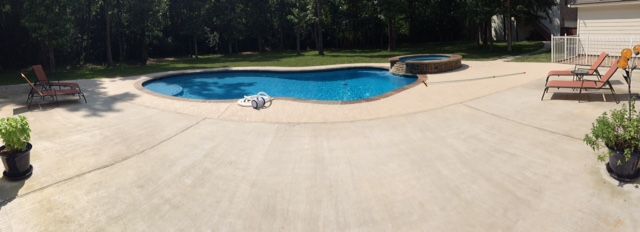
I havent taken the time to come in here and post anything; the last few months have been a whirlwind. In the middle of the biggest downturn in the oil industry (which I work in...) we decide to build a pool. Not only that, but we decided to play General Contractor, albeit with the help of our good friend and neighbor. Without his help and without being able to speak Spanish I think this would've been a disaster. Instead it just turned into a time sink of tremendous proportions.
Overall I'd say the quality of labor we hired was good. The depth of their knowledge wasnt, however, so we really had to be on our toes about everything. We had to decide what, where, when, how. Once we articulated that, the crews were good. Several times we wondered if we shouldve hired a real pool builder...but now that its done, I think we did the right thing.
Ok, enough of my boring ranting...how about some pictures?
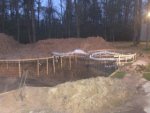
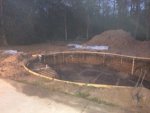
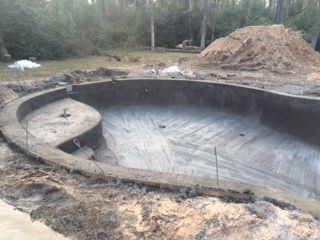
Here's a big hole in the ground, three feet or so off of our existing concrete slab patio. The rebar is in, and some of the early plumbing. The spa ended up being bigger than originally planned. See, I sprayed the outline of the pool on the grass with paint for the guys coming to dig the hole. Only, for the pool I drew a line that was 6" beyond the INside of the pool and on the spa for some reason I drew the line 6" beyond the OUTside of the spa. So, the spa is roughly two feet bigger in diameter than originally intended. Once the hole was dug and we realized what had happened all the neighbors pressured us into keeping the party sized hot tub
Overall I'd say the quality of labor we hired was good. The depth of their knowledge wasnt, however, so we really had to be on our toes about everything. We had to decide what, where, when, how. Once we articulated that, the crews were good. Several times we wondered if we shouldve hired a real pool builder...but now that its done, I think we did the right thing.
Ok, enough of my boring ranting...how about some pictures?


Here's a big hole in the ground, three feet or so off of our existing concrete slab patio. The rebar is in, and some of the early plumbing. The spa ended up being bigger than originally planned. See, I sprayed the outline of the pool on the grass with paint for the guys coming to dig the hole. Only, for the pool I drew a line that was 6" beyond the INside of the pool and on the spa for some reason I drew the line 6" beyond the OUTside of the spa. So, the spa is roughly two feet bigger in diameter than originally intended. Once the hole was dug and we realized what had happened all the neighbors pressured us into keeping the party sized hot tub


 :
: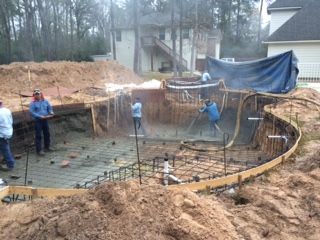
 I always told people I wanted to bury my money in the backyard. Now I am! (as well as most of us on this forum!!)