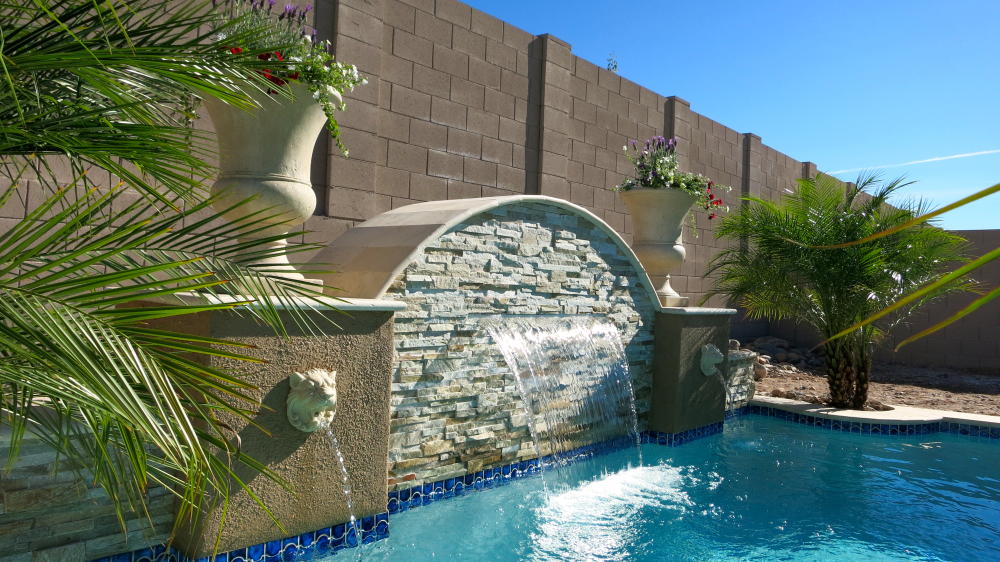
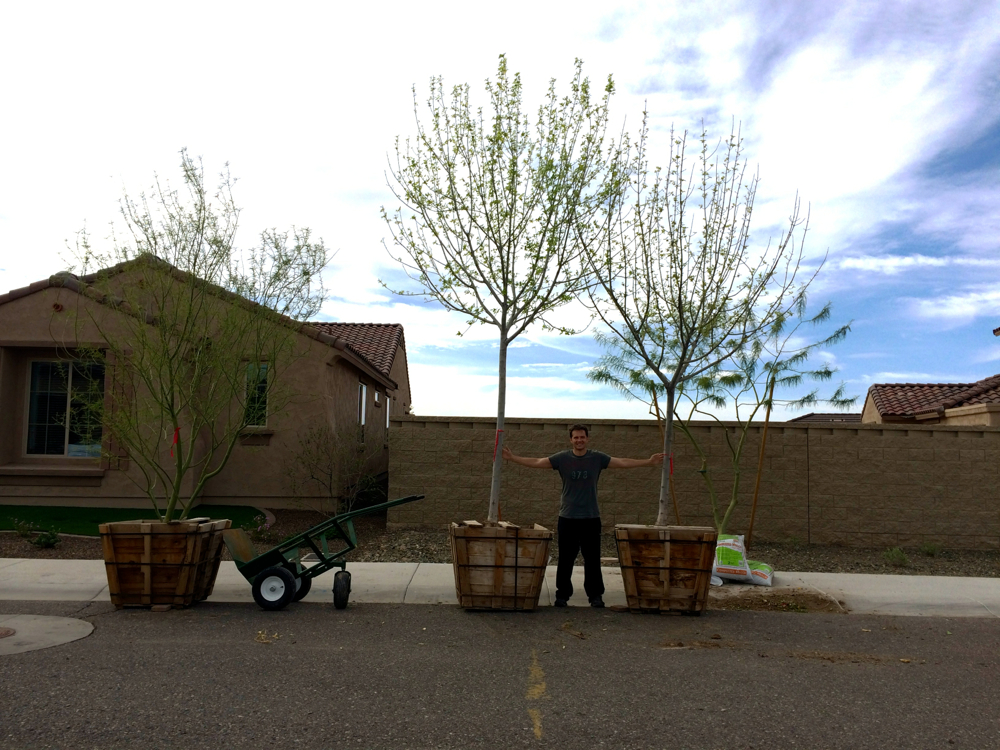
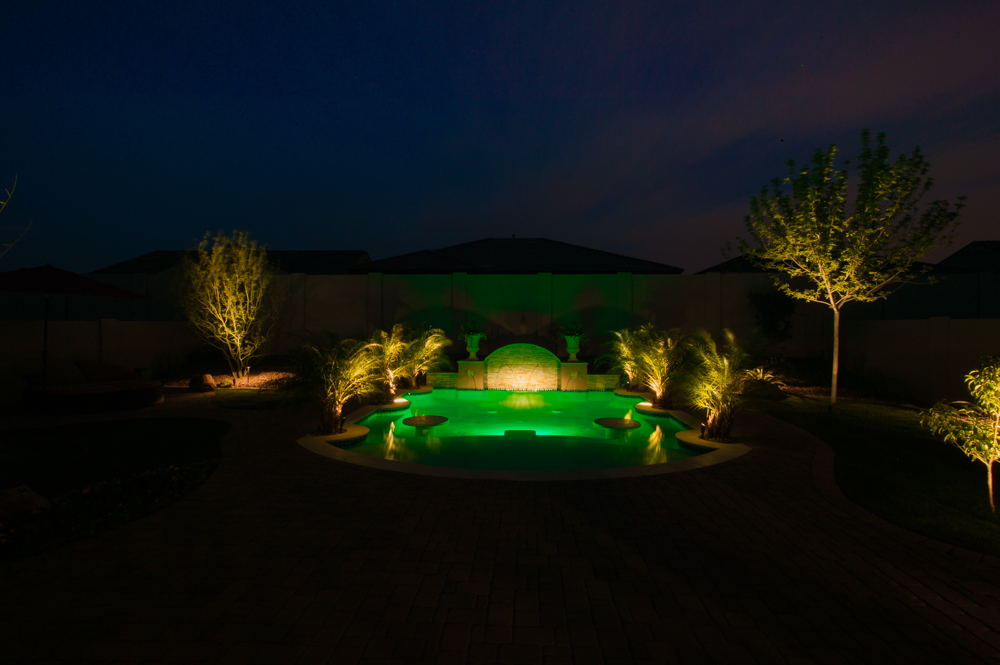
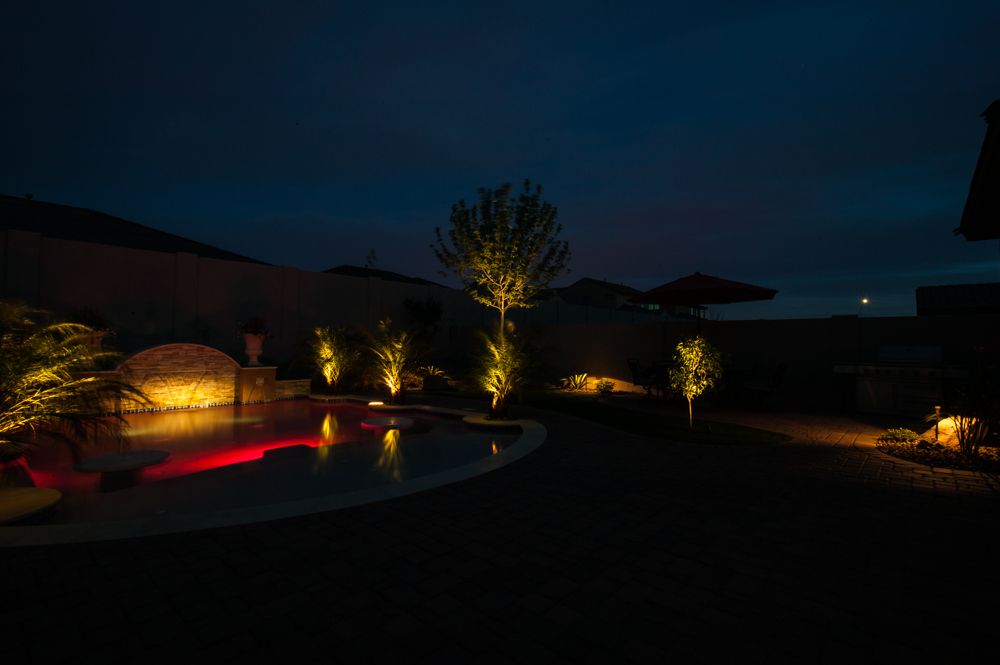
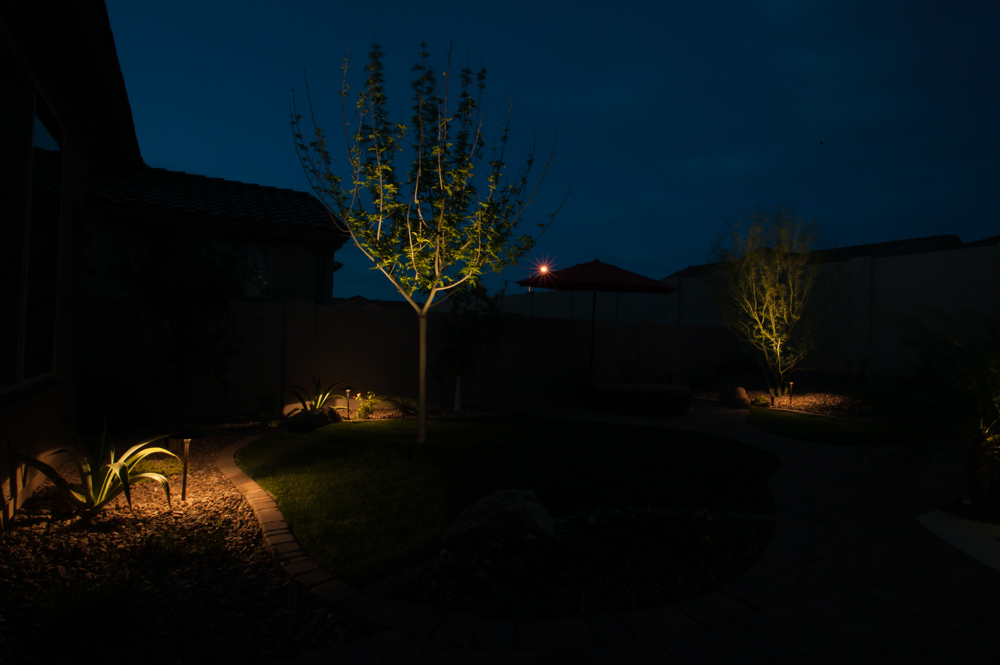
Build is on full force! Kind of crazy to juggle...so many different things going on at once but it's kind of fun seeing it all come together. Hoping to have everything wrapped up in the next 2-3 weeks.
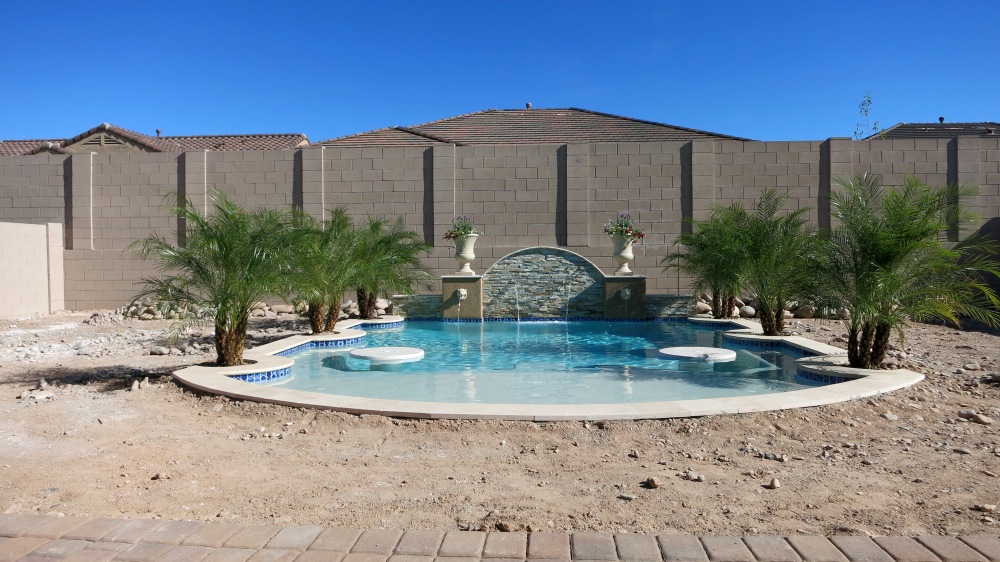
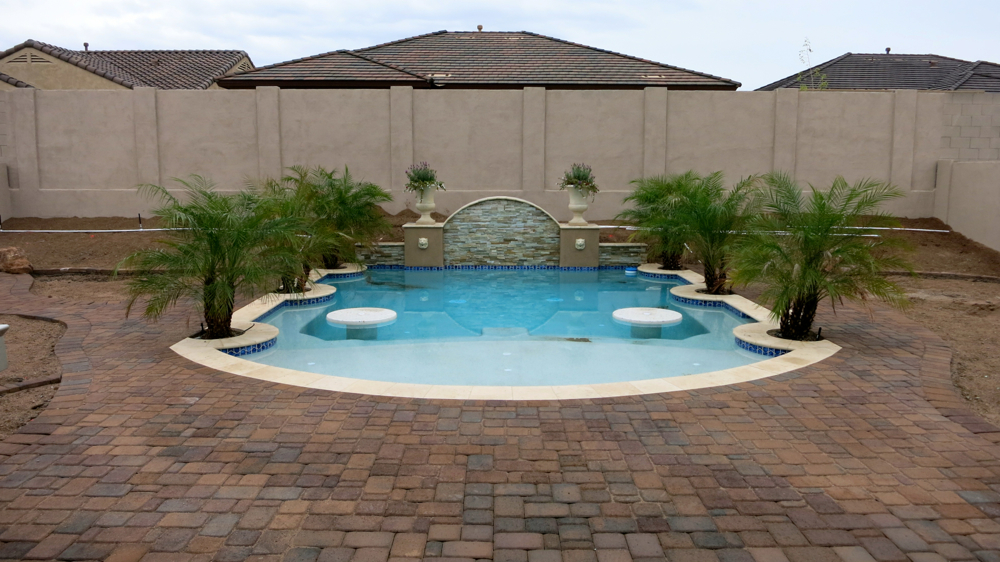
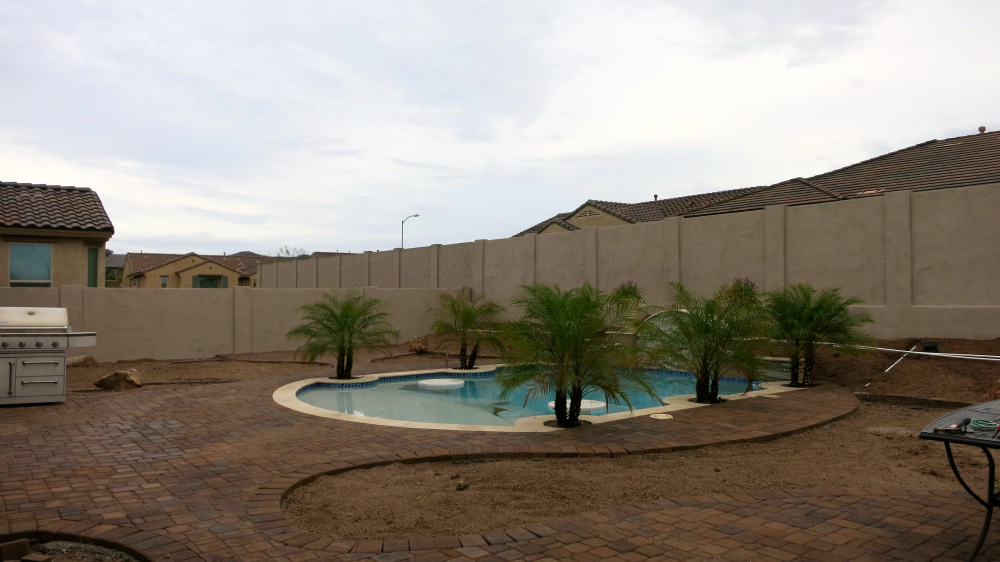
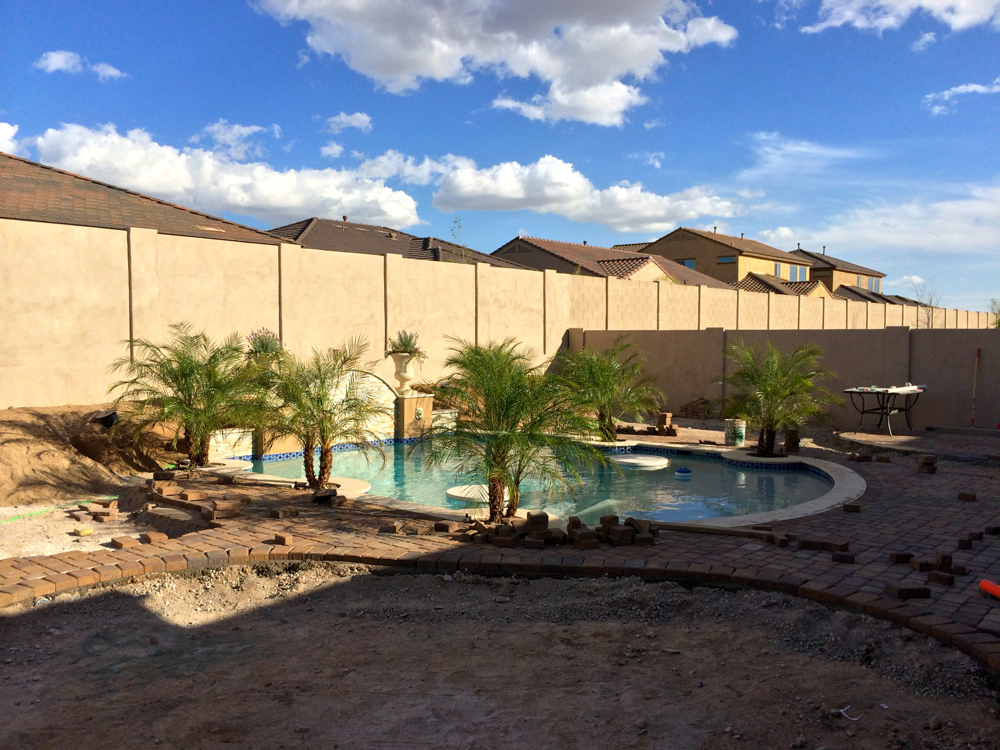
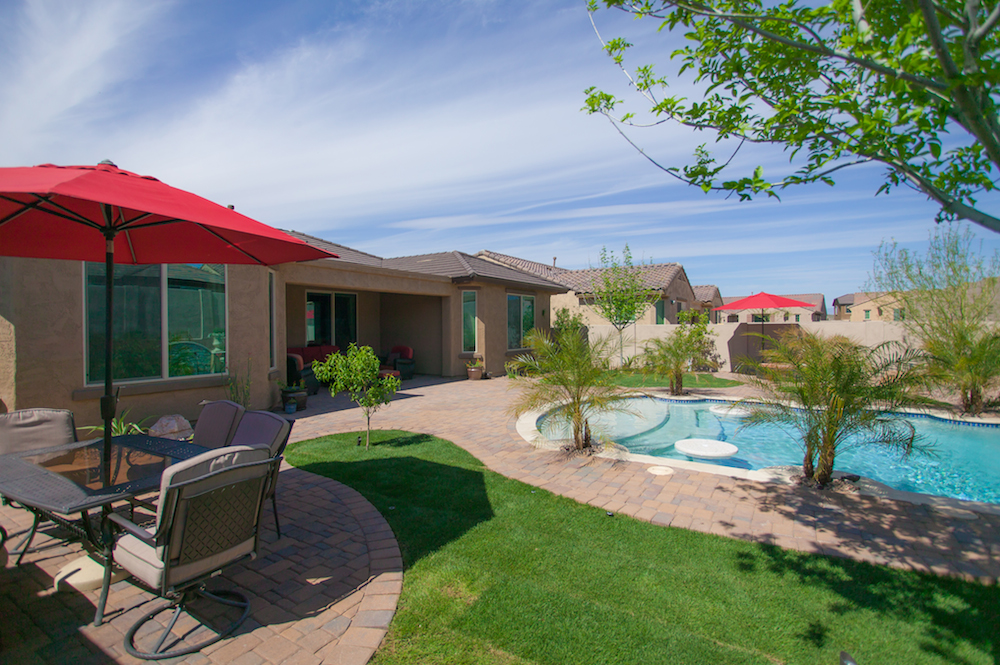
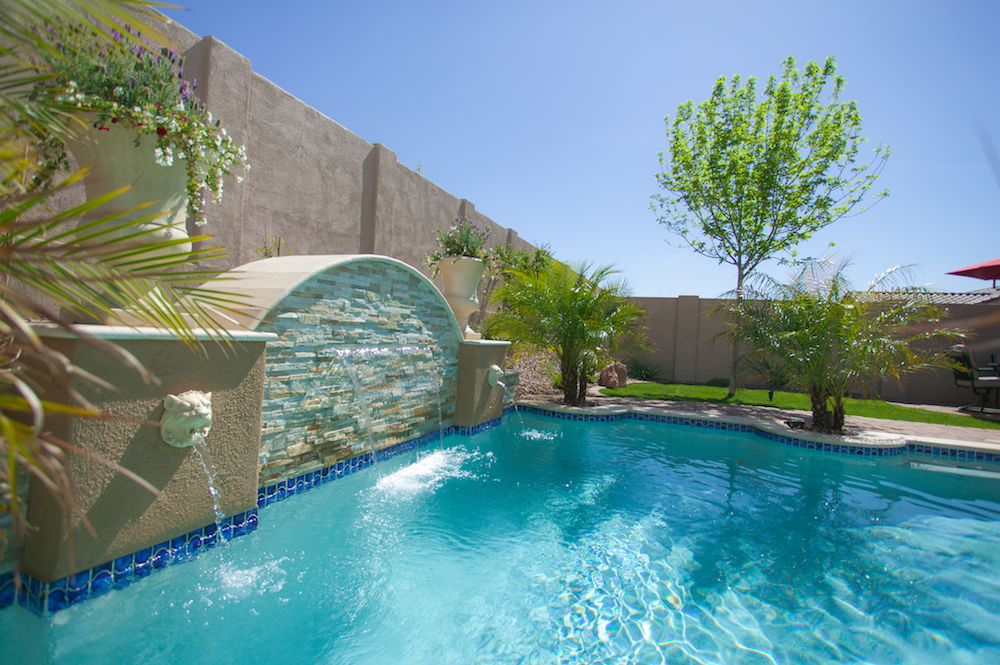
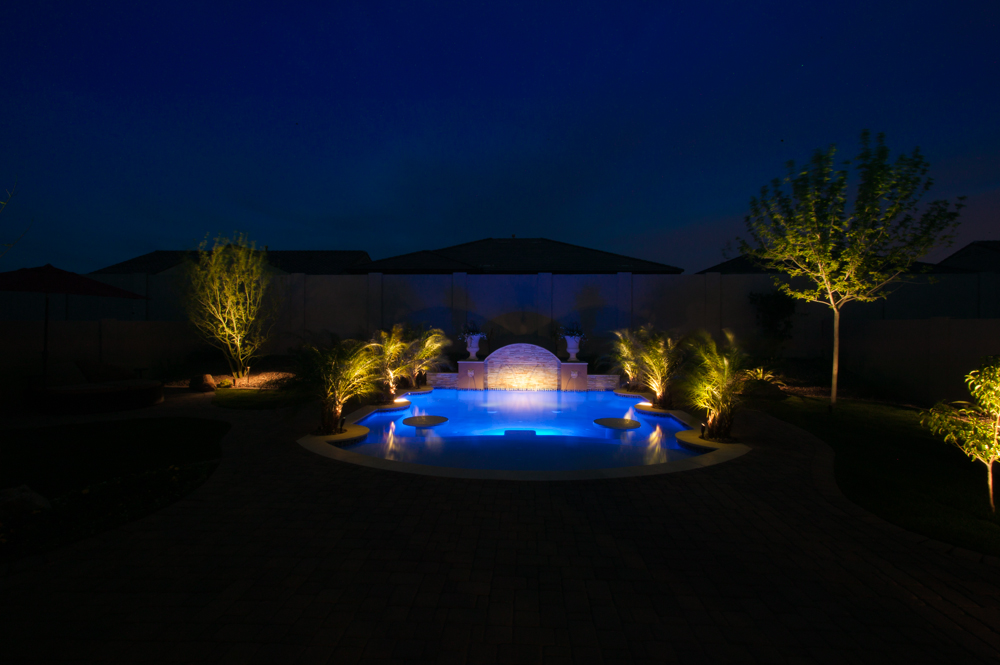
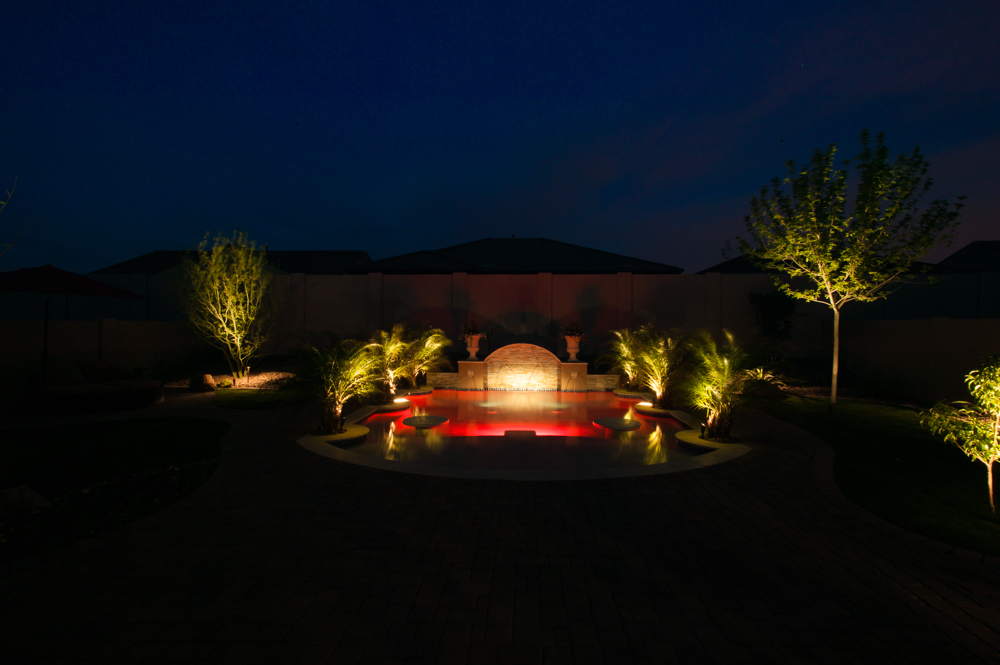
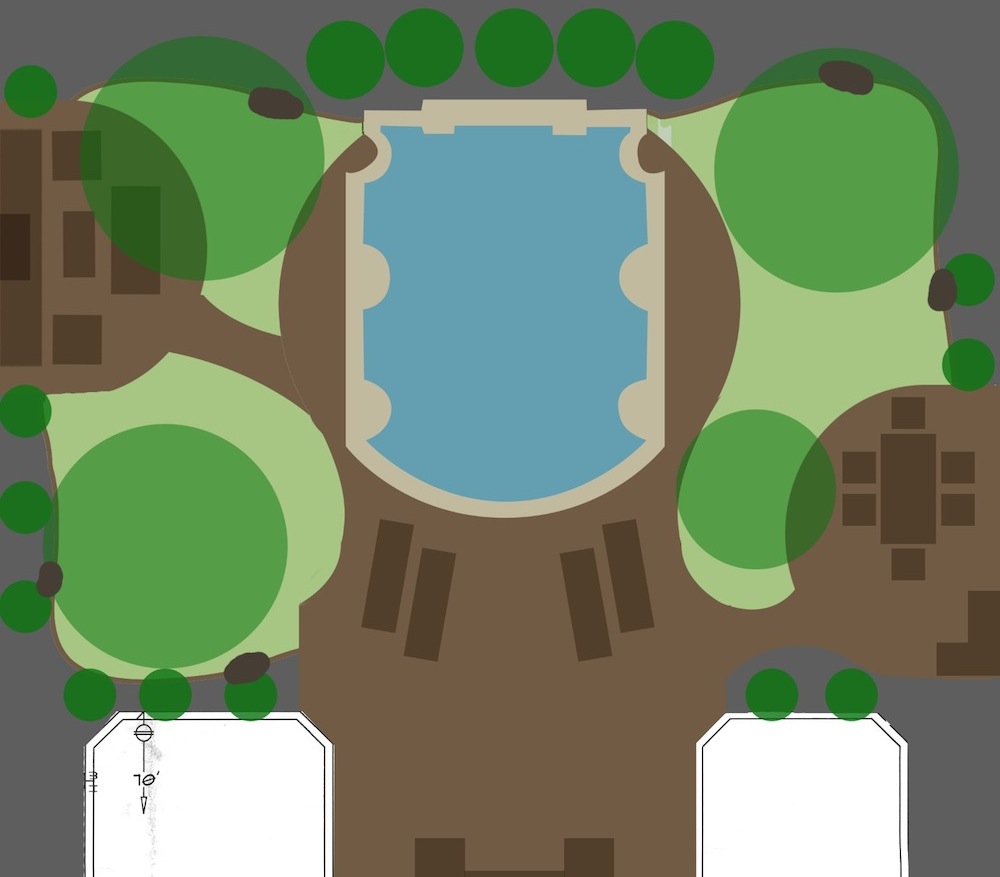
This is the design we came up with, which I've posted variations of on here before.
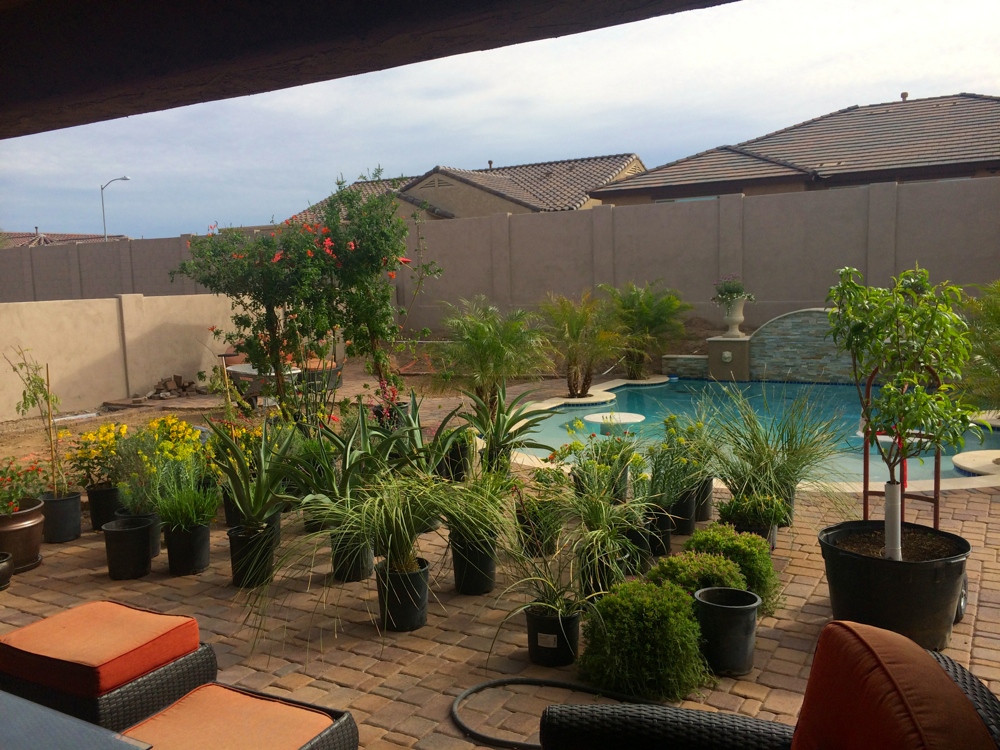
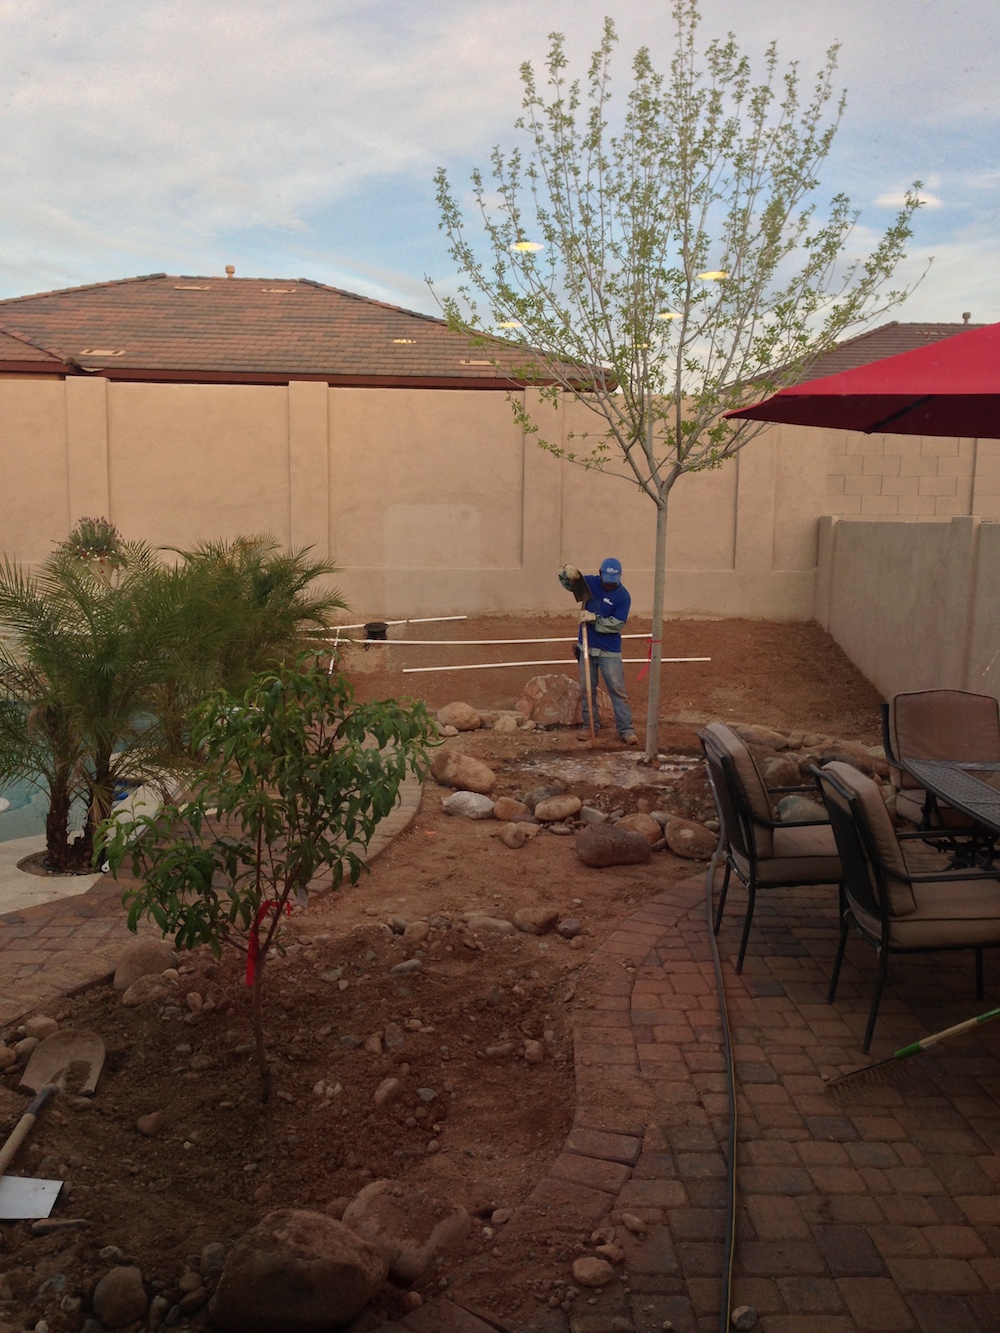
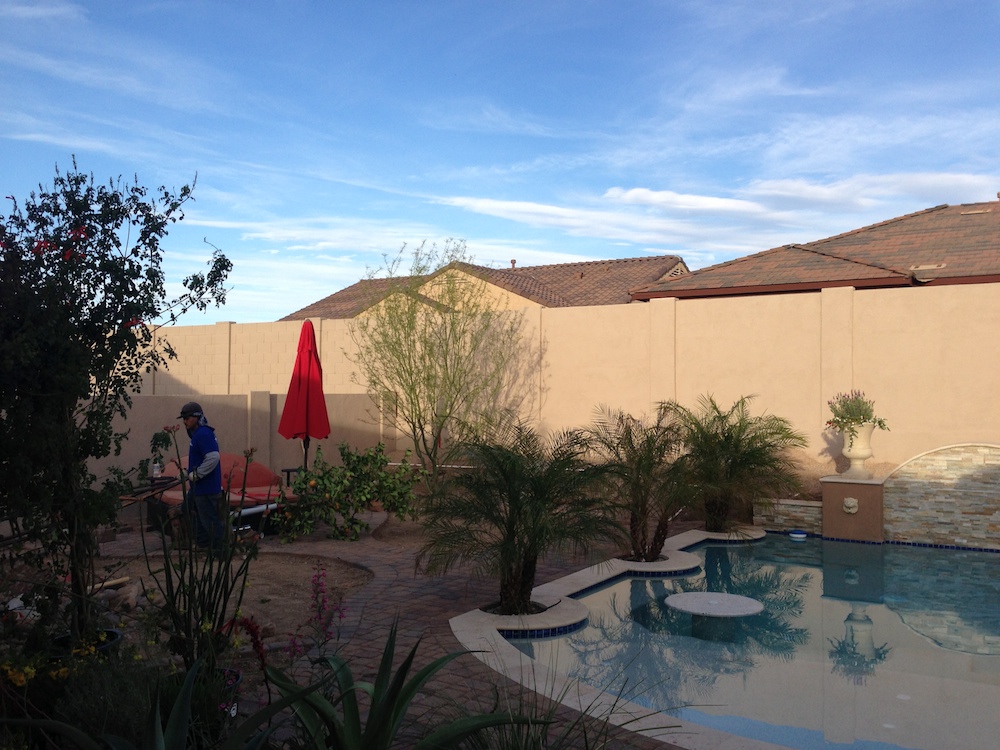
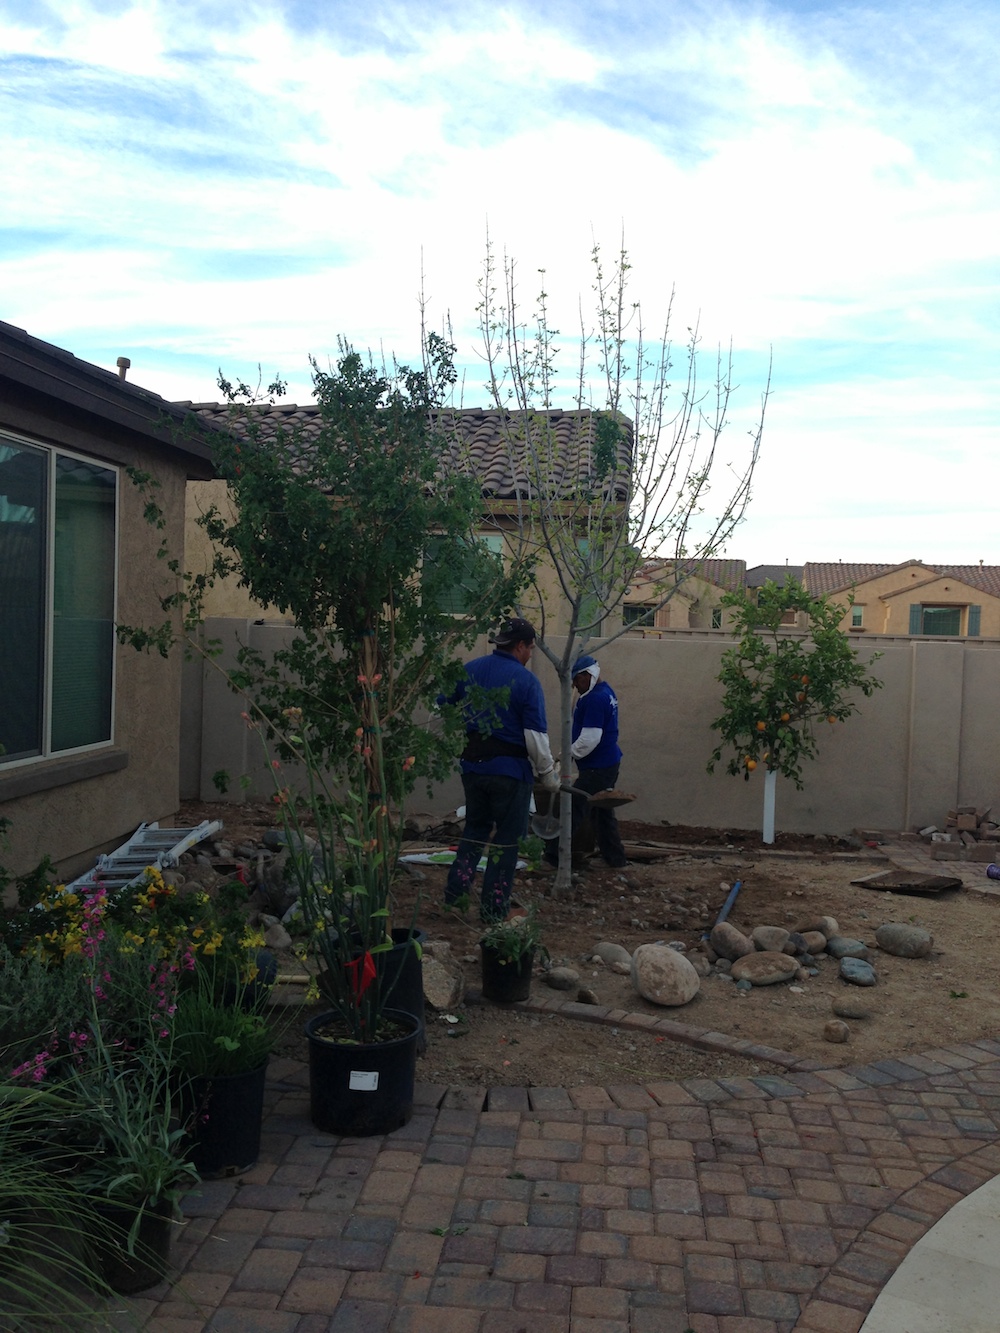
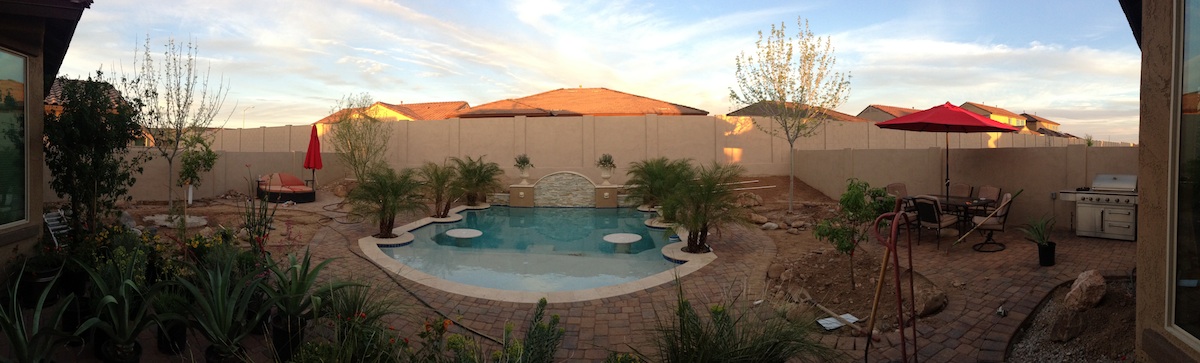
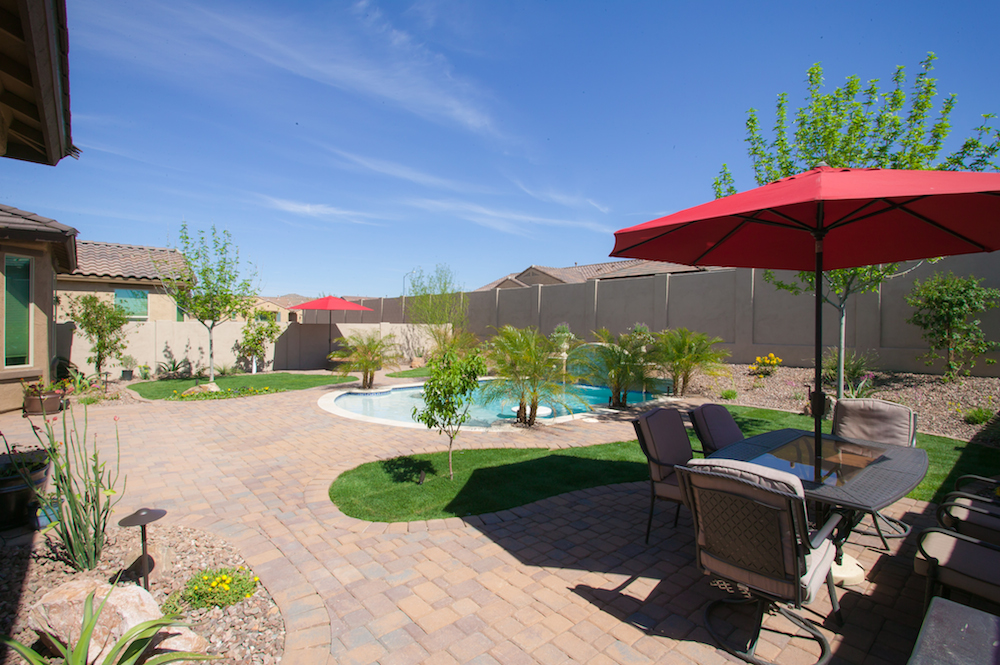
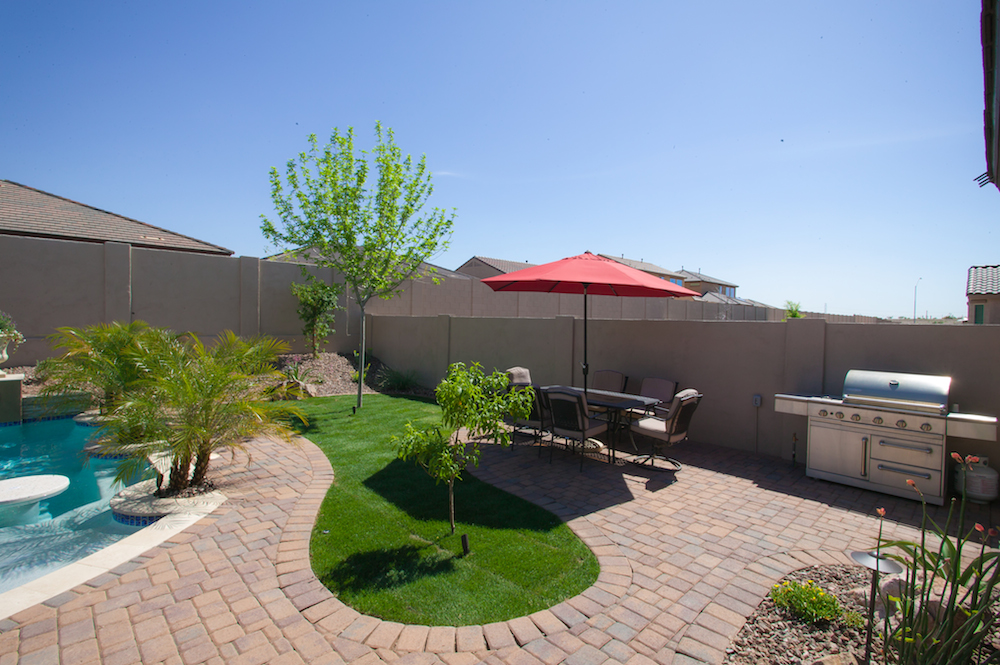
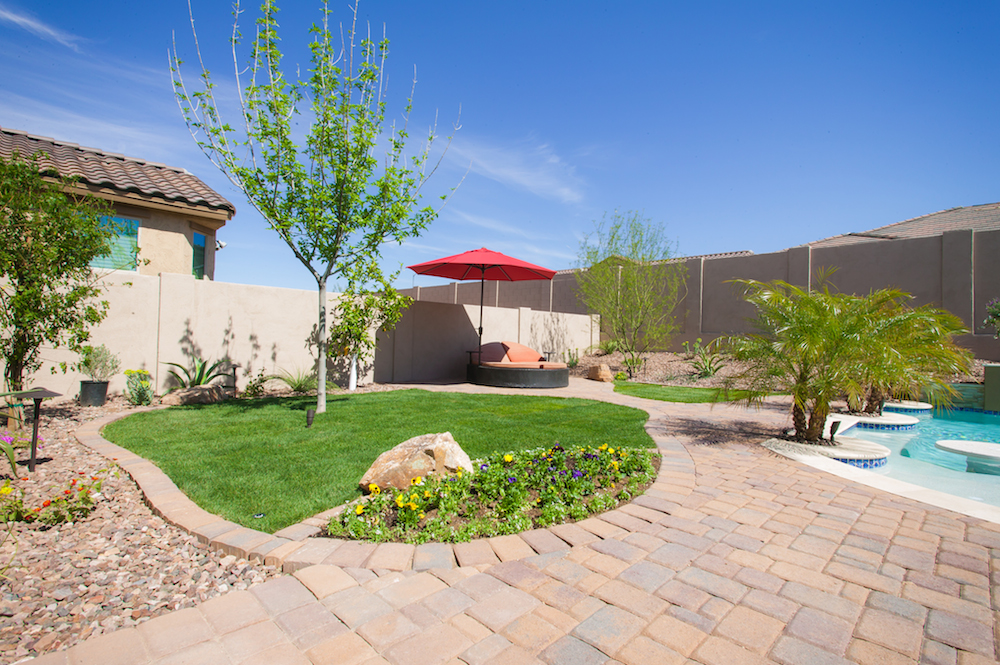
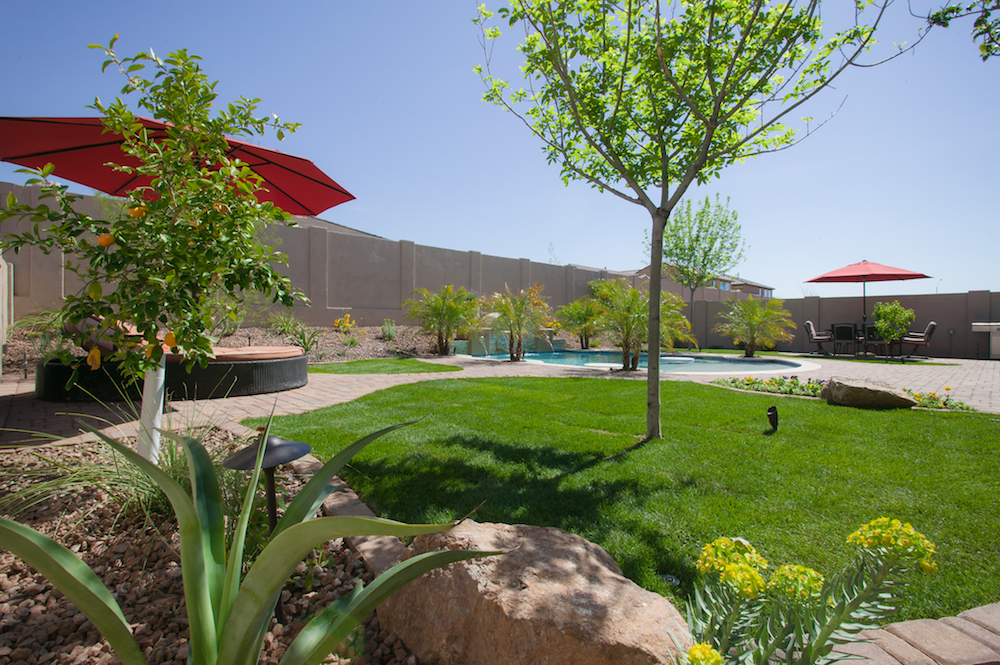
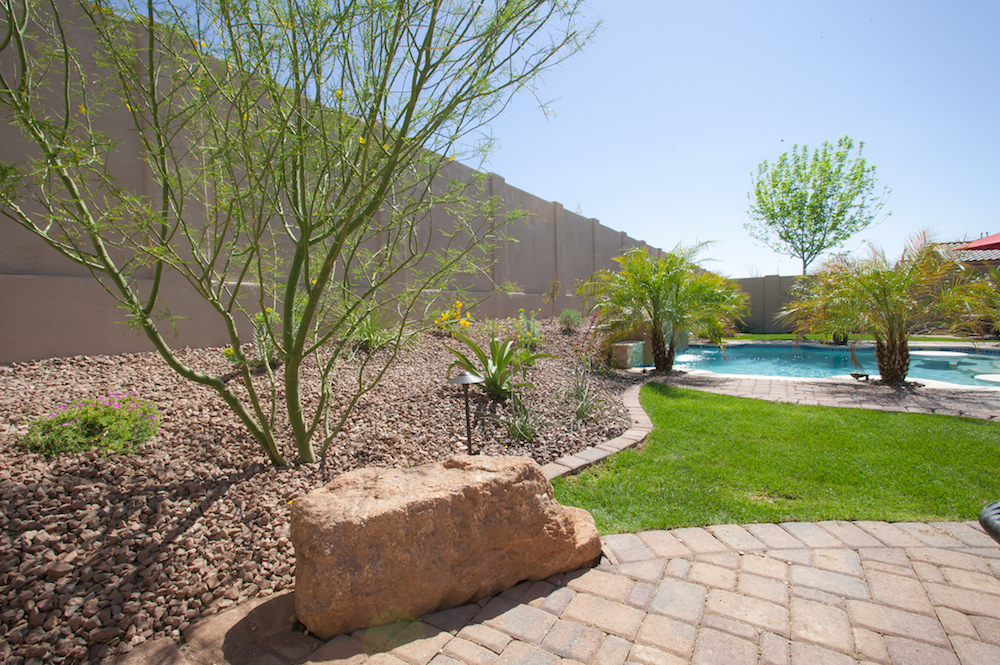
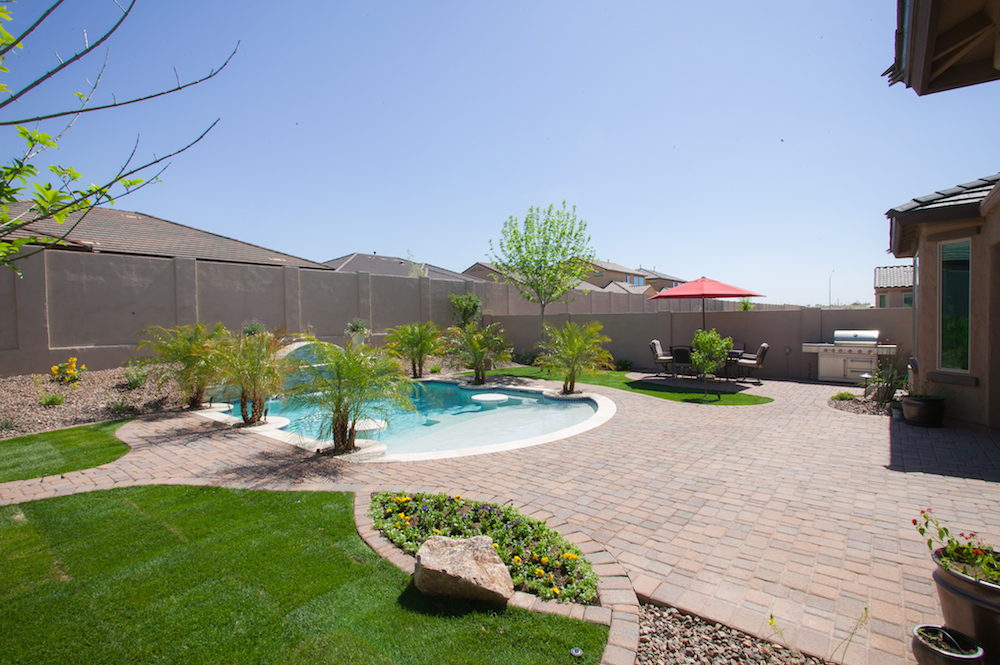
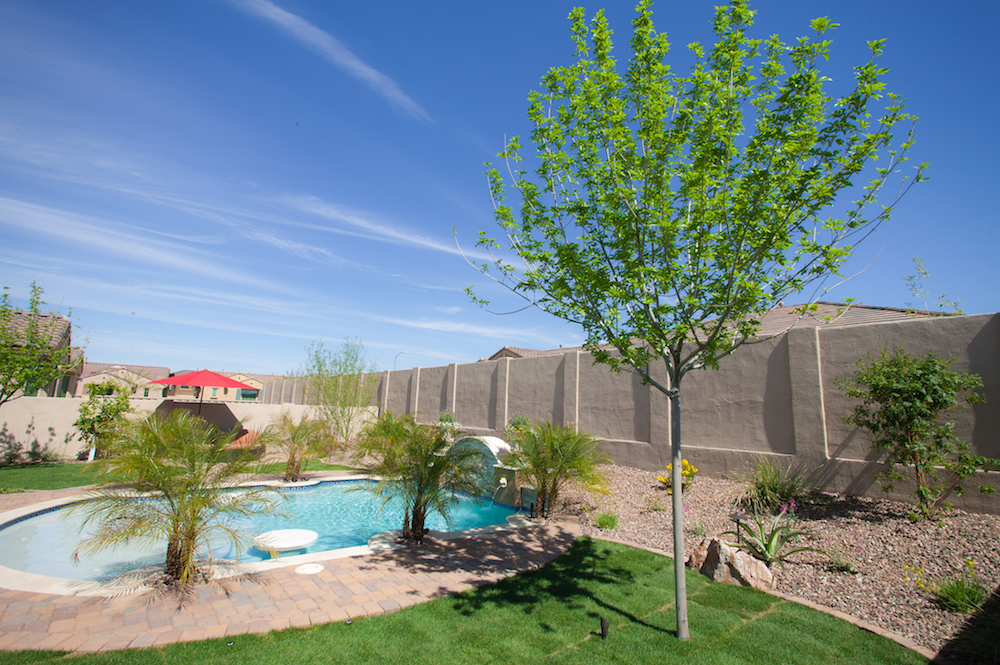
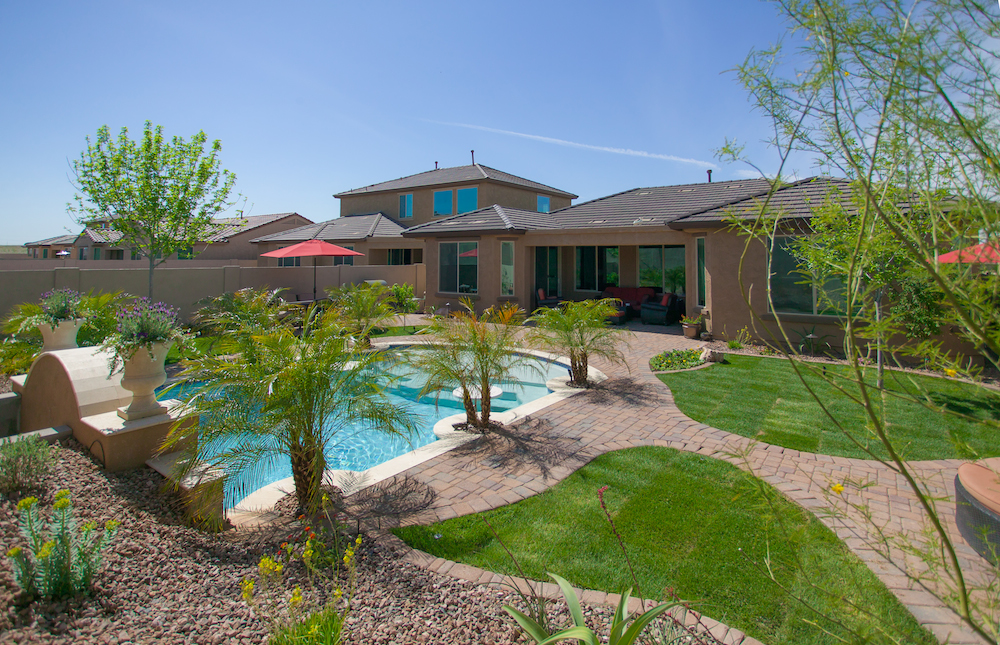
We have pavers (brown areas) all throughout with chaises for the pool in front, an area for a table and future built in BBQ on the right and then an area for a future fireplace and seating on the left. 4 Trees in the lawn areas, paver border all around with a few boulders like we did in the front yard. Gravel on the outsides with shrubs/bushes/ground cover.
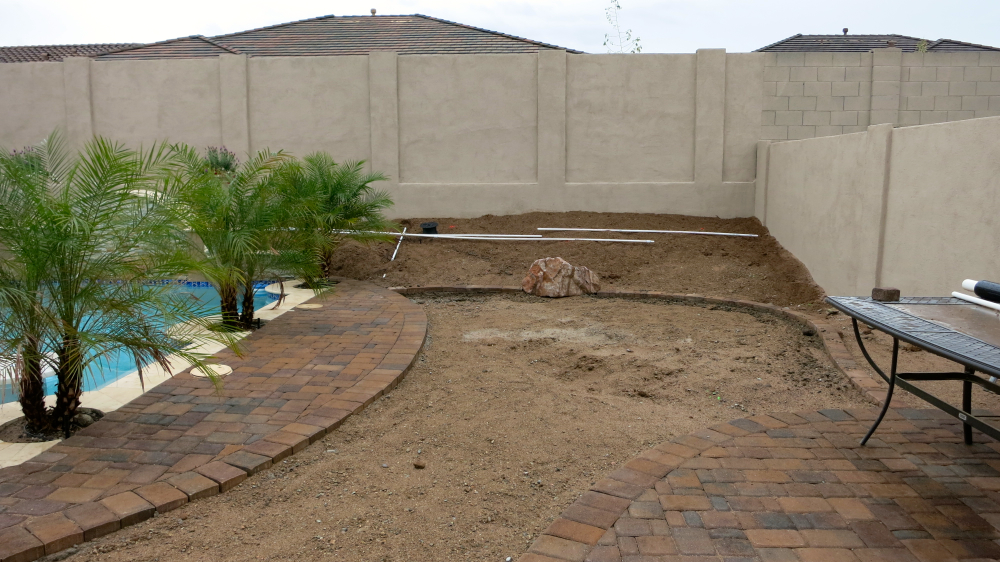
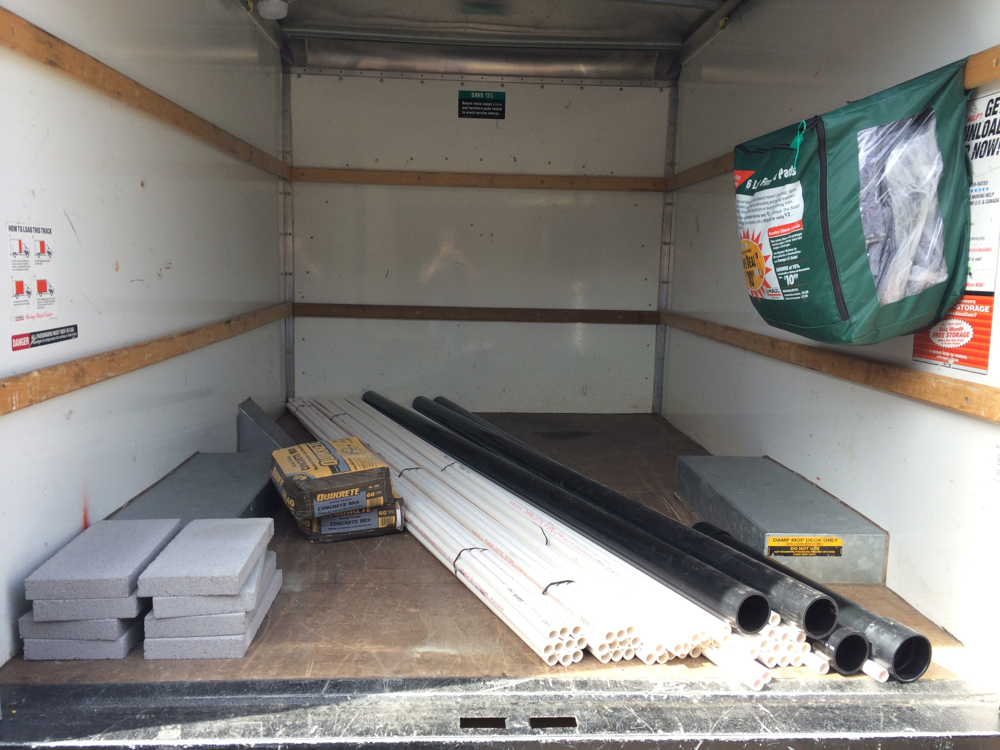
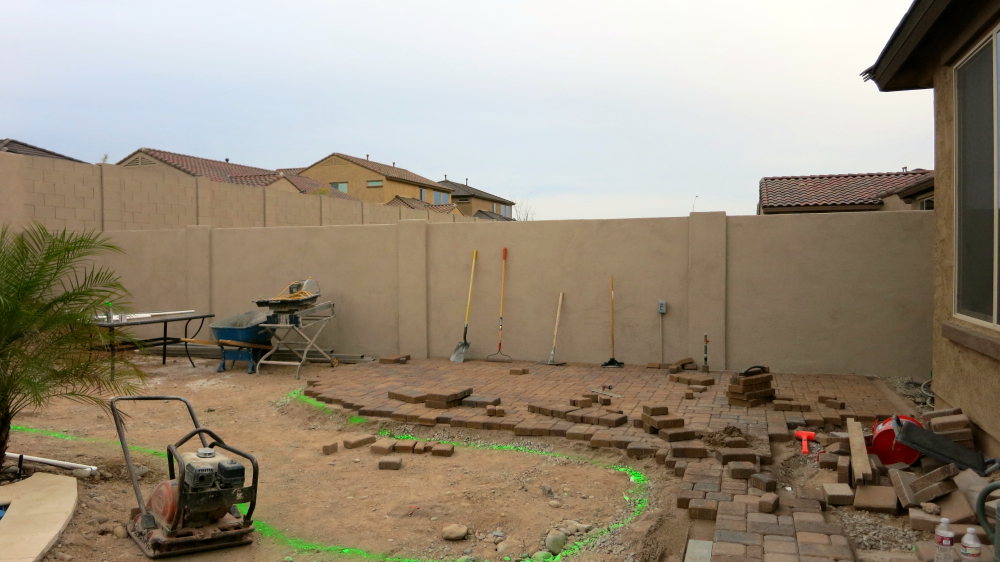
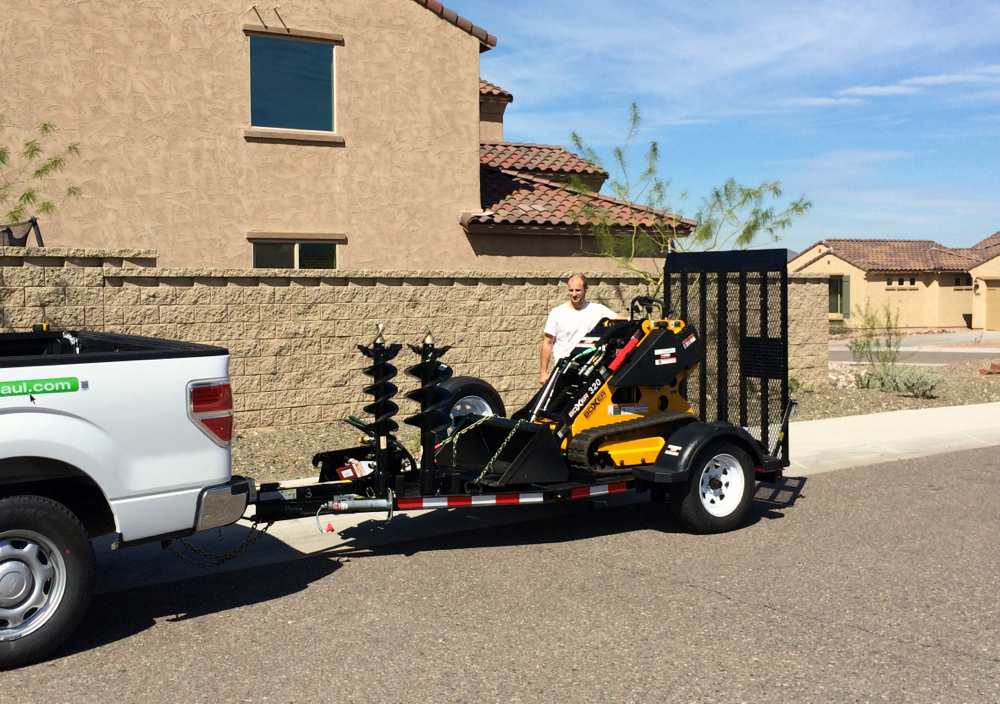
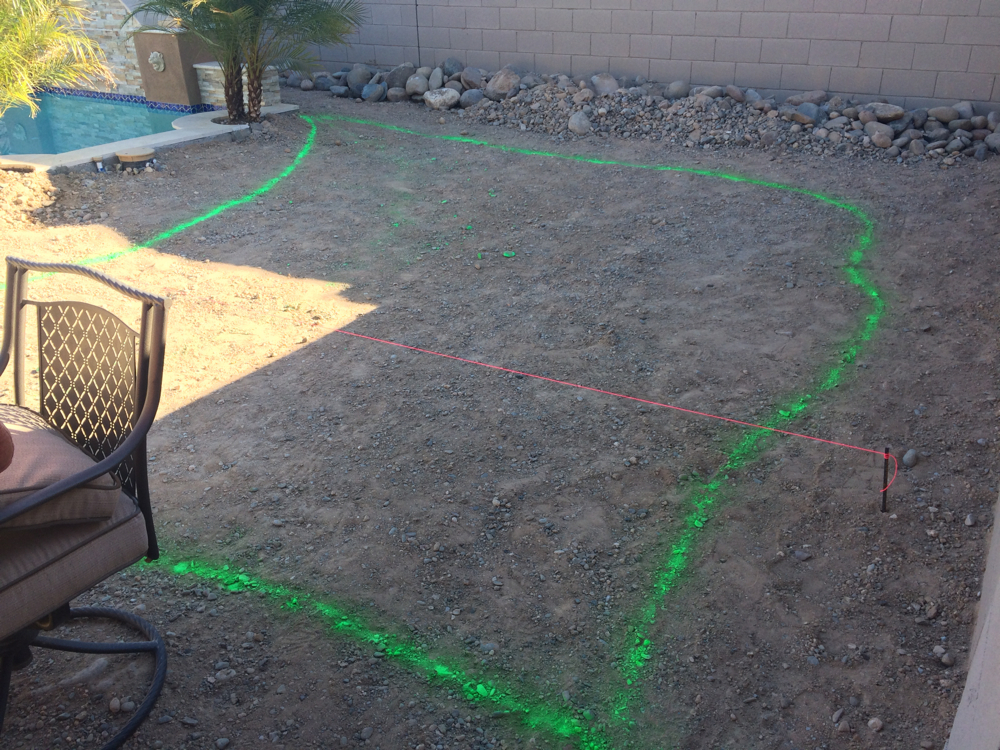
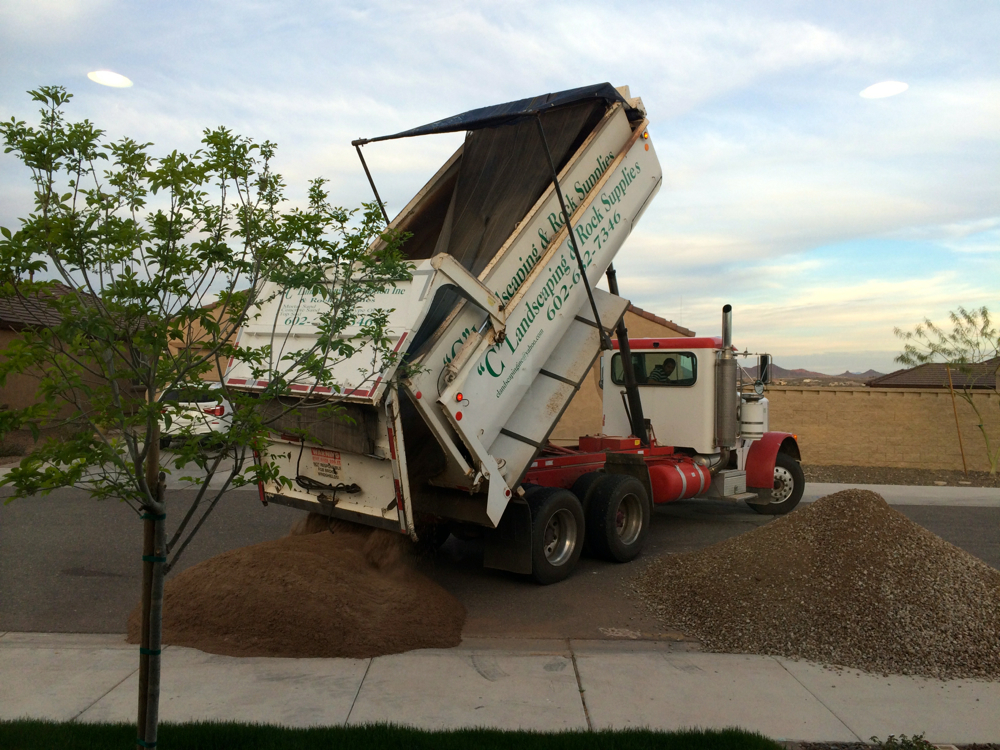
Started out by spray painting everything out so I could estimate how much material we need. The plan is to slope dirt upward on the back fence about 3 feet to take away from some of the wall height since it's giant. According to the company I bought dirt from, we need 51 tons of dirt. **** seems ridiculous so I only ordered 10 so far, should be delivered later today, so I can get an idea of how much that is and then I'll get more. Also got 10 tons of gravel, 7 tons of ABC and 3 tons of sand (both for the paver install)
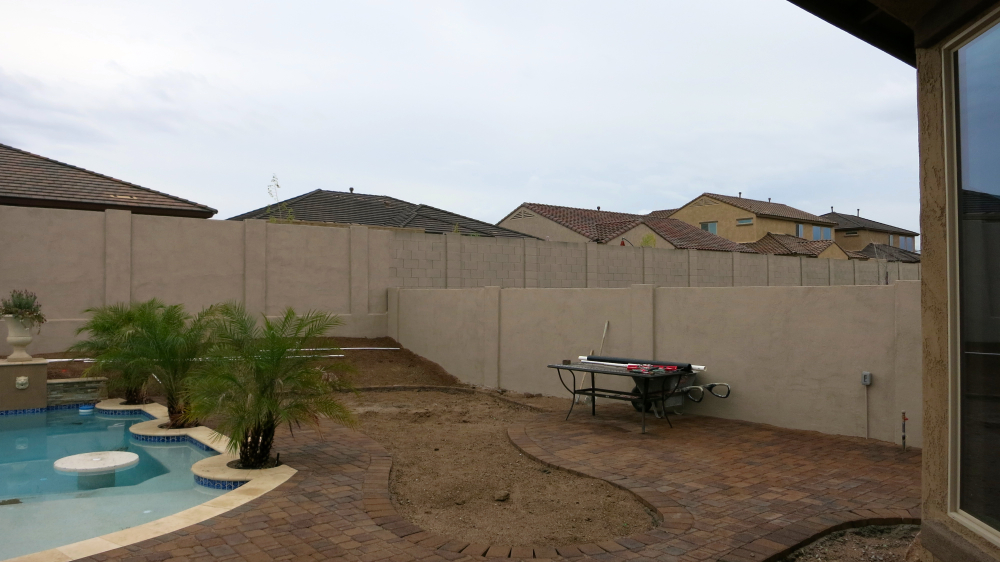
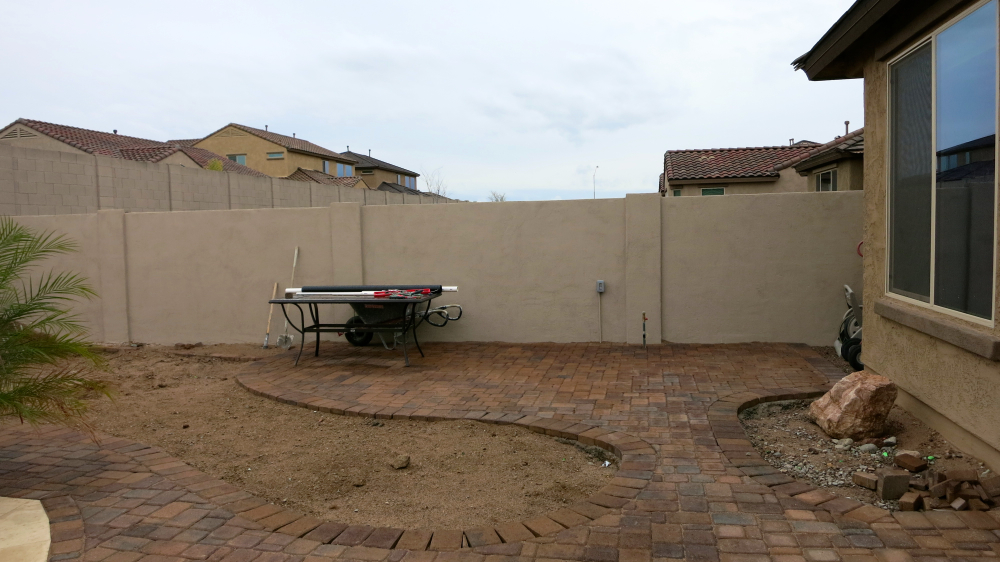
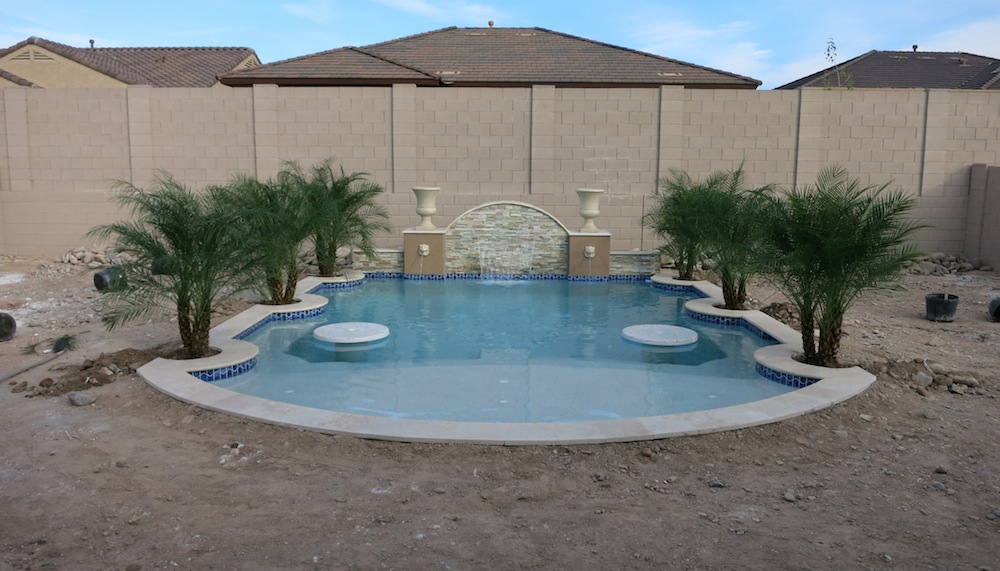
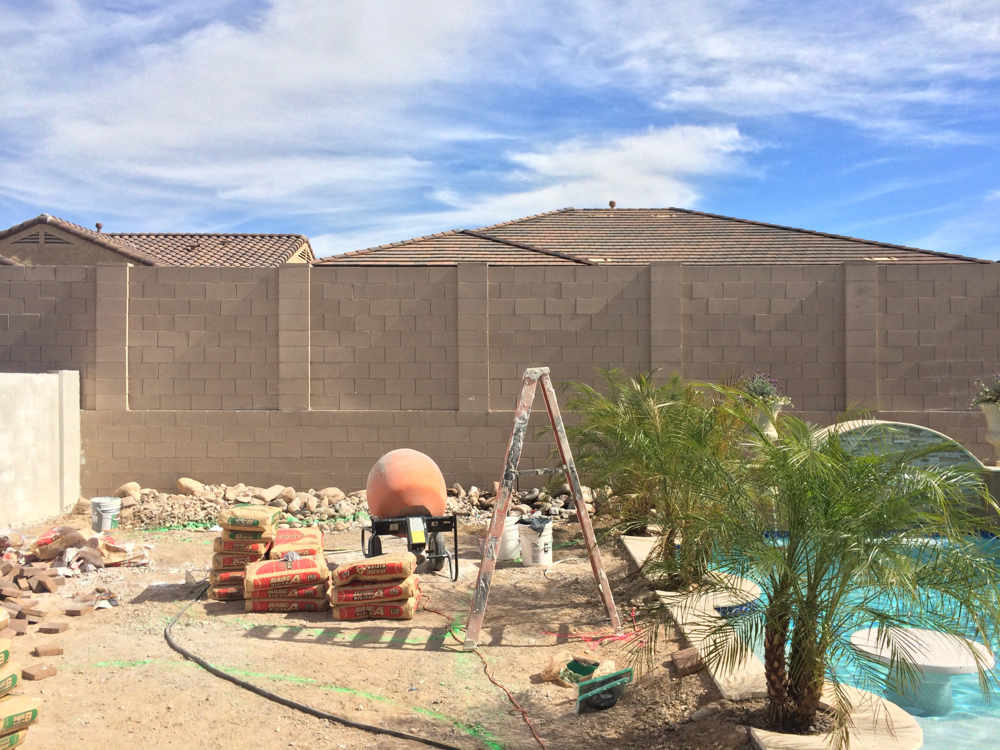
First thing before everything was to stucco the fence so it doesn't look like a **** prison wall anymore. Freaking 60 90lb bags of stucco! It has to cure for about 2 weeks and then we're going to paint it to match the color of the old fence/neighbors so it doesn't stick out all weird.
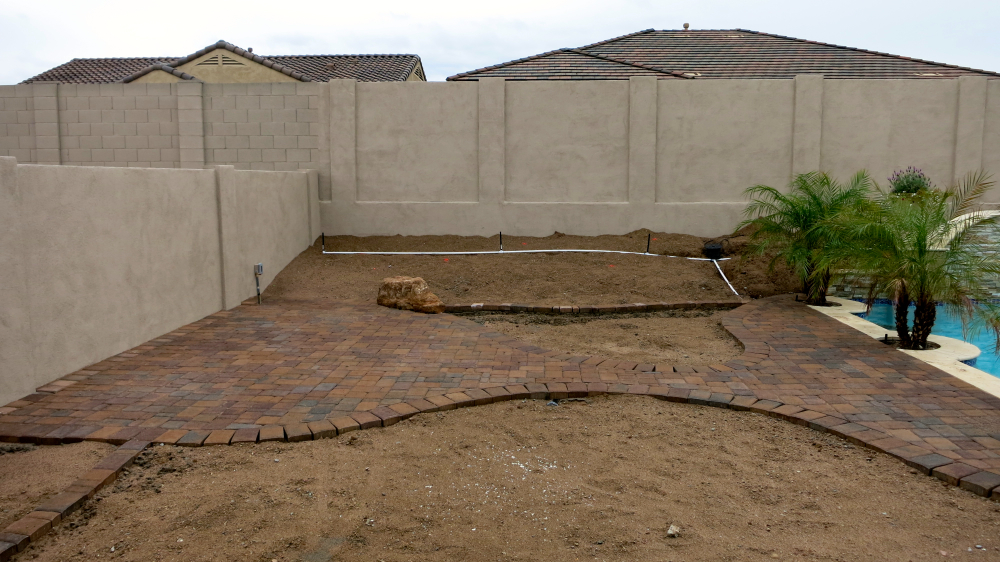
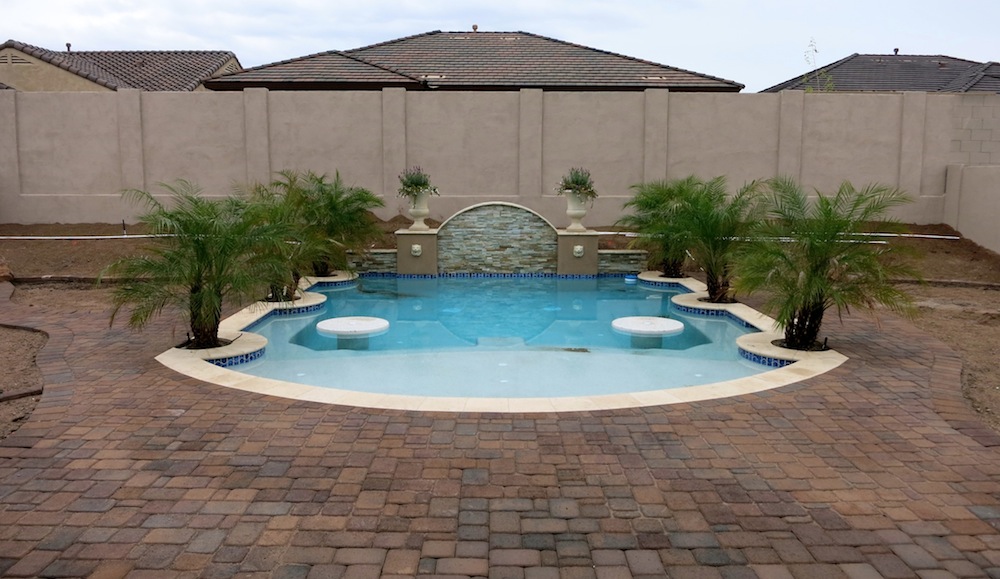
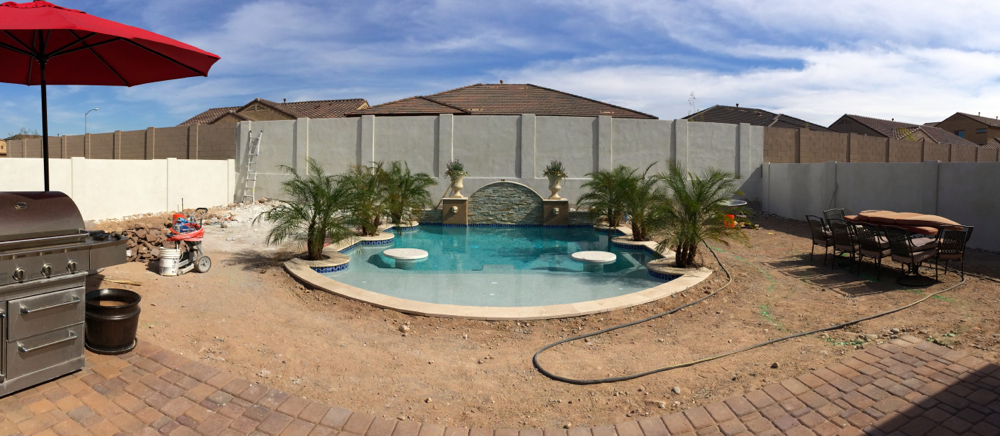
All done with the stucco...
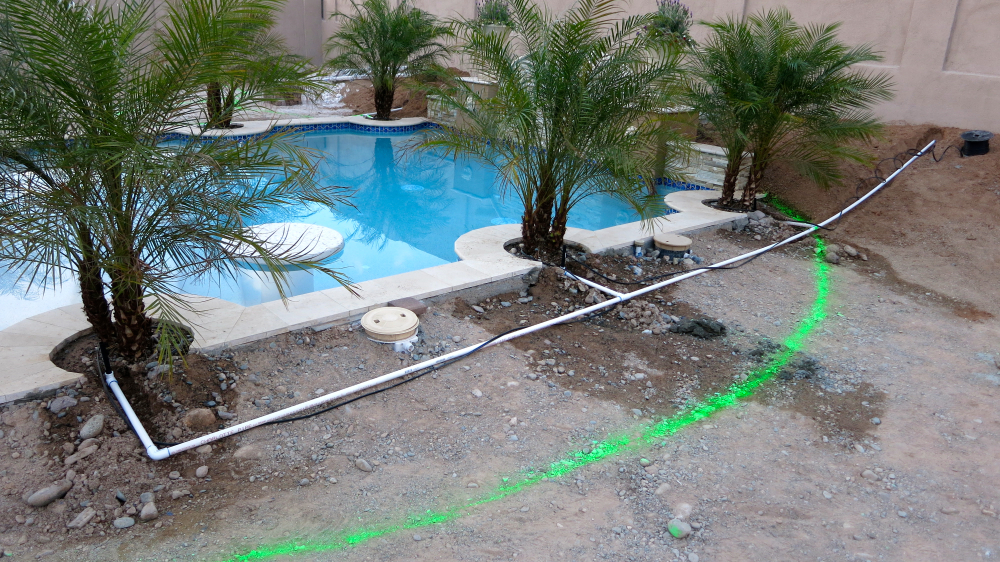
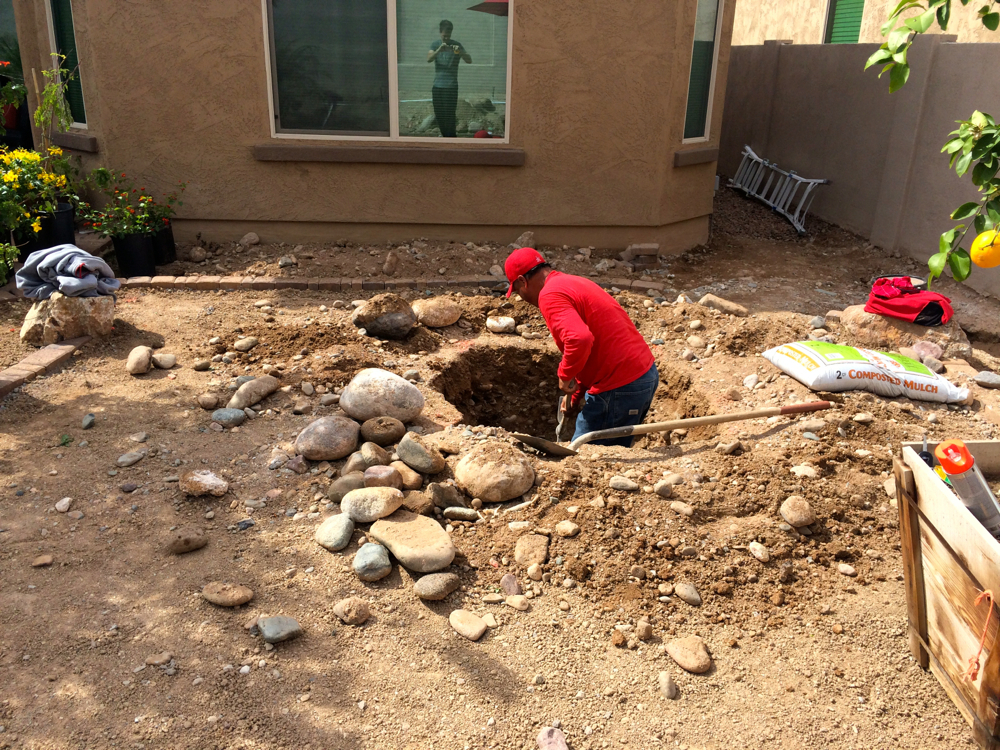
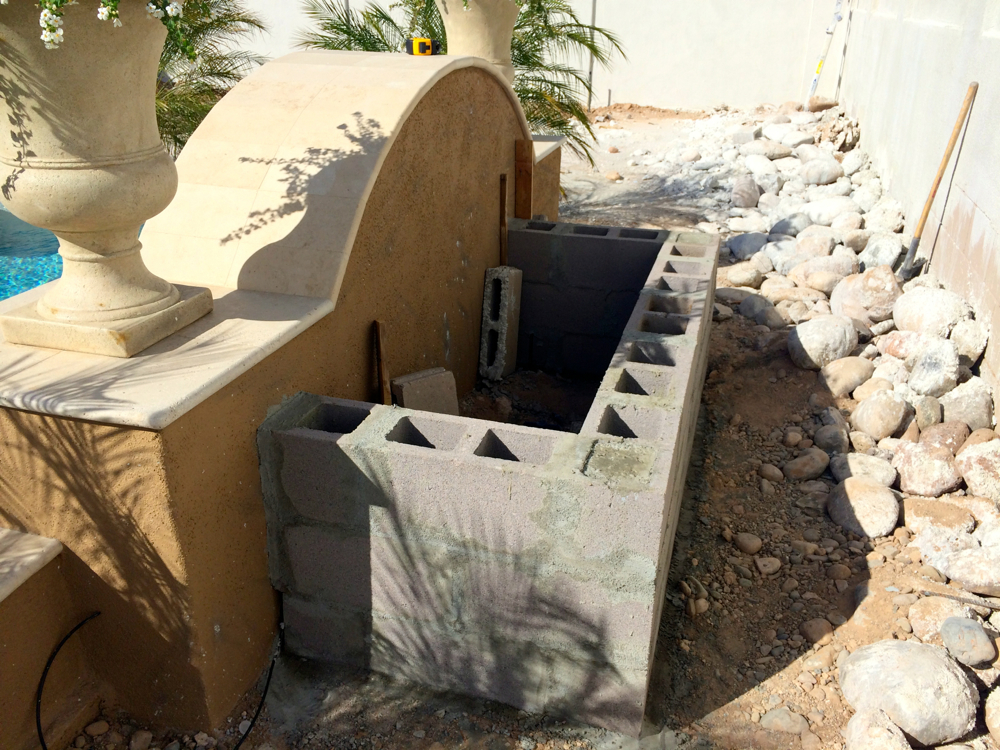
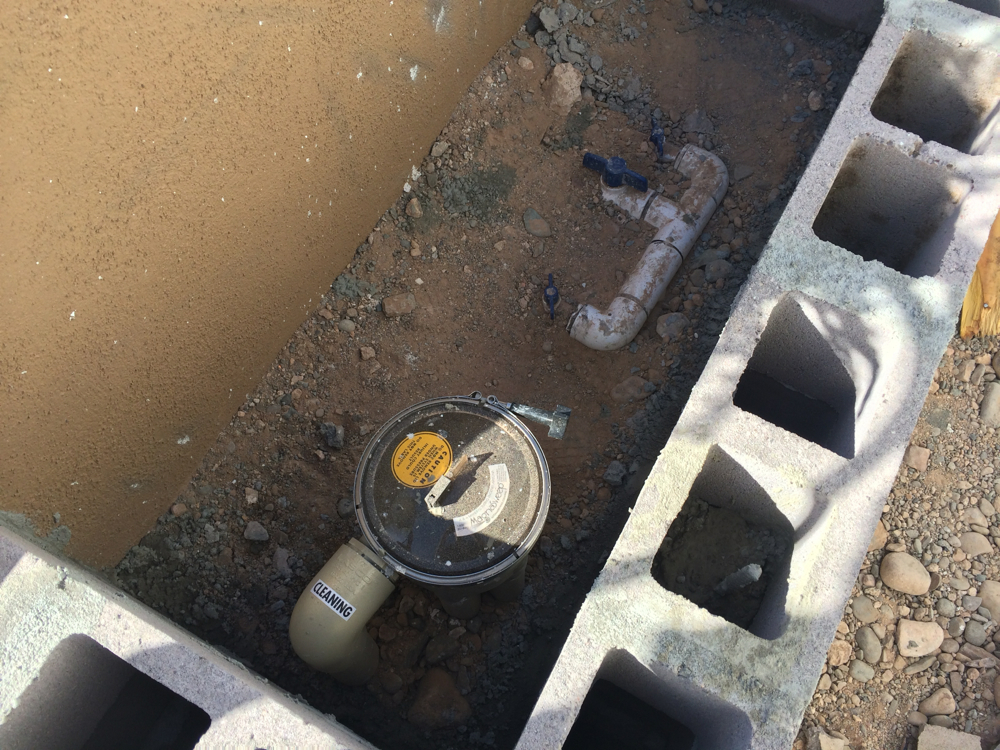
Yesterday, a buddy and me built an enclosure for some of the pool stuff behind the water feature...this area will be filled with dirt and obviously don't want it to cover up the pool stuff. Came out pretty **** good considering neither of us had done this before. Still not finished, have to fill up the holes with concrete.
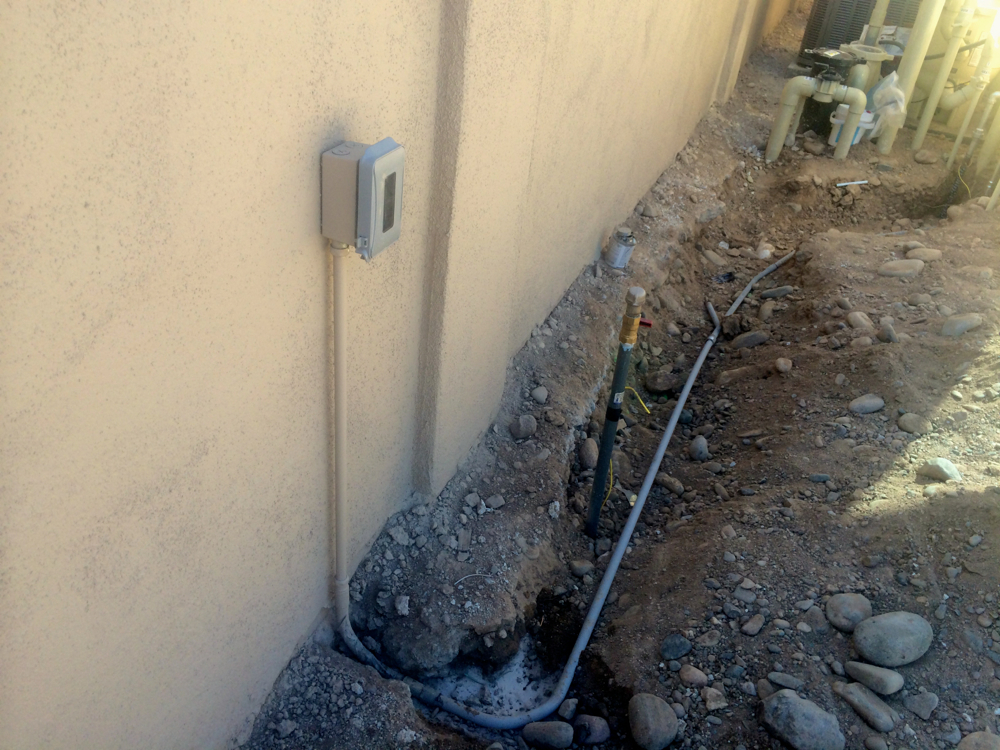
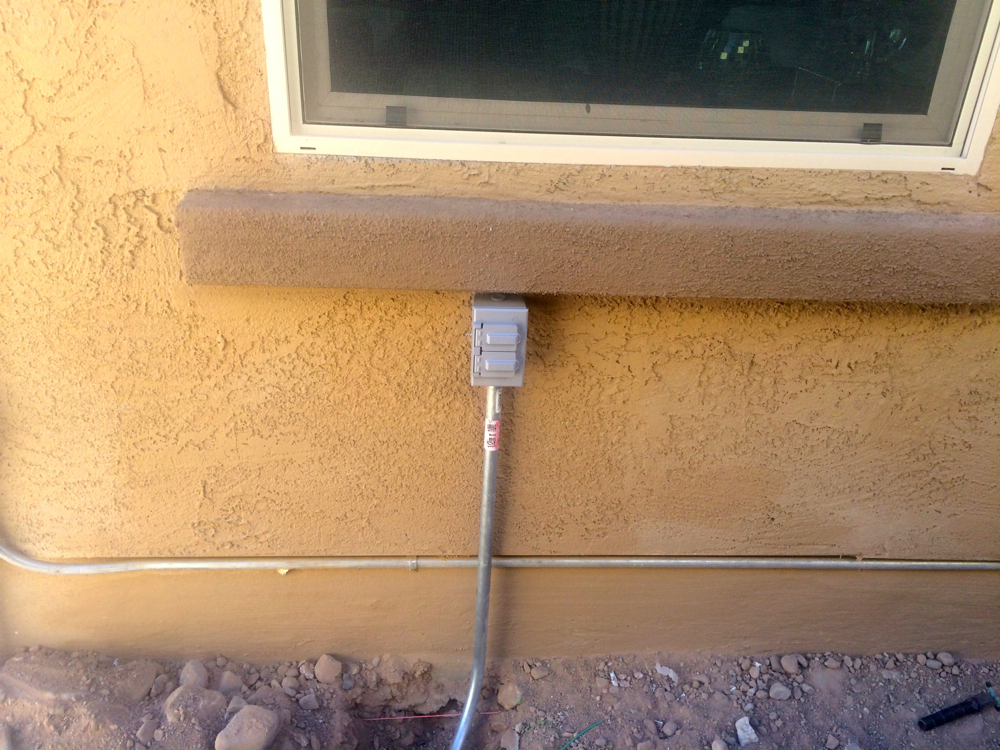
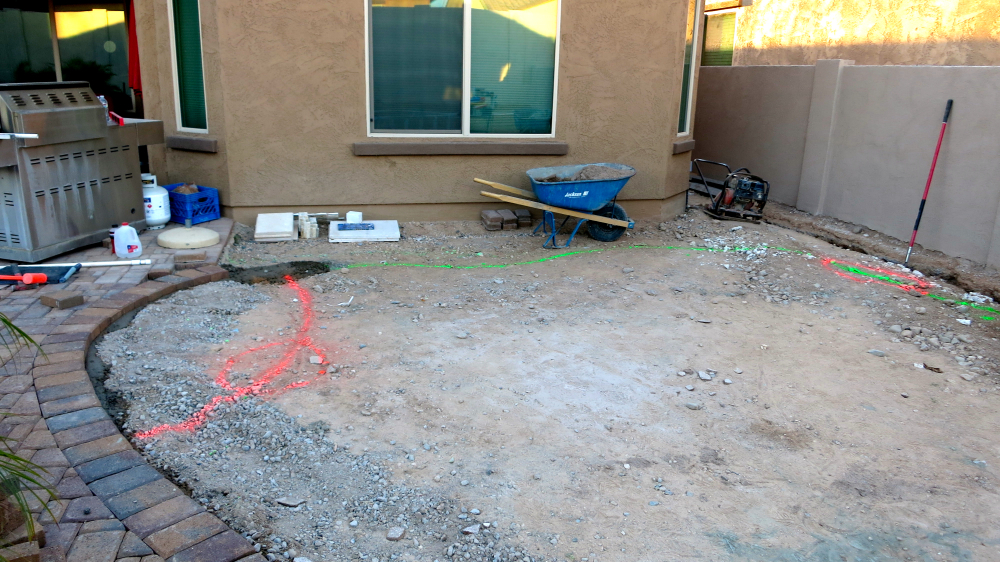
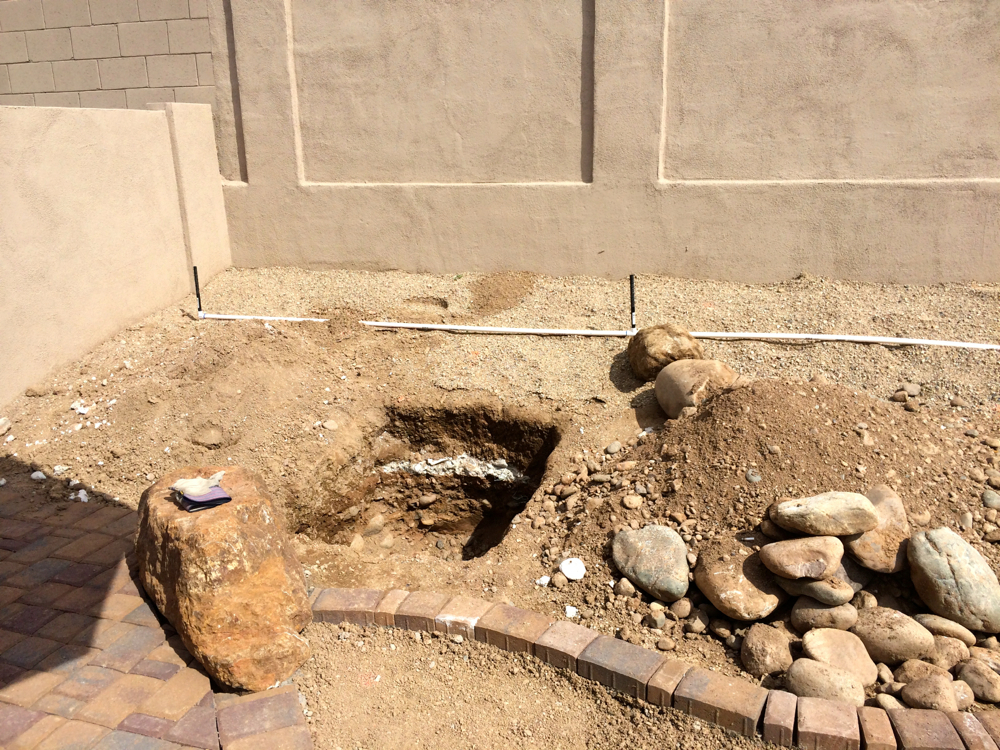
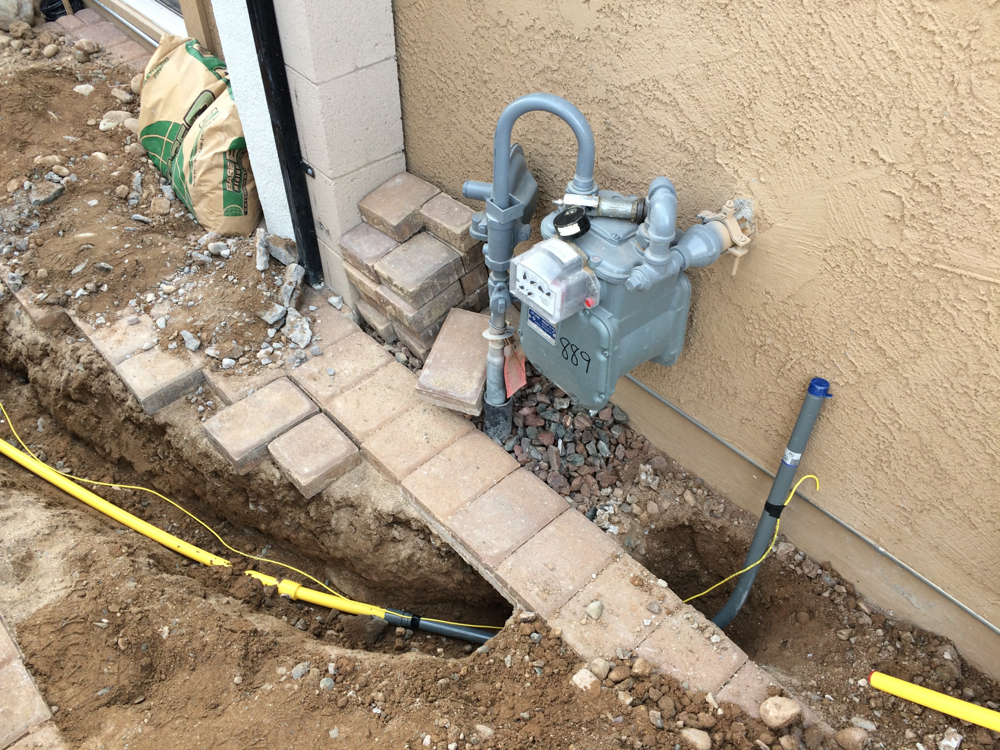
Had a company come out and do the gas line to the future fireplace and BBQ. Weird that they use a yellow plastic tube but I guess that's the standard now vs the old galvanized steel.
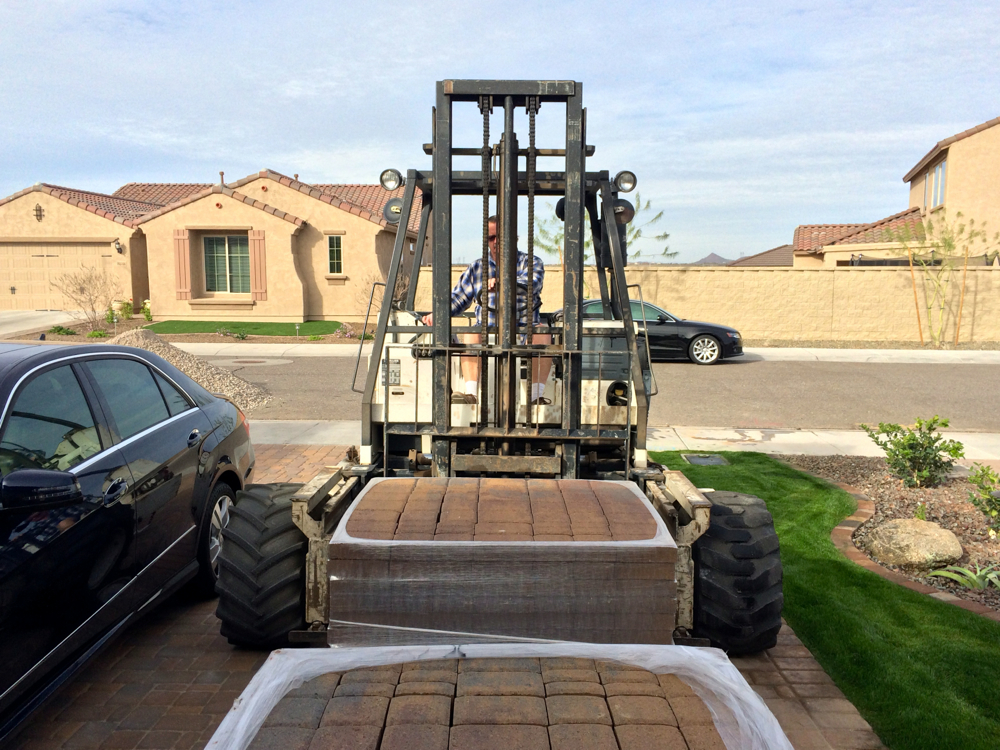
ABC and sand were dropped off this morning along with the pavers...
Biggest forklift I've ever seen.
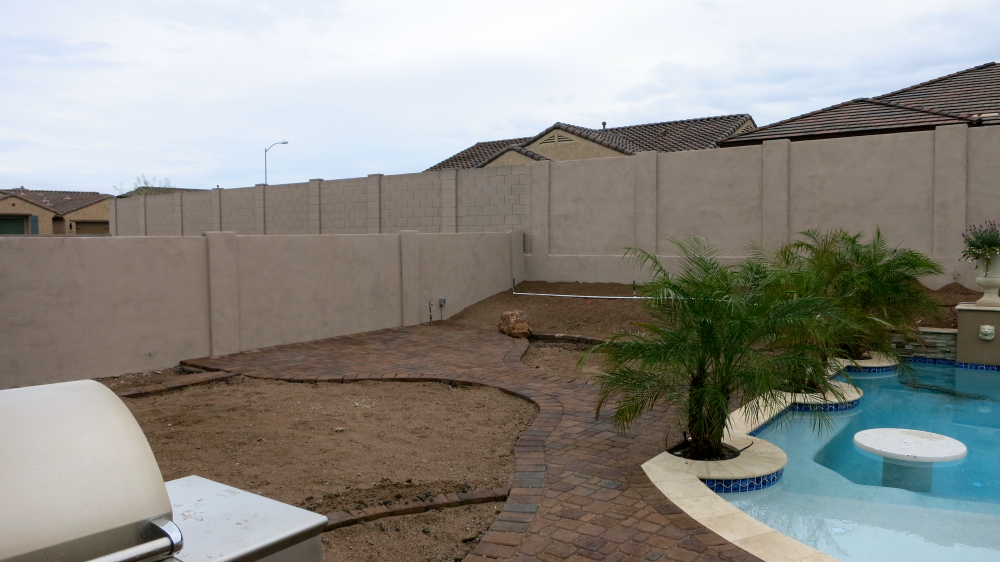
And that's were we are now. Next step is to have the gas line inspection, then install the pavers next week, bring the dirt in, install irrigation, trees/plants and finally gravel. Hoping my 2 weeks isn't too optimistic.
This is the design we came up with, which I've posted variations of on here before.
We have pavers (brown areas) all throughout with chaises for the pool in front, an area for a table and future built in BBQ on the right and then an area for a future fireplace and seating on the left. 4 Trees in the lawn areas, paver border all around with a few boulders like we did in the front yard. Gravel on the outsides with shrubs/bushes/ground cover.
Started out by spray painting everything out so I could estimate how much material we need. The plan is to slope dirt upward on the back fence about 3 feet to take away from some of the wall height since it's giant. According to the company I bought dirt from, we need 51 tons of dirt. **** seems ridiculous so I only ordered 10 so far, should be delivered later today, so I can get an idea of how much that is and then I'll get more. Also got 10 tons of gravel, 7 tons of ABC and 3 tons of sand (both for the paver install)
First thing before everything was to stucco the fence so it doesn't look like a **** prison wall anymore. Freaking 60 90lb bags of stucco! It has to cure for about 2 weeks and then we're going to paint it to match the color of the old fence/neighbors so it doesn't stick out all weird.
All done with the stucco...
Yesterday, a buddy and me built an enclosure for some of the pool stuff behind the water feature...this area will be filled with dirt and obviously don't want it to cover up the pool stuff. Came out pretty **** good considering neither of us had done this before. Still not finished, have to fill up the holes with concrete.
Had a company come out and do the gas line to the future fireplace and BBQ. Weird that they use a yellow plastic tube but I guess that's the standard now vs the old galvanized steel.
ABC and sand were dropped off this morning along with the pavers...
Biggest forklift I've ever seen.
And that's were we are now. Next step is to have the gas line inspection, then install the pavers next week, bring the dirt in, install irrigation, trees/plants and finally gravel. Hoping my 2 weeks isn't too optimistic.