Intex 18X48 filter, plumbing upgrade/relocation project.

May 17, 2013
30
Hey guys,

I love the host of information on this website, and the numerous DIY people that have struck out and done their own projects to modify their pools, and as a result I kinda got the bug.
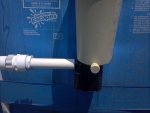
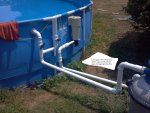
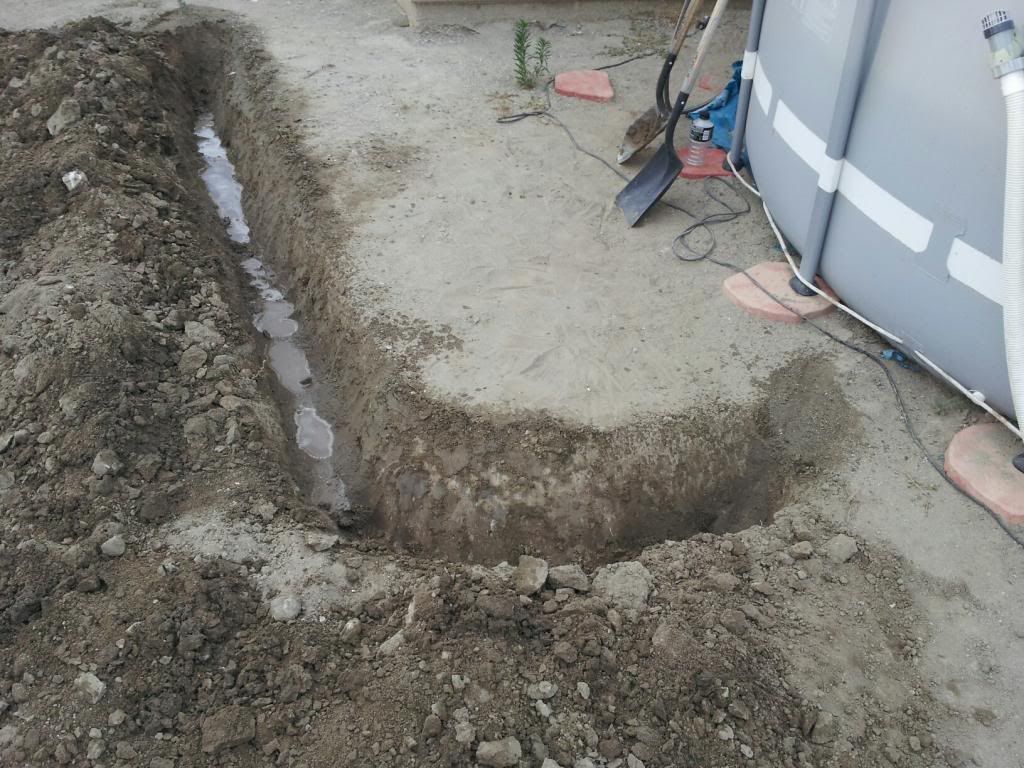
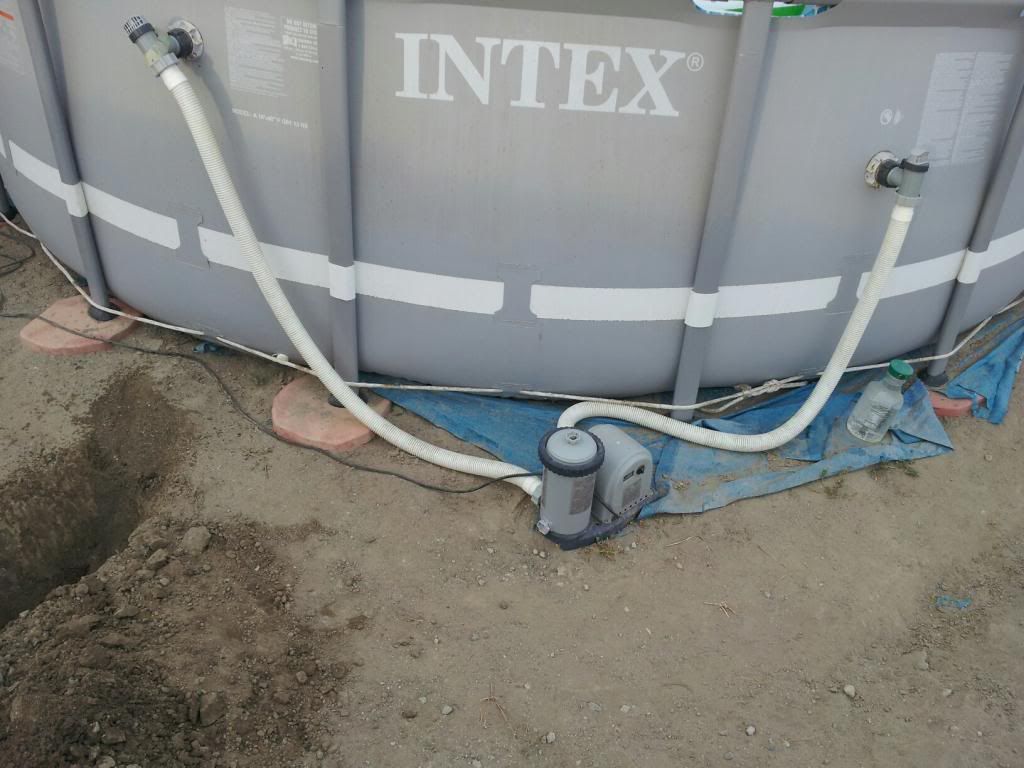
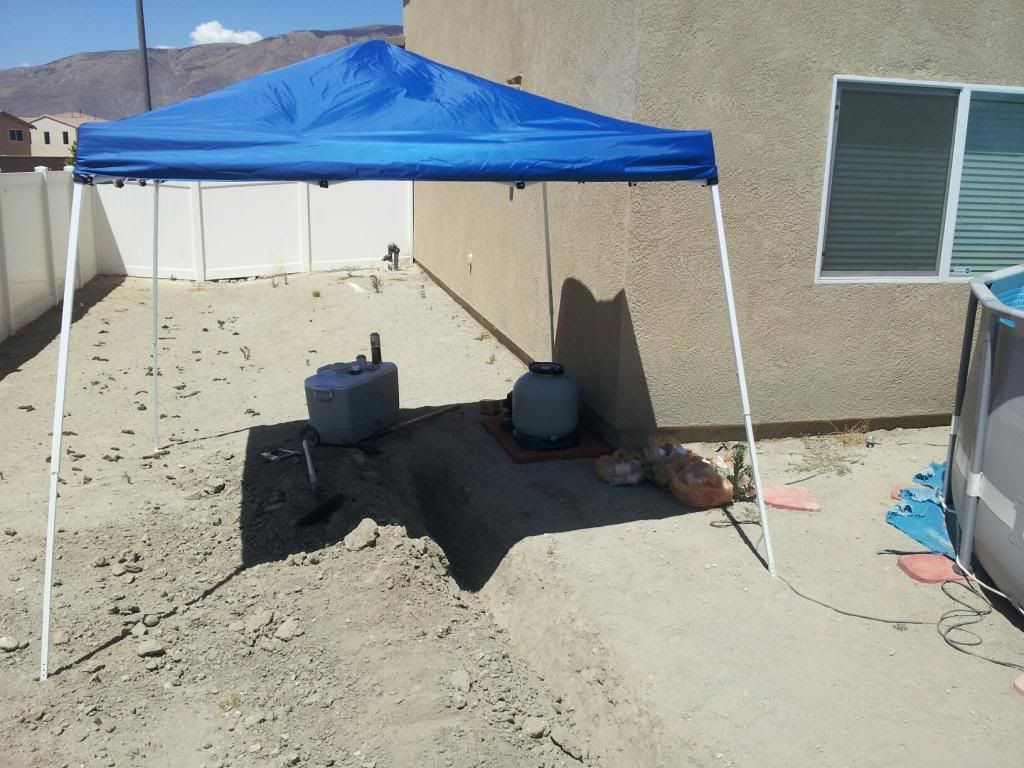
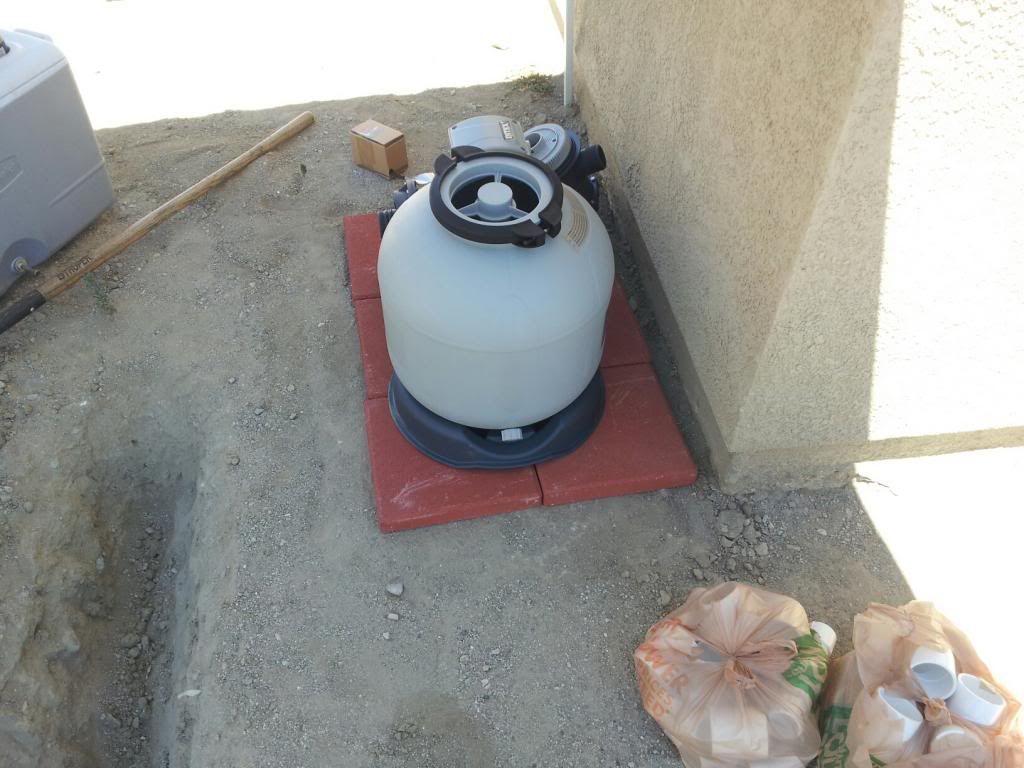
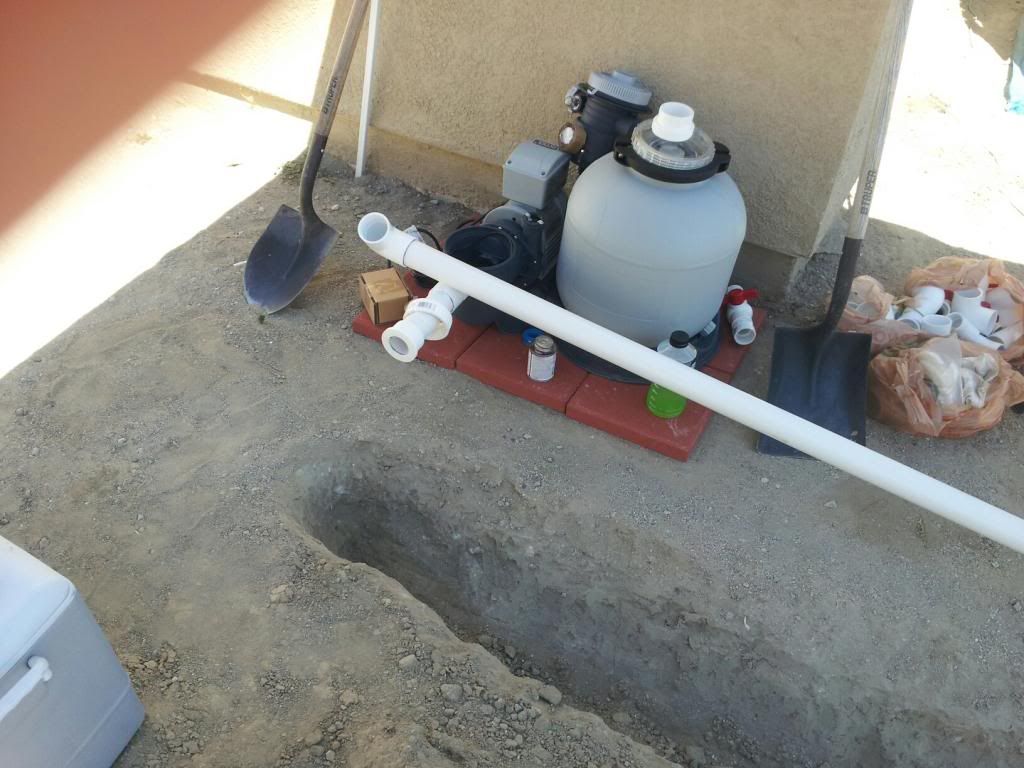
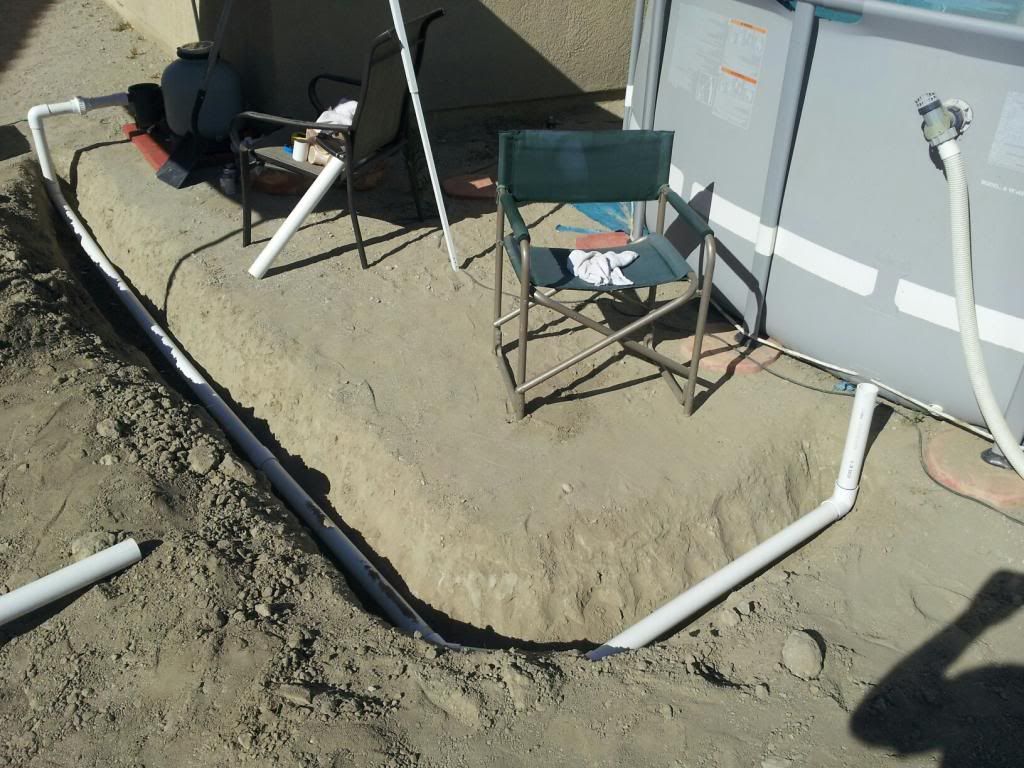
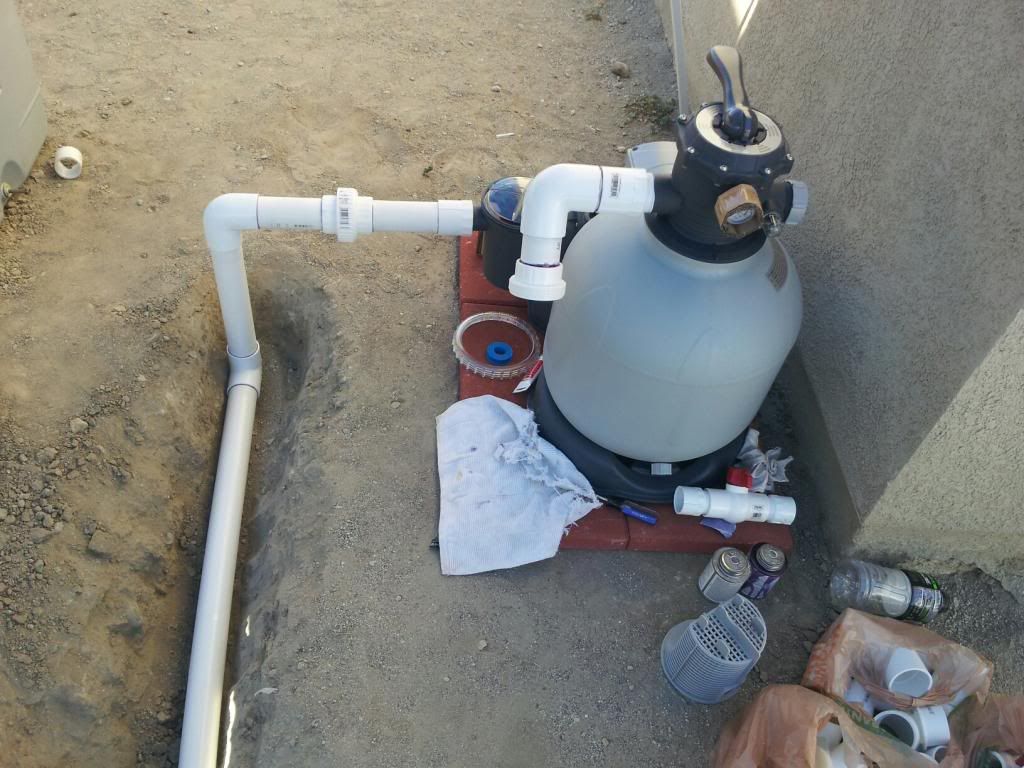
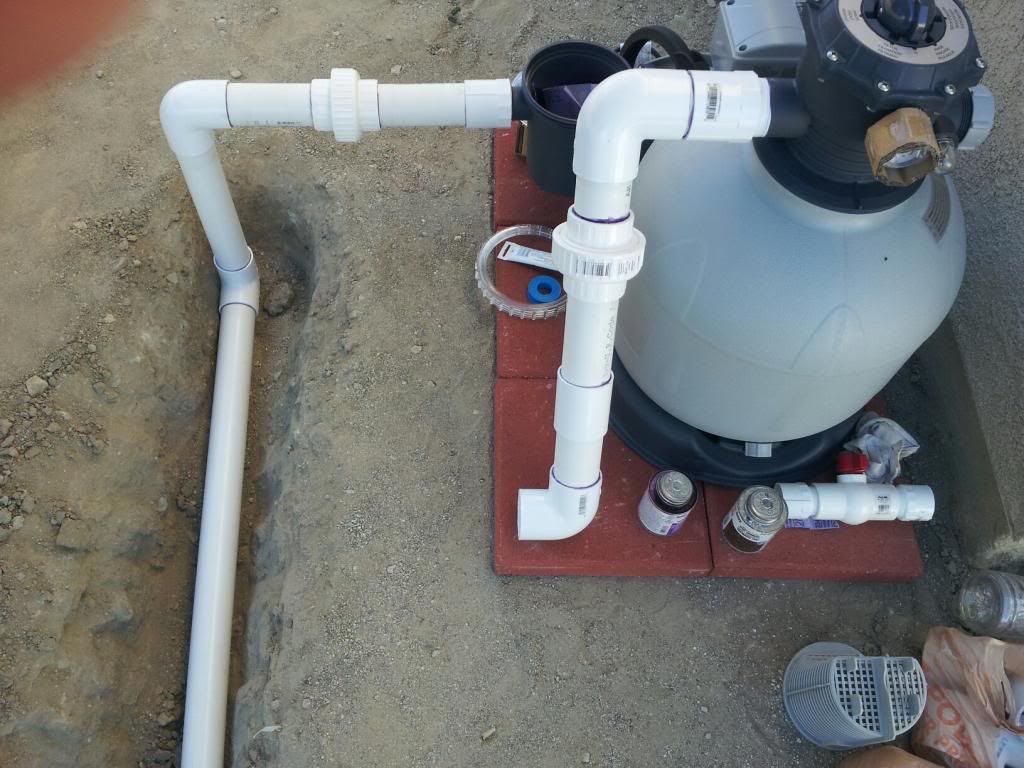
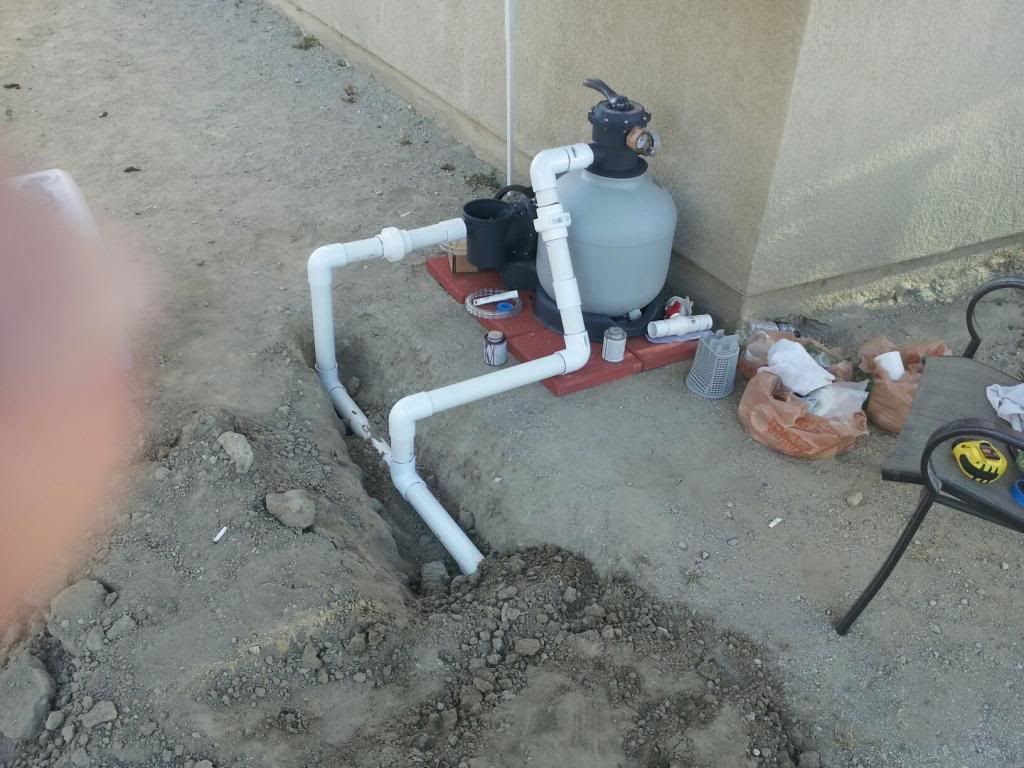
I got an intex 18x48 above ground pool about 2 months ago, and have been having constant issues keeping the water clean, keeping dirt off the ground of the pool, and a few other issues, so I decided to go for it and hard plumb the entire pool and do a few other upgrades. I also decided to relocate the filter to the side of the house, because of the noise, the fact that if it were to get splashed it could get ruined,and the fact that I dont like the looks of it right next to the pool. I then decided to get rid of the stock intex filter, and go with the 2650 gph sand filter as everytime I would try to vacuum the pool, id have to clean the cartridge 4 times before I was done, and it just didn't move the amount of water that I wanted. Heres my progress so far before I ran out of daylight. It is dang near impossible to dig out here in southern california because where I live its all clay so the only way to dig is to wet the soil repeatadly first and wait for it to sink in. The canopy is up because it was 105 today and I started right around noon lol.

Lemme know what you guys think.


Before you get the lines 100% buried, did you want to allow yourself some room for the backwash valve and line? It looks like you may be putting yourself too close to the house. I can't read the valve but but has that cap and it's threaded like it would used for the backwash line/hose. If you plumbed it, you could backwash to the front lawn or some other useful place.
 
I measured the distance from the back of the filter valve to the house, and it'll allow me to put the threaded fitting, and the 90 so I can pipe it out to the front of the house. That'll be my next project once I get the dirt soaked enough to dig the next trench.

Also. Ill take some pics of the fittings when I get home.

I plan on hard piping 2 more suction fittings so I have a total of 3, and I'm going to add 2 more inlets also. I want 3 suctions and 3 returns. One return will be used for a fountain to cool down the water, and all of the suctions and returns will have ball valves for balancing and isolation.
 
I know all about digging through concrete some call "dirt". Last three times I wanted "any" trenching or tilling, I just rented the big 15 HP Bareto from HomeDepot and went to town, anything less is a waste of time and very physically painful. Soaking and then digging is sooooo slow it not worth the pain.
 
UPDATE....

I continued to work on the piping. I cut the holes in the pool yesterday for the new returns and suctions. Im going to run 3 returns "one will be a fountain to cool the water" and 3 suctions, "one will be full time skimmer for when I have surface debris, and all the suctions and returns can be isolated to balance flow, and send it where I want it.

I plan on removing all the internal screens in the filter system such as the one in the discharge on the pump, and the one behind the strainer basket in the strainer assembly to see what kind of flow I can get out of this thing. Im also going to hard plumb the cross over hose from the pump discharge to the filter inlet, and install a threaded union in case I have to remove either part.

I went one step further, and decided to hard pipe EVERYTHING, not just the filter. If I could go back, I would have probably bought a roll of flexible PVC tube and used that instead because 90 and 45 degree fittings dont work too well with a round pool, but that stuff is seriously expensive and its hard to make it keep its shape so I'm gonna do the best I can.
I plan on sifting out a bunch of dirt and burying the piping and the base of the pool to keep critters out from under it, and to add stability to it. I will also paint the pipes to prevent them from getting brittle.
The main lines to and from the filter are 2 inch pipes and every suction and return is piped in inch and 1/4.

I know that the distribution manifold looks like a huge cluster **** now so please be kind lol.

I also took a picture of the fitting on the filter for wwhite0310.


btw. To cut the holes in the pool, I got the locknut from the back of one of the pool eyeballs, and held it against the wall and traced the inside of the diameter of it with a sharpie. I then got a standard razor blade, and taped off the entire blade except for one of the corners and only left it about 1/6 of an inch deep, one so it wouldnt be as prone to cutting me, and 2 itdd be lessprone to slipping and cutting an unwanted slit in the liner.
 
You're going to learn to hate that Intex clamp on skimmer. While you were doing all that cutting, you should have installed a thru wall skimmer. Everything looks good. I want to hard pumb, maybe next season.
 
I'm preparing to hard plumb my 15x48. I didn't like the thought of all the extra connections for going around my pool, so I came up with a way to avoid that.

I tied one end of the pipe to the uprights, taped a hair dryer to one end of the pipe so it blows through it. Turned the dryer on high and walked away for 15 min. PVC got warm enough to bend, so tied the other end pulling it as close as I could to the frame. When the ppe cooled, I checked that it held it's new curve. There was a bit of "spring-back", so turned the dryer back on, and added a couple of 2x4 spacers between the pipe and uprights.

Pipe now conforms to the curvature of the pool, and no need for extra fittings.

I got this idea from an electrician who regularly custom bends PVC conduit in what he calls a "hot box". He says the trick is to get the PVC just warm enough to be slightly pliable, but not anywhere close enough to melt.

I didn't find this process to be problematic at all. Neat little trick. Photo to follow.
 

Enjoying this content?

Support TFP with a donation.

Give Support
Charlie_R said:
I'm preparing to hard plumb my 15x48. I didn't like the thought of all the extra connections for going around my pool, so I came up with a way to avoid that.

I tied one end of the pipe to the uprights, taped a hair dryer to one end of the pipe so it blows through it. Turned the dryer on high and walked away for 15 min. PVC got warm enough to bend, so tied the other end pulling it as close as I could to the frame. When the ppe cooled, I checked that it held it's new curve. There was a bit of "spring-back", so turned the dryer back on, and added a couple of 2x4 spacers between the pipe and uprights.

Pipe now conforms to the curvature of the pool, and no need for extra fittings.

I got this idea from an electrician who regularly custom bends PVC conduit in what he calls a "hot box". He says the trick is to get the PVC just warm enough to be slightly pliable, but not anywhere close enough to melt.

I didn't find this process to be problematic at all. Neat little trick. Photo to follow.


We are going to want to see some pics of this, i have bent PVC for other projects (kids bows) but not with the intention to use the pvc to still hold water. please post some pics of thsi newly bent pipe.
 
Here are the pics.

Tied to the post, with hair drier taped.


Overall view without blocks.


With blocks.


You have to let it air cool. Don't try to rush the cooling by sending water through it, that tends to create microfractures from uneven cooling through the wall. Don't ask how I know. :oops: :hammer:
 
I'm seriously considering the thru wall skimmer. About how much do they run, where can I find a non widemouth one for a good deal, and what size pipe connection do they have on the bottom?

I got all the suction piping finished, and I have 2 more supplies to hook up then its time to finish the filter setup, turnit on and leak check it. Btw I added a 1/2 inch pipe nipple for a ball valve right at the top of the suction line right before it goes underground so that I can bleed any air pockets that develop there. Ill post pics tomorrow.
 
Thanks for the close ups..those are different then what I have seen on here. Do they fit correctly on the pump/filter I assume. Got a list of parts you used by chance? I ask because this was the part that got me in trouble last year as I think I had too many different parts assembled trying to make my connection. I may have pics of it..if so I will post mine so they can be critiqued.
 
Here are a couple pictures of my setup lastyear. As you can see I used the old plunger valves and the 3 piece nut mod that I found here. I am moving my pool and am going to be completely redoing my hard plumbing and and trying to get ideas and tips so that I can get materials and start possibly making some of my stuff before hand.

[attachment=0:6uznnqes]2012-07-01_13-55-39_215.jpg[/attachment:6uznnqes]
[attachment=1:6uznnqes]oldpoolpumpconnection.jpg[/attachment:6uznnqes]
 

Attachments

  • oldpoolpumpconnection.jpg
    oldpoolpumpconnection.jpg
    399.7 KB · Views: 683
  • 2012-07-01_13-55-39_215.jpg
    2012-07-01_13-55-39_215.jpg
    463 KB · Views: 679
Well guys.....

I got it all done.
I had absolutely NO leaks except at both of the fittings where the PVC screwed onto the filter and pump. I removed the fittings and redid them. I can't stress this enough. DO NOT USE TEFLON TAPE ON PLASTIC FITTINGS. It increases the diameter of the threads and keeps them from screwing in all the way. I got a tube of the yellow rector seal paste from home depot, unscrewed the fittings, scraped the teflon tape off and coated the male and female ends of the fittings with the paste and scrwed them on until they pretty much bottomed out. I sanded the inner diameter of every female junction where I had to use glue, and I also sanded the pipe going into each fitting and used primer before I applied the glue.

I got the filter loaded with sand and started, and I had to backwash it. Tomorrow I will add the hard PVC backwash line to the front yard because I got one of the plastic foldable hoses and that just will not work for a permanent installation.

I must say that without a doubt the flow is much better. All 3 of the supplies can be seen churning the water where they feed into the pool, and when I vacuumed it, wow what a difference in suction. The ball valves are nice because I can choke down on the other 2 suctions and give the majority of the suction to the port where the vacuum is plugged into.

Once again I used standard 2 inch threaded to slip adapters and they scrwwed right onto the sand filter inlet and outlet, I didn't need to cut the ends off hoses or any of that jazz.

Heres the pics, you will notice that the dirt is dark where the trench was. As I filled in the trench I continually hosed the newly filled in dirt to make it a much stronger retainer for the pipes. If you get the dirt wet when you are filling the hole, it will move into all the crevices around, and under your pipes and it will basicially hug the pipes from all sides providing a much more stable hold for them when they are in the ground. It will also help level out any sags in the pipe runs.

Heres the pics guys :) its been over a week and Im finally pretty much done... THANK GOD! lol


Well. This weekend I finished up pretty much everything else left. I plumbed, ran, and buried a 2 inch backwash line all the way from the backyard, under the fence, and out to my front yard. That way I won't have to fiddle with those horrible backwash hoses.I had to backwash the filter a few times and the line works great, no mess in the back, and it pours out onto the lawn which doesn't seem to mind the extra water at all. Im going to add a checkvalve or a vacuum release valve to the backwash line right after the union because I noticed that if I move the filter selection handle back to filtration and I move it down too fast the backwash line will hammer because theres nothing to break the vacuum, and I'm worried that that could potentially harm the seals in the future. Im also planning on painting all the white PVC to keep the sun from making it brittle.

Im debating on picking up an old cartridge filter setup from my friend and plumbing it in series with the backwash line and using it to filter the backwash water so I can add it back to the pool with all the solids removed in order to save water, but from what I have been reading, it might not be a good idea due to all the biological Crud that gets washed out during a backwash.

Any thoughts on that?

heres the pics...


what yall think. Its been quite an undertaking, but man was it nice to sit in it this weekend in the 105 degree weather.
 

Enjoying this content?

Support TFP with a donation.

Give Support
Thread Status
Hello , This thread has been inactive for over 60 days. New postings here are unlikely to be seen or responded to by other members. For better visibility, consider Starting A New Thread.