The remodel begins!

Thanks for the encouragement!

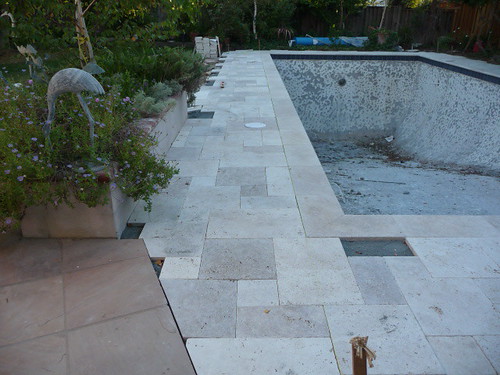
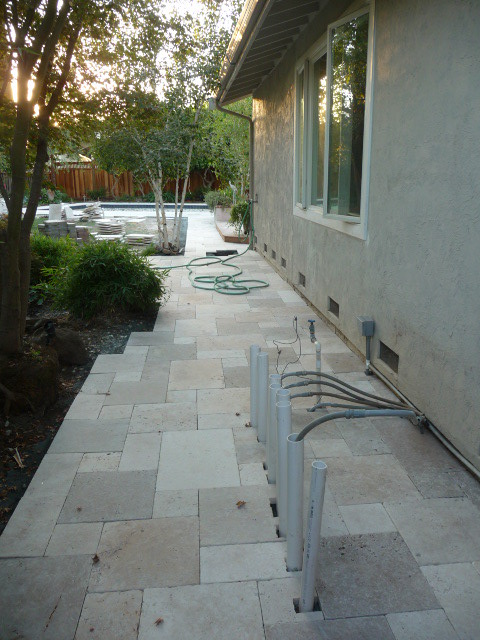
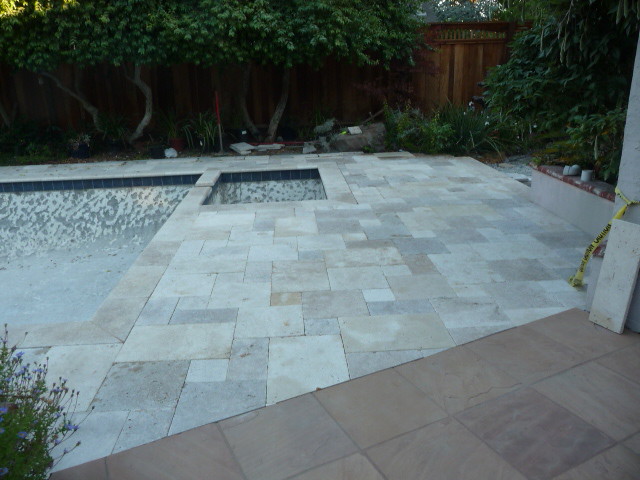
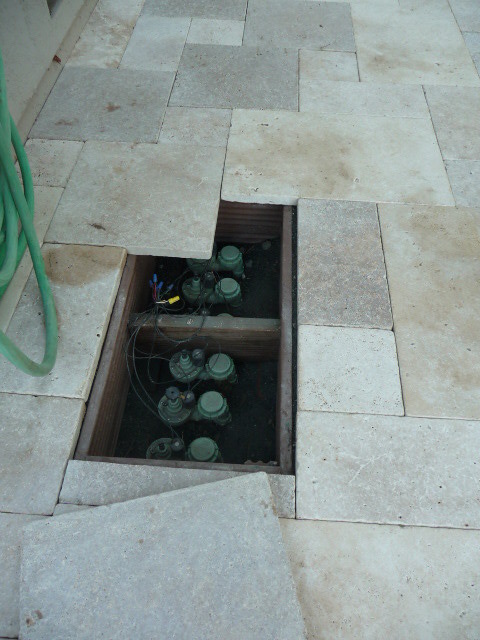
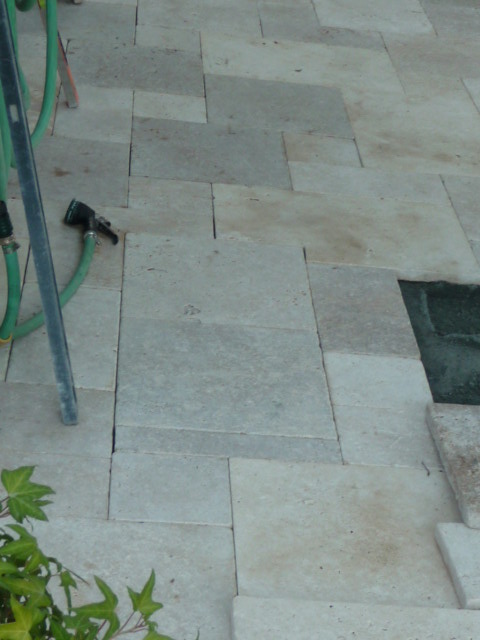
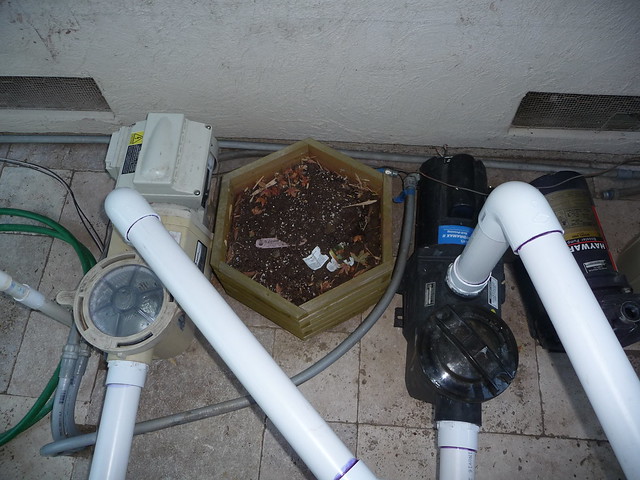
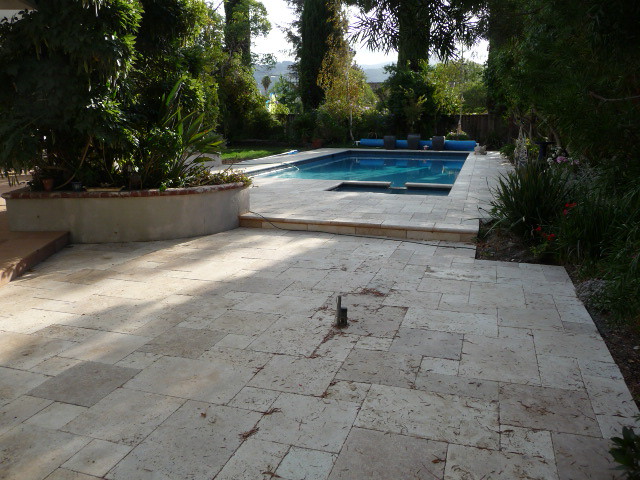
Moving a drain collector and some sprinklers to make room for the pavers today.

The PB finally sent a quote yesterday for the work already completed. He lowered the cost for the 2 1/4" beam raise by $500. :goodjob: The second line for the skimmer was $400, so it comes to $5.71/ft for the 70' run to the pad. Gas line at 25' was $675. He said that was his cost. Doing some reasearch I found the 1 1/2" flex MDPE gas line at $1.70/ ft in a 100' roll and but the risers are $120ea x 2. I had no idea how expensive those risers are. These 3 scope changes added $3,075 to the project.
 
Excavation is about done and the baserock is getting hauled in. We should have 6" steps everywhere when it is all done. Previously it there was a 3", 3.5", 9" and 6".

I had to convince him to start the pavers at the corner of the pool where it is closest to the patio in order to have full pavers where it is most visible and have the cuts at the far end of the pool. Not sure why he thought starting at the far end of the pool would make sense.

The way this guy lays pavers is to dig, rebar and pour the concrete edge after the main course of the travertine is laid. Since we are not having a border put in, this has the paver dude him scratching his head. :?

The coping that was replaced turns out to be of a different travertine. They need to replace it again...no problem I was told. You can kind of tell that the coping left of the spillway is lighter than the others in the first and second pic. Much more noticable in person.

7568708036_df2bbc2fb7.jpg


7568707872_0381180a5f.jpg


7517792618_81060556e3.jpg
 
Base rock is laid down first and then a 1" layer of sand that the pavers are set on. Concrete is put under the perimeter and the outside pavers are adhered to it with thinset. That keep sthe inside pavers from moving. Sand is poured over teh top and then a vibrator is used to settle the sand between the pavers locking them in place.

Here are some more pics after today's work. They had laid pavers the wrong direction and had to change it to run parallel to the house earlier this week. They would have used up a lot of material with a diagonal pattern that was first laid down.

7708198546_cd89094a2e_z.jpg


Almost looks too good for an equipment pad

7708198242_e168e8c851_z.jpg


Rebar reinforced footing for the step poured.

7708198138_def70e3e59_o.jpg


7750827260_1e99c60532_o.jpg
 
Getting there...

7681327590_673f068862_z.jpg


This is where the old meets the new. The flagstone patio was installed 14 years ago and still looks great. Our challenge deciding what to do with the deck was because of the off angles the pool deck would have with the patio. The pool is not parallel to the house. Our solution was to go with a French pattern.

7681327786_f610a9f1b9_z.jpg


7681327910_cc12fe2749_z.jpg


7750827060_00d025f656_z.jpg


Figured out a way to hide the sprinkler valves at least...

7750827178_03db493932_z.jpg


7750826822_2de2901b3a_z.jpg
 
At last a large hose showed up early today....

7904233278_f77e5efa42_z.jpg


With a bunch of dudes and trowls...

7904232728_2fd7b5e46b_z.jpg


7904232226_49e4a6b403_z.jpg


7904231704_f59954438b_z.jpg


7904231332_29e0c4ec54_z.jpg


Pavers are all done... just some minor fixes to be completed...

7750826964_93f9d692ee_z.jpg


7904229340_10cd326532_z.jpg


We like how the pathway turned out...

7904230348_b9bbea8069_z.jpg


The lower elevation patio ended up larger than previously planned.

7904230844_6336cf6ac0_z.jpg


Back to the pool party... I was impressed how fast these guys knocked this job out. They were done, cleaned up and out by 1:00pm.

7904228900_f2ceae956a_z.jpg


Caribbean Blue Color Quartz started out looking too light, then darkened up as it set.

Can't remember when I've had so many guys in my pool at one time....These guys must think their rock stars with all the pictures people must take of them doing their job...

7904228036_c1371684ec_z.jpg


7904226830_55007b1fcc_z.jpg


7904225616_2be33075ae_z.jpg


And then there was one...with sponges on his feet as he fills in the holes others left with the spiked shoes.

7904224892_7c243e68f6_z.jpg
[/url]


And then there was none... and the water began to run... :cheers:

7904223786_f6c2b3c2d9_z.jpg


7904223318_ac3e2e5e7b_z.jpg


I can't stop going outside to look at it fill up. It's been exactly 3 months since the project started and now it's done just in time for Labor Day weekend. :party:

Installing the pool equipment tomorrow. They had the pipes too close together to put the valves between them and almost halted the plaster job this morning to wait for a plumber to come out first. The guys brainstormed a bit and came up with a workable solution. I'll shoot pics when it's done.
 

Enjoying this content?

Support TFP with a donation.

Give Support
Thanks...the water is almost up to the light now. Got up early today. (Feel like a little kid on Xmas morning :wink: )

7906905880_883cbd1f3b_z.jpg


7906904990_2197807993_z.jpg


7906904140_637cd7465b_z.jpg


7906903186_9df3bd02ee_z.jpg


I'm looking forward to the changes made in the plumbing. Separate lines for the skimmer and pool drain and the flexibility of pulling water from the too spa all at the same time. Now its possible to mix between the pool and spa returns as well. I couldn't do that before. This should help in the start up process I think and for maintaining the pool better.

Now I need to order a heater... thinking 350k Sta-rite or 333k Raypak...decisions decisions
 
Took longer than expected to plumb the equipment...and I had to buy more beer :wink:
Went with the Pentair 520 cartridge filter. Turning the valves sideways ended up a good solution to reduce the number of elbows. There is alot more flexability it adjusting water flow compared to the past.

There is a 1 1/2" pipe for a sweep (capped off) and the booster pump was placed to insure there is enough room. Also put in a fitting on the return line to plumb the booster pump if the time comes.

Also added a hose bib for draining water after a rain...wishful thinking in CA :roll:

7936194620_efe5fd6477_z.jpg


The elongation of pipe on the right side is for the heater that in in transit...a Raypak 333k w/cupro nickle heat exchanger. Hopefully the online Raypak manual has the correct dimensions of plumbing heights. Just cut the pipes and add elbows....I hope.

7936193708_5e936737a6_z.jpg


Used a 15" wide plant container as a model to check for clearances for the Hasa LQ when positioning the pumps.

7936194116_259b7eba68_z.jpg


And then there was water!! :cheers:
The amount of flow is really increased compared to the original plumbing layout.

7936192788_b504a33689_z.jpg
 
More pics of the almost finished product...

8058420920_34582b5621_z.jpg


8058420794_64b35d28ab_z.jpg


8058421321_8f941f4abe_z.jpg


Narrowed down the options for the firebowl. Going with a 48" x 16" concrete bowl that will sit over the gas line shown here.

8058421491_92e9e1b977_z.jpg


Pools level is down because of a leak at the light recess. They just figured it out today and should be out tomorrow to fix it. We are leaking about 3/4"/day.

8058421253_7e60d4261b_z.jpg


Pool heater is now installed. Fired it up yesterday. Glad to get the gas line finally rerouted. Reduced about 25' off the previous routing. I really don't like crawling under the house any more.
I should be getting the valving by express mail to put a bypass on the heater tomorrow. I noticed the back pressure increased when I plumbed the heater in so I want to see if a bypass will reduce it when the heater is not used.

8058421159_4df6b9bda8_z.jpg
 
Pool is so much easier to maintain after the remodel. Increased water circulation and a lower electric bill. Sparkles like it never did before. The Liquidator makes chlorination a simple task.

8058421159_4df6b9bda8_z.jpg


8058420510_53e2dd24b5_z.jpg


8058420454_6095eab4e0_z.jpg


8058420963_ab9e7cffe9_z.jpg


Grass hasn't been replanted yet. Still need to figure out the perimeter edging and take down some old fruitless pear trees that look like something out of a bad Halloween movie.


Working on the fire bowl now. The bowl came in June and it was a real PITA to get it into the back yard since it is 46" wide and would not fit through the gate unless it was tipped sideways. At 300+lbs it took 3 of us on a 100 degree day to get it to the back yard. Tipped the delivery driver since he helped us. Had to roll it and chipped the edge. I was able to make it look like new with a patch kit they sent us for the repair.

9794907545_e15ecea1ab_z.jpg
[/url]

Final resting place over the gas and electrical. Began the grate structure to hold the gas manifold and eventually the fire glass.

9794580255_ea3485a296_z.jpg


1/2" rebar and used a conduit bender to round it in a circle. Welded cross sections to the circle. The expectation was that it needed to hold 150lbs of fire glass.

9794625144_71d60e2f5b_z.jpg


9794658476_9abd9f9ba4_z.jpg


Added legs and primed

9794698515_913fea9d0a_z.jpg
 

Enjoying this content?

Support TFP with a donation.

Give Support
Thread Status
Hello , This thread has been inactive for over 60 days. New postings here are unlikely to be seen or responded to by other members. For better visibility, consider Starting A New Thread.